
Not pretty shots, but why I took them. Reading the wind before you launch, the exact drone settings I used, and the two things I do before every take-off.
Continue reading
Not pretty shots, but why I took them. Reading the wind before you launch, the exact drone settings I used, and the two things I do before every take-off.
Continue reading

This week I had the opportunity to not only be on a podcast, but host it! My good friend Jordan Bunch, the regular host of The Wedding Film Academy Podcast (which I was on back in March), reached out to me about interviewing him about a topic that I didn’t know much about: volume wedding film brands. Usually he runs the show but in this case, considering he wanted to talk about his own company, we decided it would be a great idea to have me ask the questions.
There are many ways to run a wedding film business, and one of the most interesting is the concept of a volume company – one that films hundreds of weddings per year, usually at a lower cost than competitors. To hear Jordan describe it, his company Ladybird Wedding Films is the Toyota of wedding filmmakers: cheap, reliable, and with good gas mileage (not sure about that last one in regards to wedding films). Because he runs this company very differently than how I run FilmStrong Productions, I ended up having a ton of questions about everything from video quality to business sustainability. I would highly recommend checking out the podcast on Jordan’s site or on iTunes if you would like to learn more about different styles of wedding filmmaking businesses.
Have any questions? Please feel free to get in touch!

As promised in my Mavic Pro review, here is my favorite picture profile for the DJI Mavic Pro. This is the exact profile I use for filming weddings, travel videos, and any other professional shoot, and with a bit of color grading I find it gets genuinely beautiful footage out of this tiny drone.
I’m putting all the settings right at the top, because I hate whenever I’m watching a picture profile video and it’s fifteen minutes long and fourteen of those minutes are somebody talking about their cat, with one minute of actual settings buried in the middle, and heaven forbid they put it in the description. It bugs me to no end. So here it is, and if that’s all you came for, you’re done.
That’s the whole profile. The rest of this is the why, so you’re not emailing me asking why I picked any of it.
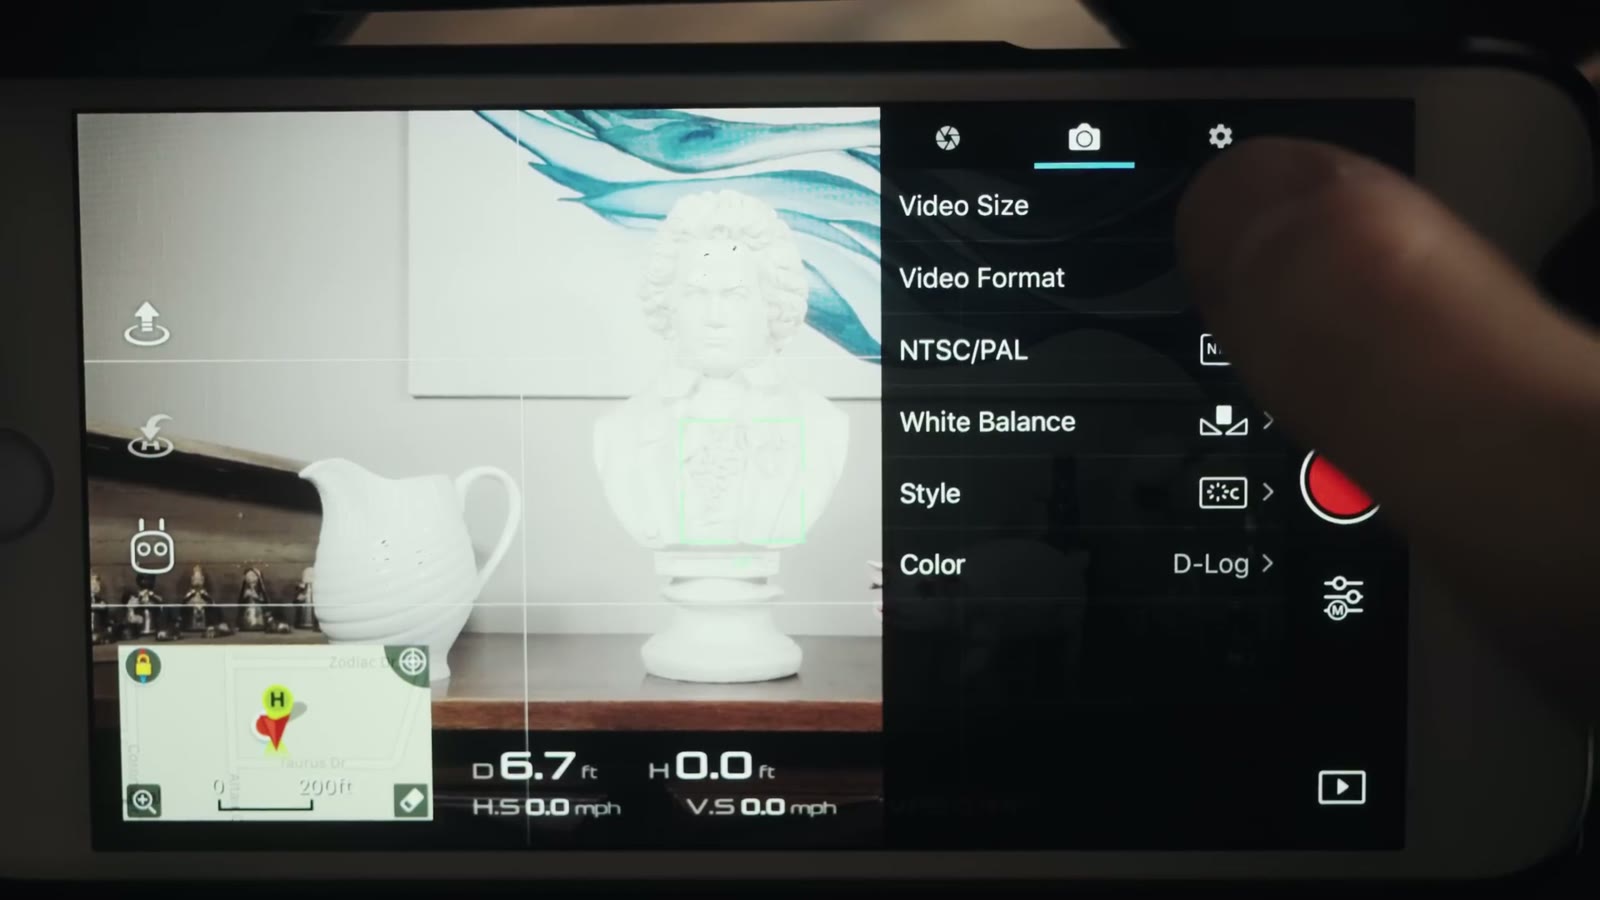
D-Log gives the best dynamic range and the most flexibility when it comes to color grading. The sensor on the Mavic Pro is really tiny, so any chance I get to boost dynamic range and image quality, I’m taking it.
Worth knowing: DJI put out a firmware update that made D-Log look substantially better than it did at launch. So if you bought your Mavic early, tried D-Log, and decided it looked gross, go try it again. It’s a different picture now.
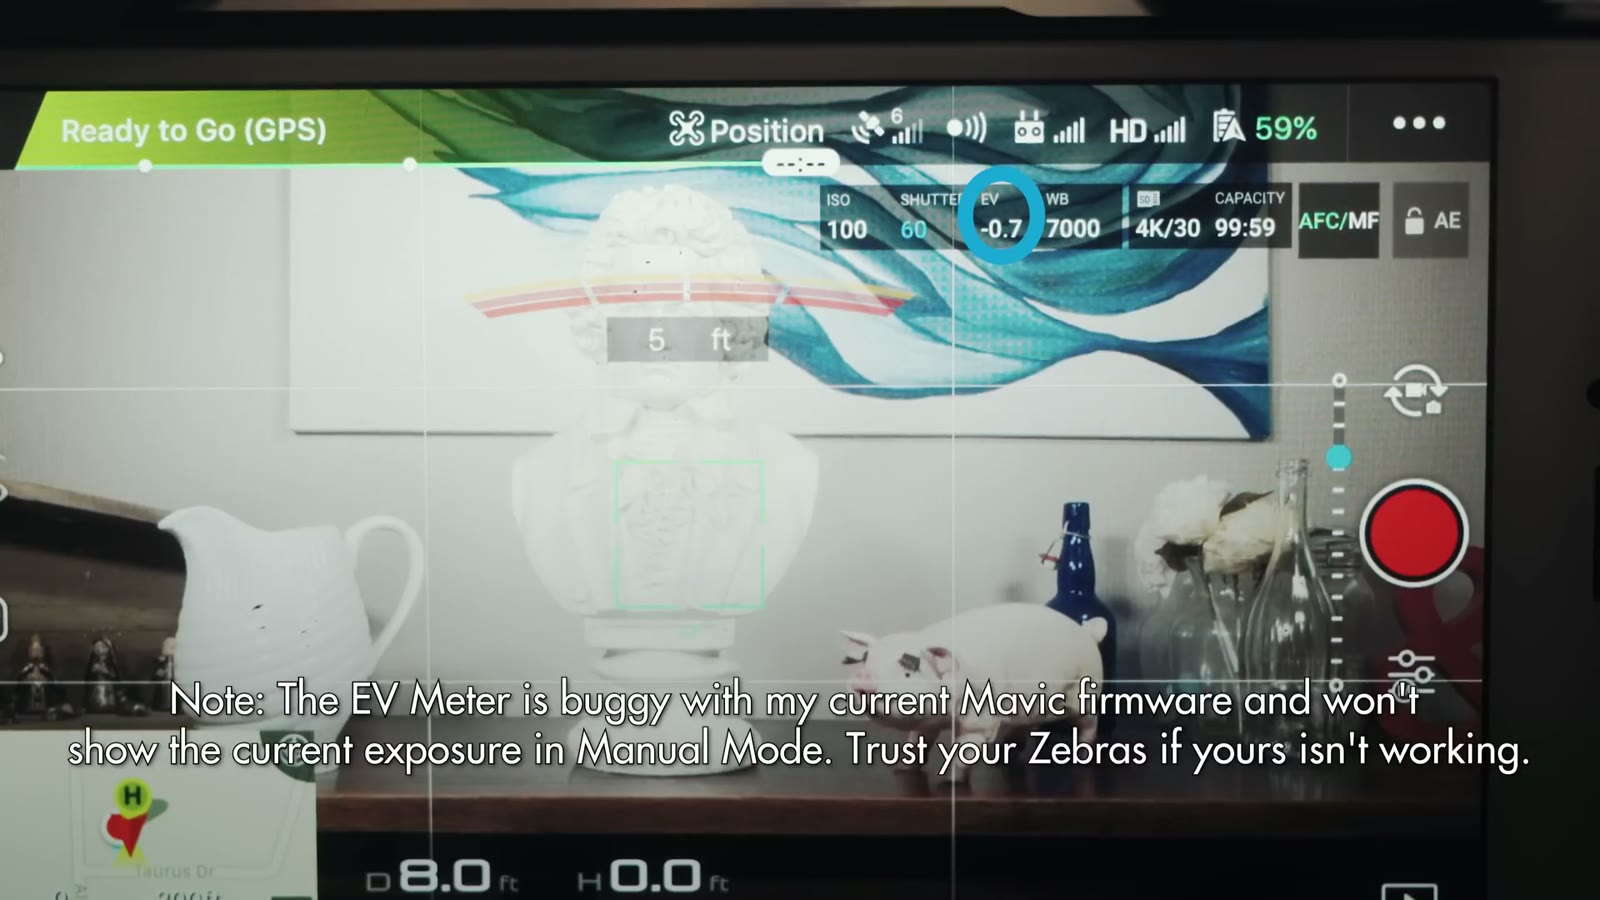
Quick warning while we’re in the app: on my firmware the EV meter is buggy and doesn’t show the current exposure in Manual mode at all. If yours isn’t working either, trust your zebras instead.
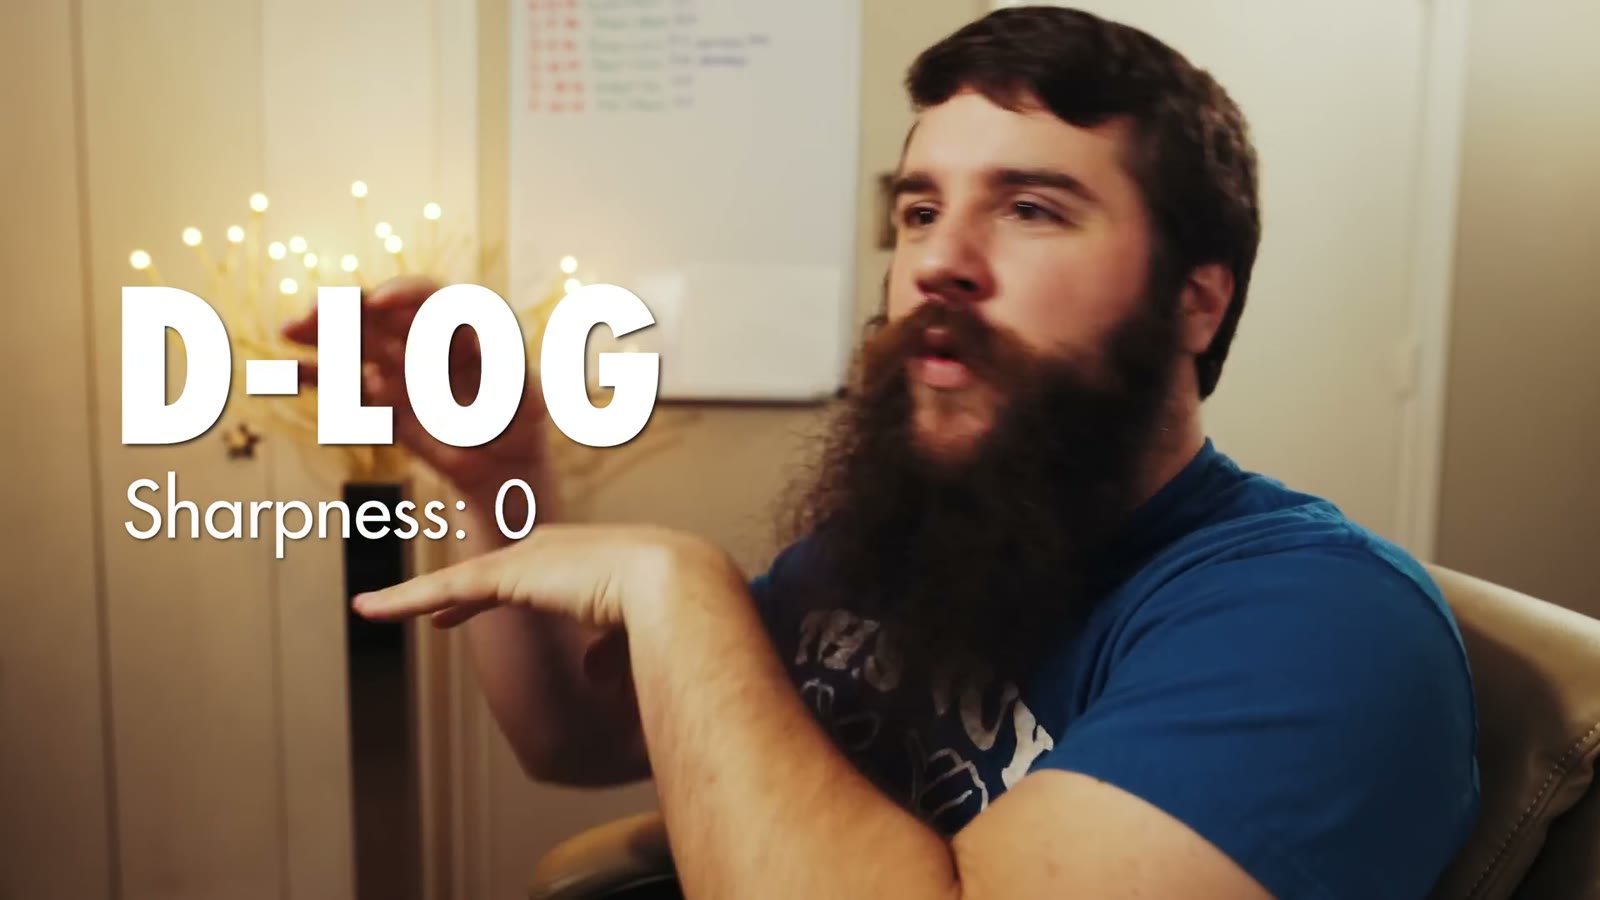
In most shooting situations I keep sharpness at 0. I never take it to -1, -2, or -3, because that starts making all the colors run together and you get the watercolor effect people complain about. At 0 I don’t deal with that at all.
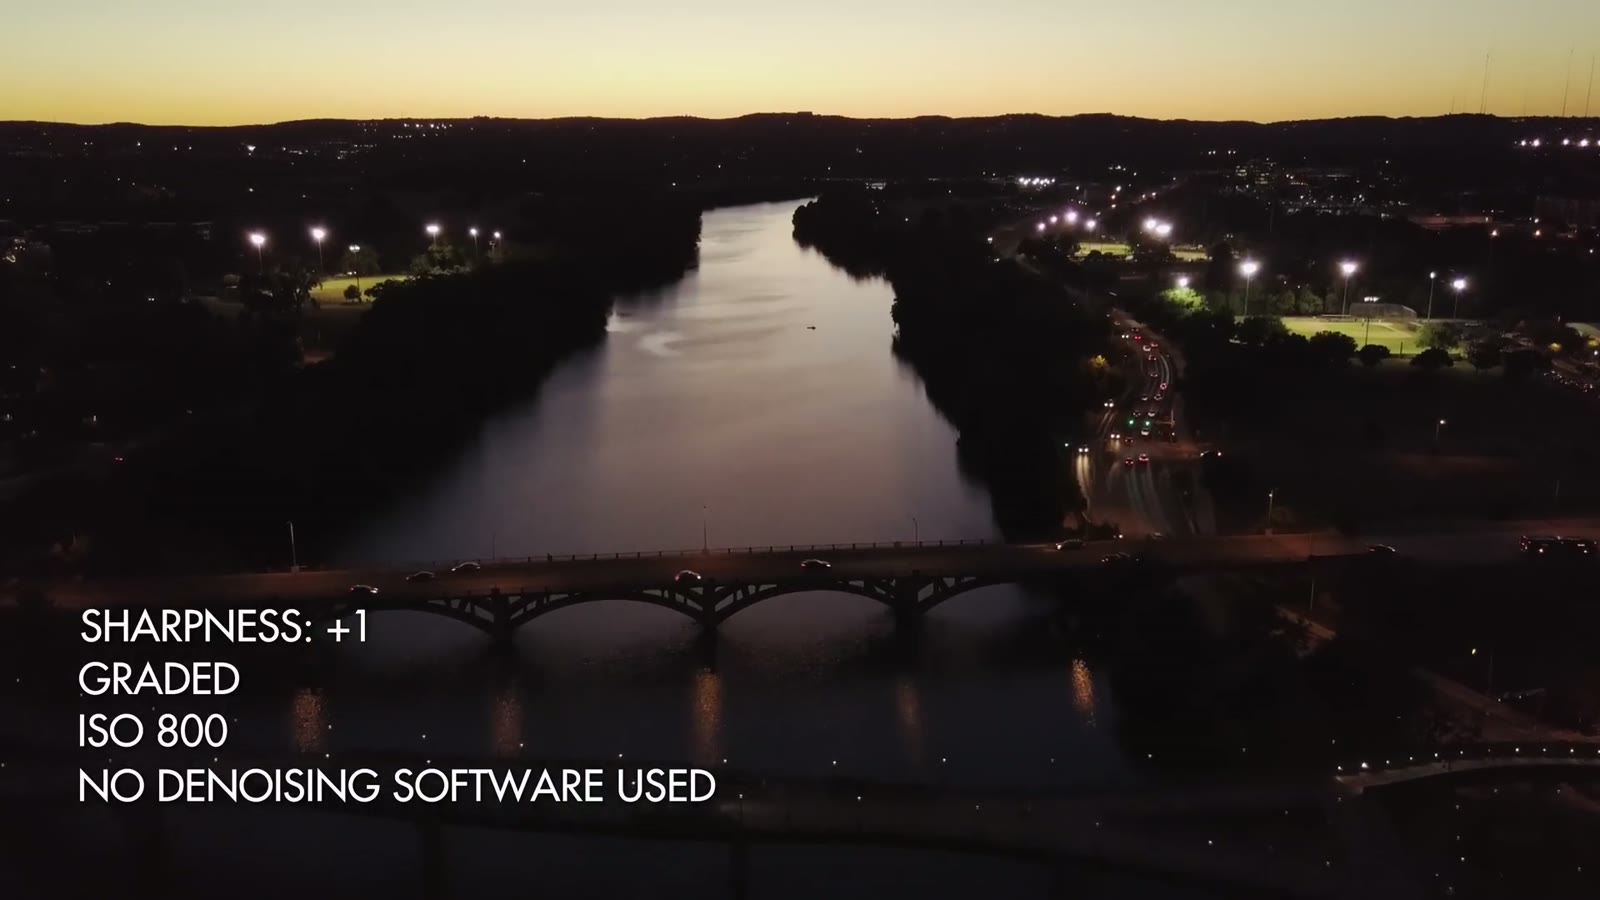
The one time I go to +1 is a very high dynamic range scene, say flying toward a bright sunset with shadowy trees underneath. Here’s the reason, and it is not obvious: DJI built in a noise reduction algorithm that is active from -3 all the way up through 0 on the sharpness scale. In a high dynamic range scene that algorithm makes some things look sharp while muddying everything else, and you end up with a weird image that just doesn’t look right. Setting sharpness to +1 turns the algorithm off.
I only know that thanks to another filmmaker also named Matt, who runs The Film Poets. He made a great video demonstrating it with exactly that sunset and trees scenario, and I’d highly recommend watching it.
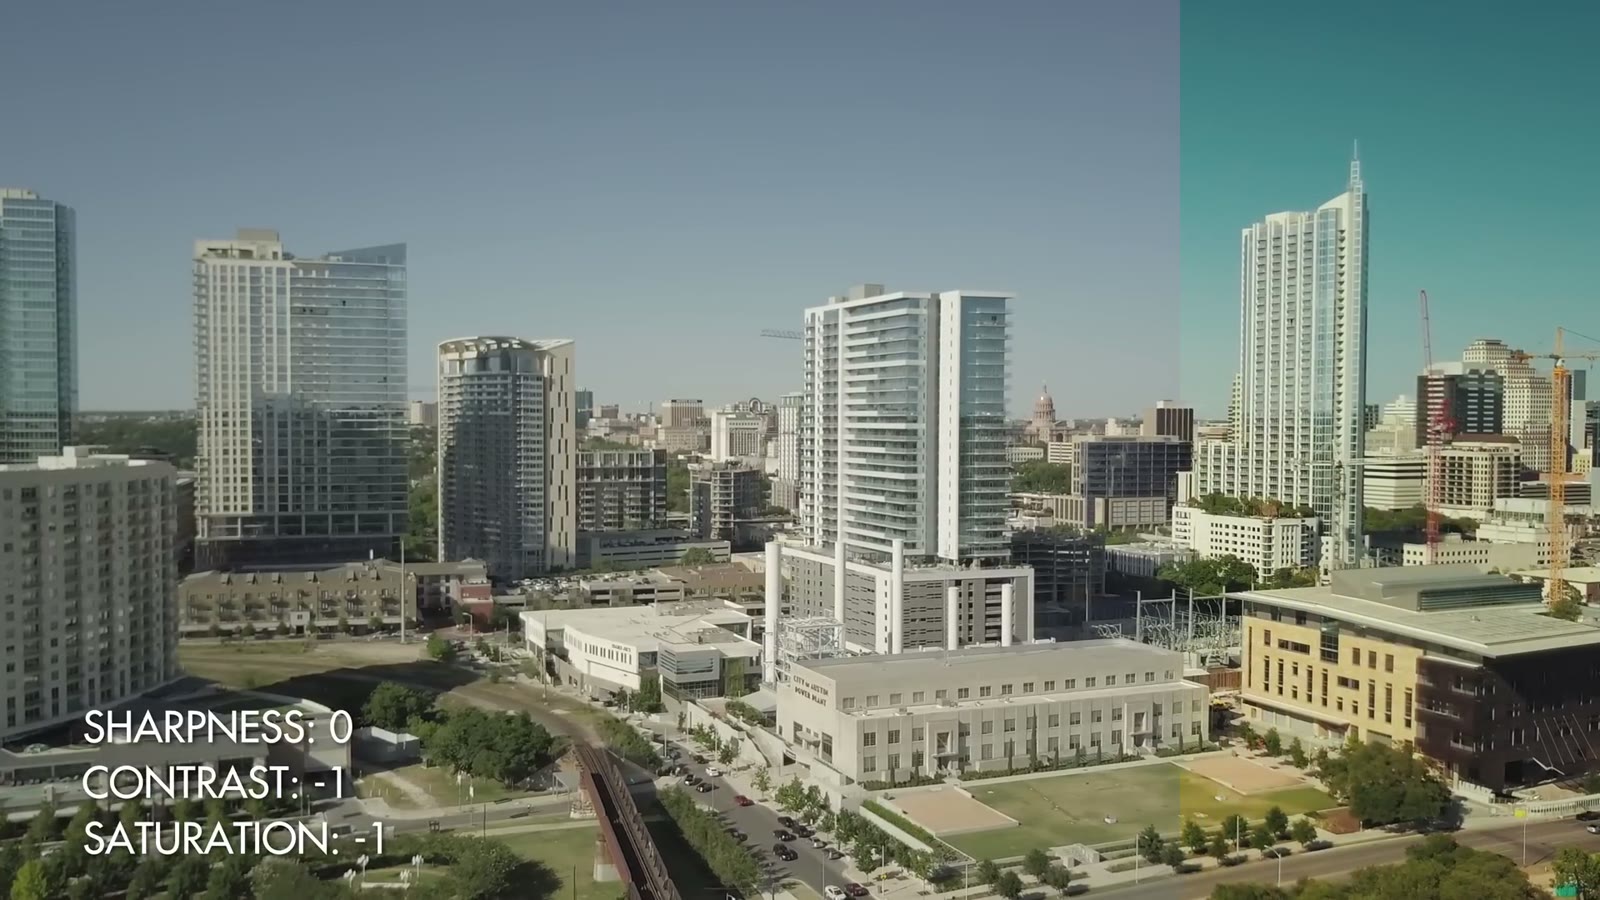
You’re probably wondering why I don’t push these to -2 or -3 and go as flat as possible. The answer is that D-Log is already really pretty flat and it doesn’t need to be flatter. At -1 I still have plenty of range to grade the image however I want, without giving up so much contrast that I’m fighting to build it back.
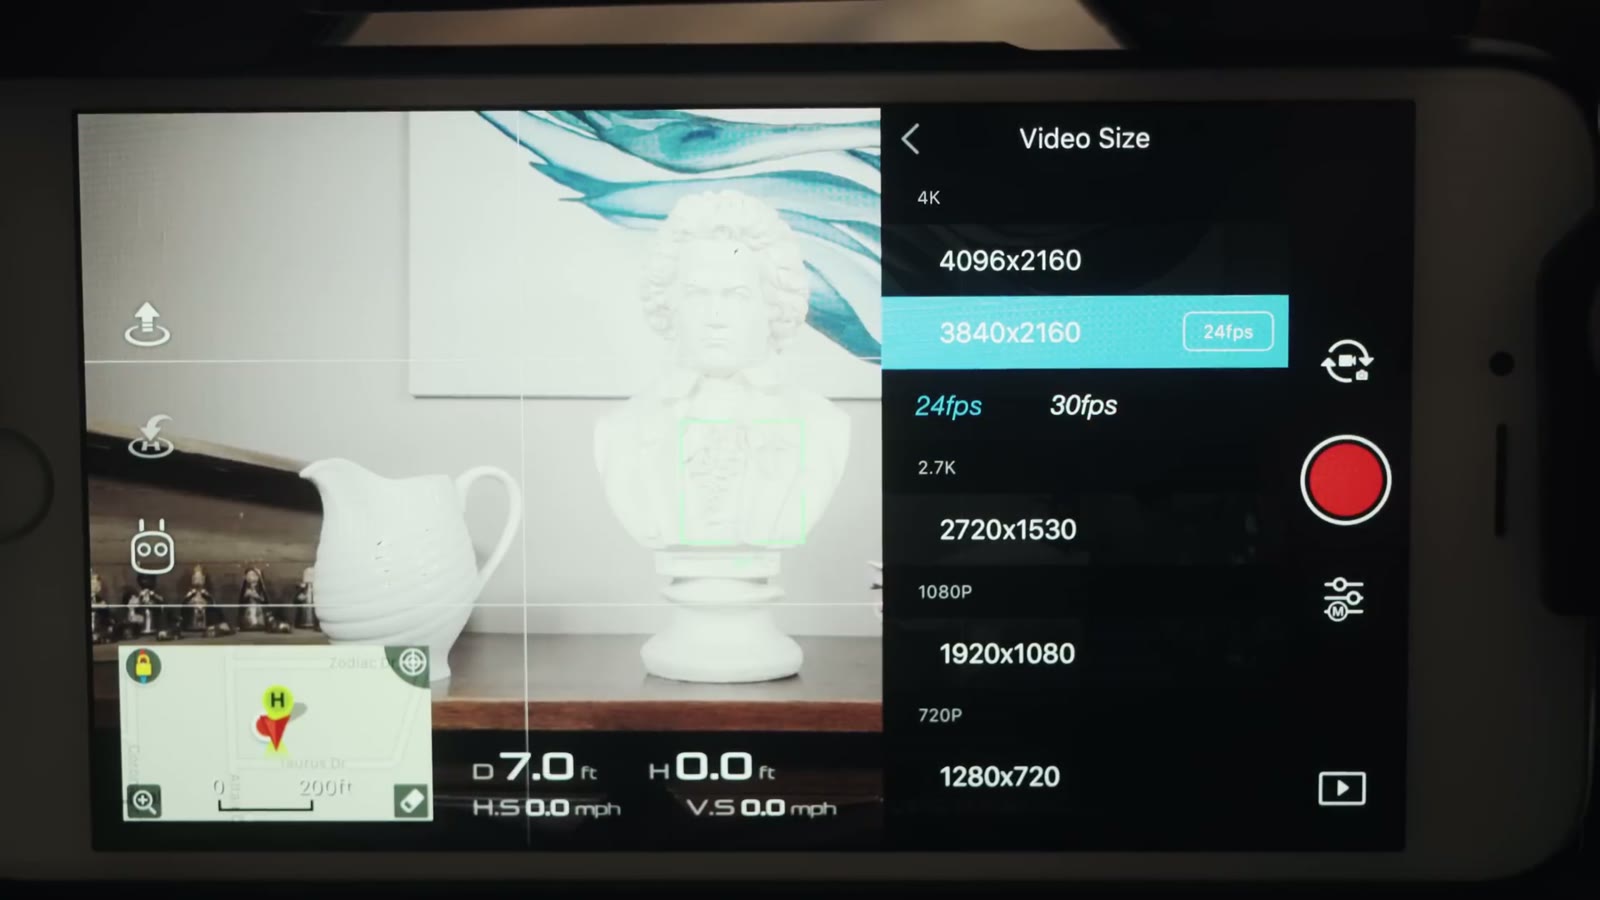
I shoot MP4 rather than MOV, mostly because I read a few forum posts with horror stories about MOV files and figured MP4 works fine for me. I see no quality difference between them.
I shoot 4K because I shoot 4K with everything and I’m uploading in 4K. You’ve probably seen the forum posts arguing 2.7K is better. Through all my own testing and all the videos I’ve watched about it, I do not see a real quality difference between 2.7K and 4K, so I stay in 4K to maximize what I’ve got. If you’re delivering in 1080p, 2.7K might genuinely suit you better. Test it yourself.
What I will say without hedging: do not record with this drone in 1080p. Not 1080/24, not 1080/60. The bit rate isn’t high enough and the image falls apart fast, watercolor effect everywhere. This drone is not built for 60fps. If you need that, buy a Phantom 4 Pro. Keep the Mavic at 2.7K or 4K.
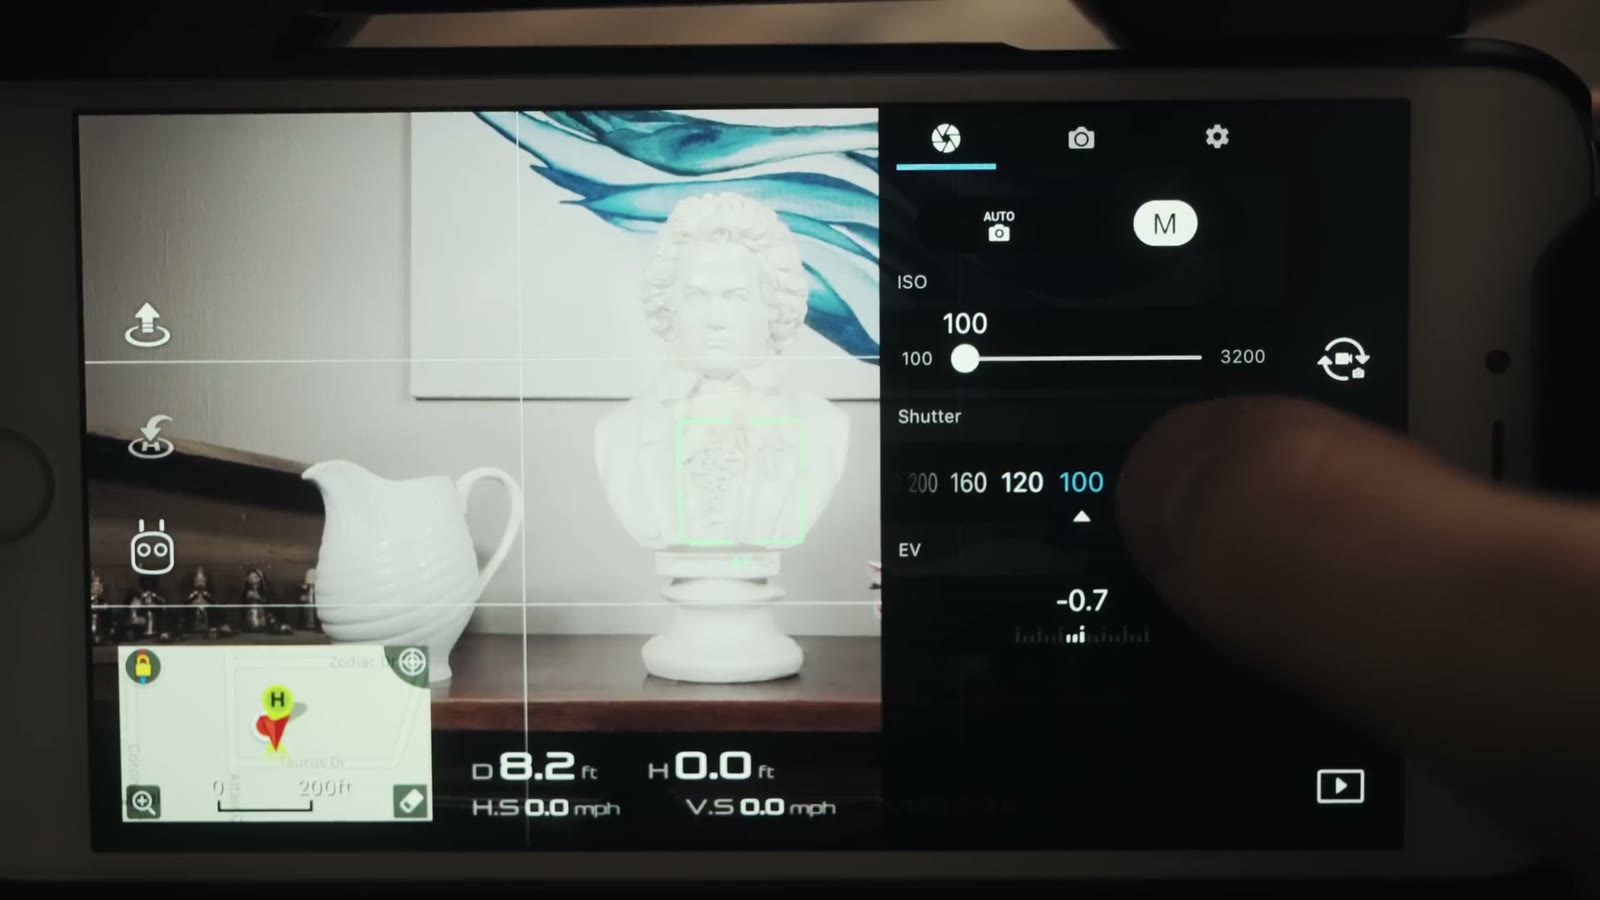
You’re thinking that’s weird, shouldn’t cinematic be 24, that’s what the movies are. I still export at 24. I shoot at 30, import at 30, conform in Premiere to 24, and export.
The reason is that the roughly 20 percent slowdown you get going from 30 to 24 smooths out any little gimbal shakes and general weirdness. Everything still reads as real time, you genuinely can’t tell it’s slowed, but the motion is a little cleaner. That’s the whole trick.
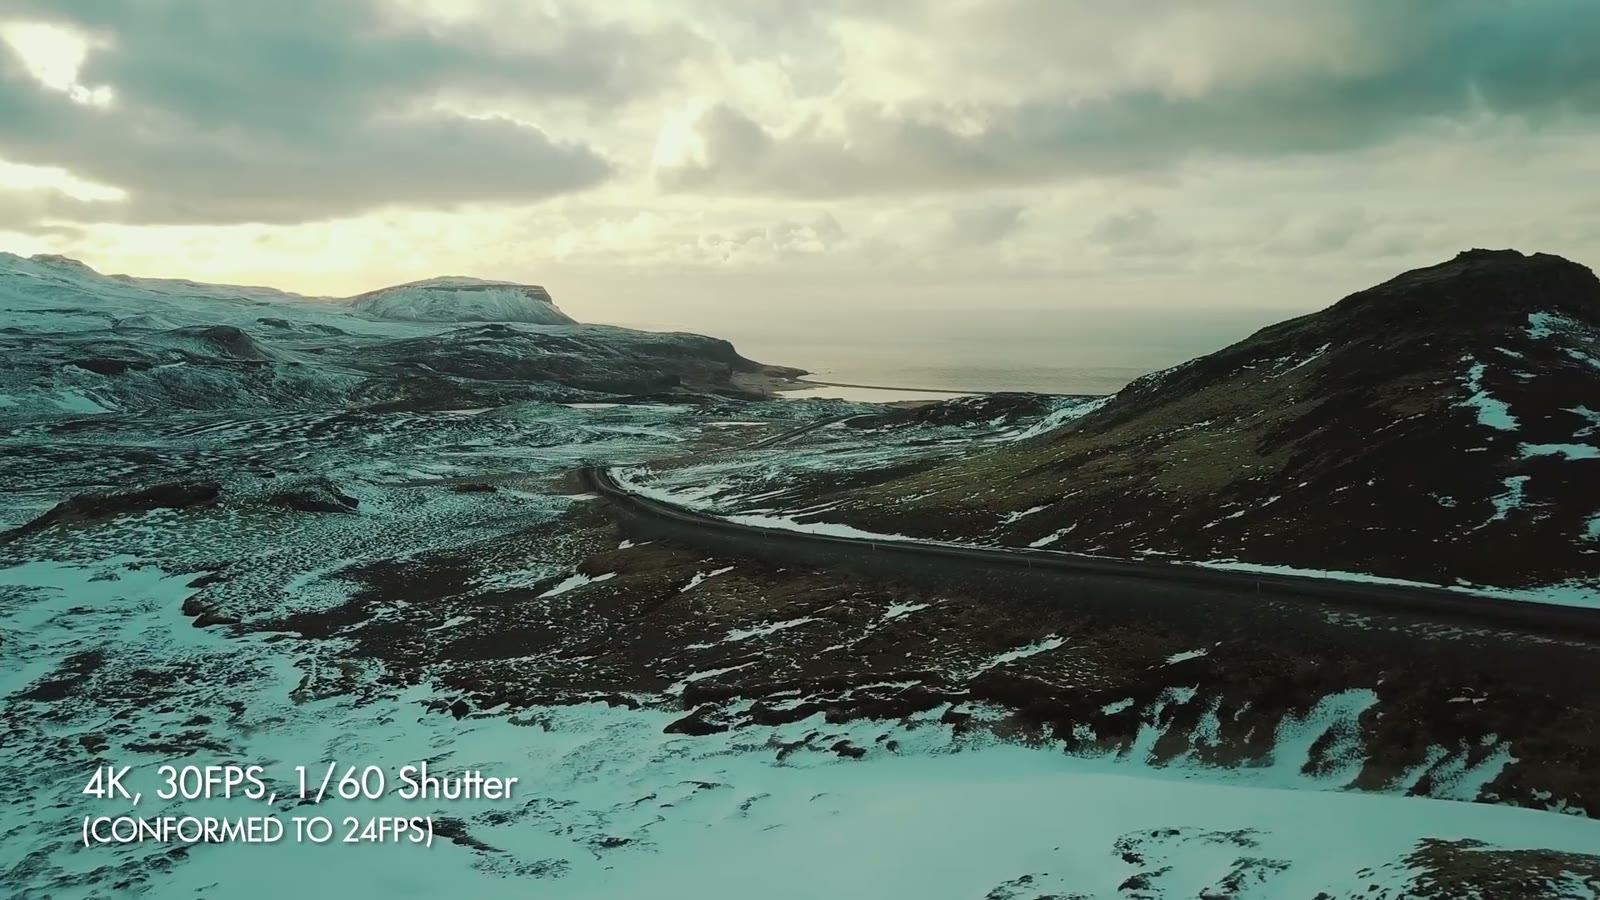
1/60th is double my 30fps frame rate, which is the shutter rule, and I can hold it in bright sun because of the PolarPro Cinema Series ND filters with polarizers. That’s the second time I’ve mentioned them and it won’t be the last, because on a drone with a fixed aperture, NDs are your only exposure control.
The reason I care about 1/60th is motion blur. Shoot at 1/1000th and you get a jagged, sharp looking image where you can practically see every individual frame. At a lower shutter it just looks right to the human eye.
Speaking of which, A Wedding Filmmaker’s Review of the DJI Mavic 2 Pro: Time to Upgrade? is worth a look too.
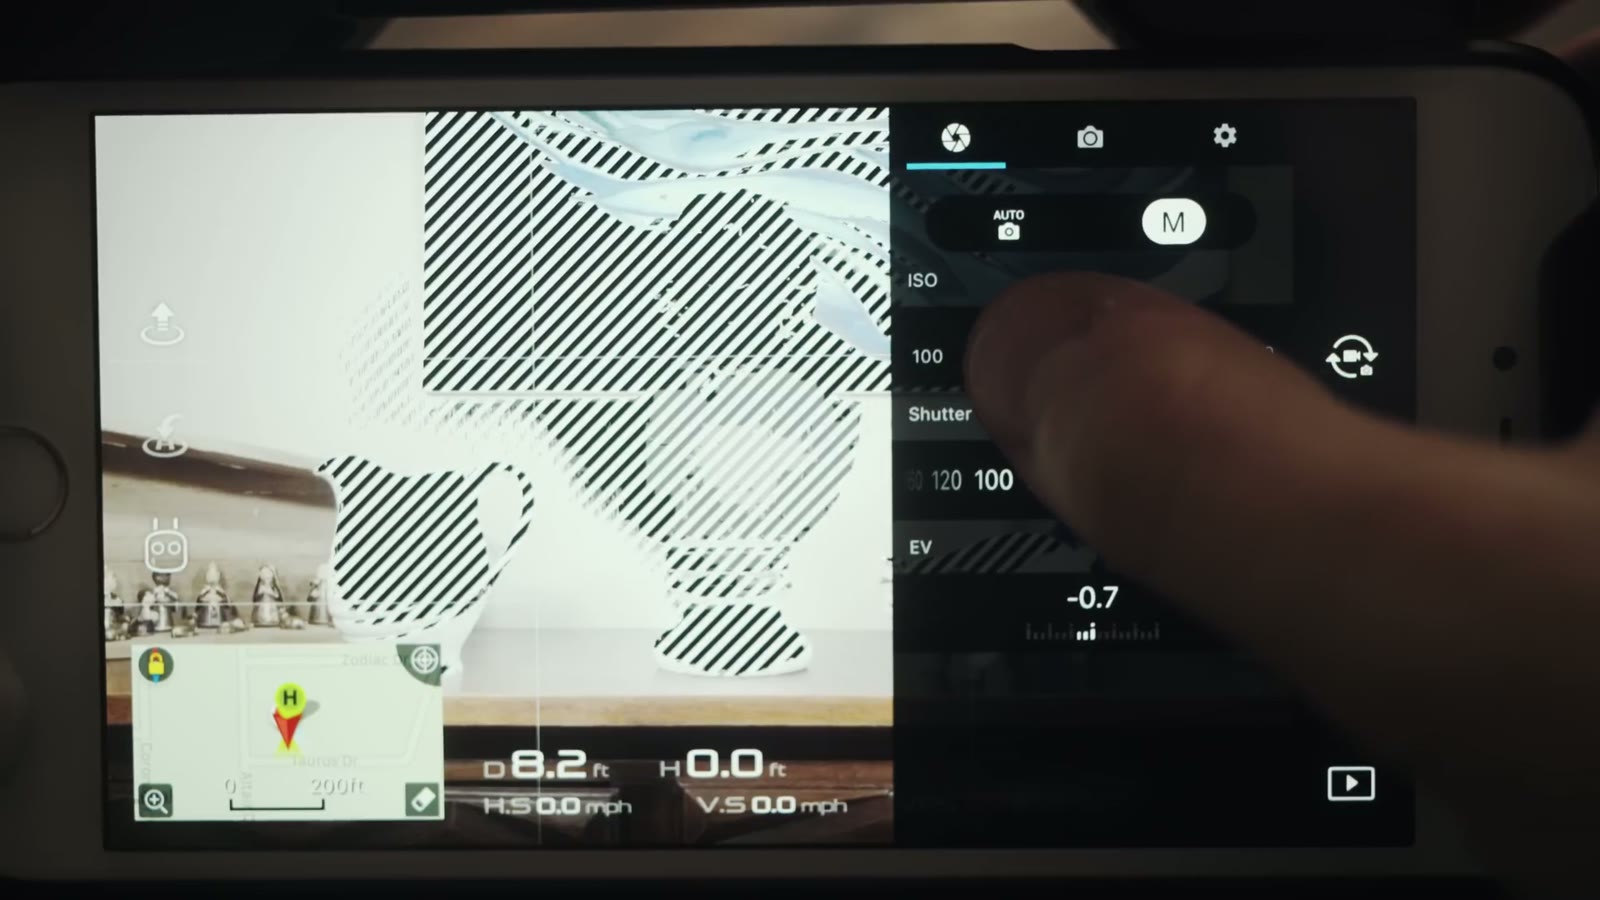
Turn the overexposure warning on. It puts zebra stripes over anything blown out, so at a glance I know where I stand. Sometimes I want that, filming straight into the sun for example. Filming ground and landscape, I definitely don’t.
Alongside the zebras I watch the EV meter, and I want it at 0.0, maybe +0.3 or +0.7. The reason is that log formats are hungry for light. They want a bright image that you then grade back down. What I never want to see is EV in the negatives, because once you introduce darkness into a log image, pulling those levels back up is so much harder and so much uglier.
So in practice: expose almost to the point where zebras appear, then back off just below that. That’s your level. And since the Mavic has a fixed aperture, the way you get there is with ND filters, not by opening up.
ISO 100 whenever possible. The moment you start climbing, 200, 400, 800, you’re introducing noise, because the sensor is just so gosh darn tiny. In a twilight situation, if you can keep it under 400 you’ll be okay. Past 800 it gets muddy fast, you’re reaching for denoising software, and it still won’t be as sharp as you wanted.
So let’s be straight about it: this drone does not excel in low light. If you need to shoot at night, get something with a bigger sensor, a Phantom 4 Pro or an Inspire. But for daylight shooting, I love the Mavic. It looks so great and it makes me so happy.
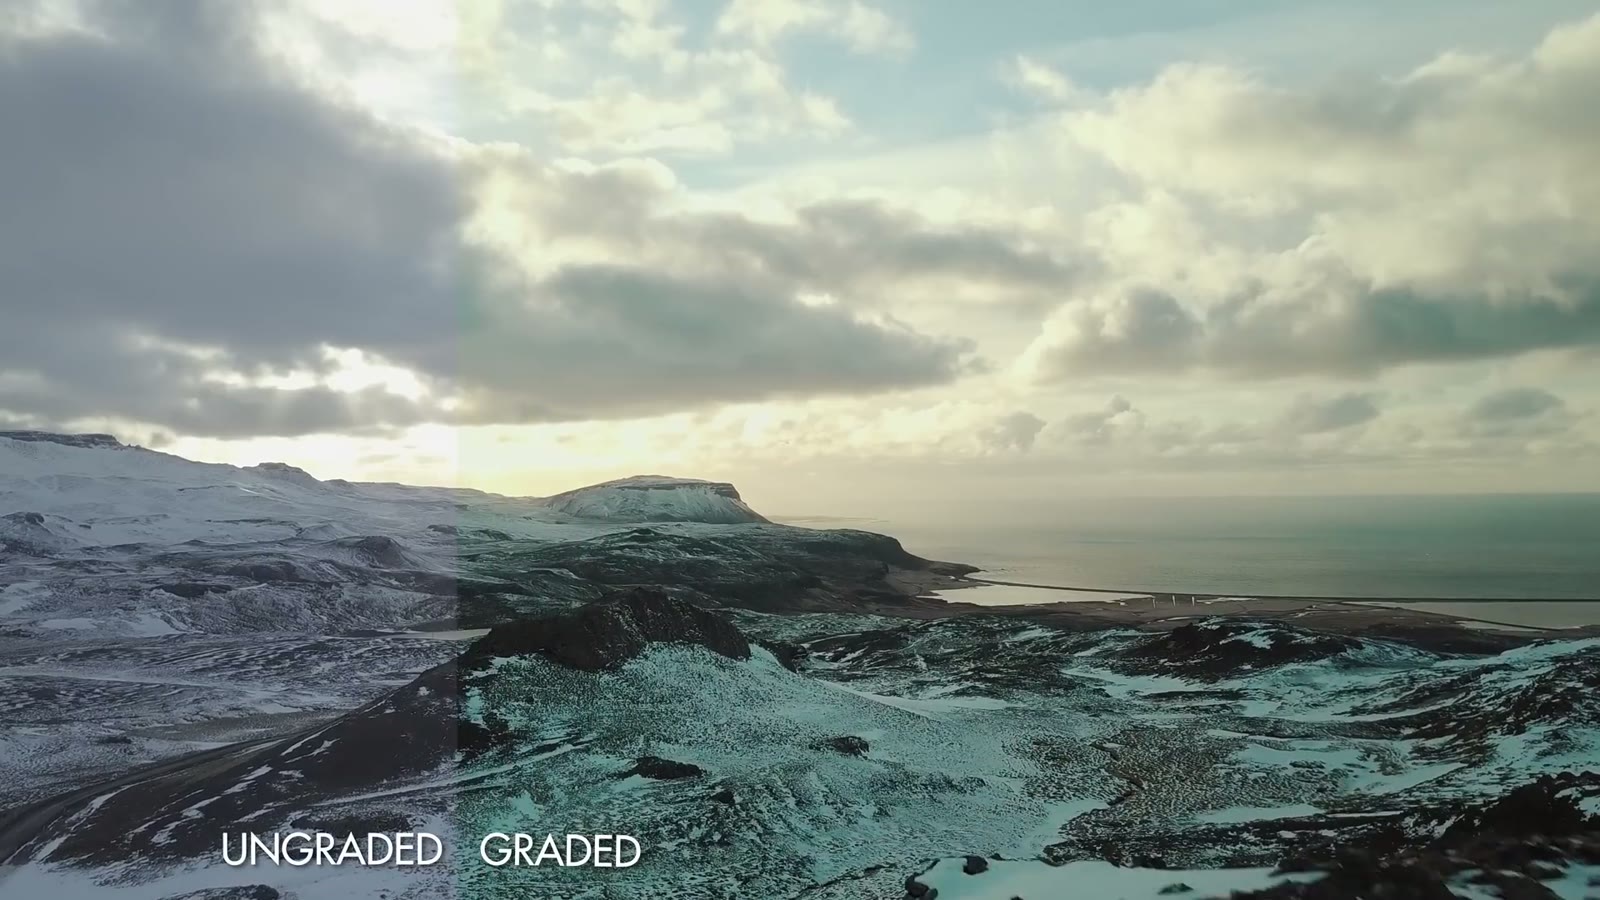
Some of the b-roll in this video doesn’t look very Texas, and that’s because I took a trip to Iceland and could not help sharing a few of the clips.
If you want the full verdict on the drone itself, here’s my Mavic Pro review, where I answer whether it’s good enough for professional and commercial work. Here’s all my favorite drone video gear, and everything here gets graded with my LUTs.
Want more help? Download my free quick tips guide to booking more wedding film clients, take a look at my wedding film editing course, or come join the Learn Wedding Filmmaking Facebook group. Everything gets cut in Adobe Premiere Pro.
This was filmed in May 2017 on the original Mavic Pro and the DJI Go app of the time, so menu names and firmware behavior have moved on, and the EV meter bug I mention was fixed in later firmware. The reasoning holds: shoot log, protect the highlights with zebras, keep ISO down, and control exposure with NDs rather than with the shutter.
I’m required to state that I’m part of affiliate programs for Amazon, B&H, Soundstripe, Artlist, Musicbed, and Adobe, and that some of the links above are affiliate links.

Before you do anything else, go watch the wedding trailer this behind the scenes is about: “Not just in Love, in Joy with each other”. It’s one minute long. Otherwise you’ll spend this whole thing going “wait, what am I looking at?”
Done? Good.
I’ve wanted to make this video for about a year and a half. Back in my very first video blog aimed at wedding filmmakers, a review of the Sony a7S II, I said I wanted to film a behind the scenes of a real wedding so you could watch me work on a real day with real people and understand how I actually do it. So whenever my friend Noah told me he was getting married and asked me to film it, I brought along my friend Paul Bailey to shoot a behind the scenes of Rachel and me shooting the wedding.
And to be clear about scope: this is twenty minutes of behind the scenes covering one minute of trailer. I filmed hours and hours more. You can probably extrapolate how long the full-day version is going to be.
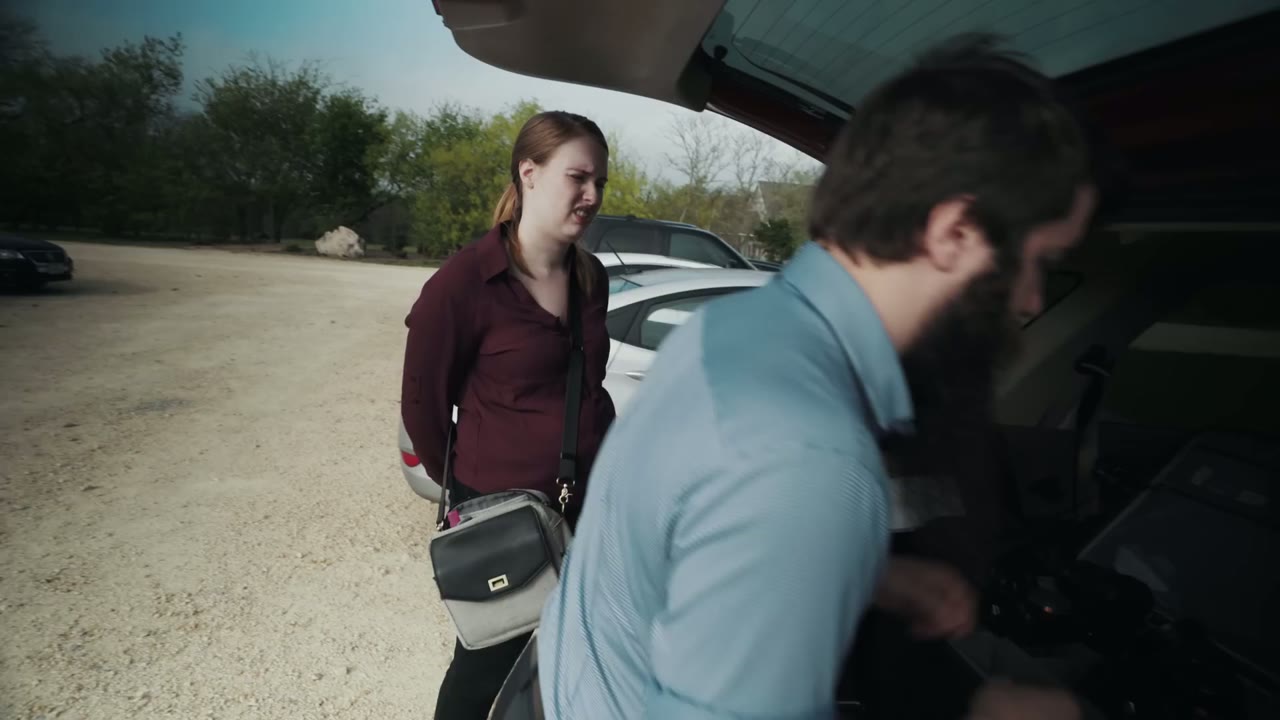
We’re both on the Sony a7S II. This one’s mine, that one’s Rachel’s. We always shoot on the same body. I don’t really know why we do that, that’s just how we do it.
I shoot wider, Rachel shoots tighter. I’m on a 24mm or a 50mm depending on what I need. She’s usually on a 50mm or a 135mm, and she loves that 135.
The lens set is a hodgepodge. A Canon lens, a Sony lens, two Sigma Arts, and adapters to make whatever we need work. Someday I dream of owning one cohesive set. Hasn’t happened yet. We’re not perfect, I’m sorry.
Honestly, if I have a 50 and a 24 I’m good all day. I could shoot the whole wedding on those two and be totally happy. That comes with a caveat though: I have a second shooter getting the tight stuff, so I’m free to be closer in on emotion, faces, hands, rings, the details, without ever getting in the photographer’s way.
Rachel carries a lens cleaning cloth and I hand her a variable ND filter, a magnetic one so it fits every lens she’ll touch. She also carries a mirror for trick shots, because she likes them, plus her water and a couple of lenses.
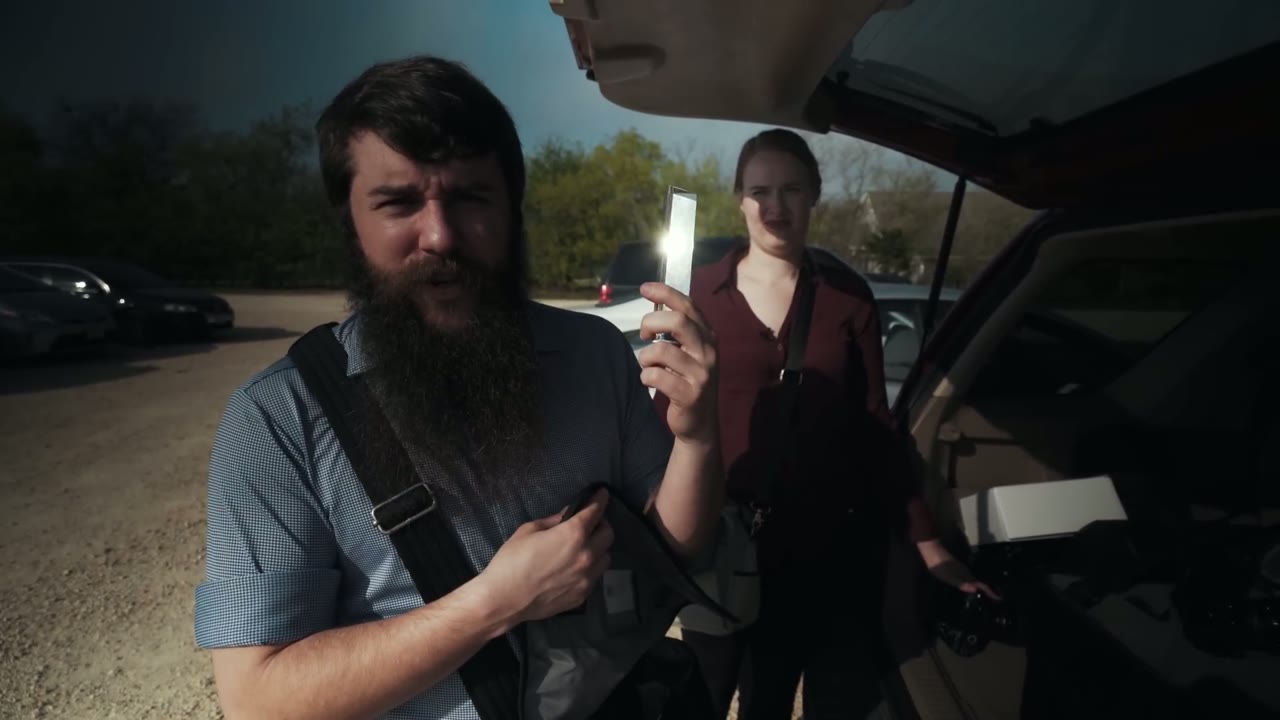
My shoulder bag holds whichever lens I’m not currently using, with the caps already off so I can grab it fast, the adapter I’ll need for it, and a sensor air blower, because you never know when you’ll find dust on your sensor mid-day. And I carry Mr. Prism, because a prism is a cheap and effective way to get really pretty reflection shots.
We also carry a buttload of batteries. Twelve Sony NP-FW50s, all charged beforehand. That sounds like overkill until you’re twelve hours into a wedding day with two a7S IIs, and on this day Paul was on one too. So we charged all day long, which is easy enough whenever you’re at one venue: set the chargers up in a room, plug them in, and grab what you need.
Nothing important is happening yet, they’re just running the rehearsal, so we split. Rachel goes to grab establishing shots of the grounds and to sit in on the rehearsal, checking whether anything about how people are standing needs tweaking before it counts.
I go fly the drone. Do I need an excuse? The sun isn’t high yet and the light is good, so it’s the right time. It’s also a drone.
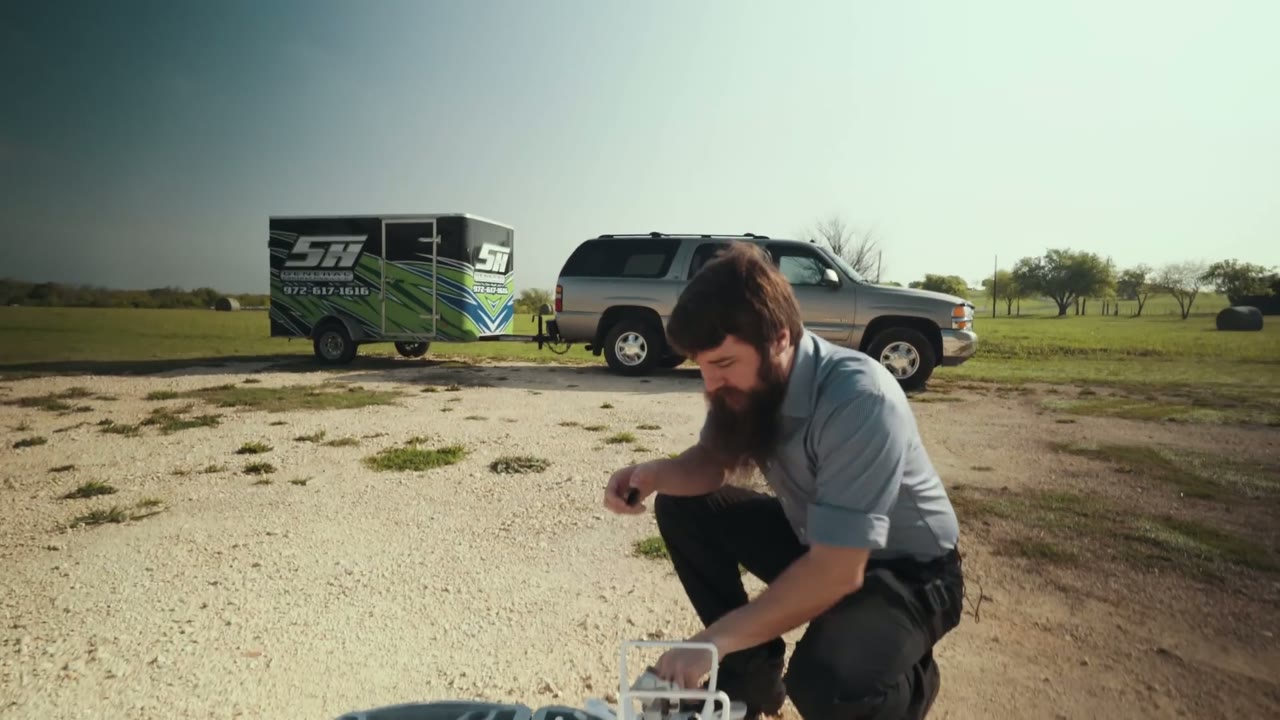
On the Phantom 4 I run PolarPro Cinema Series filters, which have a polarizer built in alongside the ND. I put the ND6 on, because I’m shooting D-Log, which has a fixed ISO of 500, and I’m in bright sunlight.
I never know exactly what I’m getting until I’m up there. I know I want the buildings and the tree, but past that it’s a bit of a crapshoot until you’re in the air looking down going “oh, that’s pretty.” Sometimes a venue gives you something incredible. Sometimes you get a few nice shots of the buildings and you land without going crazy, and that’s fine too.
Throughout the video the lens, aperture, ISO, resolution, and frame rate are burned into the corner of every shot, so you can see exactly what I was on at each point in the day rather than guessing.
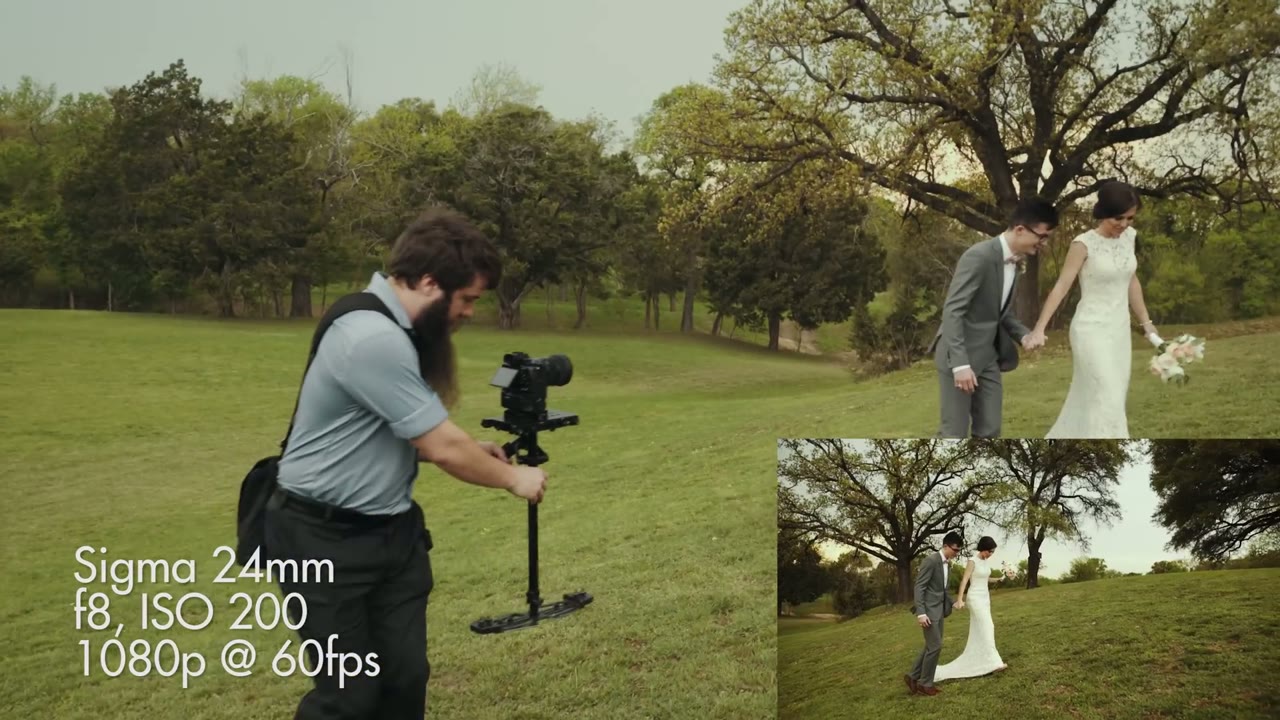
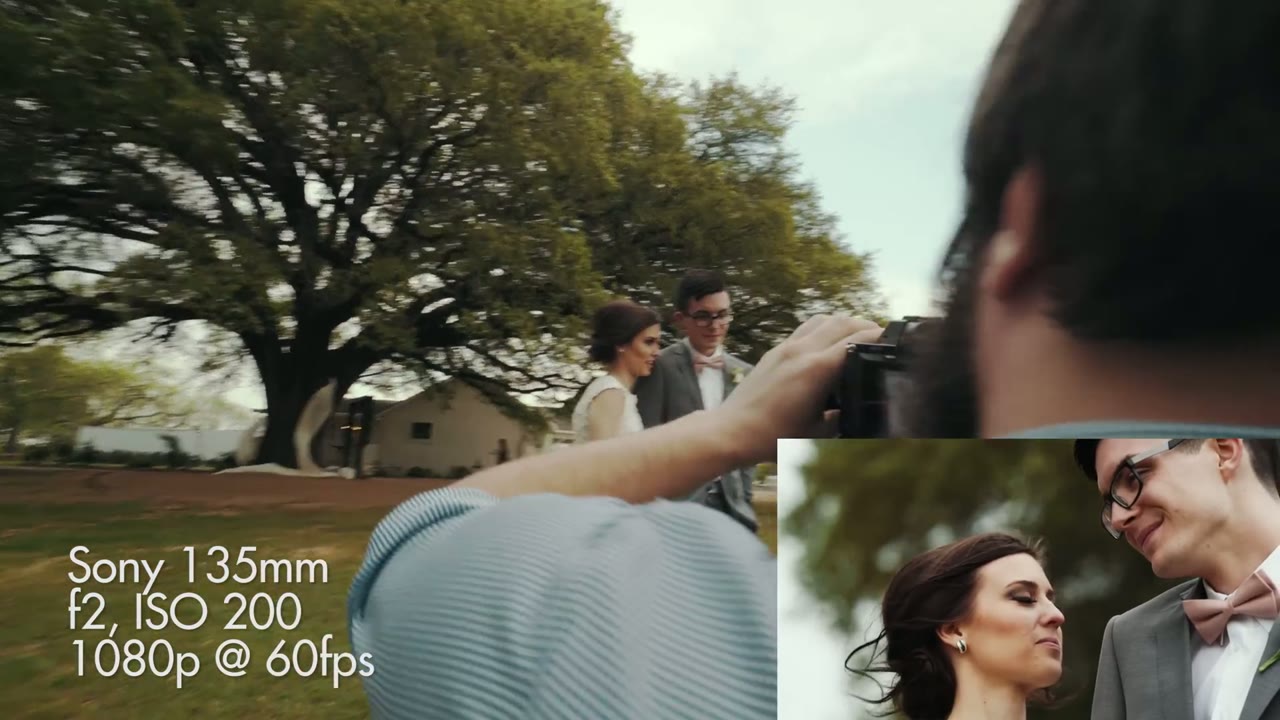
Here’s the piece I’m proudest of, and it happened long before the wedding day.
We’d filmed at this venue about four months earlier, and the chandeliers in the reception hall flicker horrendously. Bad enough that a photographer working that day was getting banding in her stills. That’s how bad.
So I told the bride and groom about it. And because they’re good friends who care about our creativity and about getting a good film, they said sure, we’ll just move everything outside. Toasts outdoors, bouquet and garter outdoors, dancing on the deck. Only the cake cutting and dinner stayed inside.
That’s the lesson. By talking to the couple early and building that relationship, you can make changes to the wedding itself that will make your film better. No amount of gear buys you that.
So much for my dream of showing you a behind the scenes where everything goes perfectly and I have no problems at all.
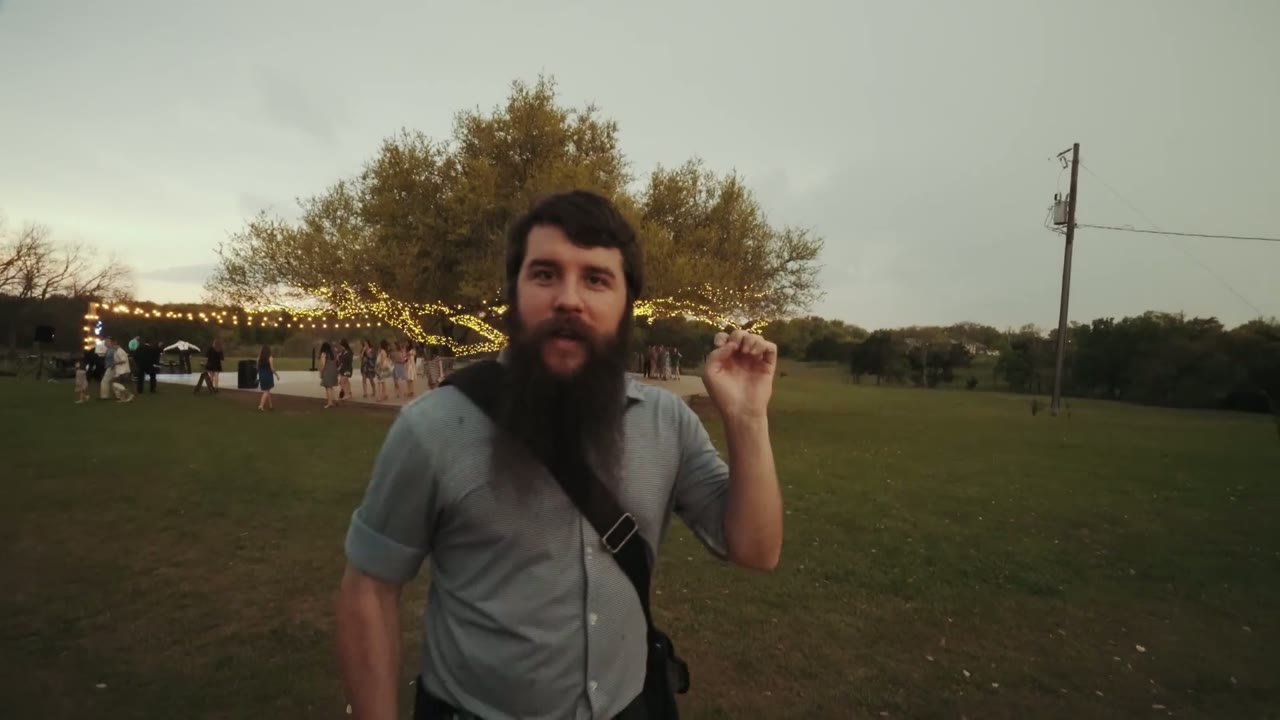
The forecast that morning said a 10% chance of rain. By evening there was a severe thunderstorm watch on my phone and a wall of weather coming across the field that frankly looked a bit like a tornado.
We weren’t planning to take the couple out for portraits until after dinner, around 6:30. With the storm coming we asked instead: can we borrow you for five minutes right now? Grant took them out into the field, we followed, got some great stuff, and then he and I worked together to shift things and get images we were both excited about.
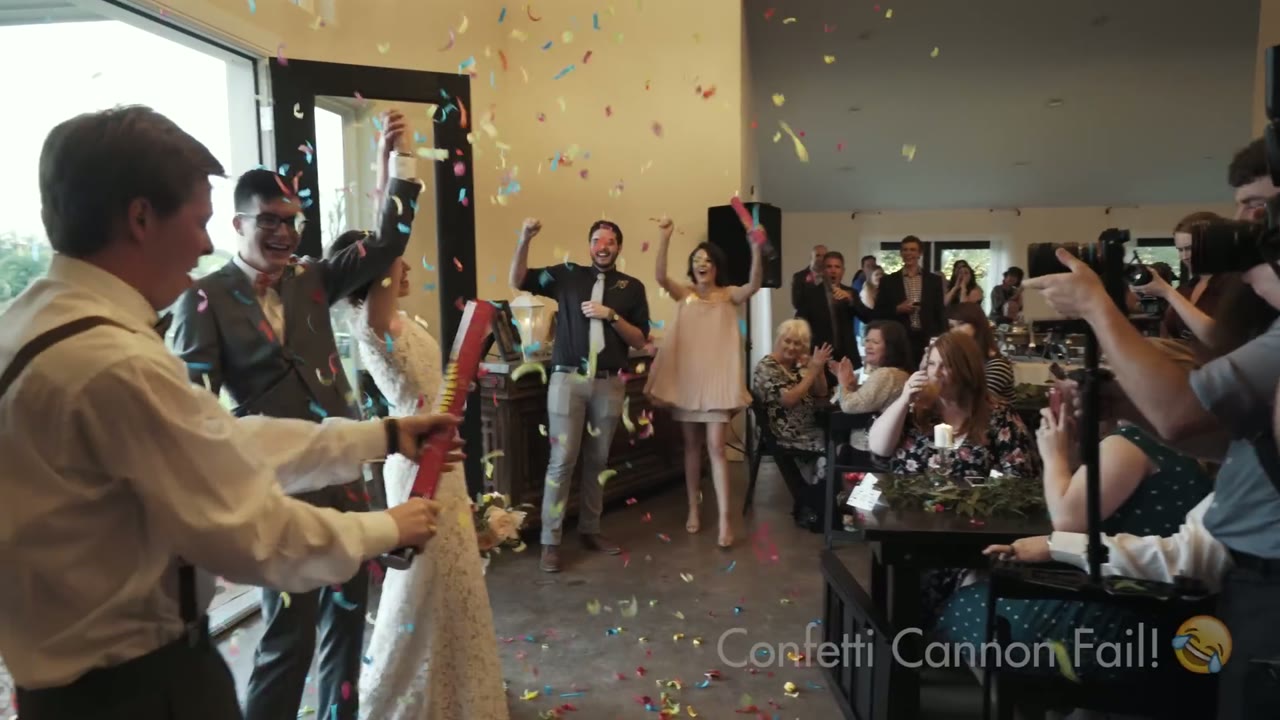
Then the whole reception moved indoors. Every single thing I’d spent months arranging to happen outside, back under the flickering chandeliers. Toasts inside, so a light had to go up. New angles to figure out. And you just roll with it, because on a wedding day you cannot predict anything.
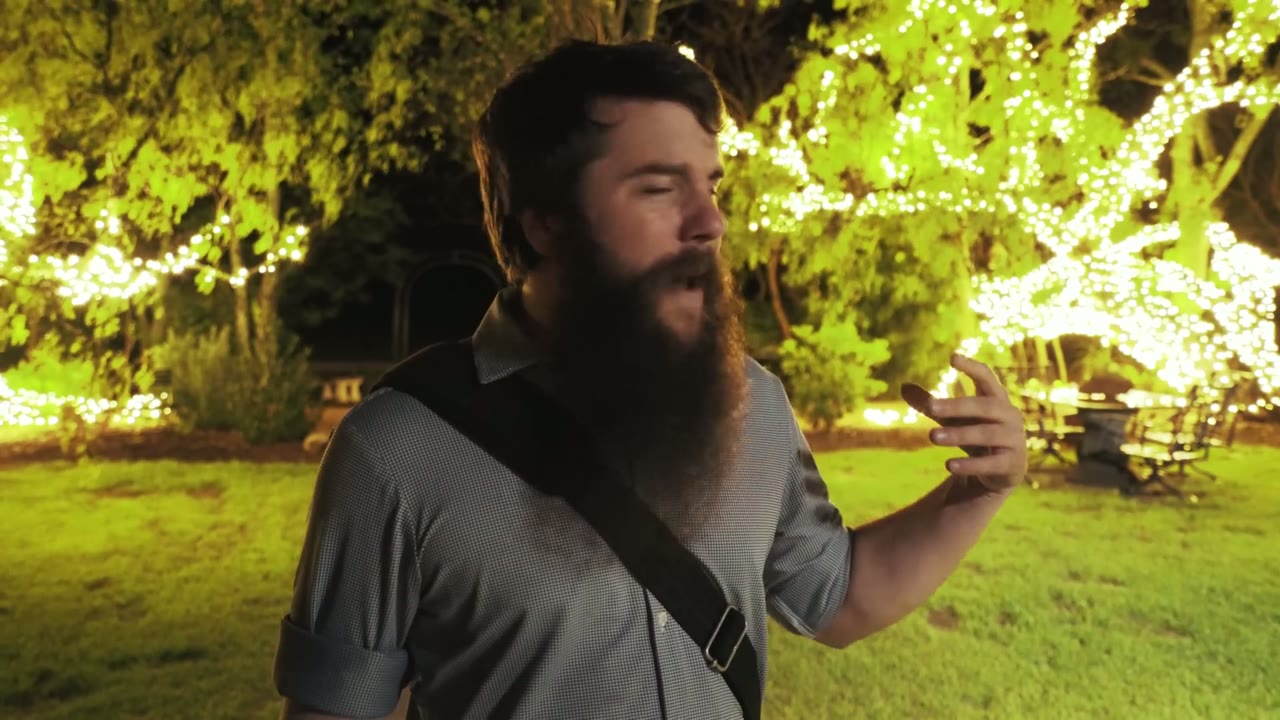
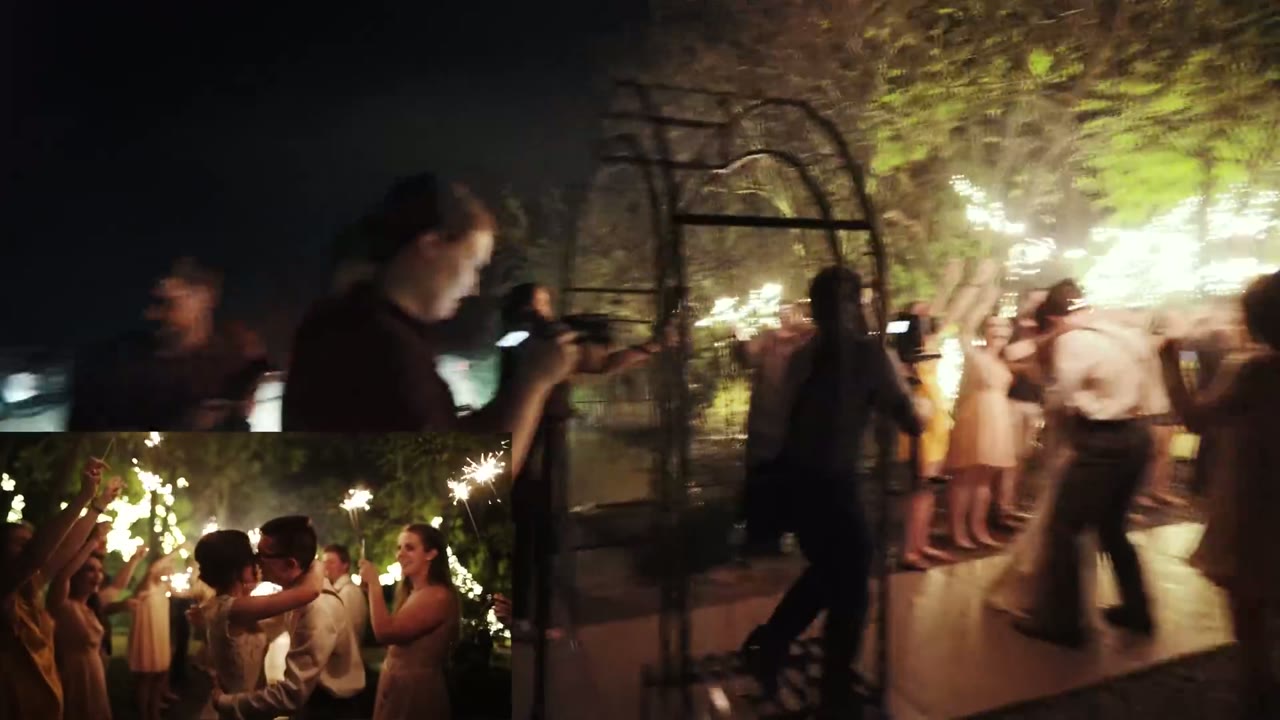
That’s a Canon 50mm at f1.8, ISO 16,000, 1080p at 60fps. Which is exactly the argument for this camera: a dance floor at night is where an a7S II stops being a preference and starts being the reason you got the shot at all.
Shoutout to Grant Daniels Photography for shooting this wedding and giving some great commentary in this video, and to Paul Bailey for filming the behind the scenes.
“Anthem: Retrace” by A. Taylor and “On The Mountain By The Sea” by Utah, both licensed through Musicbed.
🎥 I also offer one-on-one filmmaker consulting if you want to talk cameras, lighting, or booking clients. ►► My free guide to booking more wedding clients is here, and ✌ the Learn Wedding Filmmaking Facebook Group is where the rest of us hang out.

With 4K and mirrorless cameras it is no longer a question of if you will get a dust spot, it is when. Here is how to mask them out with Dust & Scratches in Premiere Pro, and the faster After Effects method for when a clip is really filthy.
Continue reading
It’s no secret that I love drones. Ever since I flew my friend Taylor’s Phantom 2 back in early 2014 (back when DJI had no app and video was recorded with a GoPro), I knew that I would be buying a lot of these flying cameras in the years to come.
What started with a Phantom 2 of my own, recently expanded to a Mavic Pro, and now a Phantom 4 Pro. My wife says I may have a problem. I say I may have a fleet. Can I call it a fleet? I like how that sounds: Matt’s fleet of drones.
With the advent of the FAA releasing their Part 107 certification for commercial drone pilots last year, there are thousands of new licensed drone pilots taking the knowledge test and wondering which drone they should invest in. There are also thousands of reviews of the new DJI Mavic Pro out there, but none of them have answered the two primary questions I feel that professional filmmakers are asking: Is the Mavic Pro good enough for commercial filmmaking? And: If I already own a drone such as a Phantom or Inspire, should I invest in a Mavic Pro as well?
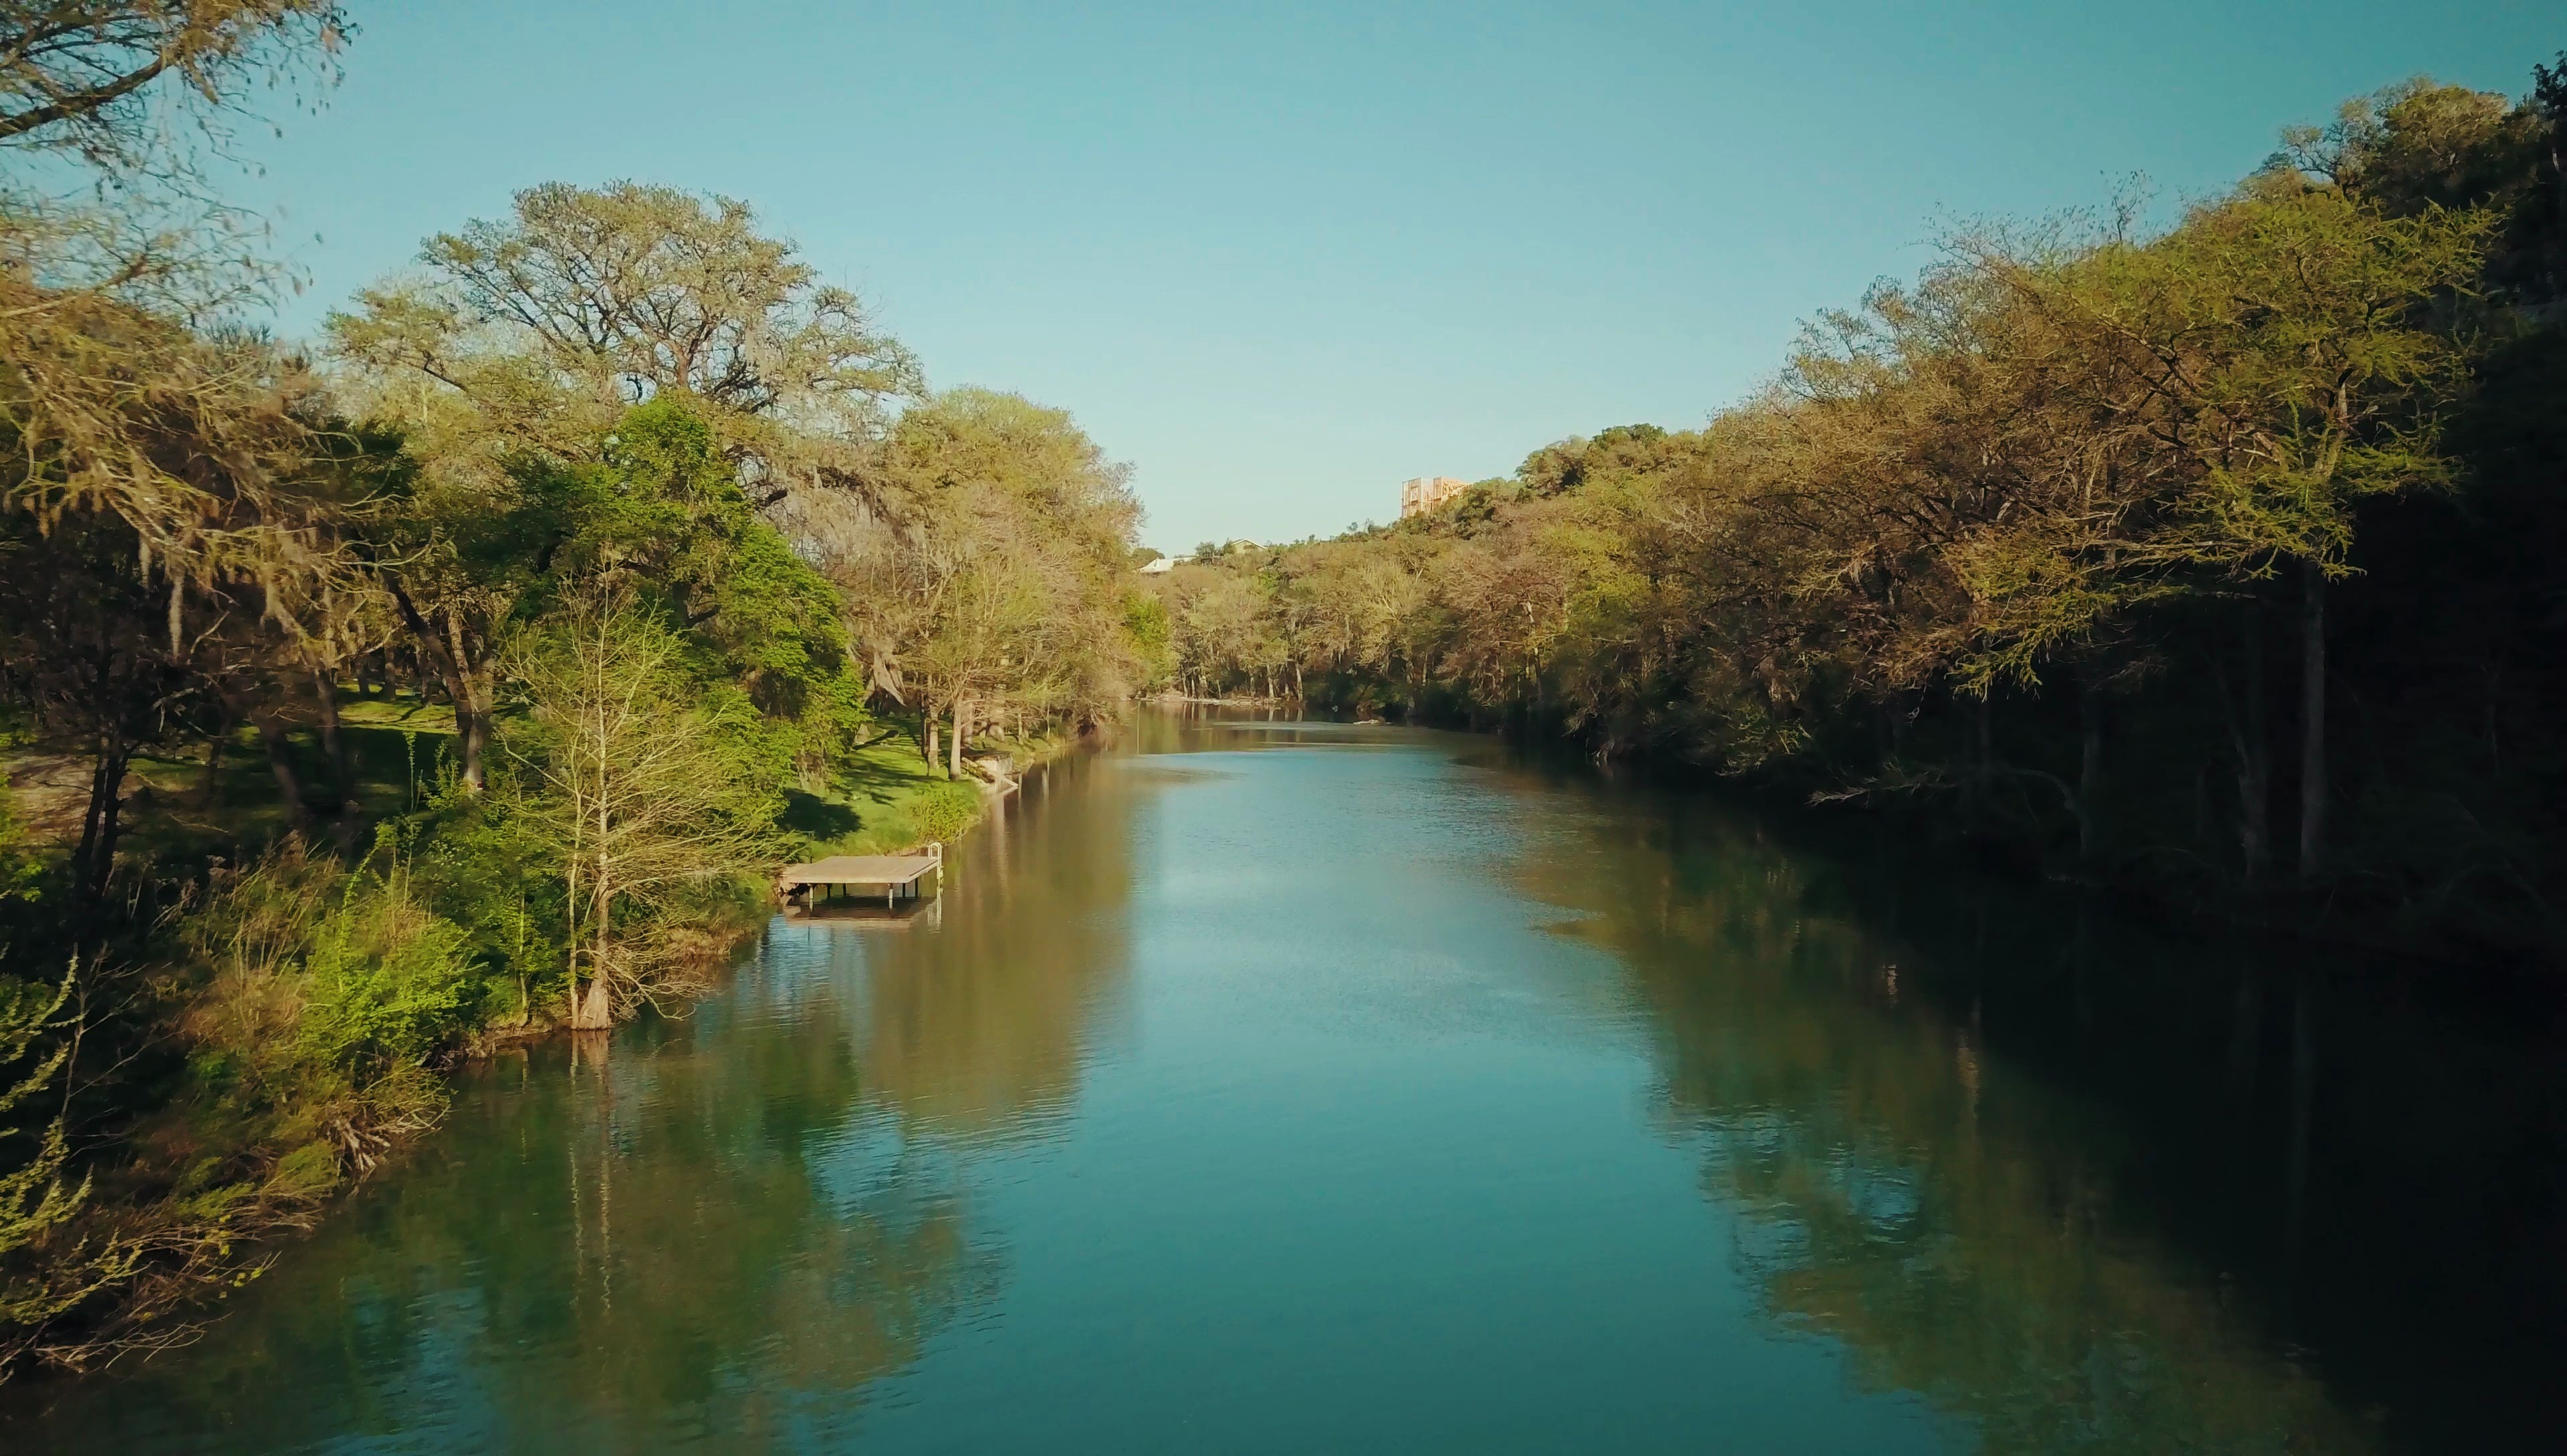
So I’m going to spoil the conclusion right now, because I respect your time: yes, the Mavic Pro is a great addition whether you’re buying your first drone or adding it to a fleet you already own. If you want to know why, here’s the whole review written out.

I know it’s weird to open a review by talking about the buying experience, but stick with me, because this is genuinely the most useful thing in the whole video. I pre-ordered the Mavic the day after it was announced through a group-buy site to save two hundred bucks, and that turned into end of November, which turned into end of December, which turned into me getting no communication at all by mid-January. So I cancelled and ordered from a retailer that was shipping in five business days instead.
Mavic number one showed up fast, and the entire right hand side of the image was blurry. Not a focus problem. The camera assembly was physically put together wrong. Mavic number two showed up a week later and the gimbal shook so badly that every clip had jello in it no matter how gently I flew. Mavic number three is the one I actually made this review with, and even it has a quirk where the camera shuts off mid-recording after ten or fifteen minutes and does a little calibration dance before it starts again.
People on my Facebook page were telling me I was crazy for not giving up. They weren’t wrong! But here’s the actual lesson, and it’s the reason I told you that whole story: buy this drone from a retailer with a no-hassle return policy. Amazon, B&H, and Newegg will all take it back inside the first two weeks and some of them will even cover return shipping, which means you take it to a store and you’re done. If you buy from somewhere that makes you deal with DJI’s repair service instead, you’re shipping a thousand dollar drone off and hoping it comes back in a month or two. I don’t think it’s crazy to want a thousand dollar thing to work out of the box.
Test it the day it arrives. Fly it, look at the footage, check the corners of the frame, and if anything is off, send it back immediately while you’re still inside the return window.
This thing is so small I can almost hide it behind my beard. You can’t do that with a Phantom, and you definitely can’t do it with an Inspire. Maybe one day the beard will be long enough for that too, but we’re not there yet.
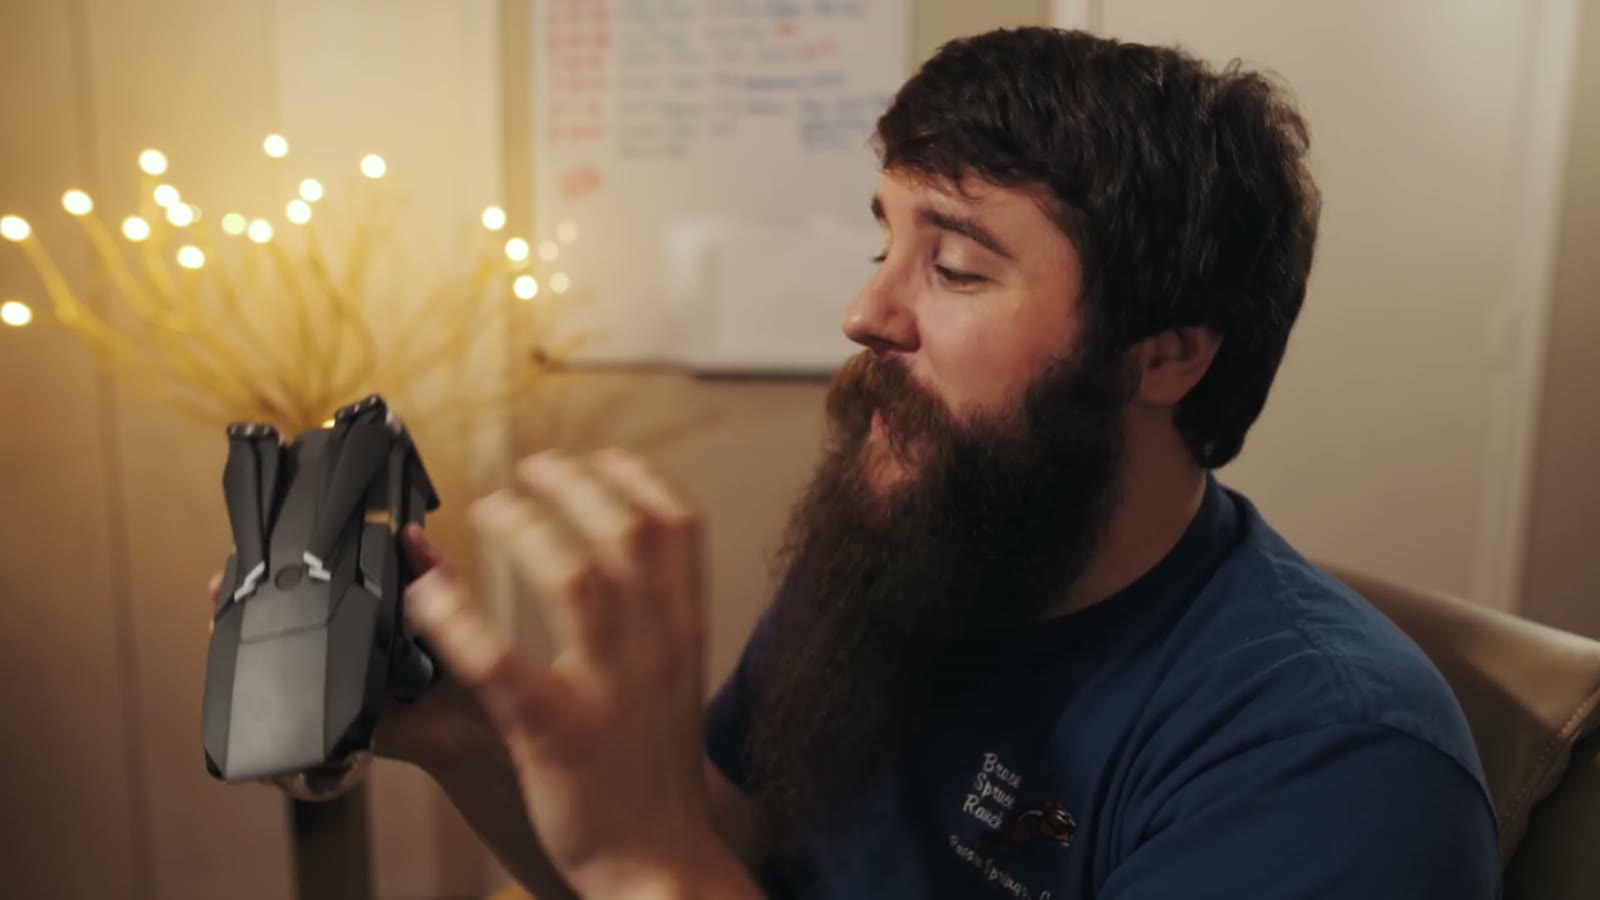
Now, a lot of people will tell you a drone this small isn’t good enough for commercial work, that you need something big so your client looks at it and thinks “wow, a professional.” That’s the same logic as bolting a matte box onto a camera with no filters in it. It looks impressive on set and it does nothing. What you actually need most of the time is something small and compact that you can get in the air fast, and that is exactly where the Mavic wins.
It’s also quiet, which matters more than I expected. An Inspire taking off sounds like a weed whacker and everybody within two hundred yards looks up. The Mavic gets to altitude and effectively disappears.
I was shooting a wedding and needed aerials of the ceremony site, which was a public venue that still had people wandering around it. I walked up with my little Mavic man bag and not one person gave me a second look, and then I launched and flew for a solid ten minutes before anybody noticed. Finally a kid spotted it, and then everybody spotted it, and then somebody yelled “call the FAA,” followed by somebody else yelling “it’s the Russians.” I am not Russian. I promise.
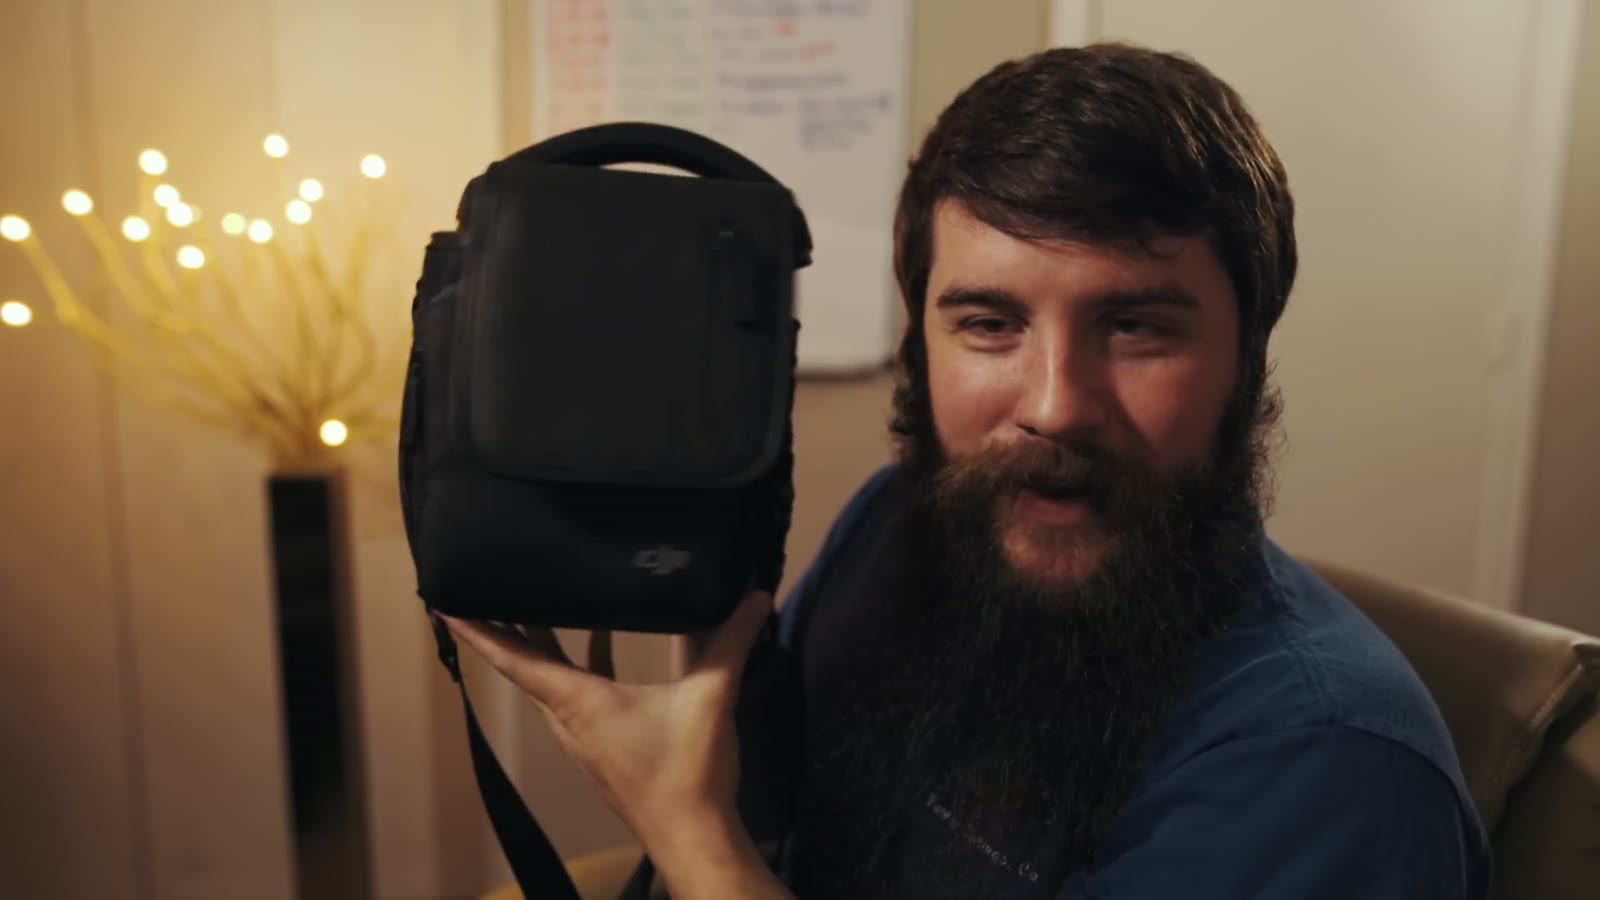
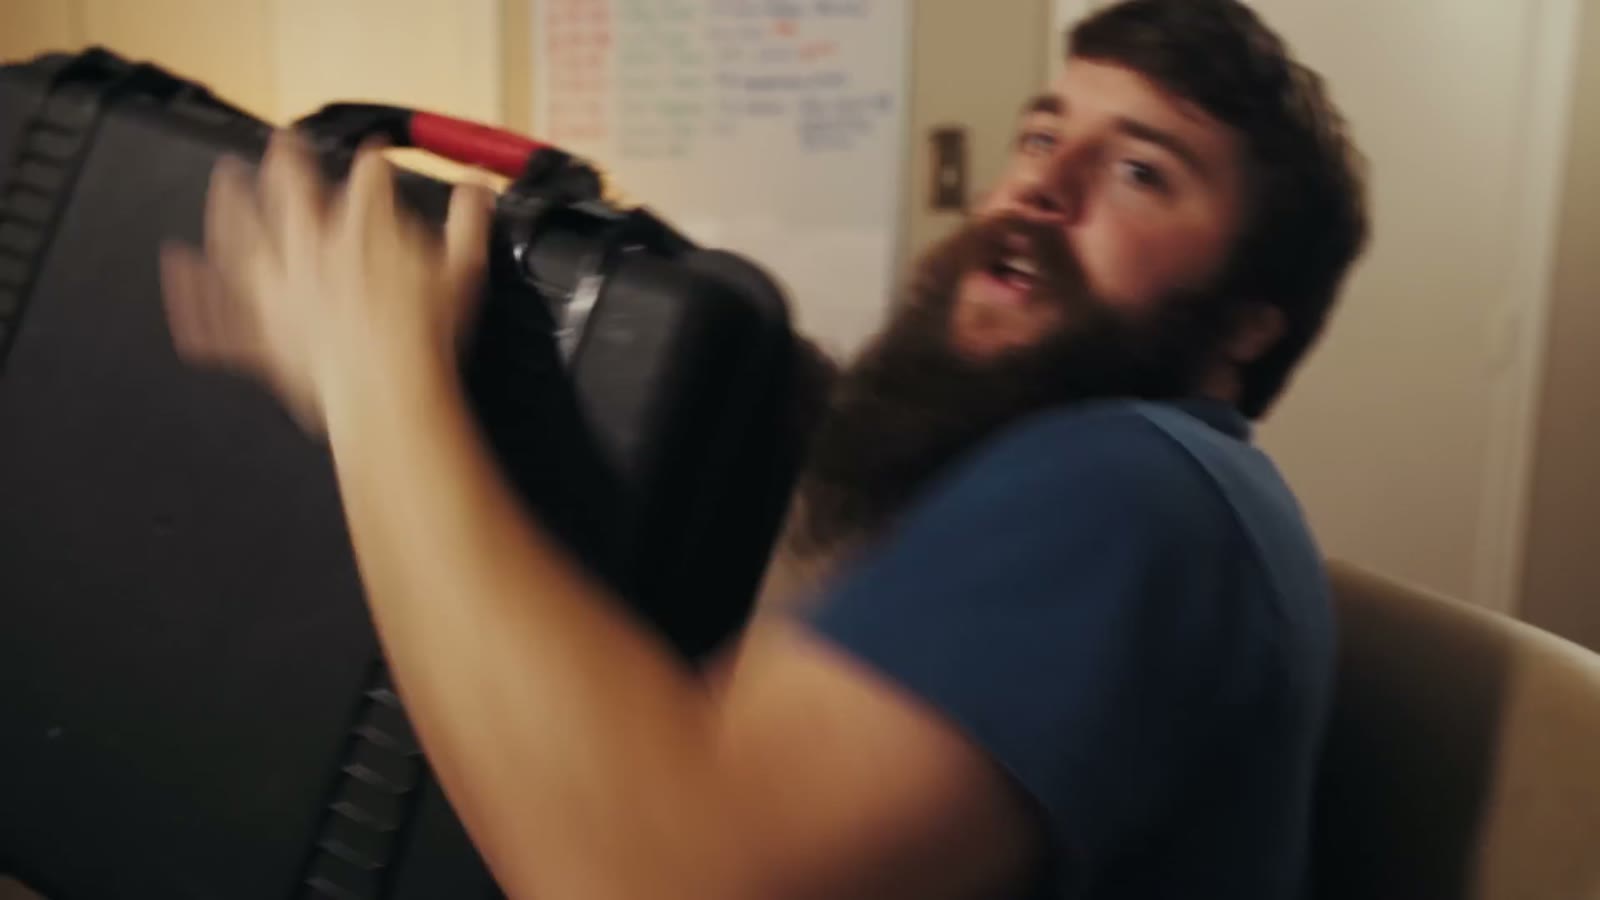
Compare that to walking up to the same venue carrying a Pelican case, opening the latches, screwing on propellers, and standing there for five minutes assembling something that looks exactly like a commercial operation. You get interrupted. You get asked questions. You get the fifty-fifty coin flip between “that’s so cool, I want one” and “quit spying on me.”
And it isn’t just the drone. The remote looks more like a video game controller than a piece of professional gear, so whenever you’re standing there holding it with your phone clipped in, people assume you’re playing Pokémon Go rather than working. I’ll take it.

The other half of small is fast. The propellers are already on, so all you do is pull the gimbal guard, run a quick calibration, and go. I was driving to a wedding, came over a ridge line at sunset with this gorgeous valley below, realized I could actually have that shot, pulled into a rest area, and was flying in two minutes. Whenever you’re filming a run and gun event, two minutes versus ten minutes is the entire difference between getting the shot and missing it.
Here’s the big one, and I know what you’ve been reading online, which is that the build quality is beautiful but the camera is garbage and you should buy a Phantom instead. From my experience that just isn’t true. The image quality on the Mavic Pro is on par with the DJI Phantom 3, a drone that sold like hot cakes and that thousands of people are still using every single day to capture genuinely beautiful cinematic imagery. Same bit rate as the Phantom 3 and the Phantom 4. Same codec. Different lens. That’s it.

Which means this drone can absolutely produce cinematic images once you understand its limitations. So here are five things I do to get the most out of it.
I have read way too many comments from people asking whether they should leave it on. No. It is not made to film through. You can see reflections on it, you’re putting an extra piece of plastic in front of your lens, and you’re going to get flaring and a softer image for absolutely no benefit. Unless you’re flying in a snowstorm, and if you’re flying in a snowstorm we have a bigger conversation to have.

Up until about a month before I made this video, everybody said don’t bother with D-Log, that it’s too compressed and too muddy and too much work to grade. That used to be true. Then DJI pushed an update in mid-February that genuinely fixed it, widening the dynamic range so it doesn’t look nearly as flat or as muddy, and now it can result in some truly beautiful images with only a little grading.
And I hear you saying you don’t want to grade, you just want to shoot it and put it on YouTube. Fine! Slap a LUT on it and you’re back to a nice looking image without much work at all. For me the bigger reason is matching, because I shoot with the Sony a7S II and I use a flat profile on it, so having a flat image out of the Mavic means I can match my aerials to my ground footage without a fight. If that’s useful to you, here’s my review of the Sony a7S II and here’s the flat picture profile I use on it.
I also promised in this video that I’d make a follow-up with my exact Mavic settings once I’d tested them properly, and I did: here is my favorite picture profile and cinematic camera settings for the Mavic Pro.
I use the PolarPro Cinema Series Vivid filters with the polarizer, which come in ND4, ND8, and ND16, and they do two things for you. The polarizer kills reflections so your greens and blues actually pop, which this camera needs all the help it can get with. And the ND lets you drop your shutter speed to double your frame rate, so if I’m shooting 4K at 30 frames per second I can sit at 1/60th and get proper motion blur instead of cranking to 1/1000th and getting that stuttery, over-sharp look.

A lot of you are going to read this and go “well, duh,” but I tested it and 1080p on this drone simply does not have enough bit rate. The second you point it at trees or leaves or anything with real detail in it, the image starts falling apart. Shoot 4K and scale down later if you need to.
If you’re a Part 107 pilot you’re not legally allowed to fly at night without a waiver anyway, but for anybody thinking about it: the image does not hold up. Even with street lights and car trails, this sensor falls apart the second you push the ISO. If night footage is what you need, look at a Phantom 4 Pro or an Inspire, because they have bigger sensors and better cameras. If somebody could figure out how to dangle an a7S II off this thing I would fly it in a heartbeat, but here we are.
If you want to go deeper, I’ve also got A Wedding Filmmaker’s Review of the DJI Mavic 2 Pro: Time to Upgrade? and DJI Mic 2 Review For Wedding Filmmakers.
Two settings in the DJI Go app do most of the work for me. Tripod mode slows every movement down to a creepy crawl, which is what you want whenever you’re flying in a tight space or under trees or anywhere you’re nervous about hitting something.
Cinematic mode is the one I use more. It doesn’t slow the drone down much, it slows down the rotation and it ramps your acceleration and deceleration, so whenever you’re following a couple walking through a field and they suddenly stop, you can let go of the sticks and the drone gently glides to a halt instead of snapping to a stop. You get a beautiful cinematic slowdown without doing anything for it. The catch is that if you’re about to hit a tree and you panic, the drone will also gently float into that tree. Know what you signed up for.
Depending on wind, flight speed, and how acrobatic you’re being, expect 20 to 25 minutes per charge, and I’d recommend landing at 30% rather than pushing it. For actually getting the shot, 20 minutes is plenty of time to pull over, get up, film a venue, and come back down.
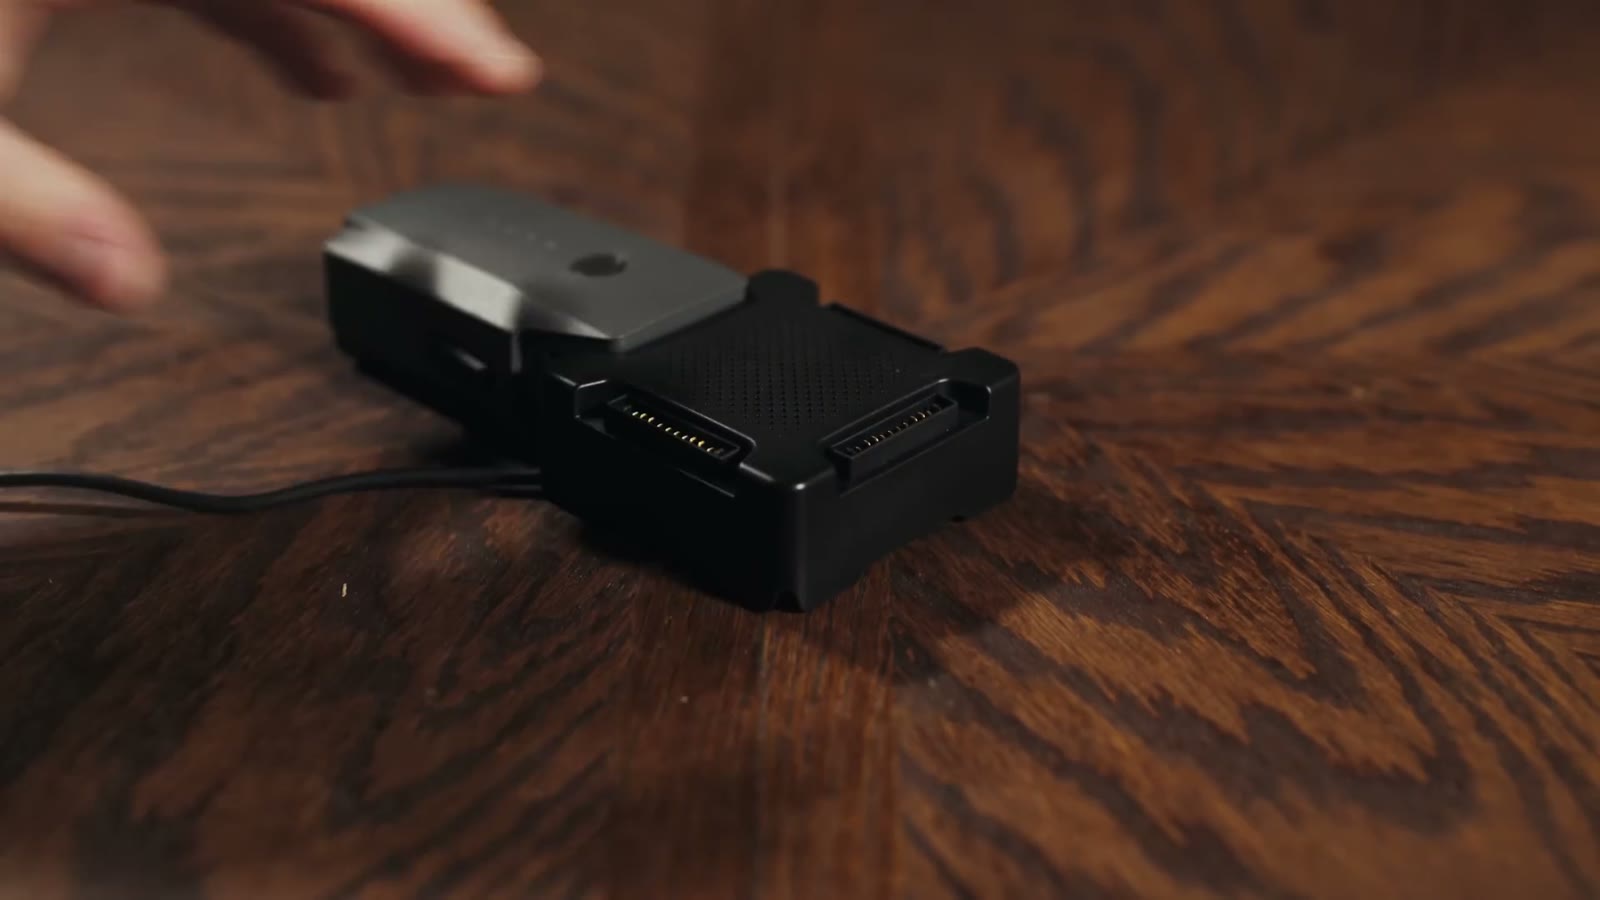
Get the Fly More combo though. It comes with three batteries, the little man purse, and a charging hub, and that hub is honestly one of my favorite things I own. With my old Phantom 2 I had to charge every battery individually, which meant setting an alarm for 3:00 a.m. to go swap one and stumble back to bed. It sucked. The hub takes four and charges them in sequence, so you set it up the night before a wedding and wake up to a full set.
Is this drone good enough for commercial use? Yes, I totally believe so. Is it worth buying if you already own a Phantom or an Inspire? Also yes, wholeheartedly, because it’s perfect for the situations where the bigger drones are simply too much. I’m going to Iceland next month, and my options are to check a Pelican case at the airport, or cut foam for the Phantom 4 Pro, or just put the Mavic in my carry-on next to my a7S II and my lenses and my clothes and be done with it. That’s not a close call.

Drones are like potato chips, and you can’t have just one. There are genuinely different drones for different jobs now. If you travel and you want a small footprint and you’d rather not get harassed, fly the Mavic. If you need better image quality, buy the Phantom 4 Pro. If you need raw video, buy an Inspire. Three tiers, and I think that’s really cool. And if you’re brand new and you’re asking me which one to buy first, my honest answer is the Phantom 4 Pro, because it costs more but the image quality is that much better.
One note for anybody reading this later: this review is from 2017, and the prices, firmware, and DJI’s lineup have all moved on considerably since. Check what’s current before you buy anything.
Here’s my drone gear list with all the places to buy the Mavic and the accessories, and here’s the rest of my gear. This is what’s in my bag now, which has changed a good bit since this review went up:
Everything here was cut in Adobe Premiere Pro and color graded with my own WhoisMatt LUTs.
If you want to fly a drone commercially in the United States you have to pass the FAA’s Part 107 knowledge test. I took it, I passed it, and I made a video about exactly how I studied for it, so if you’re going for yours I hope my video helps you.
If you’re trying to fill a wedding calendar, I put together a free quick tips guide on how to book more wedding film clients, and my wedding film editing course covers the editing side end to end. There’s also a free Learn Wedding Filmmaking Facebook group if you’d rather just talk to other people doing this job. And whenever I need a hand with an edit, I use Archaius Creative, who’ll give you 10% off your first project through that link.
I am also now offering one-on-one personal filmmaker consulting! Wanna talk about cameras, lighting, or booking clients? Let’s do it!
As always, if you have any questions or comments about this review, please feel free to leave one below, or get in touch. You can also follow along on Instagram for photos, videos, and behind-the-scenes stuff.