
Two weeks ago I posted my latest travel film, a drone and time lapse piece shot in Iceland. This is the behind the scenes, and the point of it is not to show you pretty shots. It’s to show you why and how I took them.
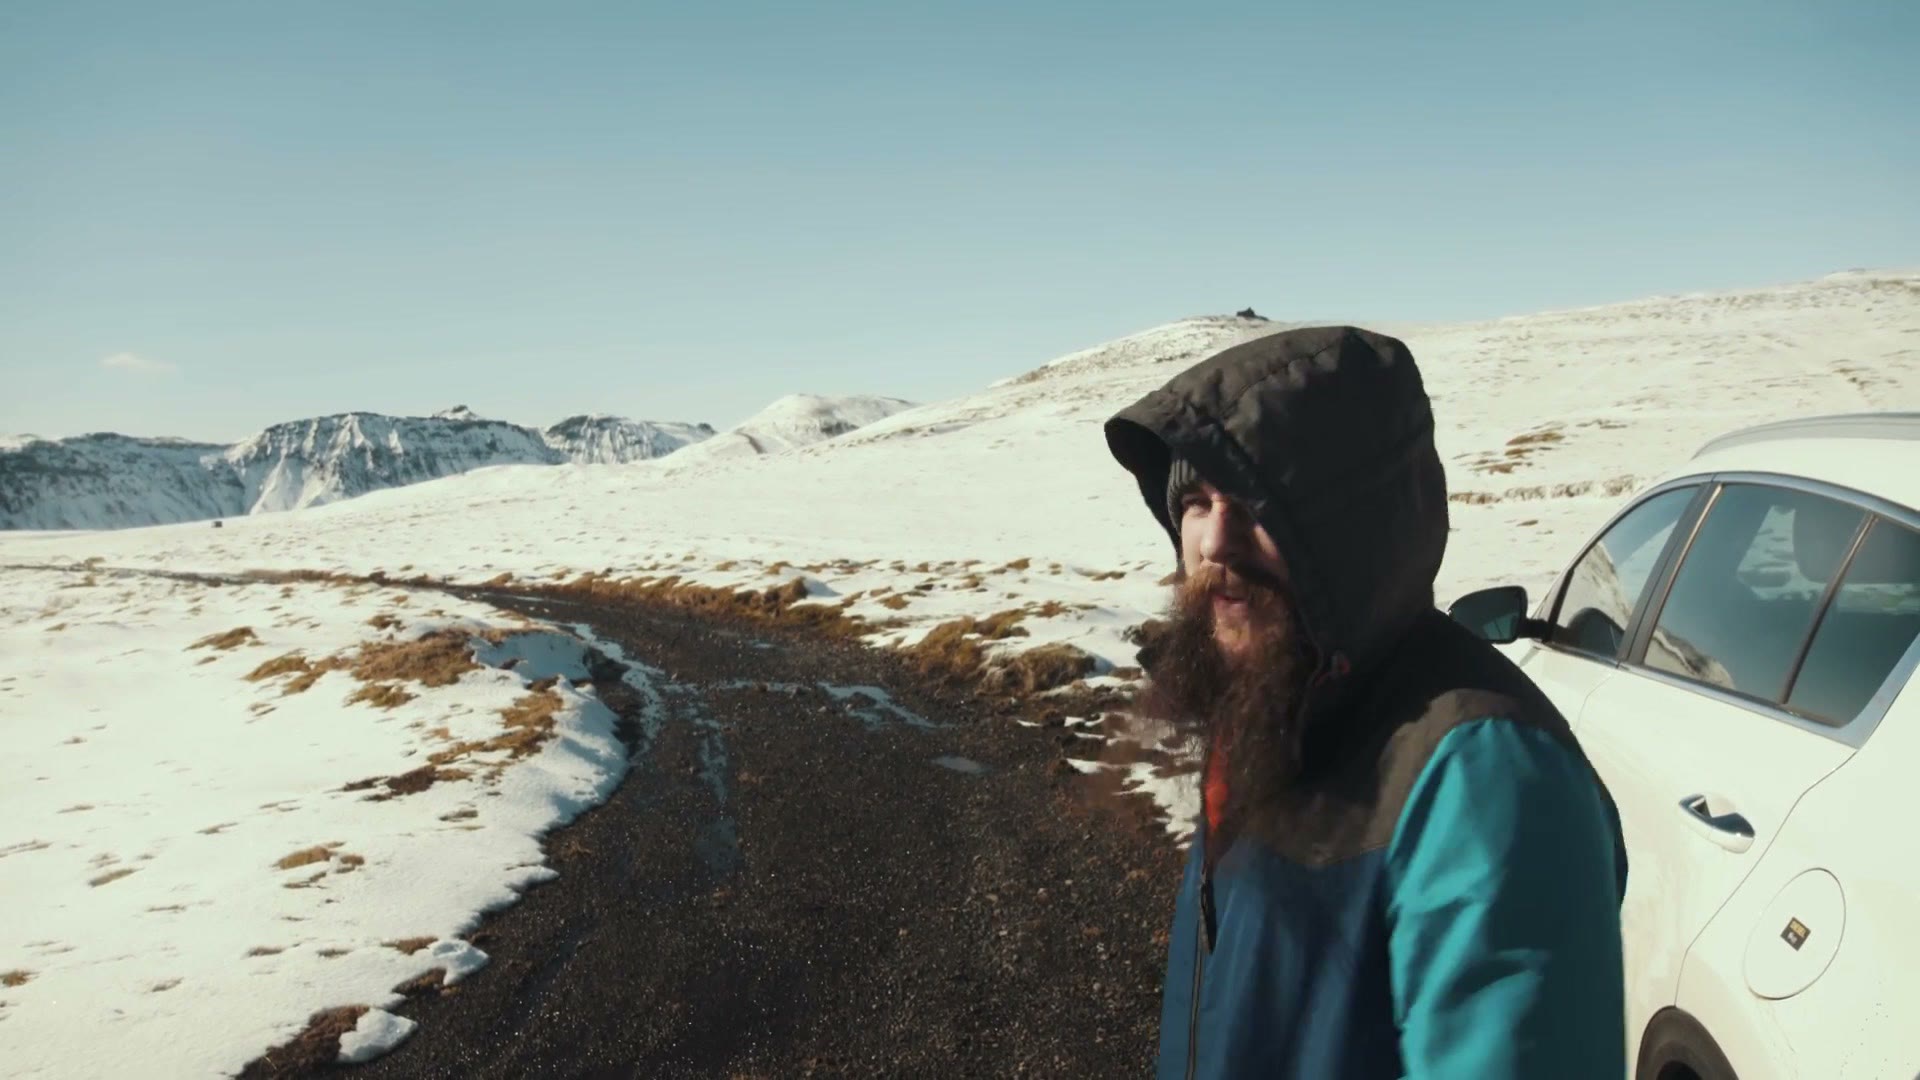
Honest confession about how this started. We arrived on day one as total zombies, way too tired to film any behind the scenes, so I just shot a bit of footage. Day two, same. There’s no BTS until day three, and even then I didn’t really know what I was doing with it. It was just, oh look, a pretty shot, let’s fly the drone. Oh look, that’s pretty, I’ll shoot a time lapse. No reasoning attached to any of it.
Then Rachel said, hey, are you going to tell people why you’re taking these shots? Which was a very good idea, because I know a lot of you watch this stuff to learn rather than to look at scenery.
So that’s the goal here. My reasoning, my thought process when I pull up somewhere and think, I should definitely fly the drone here, or, that would be perfect for a time lapse. I’ll go back retroactively to the clips from those first two days and talk through them too.
Day One: Wait For The Weather
The first day it rained hard, and it was not good drone or time lapse weather. But by the time we got to our Airbnb cabin, out in the middle of nowhere, it had cleared and everything looked beautiful. So I knew it was time for a time lapse.
My thinking was simple: there was a small red house sitting on a hill, and because it was on a hill you couldn’t see anything behind it except cloud. That’s a clean composition handed to you.
Which brings me to the thing that defines shooting in Iceland. Two days later we drove past the exact same country and it had gone from green grass to a full winter wonderland. There’s no predicting it and no controlling it. The weather just does what it wants, year round.
The Waterfall Drone Shot
On the second day I parked by the road, took the drone up and flew it across a field to a waterfall. The plan was a slow push up to the falls from the roadside, then some parallax movement rotating around them.
Settings: ND16 on, because the sun was out and it was bright. 4K 30, because all my drone footage is 4K 30 so it cuts together. ISO 100.
The thing I was actually managing that whole flight was wind. Not the worst I dealt with on the trip, but heavy enough that the drone took a while to come back, so I had to stay very aware of where it was relative to the cliff face. I did not want to lose it into a cliff.
Reading The Wind Before You Launch
Later that day we found a spot where the mountains were blocking most of the wind, which is worth learning to look for. Pull over, get out, feel it. If the mountain is sheltering the road, that’s where you fly.
While you’re here, take a look at 10 Iceland Travel Tips For Filmmakers & Photographers and Remember Who You Are | Iceland Cinematic Drone and Timelapse Travel Film.
My plan there was to take off, climb near the cliff face and fly alongside it, so the shot has cars on the road, cloud in the distance and snow across the whole frame.
Because it was bright with the sun straight out in a clear sky, I used the ND16 with a polariser. Which had a massive fingerprint on it, because I’d smudged it taking it off the night before, so I used the patented custom Matt Johnson cleaning technique of wiping it on my shirt. I’m sure some of you are yelling at me to use a proper cloth. I don’t have one. This is Iceland. Do you know how much a cleaning cloth costs here?
With a polariser you also have to rotate it to find the darkest point before you fit it, then line that up on the camera.
Settings for that one: D-Log, custom 0, 1, 1. ISO 100. Shutter 60.
Two Things I Do Before Every Launch
First, I don’t take off close to a fence, a car or the road, because if the wind picks up and tosses the drone I don’t want it smashing into any of them.
Second, I wait for traffic to pass. I don’t want to be the reason a driver gets distracted by a drone leaping into the air next to them. It costs you thirty seconds and it’s just the considerate thing to do.
Part Two
That’s the first half. Part two covers the northern lights time lapses, the settings I used for them, and the day the wind got properly ridiculous.