
After several months of flying the $499 SkyRover X1, I think it is a genuinely compelling DJI alternative for wedding and travel filmmakers, with 4K 100fps, SR-Log, and 360-degree obstacle avoidance.
Continue reading
After several months of flying the $499 SkyRover X1, I think it is a genuinely compelling DJI alternative for wedding and travel filmmakers, with 4K 100fps, SR-Log, and 360-degree obstacle avoidance.
Continue reading
48 hours driving the Scottish Highlands on the wrong side of the road, in the rain, with a slowly deflating tire and about fifty video clips I accidentally deleted.
Continue reading
As promised in my Mavic Pro review, here is my favorite picture profile for the DJI Mavic Pro. This is the exact profile I use for filming weddings, travel videos, and any other professional shoot, and with a bit of color grading I find it gets genuinely beautiful footage out of this tiny drone.
I’m putting all the settings right at the top, because I hate whenever I’m watching a picture profile video and it’s fifteen minutes long and fourteen of those minutes are somebody talking about their cat, with one minute of actual settings buried in the middle, and heaven forbid they put it in the description. It bugs me to no end. So here it is, and if that’s all you came for, you’re done.
That’s the whole profile. The rest of this is the why, so you’re not emailing me asking why I picked any of it.
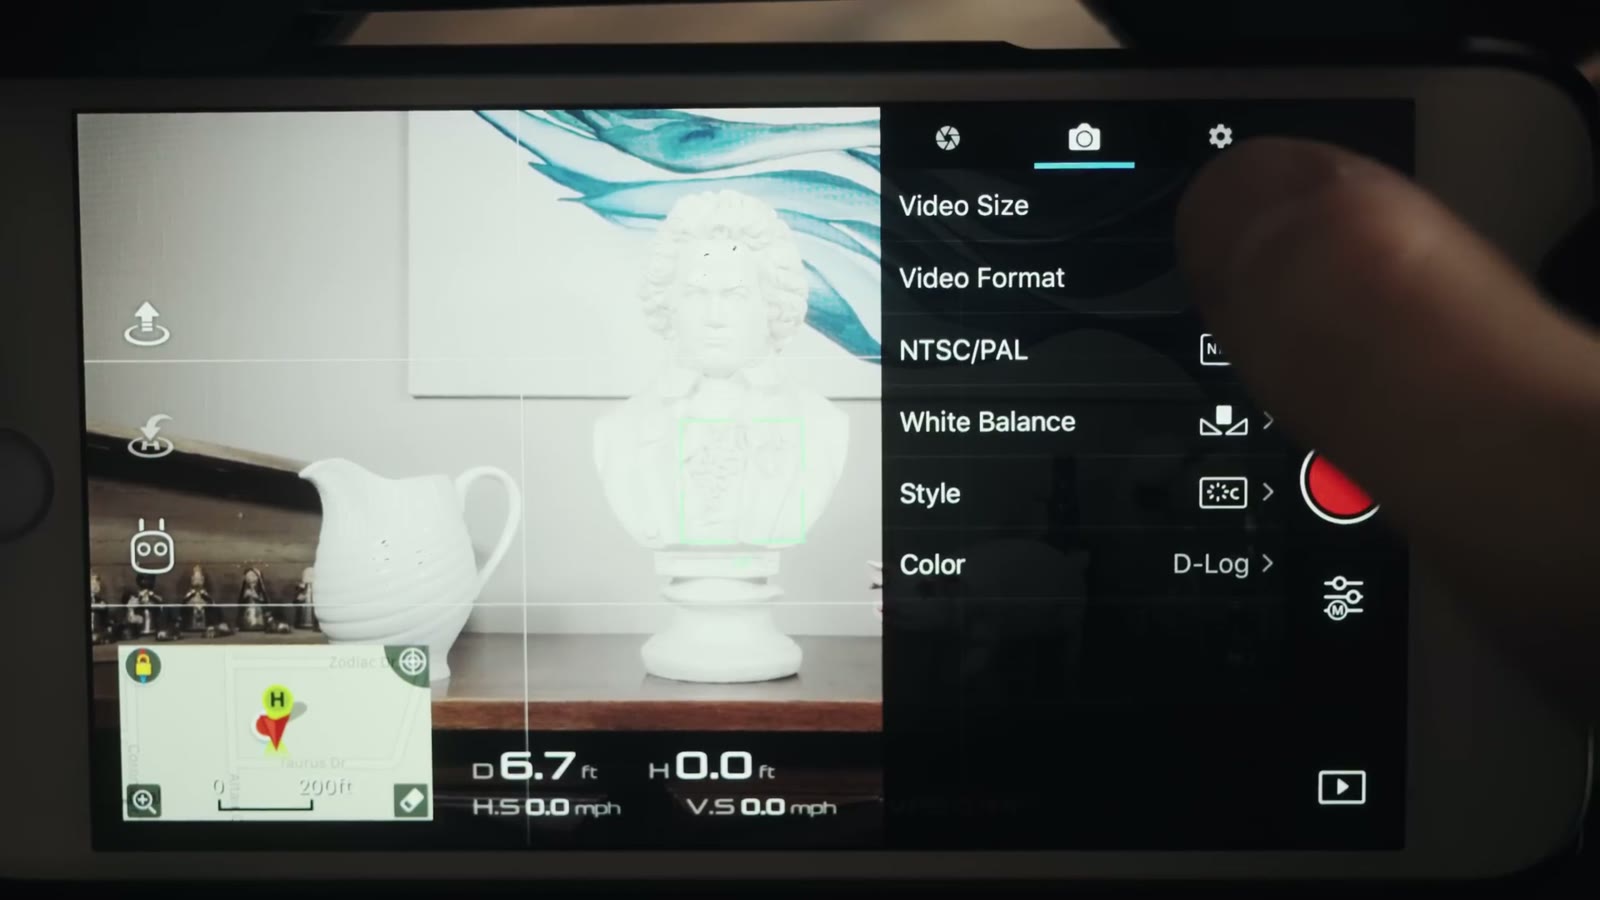
D-Log gives the best dynamic range and the most flexibility when it comes to color grading. The sensor on the Mavic Pro is really tiny, so any chance I get to boost dynamic range and image quality, I’m taking it.
Worth knowing: DJI put out a firmware update that made D-Log look substantially better than it did at launch. So if you bought your Mavic early, tried D-Log, and decided it looked gross, go try it again. It’s a different picture now.
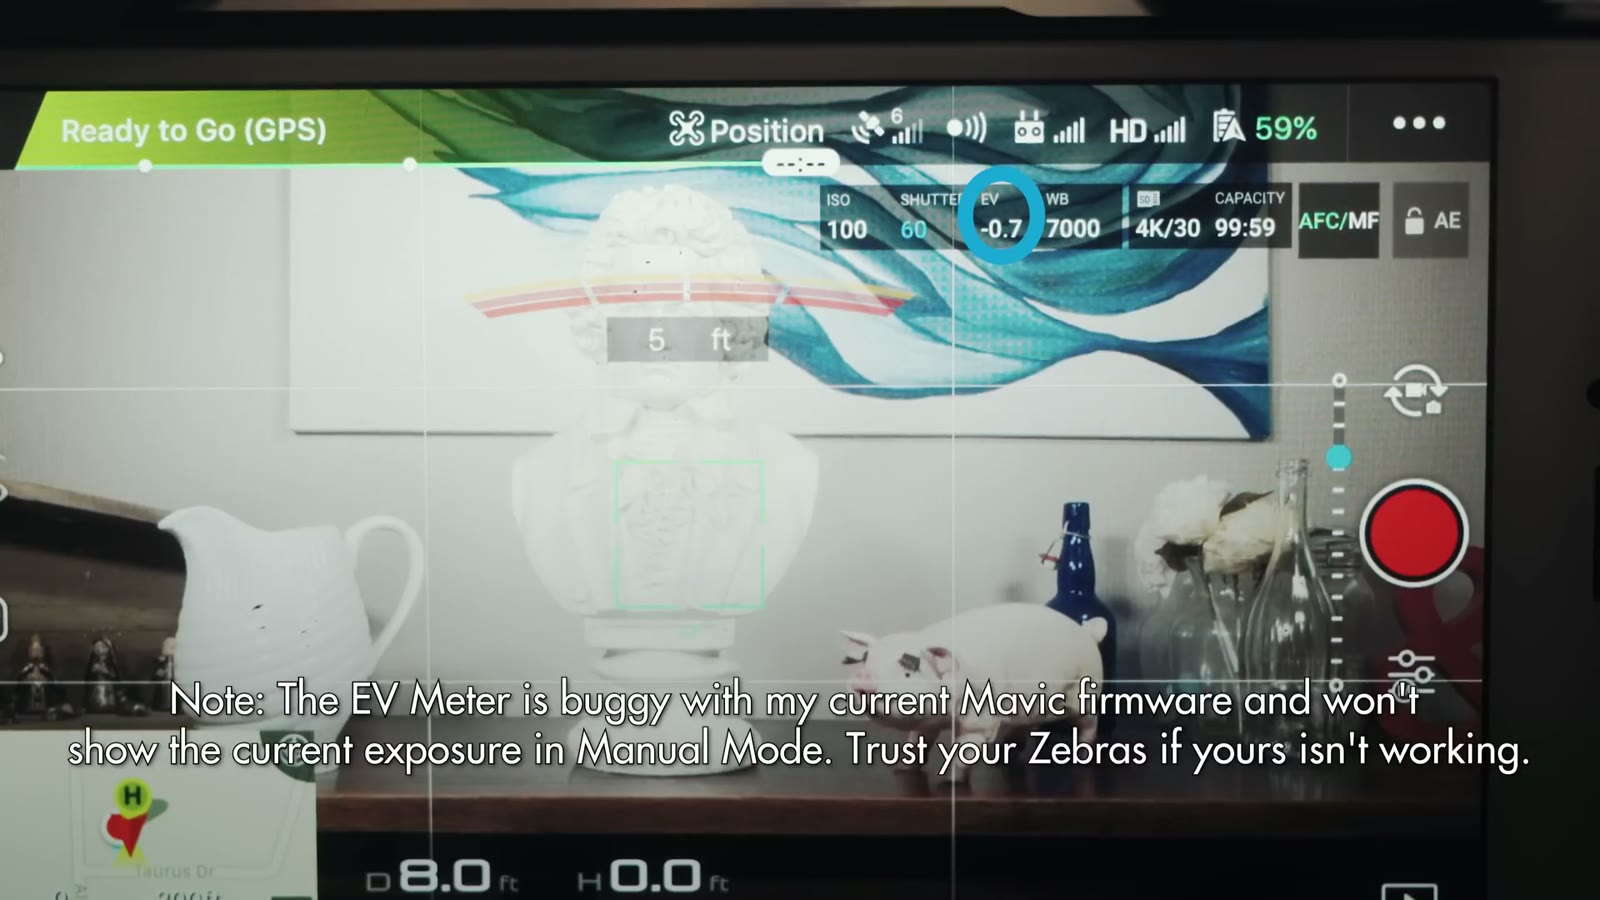
Quick warning while we’re in the app: on my firmware the EV meter is buggy and doesn’t show the current exposure in Manual mode at all. If yours isn’t working either, trust your zebras instead.
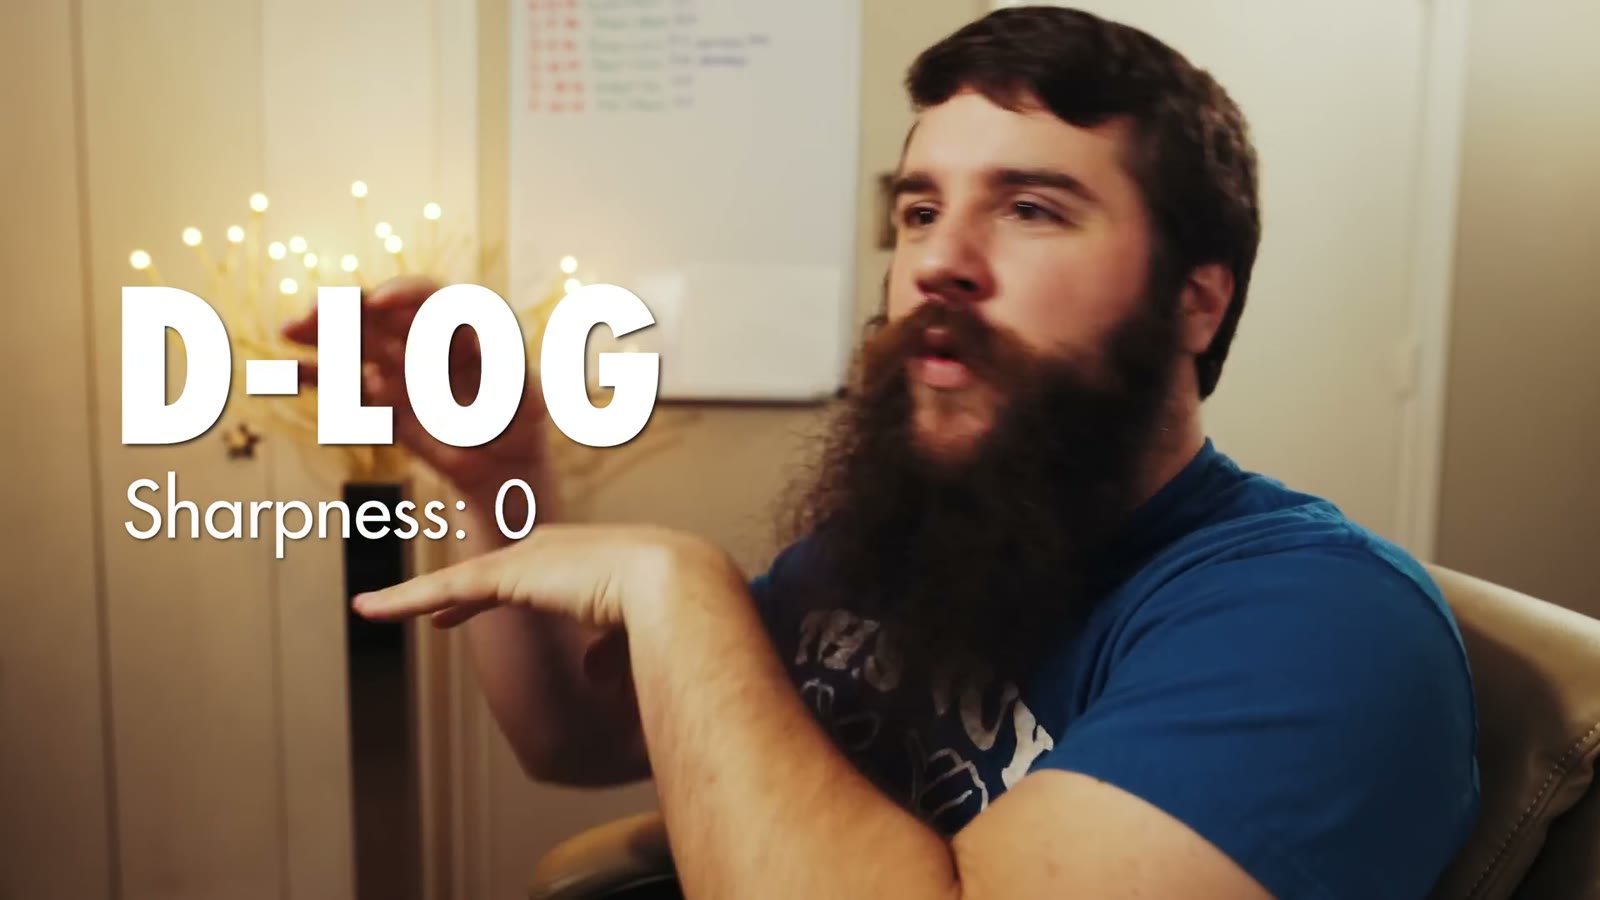
In most shooting situations I keep sharpness at 0. I never take it to -1, -2, or -3, because that starts making all the colors run together and you get the watercolor effect people complain about. At 0 I don’t deal with that at all.
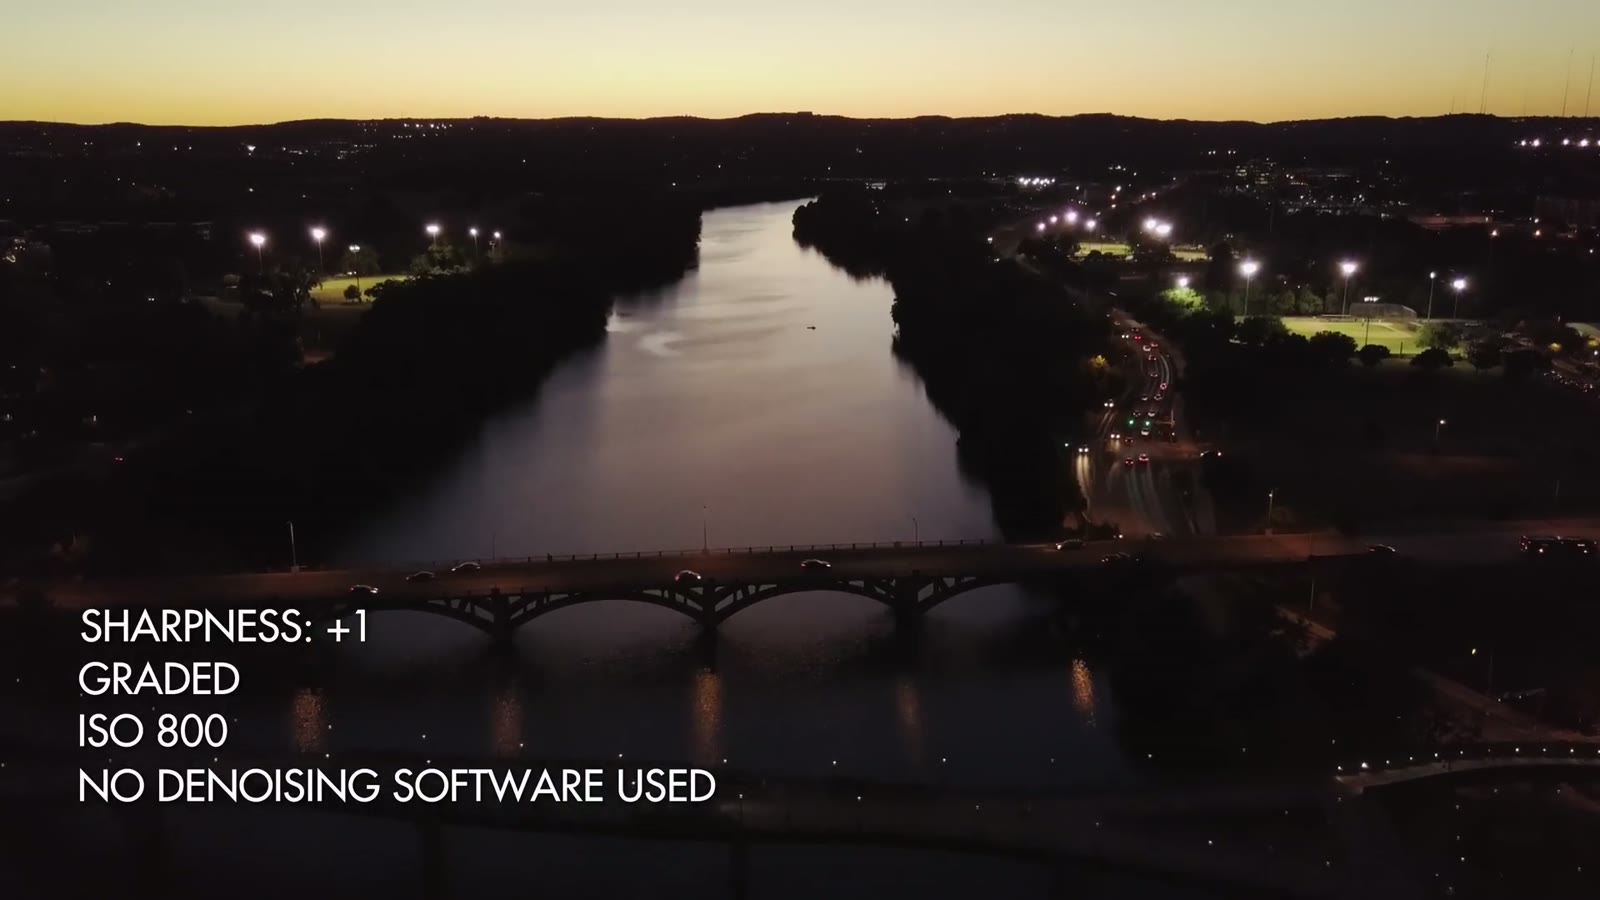
The one time I go to +1 is a very high dynamic range scene, say flying toward a bright sunset with shadowy trees underneath. Here’s the reason, and it is not obvious: DJI built in a noise reduction algorithm that is active from -3 all the way up through 0 on the sharpness scale. In a high dynamic range scene that algorithm makes some things look sharp while muddying everything else, and you end up with a weird image that just doesn’t look right. Setting sharpness to +1 turns the algorithm off.
I only know that thanks to another filmmaker also named Matt, who runs The Film Poets. He made a great video demonstrating it with exactly that sunset and trees scenario, and I’d highly recommend watching it.
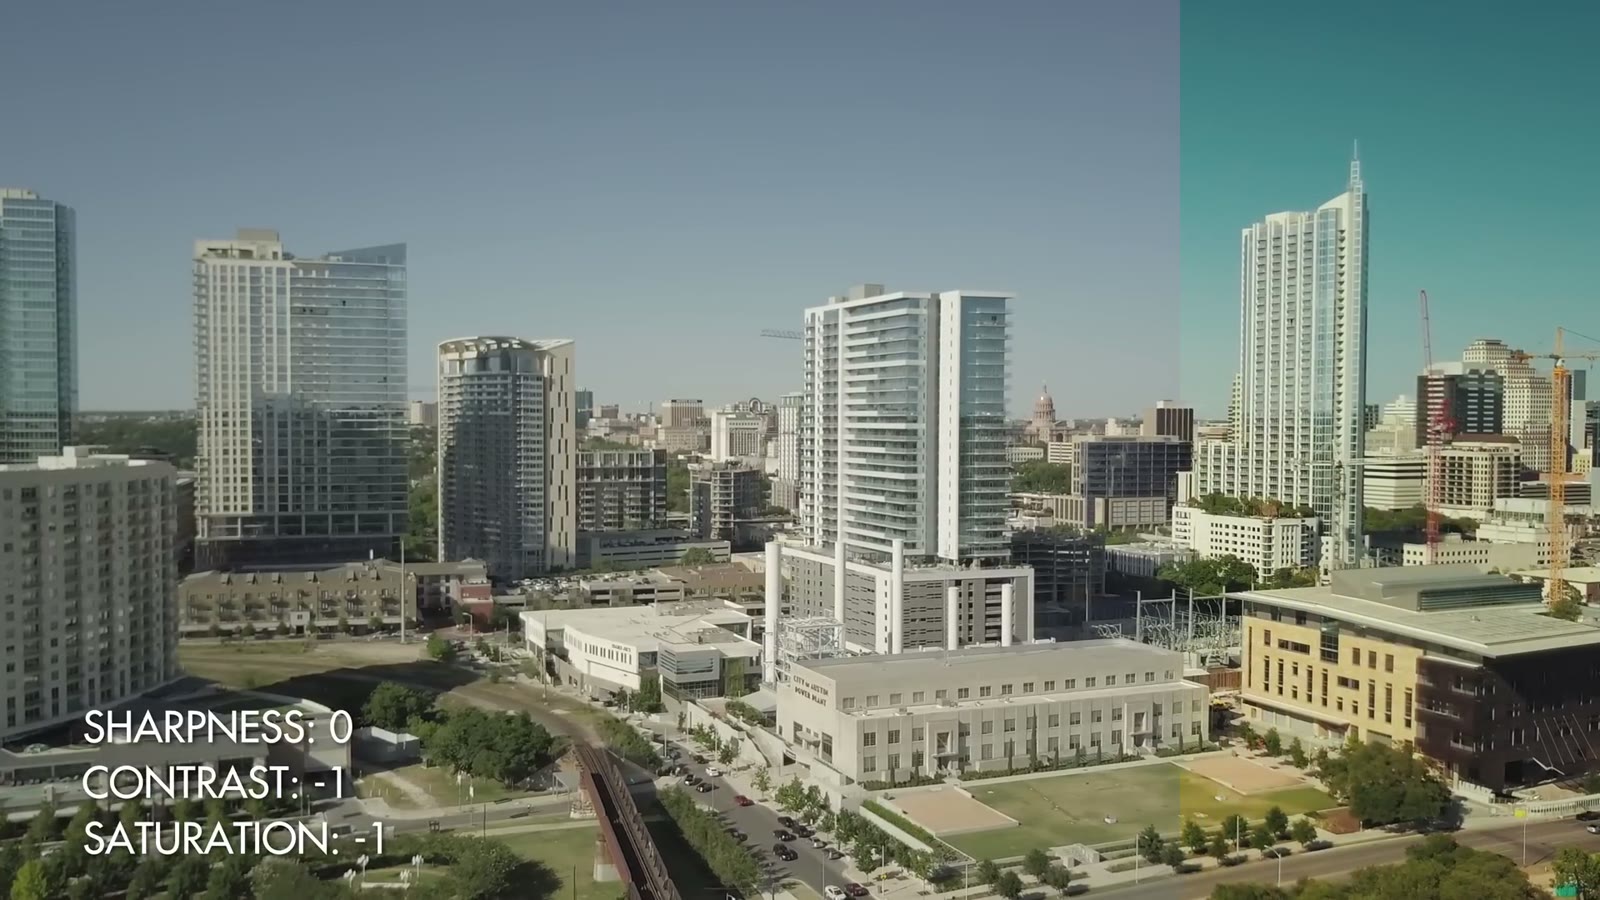
You’re probably wondering why I don’t push these to -2 or -3 and go as flat as possible. The answer is that D-Log is already really pretty flat and it doesn’t need to be flatter. At -1 I still have plenty of range to grade the image however I want, without giving up so much contrast that I’m fighting to build it back.
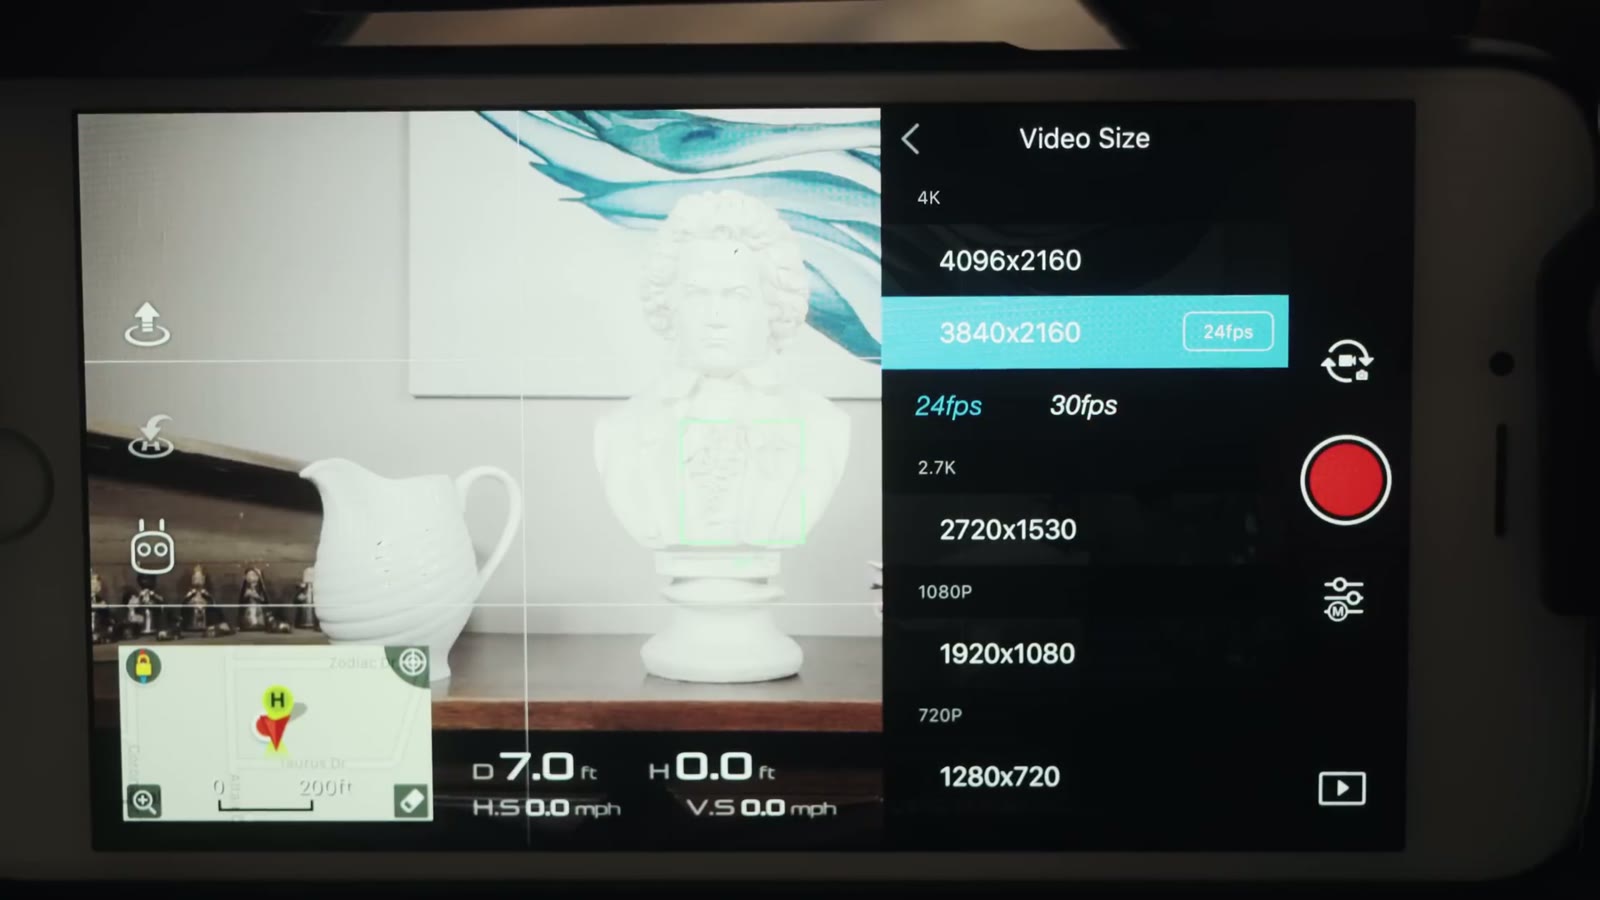
I shoot MP4 rather than MOV, mostly because I read a few forum posts with horror stories about MOV files and figured MP4 works fine for me. I see no quality difference between them.
I shoot 4K because I shoot 4K with everything and I’m uploading in 4K. You’ve probably seen the forum posts arguing 2.7K is better. Through all my own testing and all the videos I’ve watched about it, I do not see a real quality difference between 2.7K and 4K, so I stay in 4K to maximize what I’ve got. If you’re delivering in 1080p, 2.7K might genuinely suit you better. Test it yourself.
What I will say without hedging: do not record with this drone in 1080p. Not 1080/24, not 1080/60. The bit rate isn’t high enough and the image falls apart fast, watercolor effect everywhere. This drone is not built for 60fps. If you need that, buy a Phantom 4 Pro. Keep the Mavic at 2.7K or 4K.
You’re thinking that’s weird, shouldn’t cinematic be 24, that’s what the movies are. I still export at 24. I shoot at 30, import at 30, conform in Premiere to 24, and export.
The reason is that the roughly 20 percent slowdown you get going from 30 to 24 smooths out any little gimbal shakes and general weirdness. Everything still reads as real time, you genuinely can’t tell it’s slowed, but the motion is a little cleaner. That’s the whole trick.
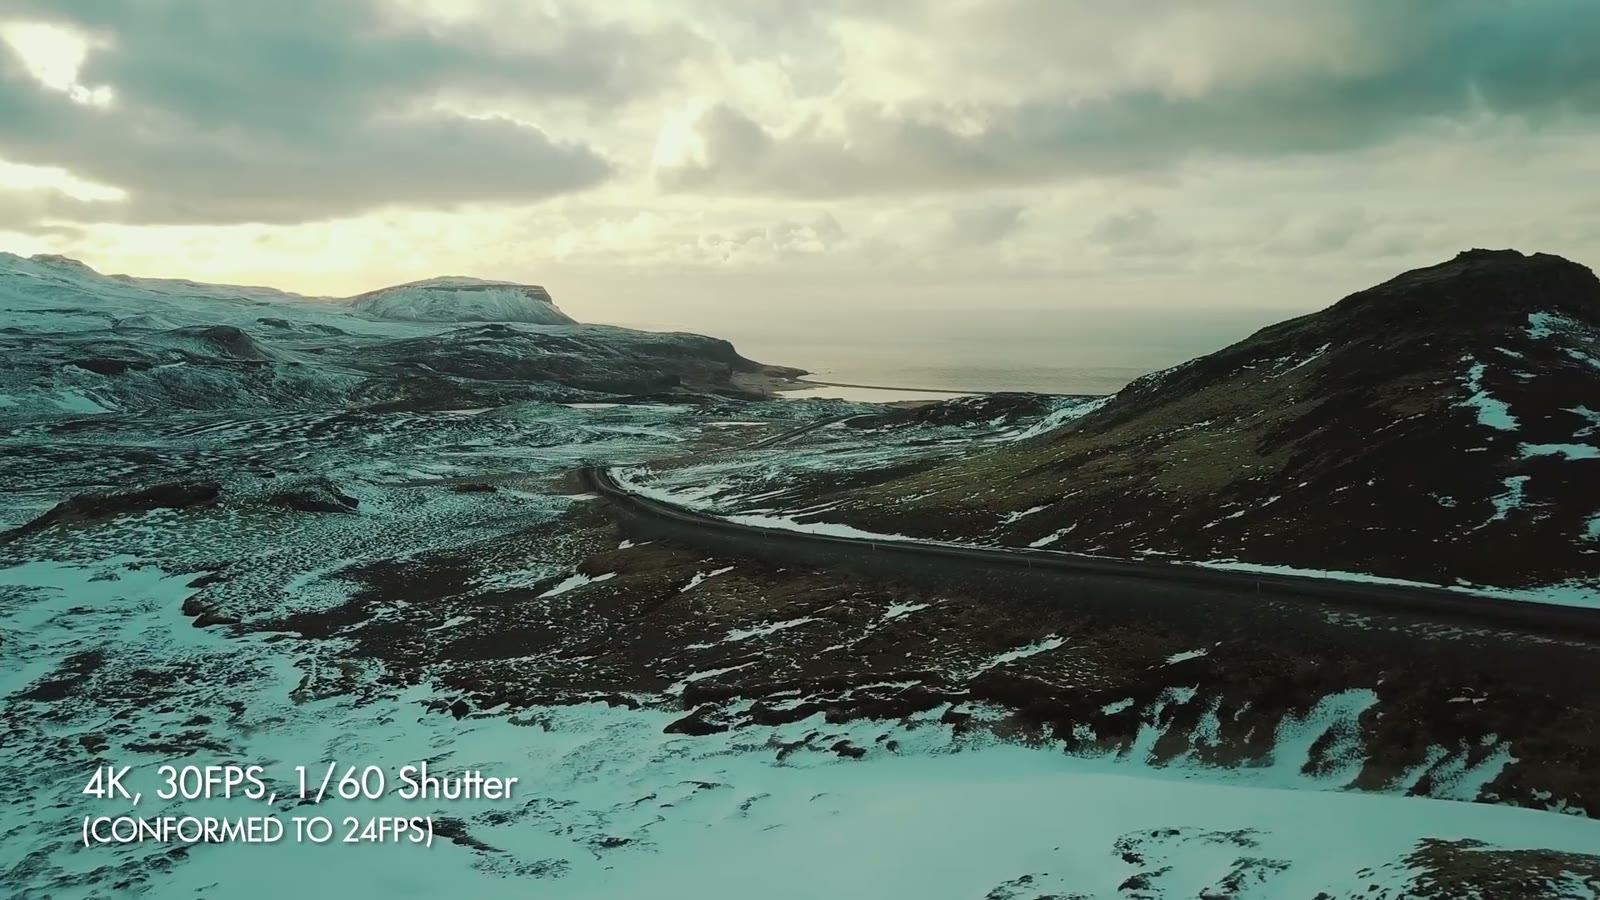
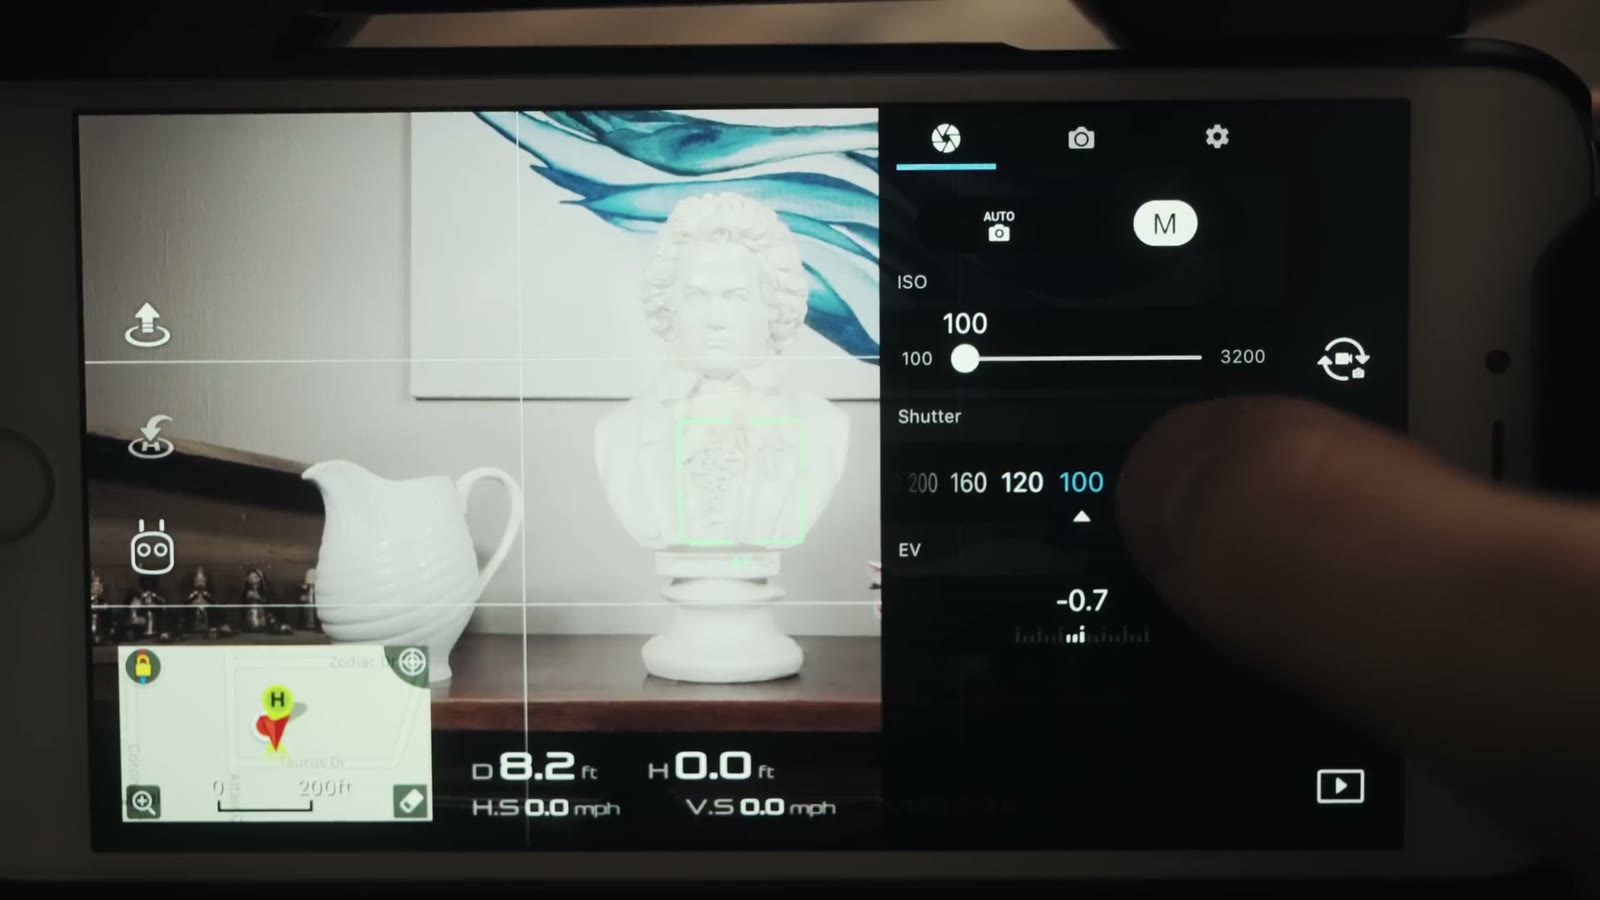
1/60th is double my 30fps frame rate, which is the shutter rule, and I can hold it in bright sun because of the PolarPro Cinema Series ND filters with polarizers. That’s the second time I’ve mentioned them and it won’t be the last, because on a drone with a fixed aperture, NDs are your only exposure control.
The reason I care about 1/60th is motion blur. Shoot at 1/1000th and you get a jagged, sharp looking image where you can practically see every individual frame. At a lower shutter it just looks right to the human eye.
Speaking of which, A Wedding Filmmaker’s Review of the DJI Mavic 2 Pro: Time to Upgrade? is worth a look too.
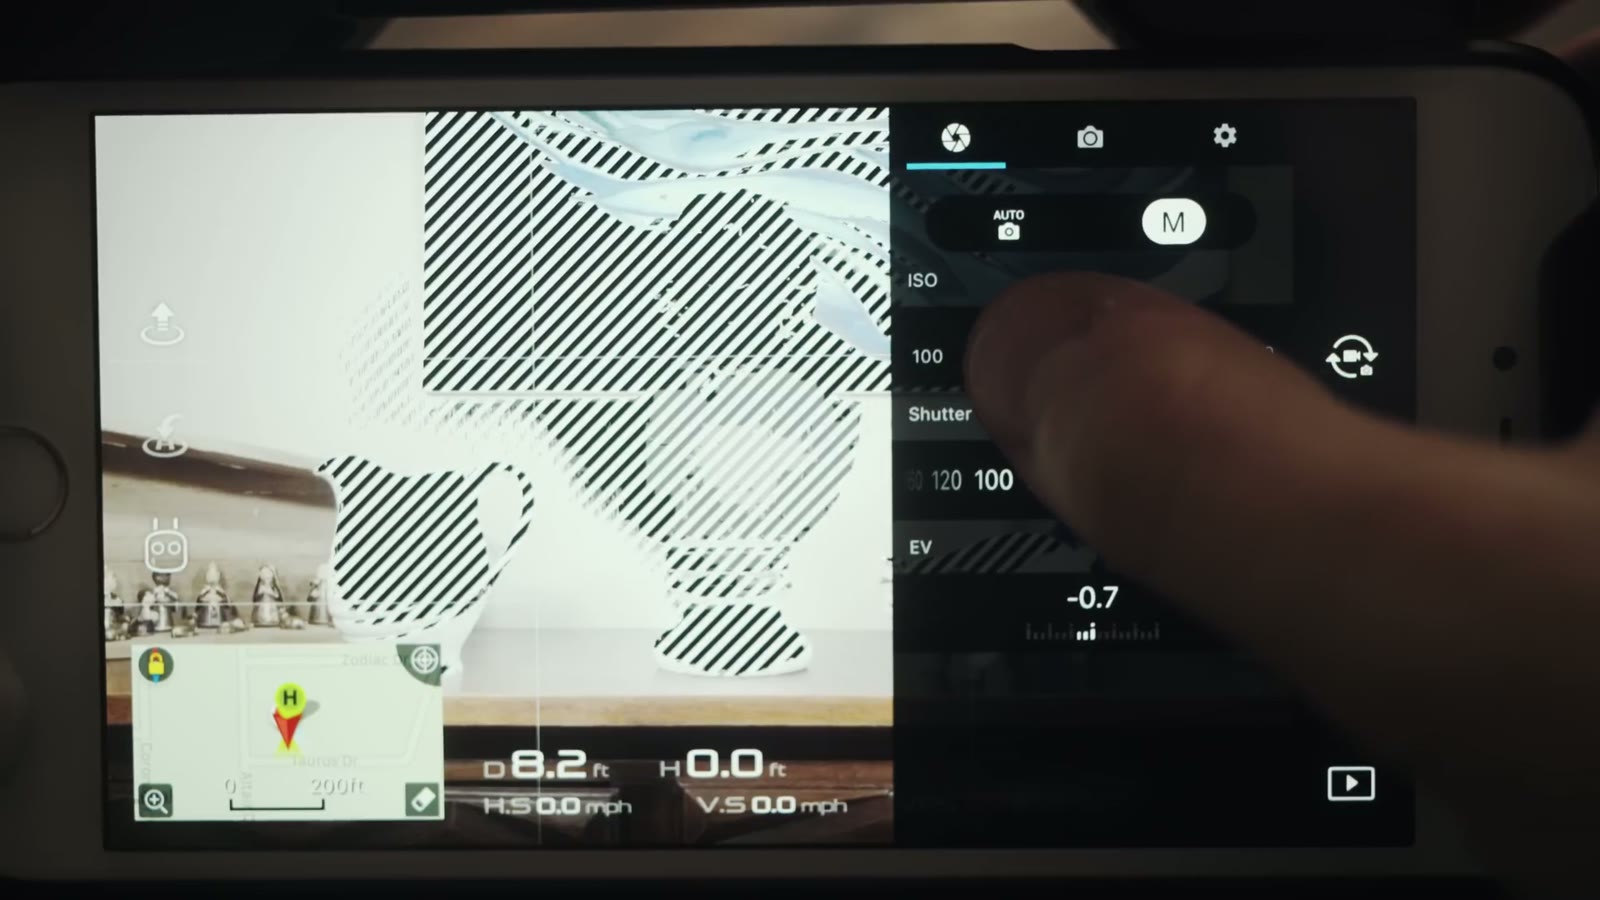
Turn the overexposure warning on. It puts zebra stripes over anything blown out, so at a glance I know where I stand. Sometimes I want that, filming straight into the sun for example. Filming ground and landscape, I definitely don’t.
Alongside the zebras I watch the EV meter, and I want it at 0.0, maybe +0.3 or +0.7. The reason is that log formats are hungry for light. They want a bright image that you then grade back down. What I never want to see is EV in the negatives, because once you introduce darkness into a log image, pulling those levels back up is so much harder and so much uglier.
So in practice: expose almost to the point where zebras appear, then back off just below that. That’s your level. And since the Mavic has a fixed aperture, the way you get there is with ND filters, not by opening up.
ISO 100 whenever possible. The moment you start climbing, 200, 400, 800, you’re introducing noise, because the sensor is just so gosh darn tiny. In a twilight situation, if you can keep it under 400 you’ll be okay. Past 800 it gets muddy fast, you’re reaching for denoising software, and it still won’t be as sharp as you wanted.
So let’s be straight about it: this drone does not excel in low light. If you need to shoot at night, get something with a bigger sensor, a Phantom 4 Pro or an Inspire. But for daylight shooting, I love the Mavic. It looks so great and it makes me so happy.
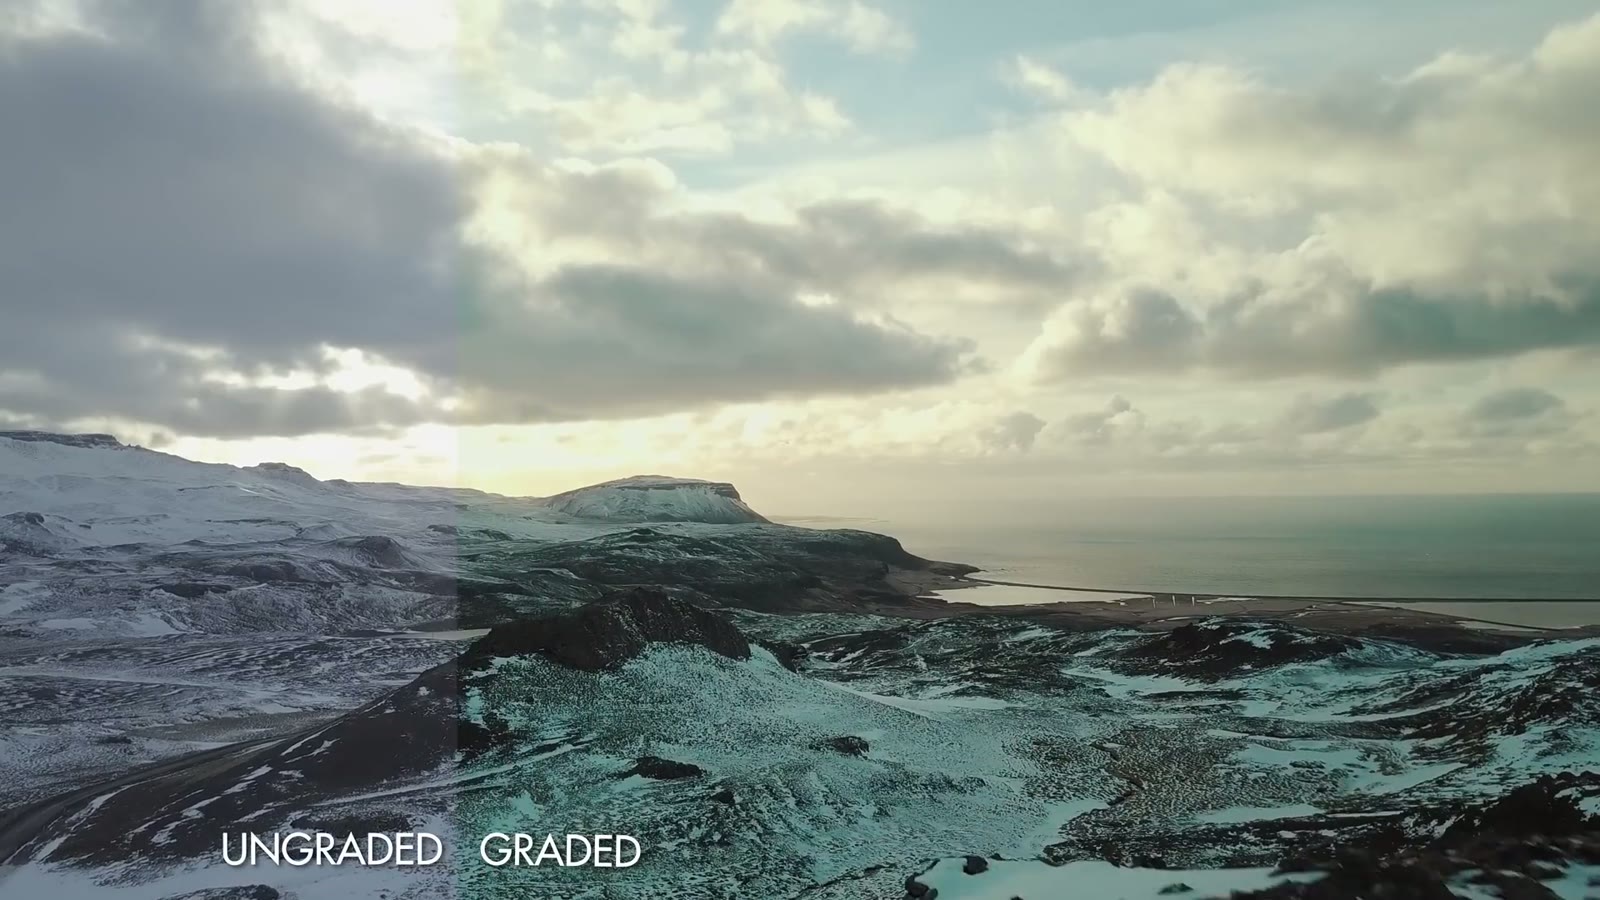
Some of the b-roll in this video doesn’t look very Texas, and that’s because I took a trip to Iceland and could not help sharing a few of the clips.
If you want the full verdict on the drone itself, here’s my Mavic Pro review, where I answer whether it’s good enough for professional and commercial work. Here’s all my favorite drone video gear, and everything here gets graded with my LUTs.
Want more help? Download my free quick tips guide to booking more wedding film clients, take a look at my wedding film editing course, or come join the Learn Wedding Filmmaking Facebook group. Everything gets cut in Adobe Premiere Pro.
This was filmed in May 2017 on the original Mavic Pro and the DJI Go app of the time, so menu names and firmware behavior have moved on, and the EV meter bug I mention was fixed in later firmware. The reasoning holds: shoot log, protect the highlights with zebras, keep ISO down, and control exposure with NDs rather than with the shutter.
I’m required to state that I’m part of affiliate programs for Amazon, B&H, Soundstripe, Artlist, Musicbed, and Adobe, and that some of the links above are affiliate links.

An aerial and timelapse film of the Pacific Northwest, shot on a Phantom 2 and a GoPro Hero 4 Black in 4K. The fourth in my travel series.
Continue reading