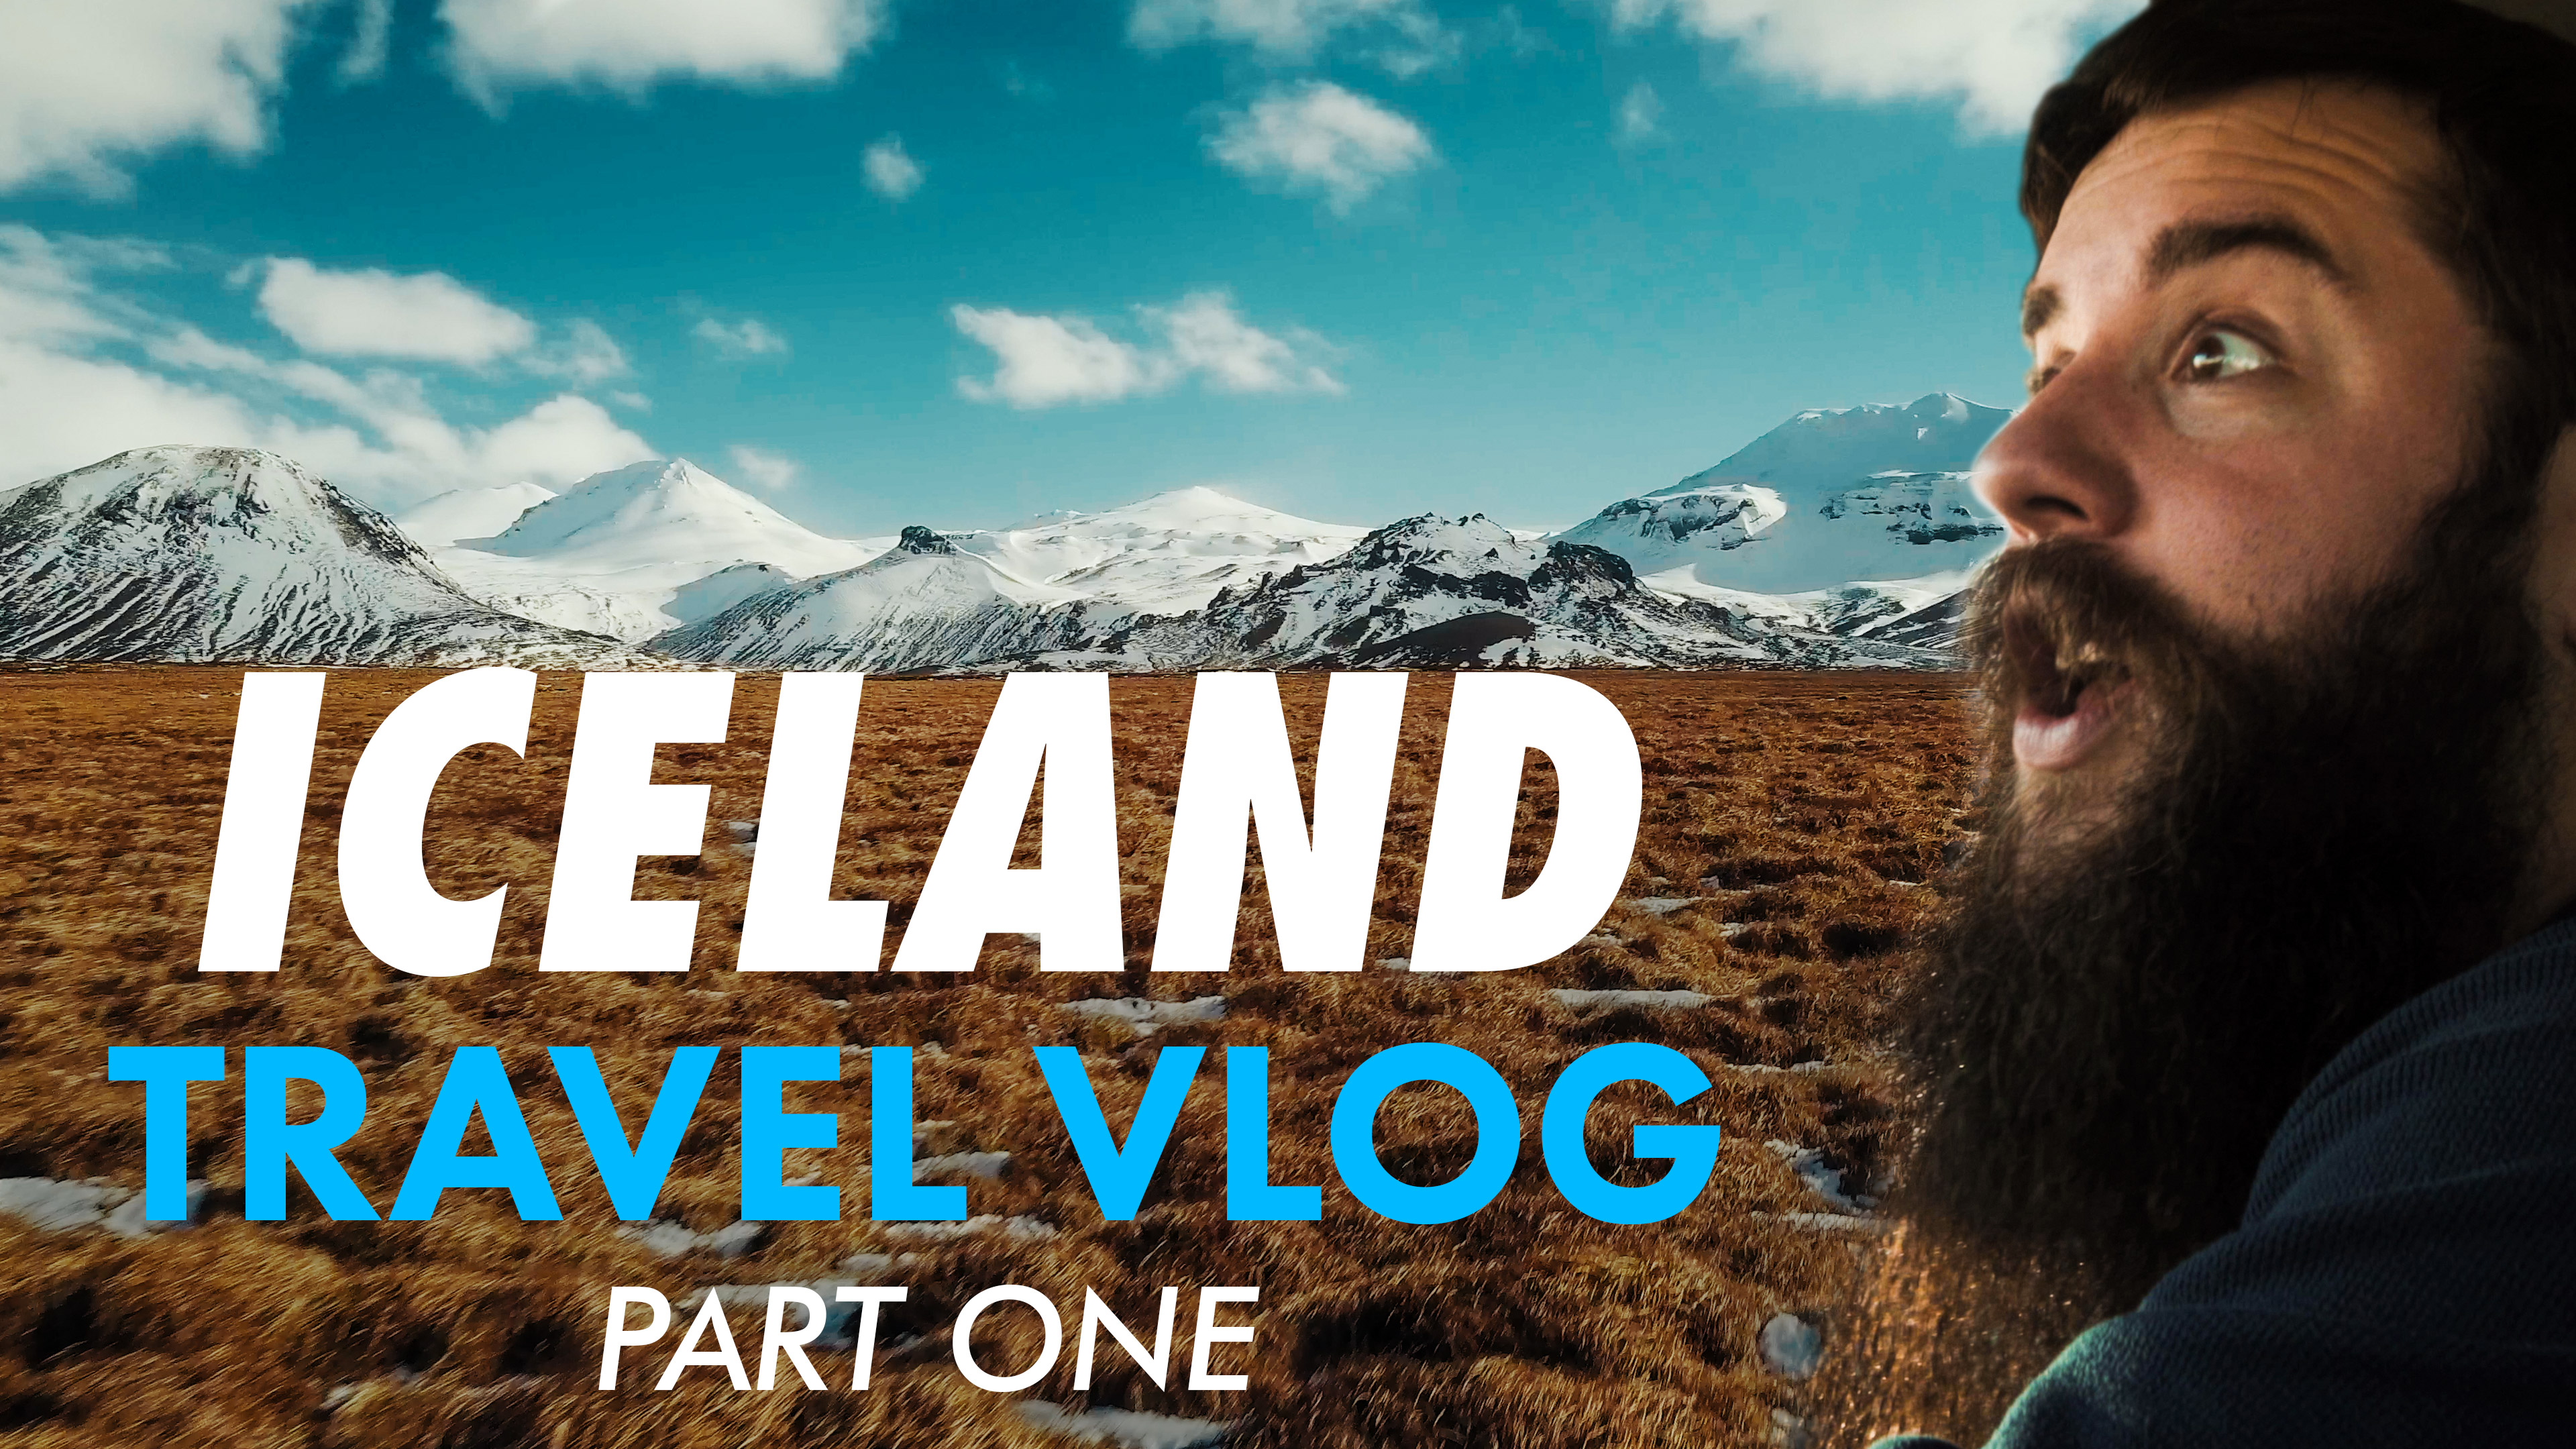
In this BTS, I will show you many of the beautiful shots I was able to film in Iceland, and – more importantly – how I filmed them.
Continue readingMy Favorite Picture Profile for the DJI Mavic Pro
As promised in my Mavic Pro Review video, I’m excited to share with you my favorite picture profile for the Mavic Pro. This is the exact picture profile that I use for filming weddings, travel videos, and any other professional shoots. With a bit of color grading, I find that it can result in some beautiful footage shot with this tiny drone.
In the future, I plan on bringing you a video dedicated to exactly how I use Adobe Premiere Pro to color grade the footage shot with this exact picture profile, and how I use LUTs with it as well.
For now though, here are my exact picture profile settings:
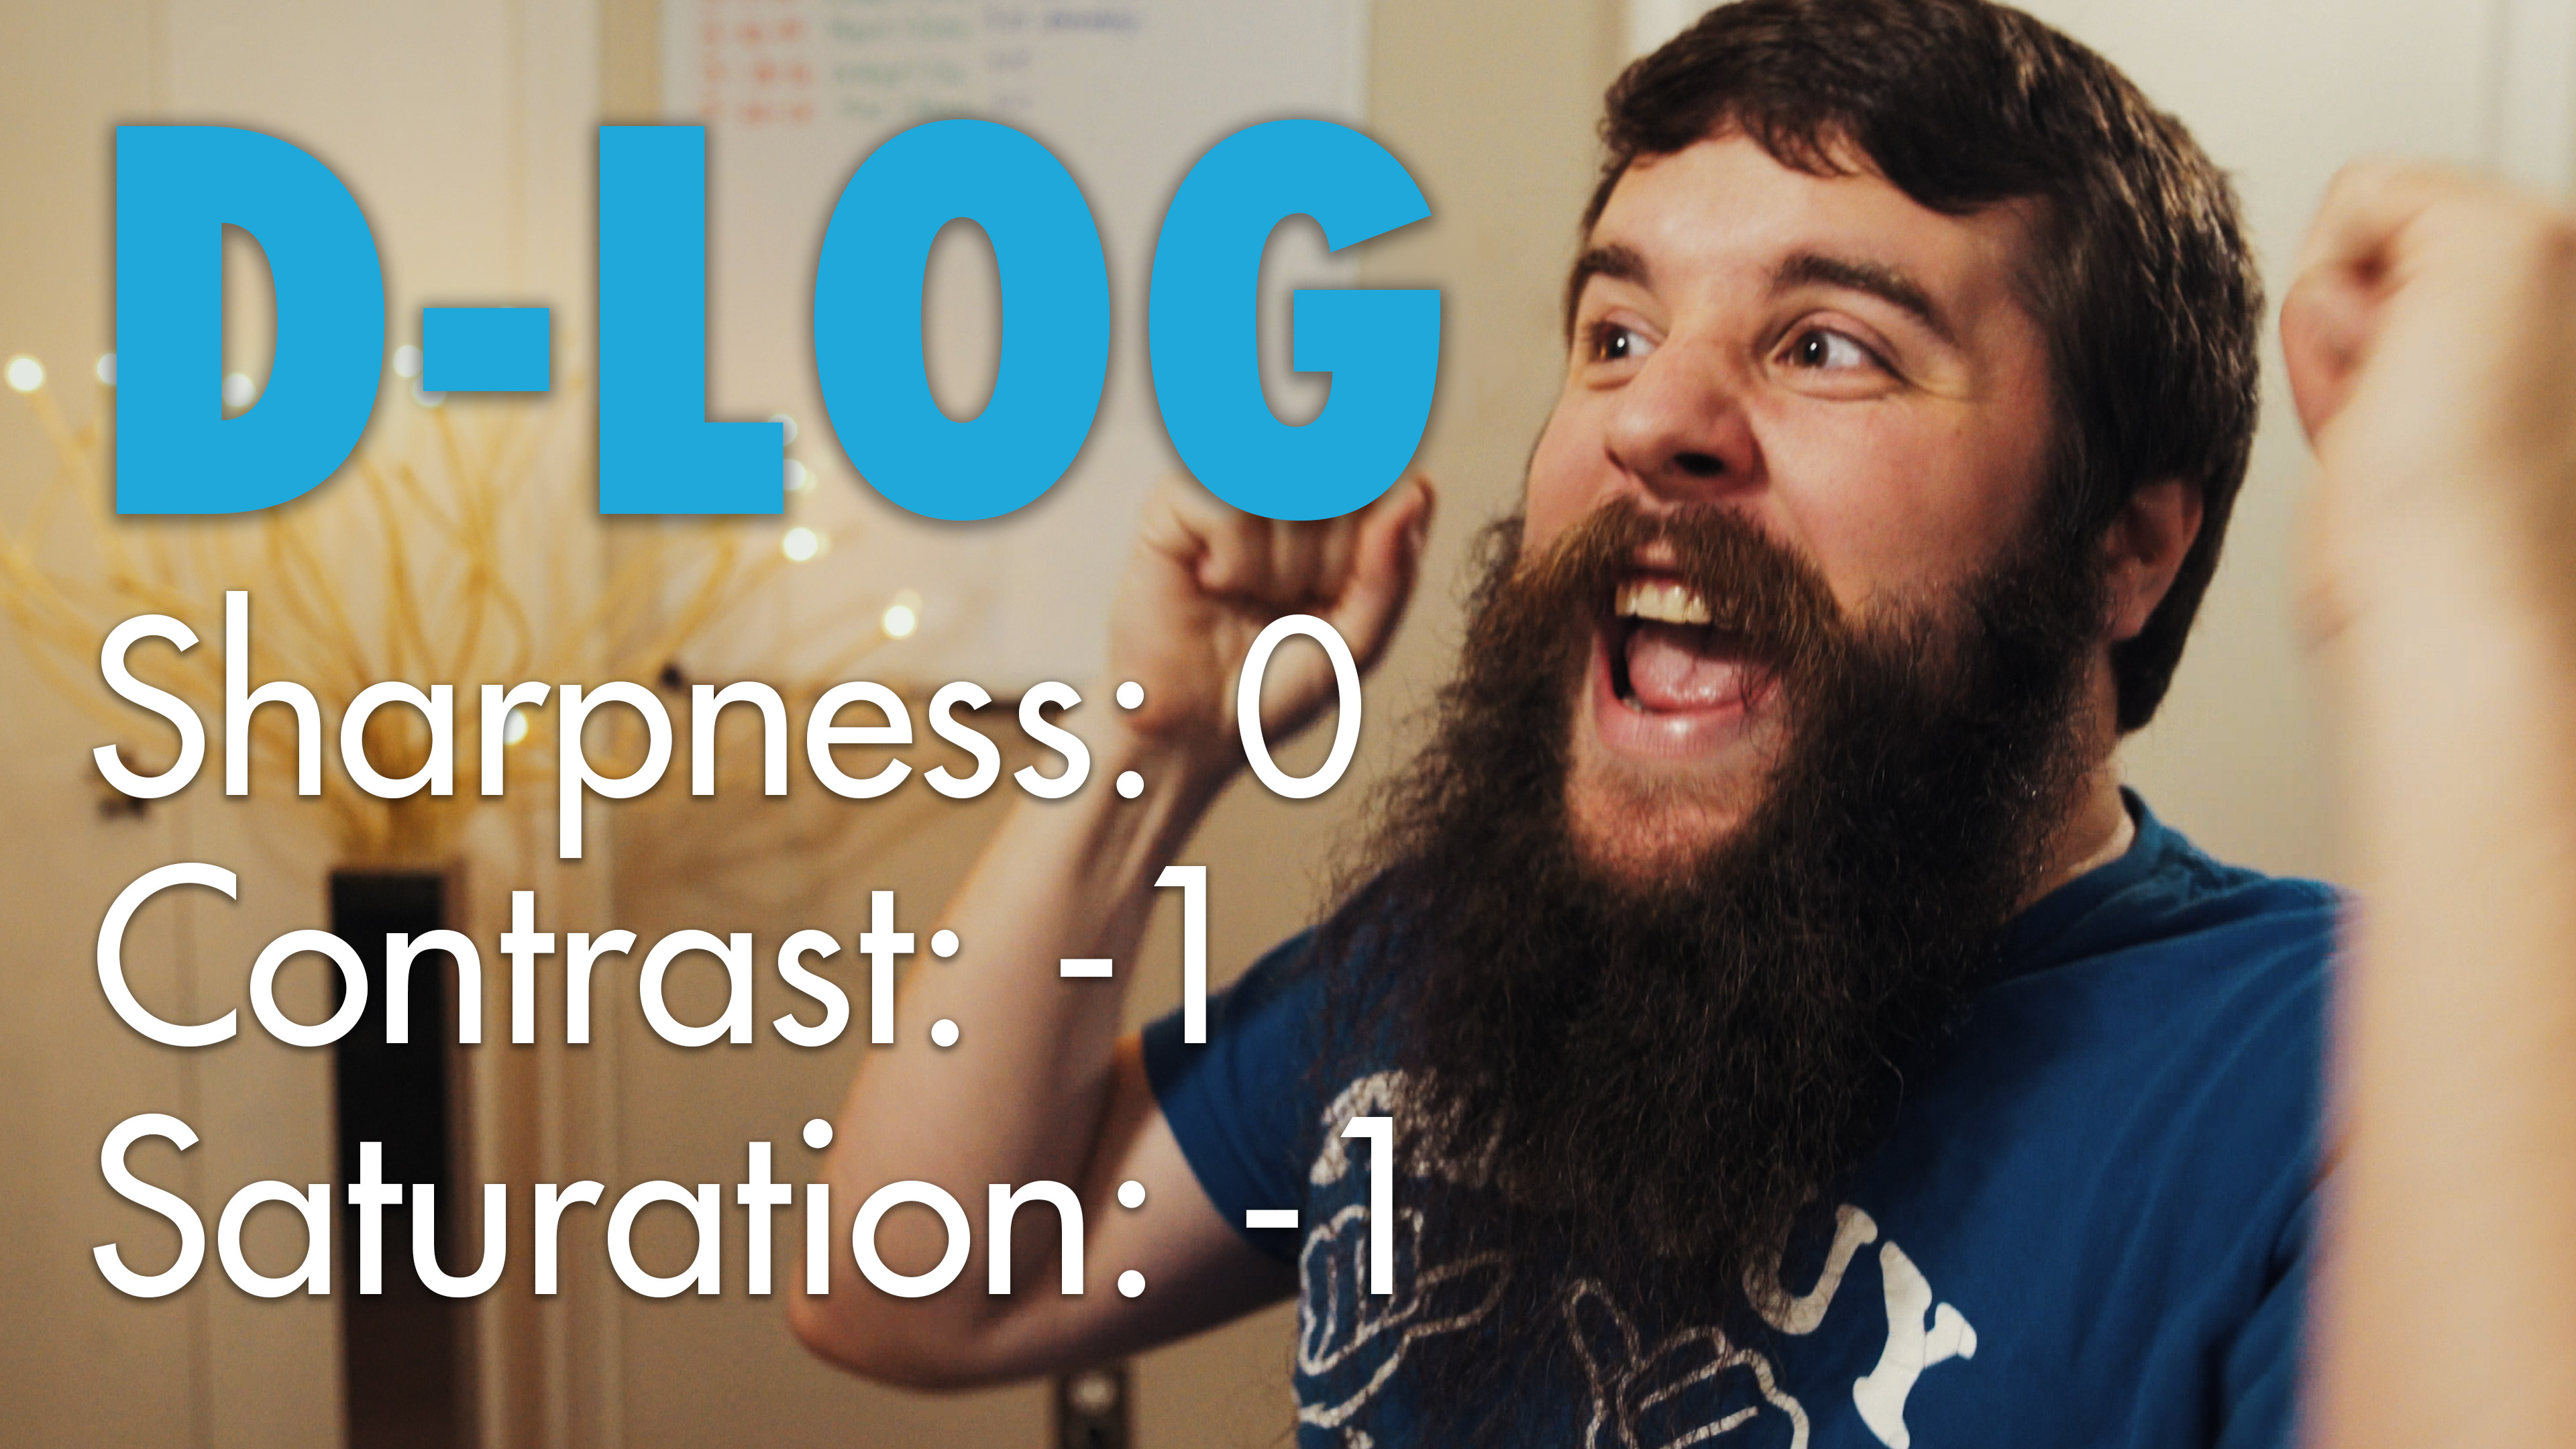
My favorite Mavic Pro picture profile: D-Log 0, -1,-1 (unless I’m filming in a high-dynamic-range scenario, then I want my sharpness set to +1.
- Other settings that I use in the DJI Go App:
- Record in Manual
- Record in the MP4 Video Format
- Record in 4K at 30fps, conformed in post to 24fps.
- Record at 1/60th shutter speed by using Polar Pro’s Cinema Series Vivid Collection of ND Filters with Polarizers.
- Turn the Over Exposure Warning (aka Zebras) ON, and make sure no parts of my video are overexposed.
- Monitor the EV Meter and try to ALWAYS keep my exposure at 0.0 or slightly above at .3 or .7, never under 0.0 (note that this is bugged in my current version of the firmware and the EV does not work, so I monitor my zebras instead and film with my footage just below where the zebras start to appear, almost over-exposed.)
- Manually set my White Balance using the “Custom” option and dialing in the exact Kelvin value. In most daylight/partly cloudy situations this is at 7,000K.
- Keep my ISO at 100 if possible.
If you are wondering why I use these settings, please watch the video, because two-thirds of it is dedicated to explaining why I use them.
My favorite drone video gear: https://kit.co/whoismatt/drone-gear-for-wedding-filmmakers
And if you want to keep up with my Iceland photos, videos, and other behind-the-scenes stuff, please follow me on Instagram.
I also post a ton of video related things to my Facebook Page
As always, if you have any questions or comments about this review, please feel free to leave one below, or get in touch.
I am also now offering one-on-one personal filmmaker consulting! Wanna talk about cameras, lighting, or booking clients? Let’s do it!
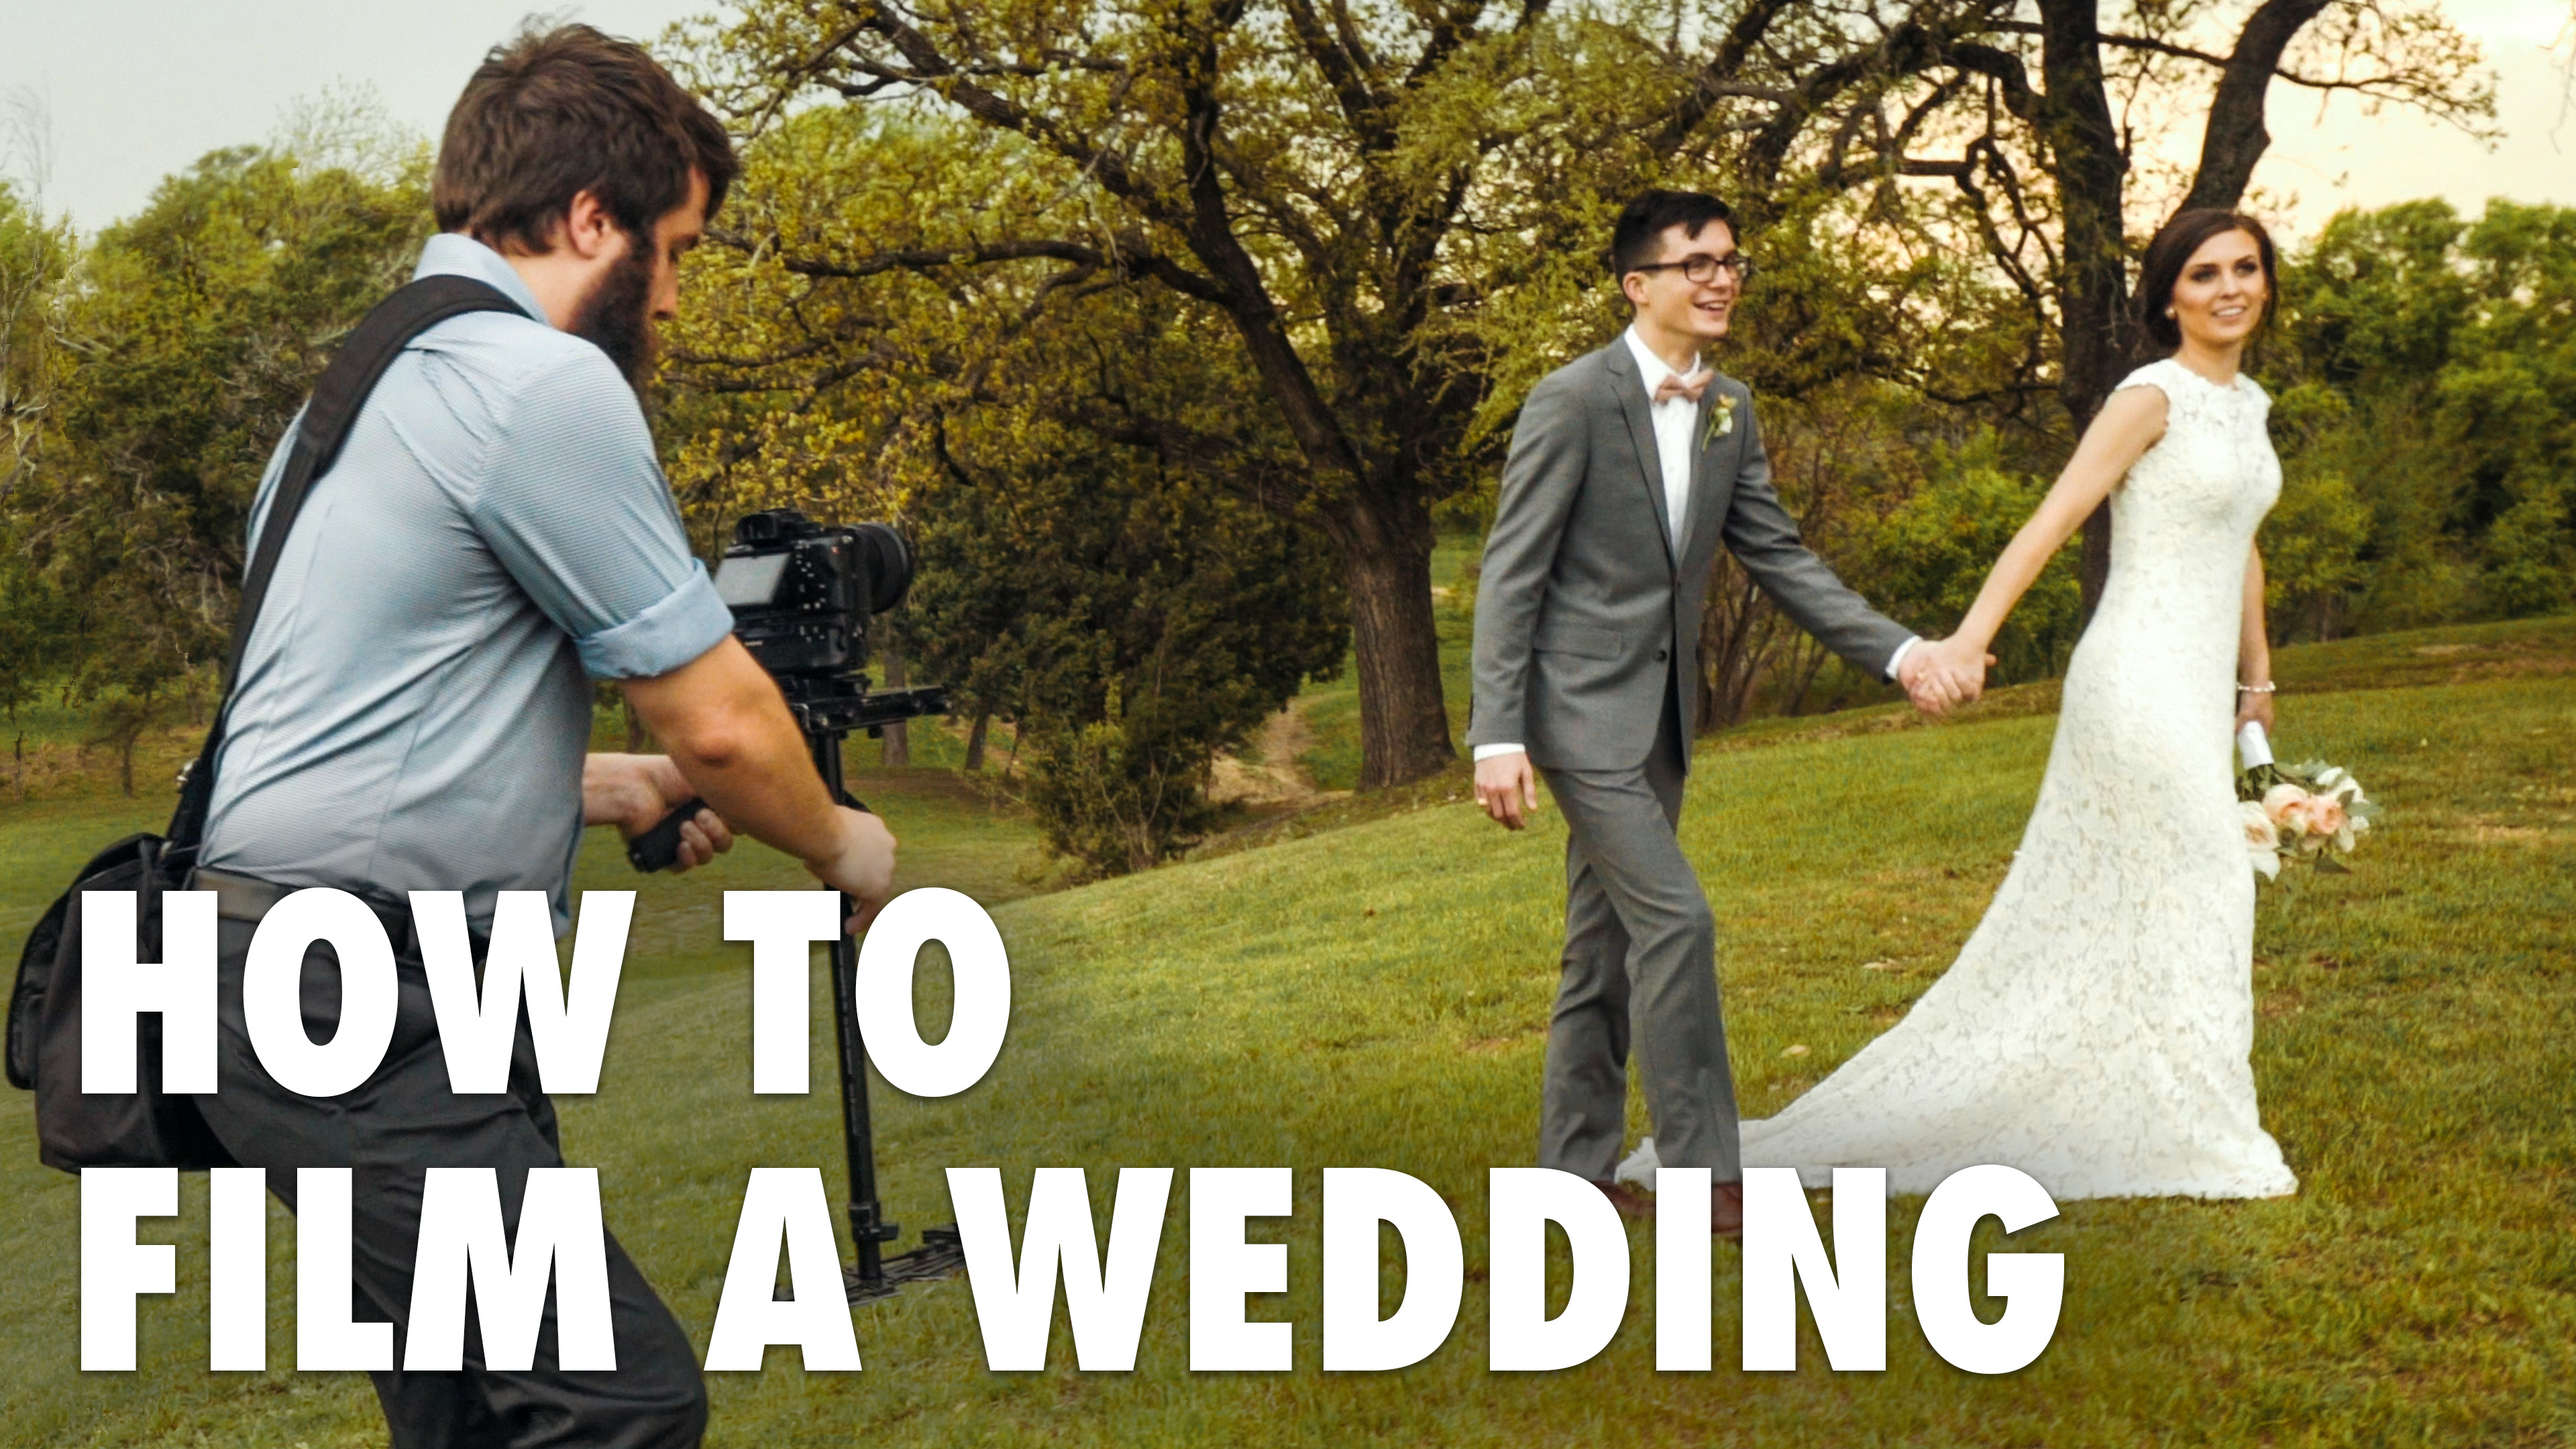
How to Film A Wedding | Behind The Scenes of Not just in Love, in Joy with each other
Before you do anything else, watch the wedding trailer I created this BTS for: “Not just in Love, in Joy with each other“.
Now that you’ve done that, have you ever wanted to know how I film a wedding? I am so HUGELY EXCITED to share this video with you and it has been so hard to keep this a secret! I had a behind-the-scenes filmed of a real wedding that I filmed! This video will show you:
- The gear I use to film a wedding.
- Gobs of drone flying action!
- My thought process behind creative shots.
- How I handle things when a wedding reception nearly ends in disaster!
- The exact lenses and camera settings I use in different situations.
I’ve been wanting to make this video for about a year and a half (ever since my first wedding filmmaker vlog!), so when my friend Noah told me he was getting married and asked me to film, I jumped at the chance to bring along my friend Paul Bailey and have him film a behind-the-scenes of Rachel and I as we filmed this wedding.
And just so we are clear, this is ONLY a behind the scenes of the wedding trailer, I have a much longer behind-the-scenes coming out soon, walking you through the ENTIRE wedding day from beginning to end. 🙂
And if you want to keep up with my Iceland photos, videos, and other behind-the-scenes stuff, follow me on Instagram. I also post a ton of video related things to my Facebook Page.
Shoutout to Grant Daniels Photography too for photographing this wedding and giving some great commentary in this video!
You can check out the rest of the gear I use for filmmaking at my Gear Page or my Kit Page.
I am also now offering one-on-one personal filmmaker consulting! Wanna talk about cameras, lighting, or booking clients? Let’s do it!
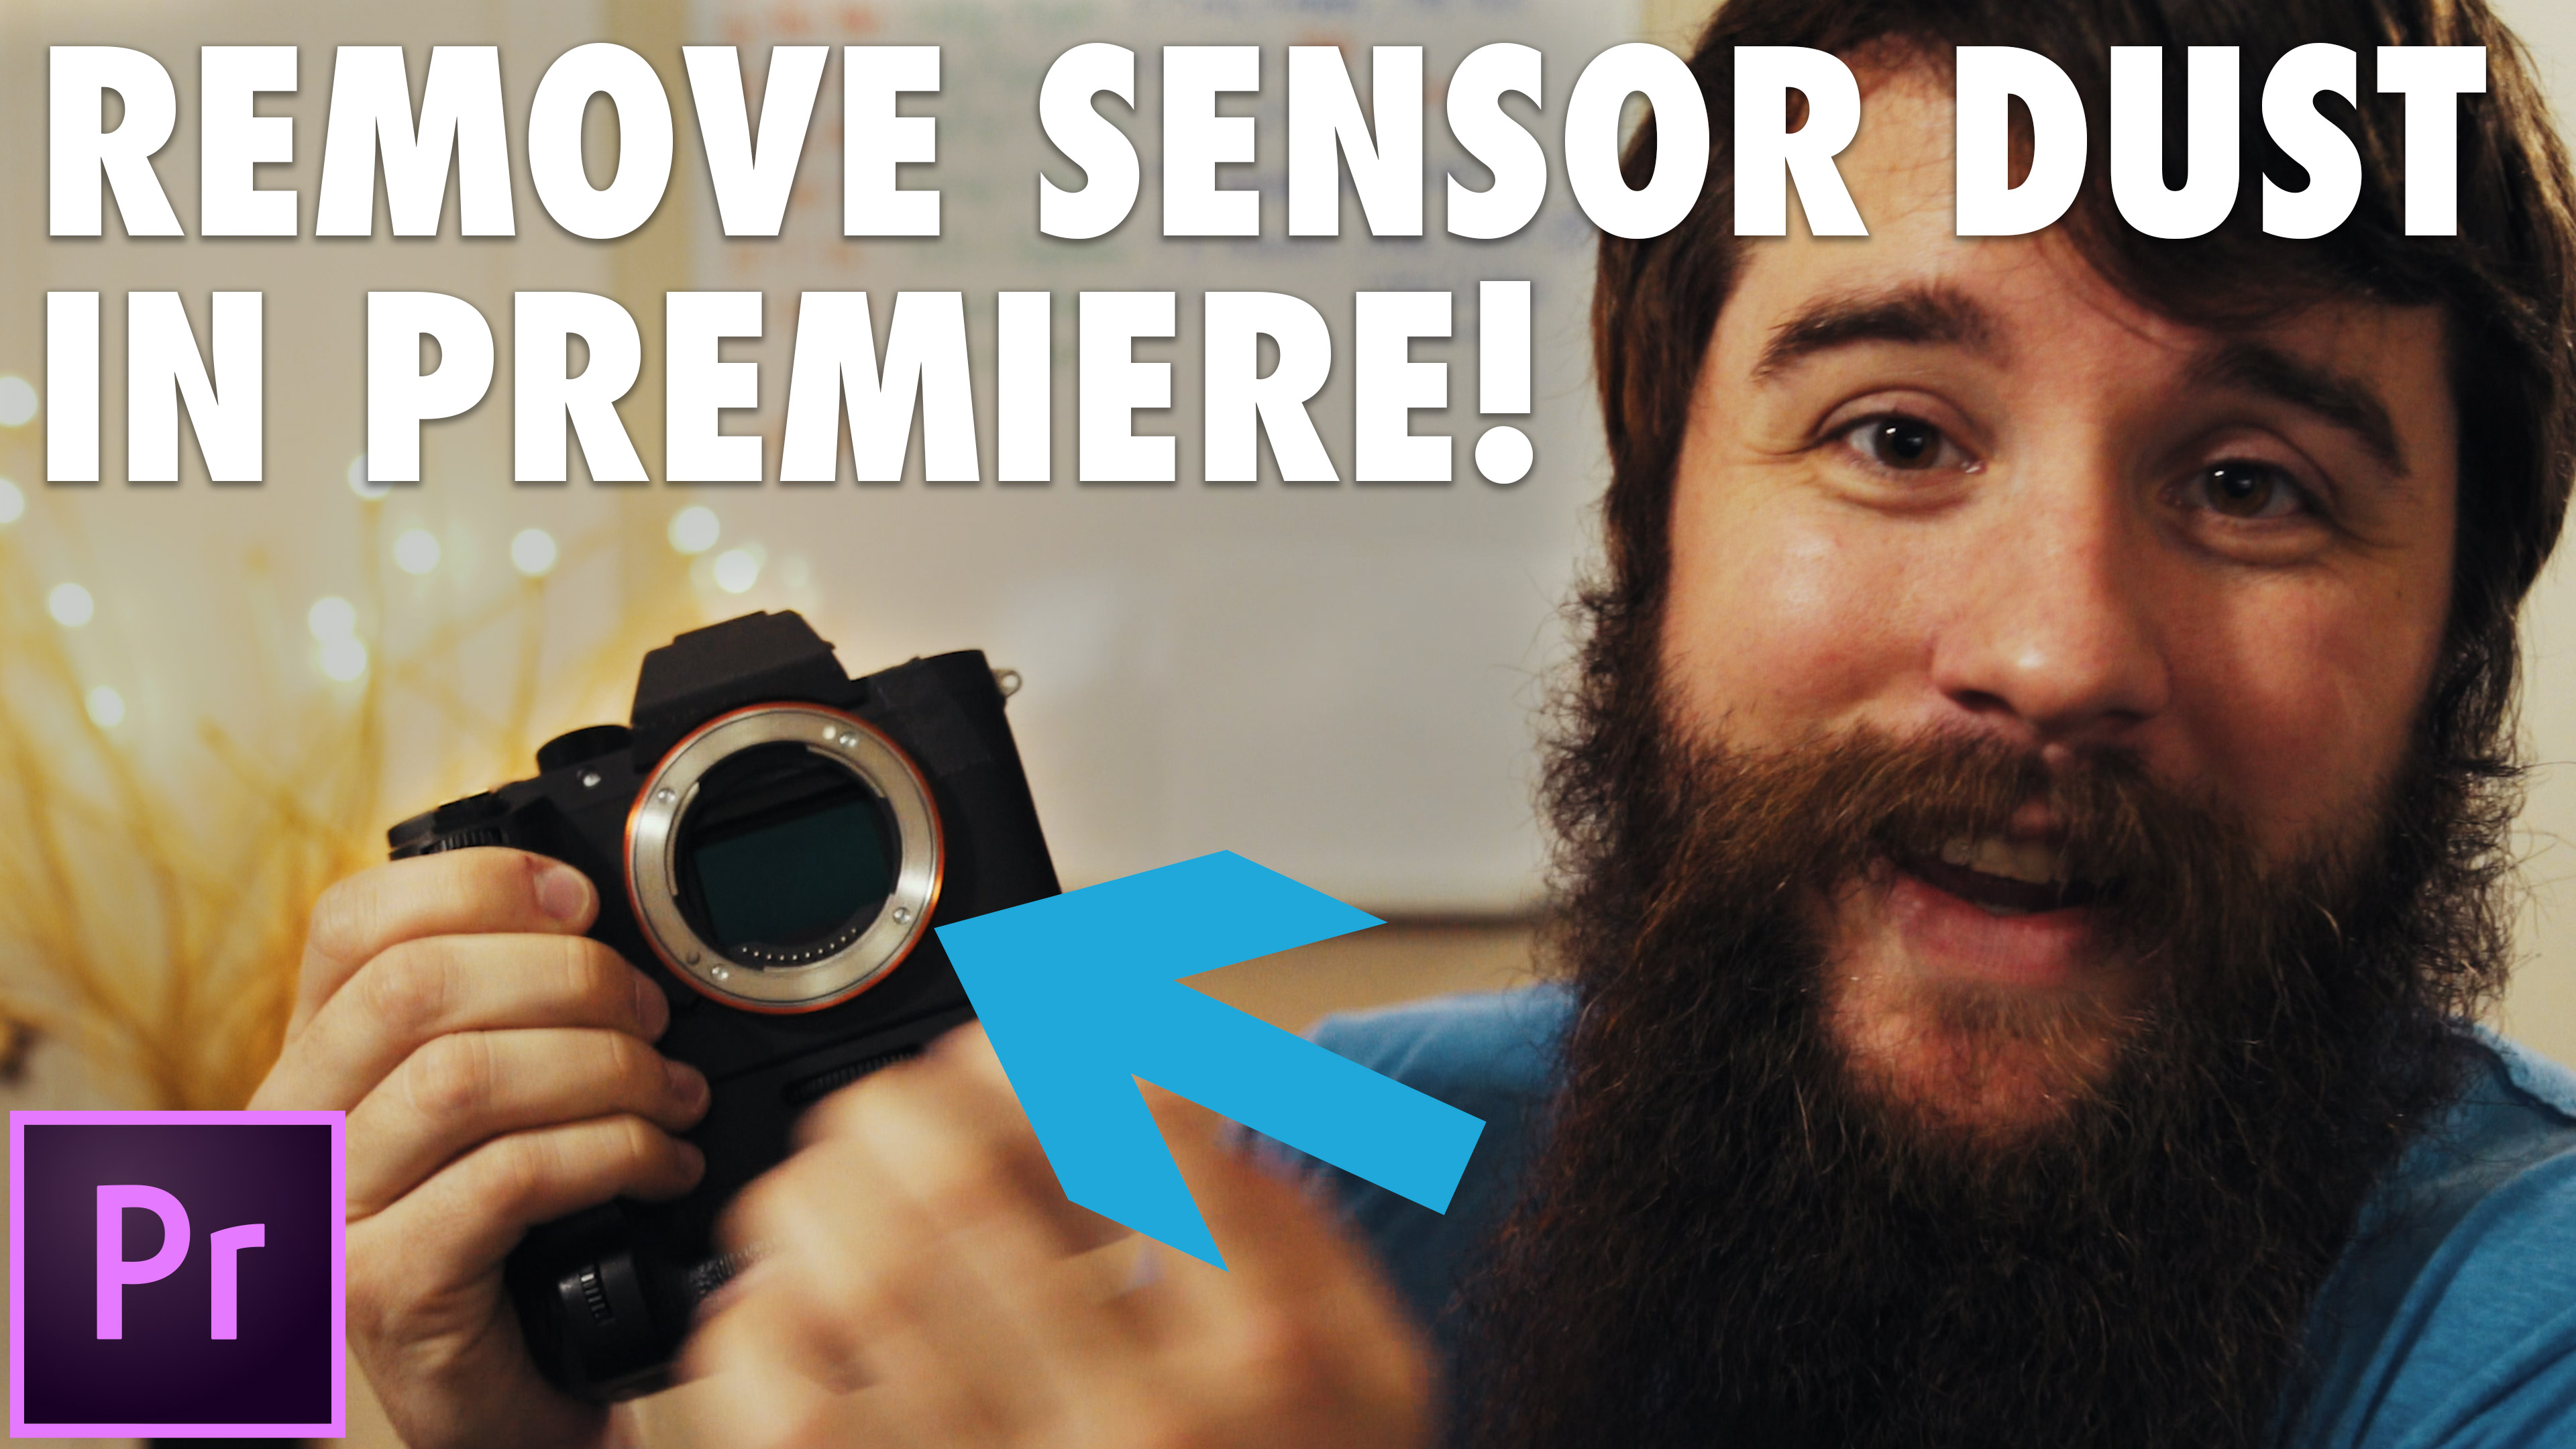
How to EASILY remove dust spots from your videos in Premiere Pro & After Effects
Most of my ideas for tutorials come from struggles that I have experienced while learning how to edit videos. I’ll be needing to know how to do something, there’s no video or tutorial readily available, and I’ll eventually end up figuring it out on my own.
Take this tutorial for example: back in 2013 I was really getting into timelapses, shooting them all over Texas and around the country. In the process of shooting these though, I realized that my camera sensor had a lot of dust spots on it that I hadn’t noticed while filming 1080p video, but were definitely obvious in a 4K timelapse. Unlike Photoshop or Lightroom though, editing video involves moving pictures, so you can’t just clone or healing brush some dust away, because it will be immediately obvious when you hit play.
Thankfully after a lot of research, I found a tutorial on the Magic Timelapses Blog written by a guy (I think his name is Michael) back in 2010. In it, he detailed how he used After Effects to quickly and easily remove dust and sensor spots from any video. I was completely mindblown and proceeded to use this technique for years.
More recently, as I’ve been creating more video tutorials, reviews, and other helpful videos for filmmakers, I realized that this method of removing dust and sensor spots from videos is now even more necessary. With 4K video and mirrorless cameras, it is no longer a question of if you will get a dust spot, but when. My goal with this tutorial is to save you a ton of time, headache, and stress, and to show you how to quickly and easily remove dust and sensor spots using Premiere Pro. And if you have a lot of dust spots, I show you how to do it even quicker in After Effects.
As always, if you have any questions or comments about this tutorial, wedding filmmaking, or creating videos in general, please feel free to get in touch.
How To Film Incredible Dancing Footage In Your Wedding Films!
There are some things that you can learn by reading books and manuals, but some only come through years of experience. In my wedding tutorial vlogs, I attempt to distill all my years of knowledge into easy to understand tips and tutorials to give you a “shortcut” so you can improve quicker. My goal with these tutorials is to not only tell you how I do something, but why I do it.
To date, some of my favorite videos tutorials to create have been “A Wedding Filmmaker’s Guide to Posing The Couple,” and my “Establishing Shots: Why they are important and how to film them!” I only wish I had more things like this when I was starting out.
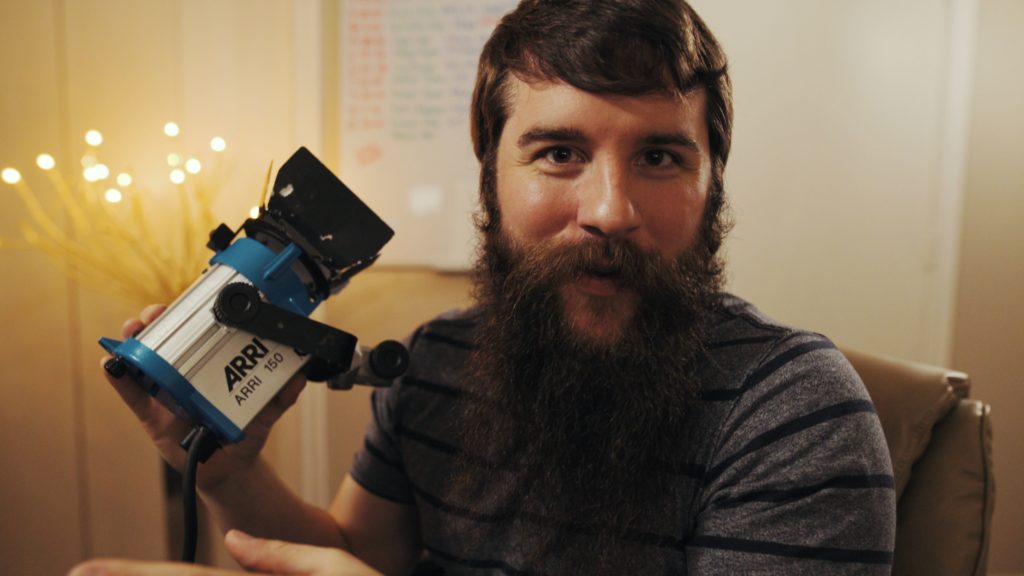
Today, in the same vein as those favorite tutorials I bring you a new one, all about how I film dancing at a wedding reception. In it, I cover four key tips that should help your improve your footage of people dancing during a wedding reception. The open dance floor doesn’t have to be boring or intimidating! It can be a lot of fun, I promise.
In this video I cover:
- How to interact with the couple, wedding coordinator, and DJ when preparing to film the dancing at the reception.
- A way to light the dance floor and make it look incredible even when there’s awful venue lighting.
- My go-to technique to get more energetic dancing shots that show how much fun the wedding guests were having.
- The exact way I shoot to make editing dancing footage super easy in post (it’s almost editing itself!)
If any of that interests you, I would highly recommend checking out the video.
As always, if you have any questions or comments, please feel free to leave one below or get in touch.
Get the lights, stands, and dimmer I talked about in the video on my Kit page.
Check out the wedding films I used in this video:
- Meant To Be Together Since Grade School
- Scotland Meets Texas
- High School Sweethearts in the Hill Country
- My breath of life, my other half, my Cinderella
You can check out the rest of the gear I use for filmmaking at my Gear Page.
I am also now offering one-on-one personal filmmaker consulting! Wanna talk about cameras, lighting, or booking clients? Let’s do it!
How To Export HD Video in Premiere Pro CC for YouTube and Vimeo
Save time and download my free 1080p Export Preset for Premiere Pro!
This is the second video in my tutorial series all about the video settings that I use when rendering my videos in Adobe Premiere Pro CC. While first video and text tutorial was all about my 4K export settings, this one tackles my 1080p export settings. If you are using Adobe Premiere Pro CS6, CS 5.5, or CS5, I have an earlier blog post I wrote back in 2012 detailing my 1080p export settings for those programs.
This tutorial is significantly shorter than my 4K export settings tutorial due to me not going nearly as in-depth about my reasoning for choosing the settings that I use. So if you are watching this video or reading the text tutorial below and are confused about why I am using a certain setting, I would highly recommend watching the 4K export settings video, as many of the settings that I go over are similar and include explanations.
Want to export even faster? Instead of creating your own export preset, just download and use mine!
Lastly, if you would rather read how to export your videos in 1080p instead of watch, I have included a text tutorial with screenshots below, detailing my exact export settings.
My text guide for how to export 1080p video in Premiere Pro CC for YouTube and Video
First, make sure you have Adobe Premiere Pro installed. Don’t have a copy of Premiere?! Download a free 7-day trial from adobe here.
SEQUENCE PRESET SETUP
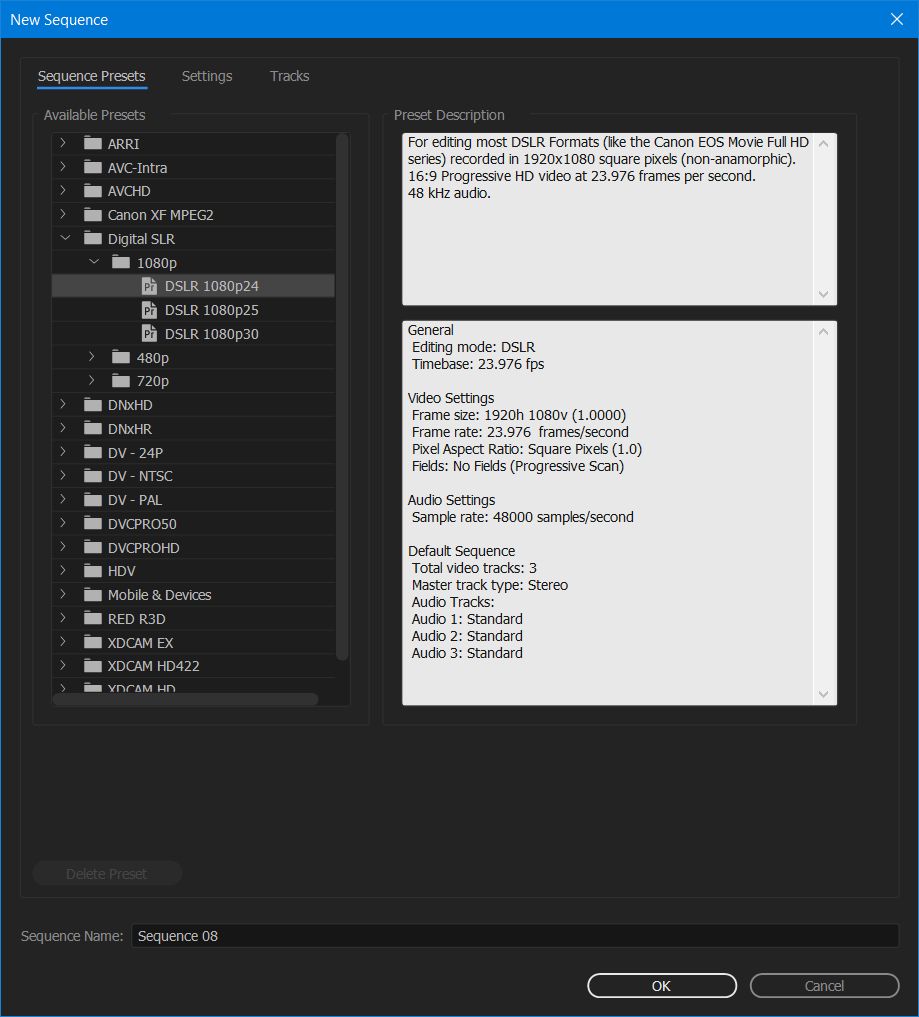
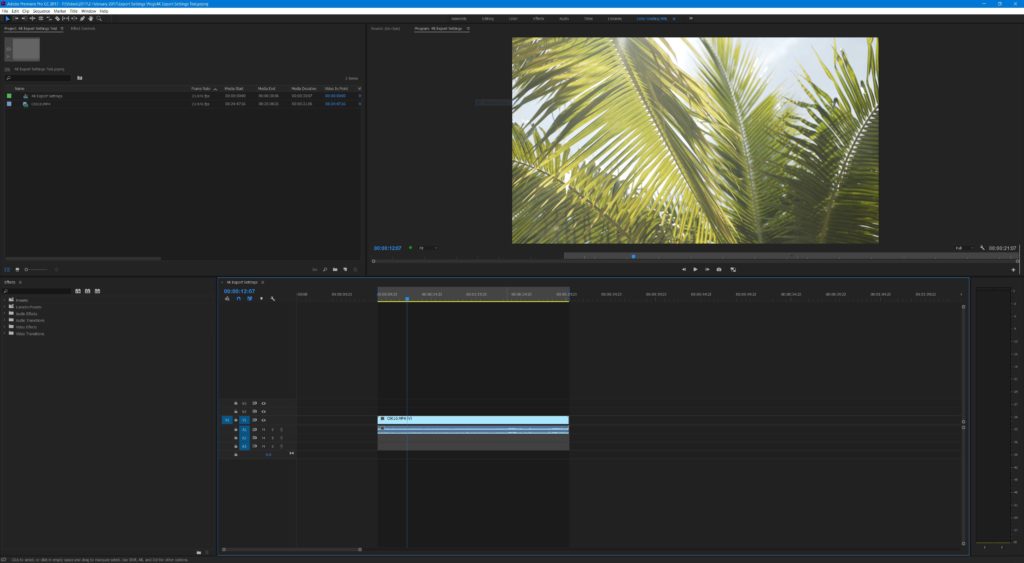
Before I get to my export settings, I need to discuss the sequence preset that I use. Premiere uses the term “sequence” to describe the timeline that you will use when editing your video. It is important to select a sequence preset that is the same as the video settings that you used when filming with your camera. You can use “Ctrl + N” or go to “File > New > Sequence” to open the new sequence dialog box. For the video clip I use in this project, I filmed in 1920×1080 resolution at 120fps with the Sony A7Sii. I then used Premiere to interpret the footage to 23.976 fps and that is what we will be exporting today. I need to select a new sequence preset that is the same as these video settings. Select Digital SLR > 1080p > DSLR 1080p24. Name your sequence in the dialogue box below, and click “OK.”
EDIT YOUR VIDEO
Your video is now ready to be edited as you would normally on the timeline. Once you have finished editing and are ready to export your video, go to the next step.
SET YOUR IN AND OUT POINTS
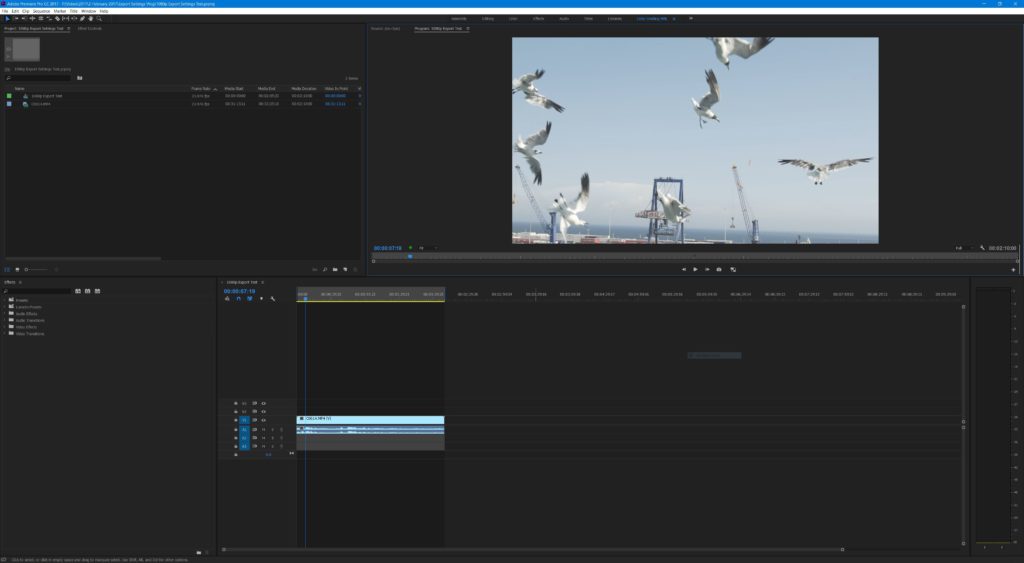
Once your video is edited and ready to render. You need to set your “In” and “Out” points. Do this by moving the video playhead to where you want the opening frame of your rendered video to begin and press the “I” key on your keyboard. Then move the playhead to the end of your video and select the “O” key on your keyboard. The timeline will turn a darker color where your in and out points are selected. It is now time to export your video! With the timeline selected you can either press “Ctrl + M” on the keyboard, or navigate to “File > Export > Media” in the menu.
BEGIN CHANGING YOUR EXPORT SETTINGS
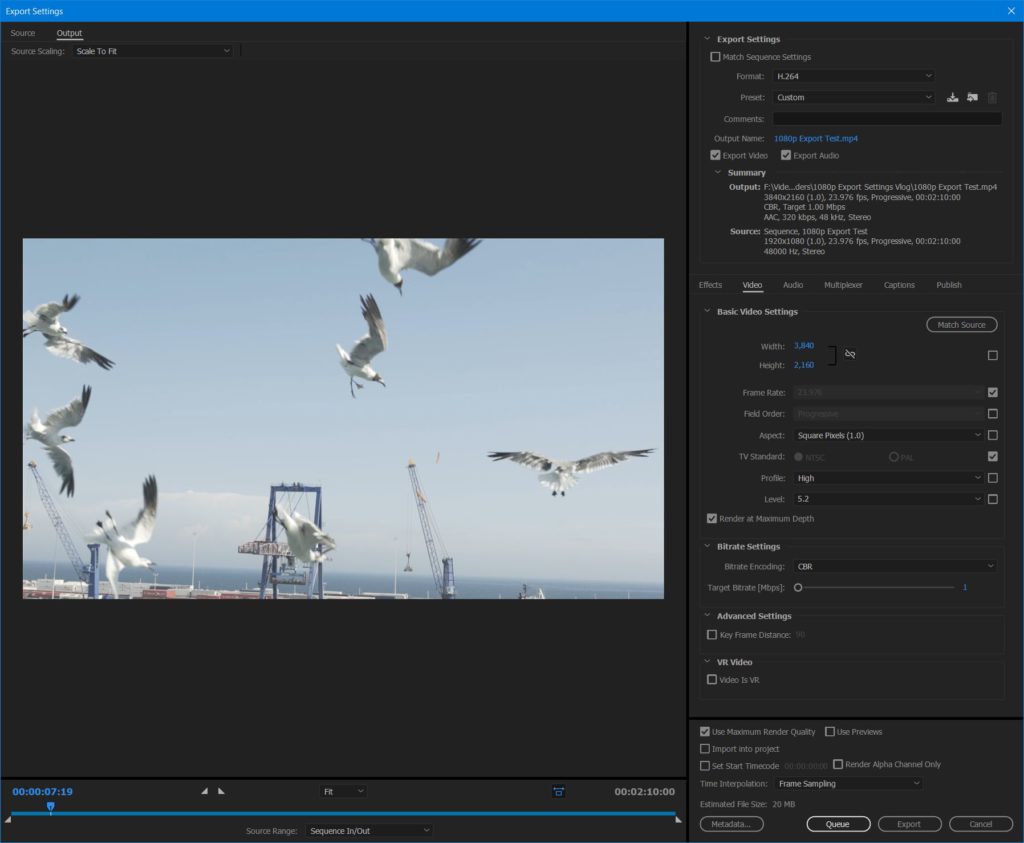
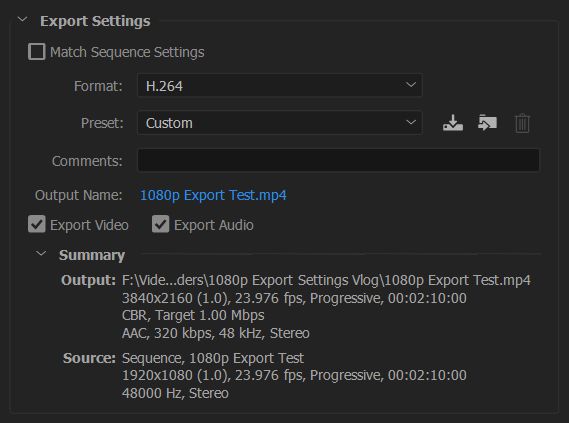
You’ve now opened the “Export Settings” dialog box and there’s approximately 3,000 settings you could change. Don’t freak out though, we’re going to tackle this one section at a time. First, under the “Export Settings” heading on the left, next to “Format” select “H.264” from the drop down menu. For Preset select, “Custom.” Click the blue text next to “Output Name” and select a name and location to save your video file. Make sure both the “Export Video” and “Export Audio” boxes are checked.
BASIC VIDEO SETTINGS AND BITRATE SETTINGS FOR YOUTUBE, VIMEO, FACEBOOK, AND OTHER VIDEO SITES
If you are uploading your video to YouTube, Vimeo, Facebook, or any other video site, I recommend using the below settings. The file sizes will be quite large, but this will ensure that your video retains its quality when you upload it to these sites and they convert it into different formats and resolutions. Also, if you want to know my reasoning for choosing these settings, please watch my 4K export settings video.
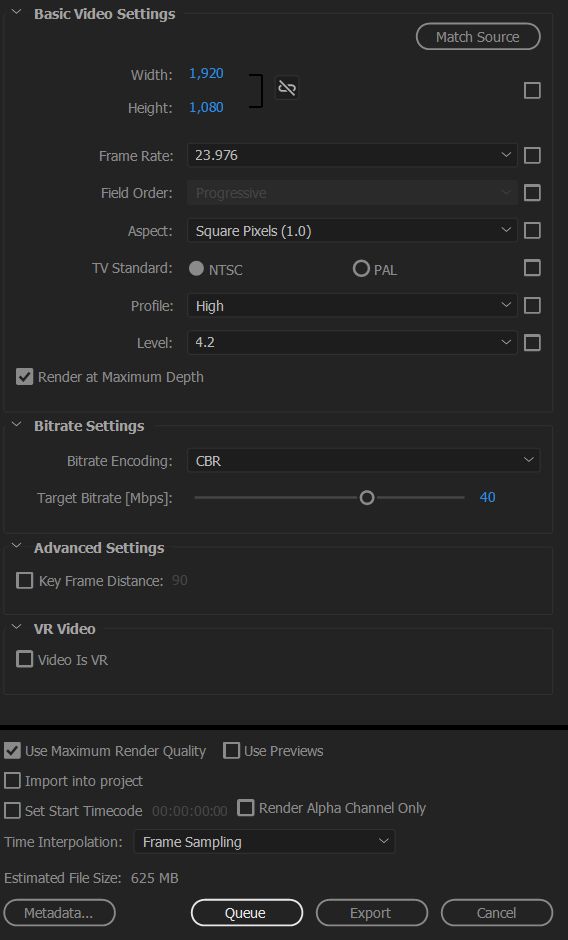
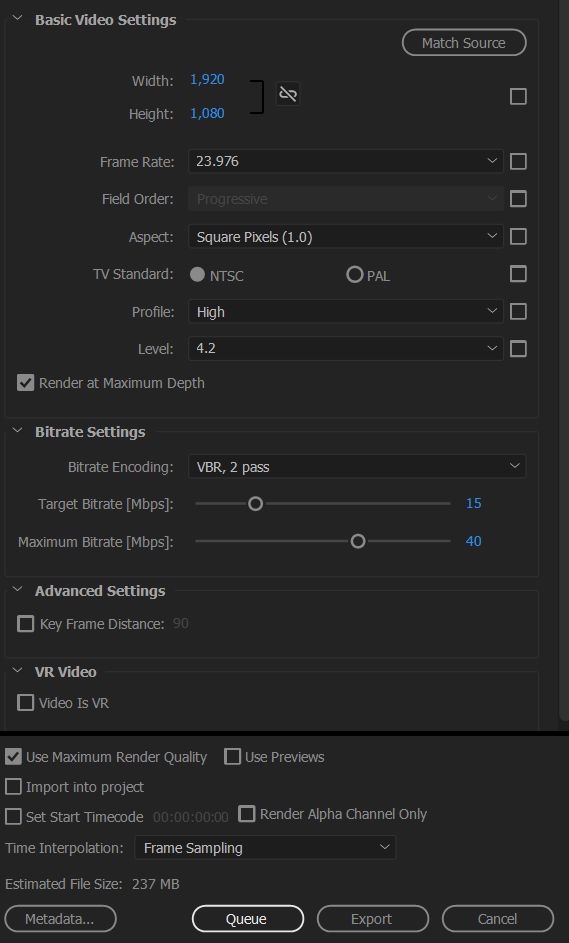
Select the “Video Tab” in the middle of the export settings dialog box and set “Profile” to “High” and “Level” to “4.2”. Then make sure your “Width” is set to “1,920” and your “Height” is set to “1,080”. Set your frame rate to “23.976”, and check the “Render at Maximum Depth.”
Under “Bitrate Settings” set “Bitrate Encoding” to “CBR” and your “Target Bitrate [Mbps] to “40.” Lastly, check “Use Maximum Render Quality” at the bottom.
BITRATE SETTINGS FOR GIVING YOUR 1080p VIDEO TO CLIENTS
If you are not planning on uploading your video to an online video site, and instead are giving it to a client, I would recommend using these bitrate settings because the file size won’t be nearly as large.
For “Basic Video Settings” use the same settings as you would if you were uploading to an online video site. For “Bitrate Settings,” change “Bitrate Encoding” to “VBR, 2 Pass.” Set “Target Bitrate [Mbps]” to “15” and Maximum Bitrate [Mbps] to “40”. Lastly, check “Use Maximum Render Quality” at the bottom.
CHANGE YOUR AUDIO EXPORT SETTINGS
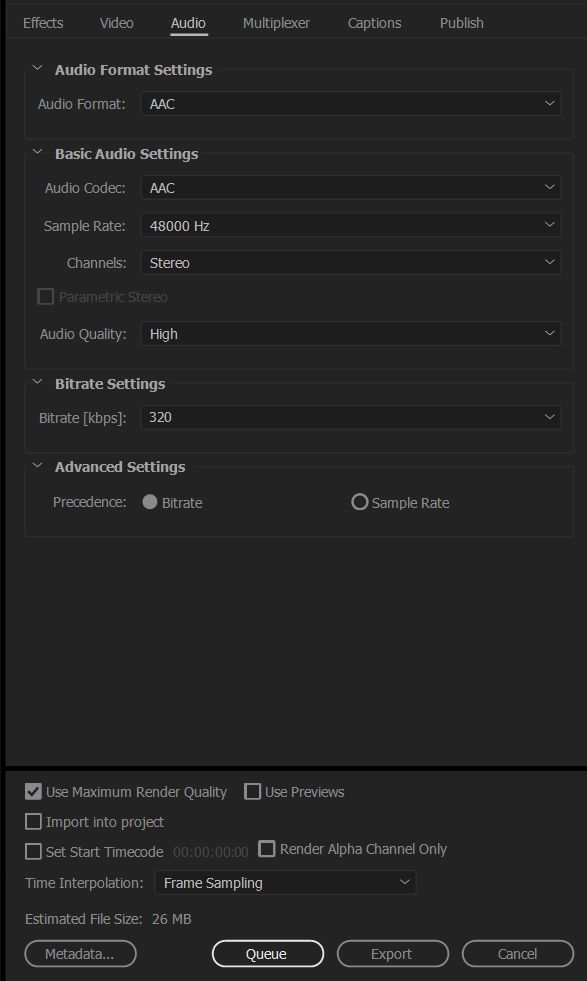
Click the “Audio” tab in the middle of the Export Settings window and for “Audio Format” select “AAC”. Under Basic Audio Settings, set the “Audio Codec” to “AAC”, Sample Rate to “48000 Hz”, “Channels” to “Stereo”, and “Audio Quality” to “High”. Lastly, for “Bitrate Settings” set “Bitrate [kbps]” to “320” and under Advanced Settings set “Precedence” to “Bitrate”.
SAVE YOUR VIDEO PRESET
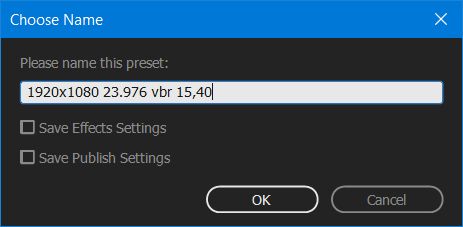
Now that you have created your video settings, click the down arrow icon to the right of your “Preset” at the top, and name your new Export Preset either “1920×1080 23.976 cbr 40” or “1920×1080 23.976 vbr 15,40” depending on whether you are saving the 40mbps CBR preset or the 15,40 VBR preset.
EXPORT YOUR VIDEO
You are ready to click “Queue” or “Export” at the bottom of the dialog box and render your video!
I hope this video and tutorial has been helpful to you. As always, if you have any questions or comments, please feel free to leave one below or get in touch.

