
Ten things I wish I’d known before filming in Iceland: sand and ash insurance, chip-and-PIN pumps, where drones are actually banned, and the map that finds the good spots.
Continue reading
Ten things I wish I’d known before filming in Iceland: sand and ash insurance, chip-and-PIN pumps, where drones are actually banned, and the map that finds the good spots.
Continue reading
This is the fourth and final part of my behind the scenes of Noah and Mal’s wedding film, and it covers the entire wedding reception from beginning to end, including the massive lightning storm that rolled through and nearly ruined the whole thing. They had to move everything inside, everyone panicked, and I genuinely thought the wedding might be over at that point. It wasn’t! But I did not promise you a perfect wedding here. I promised you a real wedding with real people and real chaos, and that is exactly what you’re gonna get.
If you want everything else from the day, the first three parts cover it: planning, gear, and establishing shots in Part 1, bride and groom prep in Part 2, and the ceremony in Part 3. And here is Noah and Mal’s actual wedding film, which is the whole reason this series exists, so please go watch it.
The ceremony is over, which means the most stressful part of the day is behind me, and it went faster than I thought it would because I was busy miking people up. I walked outside thinking I had some time, and people were already lined up. No time at all. So the transition into reception mode starts immediately: move all of the audio gear over to the sound board, make sure the spotlight is set up, and use the few minutes of downtime while the photographer is shooting group shots and family photos.

The nice thing here is that the reception audio setup is the exact same setup I used for the ceremony. Same recorder, same connections, because the venue is running essentially the same board.
I plug into the tape output on the board, black into the left, and hit the test record button so the recorder starts receiving signal. And immediately it’s maxed out with nothing happening, which tells me there’s signal but it’s just buzz, because the mic situation isn’t sorted yet. So I go find the sound guy who was running music during the ceremony, ask him to talk into the mic, and stand there giving him a thumbs up if it registers.
This is the part nobody puts in a highlight reel and it is the single most important thing you will do all reception. If the toasts don’t record, you do not have a wedding film, you have a music video. So my rule is two sources of audio, always: my recorder plugged into the board, and a backup recorder sitting up on the mic stand with a mic wrap holding it in place. Whenever one of them fails, and one of them will eventually fail, the other one saves the film.
Every single piece of audio gear I use when filmmaking is listed here.
Normally we don’t take the couple out until after they’ve eaten, so around 6:30. But my phone was telling me there was a severe thunderstorm watch in the county and there was a really big line of weather heading our way, so we asked if we could steal them for five minutes out in the field. The photographer took them out, we followed along, got some great stuff, and then I jumped in and worked with him to get images I’m genuinely excited about.

The direction I’m giving is not complicated. Walk together, laugh, look back at him. Put your back to him and snug up against him, then flip around so you’re turned toward the light. That’s it. And then we had two more minutes while people were still walking in, so I grabbed them one more time and put them up against a big oak tree, and with the wind blowing it looked unbelievable in slow motion.
I want to be clear about the slow motion thing, because I don’t shoot everything in slow motion. Shooting slow motion for everything is overkill and it flattens the whole film out. But for a moment like this, where they’re holding onto each other right after getting married and the wind is doing something you could never art direct, slow motion is gold. That is what it’s for.
Earlier in the day we learned the bridesmaids and groomsmen had bought confetti cannons and wanted to fire them off after the toasts, and we said that’s not super compelling, could you do something else with them. So they moved it to the reception entrance instead, which is so much better, and the only rule they were given was that it had to happen indoors so it could be cleaned up easily.

My plan for the entrance is simple: I’m on the glidecam backing up through the doors as they come in, and my second shooter is off to the side getting detail shots. Two angles, two very different jobs, and we’re never both filming the same thing the same way. If you do not have a second shooter, filming a wedding solo changes how you plan all of this.
Before the couple enters, go stand inside and look at your image. I hadn’t checked the reception lighting yet and I should have done it sooner. Sure enough, the chandeliers in that room were giving me banding, and for the entrance specifically I decided to live with it, because there was no time to do anything else.
That decision came back later in a much better way, and I’ll get to it, but the lesson is: walk into every room you are going to film in and roll a few seconds before it matters. Whenever you find banding at the moment the bride is walking through the door, it is too late to fix it.

The forecast that morning said a ten percent chance of rain. What actually showed up looked like a tornado. This is what happens on a wedding day, you cannot predict anything, so you just roll with it, and at the very minimum it was clear they were going to have to move the toasts inside, which meant I needed to move my light inside, figure out new angles, and rebuild my whole plan on the spot.

The light I had spent about ten minutes setting up under the dance floor had to come out and go inside. I left the dimmer behind because I did not have time to crawl under the deck and unplug everything, especially since they might end up moving back outside later. It was an eighteen dollar dimmer and it’s built like a tank, so I wasn’t losing sleep over it. Somebody handed me a trash bag to cover gear with, and inside we went.
Standing there waiting for lightning to strike in the background so I could film it, in the middle of a wedding, is a pretty good summary of this job.
Inside, the spotlight went up even without the dimmer and it still looked good, and on top of that I brought in the LED panel I always carry for exactly this reason. We put the mic stand where the back of the frame would be the windows, hoping for lightning behind whoever was speaking, which is a ridiculous thing to get to say out loud.

The couple sits off to one side with the LED panel angled down on them for some nice side light, and we tweak the angle once they actually sit down, because you never get it right in an empty chair. And then the thing I care about most during toasts is not the person at the mic at all. It’s the bride’s reaction and the crowd’s reaction. Those are the shots that make the toast sequence work.

By the time toasts start, we have the recorder running into the sound board and the backup recorder up on the mic itself, everything is inside, the chandelier is doing its thing, the music is playing, and honestly it’s going great. Two audio sources, a long lens on the speaker, a second camera on reactions.
Here’s the thing I promised to come back to. Because I had already talked to the venue owners earlier in the day and built a good rapport with them, I could walk up mid-reception and say hey, I really need these chandeliers off, they are causing horrible banding. And they turned them all off. That is not a gear tip, that is a be-nice-to-people tip, and it saved the dancing footage.

The other half of dancing is that Rachel and I deliberately shoot the same people at the same time from different angles, so that whenever we get into the edit we have real sequences to cut together instead of two unrelated piles of footage. If she’s on a bridesmaid, I’m on that same bridesmaid from somewhere else. We stick together while shooting dancing, just like we try to stick together on everything else.
Get in the action, get close, accept that it is harder to focus, and mix your slow motion with real speed rather than shooting the whole party at 60fps.
For the exit, two of us walked backward in front of the couple, which is the arrangement that gets you the shot without anybody tripping over a sparkler. And then the sky did the thing.

That is the best exit I have ever filmed. The lightning behind them was insane. I would like every wedding to have lightning like that somehow, and I recognize that is not a reasonable thing to want.

So if you take one thing away from this video, take this: roll with it. Just roll with everything and you will be fine. Don’t stress, keep your camera on you at all times, and be ready to film no matter what happens. That is honestly what ninety five percent of filming a wedding is, rolling with it, hoping for the best, but being prepared for every eventuality you can think of ahead of time.
There are three things I’d recommend doing after you film a wedding. Four, if you count stopping at Whataburger, which is required, because we’re in Texas.
Don’t drive home if it’s longer than about two hours. This one was an hour and a half, which is fine. But if the wedding ends at midnight and you’re driving until 2:30 in the morning, that’s a bad idea and you know it is. Ideally book weddings closer to home, or book a hotel room.
Back up your cards the second you get home. Don’t wait until tomorrow. You will forget something. Do it while you’re fresh and while you still remember what you shot, so you’re clicking through going this is good, this is good, this is good. Get everything into two places at minimum, on the cards and on the computer. For me that means copying every camera, the drone, and every audio recorder, which takes about an hour, and then it goes to another hard drive and up to the internet after that.
Sleep. Sleep like you are in a coma. Do nothing the next day if you can possibly arrange it. The day after this wedding we had scheduled exactly nothing except eating pizza with friends and maybe playing Settlers of Catan. Wake up at noon, eat a massive brunch to recover the calories, and then play video games for six hours. You are self employed. Taking the day off is the entire point, and if you never actually do it, being self employed isn’t worth much.
Here’s every piece of gear I used to film this wedding, and here is the audio gear specifically. A few of the pieces that did the heavy lifting during this reception:
Everything was edited in Adobe Premiere Pro and color graded with my LUTs.
Special thanks to my friend Paul Bailey for helping film this behind the scenes. Go check out Paul Bailey’s work.
If this was helpful, the rest of the series is right here: Part 1, planning, gear, and establishing shots, Part 2, bride and groom prep, and Part 3, the ceremony. And please go watch Noah and Mal’s wedding film, because if you’ve made it through four behind the scenes videos and haven’t watched the actual film, what are you doing?
Want to book more weddings? Download my free quick tips guide to booking more wedding film clients. Want help with the editing side? My wedding film editing course is here. And come join the Learn Wedding Filmmaking Facebook group, where a lot of this stuff gets talked through.
The music licensing sites I recommend are Soundstripe (use the code WHOISMATT for 10% off a yearly or monthly subscription), Artlist (two extra months free), and Musicbed.
This reception was filmed in 2017 and the post went up in November of that year. The cameras and lenses have moved on since, and I’d shoot some of this differently today, but the audio redundancy, the two-shooters-on-the-same-subject rule, and the be-nice-to-the-venue-owner advice have not aged a day.
I’m required to state that I’m part of affiliate programs for Amazon, B&H, Soundstripe, Artlist, Musicbed, and Adobe, and that some of the links above are affiliate links.

The most detailed answer I have to how do you film a wedding ceremony: the angles, how many cameras you actually need, where to stand so photographers never get in your shots, four sources of audio, and every camera setting I used.
Continue reading
This is part two of the behind the scenes of Noah and Mallorie’s wedding film, and it covers every aspect of the bride and groom getting ready: getting dressed, hair and makeup, the letters they wrote to each other, everything leading up to the ceremony.
If you missed it, part one covers all the pre-production, the establishing shots, and every piece of gear we brought. And here’s Noah and Mallorie’s actual wedding film, which is what all of this was in service of.
What’s covered here:
And every lens, focal length, aperture, and ISO is burned right into the screen in the video, so you can follow along exactly.
Both of them got ready in the same building, which means job one is keeping them from seeing each other. Job two is that the two rooms were not remotely equal.
The bride had a massive space with a beautiful window. She also had this kind of gross 3200K tungsten light hanging over the makeup area, and if you shoot her under that you’ve thrown away the best thing about the room. So the plan whenever Mallorie is getting ready is simple: move her over by the window and use the pretty natural light instead.
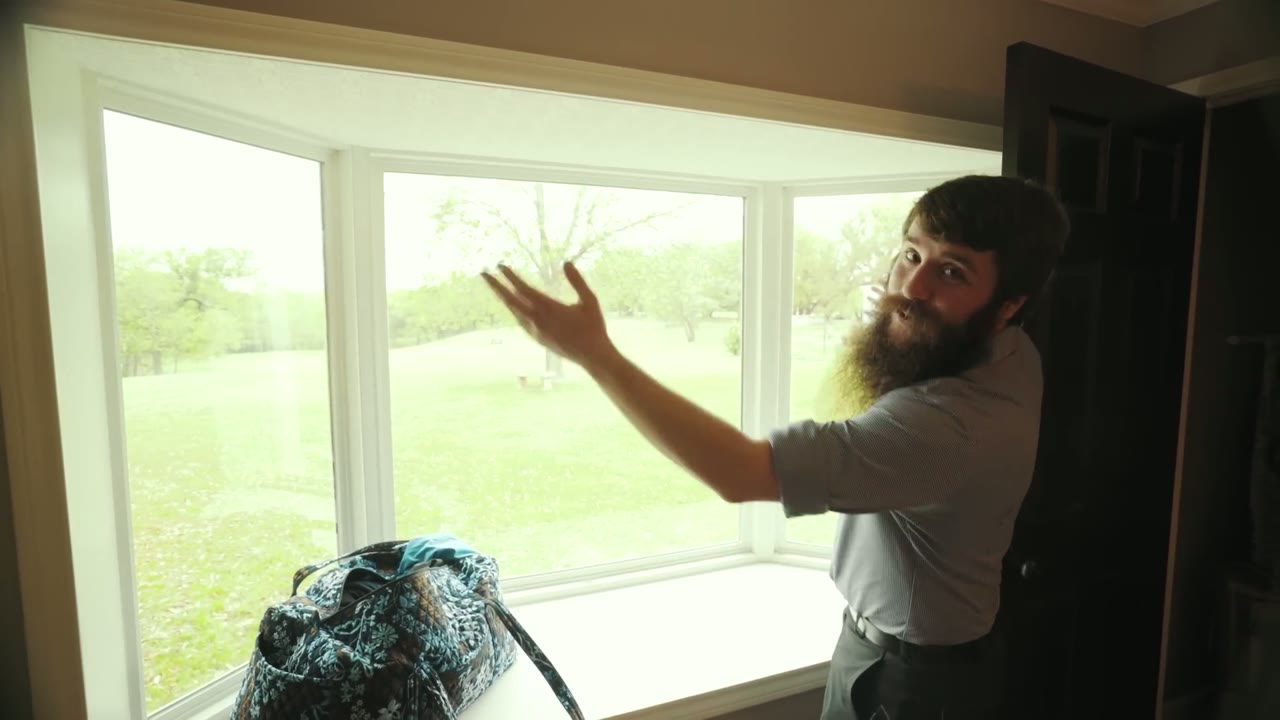
The groom got a really tiny room. Slightly more cramped, slightly darker, still workable, still totally workable. Cute little bathroom, cute little closet, and no window, which is the actual problem. But there was a door with glass in it, and another window over by the couch.
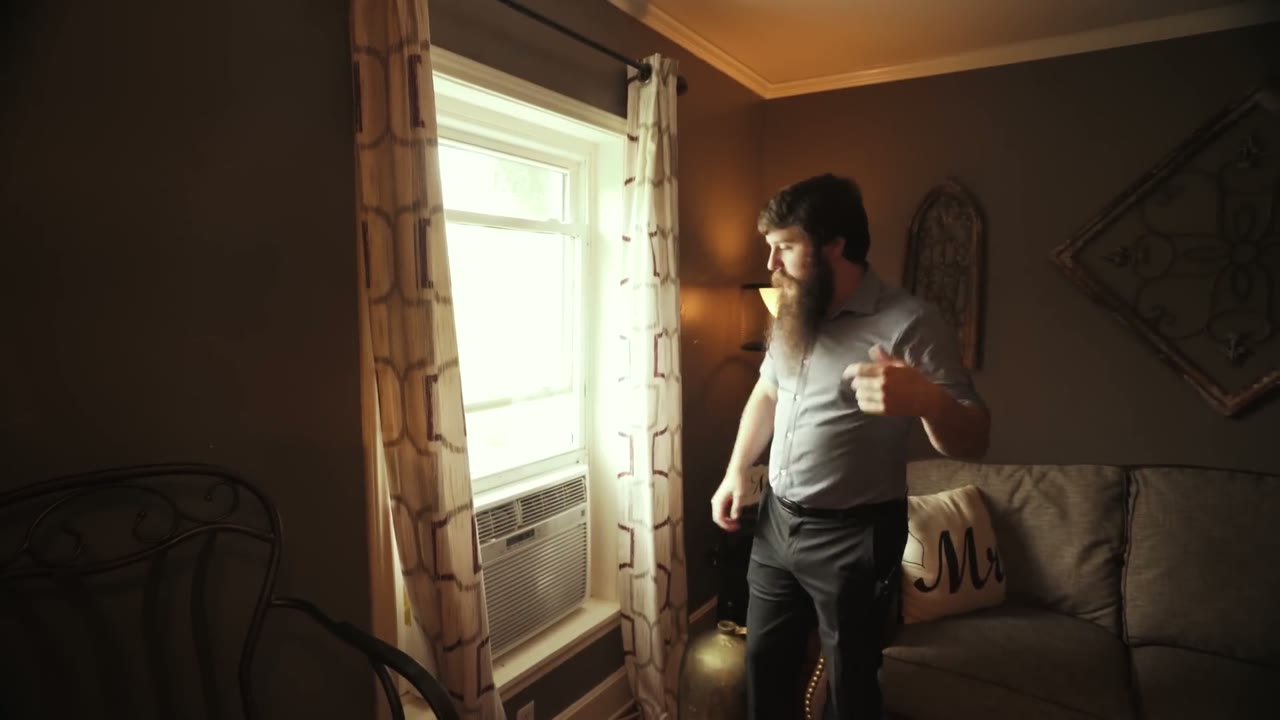
This is exactly the argument for showing up early and doing as much pre-production as you can, because whenever you’re in the space ahead of time you can still change things to make them look as good as possible for the film.
One thing we like to do is walk in and turn off every light in the room before anybody arrives. People come in, it’s dark, somebody says something, and you go “no, leave it.” Give it a few minutes and their eyes adjust and nobody complains again. Now the only light in the room is coming through a window, and it’s beautiful.
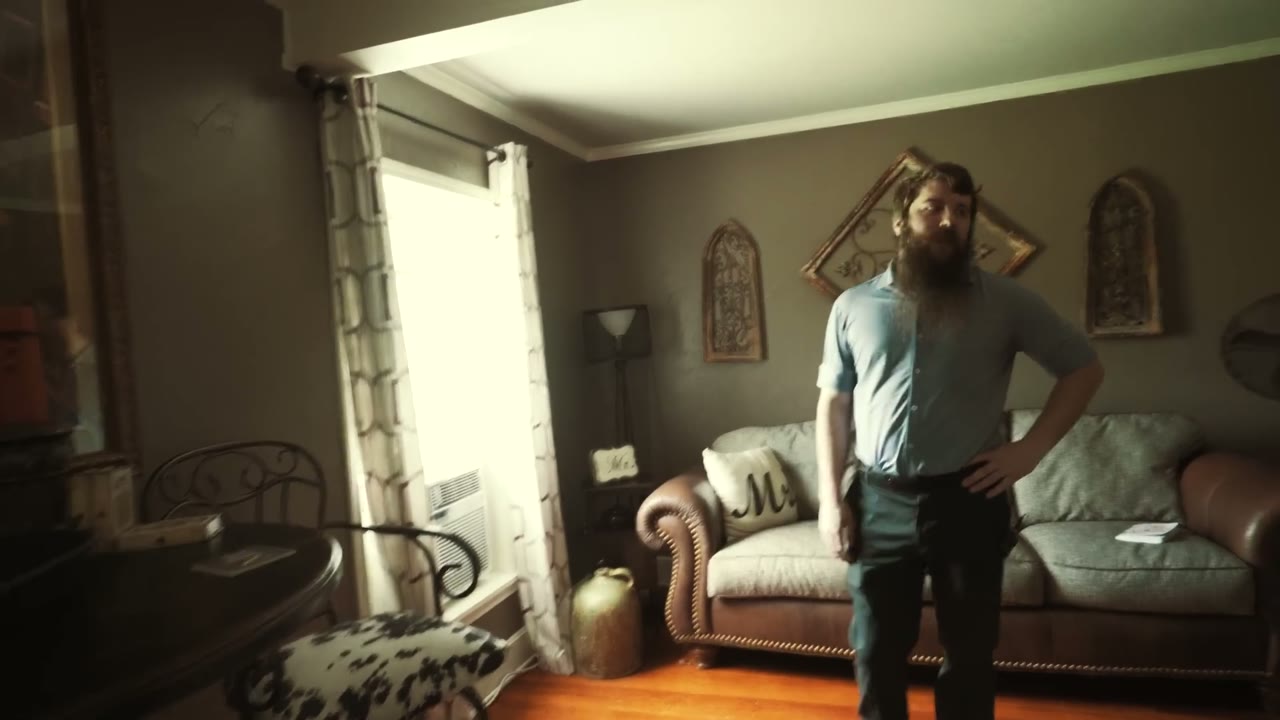
Then we move things. We are not afraid to completely rearrange a room if that’s what it takes to make it look pretty. Chairs go against the wall, the couch gets shoved back, and suddenly there’s room to work. Watch for what sneaks into frame while you’re at it, because an AC unit in the background of your hero shot is not, as the kids apparently say, fleek.
Before rolling on the groom getting dressed, I put him on a mark and told him this is home base. Stand here, face this way, this is where the light comes in from outside, and after every single thing you do, come back to this spot. Line yourself up with the edge of the couch so you remember it.
That one instruction is worth an enormous amount, because now I can shoot a wide, then move in for a close-up, then move again, and every shot still cuts together, because he keeps returning to the same place in the same light.

For getting-ready coverage we shoot 4K at 30 frames per second and conform everything down to 23.976 in the edit. That gives you around 20 to 25 percent slow motion, which isn’t a ton, it just adds a slightly dreamy look, and that’s exactly what we want for this part of the day.

The letters are the exception. Whenever we film someone reading a letter out loud, we switch the cameras to 24 frames per second, because we don’t want any slow motion at all, we want their lips to match the audio.
A Sennheiser G3 lav running into a Zoom H5. I know wireless makes some people gasp, but the whole point is that I’m standing right there with headphones on the recorder, so if there’s static or interference I hear it immediately and we do the take again.
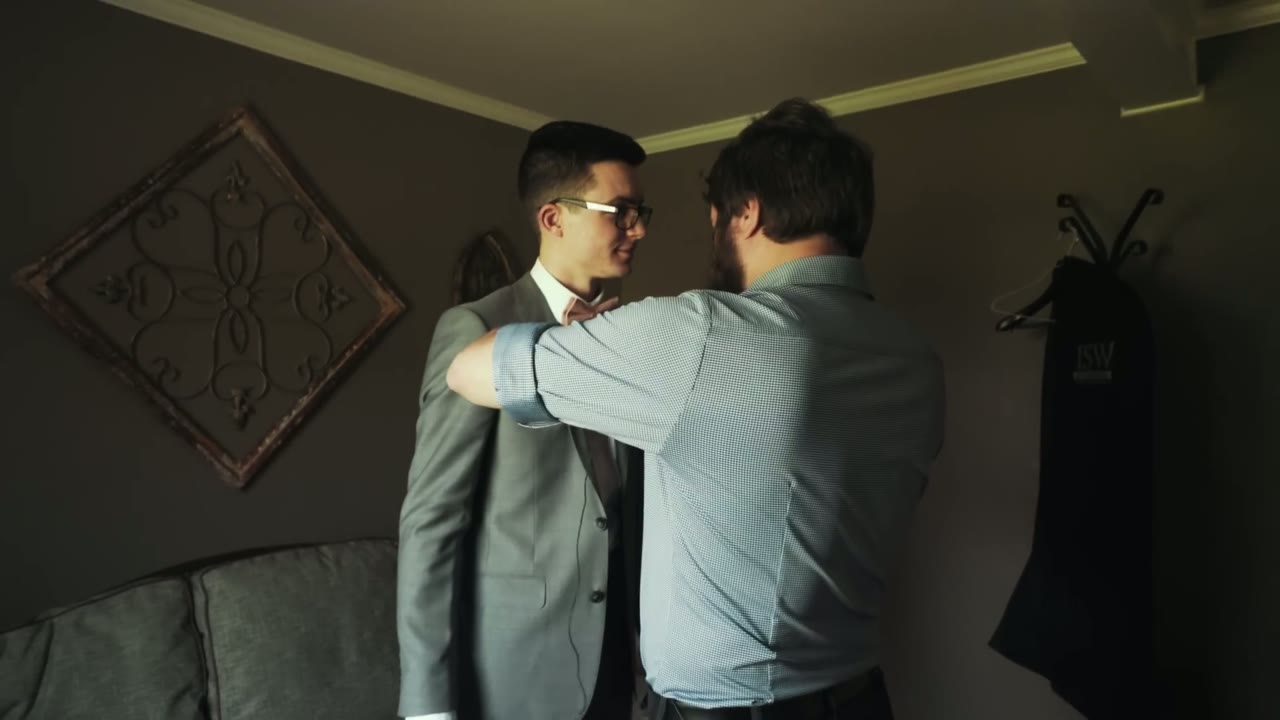
I generally mic the groom and Rachel mics the bride, which just makes the whole thing less awkward. Sometimes the bride is still in a bathrobe and you do not want to be the guy asking to run a cable up her shirt.
The mic itself is fully visible on his shirt, and it does not matter at all, because of how we’re framing. I shoot down low, roughly in the eyeline of whoever is reading, head and shoulders. Rachel comes in tight on the face. Between the two angles the lav never makes it into a single frame.

Have them say “test, test, 1, 2, 3,” and then have them say the word toast. Toast is great because it gives you that hard S sound, so you get your levels and you get to hear how the sibilance is behaving, which tells you a lot in one word.
Where’d I learn that? Mission Impossible. Tom Cruise did it whenever he was checking audio levels and I stole it. I’m not crazy, it’s true.
Once you’ve got the audio, here’s how I make it sound incredible in Premiere, using this exact letter reading as the example.
The bride’s room had a blown-out window right behind where I needed her to be. So out come the prisms. Holding one in front of the lens lets me physically block part of that blown-out background, which keeps her properly exposed while turning the hot spot into something that looks intentional and cool instead of broken.
🌈 The prism I use is on my Gear page here.
On lenses: that room got cramped fast, so I was on the Sigma 50mm and Rachel was on the Sony 135mm, and the 135 is about as long as we’d ever want to go in a space that tight. You’re just trying to get exactly what you need without backing into a wall.
We don’t start at the very beginning, because going from no makeup to finished makeup is a pretty extreme transition on camera. We generally get in around halfway through.
We also don’t film hair extensions or fake eyelashes going in. Both of those just look weird on camera, all glue and weaving, and it does nothing for the film. And keep in mind the makeup artist is under real pressure in that moment, so give her room.

The photographers arrived partway through and we shared the space, which worked really well because we know them, we’ve worked with them, and we’d talked to them before the wedding. They also knew ahead of time that Paul was coming to shoot this behind the scenes, so nobody was surprised and nothing got weird. That conversation is worth having every single time.
Even though I’ve shot hundreds of weddings at this point, I still forget things, which is exactly why I have Rachel. On the first take of the bride reading her letter, I was recording at 30 frames per second instead of 24. Rachel caught it. I let her finish the read anyway, because the emotion was really good, and honestly the difference between 30 and 24 on one timeline is not massive and most people wouldn’t necessarily notice.
But they’re paying me money and I want to do a good job, so we asked if she’d read it again, and the second take was at the right frame rate. The emotion was still there.
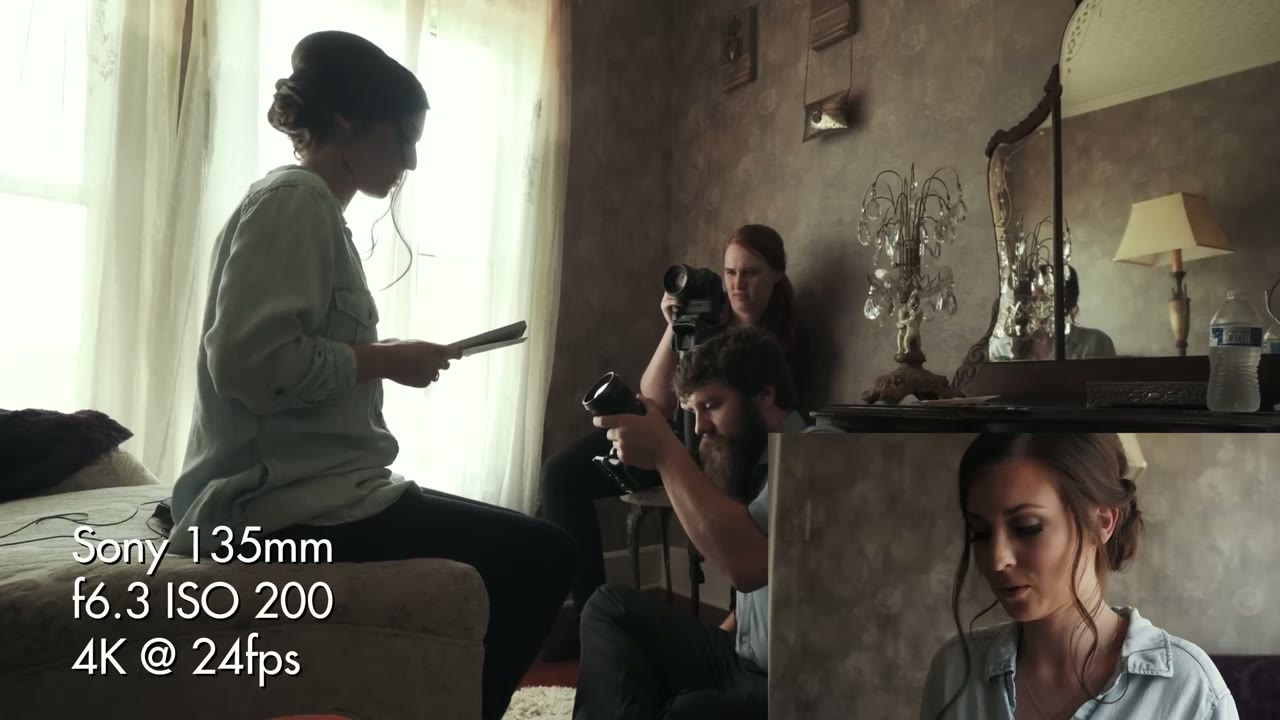
So, hey, even we screw up. Now you know we’re total failures. It’s humbling.
She got into the dress in the other room, but we filmed the zip-up back in the smaller one, because even though that space is tight, the light in there is genuinely pretty, and we like the pretty light. That’s the whole decision. Pick the room with the good window, not the room with the space.

At this point in the day we’ve got the groom getting dressed, the bride getting dressed, hair and makeup, and both of them reading letters to each other. From a storyline perspective we are already doing really well, and the ceremony hasn’t even started.
That’s what makes prep coverage worth all this trouble: two people have now said, in their own words and their own voices, how they feel about this day. Add the ceremony and the toasts to that and the film is shaping up to be really, really good. It makes me happy.
Special thanks to my friend Paul Bailey for helping film this behind the scenes. 🎥 Check out Paul Bailey’s work here.
Part 3 covers the ceremony: how we set up the cameras, how we set up the audio, the angles we use, and yes, whether I follow the bride down the aisle. Secret: I do.

Want to know how to film a wedding? This video series is going to show you exactly how I film a real wedding!
Continue reading
My brother is getting into video editing and asked me to build the best video editing computer I could for $850. I said yes, as long as I get to make a video about it!
Continue reading