Before I get to the main blog post I have a big announcement to make: I am now offering personal one-on-one hourly filmmaker consulting! Want me to critique your latest wedding film? Need recommendations about cameras, lenses, or lighting? Wanna chat about beard maintenance for an hour? I would love to talk with you, so please get in touch and schedule a consult today.
The first 5 people that signup for consulting can use the coupon code “take100” to get $100 off your first hour of consulting. 🙂
And now, on to your regularly scheduled blog post!
This is a big one. I’m giving all my audio secrets away! For over a year, the most requested topic for me to talk about is audio. Everyone apparently wants to know how I approach recording audio for a wedding film, the exact gear that I use to record the wedding notes, ceremony, and toasts, and how I make everything sound great. Well today is the day that I reveal it all! Strap in for almost thirty minutes of me covering all facets of recording audio for wedding films.
In this video I will cover:
Why audio is such a big deal for you and your audience.
The exact recorders, microphones, cables, batteries, and accessories that I use throughout the entire wedding day.
Who and what I record during the wedding ceremony.
All the ways to plug into a sound board.
How to handle DJs that won’t let you plug into their sound board.
A foolproof backup that Guarantees(!) that you will record high quality toasts audio.
Below is a full list of the Audio Equipment that I use. You can see this entire list with images and links my Kit page.
As always, if you have any questions or comments, please feel free to leave on below or get in touch.
About 9 years ago, before I was even considering pursuing a career in making videos, I entered a video contest put on by Texas A&M University called “Why I’m an Aggie.” My entry featured students speaking about why they chose Texas A&M and what they enjoyed about the university. Throughout the video, I featured pretty shots of campus that I shot with my trusty Sony HDR-UX1 (recording to mini-DVDs, SD cards weren’t fast or large enough yet).
The shot that set my contest entry apart from the others though, was an aerial video of campus that I filmed from a plane. Yes, I actually rode in a plane over campus to get a shot for my video! This blew away the judges considering that aerial video was still relatively rare (unless you happened to have a pilot father – thanks dad).
Nine years later, aerial video is now mainstream. People are buying Millennium Falcon camera drones, stuffing their dead cats and turning them into quadcopters, and anyone with a cell phone can purchase a flying camera for as little as $20. My aerial video in 2008 that took so much effort and timing, could now be accomplished by any kid with a drone Christmas present. It would probably look smoother and be better colored too.
In August of 2016, the Federal Aviation Administration passed their official rules for commercial drone usage in the United States. Up until this point, if you wanted to make money flying your drone you had to apply for a Section 333 waiver and actually possess a pilot’s license to fly a drone.
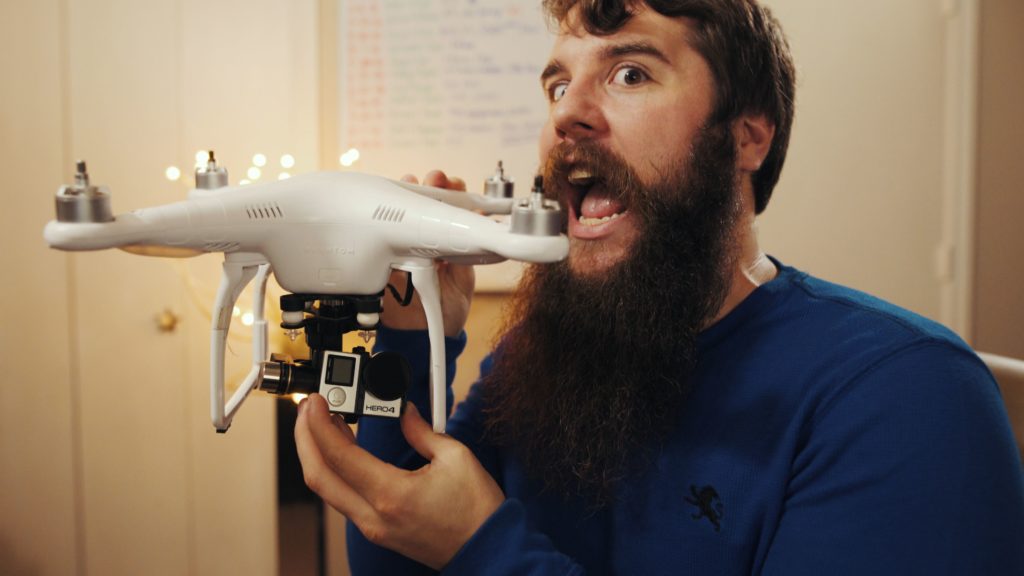
You can eat your drone, but I wouldn’t recommend it.
This all changed with the FAA’s Part 107 ruling, which made getting a license to fly your drone for commercial purposes as easy as taking a knowledge test, no pilot’s license required.
Now when I say easy, I mean easier than getting an actual pilot’s license, not that the test itself is easy. Which brings us to this video that I created today, which is all about why you should take the knowledge test, and how to study for and pass it.
In the video, I detail the exact resources that I used to pass the Part 107 knowledge test. These resources are now listed below in order that I speak about them in the video. If you study these materials, you shouldn’t need to spend any extra money on any courses or classes for the test.
But, if you find that you benefit more from a classroom setting, I would recommend checking out Drone Pilot Ground School and Remote Pilot 101.
Here are the study resources that I listed in the video, in order:
OTHER RESOURCES NOT MENTIONED IN THE VIDEO
– SkyVector
– AIRNAV
That’s it! Read and study these articles, listen to the podcast, take the practice test, and when you’re ready, go and take the real thing. If you take your time and prepare, you’ll pass like I did.
As always, if you have any questions or comments, feel free to leave one below or get in touch.
When you film weddings, it is easy to get addicted to buying the latest cameras, lenses, drones, and other new equipment that seems to come out every week. Today though, I want to talk about something different than these normal topics, and instead focus on clothing (yes, pants and such!) that will greatly improve your quality of life while filming weddings, commercials, conventions, and any other event that requires you to be on your feet for many hours a day.
Because I’m based in Texas, I spend a lot of time in the heat. Today, mid-November, the temperature was 85 degrees Fahrenheit. That may sound high to you, but to me it feels practically chilly outside due to the temperature usually being in the mid-90’s. Because Texas enjoys high temperatures 95% of the year (with two weeks of freezing in the winter), I find myself filming many outdoor weddings that are easily over 100 degrees.
Watch this video, and I’ll even show you some leg.
Faced with the prospect of either dying from a heat stroke, or learning to cope with the heat, I have located several clothing options that keep me cool and comfortable no matter the temperature or weather when filming a wedding.
Clothing List
Underwear:MeUndies – Yes, it’s underwear, and yes, it’s comfortable.
Shirts:Mizzen and Main – I recommend checking out their Spinnaker collection as they are more stretchy and comfortable in my opinion.
Armed with these garments, you will be ready to face the harshest Texas Summer. Will you still sweat? Definitely, but you won’t feel like you’re about to die like you would in regular clothes.
As always, if you have any questions or comments feel free to leave on below, or get in touch!
Having just finished two of the busiest film-making months of the year, the end is in sight! Tomorrow I film my final wedding of the year, which means after this weekend I get to hibernate, grow my beard, edit a ton of videos, and create more video blogs.
Today I bring you the fourth and final part of my series all about Run and Gun Film-making with the Sony A7Sii, and this part is all about the Function Menu. Between my previous videos all about menu customizations, mode dial modifications, and custom button settings, you would think that you would already be prepared for any type of filming with this camera and you would probably be right. I honestly debated even making this video, in light of how many features the custom buttons put at your fingertips.
Going to go grow my beard, edit videos, and hibernate for the winter…
Make no mistake though, the function menu is still a worthy inclusion into this series! It serves as a great catch-all for settings that you may not access as often, but still need within easy reach. Think of it as the cherry on top if the A7Sii was a cake, you won’t always need it but you’ll be glad it is there (horrible analogy, pie is definitely better).
When I set out to make this Run and Gun series, I didn’t quite foresee it getting this technical and lengthy (hello 38 minute menu video!), but the response of these videos has brought me much joy. I have a long list of ideas for future videos, some technical, some philosophical, all dealing with various aspects of cinematography. If you have any comments, ideas, or direction for future videos, I would be glad to hear them and add them to my list.
As always, please leave a comment below, or send me a message if you have any questions.
After a bit of a delay due to multiple projects crowding up most of the second half of September, I am finally here with part three of my Run & Gun filming with the A7Sii series. This vlog is incredibly exciting for me to share with you because it details my setup of the camera’s custom buttons, and how I use them to access my most used features of the camera incredibly quickly. I believe this is the most important video of this series, so if you watch nothing else, this one is the one to view.
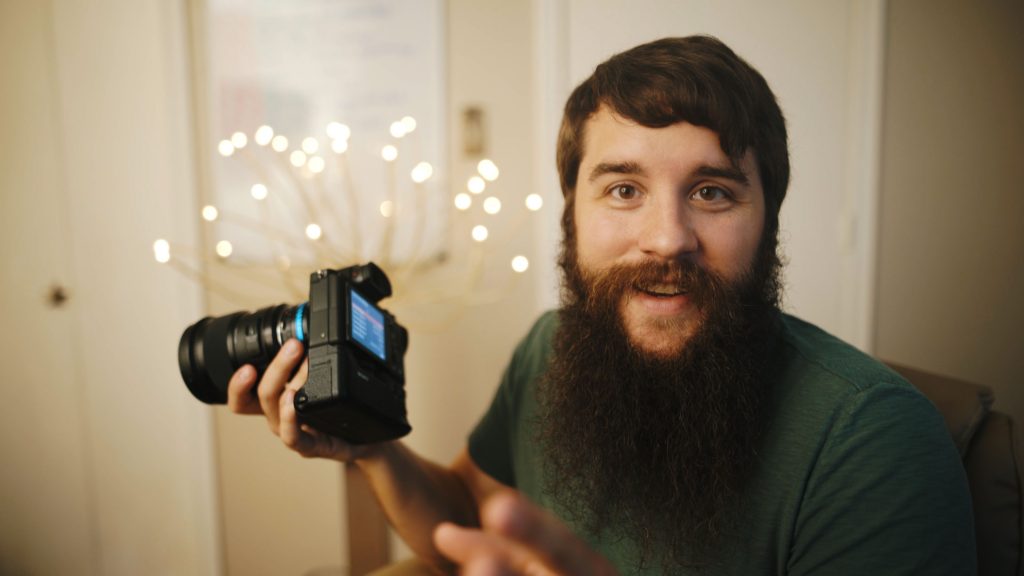
“Hey there, wanna talk about cameras?”
That said, I would highly recommend checking out part one detailing my menu setup of the A7Sii, and part two where I discuss how to use the camera’s mode dial to quickly access presets for your framerates and resolution while filming. In the future, I will also be posting a fourth and final vlog in this series, all about using the camera’s function menu to unlock even more, er, functions.
As always, if you have any questions or comments, feel free to leave on below or get in touch!
In this video I will explain about how the mode dial is actually one of the MOST AWESOME FEATURES of this camera, and how you can use it to switch frame rates, resolution, and other settings nearly instantaneously.