
My brother is getting into video editing and asked me to build the best video editing computer I could for $850. I said yes, as long as I get to make a video about it.
He also wanted to play Battlefield and other games on it, which changed one decision, and I’ll tell you which one when we get there. Below I’ll go through every part I bought and why, then how to put them together, and then the benchmarks I ran once it was working.
This build offers some of the lowest price for the highest performance you can get for your dollar, and honestly, putting a computer together is kind of like Legos. It is not that hard.
Before The Comments Start: Mac vs PC
I would greatly prefer this not turn into a massive Mac versus PC debate, so let me get ahead of it.
I’m in the minority as a video editor who uses a PC, and there are two things PCs really have going for them. I like to play video games, and you can’t play games nearly as well on a Mac. And the price-to-power ratio is better. Same money spent, you get a more powerful PC. That’s just how Apple prices things.
But you give up something real when you build your own. With a Mac, if something breaks or acts weird, you take it into the Apple Store and say help, and they help. If you built your own PC and something goes wrong, you’re diagnosing that yourself. If tinkering doesn’t appeal to you, a Mac might genuinely be the better choice. You’ll pay more, and you’ll get peace of mind.
And here’s the last word on it. If you’re editing in Adobe Premiere, clicking the icon opens the exact same program with the exact same interface on either platform. It edits the same, it renders the same, it makes the same videos. None of your clients are ever going to ask whether you cut it on a Mac or a PC, because that doesn’t matter. What matters is the video you make, not the technology you made it with.
The Parts, And Why I Picked Each One
These are not the absolute cheapest parts you can buy. I tailored them for my brother, and I spent around $850. I think you could get this same build down to the mid $600s with a few changes, and I’ll flag those as I go.
CPU: AMD Ryzen 5 1400, $164
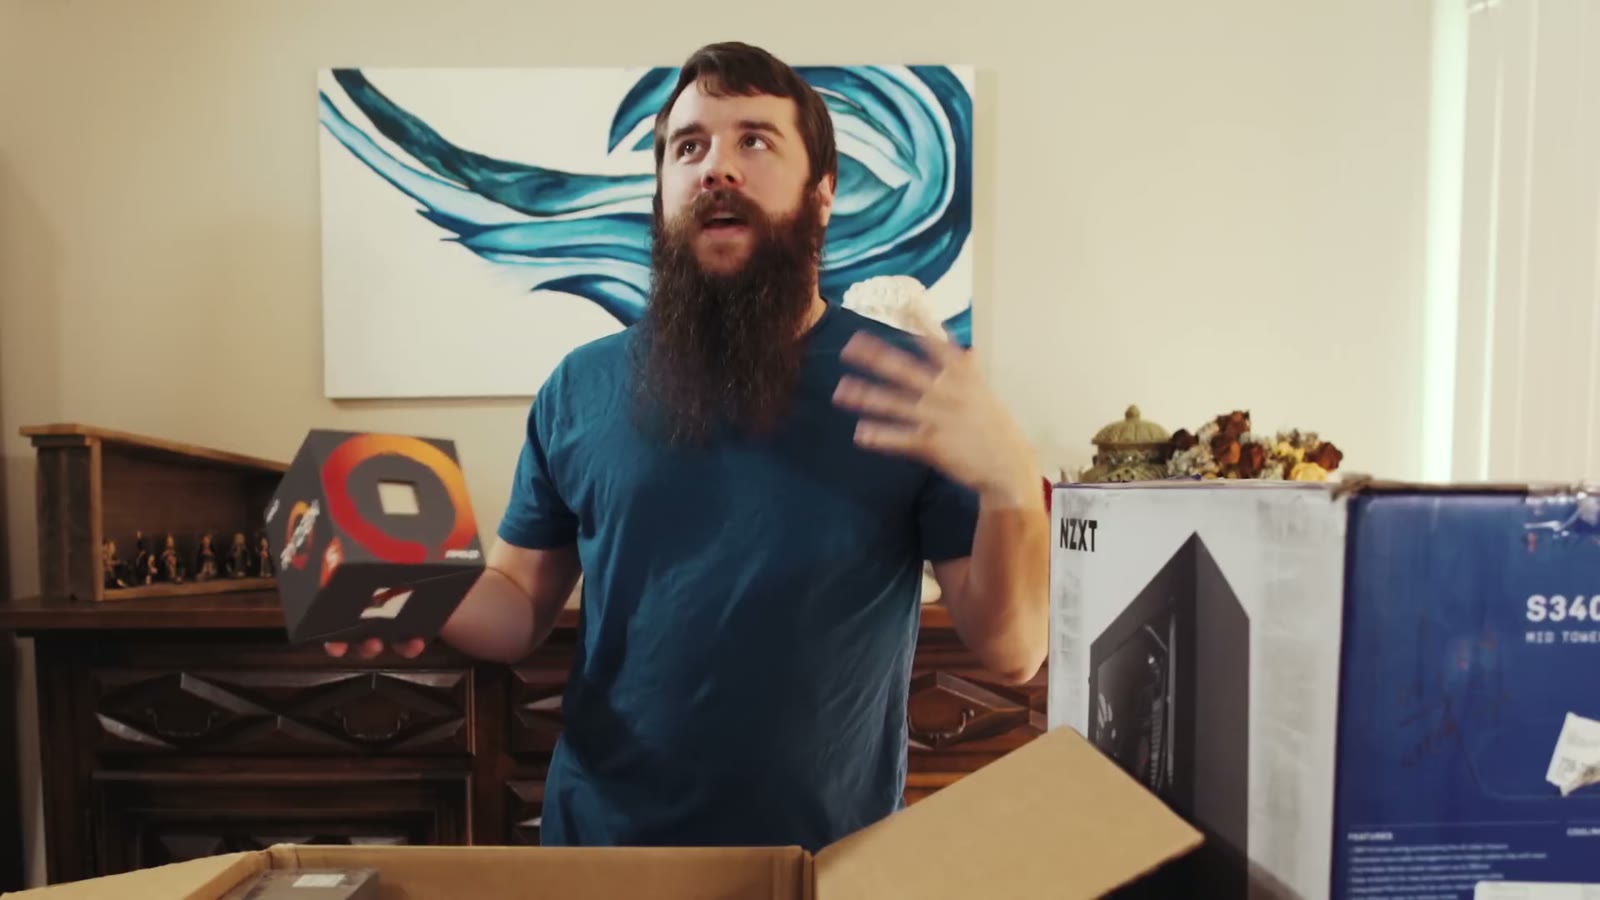
Four cores, eight threads, 3.2 GHz. Those eight threads are the single most important number here, because the more threads you have the faster your rendering and editing. For gaming it matters less, since a lot of games only use one thread, but Premiere takes full advantage of multiple threads, so more is better.
Up until about three months before I filmed this, if you’d asked me what processor to buy I would have said never touch AMD, they’re too far behind, buy Intel. Ryzen changed the entire playing field. Intel was charging a lot for chips, and AMD came in and cut those prices in half or more. This chip cost me $164. A roughly equivalent Intel would run you around $300.
The Ryzen 5 is as cheap as I’d go. There’s a Ryzen 3 that’s cheaper, and it’s a fine chip, but you only get four threads instead of eight. Spend the extra and get the 5. If you have more money, look hard at the Ryzen 5 1600, which gives you six cores and twelve threads and will make your edits significantly faster, especially in 4K.
One more thing in its favor: it comes with a cooler in the box, so that’s one less thing to buy. From what I’ve read it works very well as long as you aren’t heavily overclocking.
Motherboard: Asus ROG Strix B350-F Gaming, $105
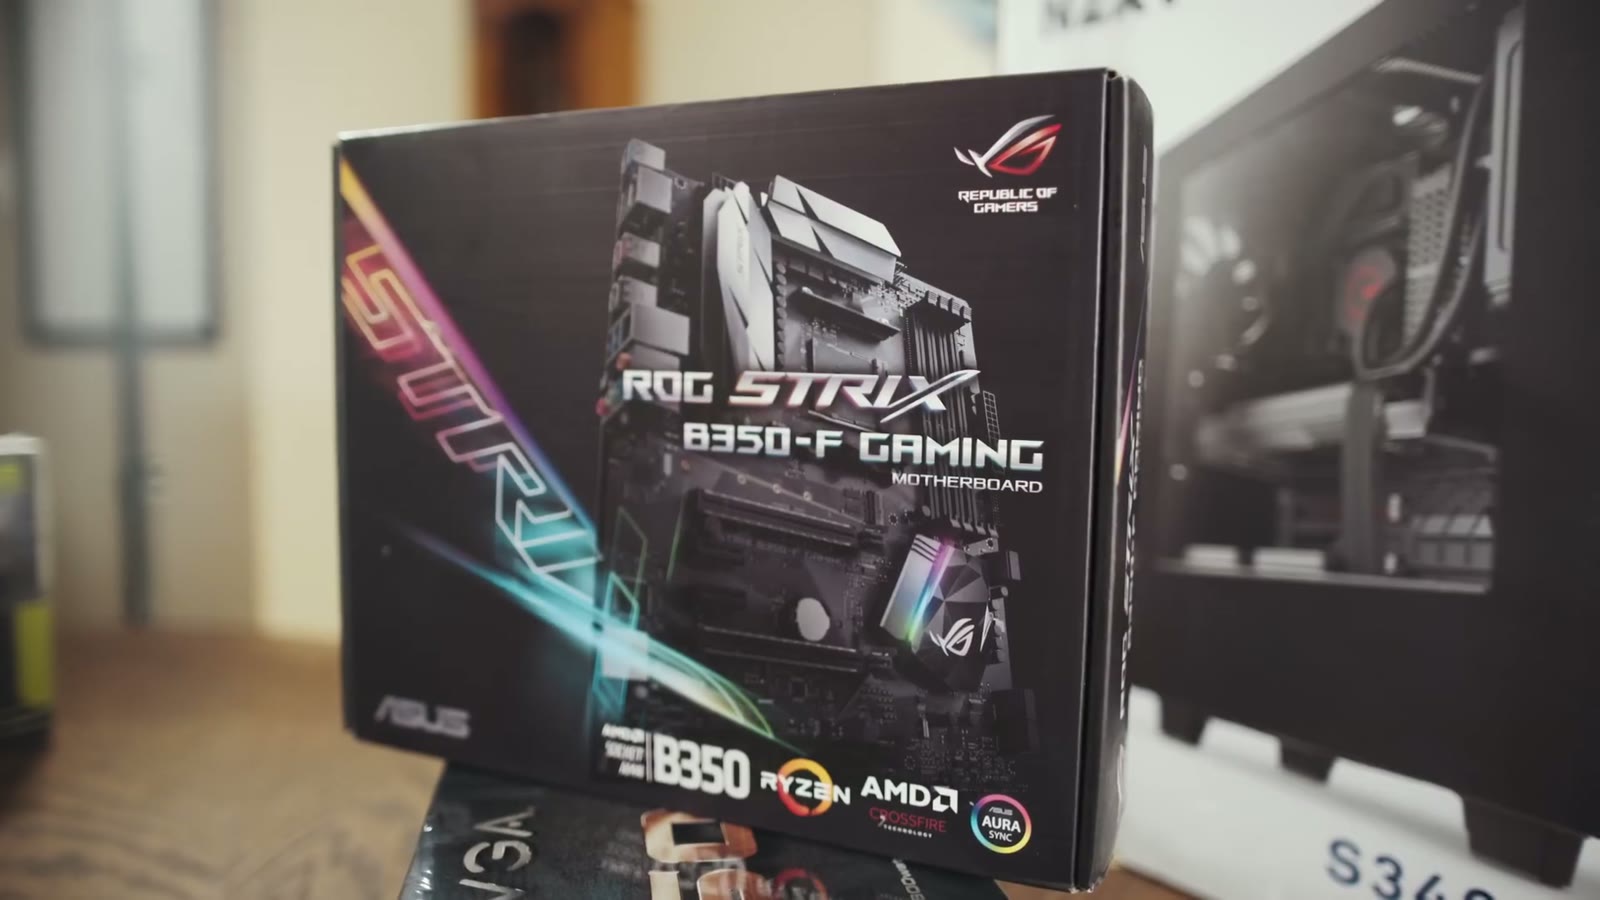
It has RGB, which honestly makes any motherboard cooler, I’m just being honest. More usefully, at about $105 you get four USB 3.0 ports and two USB 3.1 ports, and that matters enormously for video editing. If you’re like me you live on external hard drives, plugging things in, editing off them, backing up, copying. Half my life at this point is spent copying footage, so anything that speeds that up is worth paying for.
It also has an M.2 slot so you can mount an M.2 SSD directly to the board, and it has room to grow if he wants more memory or a second graphics card later.
The one con is no Thunderbolt. That’s because Intel, AMD’s main competitor, is the one developing and pushing Thunderbolt, so of course they aren’t letting it into AMD systems. I’ve read that may change eventually, but for now you’re on USB 3.0 and 3.1, which in my experience is still really fast and completely usable.
Storage: Samsung 850 EVO M.2 (and the mistake I made)
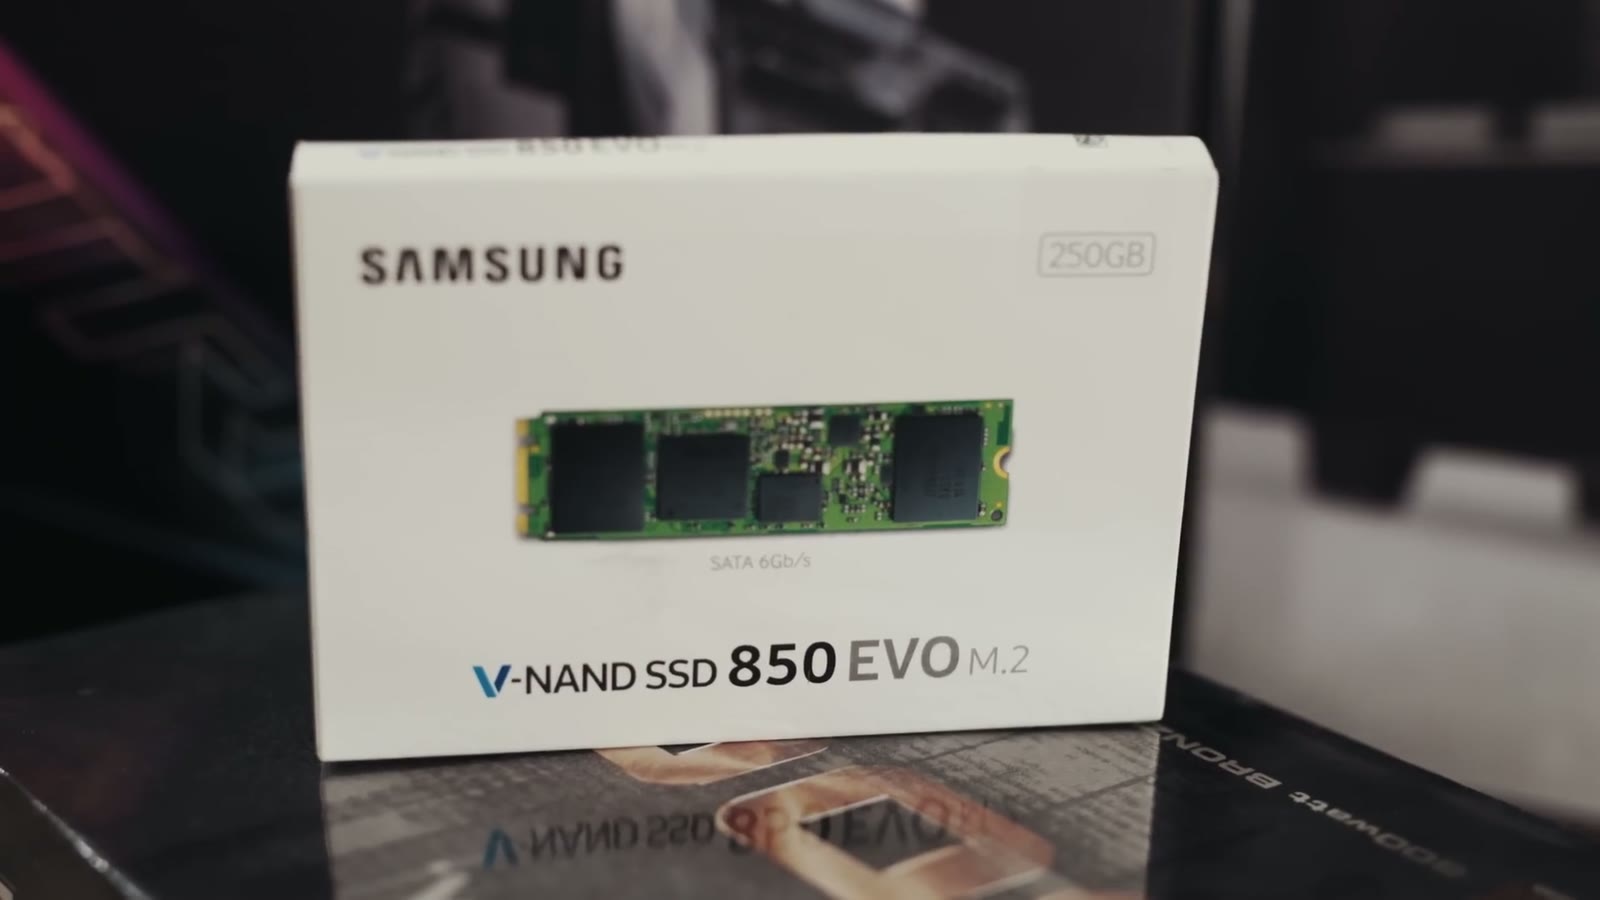
This is the one part I’d change. The 850 EVO in M.2 form factor attaches directly to the motherboard, which is great, but if I could go back and spend $30 more I would have bought a faster Samsung Pro drive instead, because the speed difference is significant. I may actually end up returning this one and swapping it.
That said, any SSD is going to be dramatically faster than a spinning hard drive, so it’s still the right category of decision.
Graphics card: EVGA Superclocked GTX 1060, 6GB, $289
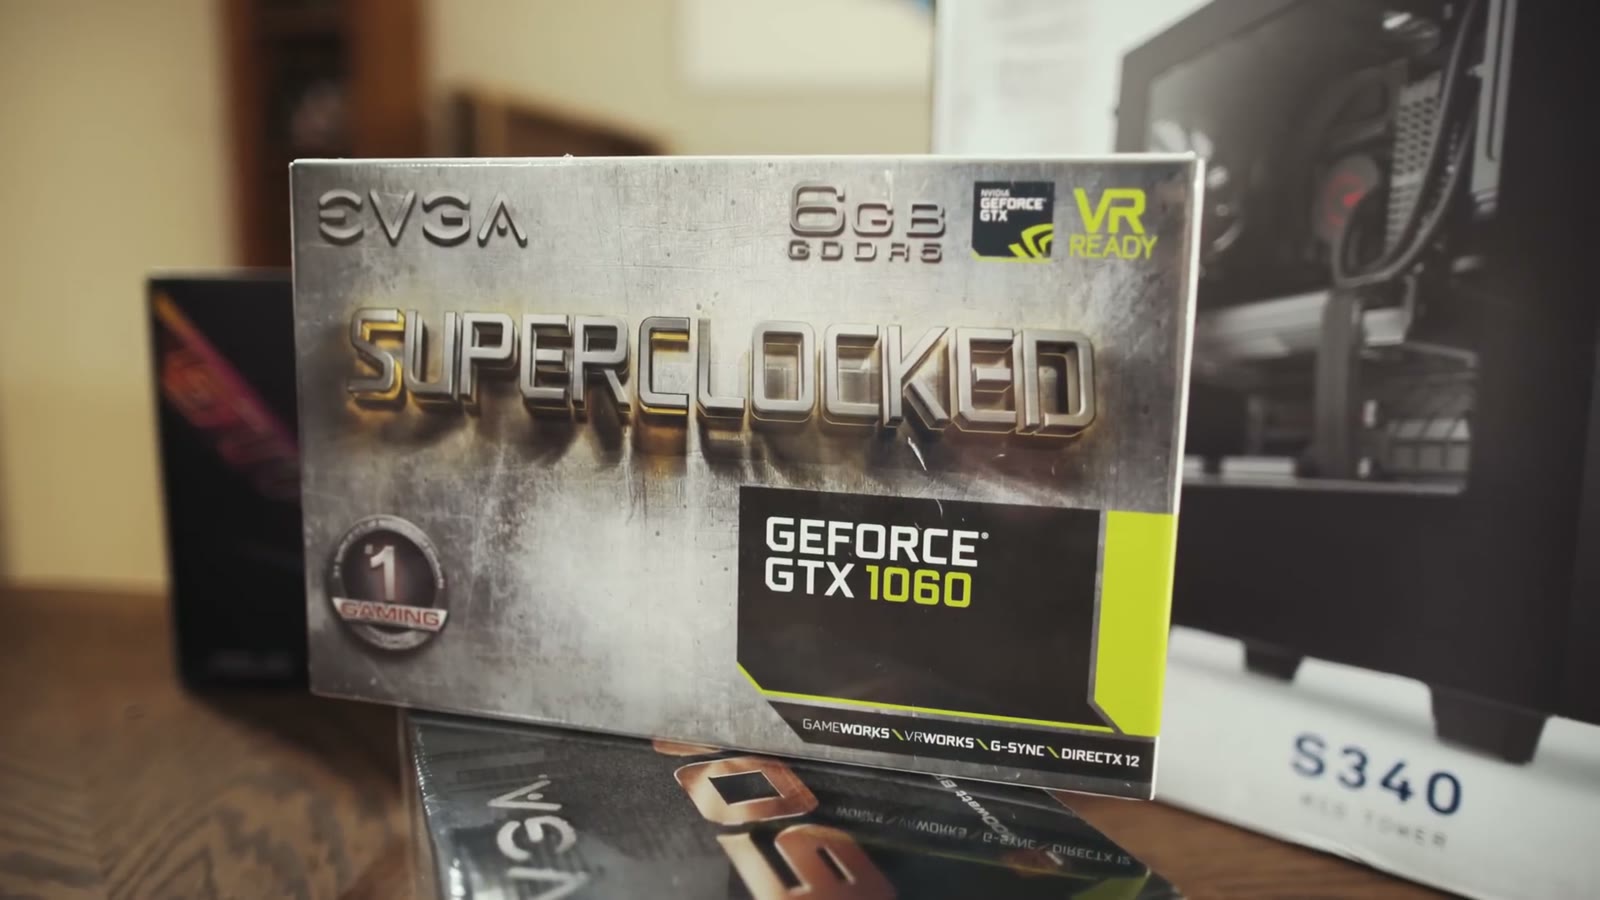
Pay attention to the 6 gigabytes of VRAM. They sell a 3GB version that’s cheaper, but if you’re editing 4K, having the 6 is significantly better.
I bought this card for two reasons. The practical one is that it has more CUDA cores, which is Nvidia’s primary computing unit, and all I really need to know is that more of them makes editing and rendering faster. The less practical one is games. The 1060 is a beastly card that will run most games at Ultra at 1080p just fine, which is my brother’s main scenario.
This is the part to cut if you don’t game. I originally had a GTX 1050 Ti in the cart at about $150, and my brother asked for more graphical performance, so I upgraded. For pure video editing the graphics card is not the most important part. The CPU matters significantly more. So spend more on the CPU and save on the GPU. Going with the 1050 Ti saves you over a hundred dollars and still gives you an amazing editing experience, plus plenty of gaming.
RAM: G.Skill Fortis 16GB DDR4-2400
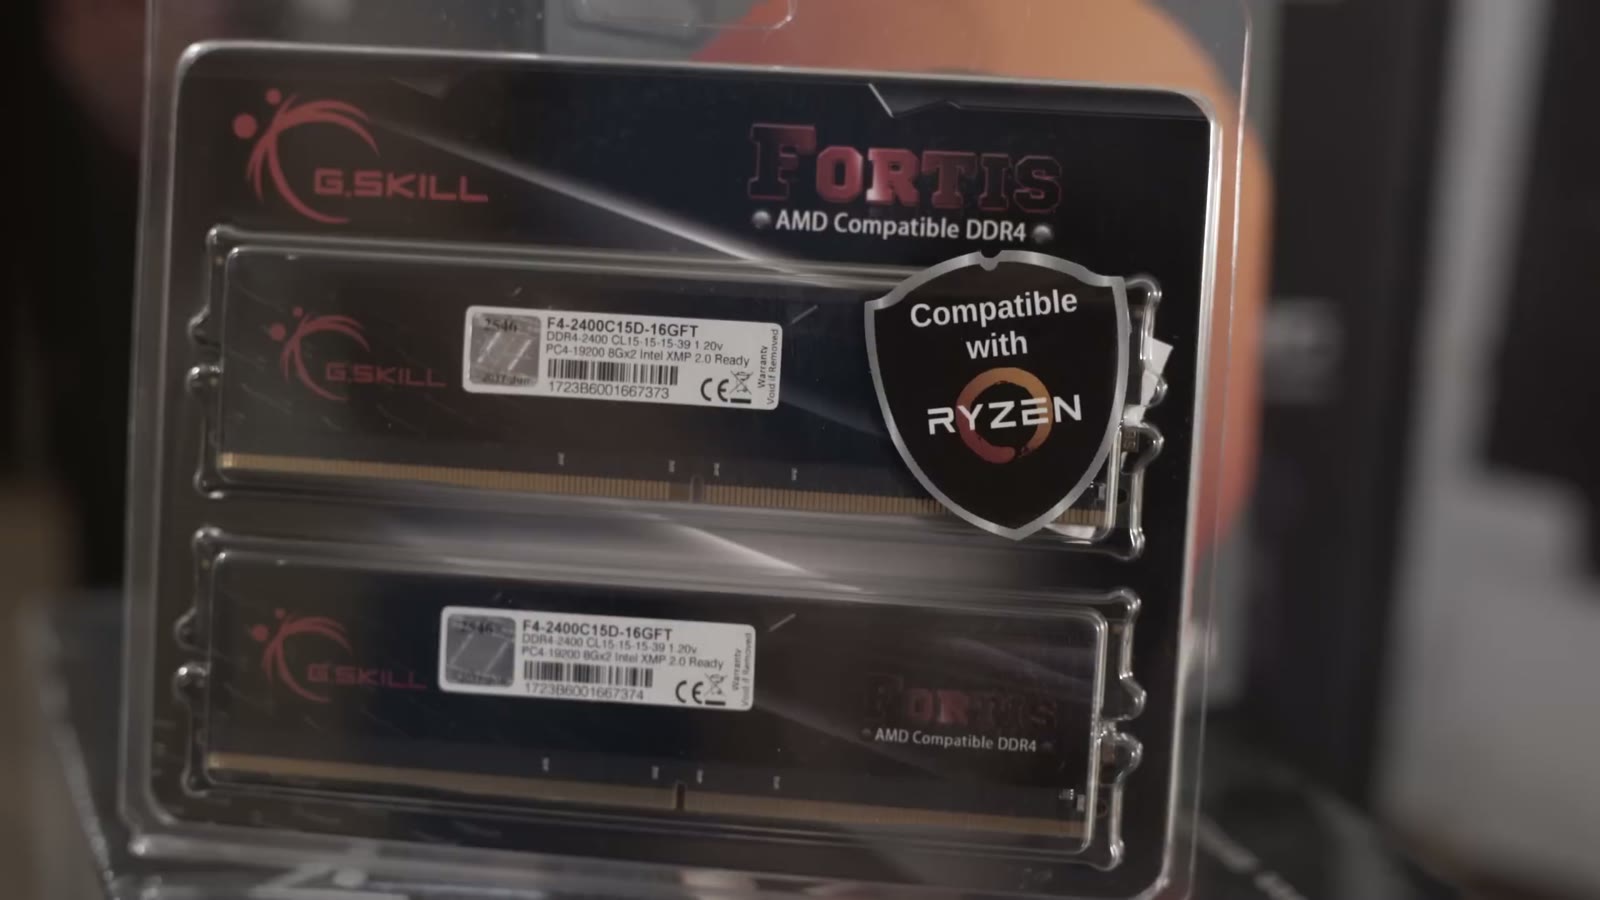
RAM for Ryzen systems is a little bit weird. There were compatibility issues between certain RAM sticks and Ryzen CPUs and boards, so AMD started having “Compatible with Ryzen” stickers put on packaging. Look for that sticker.
The other thing, and honestly this is the most annoying part of building a PC for me, is that you need to check what your motherboard manufacturer recommends. Go to the Asus page for your board and they publish a spreadsheet of every RAM kit they’ve tested and verified. Buying off that list is very much in your interest, because then you’re not sitting there wondering is this compatible, is this working, why isn’t this working.
This is 16 gigs, two 8GB sticks, at 2400 MHz. I wish it were 3200. Faster RAM costs more and the budget was the budget, and RAM clock speed doesn’t make a huge difference anyway, so I’m not stressing. It’s plenty for 1080p and 4K editing, it’s from a reputable company, and it has a lifetime warranty.
Power supply: EVGA 600B, 80 Plus Bronze, $44
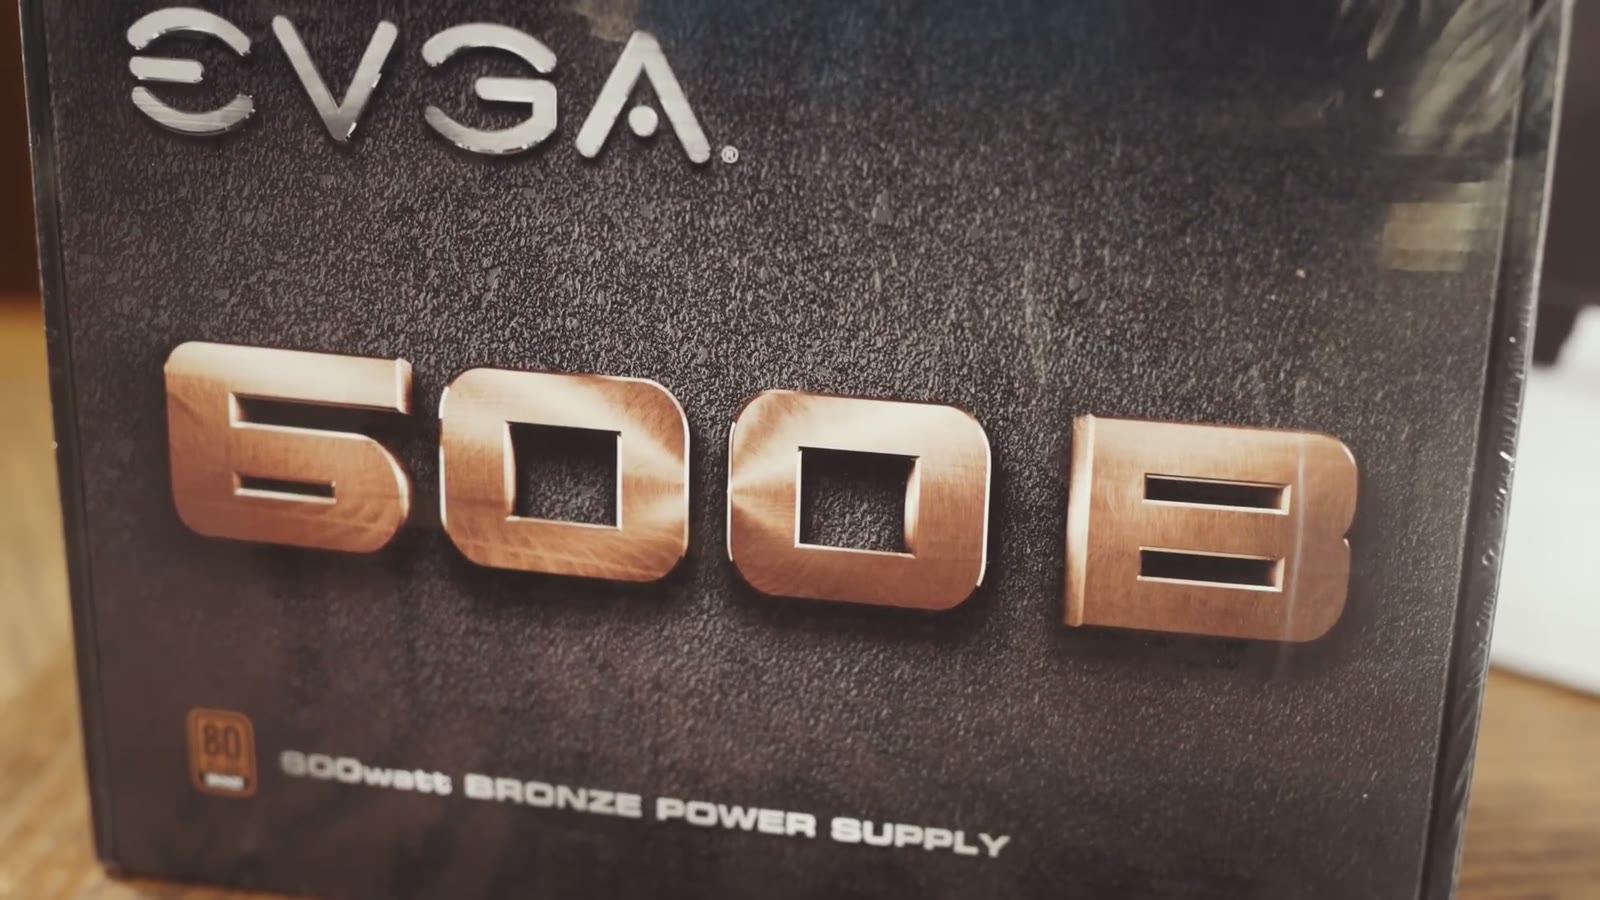
Nobody ever thinks about power supplies, myself included, but this is the part that decides how much you spend on electricity for the life of the machine. Any power supply with an 80 Plus rating, bronze or silver or gold or platinum or titanium, is going to be more efficient than one without. Look for that rating.
This one was $44 with a mail-in rebate that brings it to the mid $30s, which is a good price for the quality.
The con is that it’s not modular. A modular supply lets you plug in only the cables you actually need. On a non-modular one, every cable is permanently attached, so you have cables running everywhere and cable management gets harder. Thankfully this case hides the power supply in a compartment underneath, so none of that mess is visible.
600 watts is complete overkill for these components. I could have run a 450 watt and been fine. But the price difference was something like five dollars, and it may actually have been cheaper with the rebate, so I went bigger in case my brother wants to add a second graphics card someday, or runs twenty USB-powered drives off it, or whatever. Anything I can do to reduce the odds of a phone call that starts with “it’s broken, help” is worth it to me.
Case: NZXT S340 mid tower, $65 (about $50 after rebate)
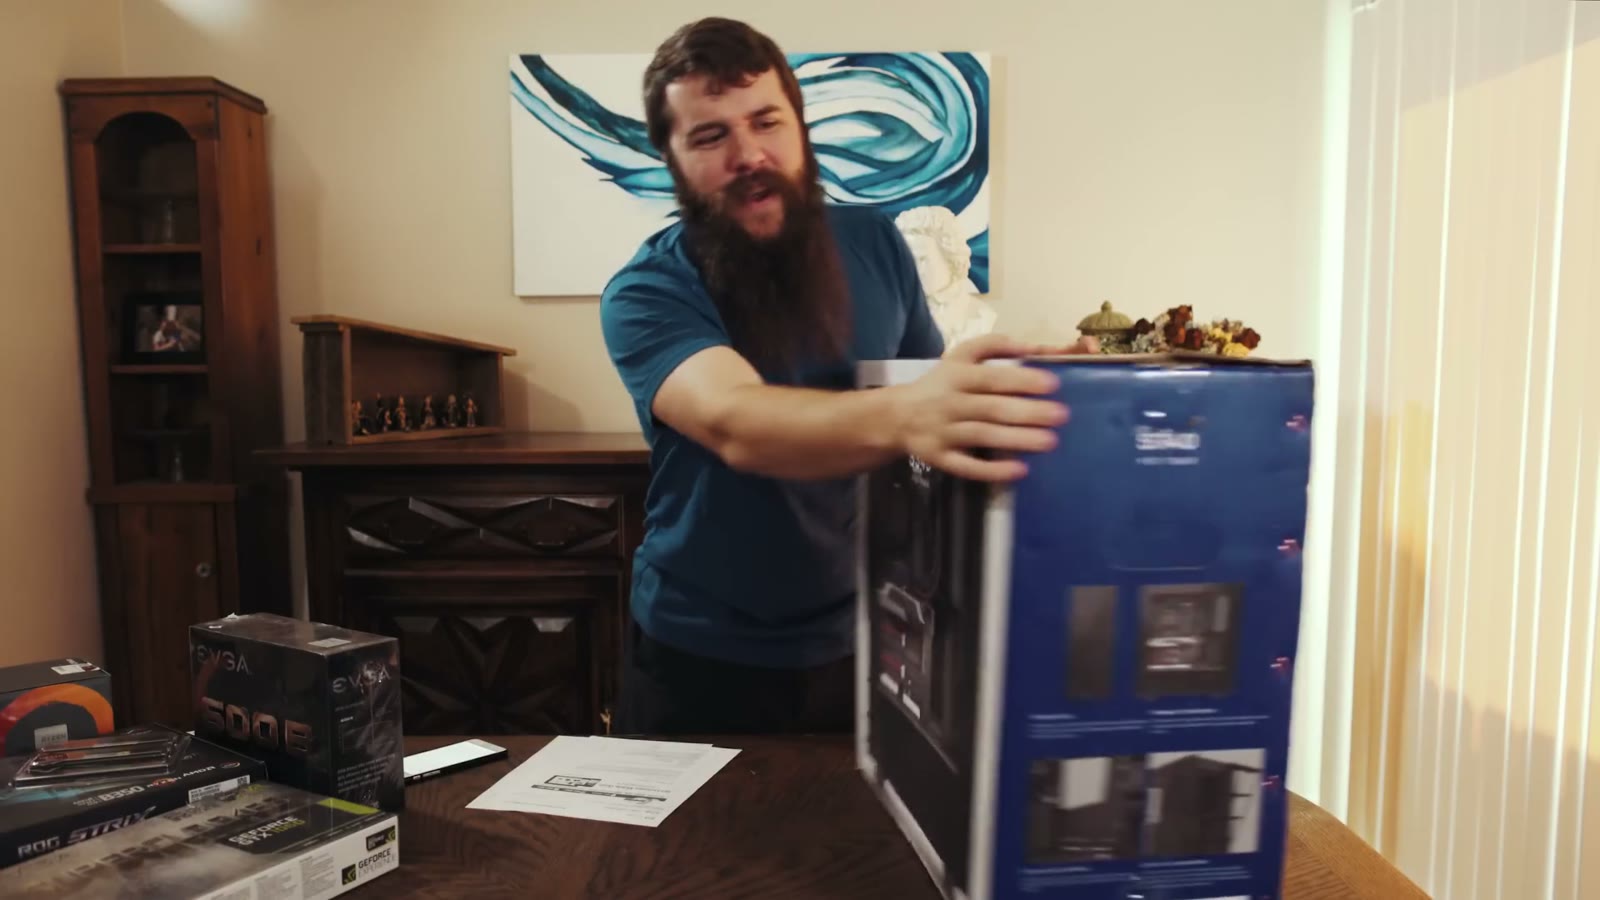
It’s blue and black and it’s pretty and I’m excited about it. Mid tower, so it’s not enormous, but it’s the right size for these components with room to expand.
This is another place you can save money. There are perfectly good cases at $40, $30, even $20, and if you’re squeezing the budget hard that’s a legitimate cut. But I also picked this one because it looks good, and I think that matters more than people admit. Mine sits on my desk and I look at it all day. Get something you like looking at.
What’s not in this build
No monitor, keyboard, or mouse, because my brother is keeping the ones from a previous build I did for him years ago, which is a great way to save money. But since you might not have those, here’s what I’d buy:
- A beautiful 1080p monitor that won’t make you poor
- An even more beautiful 4K monitor, under $500
- A keyboard with macros, and RGB
- The best mouse I’ve ever used
The Full Parts List
- CPU: Powerful yet cheap CPU, or the more powerful CPU for 4K editing
- Motherboard: Great bang-for-your-buck motherboard
- SSD: Blazing fast SSD, the one I should have bought
- RAM: 16 glorious gigabytes
- Graphics card: Killer card for 4K editing and gaming, or the cheaper card that’s still very good
- Power supply: Hefty power supply
- Case: Gorgeous and cheap case
The complete gear list is also at bit.ly/kitcomputerbuild.
Building It
The good news about building a computer is that you don’t need many tools. A screwdriver, honestly, and that’s about it. My wife shot a second angle for all the close-up work in the video, so if you want to actually watch the assembly, watch it there. Here are the things I’d tell you before you start.
Here’s Build a Budget 4K Video Editing PC for $700 in 2019! | Ryzen Computer Guide too, and honestly it’s kind of wild seeing the difference.
- Install the I/O shield before the motherboard. That’s the little metal plate that goes between the rear ports and the back of the case. I have gotten all the way through three separate builds, realized I forgot it, and had to take everything apart. Don’t be me.
- Don’t be afraid to press hard. The I/O shield is padded and the motherboard has to seat firmly against it. Same with the RAM: line up the notch, then push down to the point where you’re a little afraid you’ll break it. Motherboards are stronger and sturdier than they look.
- Get a flashlight. Not for seeing. For finding the screw you dropped into the case, which you will do.
- Read the case documentation before you fight it. I spent a while trying to slide the power supply into the bottom of this case before realizing it mounts from the back with a removable plate. It says so in the manual, which I had not read.
- Line up the triangle on the CPU. There’s a tiny triangle on one corner of the chip and a matching one on the socket. They can be genuinely hard to spot because they’re the same color as everything around them, so take your time. Bend a pin and you’ve got a dead CPU and a new purchase.
- Check the manual for which RAM slots to use. It’s almost never the two next to each other. Mine wanted them at least one apart.
- Use the top PCIe slot for your graphics card. It’s the closest to the CPU, and at these latencies that distance genuinely makes a difference.
- Everything on the motherboard is labeled. From across the room it looks like Greek. Lean in and it says CPU_FAN with a little arrow pointing at exactly the pins you need.
- Ignore the driver support CD. Download fresh drivers from the manufacturer’s site instead. The CD makes a fine coaster.
- Weird noises are usually fine. If the board makes a cracking or crunching sound while you’re screwing it down, don’t panic. I’ve heard some strange sounds and never once broken a board.
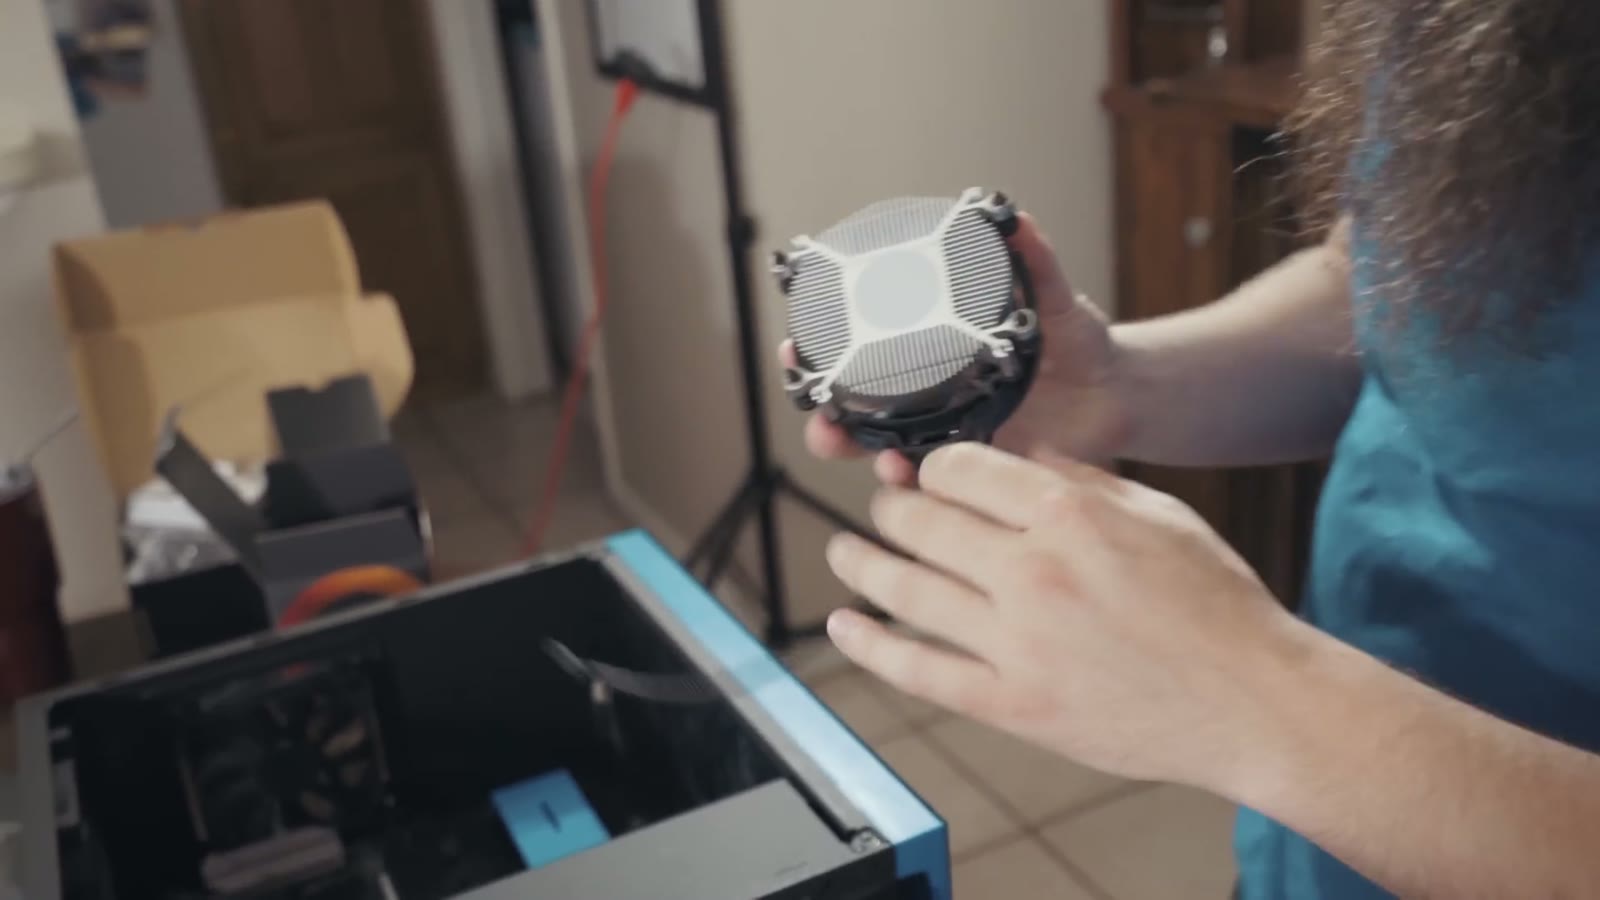
One thing worth knowing about this specific combination: the Asus board ships with plastic mounts for a different style of cooler, and the AMD stock cooler needs those removed so it can screw directly into the board. When you take those four screws out, the metal backplate behind the motherboard falls off. Have someone hold it in place while you reattach the cooler, or you’ll be doing a fun little balancing act.
Also, the Samsung M.2 drive doesn’t include a mounting screw, which is a real annoyance. Thankfully Asus includes one in the motherboard box.
Powering It On
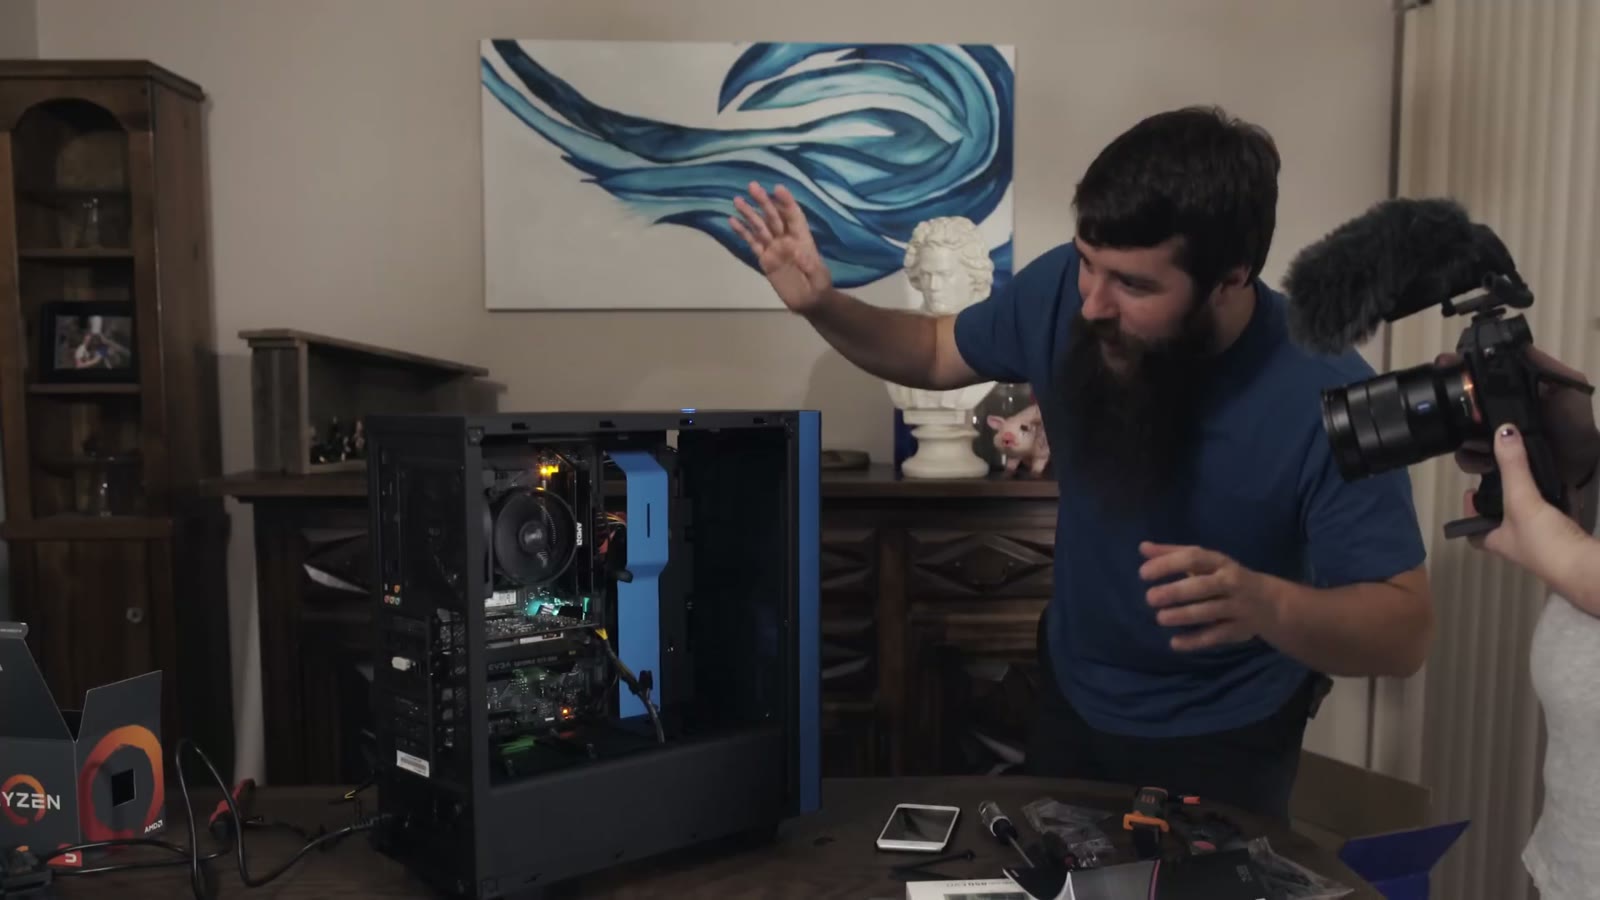
Flip the switch on the back and the board lights up before the machine is even on. I did not know the Asus RGB was going to look that good. Then the power button: fans spinning, lights solid, no smoke, nothing exploded.
For the record, every computer I’ve ever built has turned on the first time I hit the button, with exactly one exception, which was the time I hadn’t actually plugged the cord in.
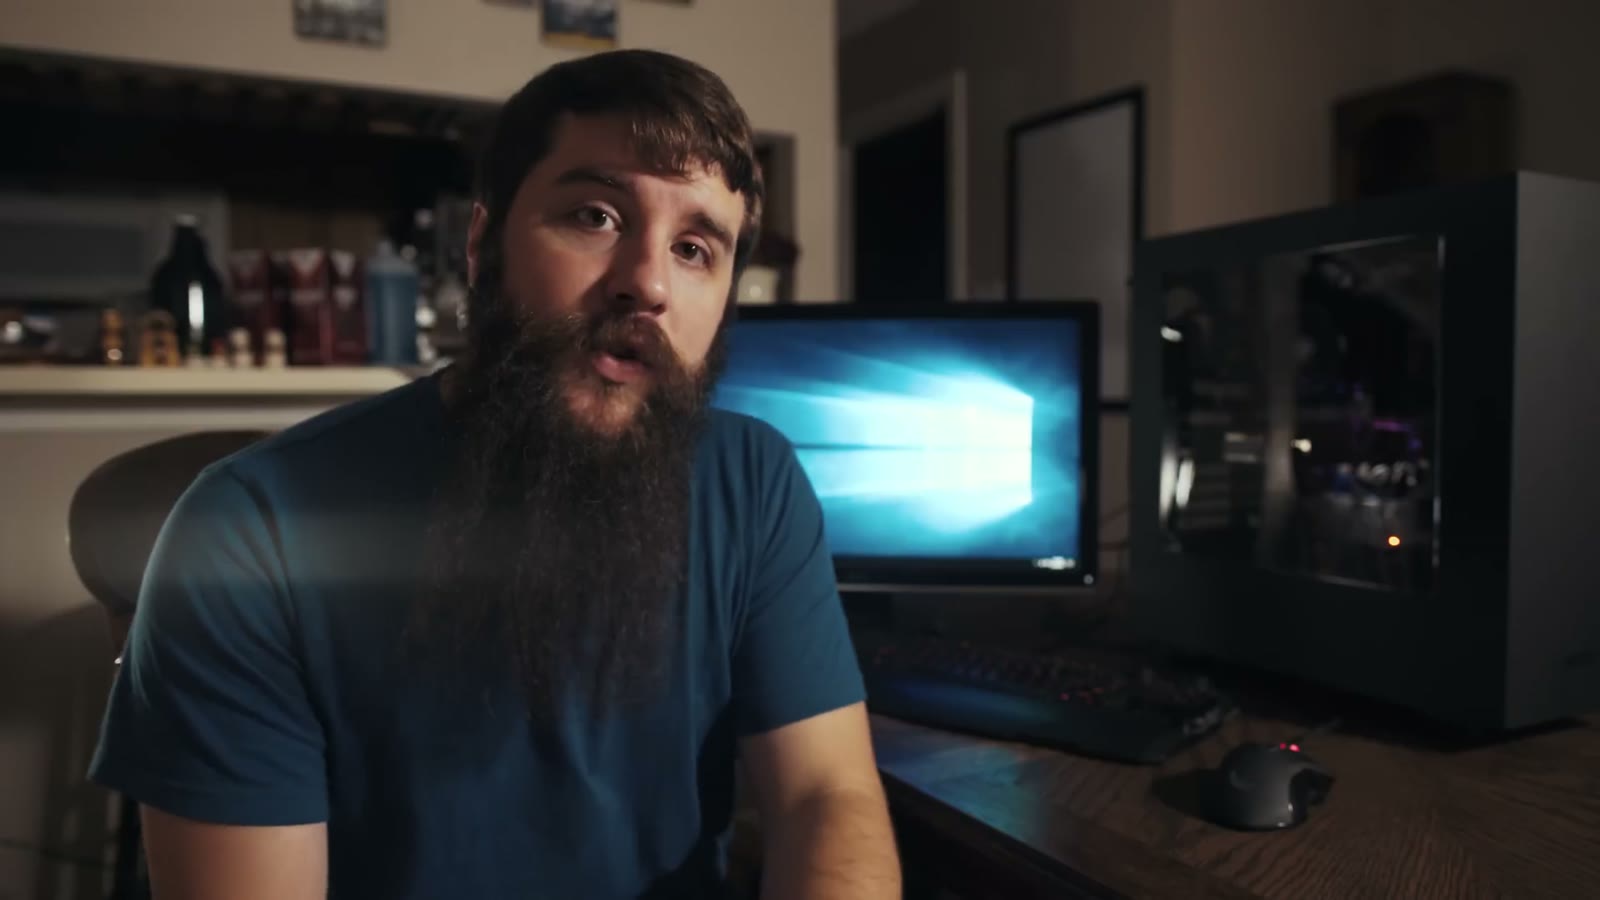
The next day it was working flawlessly and had booted the first time with no issues, which is the first time that’s ever happened to me on camera, so I’m glad it’s on video.
Benchmarks
Testing setup
4K and 1080p renders were made of the same 5-minute wedding film with various effects and a LUT applied. You can watch the wedding film here.
The settings I used for the 4K render are 3840×2160 at 100mbps. I fully cover those settings in this video. The settings for the 1080p render are 1920×1080 at 40mbps, fully covered in this video.
I ran three renders of the 4K version and three of the 1080p version and averaged the times. I also compared them against my own much more powerful editing PC, which runs an Intel 6950X with 10 cores and 20 threads.
Results
- 28 minutes for a 4K render of the 5-minute wedding video
- 10 minutes for a 1080p render of the same video
And on my own editing PC, built the year before, for comparison:
- 17 minutes for the 4K render
- 5 minutes for the 1080p render
So a machine that cost a fraction of mine gets within about 1.6x on 4K and 2x on 1080p. That’s the whole argument for this build in two numbers.
Conclusion
For the price, this AMD Ryzen build is quite speedy and I wholeheartedly recommend it for both 1080p and 4K video editing. I was quite impressed by how well it handled the footage.
If you want even more speed, and are planning on shooting a lot more 4K, then I would consider the faster AMD Ryzen 5 1600 with its 6 cores and 12 threads.
Please let me know if you have any questions or comments!
Newer Builds
Parts and prices move fast. If you’re reading this well after 2017, start with one of these instead:
- Build a budget 4K video editing PC for $750 in 2021, the direct descendant of this build
- Build a budget 4K video editing PC for $650 in 2020
- $2000 video editing PC build guide, if you’re editing 4K, 6K, and 8K RAW
- There’s also an updated budget build for 2019 on YouTube
Filmmaking gear I love: https://whoismatt.com/gear/
As always, if you have any questions or comments about this build, please feel free to leave one below, or get in touch.
If you want to keep up with my photos, videos, and other behind-the-scenes stuff, follow me on Instagram.
I am also now offering one-on-one filmmaker consulting! Wanna talk about cameras, lighting, or booking clients? Let’s do it!
A note on timing: this build is from August 2017, right after Ryzen launched. Every price and part number here is from that moment, and both have moved a long way since. Treat this as a guide to how to think about the parts rather than a current shopping list, and use the newer builds above for actual purchases.