A filmmaker’s review of the Vizelex ND Throttle lens adapter

A filmmaker's review of the Vizelex ND Throttle lens adapter

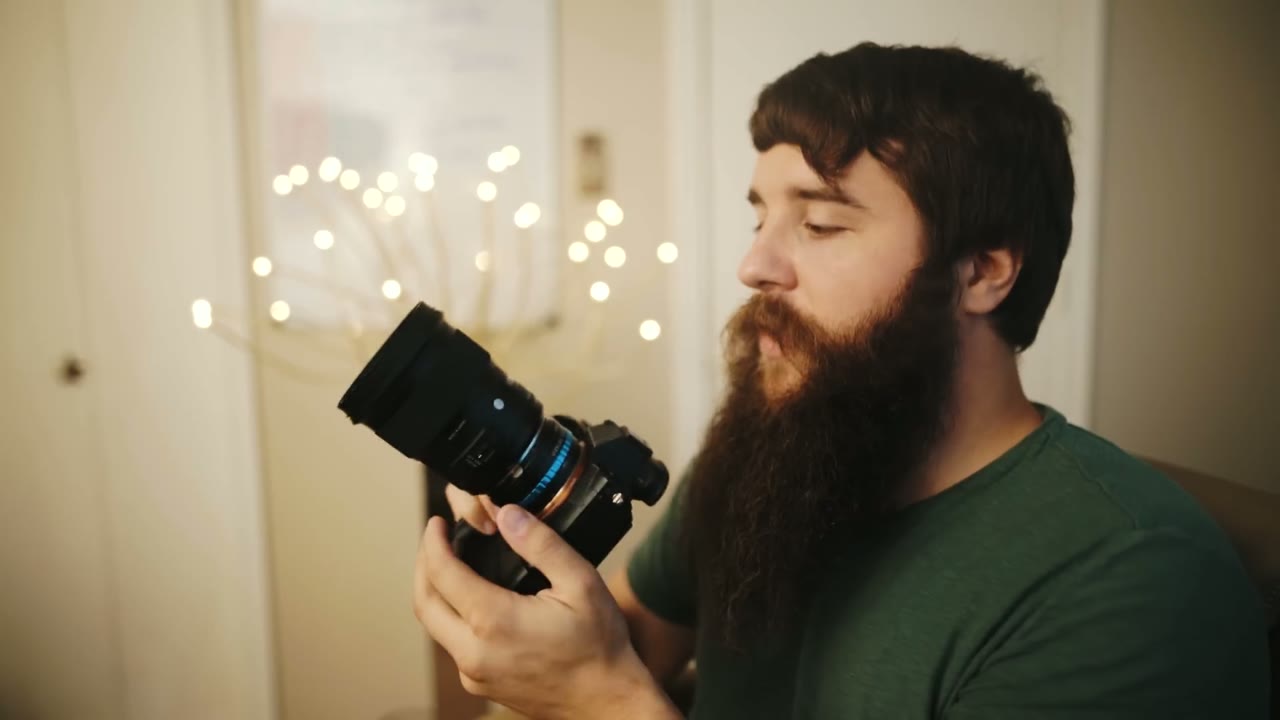
Way back in December of 2015 when I posted my review of the Sony A7Sii (and subsequently started vlogging about reviews, gear, etc.), I mentioned that I had ordered a revolutionary new lens adapter: the Vizelex ND Throttle. Many of you began asking for my thoughts on this adapter, and I promised in my replies that I would post one “soon.” Well, soon ended up being over one year later, but I’m pleased to announce that my video review of the Vizelex ND Throttle Lens Adapter is finally here!

Vizelex. You really can’t help but pronounce it that way whenever you see it, because it’s just such a cool name. It sounds like a super villain.

My Bag Of Lens Adapters

Over the past 9 years of creating videos, I have amassed quite a collection of lens adapters for my cameras. Since switching to Sony E-mount in 2012, this number has grown considerably.

Bearded man holding up a small black mesh storage pouch with an empty hand extended below it

This is the bag of lens adapters I bring to every single wedding, and you’re probably thinking, Matt, that is total overkill. But whenever you’re shooting with two A7S bodies and an FS100 and sometimes a Canon 70D thrown into the mix, you have a lot of lenses across a lot of different camera systems, and you need to make every lens work with every body. So I’ve got Nikon to Canon, Canon to Sony, Nikon to Sony, speed boosters, plain manual adapters, and now adapters with variable ND filters built right into them. I love that we keep seeing this miniaturization of technology, and I hope to see even more nifty features crammed into lens adapters in the future.

Four lens mount adapters lined up on a wood table, including a Vizelex NIK G-NEX ND Throttle
SO MANY lens adapters…

Why All Of This Works: Flange Distance

The reason all of these adapters can work with Sony E-mount cameras comes down to something called flange distance. And I’m sure you’re thinking, flange distance, Matt, that sounds kind of dirty. Hang with me.

Close-up of the adapter's red-ringed mount attached to a Sony camera body with tape on the grip

Flange distance is the distance between the back of your lens and the sensor of your camera. E-mount cameras have a very shallow flange distance, meaning the sensor sits very close to the back of the lens. The benefit is that you can adapt nearly any lens system onto E-mount, because there’s room to put an adapter in that gap. There are adapters for Nikon, Canon, Sony, Hasselblad, Pentax. Pretty much everything except some micro four thirds lenses, which won’t cover a full frame or even a Super 35 sensor. Outside of a few outliers, you can adapt nearly anything to this camera, which is amazing.

I could honestly talk about lens adapters for hours, and sometimes I do, and it tends to annoy my wife. But regardless of the status of my marriage, let’s talk about this specific adapter.

Why The Nikon Mount Version

The one I’m reviewing is the Nikon lens mount to Sony E-mount version, which adapts Nikon lenses onto Sony cameras. The reason I’m on the Nikon version is that I run Sigma Art lenses in Nikon mount.

Why Nikon instead of Canon? Because I got tired of dealing with the electronic connection between the lens and the camera. Sometimes there’d be flickering, and changing aperture through different adapters was a hassle. So I said forget it, let me switch everything over to manual control.

Extreme close-up of a finger pressing the aperture pin inside the adapter's rear lens mount

Nikon lenses have a little lever on the back, and whenever you move it, it physically opens and closes the aperture of the lens. So adapter makers build adapters that interface with that lever, which gives you real manual aperture control with no electronics involved.

The Vizelex NIK G-NEX ND Throttle adapter alone on a dark wood table, teal ND ring visible
Look how pretty it looks!

Vizelex Nikon G to NEX ND Throttle adapter sitting on a wood table, its rear glass elements visible

That’s why the Nikon version of the ND Throttle is the good one. It has two separate rings on it. A blue ring that controls the intensity of the ND filtration, and a black ring that controls the aperture of the lens. So you get manual aperture control and manual ND control, both living on the adapter.

Close-up of the adapter's rear lens mount and teal aperture ring resting on a wood surface

What An ND Filter Is And Why You Need One

This part is honestly super basic and I’m sure half of you are going to say dumb Matt, we already know this. But I want to cover it.

For all intents and purposes, an ND filter is a set of sunglasses for your camera.

Imagine you’re a photographer shooting outdoors on a sunny day, and you want to shoot wide open at f/1.4 for that beautiful buttery bokeh. All you have to do is turn your shutter speed up. A 250th, a 500th, a thousandth, whatever gets you a proper exposure. Done.

Now, if you’re a filmmaker who wants to go out into the bright hot sun and shoot that same buttery f/1.4, because who doesn’t, it is not in your best interest to just crank up the shutter speed until it’s exposed. Why? Because of a little thing called motion blur.

Bearded man gesturing with one open palm raised and the other hand pinched near his chin while talking

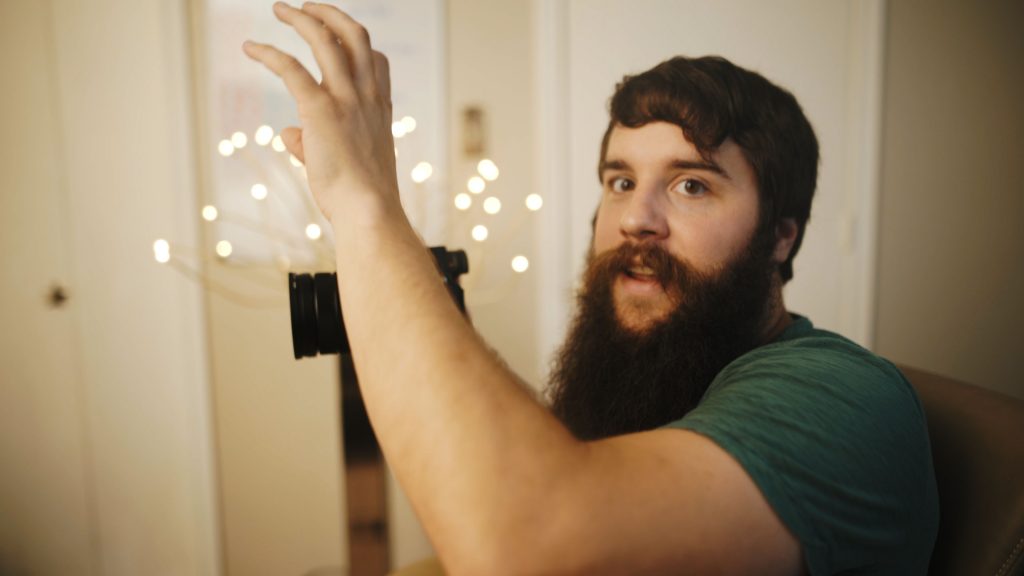
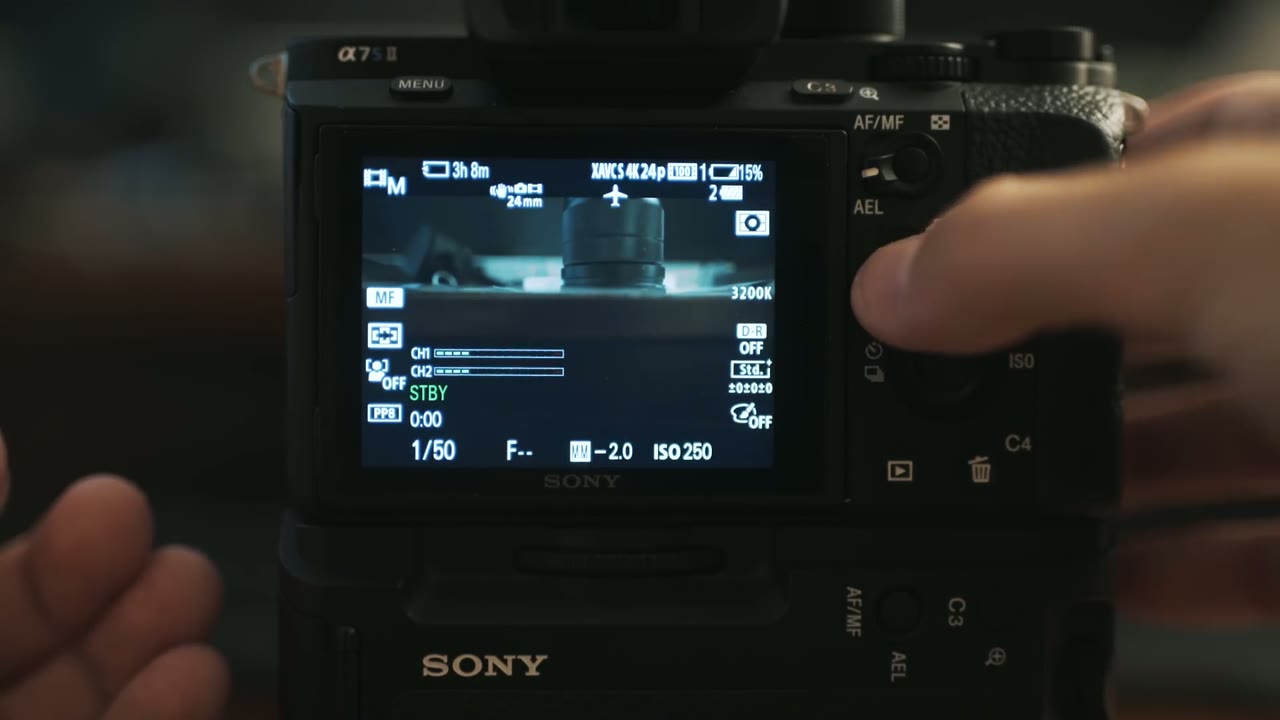
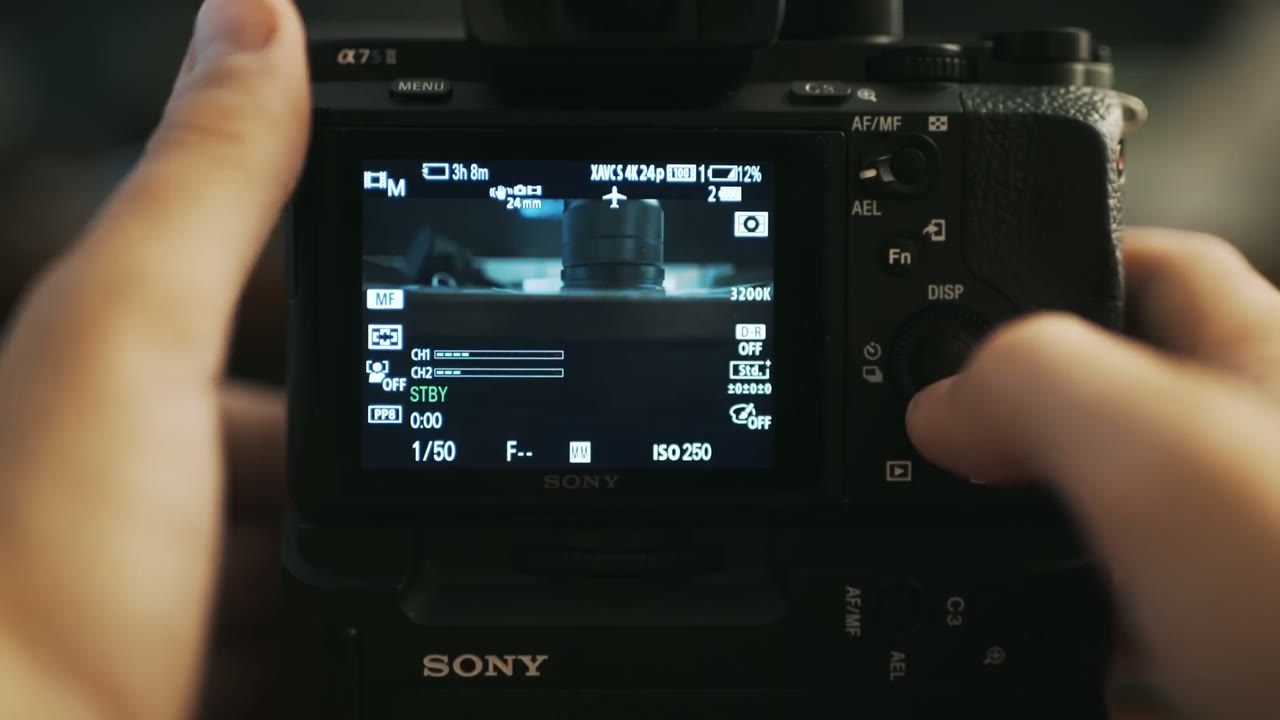
Look at my hand waving here, kind of like an idiot but also kind of like a bearded Miss America, which is honestly kind of cool. It has a decent amount of motion blur, because this camera is recording at 24 frames per second with the shutter at a 50th. The general rule is that your shutter speed should be double your frame rate.

And you’re thinking, wait, I’m no math genius but 24 times 2 is 48, and that isn’t 50. Correct. Most mirrorless cameras and DSLRs won’t let you set exactly double your frame rate. You get a 50th instead of a 48th. It’s close enough that it doesn’t matter.

What does matter is what happens when you start cranking the shutter up. Six clicks up and we’re at a 200th.

Bearded man leaning toward the camera mid-sentence with one hand extended toward the lens

Now that same hand wave looks completely different, doesn’t it? Really sharp and jaggedy. That’s amazing if you’re filming a Jason Bourne fight scene, look how fast I’m punching, it looks so awesome. If you’re filming a wedding, that is probably not the look you’re going for.

So purely aesthetically, you don’t want that sharp jaggedy look. And you’re saying, okay Matt, then how do I shoot in bright sun and keep my shutter at a 50th without blowing everything out? That’s where the sunglasses come in.

The Hardware

The first thing you notice taking the ND Throttle out of the box is that it has some nice heft to it. It’s aluminum and glass, it has a good weight, it feels good in the hand, and there are no plastic parts that make you think oh man, is this going to snap off and take my lens with it. Everything feels solid.

The second thing you notice is that both the aperture ring and the ND ring rotate very smoothly. They’re well oiled. It’s almost a sensual movement, if you will.

Close-up of the adapter's teal aperture dial labeled NEX ND Throttle with a Min marking on the scale

The third thing is that both rings have hard stops. Unlike some variable ND filters I’ve used that just keep rotating forever, this one stops, so you can always tell whether you’re at minimum or maximum filtration. That’s really helpful.

The one con about the rings is that they’re both ridged very similarly, so it’s hard to tell by feel which one you’re turning. If you look at it, fine, the blue one’s ND and the black one’s aperture, duh. But if you’re behind the camera and can’t look, you’re going to grab one and hope, start rotating, and immediately find out that no, that was the aperture. That’s a real con. You need to be able to look at it.

ND Visual Quality

I’d put this one in the “decent” part of the ND visual quality range, which is a range I am completely making up on the spot, just so we’re clear. For scale, here’s the whole ladder:

  • Sunglasses held in front of your lens. The worst possible DIY option.
  • The no-name ND filter from China. Not quite as cheap, still really cheap, turns out to be plastic, makes your image worse in every possible way with no redeeming qualities, and you’re left wondering why you spent even $30.
  • Decent, where most ND filters live. The hundred dollar range. Good ND, some color cast, a little less sharpness, but usable and it works for the majority of situations.
  • Ultra high end, like Heliopan. You drop $400 on one filter, you put it on, and it’s amazing, angels are flying and singing, and you love it while also being terrified of dropping it.
  • Matte box with 4×4 filters. Your rig is fully built out, you carry it on your shoulder, you look so cool. Then you film a wedding with it for eight hours and never do that again.

The ND Throttle works very well for the price, and there are three things you need to know about its visual quality.

One, it has a slight color cast. It leans toward the ambers, browns, oranges, and yellows. Since I’m already grading toward that warmer style, I find it actually pushes me in the direction I was headed, so I don’t count it as a con. But if you’re filming a dark blue sci-fi thriller, this may not be your filter. And if you’re shooting a multi-camera interview where you cut back and forth between two cameras that need to match, do not put an ND filter on one camera and not the other. I’m speaking from experience there. You’ll end up with a color cast mismatch and a lot of correction work in post.

Two, sharpness drops as you increase intensity. I rarely turn this past halfway, which still gives me plenty of ND without visible softening. Push it well past that and you’ll start thinking man, this is getting a little blurry. Fifty percent, or even up to seventy-five if you really need it, is totally usable. Beyond that, be aware you’re adding glass between your lens and your sensor, so of course something has to give.

Three, it vignettes. Not as badly as a front-mounted filter would, but it’s there, and it gets worse as you turn the intensity up. I can usually pull it out in Premiere with a reverse vignette pretty easily. Stay under about 75 percent and you’ll get a good range of filtration without weird dark corners.

The Cons

The first con is also kind of a pro. If you put an ND filter on the front of your lens, you generally deal with reflections caused by that extra layer of glass. Shoot a long exposure timelapse of a street and you’ll occasionally catch a reflection of a car headlight showing up somewhere weird in your frame. Because this filter sits behind the lens, that doesn’t happen at all, which is great.

The main con also has to do with reflections, and it affects every Fotodiox lens adapter I’ve ever used. Look at the inside of the adapter and you’ll see fairly shiny metal, and that causes some crazy internal reflections. If you’re filming with a light source just barely outside the frame, you’ll get wild lens flares coming into your image. Which can look kind of cool, honestly, but it can also be jarring. I have chosen to embrace it in my wedding films, because I like the flare effect. But if you’re shooting in a more sterile environment, or you have a client who is specific about not wanting flares, treat this as a tool and be careful about when you use it. If you want an adapter that doesn’t flare at all, this is not that adapter.

The second con is that you can’t fully turn the ND off without taking the adapter off entirely. Even at the minimum setting you’re losing about a stop of light. So if I’m filming outdoors and I know I’m heading inside for a while, I’ll swap to a non-ND adapter, because otherwise I’m cranking ISO and making a bunch of other changes just to have enough light. Outdoors, though, it’s fantastic to have on the lens.

Durability, And Why I’m On My Second One

Bearded man in a blue shirt examining the small black ND Throttle adapter held in his hand

I know at the start of this review I said this thing is beautifully built and metal and strong and feels great, and I stand by all of that. But you should know I am not one to baby my gear. I’m usually running around going I need to get this shot, hurry, slamming lenses onto bodies. I am not the poster child for careful handling. And with that comes the chance that things break.

This is actually my second ND Throttle. The first one looks the same and feels the same, and the only real difference is that after about nine months the aperture ring started to slip. I’d have a Nikon lens on it, adjust the aperture, and it would creep from wide open to slightly stopped down on its own, and I’d have to set it again. It stopped being precise, which got annoying fast. I’d guess that’s the spring mechanism. I genuinely don’t know whether that’s how I handle my gear or a design flaw, but if you’re buying one, know that after nine months or so a ring could start going. The rings are the weak point, in my opinion.

If you can live with some slippage you could probably keep using it for a long time. For me it was $100 and I really enjoy using it, so I just bought another one, and now I’ve got a backup.

So, Should You Buy It?

Extreme close-up of a finger threading a screw-in filter onto the ribbed barrel of a lens adapter

Even after listing all of those cons, the sharpness and the color cast and the reflections and the durability, I still find myself loving this adapter. And maybe I’m crazy. I am crazy, let’s be totally honest. But whenever I’m filming a wedding and I reach into my bag and ask myself, do I want an ND that goes on the front of the lens or one that goes on the back, I grab this one every time.

Maybe it’s because it doesn’t have the bad reflections you get from an external ND. Maybe it’s because I don’t have to fish around my bag for a separate filter. Or maybe I genuinely do love the internal flares for wedding films. For $100 I think it’s a great purchase.

Here’s the honest buying advice, though. Your choice is either this or a regular variable ND that screws onto the front of your lens. The front-mounted one has real advantages, especially if you buy magnetic quick-swap adapters to go with it, because then you just slap it on and go without stressing about it.

This adapter only makes sense if you’re shooting Nikon mount lenses. That’s a very big if. If you don’t have Nikon glass, I wouldn’t even consider it, because you lose electronic control. With a Canon lens on this thing you can adjust the ND but not the aperture, because it’s a dead adapter. Nikon’s mechanical lever is the entire reason this works.

So if you’re in the very small subset of people shooting Nikon mount lenses who want manual aperture control and built-in ND, this is a great choice. I realize that is a tiny group of people I’m telling to buy this thing, but hey, what can you do.

Is it perfect? No, not at all. Does it make my day easier whenever I’m filming a wedding? Yes. So I’ll take it every time.

Fotodiox has also announced an ND Fusion adapter, which I haven’t had a chance to look at, but which is supposed to offer electronic aperture control alongside the built-in ND. That’s very exciting to me, and it would solve the one thing keeping this adapter from being useful to everybody.

Note: Back in the Summer of 2016, Fotodiox released a Canon lens to E-Mount version of the adapter, but I haven’t had the chance to test it yet, so I have kept my review focused on the Nikon mount version. The build quality appears to be similar, so if you are considering purchasing one of the other lens mount adapter versions, this review should still be very helpful to you.

You can check out the Vizelex ND Throttle Adapter on Amazon and at B&H.

Ethics statement: This is an entirely independent review. Fotodiox did not pay me to create this video, I didn’t receive this adapter for free, and I received no other compensation. I bought two of them with my own money, a lot of people asked me how I felt about it, and so here we are.

Want To Watch More?

If you have any questions about the ND Throttle, or filmmaking questions in general, feel free to leave a comment below or get in touch. I’m now also offering one-on-one filmmaker consulting, an hour and a half where we can talk about getting started, or critique one of your wedding films, or work through pricing and packages and how to get couples to pay you what you’re worth. Or how to grow a better beard. I’d love to talk to you about that too.

How To Record Amazing Audio In Your Wedding Films!

How To Record Amazing Audio In Your Wedding Films!

📷 The whole audio kit, with pictures, is on my gear page here.

This is a big one. I’m giving all my audio secrets away. For over a year the single most requested topic has been audio: how I approach recording it for a wedding film, the exact gear I use for the notes, the ceremony, and the toasts, and how I make it all sound good. Today’s the day I reveal it all.

Why Audio Matters More Than You Think

Audio is one point of what I’m going to call the triangle of power, which is a completely made up term I invented about four seconds ago.

Point one is your visuals, the beautiful imagery your camera is recording. On its own it’s pretty, but it isn’t compelling. Point two is music, which adds emotion, and now the viewer feels something. Point three is live audio, somebody speaking, somebody telling a story. Put all three together and it becomes genuinely compelling: people see something beautiful, feel something because of the music, and hear a story at the same time.

For a wedding I’d argue audio is the most important of the three. Without it you’ve made a pretty music video montage. With it, your couple gets to relive their day exactly as it happened.

One more thing before the gear. Audio comes in two parts, just like video does. Your recorder captures raw audio the same way your camera captures ungraded footage, and it hasn’t been improved in any way yet. Whenever I was starting out I’d edit the picture until it looked great and then just drop the audio on a track and call it done. Take the time to learn to edit audio as well as you edit picture and suddenly the lows sound better, the highs are clean, and people actually respond to your work. I did eventually make that video, and here it is.

Recorders

Zoom H5

This is what I reach for first on a wedding day. It has a ton of inputs and, more importantly, physical dials, so I can watch and control my levels while I’m recording. Anything I’m monitoring live goes through this: the couple reading their letters, a message one of them wants to record, anything I’ve put a mic on before the ceremony.

Man holding a black Zoom H5 recorder up beside his face, whiteboard and string lights blurred behind him

The one drawback is that it has no auto gain control. So the H5 is fantastic whenever you can watch it and terrible whenever you can’t. It’s a special-use recorder for me, not a set-and-forget one.

Zoom H4n

You probably recognize this one, because who doesn’t. I’ve owned mine since 2009 and it’s still going strong. It has been the workhorse of my entire audio life and it has auto gain control, so I can press record, walk away, and it handles the levels itself.

Man holding a Zoom H4n recorder in one hand and a small clip-on lav mic in the other, string lights behind him

Two drawbacks. The nitpicky one: you have to press record twice. The first press just starts monitoring, the second actually records, and I have absolutely stood there having pressed it once. The H5 doesn’t do that. The real one: battery life. This thing sucks down batteries like nothing else, so on a wedding day I bring the AC adapter and keep it plugged in, because I am not risking losing a ceremony to a dead cell.

Why own both? Because I shot a wedding that had two soundboards at the reception, on opposite sides of the room, and they were using both for toasts. I needed a recorder in each one. Now if that happens again I’m covered.

Three Small Voice Recorders

Three little Olympus voice recorders, which I pair with three lav mics as three completely standalone units. No wireless signal, no interference, nothing to go wrong between the mic and the card. Battery life is great, they run for hours and hours, and they take a micro SD card so recording time is basically a non-issue.

Two digital recorders on a wood table, the front one showing FOLDER, FILE, SPEED, WAV/MP3 buttons and a small screen

(Those exact models are discontinued now. The Sony ICDUX560 is the current stand-in. And yes, people ask why I’m not using one of the fancy Tascam DR-10L systems: at the time of this video I simply hadn’t bought one yet.)

Five Recorders Is Not Crazy

At this point you’re going “Matt, five recorders?” I believe in backups, and I believe in backups for the backups. I have had a DJ tell me he has never once had an audio problem, everything is always perfect, trust him completely, and I say that’s great, I don’t trust you at all. I’ve been at weddings where the entire house system died mid-ceremony and the minister was up there talking to a room that couldn’t hear him.

I want their audio and my audio. Minimum three sources, ideally five, because the quality varies and having options guarantees the film sounds as good as it possibly can. And remember: this is a wedding. There are no do-overs. Nobody is going to run the ceremony again because you weren’t rolling.

Microphones

Sennheiser Wireless Lav

The transmitter and receiver are both small enough to clip onto a belt or drop in a pocket without anybody noticing. Sound quality is great and the battery life is outstanding, hours and hours, straight through the longest ceremony I’ve ever filmed, and I’ve never had to swap one mid-day.

I use it first thing in the morning for the letters, running straight into the Zoom H5 so I’ve got manual gain and can ride the level as they read. During the ceremony it goes into the XLR inputs on my camera, which means audio and video arrive already in sync. Without a camera with XLR in, I’d run it into the H5 and keep that on me so I can keep monitoring while I move.

Microphone Madness Matchstick Lapel Mics

I have three of these, one for each voice recorder. They are about the size of a match, which makes them brilliant for hiding in awkward places.

Man holding up a tangle of thin black lapel mic cables in front of string lights and a whiteboard
Two coiled thin black cables with gold-tipped plugs on a wood table, one bundled with a small zip tie

The connector is an L bracket rather than a straight plug, which means it does not come loose whenever somebody pulls at it sideways. Between that and the hold switch on the recorders, I have never lost a recording to somebody bumping a cable or tangling it in a shirt. One setting to change: these mics are very sensitive, which is good, but set the recorder’s mic sensitivity to low or you’ll peak.

Rycote Stickies (Skip The Clip)

These mics come with a clip. The clip is terrible and flimsy and will break or fall off in roughly ten seconds. Use Rycote Stickies instead, which sound kind of gross and are genuinely great. Peel one off the sheet, press the mic onto the sticky side, peel the backing off the other side, and now you’ve got an adhesive mic.

Stick it just inside the inner lapel of a jacket, where it isn’t visible but is almost visible. You get clean audio without wrestling anybody’s shirt, and nobody in the room can tell the person is wearing a mic at all, unlike a clipped-on lav which is obvious to everybody.

Close-up of a black suit lapel with a thin lav mic cable tucked into the seam, barely visible against the fabric

If it’s a windy day, Rycote also makes Overcovers, which go over the other side of the mic and block wind. Sticky on one side, cover on the other, and you’re well protected.

Who Gets Miked At The Ceremony

  • The groom gets the wireless lav and a voice recorder with a matchstick mic. The recorder backs up the wireless, so if there’s any transmission issue at all I still have clean vows. Both mics are omnidirectional and the bride is standing two or three feet away, so I’ve never had trouble picking her up as well.
  • The minister gets another recorder and mic, so the message is covered.
  • Wherever else matters gets the third. A podium if there’s a scripture reading. And at one wedding, a full mariachi band that nobody had thought to mic, presumably because they were already ear-splittingly loud. I set a recorder in front of them and now I have great mariachi audio.

Add the house audio going into the H4n on auto leveling and that’s three sources minimum, four or five if I can get into the board. Yes, it’s probably overkill. Whenever disaster strikes I’m glad I’m prepared.

Cables, And Talking To The DJ First

These are all for plugging into somebody else’s soundboard, which is the operative point: it’s their equipment. Exactly like I’ve said about getting along with the photographers, reach out to the venue and the DJ ahead of the day. What board are you running? I have these cables, can I plug in to record the ceremony? Who are you miking, and can I get into it for the toasts?

I put together Record PERFECT Audio In Your Wedding Films! – B&H’s Depth of Field Conference Keynote as well, which covers the part I skipped over here.

Once you have the green light, there are really only three cables you need. All of mine are Hosa, bought on Amazon, cheap with good reviews, which are my main criteria for basically anything I have ever purchased.

Man holding two quarter-inch cable ends, one with a red band and one with a black band, near a whiteboard
  1. XLR. The most ubiquitous connector in sound. If your DJ doesn’t have XLR you should seriously question whether he’s just running an iPod. It plugs straight into the bottom of either Zoom. Bear in mind he may already be using all his XLR for speakers.
  2. Quarter inch to quarter inch. Nearly as universal. Most boards have a quarter inch output somewhere, even if it’s only headphone monitoring, which I have absolutely recorded from before.
  3. Quarter inch to RCA. And yes, I just said they might not have quarter inch, but that’s not the point: the RCA end goes into the board, the quarter inch end goes into your recorder. In my experience every DJ has at least one of these three.
Man holding up a black box labeled IMP 1x2 SPLITTER in front of string lights and a whiteboard

Plan B: The XLR Splitter

If none of those three outputs exist, I’m sorry, all hope is lost, you should quit filming weddings. Kidding. I have another option, and honestly it might be better than plugging into the board anyway.

The Whirlwind IMP 1×2 splitter, a name that tells you nothing about what it does. It’s an XLR splitter: one cable in, two out. You put it in between the DJ’s wireless microphone base station and his soundboard.

Close-up of the black Whirlwind splitter box on a wood table, INPUT jack labeled, a red XLR cable beside it

What that buys you is clean, direct audio straight off the wireless mics, with none of the board’s mixing, none of the reverb, and none of the background music the DJ decides to play under the toasts, which I have absolutely had to deal with. You will need to go beg a little, and bring at least three XLR cables, because this thing needs them.

Plan C: The Trick That Always Works

So the board has no usable output, and the DJ won’t let you near his wireless receiver because it’s weird. Help me, Obi-Matt Kenobi, you’re my only hope.

Don’t worry. This one I can pretty much guarantee, and it has saved my bacon more times than I can count. It’s a microphone sleeve. Get the black one. It works with any microphone, wireless or stationary.

Stretch it, slide it over the handheld mic, and you’ve now created a stretchy pocket around the mic body. Slide one of your voice recorders down into that pocket. It holds both easily.

Man holding a small black digital recorder up toward the camera, string lights blurred behind him

Now you have your own source, inches from the speaker’s mouth, with almost no room echo or reverb. I’ve filmed weddings out in the Texas countryside where the soundboard was either broken or so ancient you couldn’t plug into it, and this is what got me flawless toast audio. I put it on the mic even whenever everything else is working, because house mics cut out, and it has caught that too.

Power And Headphones

Everything in this kit runs on AA or AAA. Get rechargeable AAs and rechargeable AAAs in the high capacity version, which hold more and last longer. Get a charger, and get a battery case. My system: charged batteries live in the case, used ones go loose in the bottom of the bag, and at the end of the day I fish them out and charge them. Budget about a hundred bucks purely on batteries and chargers and you’re set.

For headphones I use a cheap pair of earbuds, about twenty bucks. They sound fine and, importantly, they’re black. I have plenty of white phone earbuds and they read as unprofessional on a wedding day. These are not studio grade, but they don’t need to be. Their entire job is answering “is this recording, and is it clean?”

The Complete List

📷 Everything below, with pictures, on my audio gear page.

One More Thing

I hope my extensive use of backups hasn’t scared you off building an audio kit of your own. I really do believe in them. This kit is versatile enough to handle the wide variety of situations you’ll run into, and whenever you’re walking into a church or a DJ you know nothing about, it is genuinely great to know you can go in blind and still come out with the audio.

I’m also now offering personal one-on-one hourly filmmaker consulting. Want me to critique your latest wedding film? Need recommendations on cameras, lenses, or lighting? Want to chat about beard maintenance for an hour? I would love to talk with you, so please get in touch and schedule a consult.

🎬 My wedding film editing course · ✌ The Learn Wedding Filmmaking Facebook Group · ►► My free guide to booking more wedding clients

A wedding filmmaker’s review of the SKB Tripod Case (1SKB-R4209W)

A wedding filmmaker's review of the SKB Tripod Case (1SKB-R4209W)

Up until around six months ago, when I wanted to transport my video support gear such as tripods, monopods, slider, etc. to weddings and other shoots, I did it all by hand. This typically resulted in multiple trips to and from my car whenever I changed locations on a wedding day, as well as horrible back pain. I will say though, that there was something macho about treating my gear transport in the same way I handled bringing in grocery bags inside from a trip to the store – all in one trip.

After six years of living like this, I realized that it was time for a change and began researching cases that would enable me to transport my support gear, ideally in one trip. My only requirements were that it be sturdy and hold a lot of gear. After much reading and requesting recommendations from friends, I chose the SKB R4209 RotoMold Tripod Case. I’m pleased to say that after taking it to three states, thirteen shoots, and subjecting it to a diversity of terrain, it has held up in a spectacular fashion. In the review video above, I cover the hardware, storage capacity, and a few of the issues I have with the case.

Bearded man holding a video tripod with fluid head, gear cases and a shoulder rig laid out on the table in front of him
Look it’s a tripod case that holds tripods!

Overall, if you are living your life like I was and transporting a lot of gear inefficiently, take hope! A good tripod case can go a long ways to improving your speed, and this one is a winner.

If you watch my review video and decide to invest in one of these cases for yourself, I would recommend checking out the “Used and New” section Amazon for their Warehouse Deals. The case retails at time of this video for $199, but the Warehouse Deals may have them for as low at $170.

Ethics Statement: This is an entirely independent review. SKB did not pay me to create this video, I didn’t receive this case for free, or receive any other compensation. I’m a fan of this case and after six months of use I really wanted to make a review about it.

If you have any questions about the case, or wedding filmmaking questions in general, feel free to leave a comment below or get in touch.

My Finding Creative Success Podcast Interview With Matt Peet

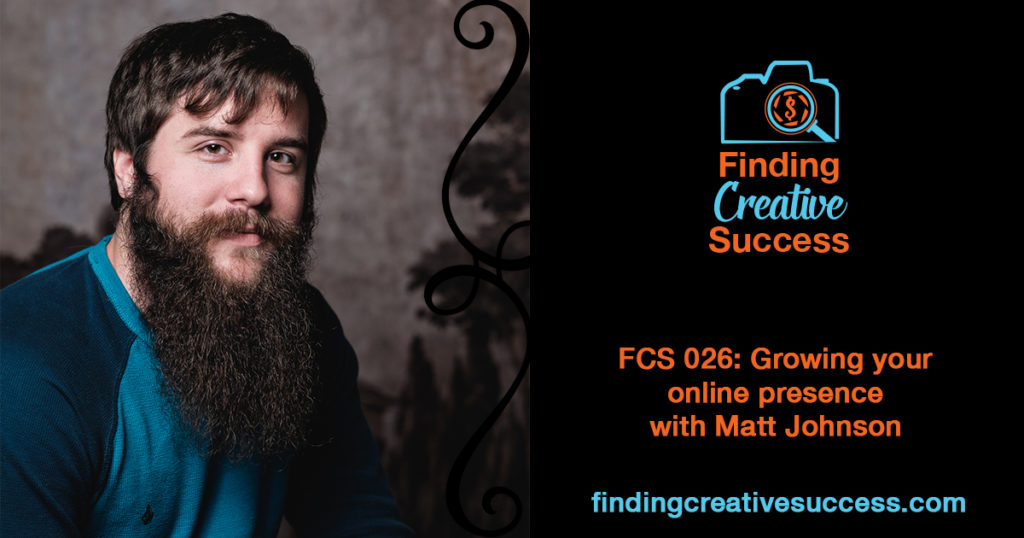
Finding Creative Success podcast promo, portrait of bearded Matt Johnson beside the episode 026 title card

Finding Creative Success podcast promo, portrait of bearded Matt Johnson beside the episode 026 title card

Two weeks ago I had the opportunity to sit down (virtually) with Matt Peet of the Finding Creative Success Podcast and talk about *drumroll please* how I found creative success! Okay, it wasn’t quite that literal of a podcast, but we did get to touch on a lot of great topics such as, helpful advice when starting out filming weddings, how to get more clients, and what to do to grow your followers online. I even revealed one of my biggest failures as a wedding filmmaker! Overall, it was a really enjoyable 40 minutes that passed very quickly. You can listen and subscribe to the podcast on iTunes, or in your web browser at the Finding Creative Success website.

If you have any questions about anything we discussed in the podcast, please leave a comment below or feel free to get in touch.

How To Study For And Pass The FAA Drone Test!

How To Study For And Pass The FAA Drone Test!

About 9 years ago, before I was even considering pursuing a career in making videos, I entered a video contest put on by Texas A&M University called “Why I’m an Aggie.” My entry featured students speaking about why they chose Texas A&M and what they enjoyed about the university. Throughout the video, I featured pretty shots of campus that I shot with my trusty Sony HDR-UX1 (recording to mini-DVDs, SD cards weren’t fast or large enough yet).

The shot that set my contest entry apart from the others though, was an aerial video of campus that I filmed from a plane. Yes, I actually rode in a plane over campus to get a shot for my video! This blew away the judges considering that aerial video was still relatively rare (unless you happened to have a pilot father – thanks dad).

Nine years later, aerial video is now mainstream. People are buying Millennium Falcon camera drones, stuffing their dead cats and turning them into quadcopters, and anyone with a cell phone can purchase a flying camera for as little as $20. My aerial video in 2008 that took so much effort and timing, could now be accomplished by any kid with a drone Christmas present. It would probably look smoother and be better colored too.

In August of 2016, the Federal Aviation Administration passed their official rules for commercial drone usage in the United States. Up until this point, if you wanted to make money flying your drone you had to apply for a Section 333 waiver and actually possess a pilot’s license to fly a drone.

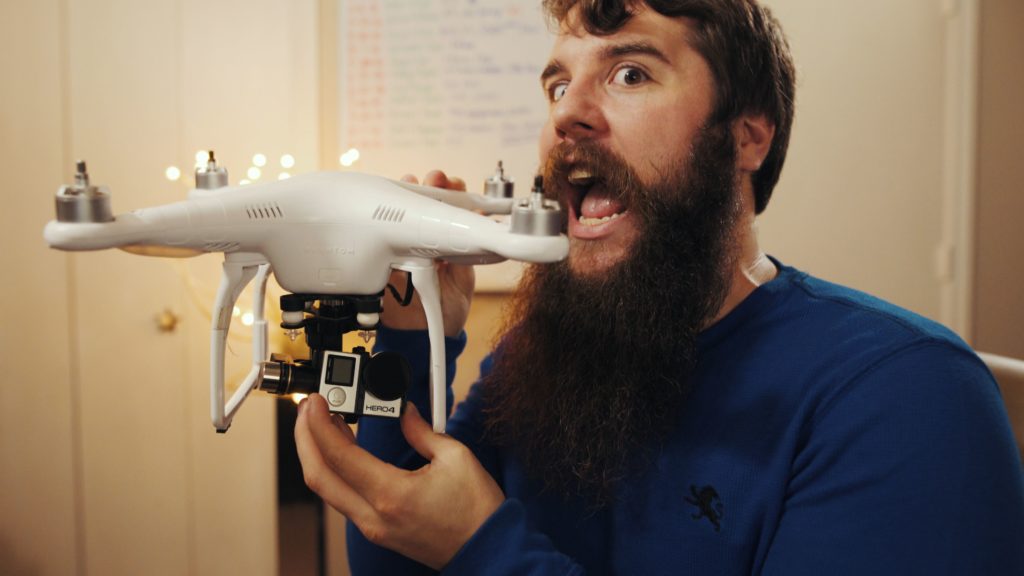
You can eat your drone, but I wouldn't recommend it.
You can eat your drone, but I wouldn’t recommend it.

This all changed with the FAA’s Part 107 ruling, which made getting a license to fly your drone for commercial purposes as easy as taking a knowledge test, no pilot’s license required.

Now when I say easy, I mean easier than getting an actual pilot’s license, not that the test itself is easy. Which brings us to this video that I created today, which is all about why you should take the knowledge test, and how to study for and pass it.

In the video, I detail the exact resources that I used to pass the Part 107 knowledge test. These resources are now listed below in order that I speak about them in the video. If you study these materials, you shouldn’t need to spend any extra money on any courses or classes for the test.

But, if you find that you benefit more from a classroom setting, I would recommend checking out Drone Pilot Ground School and Remote Pilot 101.

Here are the study resources that I listed in the video, in order:

BASIC DRONE KNOWLEDGE
http://www.knowbeforeyoufly.com

PART 107 TEST COURSES & CLASSES
Remote Pilot 101
Drone Pilot Ground School

AMERICAN FLYER’S TESTING CENTERS
– American Flyers

FAA OFFICIAL STUDY GUIDE
https://www.faa.gov/regulations_policies/handbooks_manuals/aviation/media/remote_pilot_study_guide.pdf

FAA Advisory Circular
https://www.faa.gov/documentLibrary/media/Advisory_Circular/AC_107-2.pdf

SECTIONAL CHARTS VIDEOS
https://www.youtube.com/watch?v=aLBz8Z1w4PQ
https://www.youtube.com/watch?v=6ITjUfl80bs

FAA TEST SUPPLEMENT BOOKLET
https://www.faa.gov/training_testing/testing/test_questions/media/sport_rec_private_akts.pdf

COMMERCIAL DRONES FM PODCAST EPISODE 6
https://commercialdrones.fm/home/faa-part-107-test-study-guide-test-prep-drone-pilots

FAA PART 107 PRACTICE TEST
https://www.faa.gov/training_testing/testing/test_questions/media/uag_sample_exam.pdf

JONATHAN RUPPRECHT FAA PART 107 PRACTICE TEST ANSWERS & STUDY GUIDE
http://jrupprechtlaw.com/part-107-knowledge-test
http://jrupprechtlaw.com/part-107-test-study-guide

3D ROBOTICS PART 107 PRACTICE TEST
https://3dr.com/faa/drone-practice-tests/

OTHER RESOURCES NOT MENTIONED IN THE VIDEO
SkyVector
AIRNAV

That’s it! Read and study these articles, listen to the podcast, take the practice test, and when you’re ready, go and take the real thing. If you take your time and prepare, you’ll pass like I did.

As always, if you have any questions or comments, feel free to leave one below or get in touch.