
The Aputure MC Pro is pocket sized, fully RGB, magnetic everywhere, and the included honeycomb grid is the reason it works for weddings.
Continue reading
The Aputure MC Pro is pocket sized, fully RGB, magnetic everywhere, and the included honeycomb grid is the reason it works for weddings.
Continue reading
The Sony ECM-G1 is the simplest microphone you will ever use, and it is tiny. It is also going back to B&H, and here is why.
Continue reading
1.8 pounds, $369, and it ended a 12 hour wedding day at 54 percent battery. The RS 3 Mini is the best gimbal I have used.
Continue reading
Three times brighter than the 602, a new Fresnel, a 77mm filter thread, and a beam that got narrower. Then there is the $1,200 against the Aputure 60x’s $419.
Continue reading
Way back in December of 2015 when I posted my review of the Sony A7Sii (and subsequently started vlogging about reviews, gear, etc.), I mentioned that I had ordered a revolutionary new lens adapter: the Vizelex ND Throttle. Many of you began asking for my thoughts on this adapter, and I promised in my replies that I would post one “soon.” Well, soon ended up being over one year later, but I’m pleased to announce that my video review of the Vizelex ND Throttle Lens Adapter is finally here!
Vizelex. You really can’t help but pronounce it that way whenever you see it, because it’s just such a cool name. It sounds like a super villain.
Over the past 9 years of creating videos, I have amassed quite a collection of lens adapters for my cameras. Since switching to Sony E-mount in 2012, this number has grown considerably.

This is the bag of lens adapters I bring to every single wedding, and you’re probably thinking, Matt, that is total overkill. But whenever you’re shooting with two A7S bodies and an FS100 and sometimes a Canon 70D thrown into the mix, you have a lot of lenses across a lot of different camera systems, and you need to make every lens work with every body. So I’ve got Nikon to Canon, Canon to Sony, Nikon to Sony, speed boosters, plain manual adapters, and now adapters with variable ND filters built right into them. I love that we keep seeing this miniaturization of technology, and I hope to see even more nifty features crammed into lens adapters in the future.
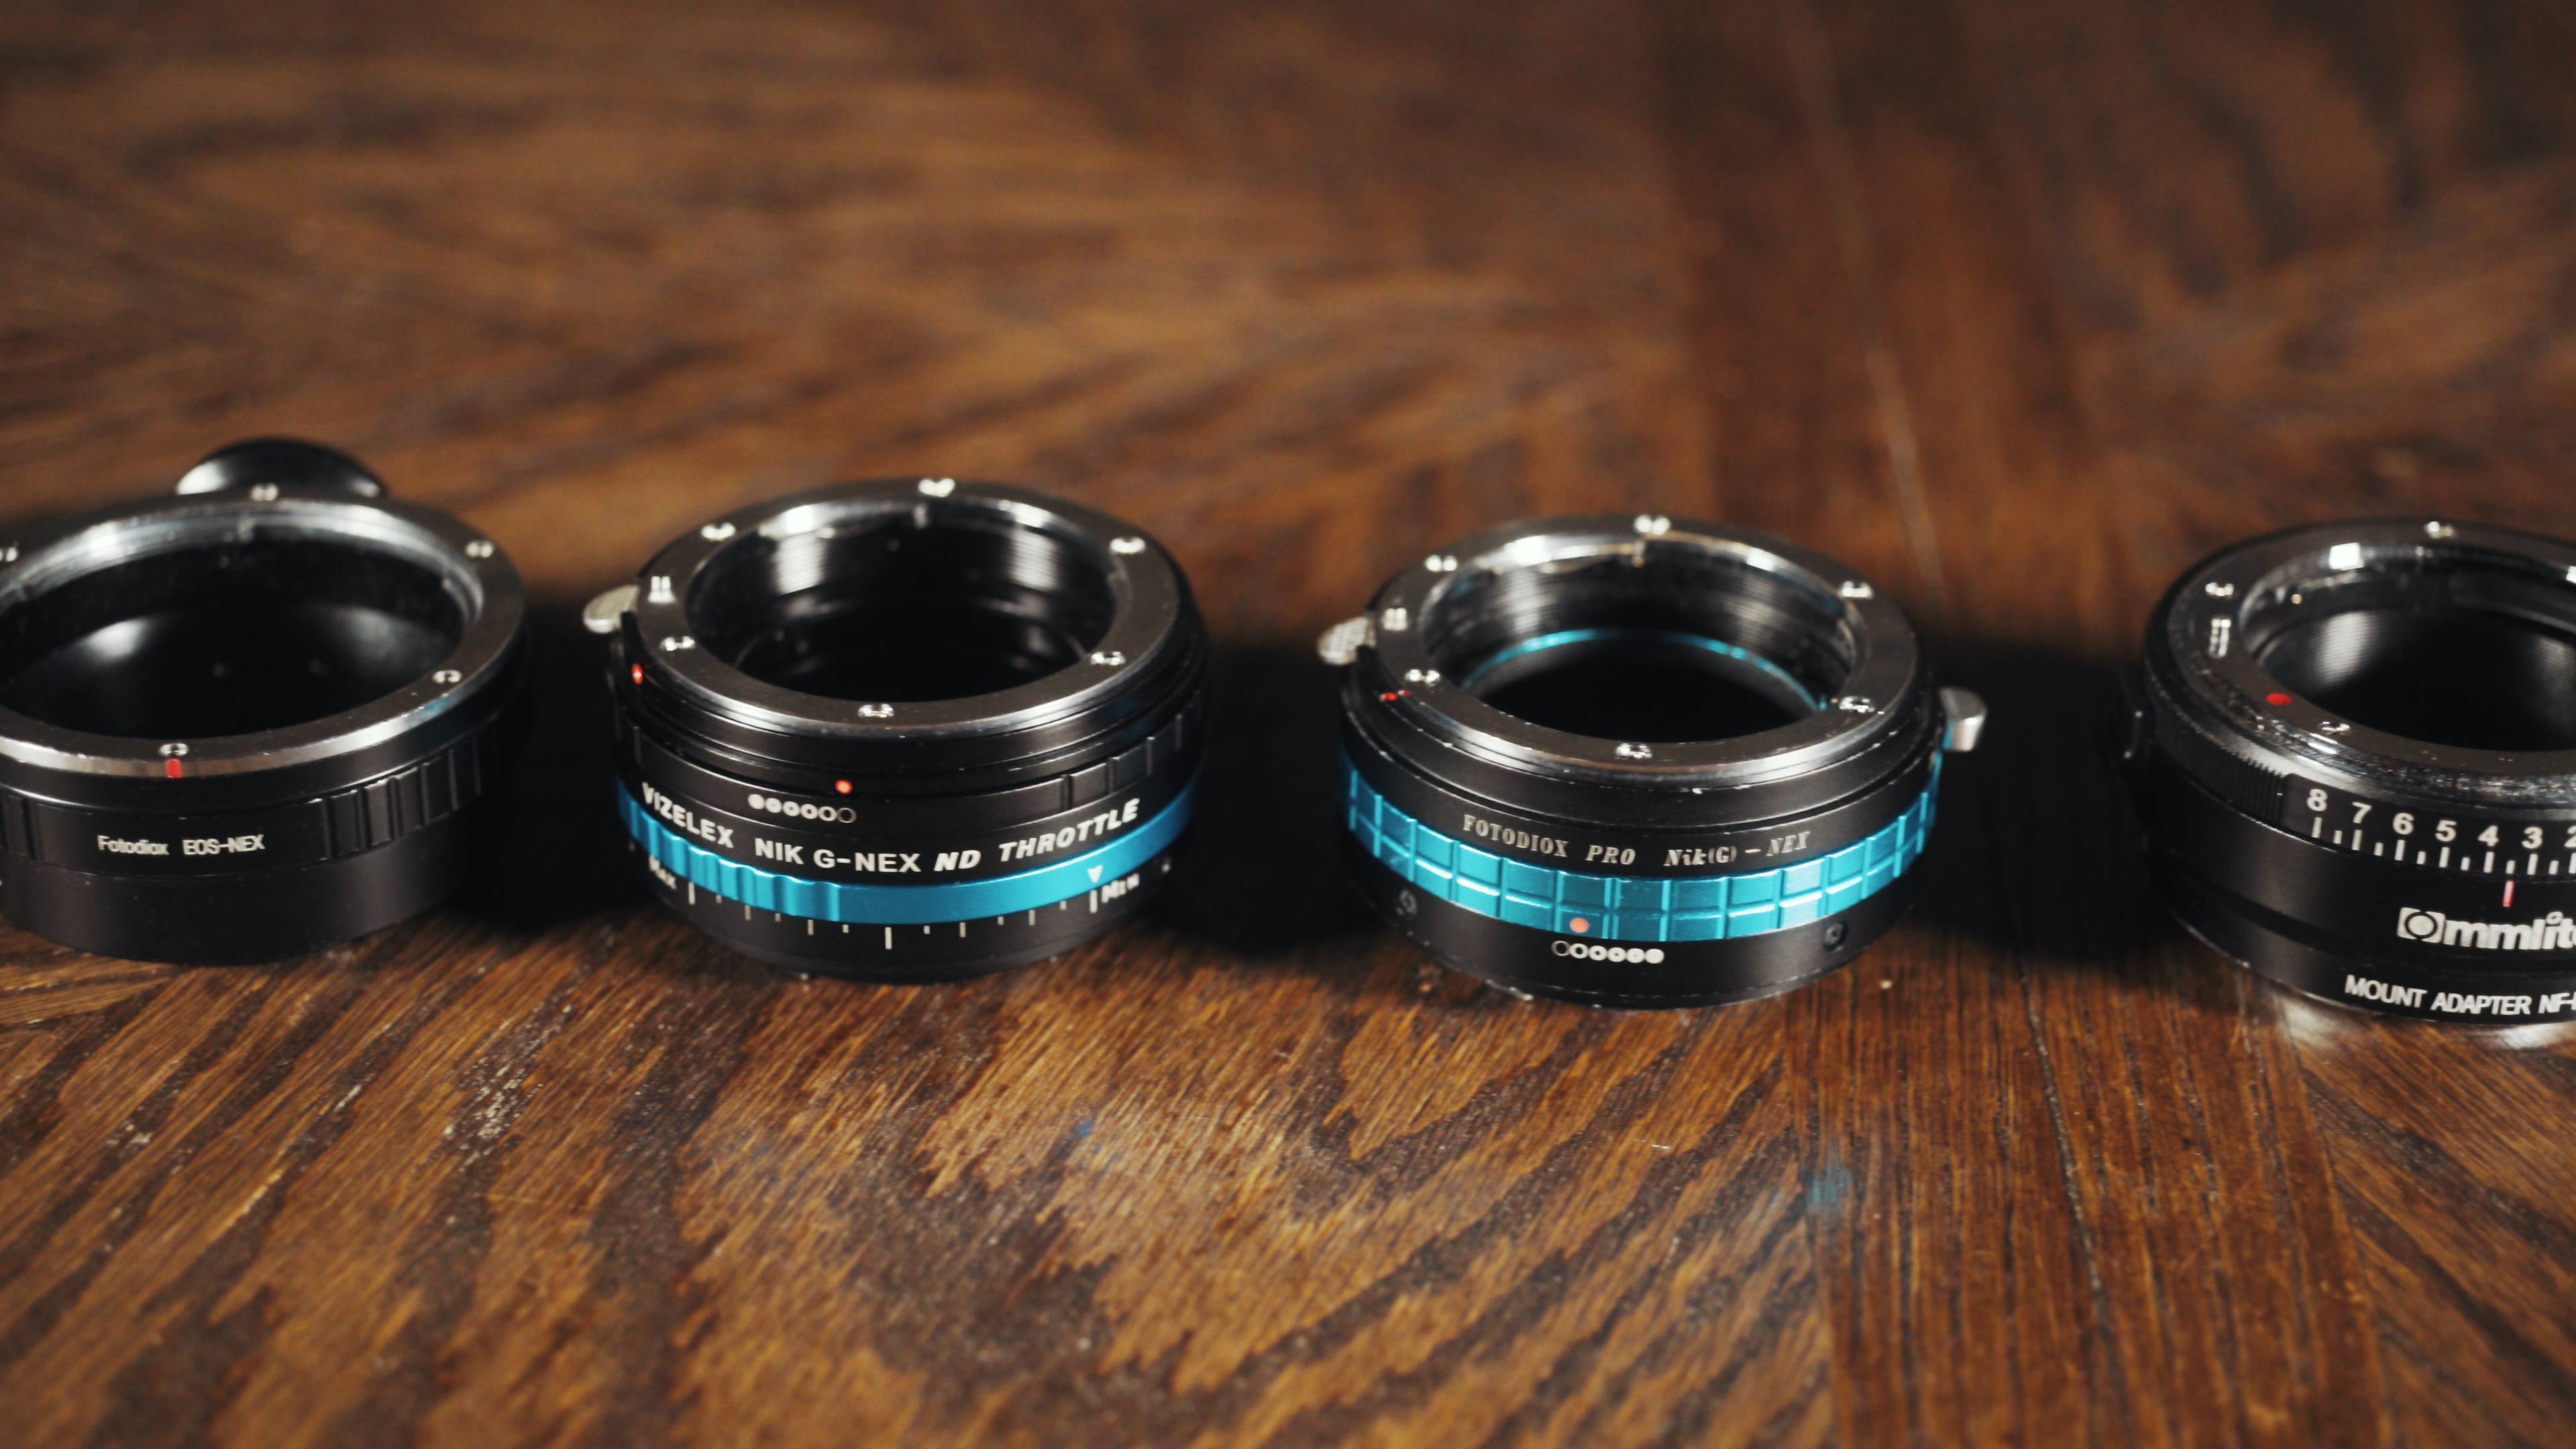
The reason all of these adapters can work with Sony E-mount cameras comes down to something called flange distance. And I’m sure you’re thinking, flange distance, Matt, that sounds kind of dirty. Hang with me.
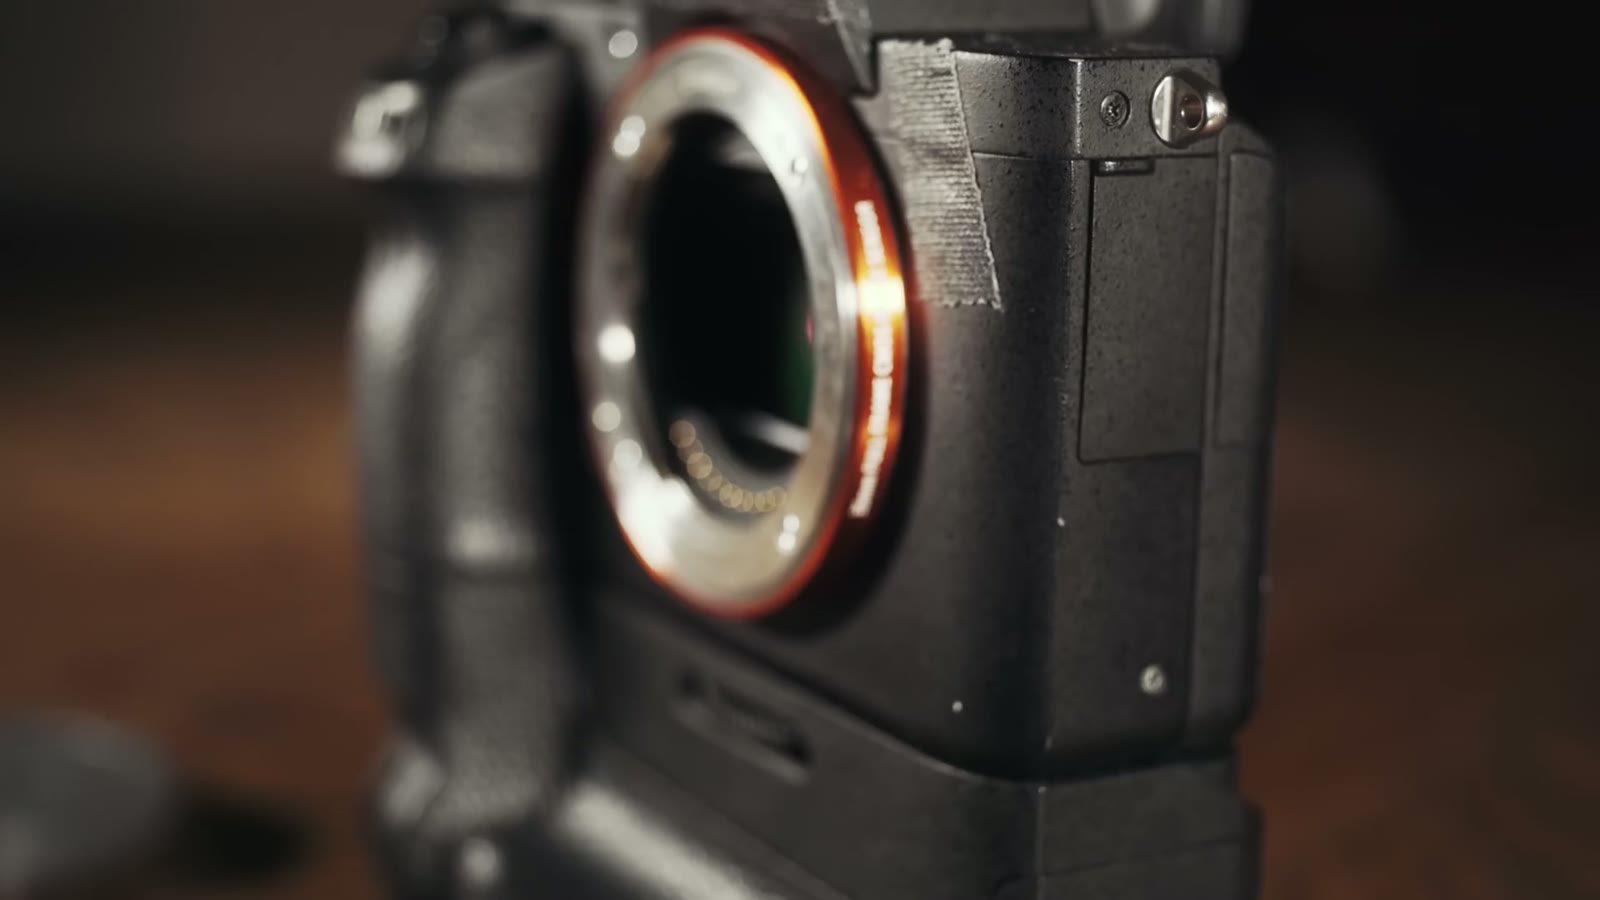
Flange distance is the distance between the back of your lens and the sensor of your camera. E-mount cameras have a very shallow flange distance, meaning the sensor sits very close to the back of the lens. The benefit is that you can adapt nearly any lens system onto E-mount, because there’s room to put an adapter in that gap. There are adapters for Nikon, Canon, Sony, Hasselblad, Pentax. Pretty much everything except some micro four thirds lenses, which won’t cover a full frame or even a Super 35 sensor. Outside of a few outliers, you can adapt nearly anything to this camera, which is amazing.
I could honestly talk about lens adapters for hours, and sometimes I do, and it tends to annoy my wife. But regardless of the status of my marriage, let’s talk about this specific adapter.
The one I’m reviewing is the Nikon lens mount to Sony E-mount version, which adapts Nikon lenses onto Sony cameras. The reason I’m on the Nikon version is that I run Sigma Art lenses in Nikon mount.
Why Nikon instead of Canon? Because I got tired of dealing with the electronic connection between the lens and the camera. Sometimes there’d be flickering, and changing aperture through different adapters was a hassle. So I said forget it, let me switch everything over to manual control.

Nikon lenses have a little lever on the back, and whenever you move it, it physically opens and closes the aperture of the lens. So adapter makers build adapters that interface with that lever, which gives you real manual aperture control with no electronics involved.


That’s why the Nikon version of the ND Throttle is the good one. It has two separate rings on it. A blue ring that controls the intensity of the ND filtration, and a black ring that controls the aperture of the lens. So you get manual aperture control and manual ND control, both living on the adapter.

This part is honestly super basic and I’m sure half of you are going to say dumb Matt, we already know this. But I want to cover it.
For all intents and purposes, an ND filter is a set of sunglasses for your camera.
Imagine you’re a photographer shooting outdoors on a sunny day, and you want to shoot wide open at f/1.4 for that beautiful buttery bokeh. All you have to do is turn your shutter speed up. A 250th, a 500th, a thousandth, whatever gets you a proper exposure. Done.
Now, if you’re a filmmaker who wants to go out into the bright hot sun and shoot that same buttery f/1.4, because who doesn’t, it is not in your best interest to just crank up the shutter speed until it’s exposed. Why? Because of a little thing called motion blur.

Look at my hand waving here, kind of like an idiot but also kind of like a bearded Miss America, which is honestly kind of cool. It has a decent amount of motion blur, because this camera is recording at 24 frames per second with the shutter at a 50th. The general rule is that your shutter speed should be double your frame rate.
And you’re thinking, wait, I’m no math genius but 24 times 2 is 48, and that isn’t 50. Correct. Most mirrorless cameras and DSLRs won’t let you set exactly double your frame rate. You get a 50th instead of a 48th. It’s close enough that it doesn’t matter.
What does matter is what happens when you start cranking the shutter up. Six clicks up and we’re at a 200th.

Now that same hand wave looks completely different, doesn’t it? Really sharp and jaggedy. That’s amazing if you’re filming a Jason Bourne fight scene, look how fast I’m punching, it looks so awesome. If you’re filming a wedding, that is probably not the look you’re going for.
So purely aesthetically, you don’t want that sharp jaggedy look. And you’re saying, okay Matt, then how do I shoot in bright sun and keep my shutter at a 50th without blowing everything out? That’s where the sunglasses come in.
The first thing you notice taking the ND Throttle out of the box is that it has some nice heft to it. It’s aluminum and glass, it has a good weight, it feels good in the hand, and there are no plastic parts that make you think oh man, is this going to snap off and take my lens with it. Everything feels solid.
The second thing you notice is that both the aperture ring and the ND ring rotate very smoothly. They’re well oiled. It’s almost a sensual movement, if you will.

The third thing is that both rings have hard stops. Unlike some variable ND filters I’ve used that just keep rotating forever, this one stops, so you can always tell whether you’re at minimum or maximum filtration. That’s really helpful.
The one con about the rings is that they’re both ridged very similarly, so it’s hard to tell by feel which one you’re turning. If you look at it, fine, the blue one’s ND and the black one’s aperture, duh. But if you’re behind the camera and can’t look, you’re going to grab one and hope, start rotating, and immediately find out that no, that was the aperture. That’s a real con. You need to be able to look at it.
I’d put this one in the “decent” part of the ND visual quality range, which is a range I am completely making up on the spot, just so we’re clear. For scale, here’s the whole ladder:
The ND Throttle works very well for the price, and there are three things you need to know about its visual quality.
One, it has a slight color cast. It leans toward the ambers, browns, oranges, and yellows. Since I’m already grading toward that warmer style, I find it actually pushes me in the direction I was headed, so I don’t count it as a con. But if you’re filming a dark blue sci-fi thriller, this may not be your filter. And if you’re shooting a multi-camera interview where you cut back and forth between two cameras that need to match, do not put an ND filter on one camera and not the other. I’m speaking from experience there. You’ll end up with a color cast mismatch and a lot of correction work in post.
Two, sharpness drops as you increase intensity. I rarely turn this past halfway, which still gives me plenty of ND without visible softening. Push it well past that and you’ll start thinking man, this is getting a little blurry. Fifty percent, or even up to seventy-five if you really need it, is totally usable. Beyond that, be aware you’re adding glass between your lens and your sensor, so of course something has to give.
Three, it vignettes. Not as badly as a front-mounted filter would, but it’s there, and it gets worse as you turn the intensity up. I can usually pull it out in Premiere with a reverse vignette pretty easily. Stay under about 75 percent and you’ll get a good range of filtration without weird dark corners.
The first con is also kind of a pro. If you put an ND filter on the front of your lens, you generally deal with reflections caused by that extra layer of glass. Shoot a long exposure timelapse of a street and you’ll occasionally catch a reflection of a car headlight showing up somewhere weird in your frame. Because this filter sits behind the lens, that doesn’t happen at all, which is great.
The main con also has to do with reflections, and it affects every Fotodiox lens adapter I’ve ever used. Look at the inside of the adapter and you’ll see fairly shiny metal, and that causes some crazy internal reflections. If you’re filming with a light source just barely outside the frame, you’ll get wild lens flares coming into your image. Which can look kind of cool, honestly, but it can also be jarring. I have chosen to embrace it in my wedding films, because I like the flare effect. But if you’re shooting in a more sterile environment, or you have a client who is specific about not wanting flares, treat this as a tool and be careful about when you use it. If you want an adapter that doesn’t flare at all, this is not that adapter.
The second con is that you can’t fully turn the ND off without taking the adapter off entirely. Even at the minimum setting you’re losing about a stop of light. So if I’m filming outdoors and I know I’m heading inside for a while, I’ll swap to a non-ND adapter, because otherwise I’m cranking ISO and making a bunch of other changes just to have enough light. Outdoors, though, it’s fantastic to have on the lens.
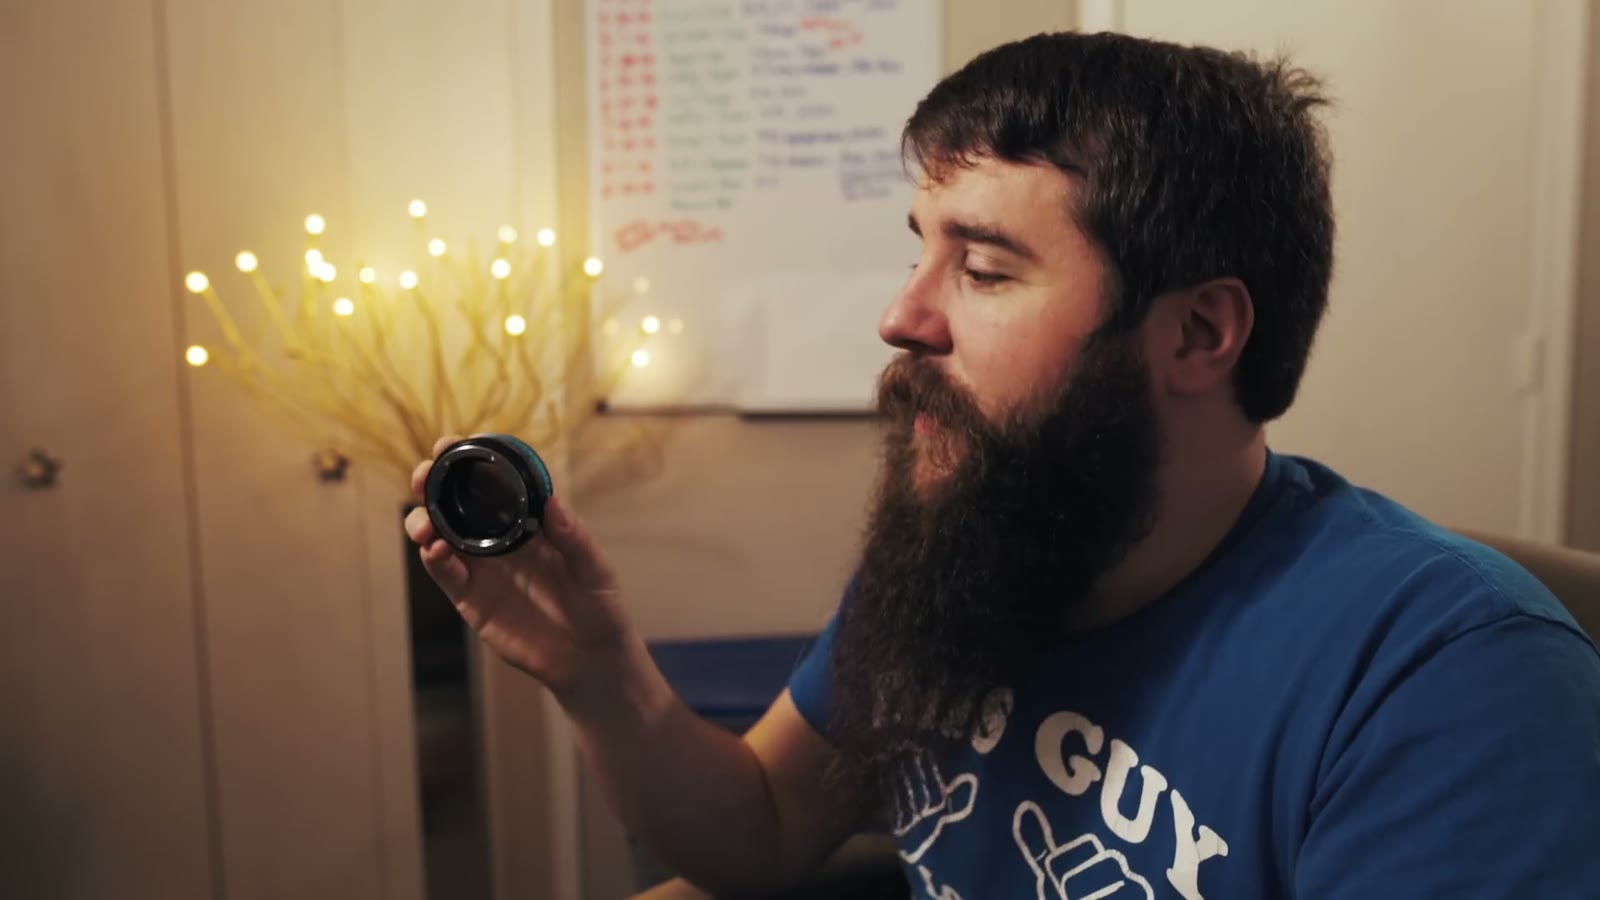
I know at the start of this review I said this thing is beautifully built and metal and strong and feels great, and I stand by all of that. But you should know I am not one to baby my gear. I’m usually running around going I need to get this shot, hurry, slamming lenses onto bodies. I am not the poster child for careful handling. And with that comes the chance that things break.
This is actually my second ND Throttle. The first one looks the same and feels the same, and the only real difference is that after about nine months the aperture ring started to slip. I’d have a Nikon lens on it, adjust the aperture, and it would creep from wide open to slightly stopped down on its own, and I’d have to set it again. It stopped being precise, which got annoying fast. I’d guess that’s the spring mechanism. I genuinely don’t know whether that’s how I handle my gear or a design flaw, but if you’re buying one, know that after nine months or so a ring could start going. The rings are the weak point, in my opinion.
If you can live with some slippage you could probably keep using it for a long time. For me it was $100 and I really enjoy using it, so I just bought another one, and now I’ve got a backup.

Even after listing all of those cons, the sharpness and the color cast and the reflections and the durability, I still find myself loving this adapter. And maybe I’m crazy. I am crazy, let’s be totally honest. But whenever I’m filming a wedding and I reach into my bag and ask myself, do I want an ND that goes on the front of the lens or one that goes on the back, I grab this one every time.
Maybe it’s because it doesn’t have the bad reflections you get from an external ND. Maybe it’s because I don’t have to fish around my bag for a separate filter. Or maybe I genuinely do love the internal flares for wedding films. For $100 I think it’s a great purchase.
Here’s the honest buying advice, though. Your choice is either this or a regular variable ND that screws onto the front of your lens. The front-mounted one has real advantages, especially if you buy magnetic quick-swap adapters to go with it, because then you just slap it on and go without stressing about it.
This adapter only makes sense if you’re shooting Nikon mount lenses. That’s a very big if. If you don’t have Nikon glass, I wouldn’t even consider it, because you lose electronic control. With a Canon lens on this thing you can adjust the ND but not the aperture, because it’s a dead adapter. Nikon’s mechanical lever is the entire reason this works.
So if you’re in the very small subset of people shooting Nikon mount lenses who want manual aperture control and built-in ND, this is a great choice. I realize that is a tiny group of people I’m telling to buy this thing, but hey, what can you do.
Is it perfect? No, not at all. Does it make my day easier whenever I’m filming a wedding? Yes. So I’ll take it every time.
Fotodiox has also announced an ND Fusion adapter, which I haven’t had a chance to look at, but which is supposed to offer electronic aperture control alongside the built-in ND. That’s very exciting to me, and it would solve the one thing keeping this adapter from being useful to everybody.
Note: Back in the Summer of 2016, Fotodiox released a Canon lens to E-Mount version of the adapter, but I haven’t had the chance to test it yet, so I have kept my review focused on the Nikon mount version. The build quality appears to be similar, so if you are considering purchasing one of the other lens mount adapter versions, this review should still be very helpful to you.
You can check out the Vizelex ND Throttle Adapter on Amazon and at B&H.
Ethics statement: This is an entirely independent review. Fotodiox did not pay me to create this video, I didn’t receive this adapter for free, and I received no other compensation. I bought two of them with my own money, a lot of people asked me how I felt about it, and so here we are.
If you have any questions about the ND Throttle, or filmmaking questions in general, feel free to leave a comment below or get in touch. I’m now also offering one-on-one filmmaker consulting, an hour and a half where we can talk about getting started, or critique one of your wedding films, or work through pricing and packages and how to get couples to pay you what you’re worth. Or how to grow a better beard. I’d love to talk to you about that too.

The Ronin-M beats a Glidecam on ease of use and loses on setup time, price and being unable to put it down. Why I sold mine.
Continue reading