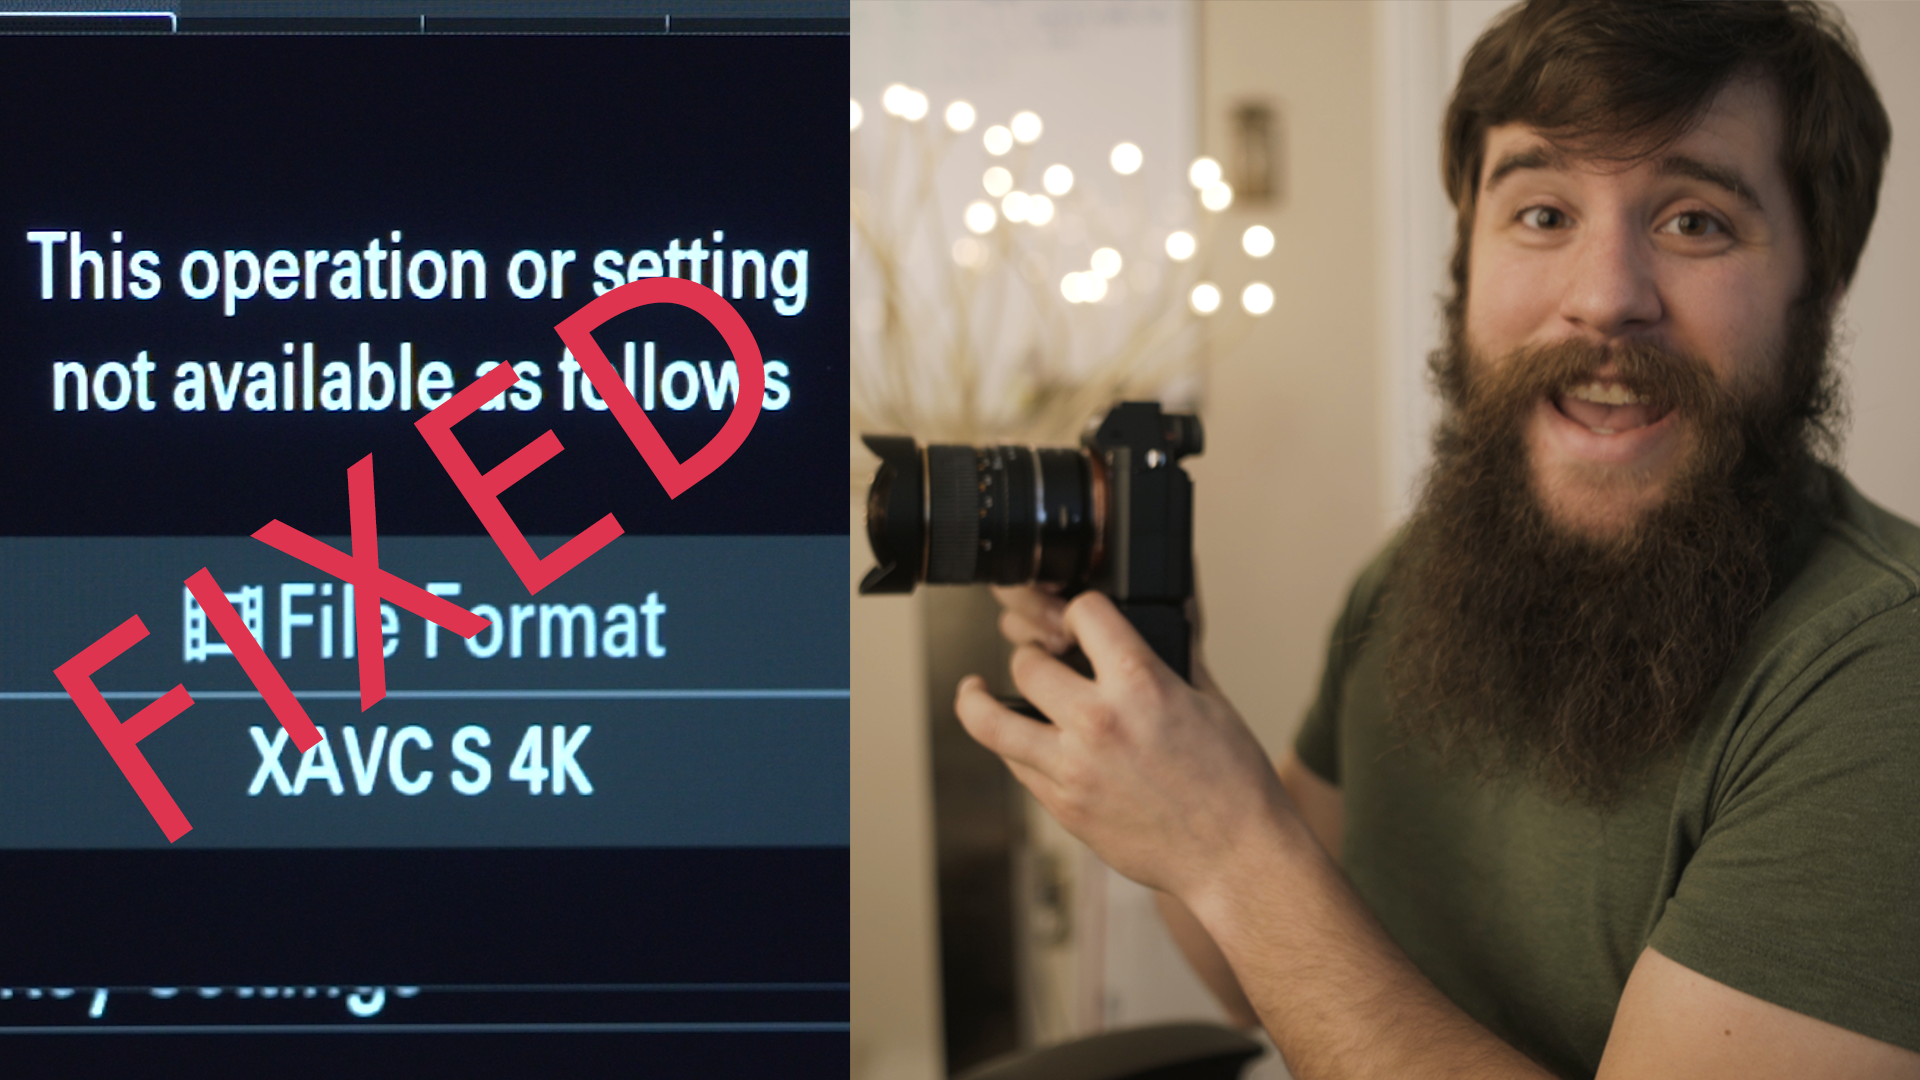
I would like to share with you a cool workaround I discovered that enables you to shoot with your camera in APS-C/Super35mm crop sensor mode, WHILE shooting in 4K.
Continue readingHow wedding cinematographers can get along with photographers (and vice versa)!
If you’ve watched my previous two wedding cinematography vlogs, you’re probably aware that they are on the technical side. I’ve covered topics like bit-rates, color depth, picture profiles, and battery life for both the Sony A7Sii and FS5. Both are amazing cameras that I was more than happy to review and share with other wedding cinematographers. If you are looking to switch or upgrade to these cameras, I would highly recommend watching both of those vlogs.

Now, I would like to take a step back from the technical side of things, and share something that, in my opinion, has a far greater effect on how you can create great wedding films. Wedding days at their core are about relationships. The bride and groom’s relationship, the parents of bride and groom and their relationship with their children, the minister’s relationship with the couple, and many more as these two families connect on the wedding day. Let’s talk about another relationship that will affect you, the cinematographer, even more than all others on the wedding day, your relationship with the photographer.
For years, I would go show up to a wedding with no knowledge of who the photographer is, much less anything about them. All I knew is that the bride and groom had apparently hired them. Now I’m a relatively friendly guy so we would usually hit it off and work well together, but it was always a strange experience. See, weddings are unlike other 9-5 cubicle jobs where you work with the same people for long periods until they or you eventually quit or get fired. With weddings, we work with a different co-worker every week! Would you go to work without getting to know your co-workers? No! Then why would you film a wedding without getting to know the photographer beforehand?

In this video, I share an amazing tip that I learned from my friend Alex Maldonado that will help you instantly hit it off with any wedding photographer. When he first showed this tip to me it completely blew my mind. And if you’re a wedding photographer, this works for you too!
Remember, everyone wins when the wedding cinematographer and photographer get along. There is a free flow of creative ideas, both of your portfolios get amazing visuals that look better, and the bride and groom get better film and photos. It’s a win all around.
I hope this vlog helped you learn something about wedding cinematography that you didn’t know before. If you have any questions or comments, please feel free to get in touch.
Konova Master Pan // Setup and Review Video
The Konova Master Pan has solved a problem that I didn’t even know I had until I used it. Oftentimes when I am filming a wedding, I only have a few minutes to film details like the wedding cake, rings, and other items from the day. This means that I’m rushing to setup my tripod, slider, and camera to get the shots I need. What Konova has made here is a way to make this process easier.
I still have to setup my slider, tripod, and camera, but when it comes to actually filming the shot, things become way easier than they were before. Konova has created an attachment to their slider that allows me to replicate a commonly used sliding and panning motion, nearly effortlessly. In one fell swoop (or should I say pan) I have replaced my tabletop dolly, and my handheld pans with my slider.
The Master Pan also works with Konova’s timelapse gear, meaning that I can now shoot panning timelapses, without having to mount their Smart Head to my slider. If you have a Master Pan, and are wanting to use it for filming timelapses, I recommend watching my Konova MS Series Setup and Review video. Please be aware that the Master Pan only works with the MS Series motors and belts, not with Konova’s prior models.
If you’re intrigued, I recommend watching my review video to see some of the shots I’ve taken with it, as well as my thoughts on the Master Pan. And if you already own one and are in the process of setting it up, I’ve included how to do that in the video as well.
The Konova MS Series Motorized System // Setup Tutorial and Review
For the past two weeks, I have been testing Konova’s new motorized system for use with their sliders. I have made a setup video and review of the new MS Series Motorized System.
Continue readingThe Konova Smart Head Setup Tutorial and Review
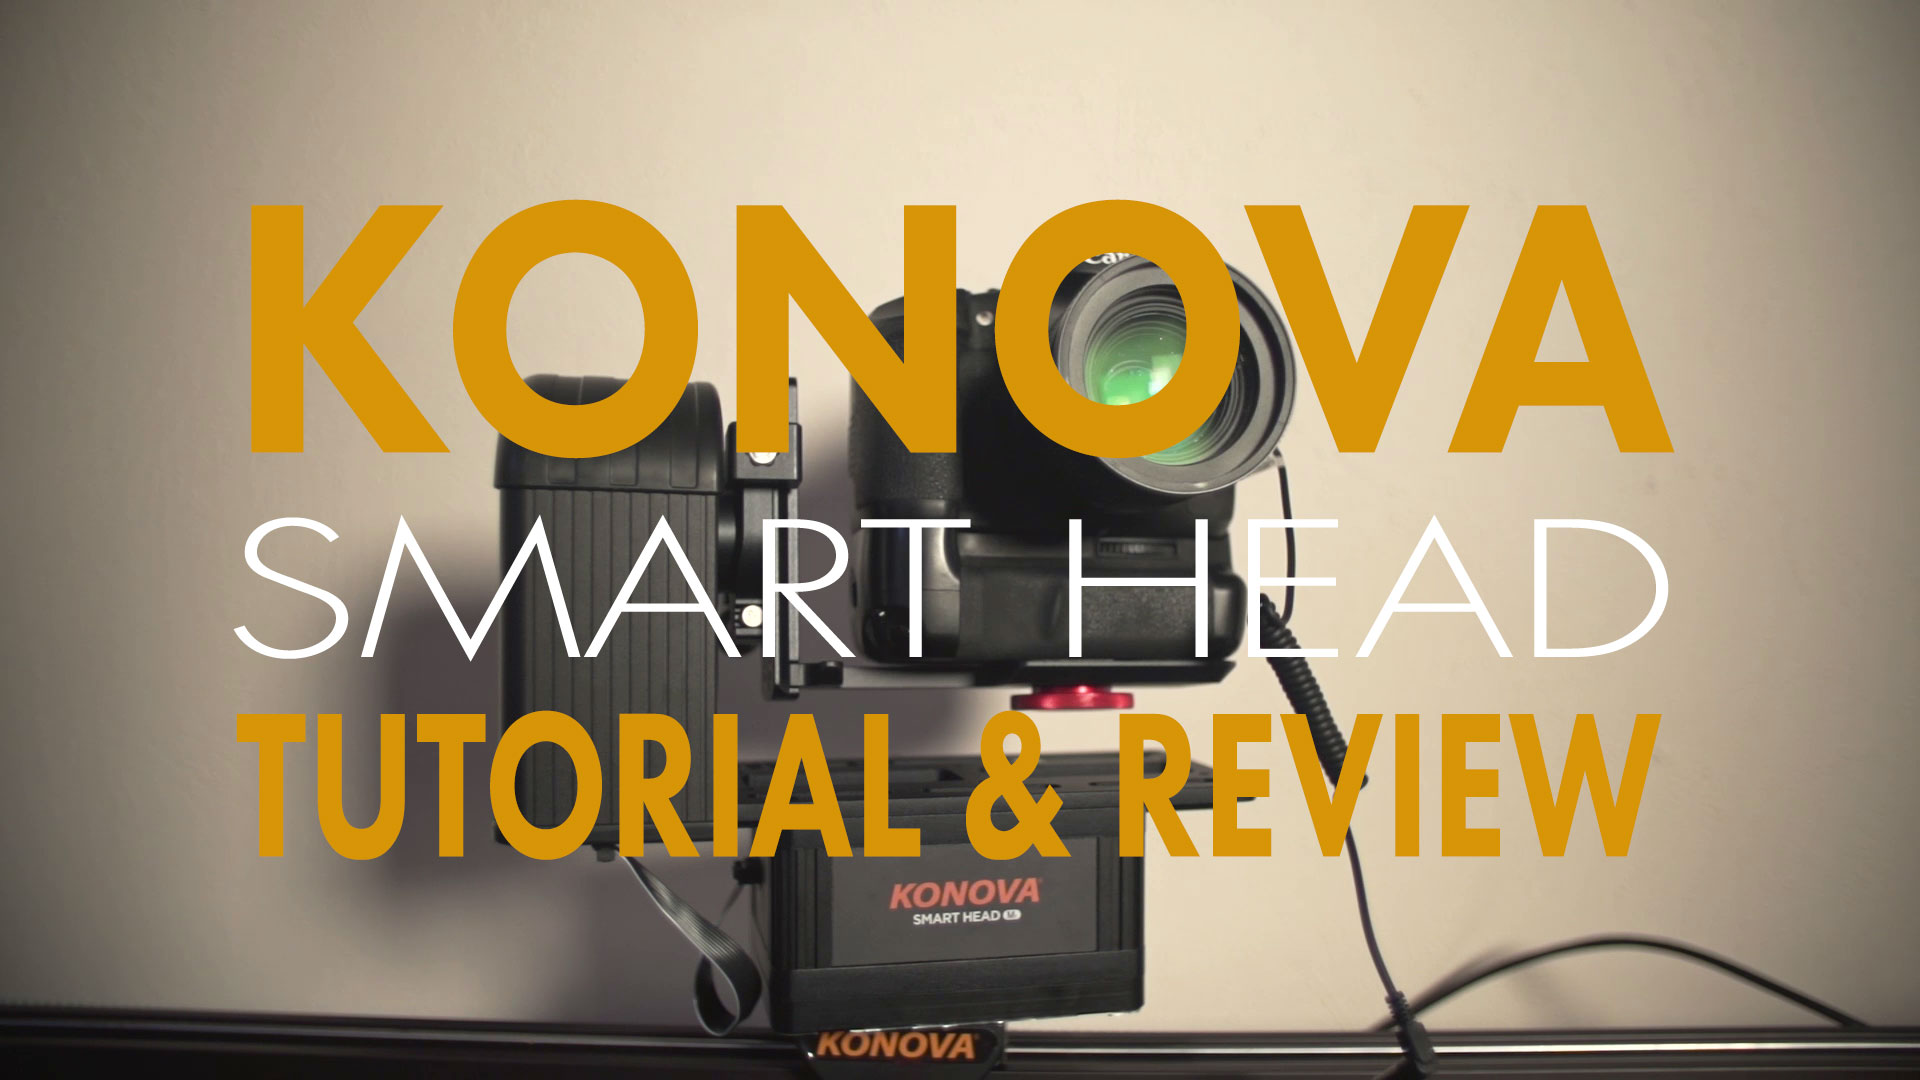
The Smart Head has been great for adding two extra axes of motion to my current setup.
Continue readingThe Konova Pan Tilt Controller Setup Tutorial and Review
 If you’ve watched my site lately, you may have seen my timelapse film Pagosa, that was featured on The Huffington Post, Petapixel, and Slate to name a few sites. It was easily one of the most popular videos I’ve ever created, and easily one of my favorites to work on. It’s nice to take time for personal projects and just have fun shooting timelapses. Now, I’ve shot several timelapse films before, but they were always in JPEG, not raw, and I believe Pagosa was all the more beautiful because of the dynamic range the raw photos possess.
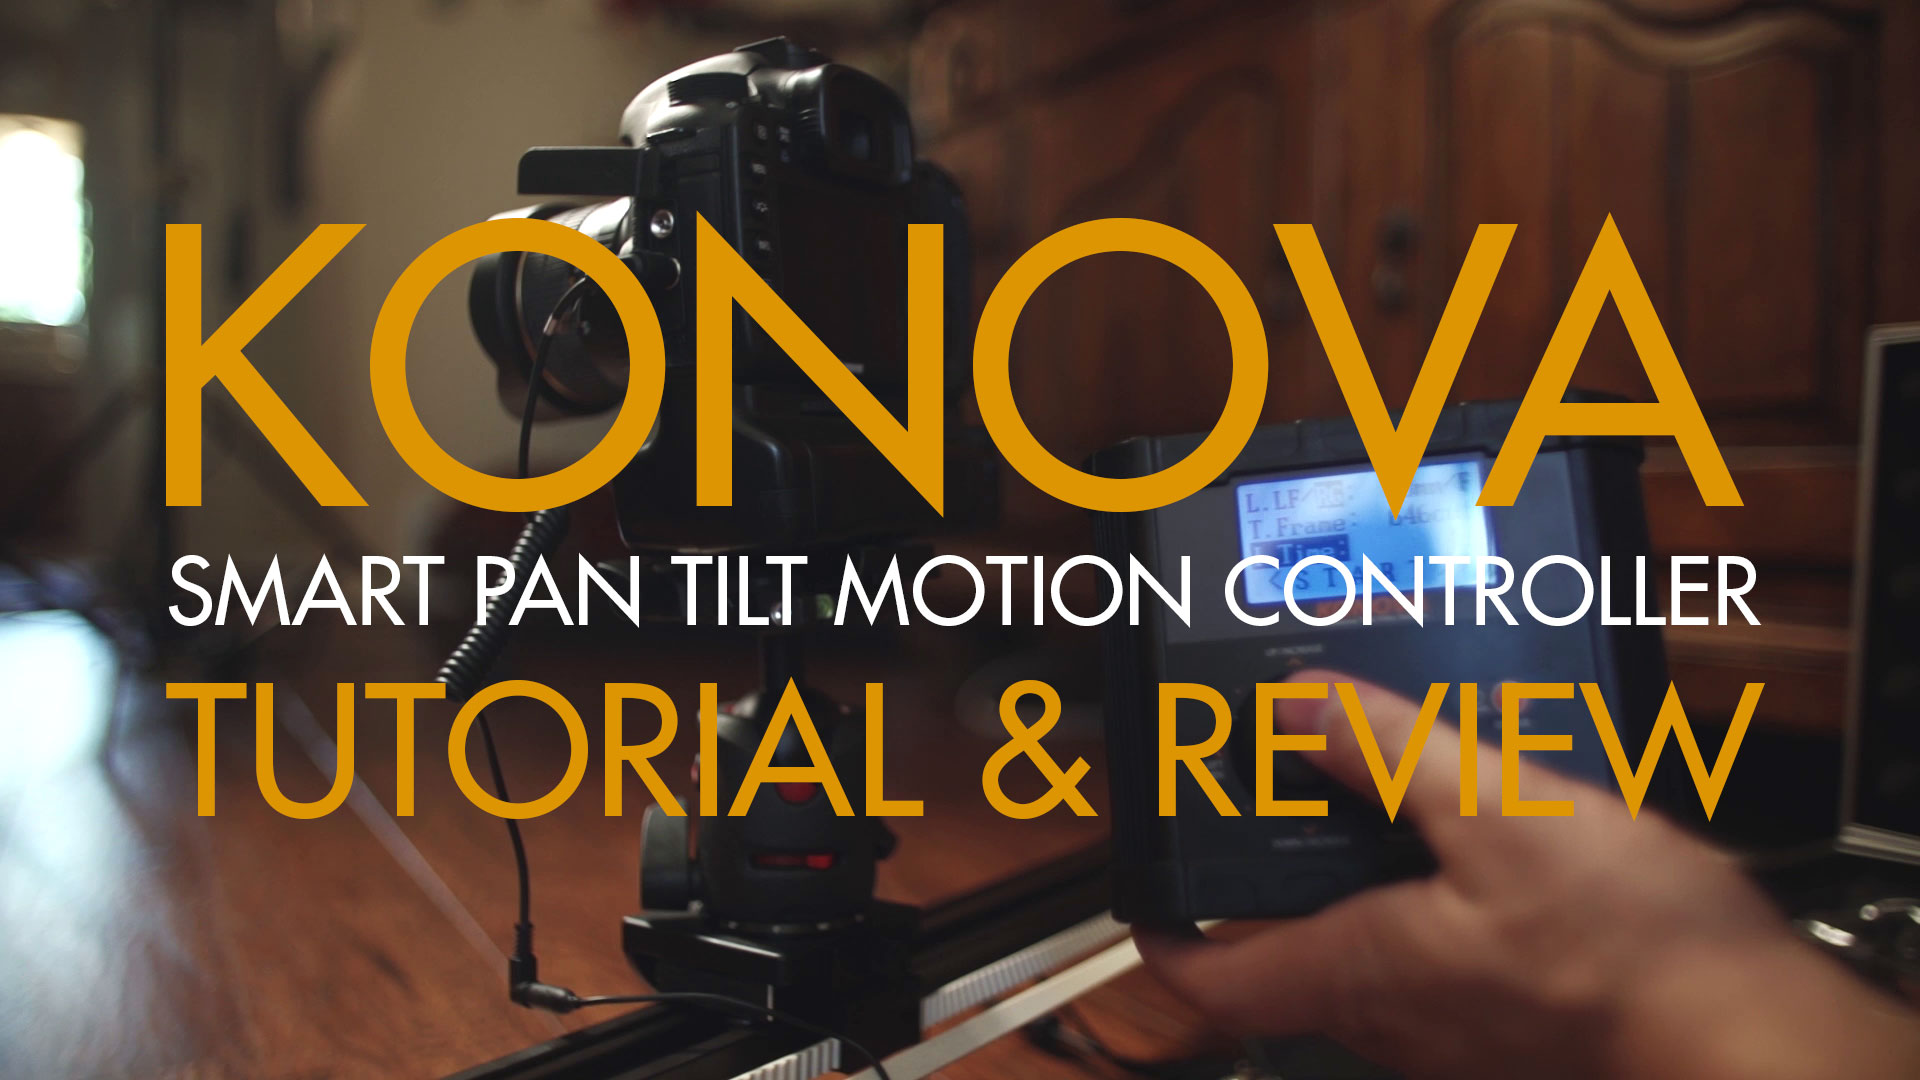
As I’m sure you can tell by all that, I am more in love with filming timelapses than ever before, so it was a real joy when Konova reached out to me and offered to send me their new Pan Tilt timelapse controller to review. I unboxed it a few weeks ago and have been having a lot of fun with it so far. As you can see from the video above, I was able to capture some really great timelapses around the Texas A&M campus. Now that I am in Dallas, I have my sights set on making an epic timelapse film of the city at some point in the future.
Intitially, I planned on making separate videos for the Pan Tilt Controller unboxing, setup tutorial, and review. After posting the unboxing video and using the Pan Tilt Controller, I decided it would be best to show people how easy it is to setup and shoot. There are a lot of companies making motion controllers now, and they are getting more affordable every day. Konova has hit upon this market at a good time though, and as you can see from the video above, this controller is a great deal. If you already have a Konova slider, then you’re already have half the rig. The future expand-ability of having being able to use add-ons like the Pan & Tilt Smart Head and Slider Jib is a bonus.
If you’re just getting into timelapse, or you’ve been shooting them for a while and really wanting a motion controlled kit that will allow for easy expansion, watch this video. The good quality and compatibility with other Konova products have made it a great addition to my gear bag. Plus, I’ve already been hired by people specifically interested in motion controlled timelapse videos. I would love to get a slider jib and Pan & Tilt head in the future. If you have any questions about this review, or need help with the setup of your controller, please leave me a comment or email me.
The Vivitar Case with pluck foam that I use to transport the Pan Tilt Controller is available on Amazon. I managed to buy it on Black Friday for $10, but now it is selling for $30. I’ve listed the specific Manfrotto tripod head that I use with my slider in the Technical detail section below.
Interested in having me film a review for you? Please contact me!

