
There are some things that you can learn by reading books and manuals, but some only come through years of experience. In my wedding tutorial vlogs, I attempt to distill all my years of knowledge into easy to understand tips and tutorials to give you a “shortcut” so you can improve quicker. My goal with these tutorials is to not only tell you how I do something, but why I do it.
To date, some of my favorite videos tutorials to create have been “A Wedding Filmmaker’s Guide to Posing The Couple,” and my “Establishing Shots: Why they are important and how to film them!” I only wish I had more things like this when I was starting out. This one fits right in with those, along with how wedding filmmakers can get along with photographers.
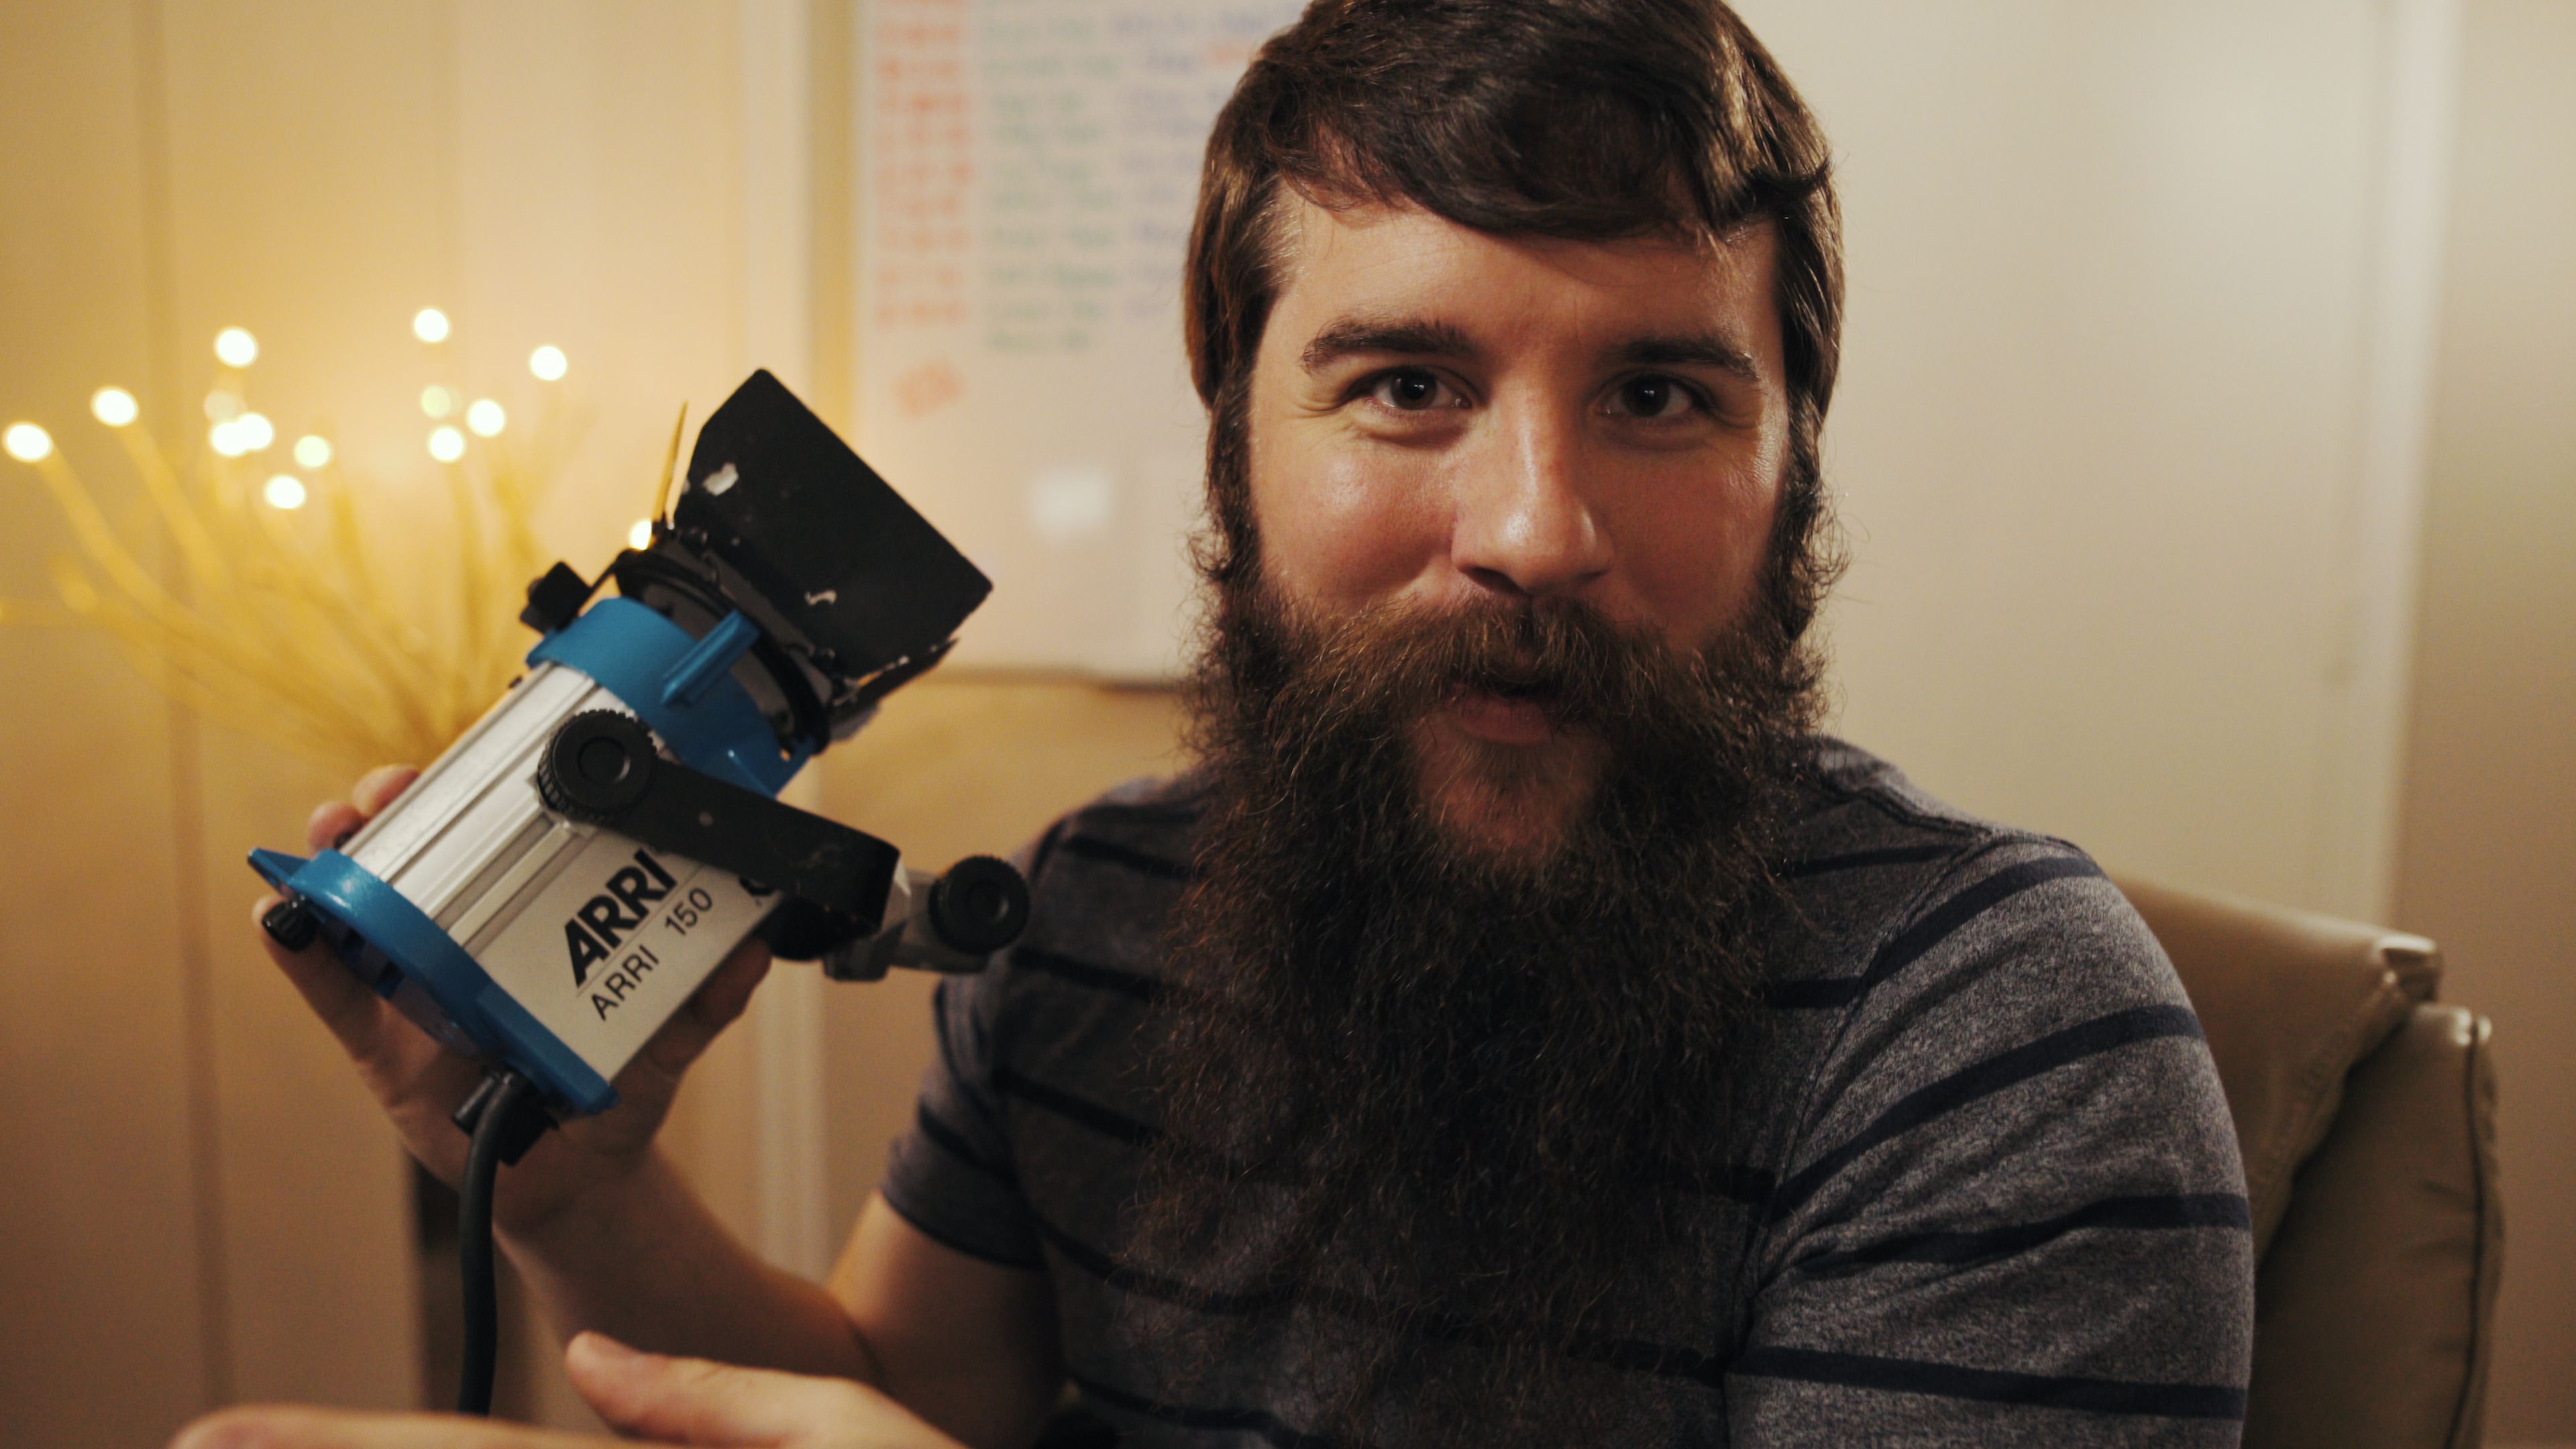
Today, in the same vein as those favorite tutorials I bring you a new one, all about how I film dancing at a wedding reception. In it, I cover four key tips that should help your improve your footage of people dancing during a wedding reception. The open dance floor doesn’t have to be boring or intimidating! It can be a lot of fun, I promise.
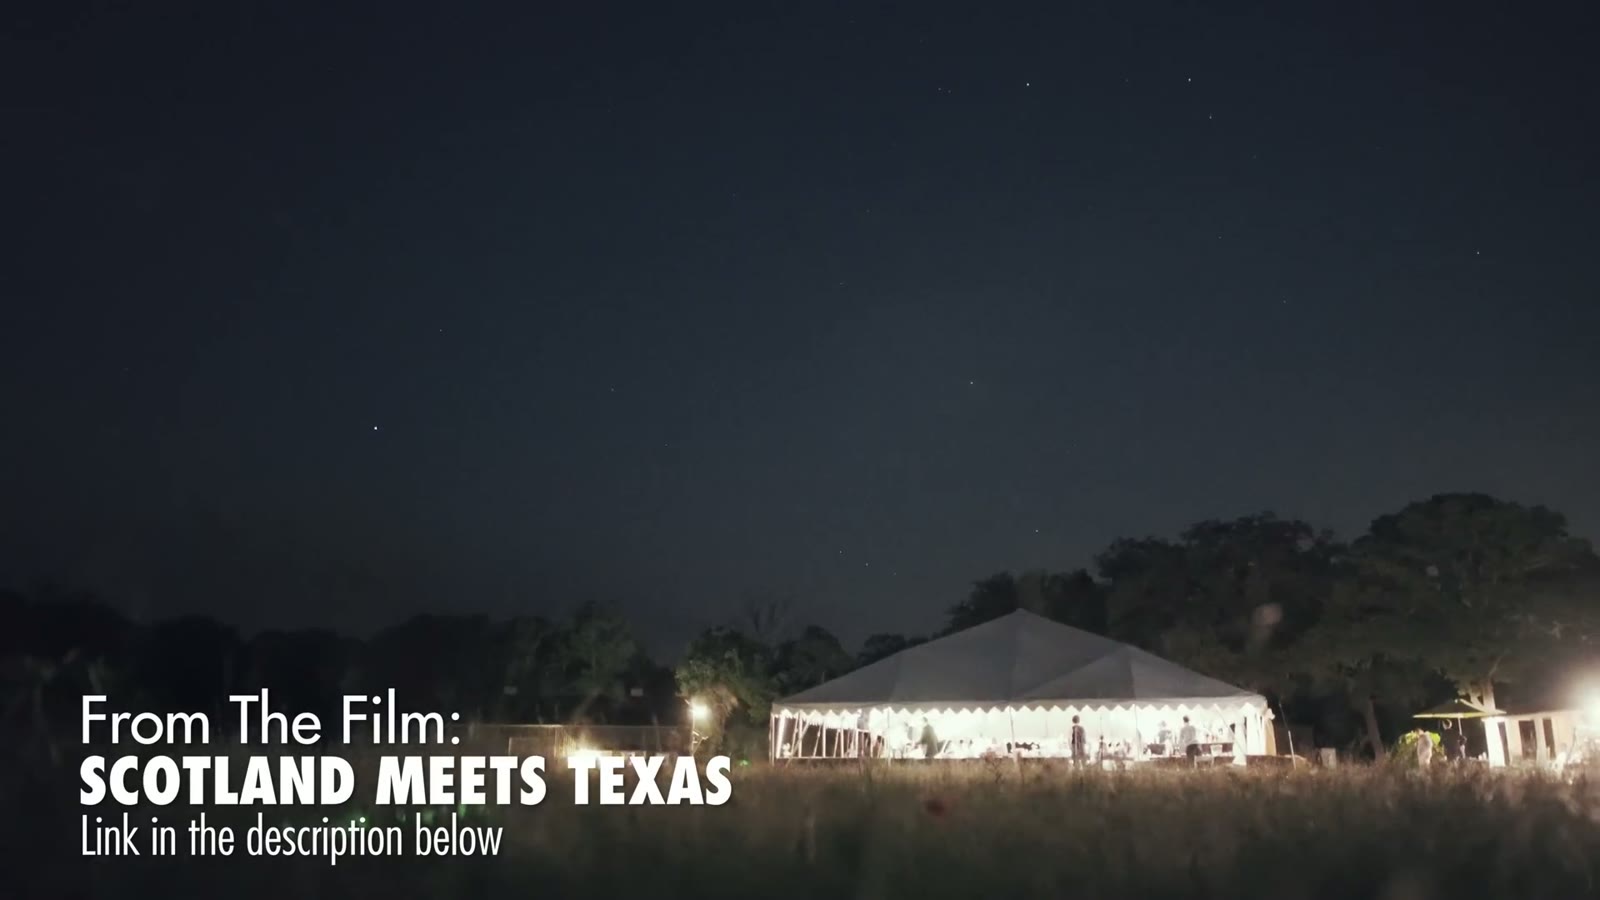
Tip One: Talk To Everybody Before The Day
This goes back to my entire philosophy for how I film weddings, honestly, which is that you should be talking to everyone you possibly can and doing as much pre-production ahead of time as you can get away with. For the dancing specifically, that means three separate conversations.
The couple. Ask about their colors and their venue. Colors matter more than people realize, because sometimes they’ll hire an uplighting specialist who shows up and floods the room in bright green, and you’re standing there watching skin tones fall apart on your monitor. Any time you can talk to them ahead of the day and offer a constructive suggestion, not a demand, about what’s going to photograph well, that’s a win. Then look up the venue online and see what other people’s footage from that room actually looks like.
The coordinator. Get to know them, be friendly, and if they’re helping make any of the color decisions, offer the same constructive input. A coordinator who likes you makes your entire day easier, and that’s true whether or not the lighting ever comes up.
The DJ. This is the one nobody thinks to do. Couples hire a DJ, and the DJ says he’ll bring uplighting and stage lights and handle the whole dance floor, and sometimes those are LED fixtures that band on camera or throw purple and green across everybody’s face. So I reach out and ask: are you bringing lights, what kind, what colors were you thinking? These are weird niche questions that a DJ probably never gets asked, and every single one of them makes the video better.
Tip Two: Bring Your Own Light
Ideally, for the dance scenes, you want the venue’s lights turned down. And I already hear you: Matt, I don’t have an a7S II, I can’t shoot in the dark, why are you telling me to do this. I’m not saying don’t bring light. I’m saying don’t use the venue’s light. Bring your own.
I use the Arri 150, which is a 150 watt spotlight balanced to 3200K. It doesn’t flicker in slow motion, which by itself rules out a lot of cheaper fixtures, and it gives beautiful skin tones. It’s also beam focusable, so there’s a knob on the back that takes you from a tight spot to a wide wash depending on how big the dance floor is. I usually leave it wide.
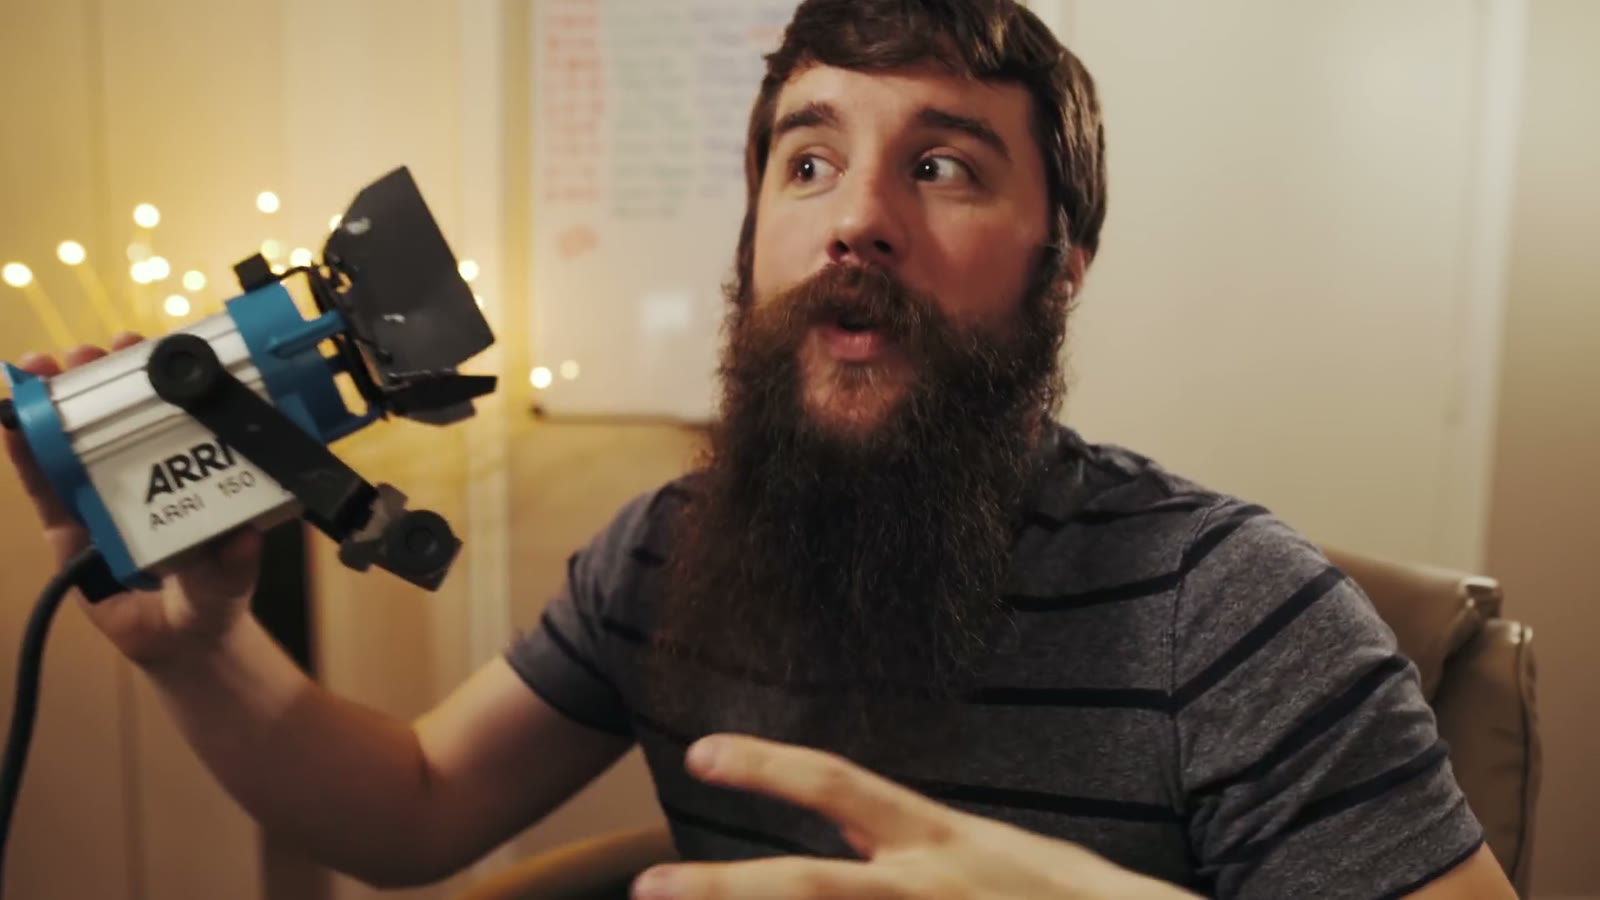
The barn doors are sold separately and you want them. They’re how you keep the light off the wall behind the dance floor and off the head table and pointed where you actually want it.
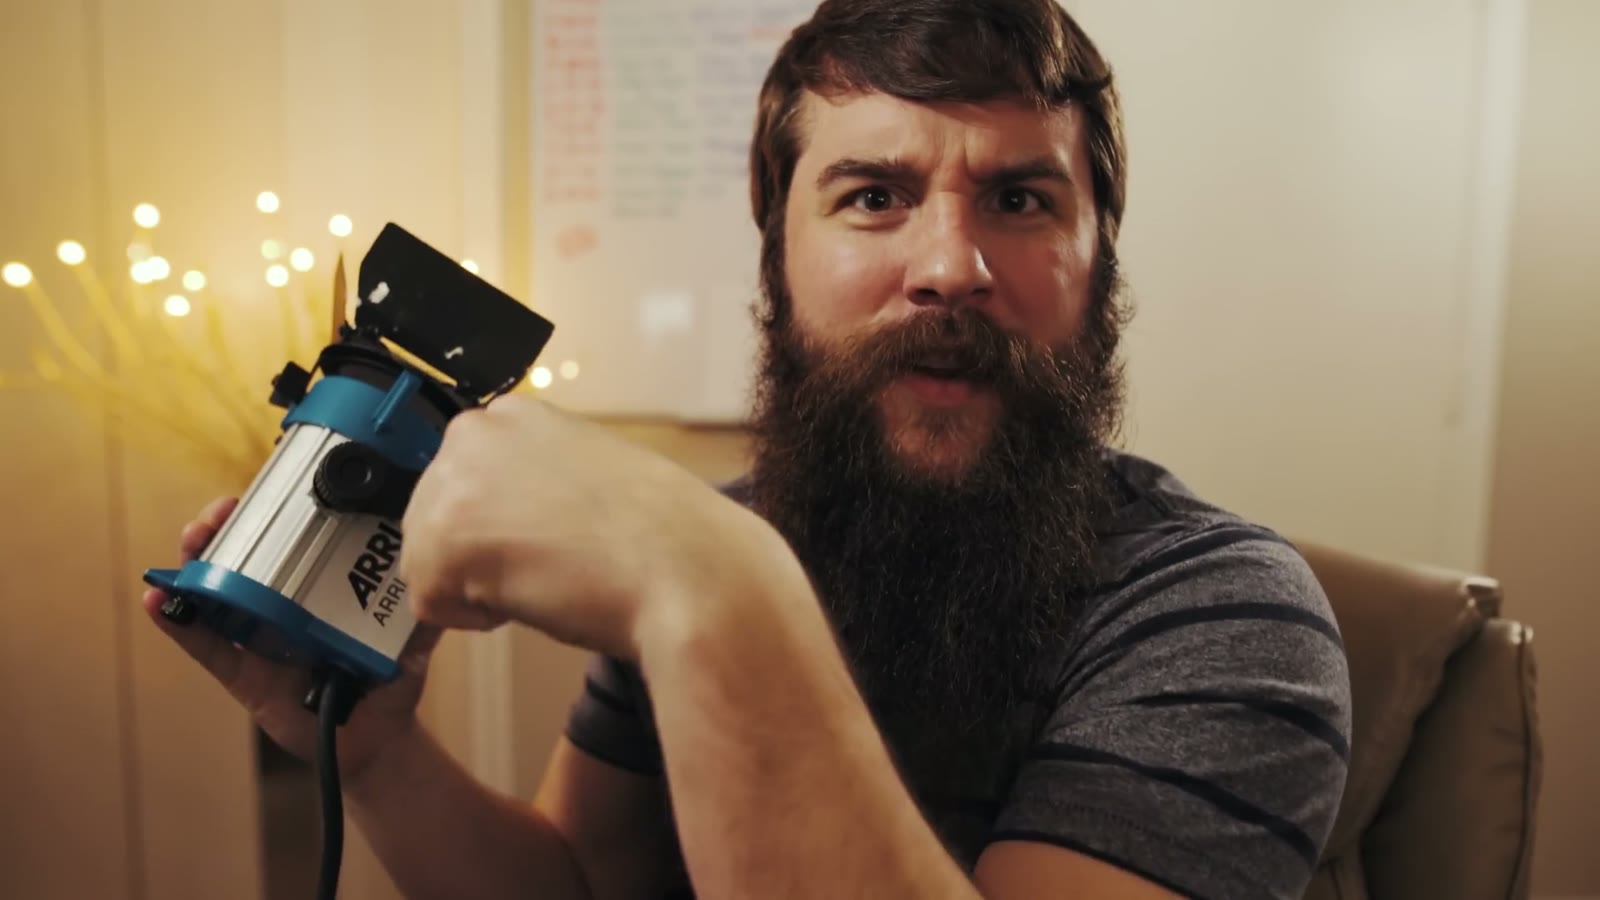
And here’s the real reason this matters. If you’ve talked to the couple and the coordinator and the DJ and they still want the purple uplighting, this light saves you, because whatever it’s shining on has good color. You’re not fighting the room anymore, you’re just overpowering it on the one patch of floor that ends up in your film.
Stands And The Cheap Alternative
For stands I use CheetahStands, which spread their legs out automatically the second you set them down. That sounds like a small thing right up until you’re speed-walking across a reception hall with a light in one hand trying to get set before the first dance.
And if the Arri is too rich for your taste, the Lowel Pro-light does most of the same job for a fraction of the price and I genuinely love that light too. You don’t need to spend a fortune here. There are other well-regarded spotlights out there as well, but between those two you’re covered.
- Arri 150 Watt Light at B&H
- Arri Barn Doors on Amazon
- Light Dimmer on Amazon
- CheetahStand light Stand on Amazon
- Lowel Pro-light at B&H
- Lowel Pro-light Barn Doors on Amazon
Get the lights, stands, and dimmer I talked about in the video on my reception lighting Gear page.
Buy A Dimmer, And Boil The Frog
This is my favorite trick in the whole video and it cost me about twenty bucks. Get an inline dimmer with a control knob so you can set your light anywhere from low to full.
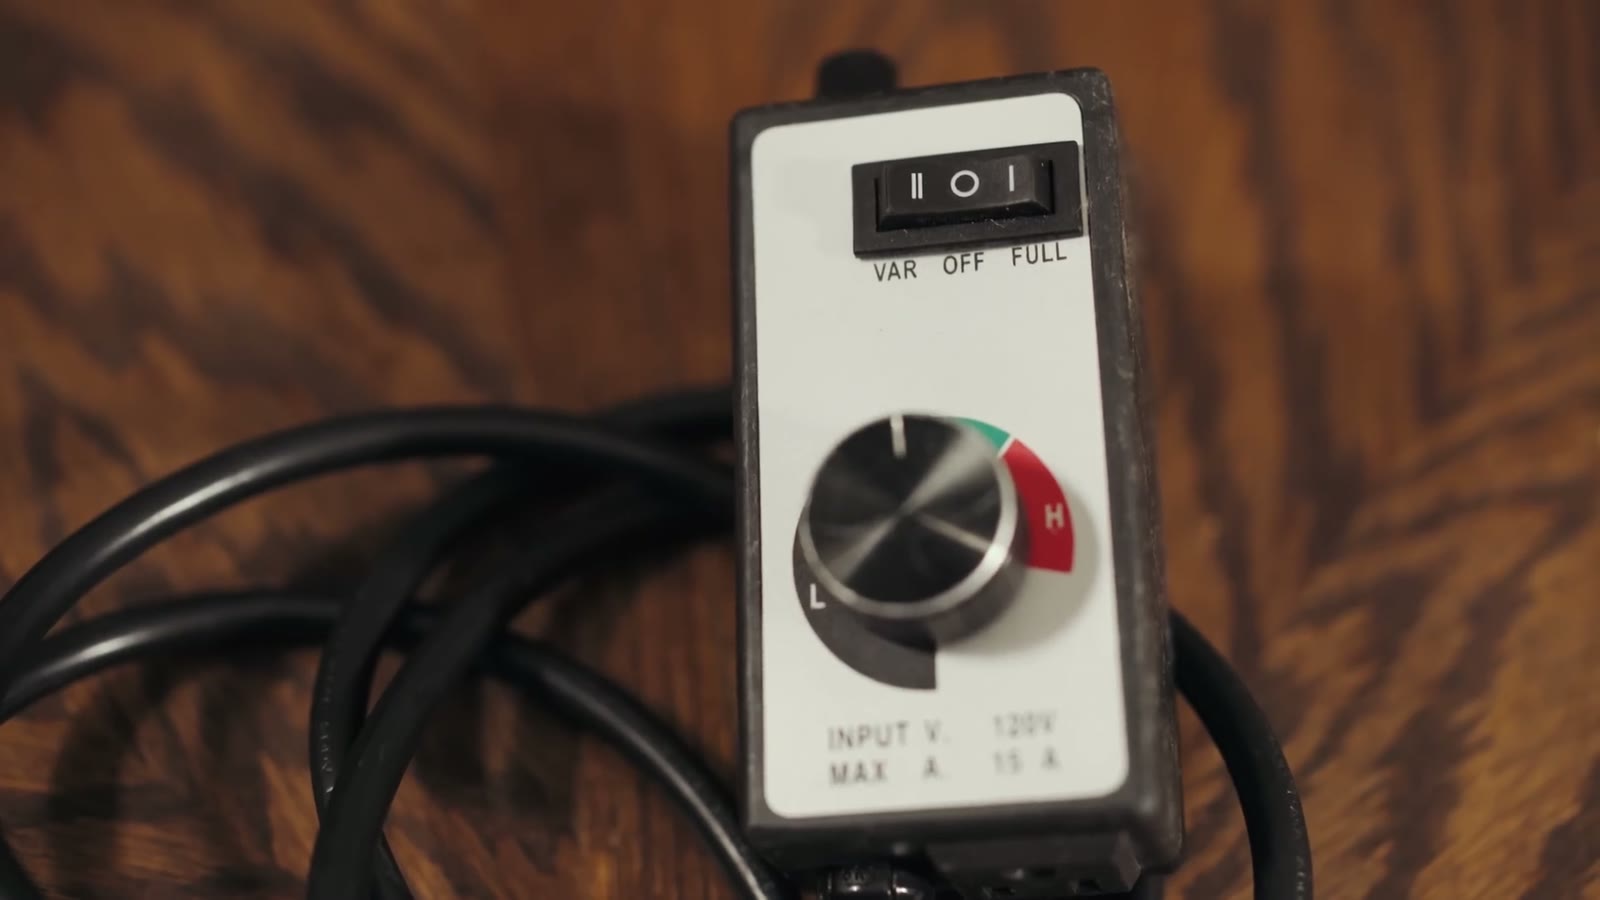
Here’s why. I set my light up the moment I get to the reception, before anybody is even in the room, so it’s already part of the furniture by the time guests walk in and nobody ever has that “whoa, what is that” reaction. I run it somewhere between low and medium at first. Then, all night long, I creep it up. It’s the boiling a frog thing, where you raise the temperature slowly enough that the frog never notices. In this case the guests are the frog, and I would like to slowly boil them.
By the time we’re deep into the open dancing and everybody’s had a couple of drinks and is going crazy out there, that light is at maximum, and nobody blinked at it once. That’s when I get the bright backlight, the lens flares, the whole look.
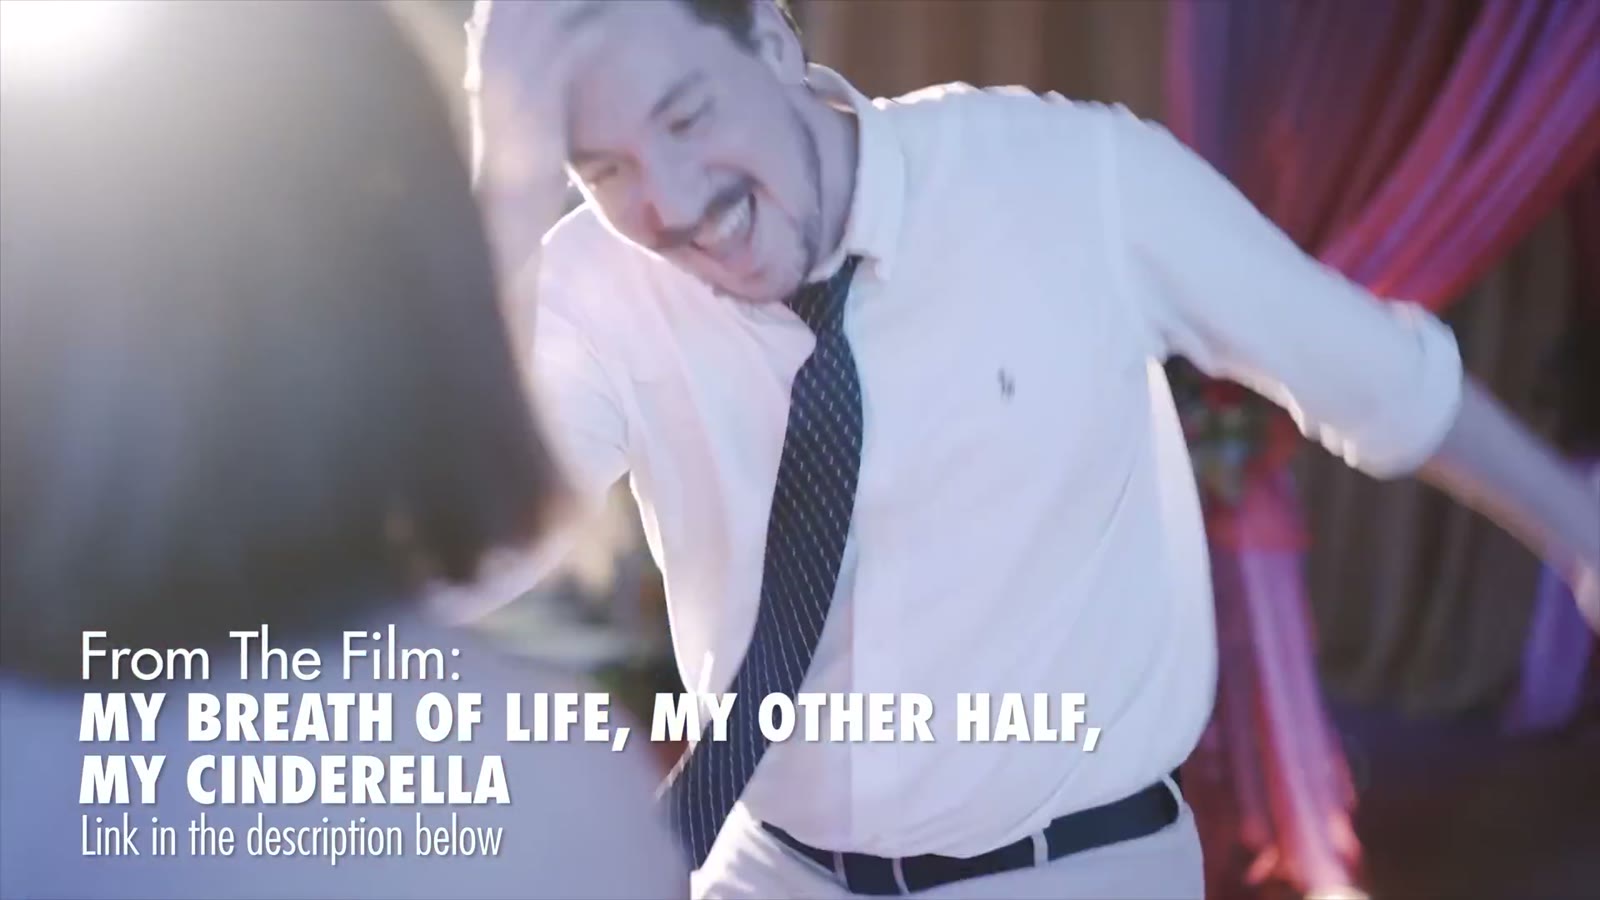
Whatever spotlight you pick, having one opens up options you simply don’t have otherwise. You can put it behind people and shoot into it for backlight and flares. You can push it off to the side for nice side lighting. And if your camera isn’t great in low light, you can just shoot from the side the light is on, and hey, people are lit and they look good.
Tip Three: Get In There
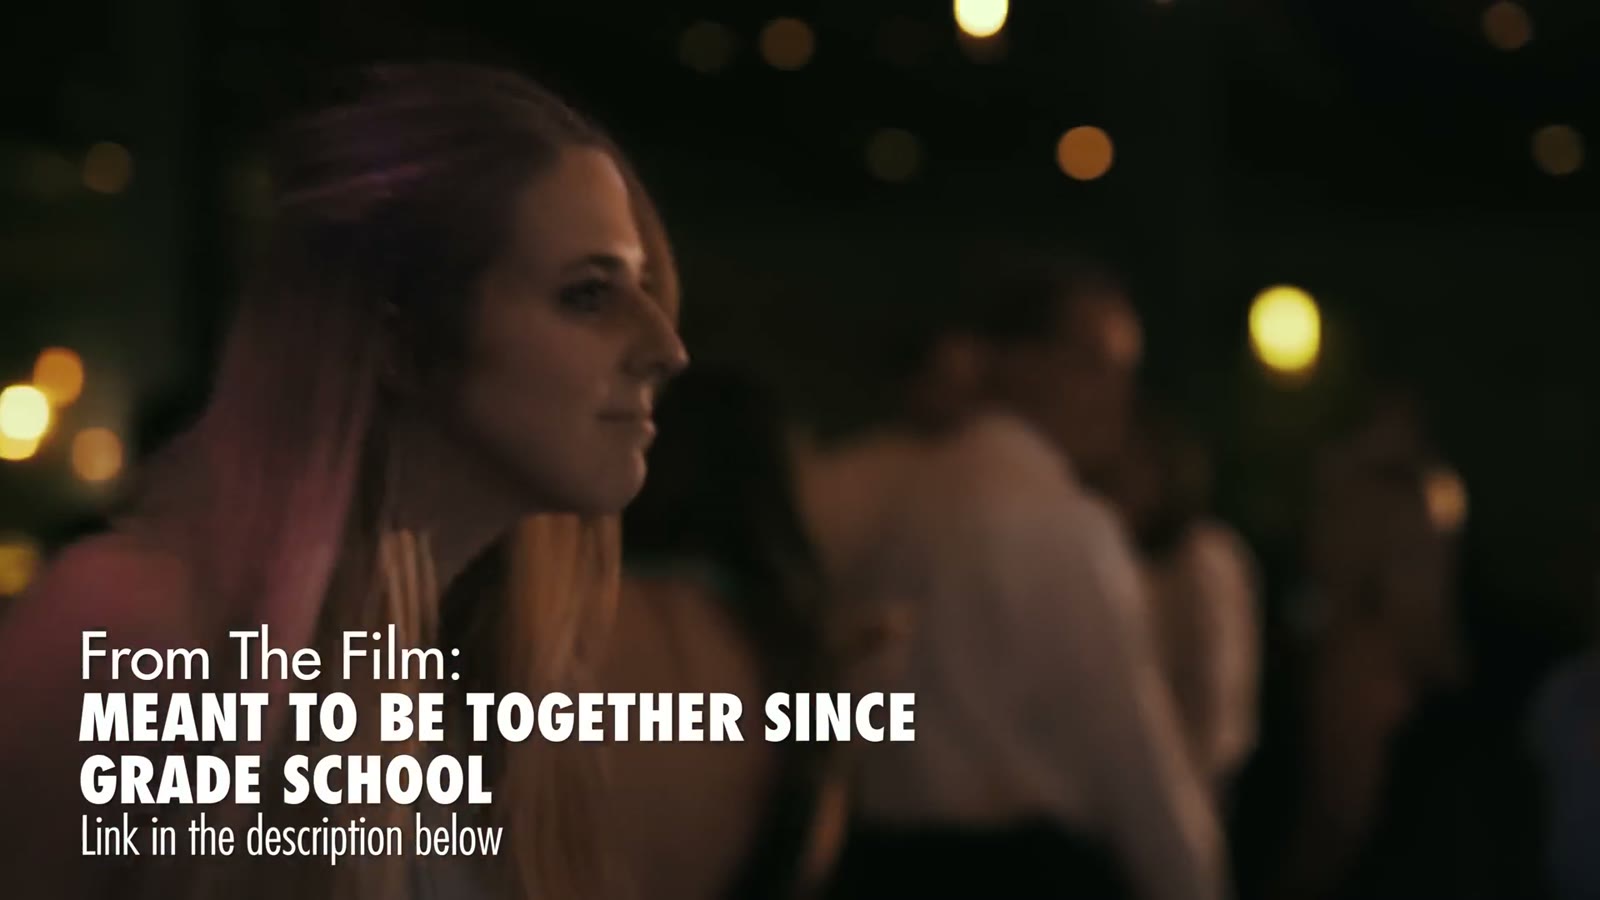
This is the camera technique that totally blew my mind whenever I started doing it, to the point that I wondered why I hadn’t been shooting everything this way the whole time. Put a 50mm or an 85mm or a 135mm on your camera and get close. Not “zoom in from the edge of the room” close. Actually in there, near people’s faces, moving with them.
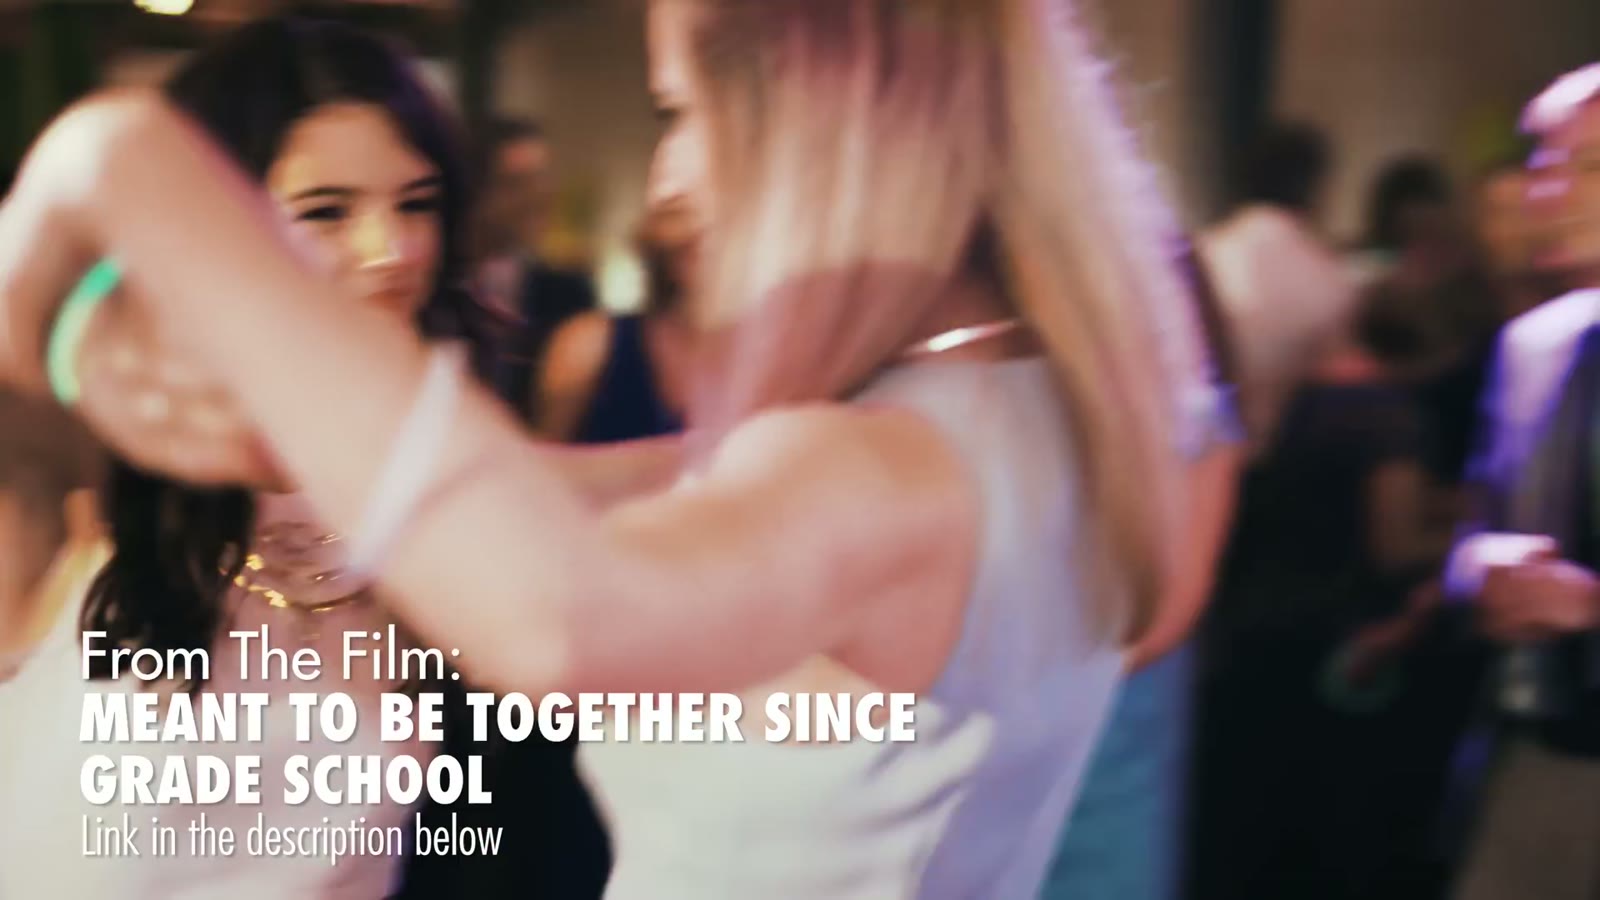
People on a dance floor are already packed together like sardines, so nobody thinks it’s weird that you’re in there too. And the difference in the footage is enormous, because you get the energy and the feeling of it. When I started shooting weddings I’d stand off to the side with a 70-200 zoomed all the way in going “okay, that looks good, those people over there,” and the footage always felt removed. Sterile. Like watching a party through a window instead of being at one.
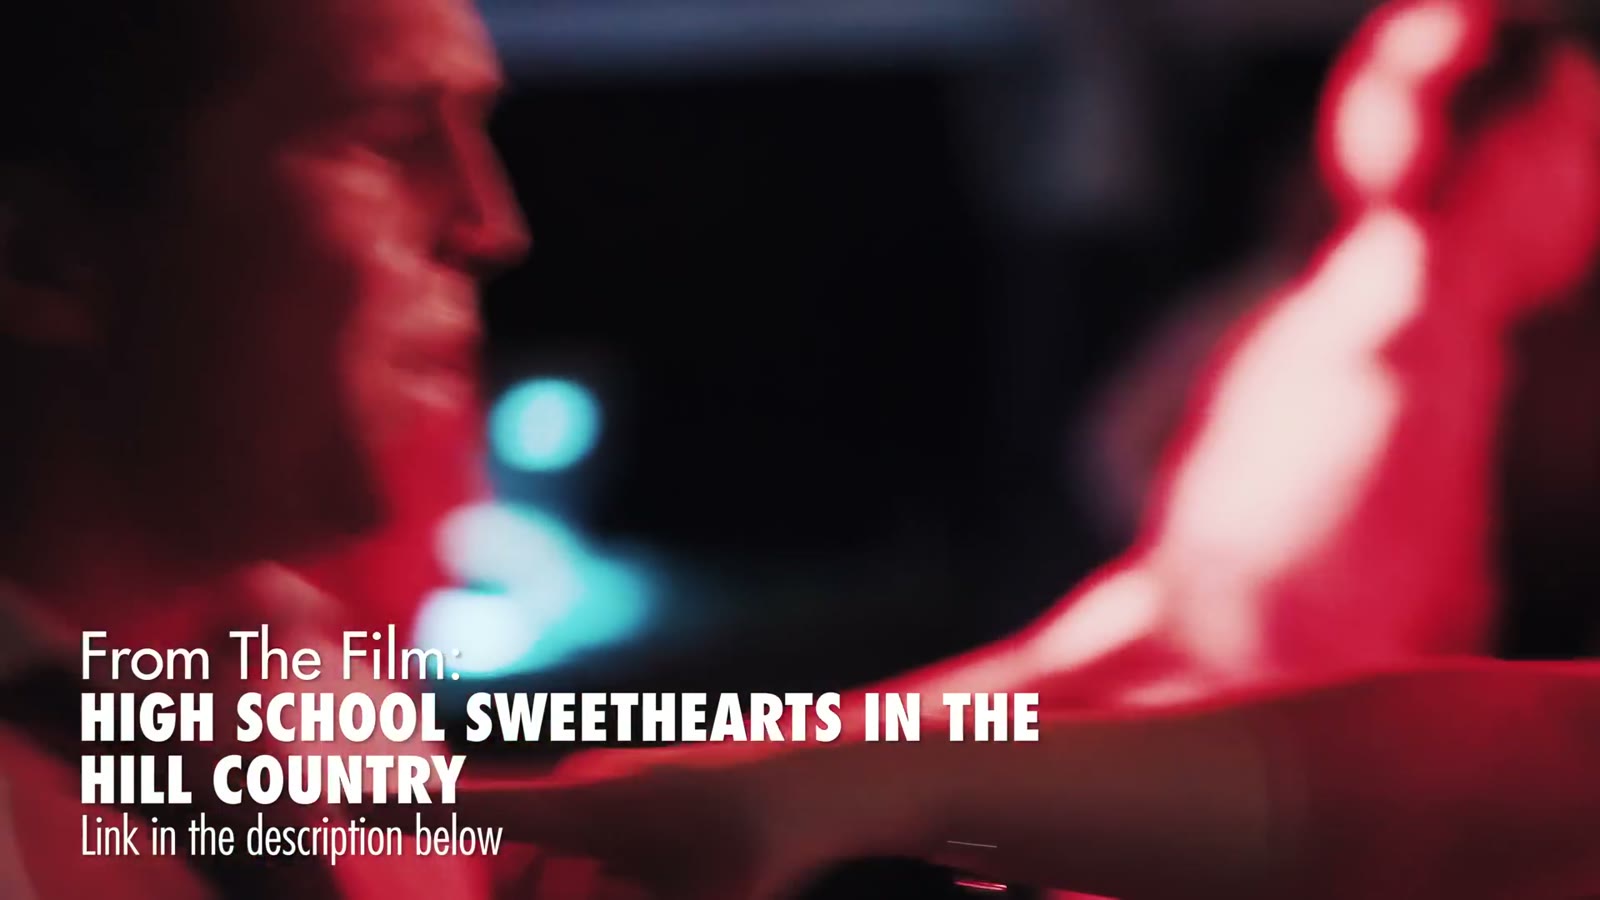
And yes, this means handheld. If you’re about to tell me you don’t have in-body stabilization, that’s fine, because I used to shoot handheld dance floors on a Sony FS100 and they looked great. Whenever you have high tempo music and fast cuts, people forgive the shakiness completely, and honestly it adds a bit of that shaky frenetic energy that never quite worked in the movies that overused it but works beautifully here.
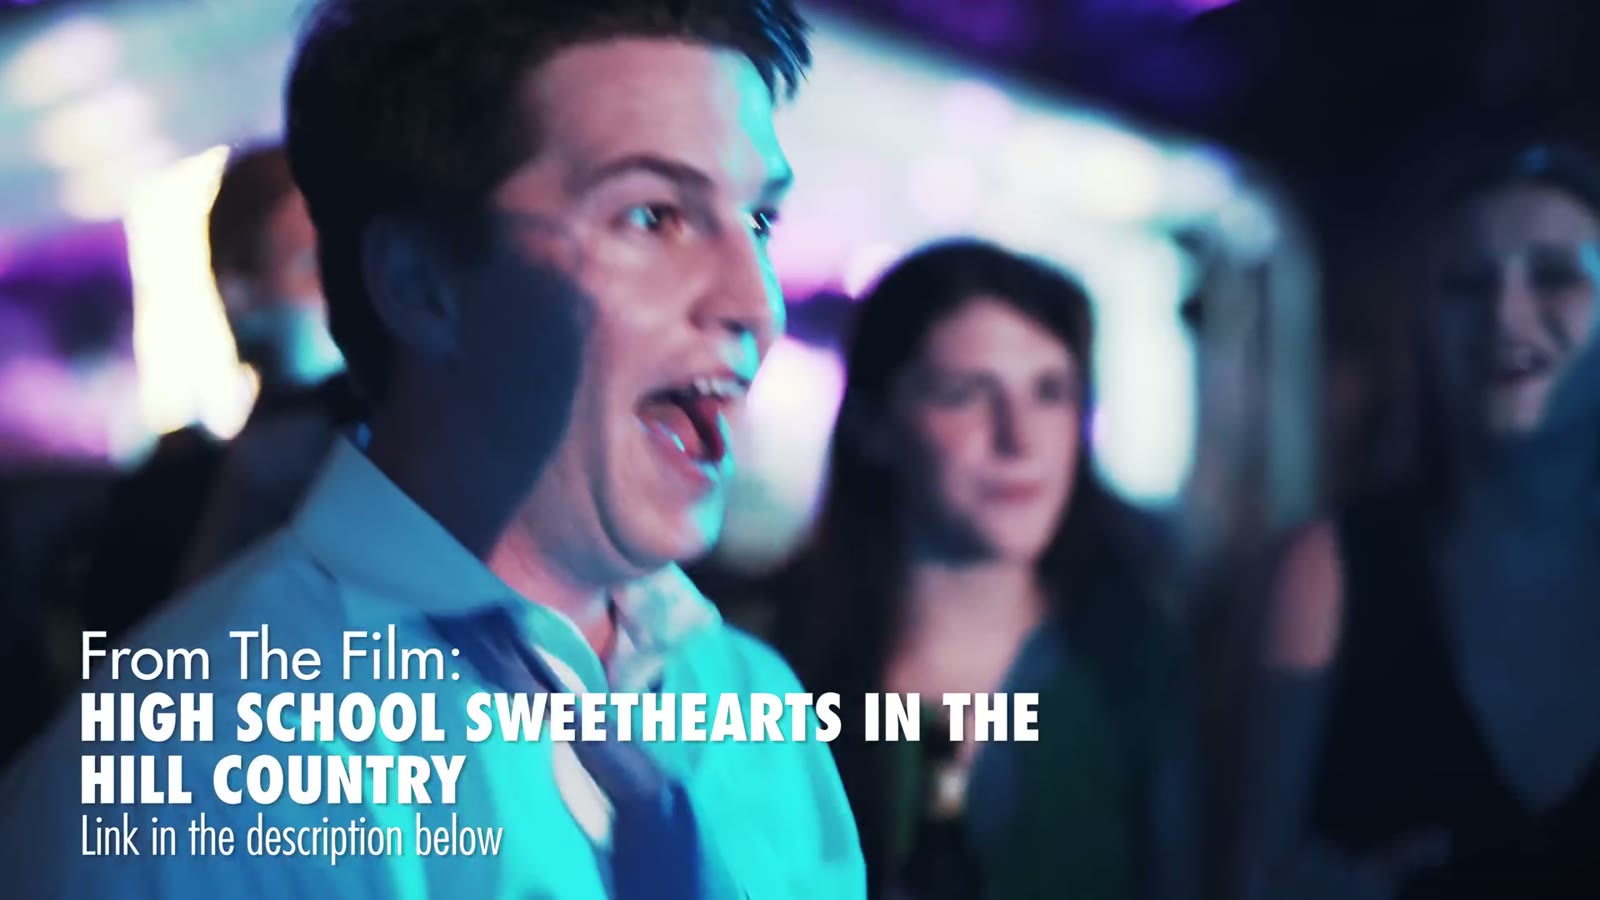
Close in on the action, spotlight behind them, fast cuts, good music, and suddenly people watch your film and think “man, that dancing looked fun, I hope my wedding is that fun, I should hire this guy.” Just saying. It works.
Tip Four: Use The Buddy System
Not like swimming. Like filming. If you’re shooting with a second shooter, do not send them off across the room to cover something random. Keep them with you and tag team.
The way it works is that whenever you’re filming a couple dancing, one of you films one person and the other films the other person, roughly at a 90 degree angle so you’re never in each other’s shot. My wife and I do this constantly. I’ll be on a 50mm on one of them, she’ll be right next to me on an 85mm on the other, and the different focal lengths mean the two shots cut together instead of looking like the same shot twice.
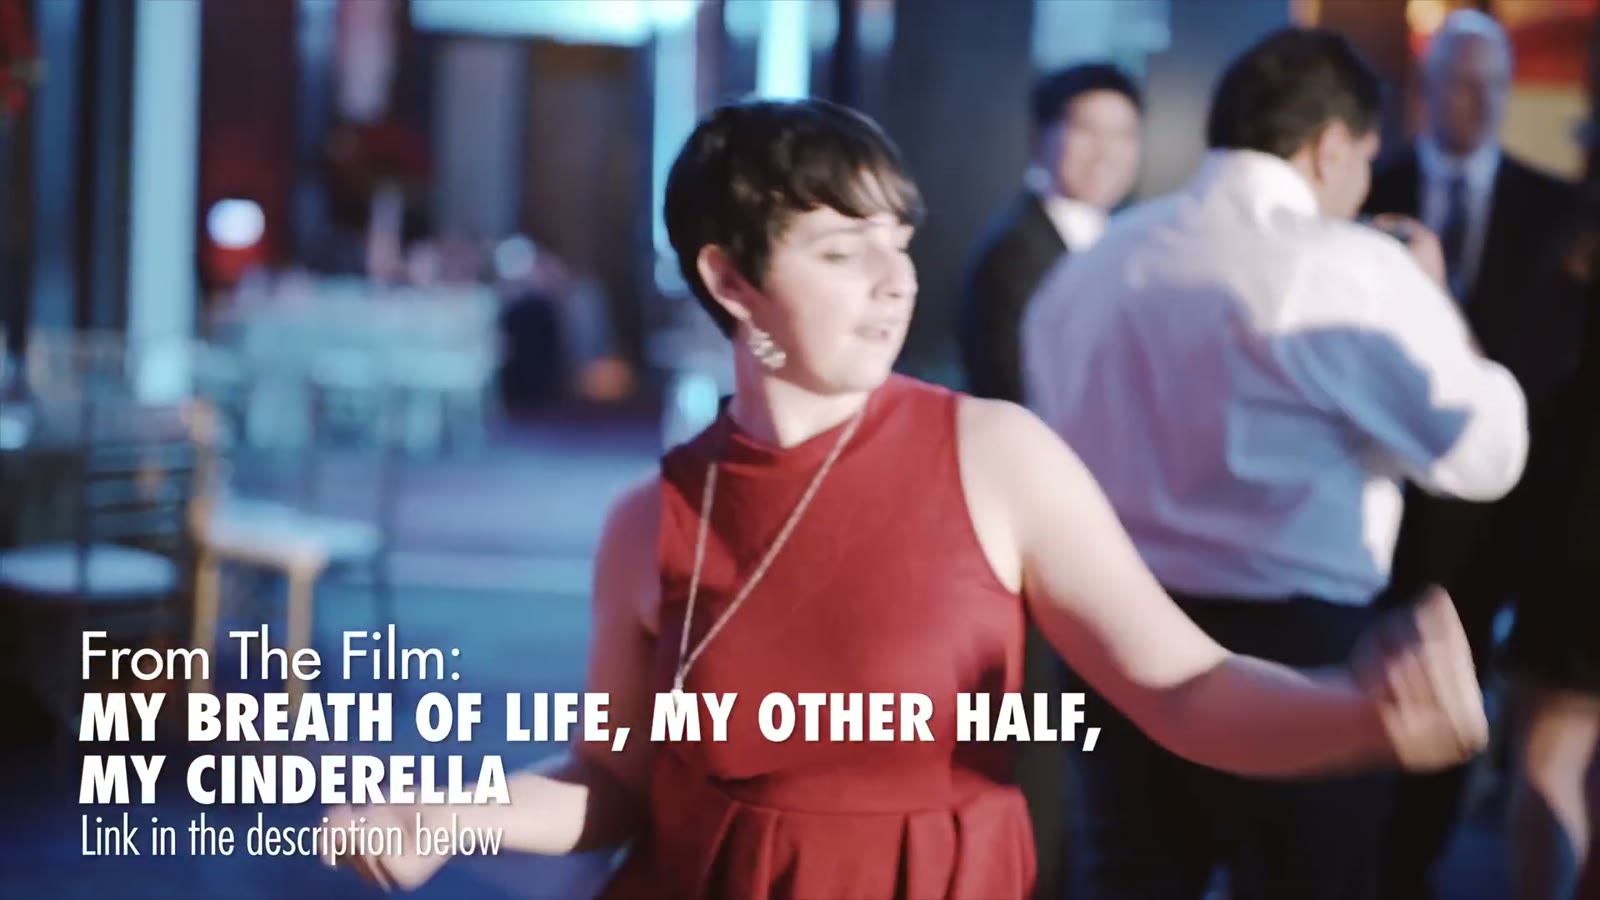
And this is the part that pays you back later, because in the edit you’re no longer stringing together random dancing shot, random dancing shot, random dancing shot. You have couple shot one, couple shot two, couple shot three, and the whole sequence ties itself together. It’s almost editing itself.
The Films I Pulled Examples From
- Meant To Be Together Since Grade School
- Scotland Meets Texas
- High School Sweethearts in the Hill Country
- My breath of life, my other half, my Cinderella
One note if you’re reading this years later: the prices I quoted in the video were current in 2017 and the fixtures have moved around since. Check what things actually cost before you buy.
More Gear And More Help
You can check out the rest of the gear I use for filmmaking at my Gear Page or over on Kit. Here’s what’s in the bag now:
- INSANE lowlight main camera on Amazon
- My favorite wide angle lens with AF on Amazon
- Ultra-versatile medium lens with AF on Amazon
- Best drone ever on Amazon
- Filters for the best drone ever on Amazon
- BEEFY electronic gimbal on Amazon
- Fantastic video monopod on Amazon
- Ridiculously tiny audio recorder and mic on Amazon
- Prism for fancy in-camera effects on Amazon
- FAST video editing laptop on Amazon
- Indestructible camera case on Amazon
- Light & sturdy travel tripod on Amazon
- Portable LED Lighting Kit on Amazon
Everything is color graded with my own WhoisMatt LUTs, and the music comes from Sound Stripe (coupon code “WHOISMATT” for 10% off), Art List (free extra 2 months through that link), and Musicbed. Whenever I need help with an edit I use Archaius Creative, who’ll knock 10% off your first project.
If you want to go deeper, my wedding film editing course covers the whole edit, there’s a free Learn Wedding Filmmaking Facebook group, and I have a free quick tips guide on how to book more wedding film clients.
Oh, and in the video I mention that my Mavic Pro review is coming eventually, after I went through three of them before getting one that worked. I did finally make it: here’s a wedding filmmaker’s review of the DJI Mavic Pro.
As always, if you have any questions or comments, please feel free to leave one below or get in touch. You can also follow along on Instagram.
I am also now offering one-on-one personal filmmaker consulting! Wanna talk about cameras, lighting, or booking clients? Let’s do it!