
Sony loaned me an advance copy of the a7S III to use for a bit, and as I’ve been shooting with it I’ve found a few features that I haven’t seen anybody else talking about.
None of these are game changing. This camera is not going to make you tacos or anything like that. But they are improvements I’ve wanted Sony to make for years, and I’m so happy to finally see them.
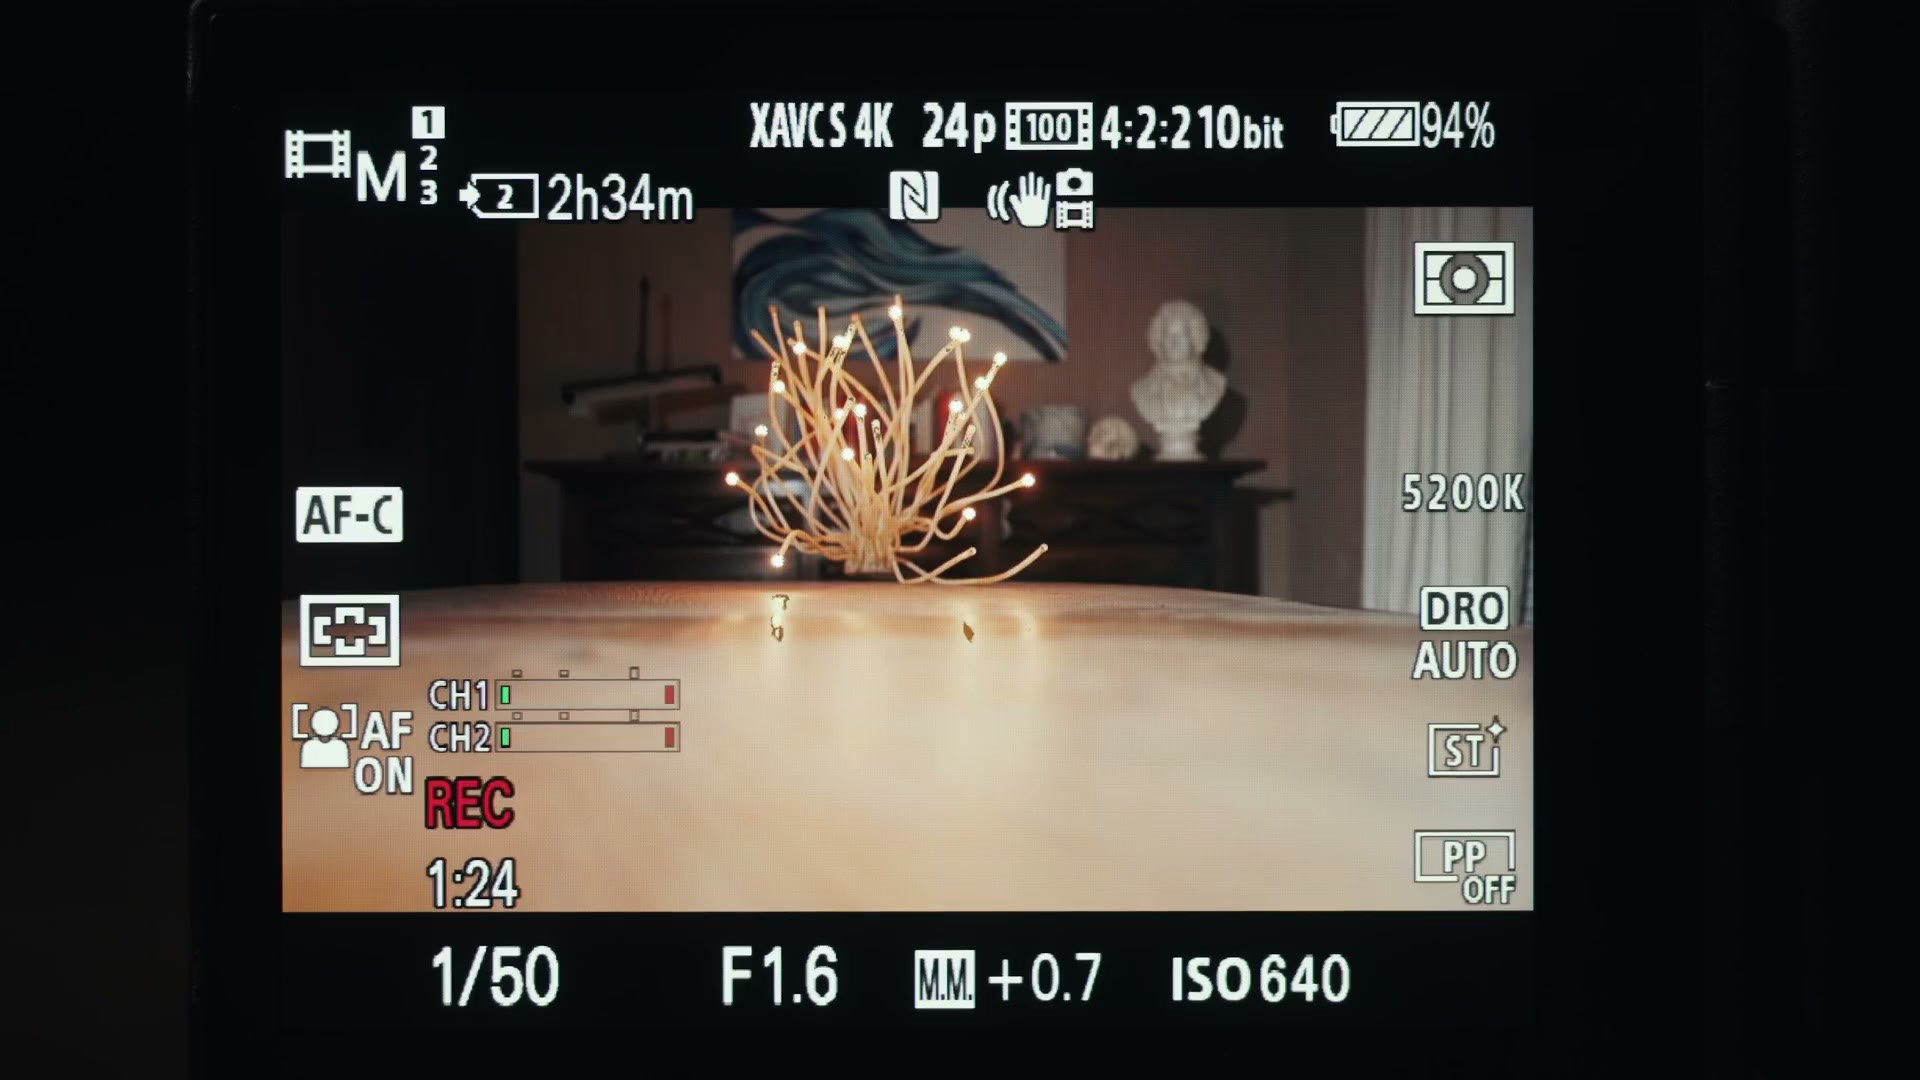
White Balance
The first one I love is that this camera now lets you adjust your white balance while you are recording video.
Yes. If you start rolling and realize you want to tweak your white balance because the light changed, you can now do it without losing the take and having to stop recording.
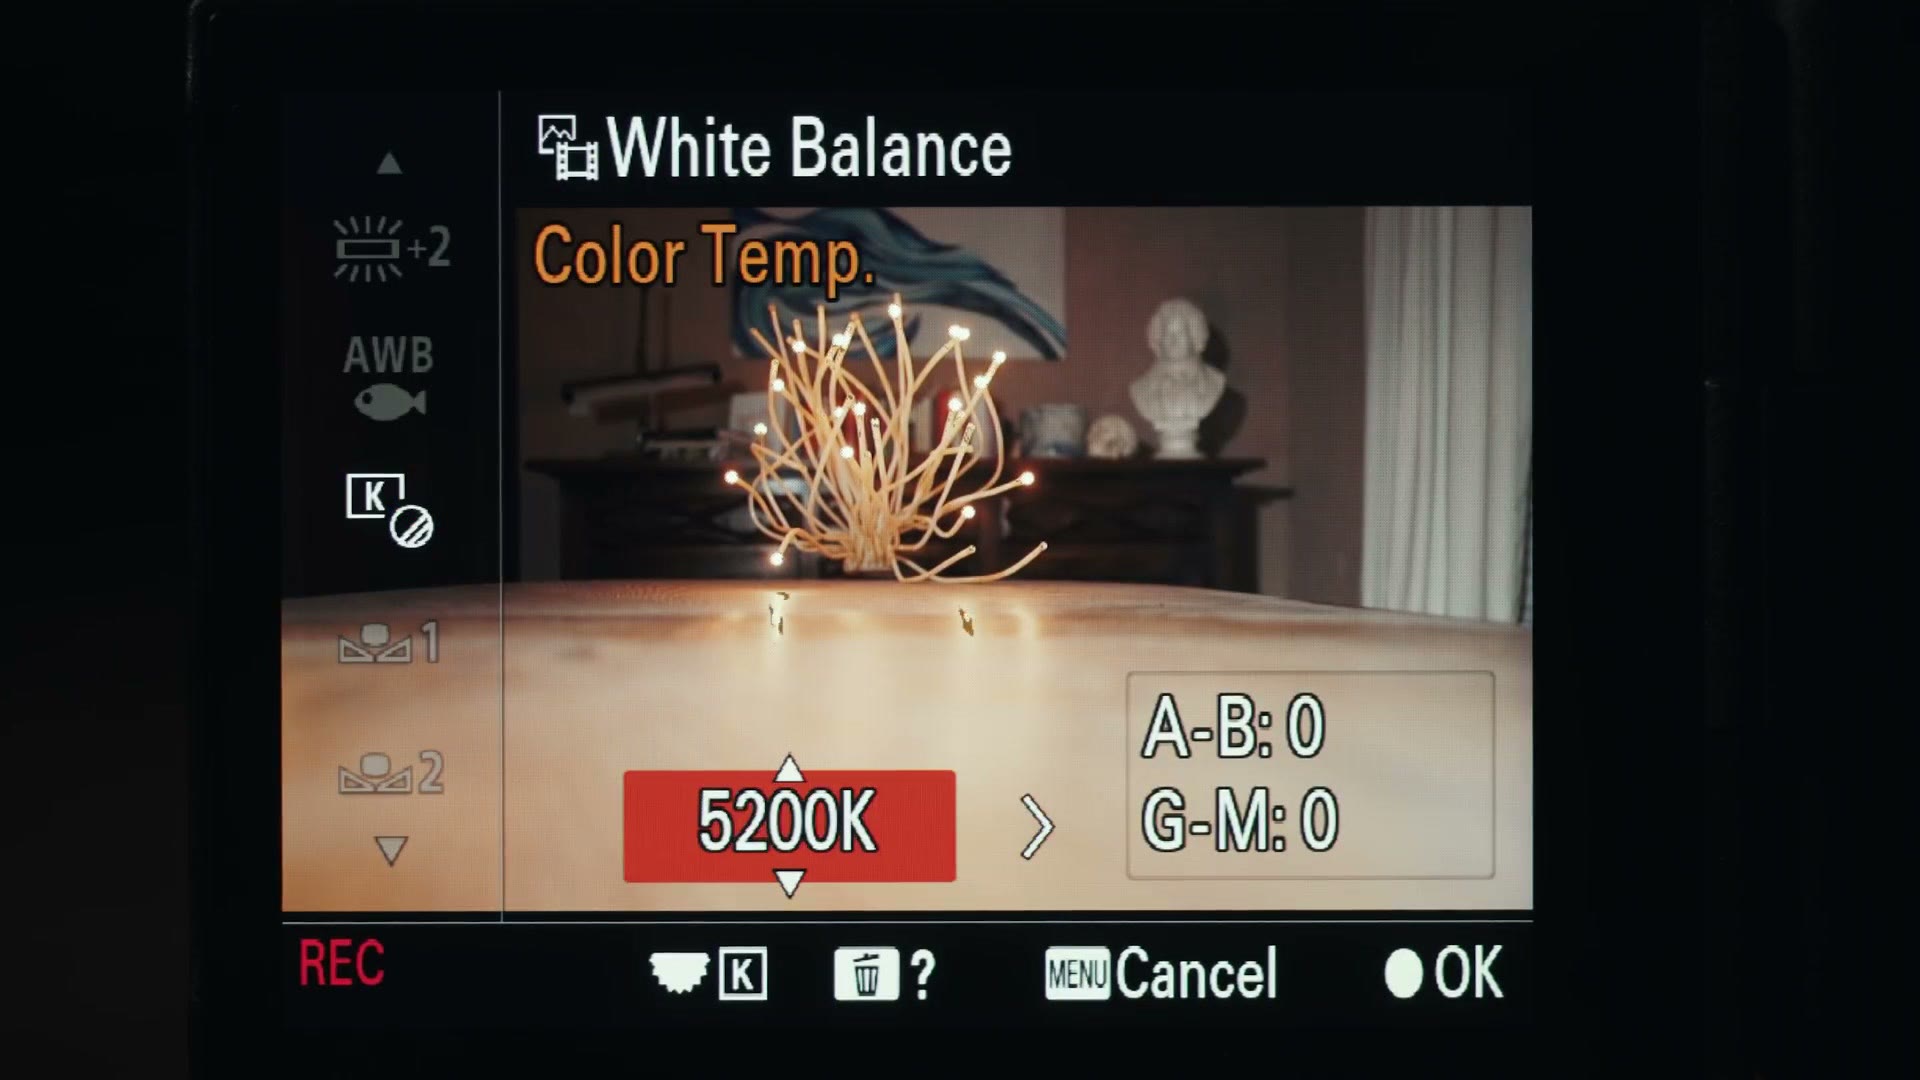
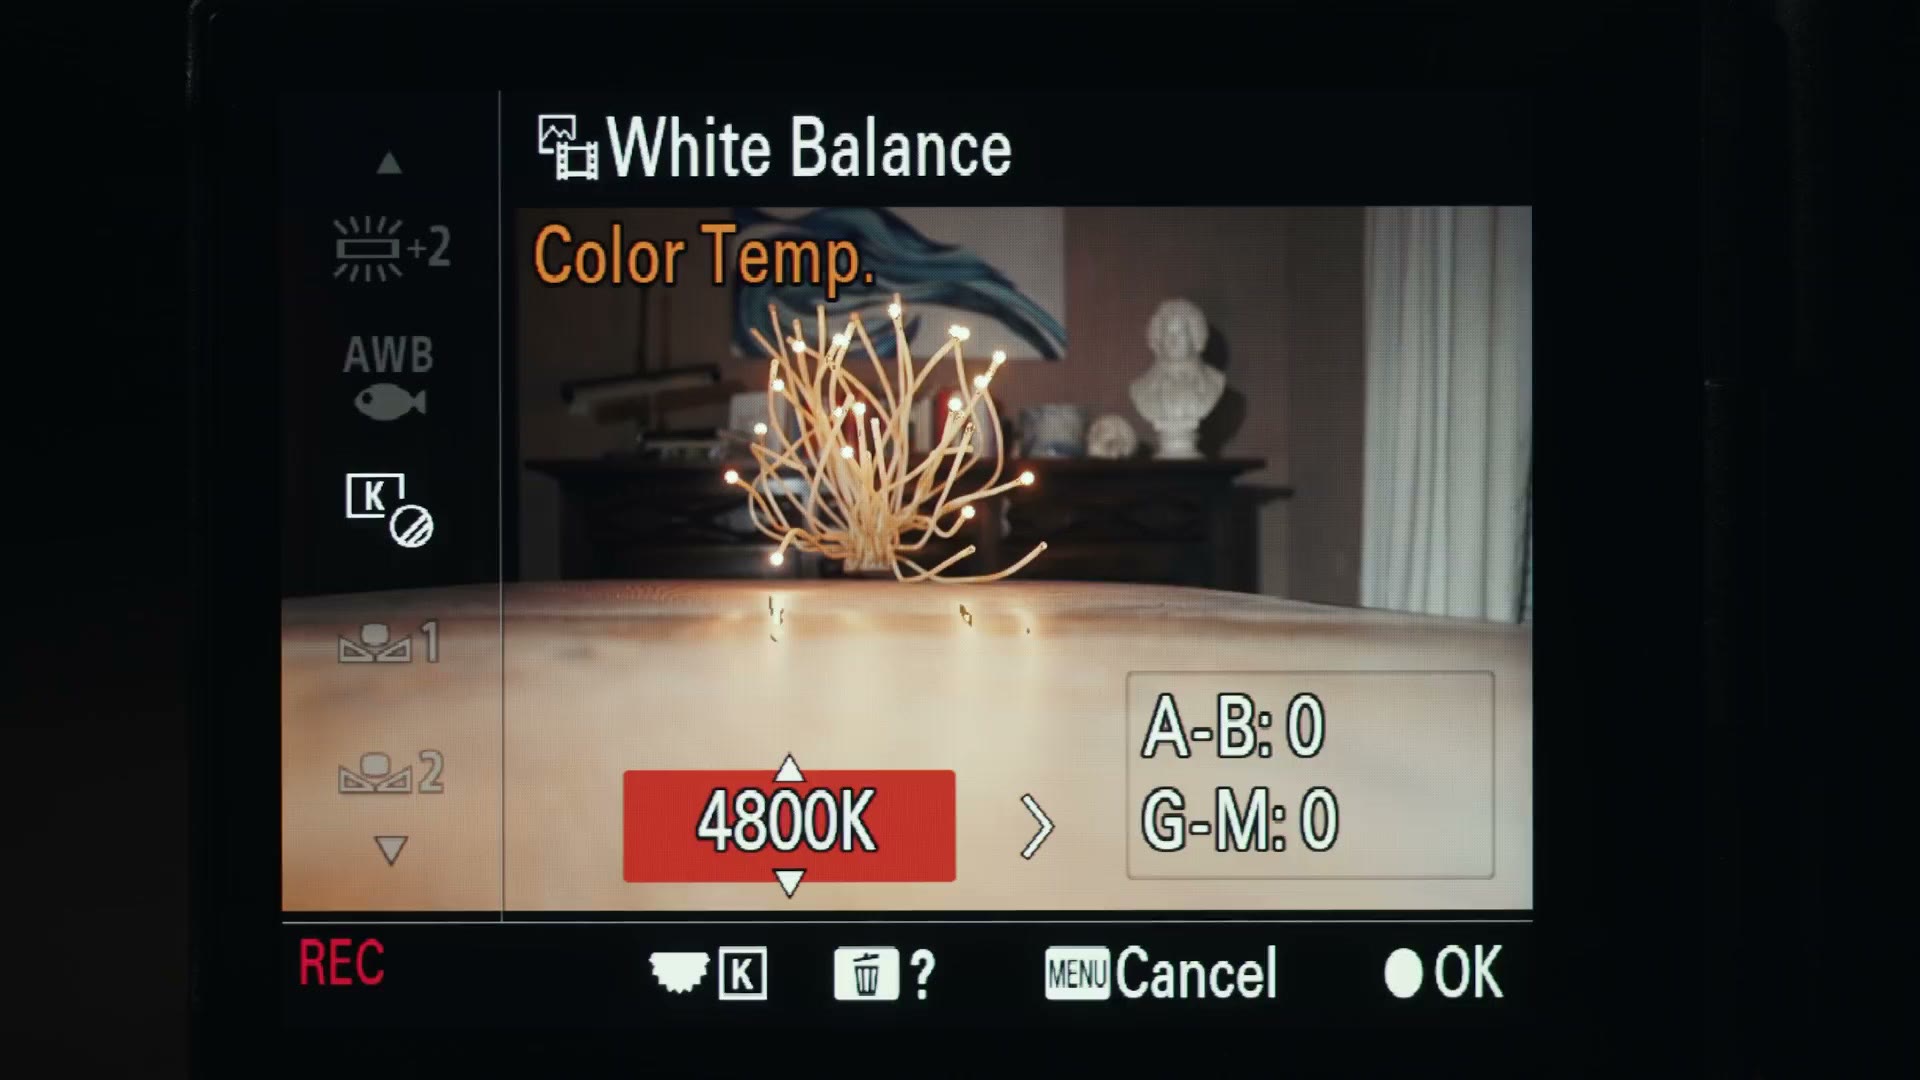
And as a really cool bonus, Sony also gave you the ability to set how quickly the camera moves to the new white balance. It’s called Shockless WB, and it lives in Exposure/Color, in the White Balance section.
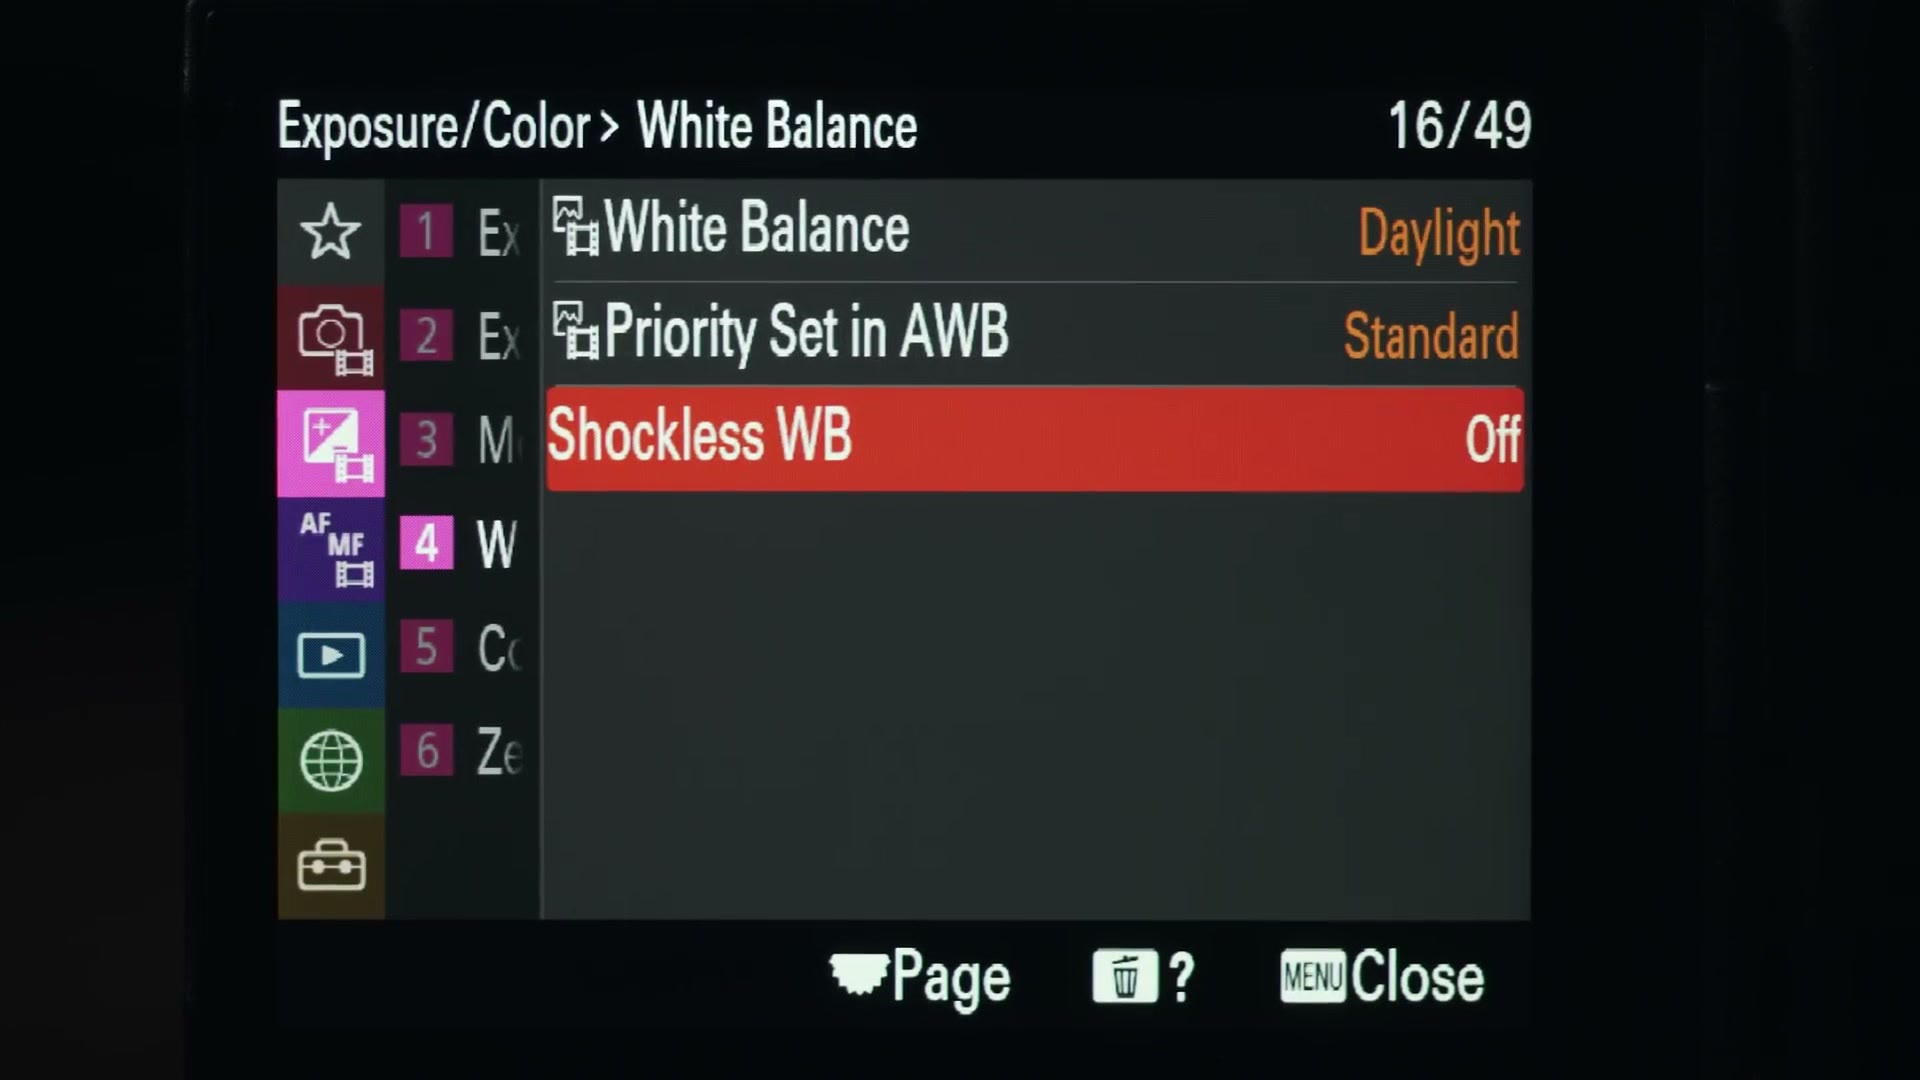
You get Off, 1 (Fast), 2, and 3 (Slow).
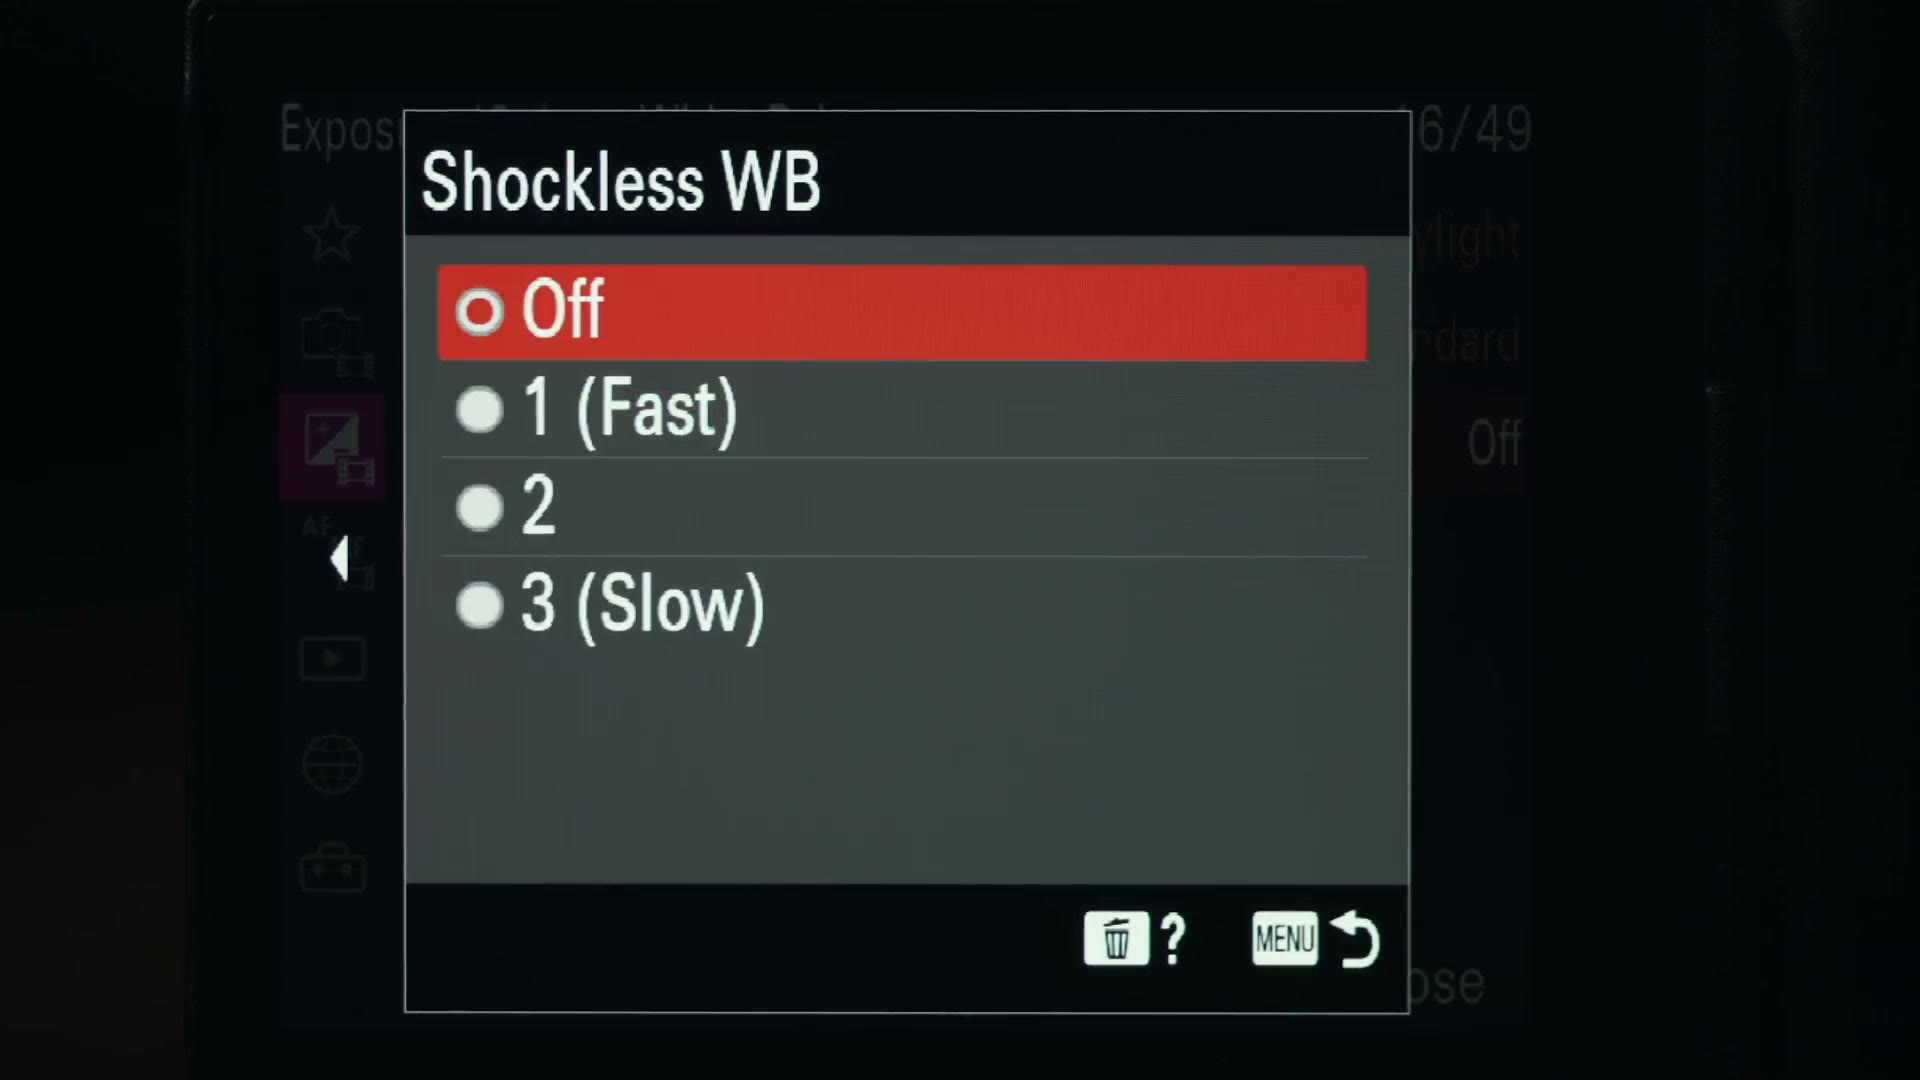
Traditionally, when you adjust white balance with the presets or on the Kelvin scale, the camera jumps to the new value instantly. Which means a visible jump in the color of your footage right in the middle of a shot.
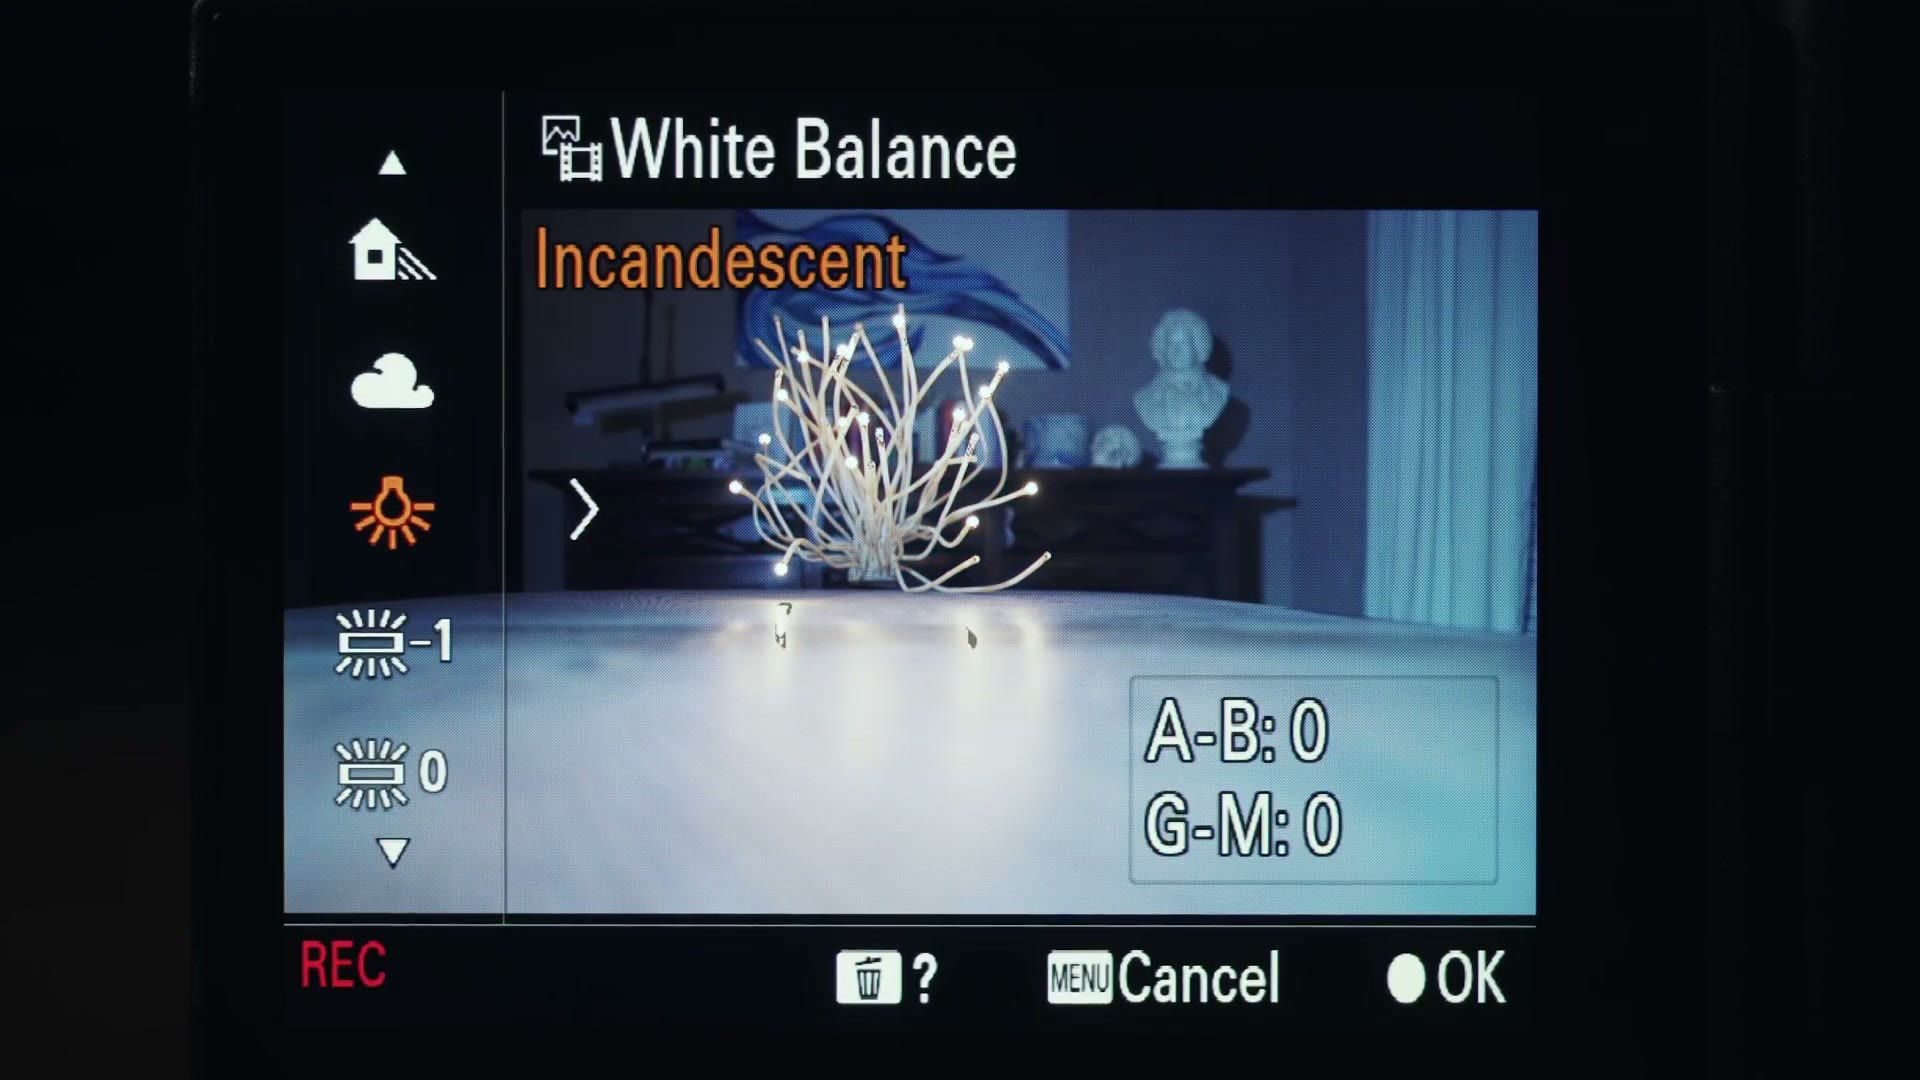
Shockless WB ramps it instead, so you get a smooth transition between colors. That keeps your audience watching what you made rather than being yanked out of it by a sudden color shift. If you want the fundamentals underneath all of this, I’ve got a whole video on white balance for video.
These two updates are awesome, and I’m sure some of you Panasonic users are already writing a comment. What? Sony cameras can’t change white balance while recording? We’ve always been able to do that.
Well hold on a second, because the next one is something Panasonic cameras cannot do.
Punch In
Unlike Panasonic, Sony cameras have always been able to punch in and magnify the image in camera while recording so you can check your focus. As somebody who primarily uses manual focus lenses, this is a feature I use hundreds of times a day whenever I’m filming a wedding.
The catch on Sony’s older cameras is that if you punched in while in video mode, the magnified image quality was terrible. The camera might be recording 4K, but the image you’re punching into to check focus feels like it’s below 1080p. So yes, you can tell what’s in focus, but it’s harder than it should be given what these cameras actually record.
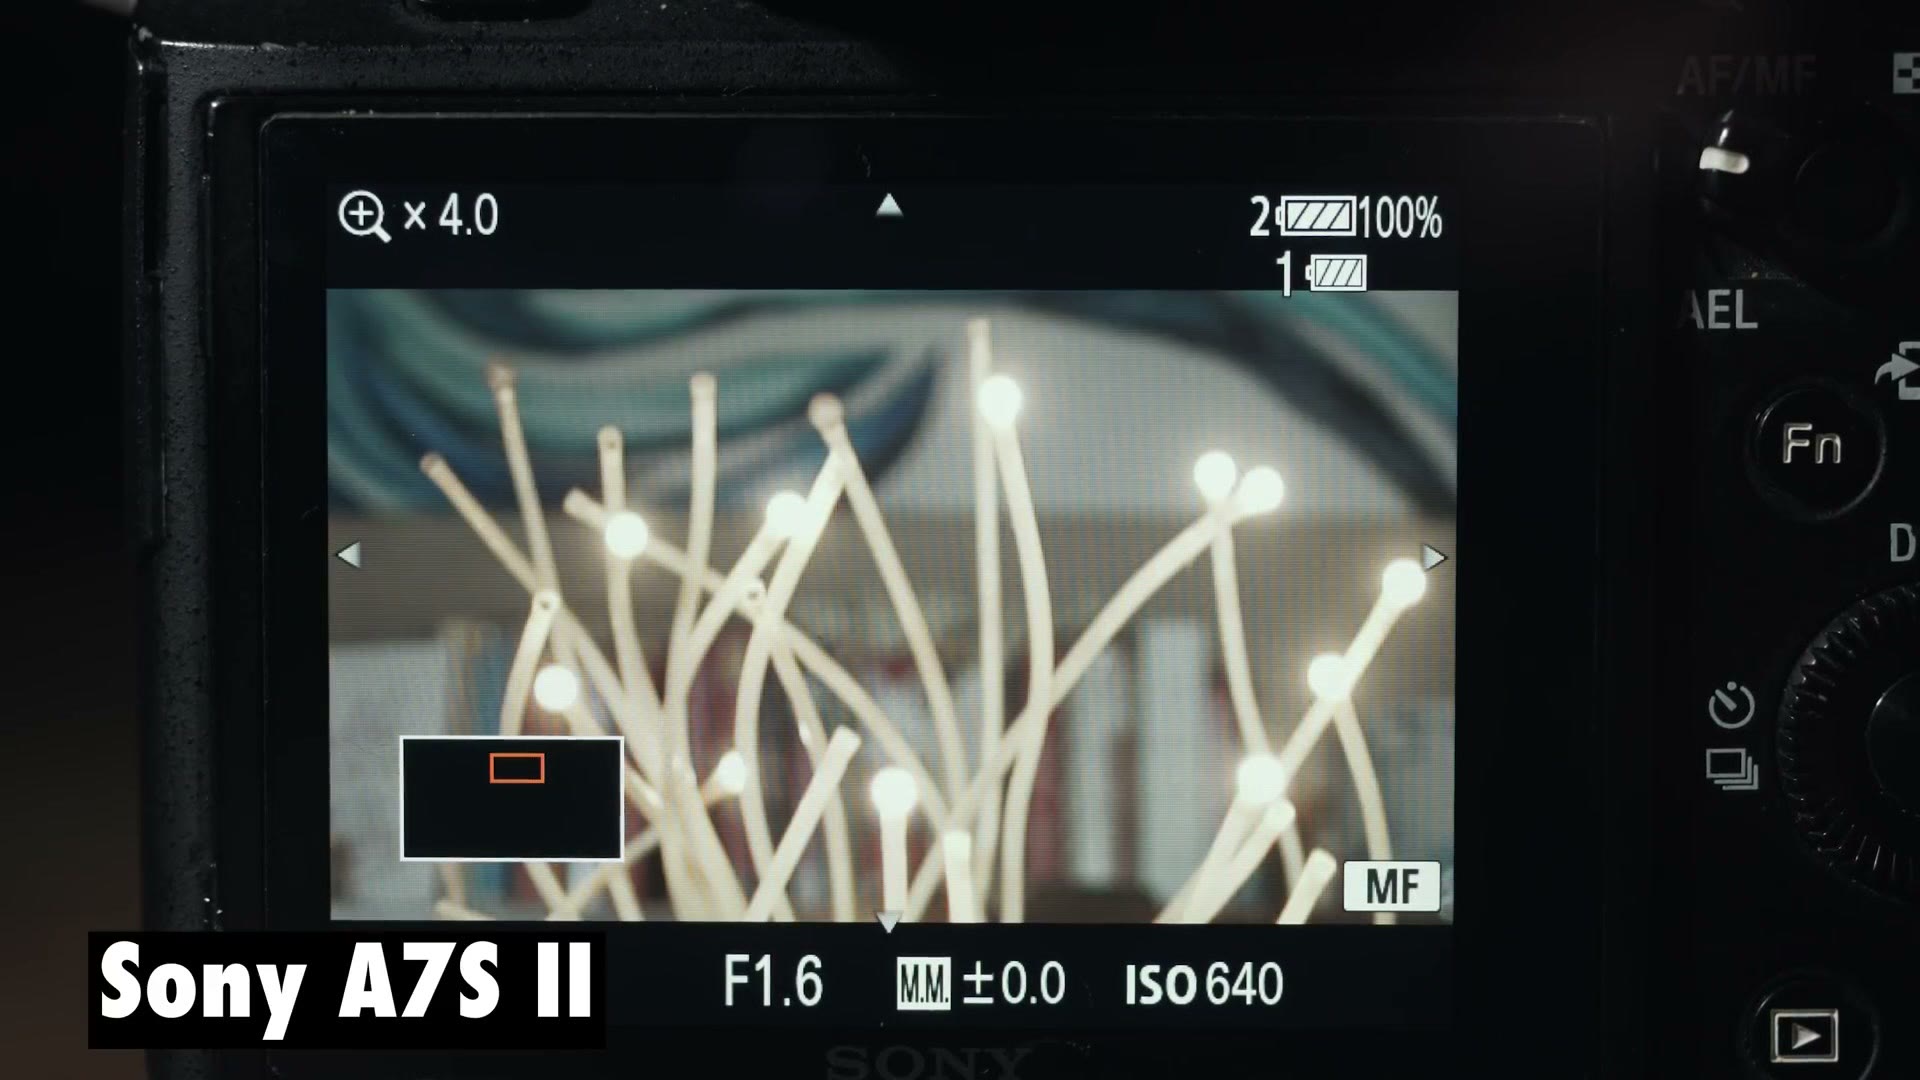
That’s finally changed with the a7S III. The image you punch into now is incredibly sharp, and it’s easy to check and guarantee that what you’re recording is actually in focus.
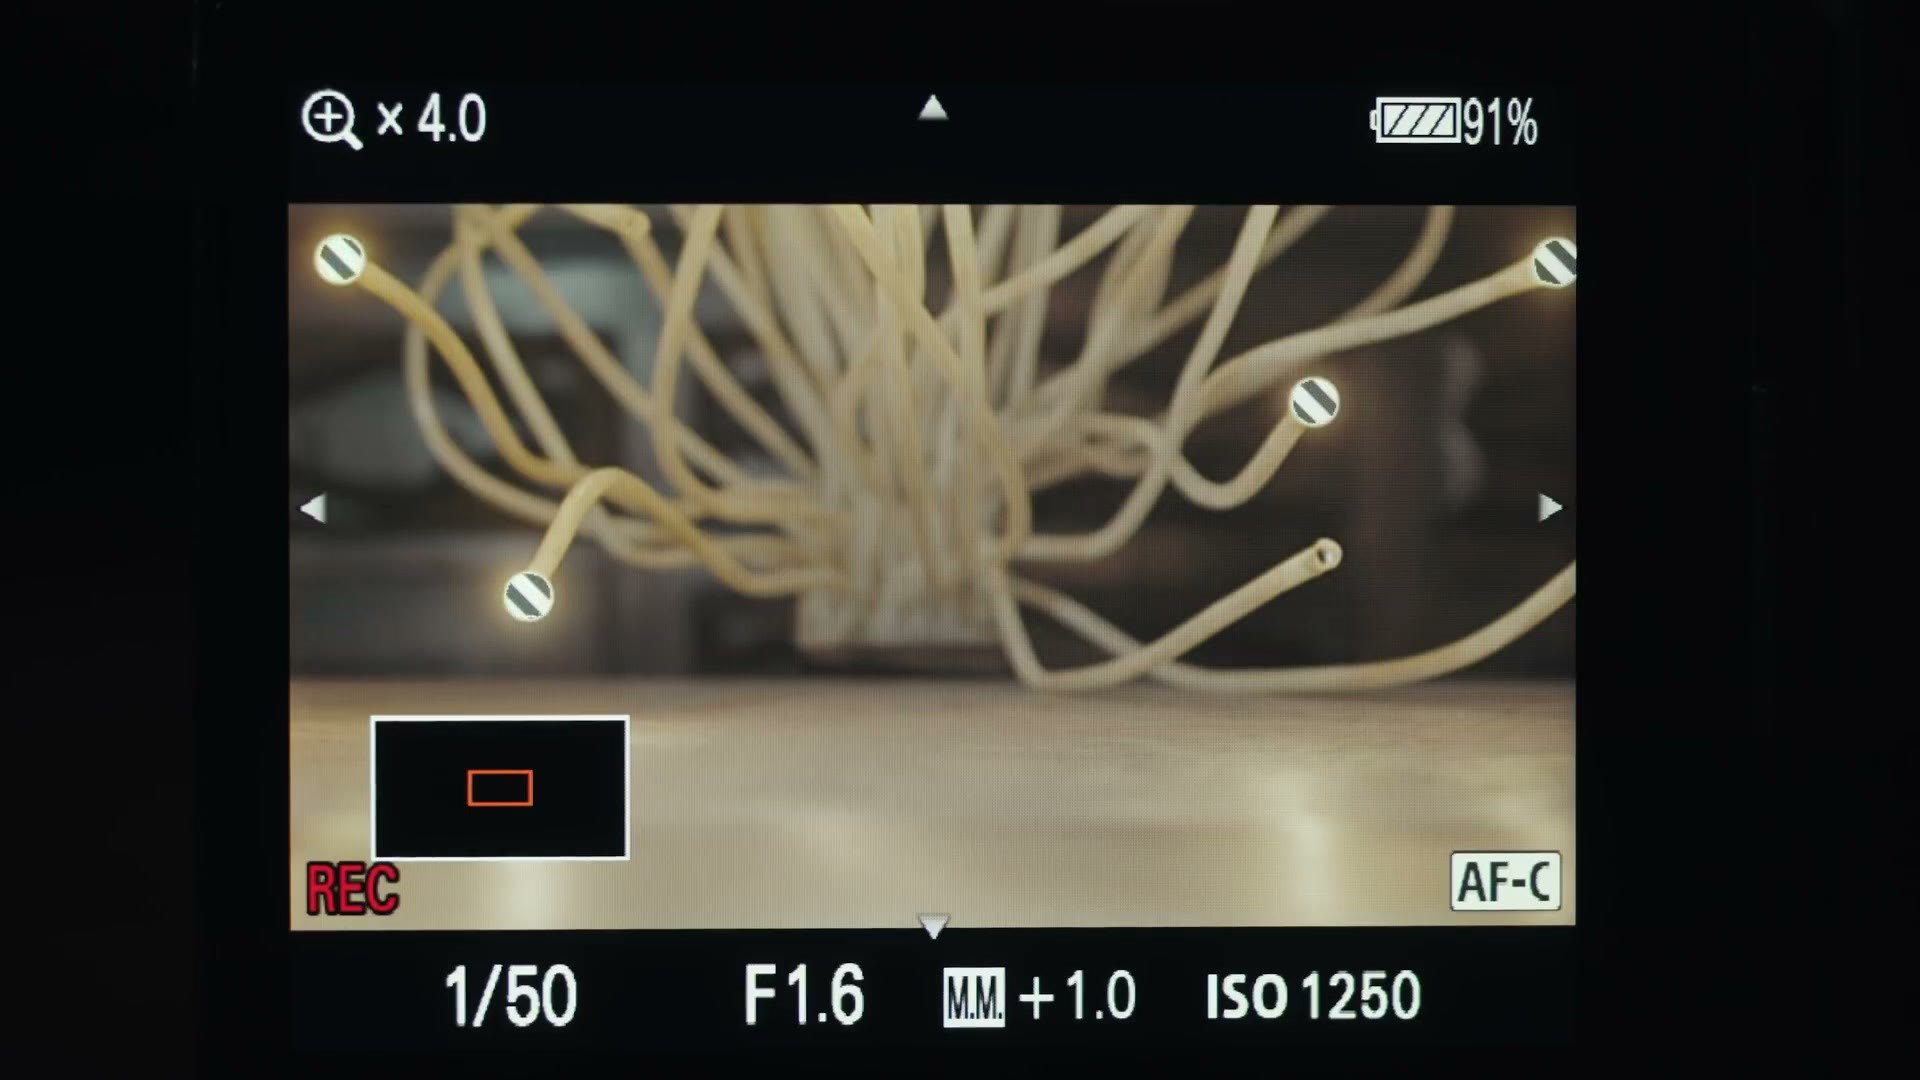
It took a while, but it’s a very welcome improvement. And Panasonic users, I hope Panasonic gets their act together and adds this one ASAP.
Minimum ISO
The last one is something I have seen other people cover, but it’s made such a big change to the way I film that I think it belongs here too.
I put together Nobody’s Talking About This Camera Gear Yet! as well, which covers the part I skipped over here.
When you shoot S-Log3 on the original Sony a7S from 2014, the lowest ISO you were allowed to set was 3200. That is quite bright, and it basically guarantees you need a good set of ND filters to use the profile at all.
Here’s how that has come down:
- a7S (2014): minimum ISO 3200
- a7S II: minimum ISO 1600, half of the original
- a7 III: minimum ISO 800
- a7S III: minimum ISO 640
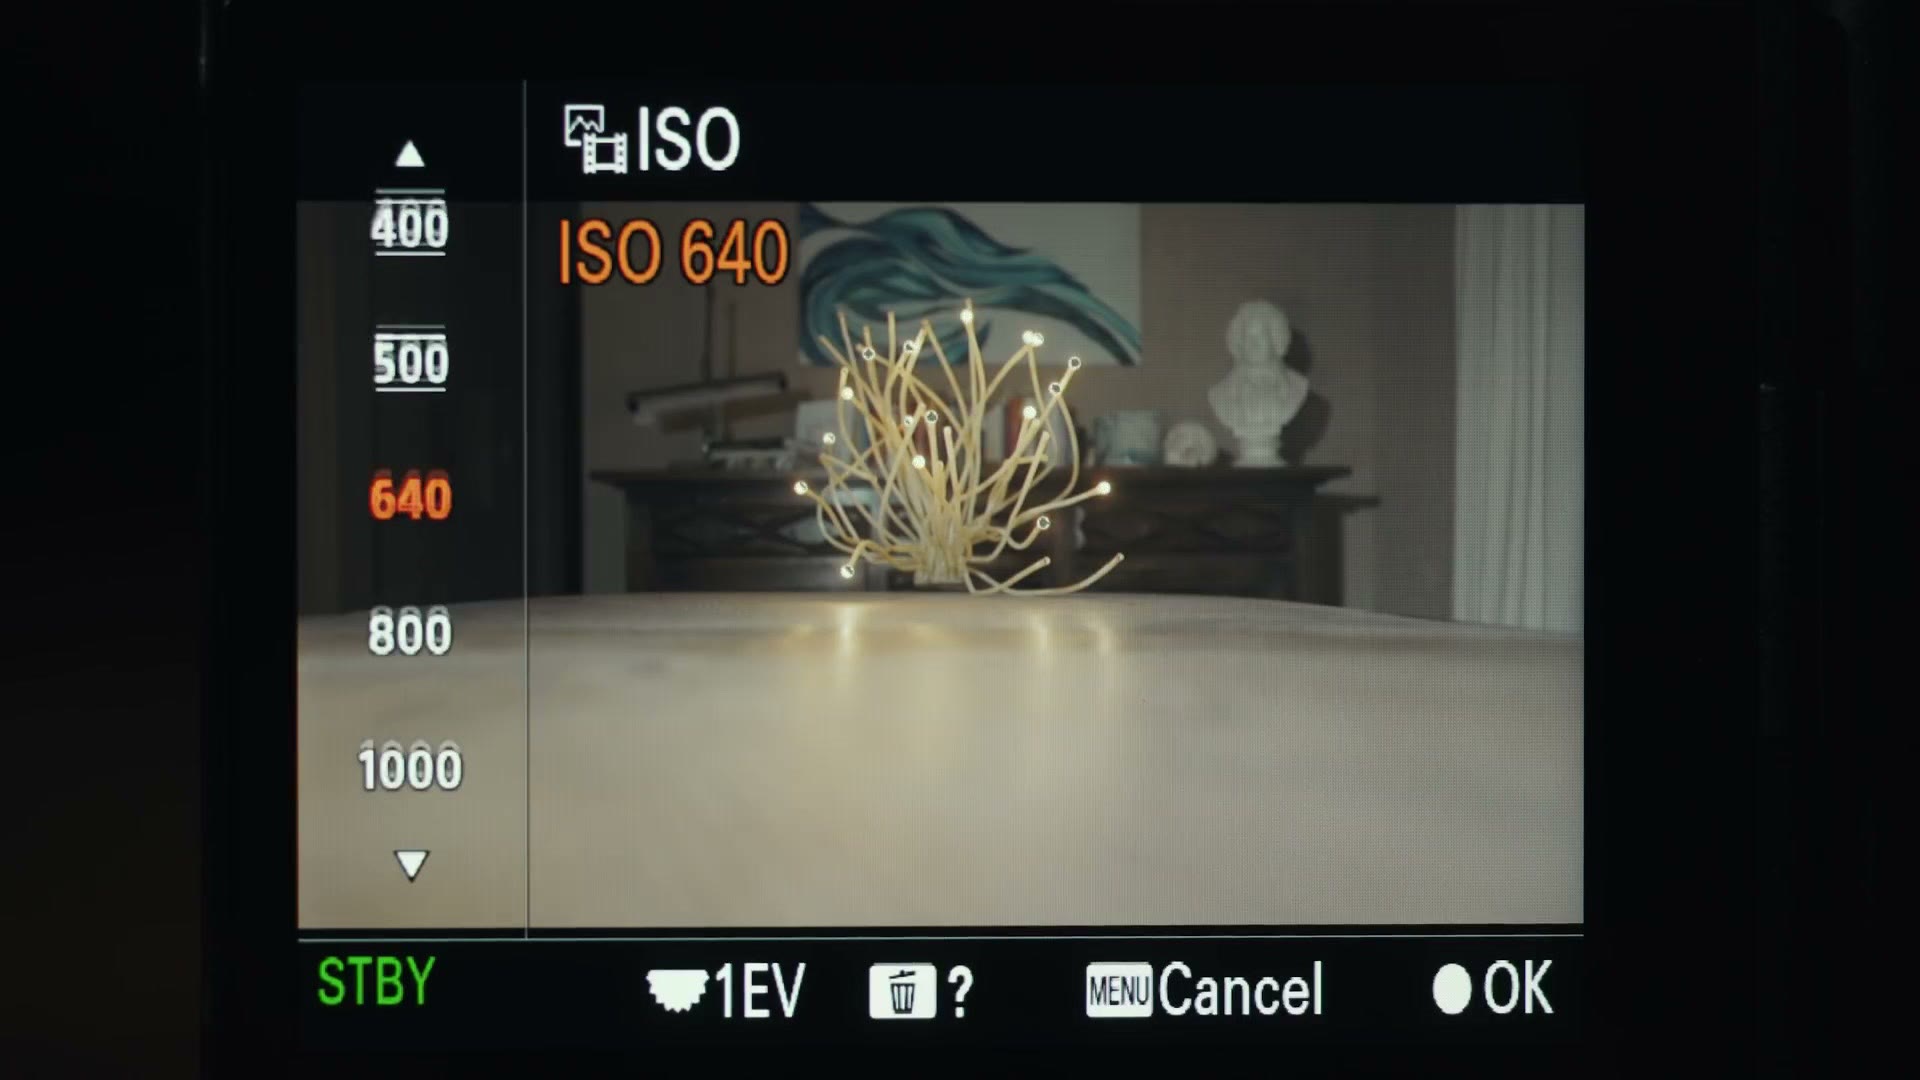
640 is low enough that you can actually use S-Log3 without ND filters. But I have more good news, and this is the part I have not seen many people talking about at all.
Extended ISO
For the first time in one of their mirrorless cameras, Sony has given the a7S III an extended base ISO. You can set the ISO in S-Log3 lower than the native base, all the way down to 160.
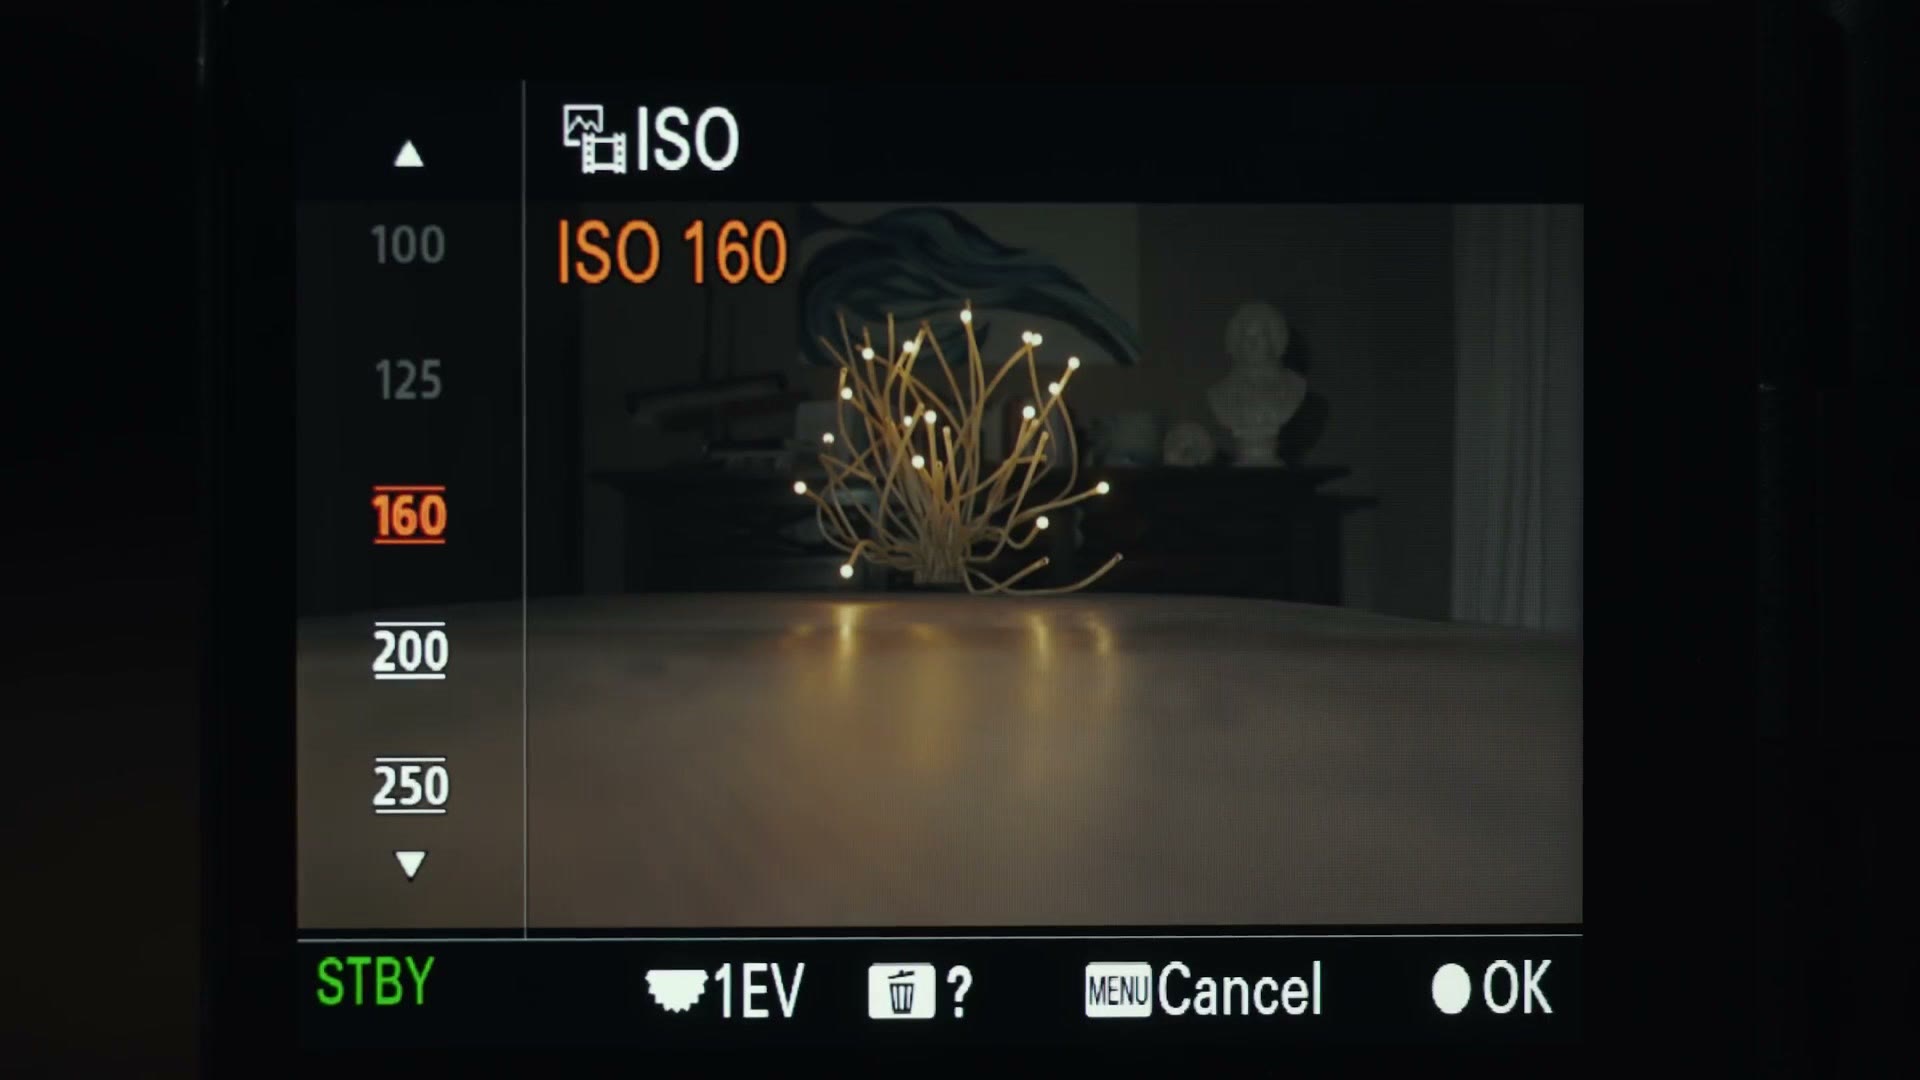
Now, that extended range will probably give up a bit of dynamic range, because 640 is the camera’s native ISO and that’s where your dynamic range in S-Log3 is maximized. But if you’re filming outside in a pinch and you don’t have ND filters handy, you are really going to appreciate being able to drop below 640.
Should You Care?
Those are three new features of the Sony a7S III that I haven’t seen many people talking about, and all three of them make filmmaking with this camera easier in ways you’ll feel on a real shoot rather than in a spec sheet.
If you’re picking one up, it’s on Amazon and at B&H. Once you’ve got it, my favorite picture profile for it is here, my autofocus settings are here, and everything I shoot with it gets graded with my LUTs. The rest of my wedding filmmaking gear is here.
Also, if you happen to be a wedding filmmaker, you probably want to book more couples and film more weddings. I made a free guide with practical steps you can take right now in your business to do that, and you can download it here. If you want to go further, my wedding filmmaking courses are here.
This was written in September 2020 from a pre-release a7S III, so menu positions may have shifted in later firmware. Sony has since put out several major updates, including firmware 5.0.