A wedding filmmaker’s review of the Zhiyun Crane 2 (vs Glidecam & Ronin-M!)

In my 2016 review of the Ronin-M, I concluded that I still preferred using a Glidecam HD4000 for stabilizing my camera when filming weddings. Here we are two years later and the gimbal landscape has changed dramatically, with single-handed gimbals growing both in popularity and weight capacity, leading many wedding filmmakers (myself included) to wonder if it is time to buy an electronic gimbal.

To help you answer that question, I bought a Crane 2 and have been using it for the past five months.

This is not going to be your typical review where I read off a spec sheet, take it out of the box, and show you the first five minutes of footage I shot running around in my backyard. I want to review this gimbal in the context of filming weddings, and I’m going to be comparing it the whole way through to the Glidecam HD4000 and the Ronin-M, because I assume a lot of you are already using one of those or are trying to choose between all three.

To be clear up front: I spent $750 of my own money on this, plus about another hundred on accessories. I’m not sponsored by Zhiyun Tech.

What Changed My Mind

Here was my conclusion about the Ronin-M back then. In my case, shooting weddings, needing to move from location to location very quickly, getting a ton of shots, not wanting to mess with electronic calibration or batteries, I’m going to stick with the analog Glidecam that only requires basic weights and muscles. My beard was so short back then. I’m an old man now.

But I also said this at the end of that review: if DJI or another company makes a gimbal that’s smaller, lighter, quicker to set up, and has an actual stand, I’ll heavily consider it over the Glidecam. Clearly shorter-bearded Matt was hoping someone would fix the Ronin’s shortcomings.

Enter the Crane 2, which caught my attention for two reasons.

  • The weight capacity. It holds cameras up to seven pounds, so I can run my A7S II with a battery grip and a heavy lens on it.
  • It uses a Manfrotto quick release plate. The same plate I already use on my cameras, tripods, slider, and Glidecam. That is huge for weddings, where you do not have time.

And it has feet. I’m going to mention the feet more than once in this review, because a gimbal you can set down anywhere without it falling over is one of the biggest things I’ve wanted for years.

I pre-ordered it the day it was announced and it showed up about a week before I had two weddings two weeks in a row, which was the perfect chance to test it.

Weight Capacity: The Part Zhiyun Doesn’t Tell You

Zhiyun advertises seven pounds, and the marketing shows it holding a Sony FS5 and a Canon 1DX Mark II with ease. What they don’t tell you is that if you’re using a tall camera, like the 1DX Mark II or an A7S II with a battery grip, you will not be able to balance it. The bar doesn’t go down far enough.

I could get roll balance fine. Tilt balance, where the camera pivots up and down, I could not, so the camera wanted to slam down hard, which was kind of terrifying. And you’d think motors this strong would just compensate for that, and they do. Until they don’t.

I found that out while driving down a dirt road in Colorado shooting B-roll of the forest for a wedding. I went over a big bump, the motors had to compensate for the extra stress, they got overloaded, and they shut off. Which meant my camera was suddenly flinging itself around and slamming into the bottom of the gimbal.

So I did what I feel like most filmmakers would do in that situation. I went to Home Depot and bought some washers and screws, which happen to fit perfectly into the mounting points on the bottom of the Crane 2’s plate. I screwed them in to add weight below the camera and bring it back into balance. It worked. I shot two weddings that way. It was a little janky, don’t get me wrong, but the physics were solid. I think.

The $29 Fix

There are no screws or washers on my Crane 2 anymore, and it balances properly, because somebody at Zhiyun figured out that people with taller cameras were having this exact problem.

In January they announced the gravity adjustment plate, which is just this little piece of metal. Here’s the old piece of metal for comparison. The new one is about an inch longer. That’s the entire difference, and that inch is critical, because lowering the camera that much more gets me proper balance and means I’m no longer terrified of the motors overloading and cutting out. Even with the Sigma 24mm f/1.4 on there it’s balanced, and I can still flip it upside down and shoot in inverted mode. It costs $29.

For perspective, my Glidecam HD4000 balances that same setup, battery grip and Sigma 24mm and all, without any drama. That’s one of the reasons I’ve been using it for so long. The Ronin-M, on the other hand, can’t support this setup at all, because the camera plus battery grip plus the Manfrotto plate I’d need is simply too tall for the stock unit. I’ve read you can buy extended mounting bars to lower the center of gravity further, but I haven’t tried them, and the Ronin-M has other drawbacks anyway.

Setup Time

The Crane 2 comes with a nice semi-hard case, and the benefit is that you can store it nearly fully assembled. To get it wedding-ready I screw in the little tripod feet and adjust one screw for the extended gravity plate. About two minutes, which is awesome.

The Glidecam still beats that, because I keep mine fully assembled, throw it in the car, take it out, put the camera on top, slide it up, lock it, go.

The Ronin-M is the opposite. It needs a lot of assembly, and that was one of my biggest complaints, because at a wedding with multiple locations I’d find myself tearing it down every single time we moved. What’s funny is that after that review I got comments saying you don’t need to tear it down, I just put mine in the car seat and buckle it in with the seatbelt. Seriously, that’s a thing, a lot of people do it. I never once thought about strapping my Ronin into the car like it was a child. Good technique though.

The Crane, once balanced, is small enough that I can lay it gently in the back of my car or in the floorboard between locations and not worry about it. In that context it’s just as good as the Glidecam.

The Manfrotto plate matters more than it sounds

The Crane 2 uses the Manfrotto 501PL base plate, which I use on everything else. So swapping from a monopod or tripod or handheld onto the Crane takes about 20 seconds. With the Ronin-M I was constantly pulling the Manfrotto plate off and screwing DJI’s proprietary plate on, which is a real problem when you’re filming a wedding and thinking hold on, don’t kiss, just wait. You do not have the luxury of that kind of time.

Swapping lenses

Most of the time I’m shooting with the Sigma 24mm on both the Crane and the Glidecam, because I love the wide sweeping shots. But if I want to put on a lighter 50mm, I have to make major adjustments to every knob on the Crane 2 to rebalance, and I need a flat surface to do it on.

With the Glidecam I adjust one screw here and one screw on the back, and I can do it while walking. The Glidecam wins this one outright. If you swap lenses a lot, or use a zoom like a 24-70 that physically extends, the Glidecam is going to serve you better. The Ronin-M behaves like the Crane here, needing a rebalance every swap, except it also requires that huge stand to balance on. The Crane has feet. I know I keep mentioning the feet.

Usability: Two Shots I Couldn’t Get Any Other Way

I was shooting establishing shots at a wedding a few weeks ago on a tight timeframe, so I grabbed the Glidecam, because I’m still a little more comfortable with it. Toward the end there was one shot I really wanted: an oak tree with branches hanging overhead, tilting down from the leaves to reveal the reception venue.

Tilting is one of the hardest things to do with a Glidecam. Normally you have one hand on the handle and your fingers controlling rotation, but for a tilt you need your hand on the post while it’s tilting, and that makes the whole thing want to rotate as you go, so the move never comes down perfectly smooth. I shot it several times and wasn’t in love with any of them.

So I went out to my car, got the Crane 2, mounted the camera, set it to follow mode where the camera tilts wherever you tilt the handle, went back, and nailed it on the first try.

Same story at that Colorado wedding, the one that sent me to Home Depot. I took the couple out on a hike the day after and wanted a super low-to-the-ground shot of them walking down a forested path with sun coming through the trees. I flipped the Crane over into inverted mode, hit follow mode, and walked after them with it just off the ground and angled up. It looked gorgeous.

Could I have done it with the Glidecam? Yes. Shorten the center post, flip it over, use it inverted. But then my hand is on the handle, which puts me awkwardly low and hunched over the whole time. Doable, but far harder than with the Crane.

Less Crazy Shots

What if you don’t want any of that and you just want to pick it up and do nice, smooth walking shots? The Crane handles that very well. When I was visiting family a few weeks ago I showed it to my brother, and within a minute of picking it up he was getting beautifully smooth stabilized shots. He has never used a gimbal in his life. It’s really that easy to just pick up and go.

There is one area where the Crane 2 struggles and the Glidecam doesn’t. Whenever you’re holding a Glidecam you’re gripping a handle that isolates your body movement, both horizontally and vertically, because the handle twists. So the normal, nearly imperceptible bounce of your walk gets absorbed. The Crane 2 has no vertical dampener, so that bounce goes straight into your shot. To compensate you need to walk as slowly as you possibly can.

Weight, And Why My Left Bicep Is Bigger

Whenever you’re shooting for eight, ten, twelve hours, you need a gimbal that isn’t going to destroy your arms and your back. Here’s how the three compare, without a camera on them:

  • Crane 2: 3 pounds 7 ounces, and it carries up to 7 pounds
  • Glidecam HD4000: 5 pounds 7 ounces
  • Ronin-M: 6 pounds 15 ounces, and it carries up to 8 pounds

Nearly seven pounds for the Ronin before you’ve added a camera. And it’s genuinely impressive that something the size of the Crane carries almost as much as something that size.

My A7S II with battery grip, lens adapter, and the 24mm weighs four pounds. So the full rigs come out at 7.7 pounds for the Crane, 9.7 for the Glidecam, and 10 pounds 15 ounces for the Ronin.

I’ve been shooting with the Glidecam HD4000 since 2011, and at this point I’m surprised I don’t look like that bodybuilder from Lady in the Water. You remember that movie? M. Night Shyamalan fairy tale, came out a long time ago, there’s a guy who works out only one side of his body so one bicep is huge and the other is small? That’s kind of where I’m at, because I always carry my Glidecam with my left hand.

With the Crane 2 I can hold it in my left hand like the Glidecam, or hold it with two hands like a lightsaber, which is just awesome, or switch over to my shriveled-up right bicep. That last one matters more than it sounds. With the Glidecam, once my left arm is tired I’m out of luck, I just keep shooting and keep getting more tired. With the Crane I switch arms and keep going, which means I can shoot for significantly longer.

The dual handle kit

If you’re coming from a Ronin-M or another two-handed gimbal, Zhiyun makes a handle adapter kit that turns the Crane 2 into a dual-handled gimbal. One way of mounting it essentially gives you an upright-mode Ronin-M, with the added benefit that it still has its tripod feet, so you can just set it down. Or you can hang it low like a Ronin-M, and it becomes a little baby Ronin. Then if your arms get tired you flip it back to upright and set it down anywhere.

Honestly, I don’t use the dual handles much. They remind me too much of the Ronin-M, which gave me real trouble whenever I needed to hold it out or up. But if you have less upper body strength, they could be a great option.

Can You Actually See Your Screen?

One of my bigger complaints about the Ronin-M was that the camera sits so low that you’re squinting past a battery to see anything, which is why you end up buying an external monitor to mount on top.

With the Glidecam, in its natural shooting position, my face is right up near the viewfinder, so I can tell instantly whether everything is in focus, and if I need to adjust I grab the pole and pull focus. The Crane 2 is very similar. I hold it up here, see the screen clearly, adjust focus, keep shooting.

I was also pleased to find that the Crane 2 avoids a design problem a lot of pistol grip gimbals have, where the bar running along the back blocks your view of the screen. From straight on it looks like it might, but because I shoot slightly off to the side and angled a bit, I can see it fine. That’s partly because the battery grip on my A7S II raises the camera up. This has been enough of a problem industry-wide that newer gimbals have started lowering that bar, but with my setup I don’t have to think about it.

Also, changing A7S II batteries doesn’t require taking the camera off the gimbal. Undo a notch, flip it out, swap, put it back. Easy.

Battery Life And The App

Battery life is phenomenal. Zhiyun rates it at 18 hours and I’m inclined to believe them. I still bought an extra set of batteries, because I’m paranoid like that.

You’ll also want Zhiyun’s smartphone app, ZY Play. There’s a little screen on the back with a menu, but it doesn’t cover all the settings. The reason I recommend the app is that the Crane 2’s default panning settings are far too sensitive. Rotate the handle and it whips the camera left to right, which makes slow dramatic sweeping pans basically impossible.

Here’s what I change. Open ZY Play, connect to the device, tap the gear in the top right, and in the far right column marked Pan, set:

  • Follow rate: 30
  • Control rate: 20
  • Smooth degrees: 200
  • Dead zone: 15

Those settings make the panning dramatically smoother.

Autofocus, Manual Focus, And A Very Funny Design Decision

I’ve been shooting with the Glidecam since way back when I had a Canon 7D. Yes, I’m an old man. That was long before dual pixel autofocus or any video autofocus that was remotely usable, so you focused manually and you liked it. I got pretty good at it.

Then the Ronin-M came out, and that thing is nearly impossible to use with manual focus lenses, because adjusting focus means lifting it way up, holding it with one hand, and fiddling. So I went and bought a Sony 16-35mm autofocus lens for it. Then I switched back to the Glidecam, went back to manual lenses, and promptly forgot autofocus existed.

Zhiyun built a follow focus knob directly into the Crane 2, which sounds great on paper. The issue is that it currently only works with Canon cameras. Yes. The cameras that already have amazing dual pixel autofocus, so you weren’t going to want to pull focus manually anyway, are the ones that get the manual focus wheel. I think it’s hilarious that the only system that supports this is the one whose users are least likely to use it.

Zhiyun does make a remote mechanical follow focus for Sony and Panasonic shooters that mounts on the Crane and physically drives your lens ring. But that adds weight, and more importantly it wrecks the thing I love most about this gimbal, which is how fast I can get the camera on and off. If I have to slide the camera on, line up follow focus gears, and calibrate, that is a lot longer than 20 seconds. On a wedding day, no thanks. I’m sticking with manual lenses.

That said, if Sony puts the autofocus from the A9 and A7 III into an A7S III and I buy it, I might need to go get some autofocus lenses, because that sounds really appealing.

So Should You Buy It?

I think there are two camps of people considering this gimbal.

Camp one: you’ve never owned a gimbal

You want to start adding stabilized moving shots, and you’re choosing between the Crane 2 and a Glidecam. We’re leaving the Ronin-M out of this, because for weddings the other two are simply better choices.

The pro of the Crane 2 is that it’s much easier to get started with. With little to no experience you can start getting beautiful cinematic imagery. The con of the Crane 2, and of every electronic gimbal, is that there is something between you and the camera. There’s a computer in there doing a lot of calculations to smooth out your shots. With the Glidecam it’s you, your camera, and basic physics, and in my opinion that still gives it a more organic feel, which can be very appealing.

Keep in mind the Glidecam is harder to learn. Much like a tender lover, you’re going to have to learn how to touch it, caress it, and hold it in a way that gets you the shots you want.

My answer for camp one: buy the Crane 2. You’ll get phenomenal shots out of the box. Then, after you’ve shot some weddings with it and mastered it, if the shots still feel a little mechanical to you, go get a Glidecam. The good news is that learning the Glidecam second is a significantly easier curve than learning it first.

Camp two: you already own a Glidecam and you’re happy with it

Should you melt down your Glidecam and buy a Crane 2? That’s a tougher call, because this isn’t like owning a tripod and buying a slider. These two tools do the same job. One is the old guard, the tried and true, the analog. The other is the digital, where everything is going.

For me the Glidecam still wins on organic feel. I love how my videos look when I shoot with it. But like riding a bike, it takes significantly longer to learn than the Crane 2, which out of the box gives you 80 to 90 percent of the same quality of shots.

My answer for camp two: if you’re expecting the Crane 2 to give you radically better, mind-blowing shots, I’m sorry, it isn’t going to happen. But I’d still buy it as a supplement. There are things it is genuinely better at, namely tilting shots and low-to-the-ground shots, and you will be much less tired at the end of the day. In an ideal world you own both, which lets you get a greater variety of quality shots. That’s exactly what I’m doing. I’m keeping my Glidecam and using the Crane 2 for the shots that are harder to get with it.

It Is Time To Buy An Electronic Gimbal (But Not Necessarily This One)

Yes, it’s time. And the Crane 2 is a very nice option, but it is not the only one.

  • If you don’t need a heavy payload like I do, I’ve heard wonderful things about the Zhiyun Crane v2, their smaller model for lighter cameras, at around $470. That’s a lot cheaper than the $750 this one cost.
  • Moza makes some really awesome gimbals that are cheaper too. Their new Moza AirCross has pretty decent reviews and is going for about $420, which is not bad at all.
  • The DJI Ronin-S is coming later this year and is going to sell like hotcakes, because everything DJI makes does. I’m betting it’ll be a pretty good gimbal, so if you have time you might want to wait for it.

If you want to watch reviews of Moza gimbals, I highly recommend my friend Dan Watson’s YouTube channel. He has reviewed basically every electronic gimbal at this point. Every single time I go to his channel he has a new one he’s tried.

But if you want a solid electronic gimbal that’s available right now, isn’t too expensive, has a heavier payload, takes a Manfrotto quick release plate as standard, and most importantly has a gosh darned stand so you can put it down wherever you are without worrying, then I highly recommend the Zhiyun Crane 2. I think it’s a fantastic investment.

Where To Buy

Want To Watch More?

If you have any questions or comments, please feel free to leave one below or get in touch. I also offer one-on-one filmmaker consulting if you want to talk through any of this.

A note on timing: this review is from March 2018, and the Crane 2 giveaway that ran alongside it ended on May 1, 2018. Prices, models, and the whole gimbal market have moved on considerably since. You can still sign up for my email newsletter, which is where giveaways get announced.

A Wedding Filmmaker’s Review Of The Panasonic GH5

💡 Download free GH5 video clips · 📷 Favorite GH5 filmmaking gear

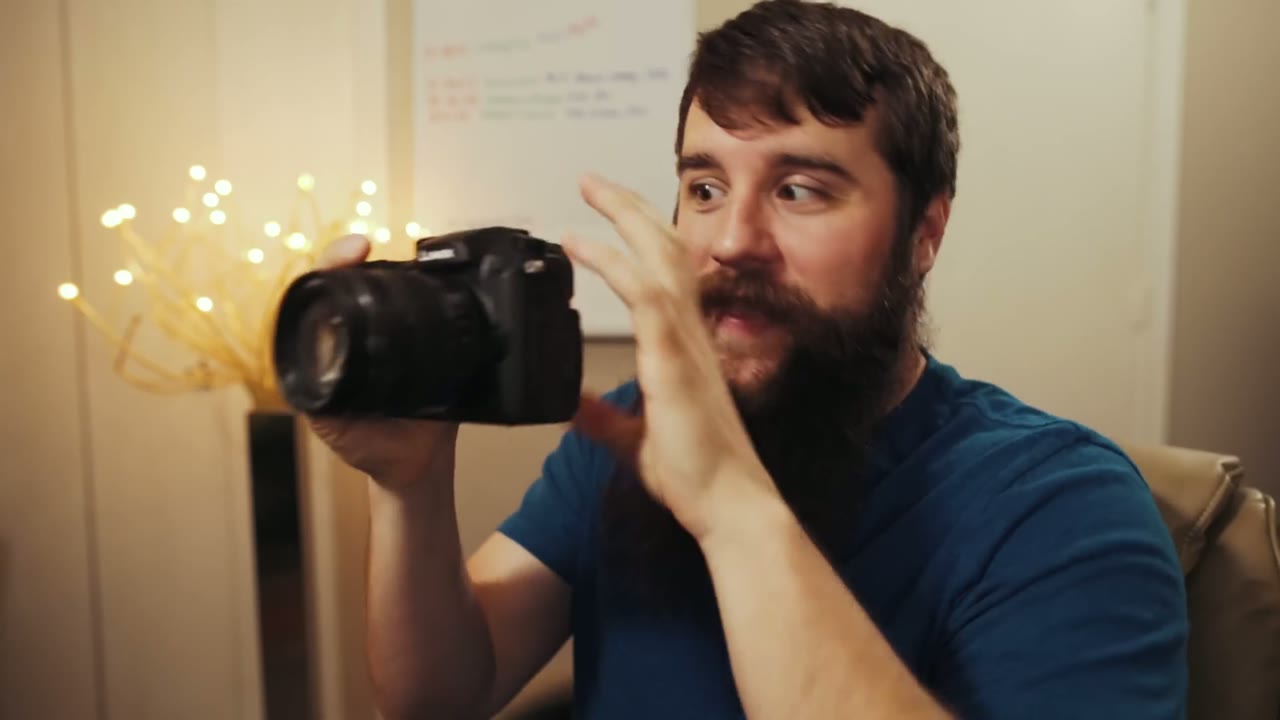
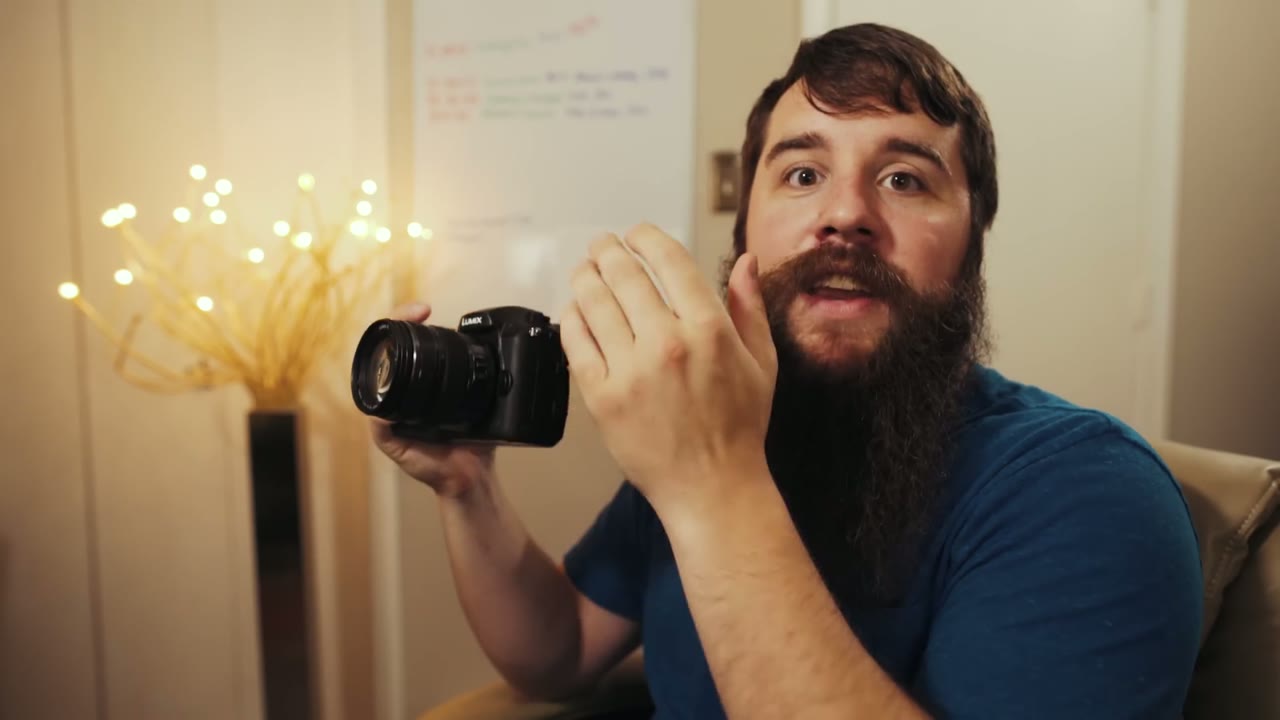
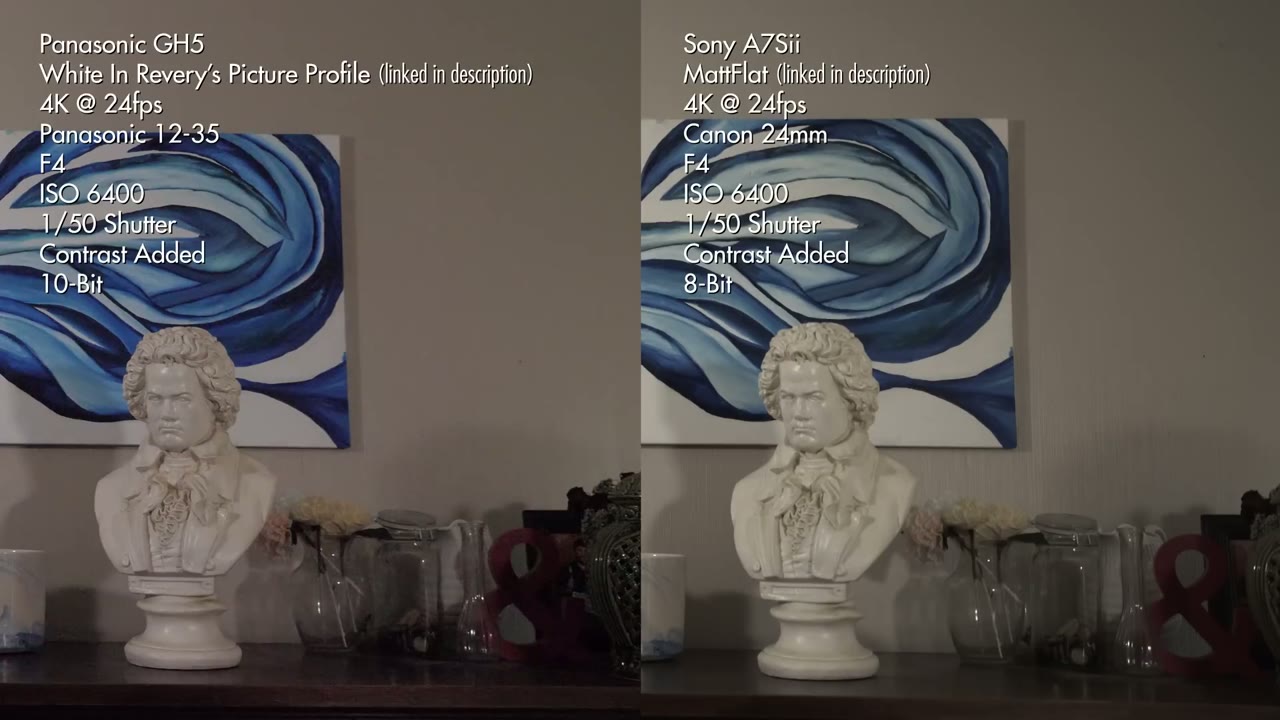
The Panasonic GH5 has amazing specs, but is it the best camera for wedding filmmaking? Heads up: this link goes to the newer Panasonic GH7. And how does it compare to the Sony a7S II?

This camera is currently the darling of the wedding filmmaking world, because for the price it has features you genuinely cannot get without spending significantly more money. From a video quality standpoint it’s phenomenal. So it figures I should talk about it.

Worth being upfront: this isn’t my camera, it’s a rental. I shoot with the a7S II and I love it. A few months ago my friend Taylor, who helps run a wedding videography company out of Austin, Texas, asked if I wanted to second shoot a wedding with him on a GH5. In Portugal. I said yes to all of those things very quickly, and now I’ve spent a full wedding day with this camera and have enough to review it honestly.

One note on perspective: I’m reviewing this from a professional wedding filmmaking standpoint. If you shoot weddings, events, or anything run and gun where you only get one chance, this is aimed squarely at you. If you shoot corporate, studio work, or indie films it should still help, but that’s not the lens I’m using.

Build Quality

I really like it. It’s built like a tank, with a ton of buttons and dials, and two things in particular stand out.

First, this camera is built for an adult hand. You can hold it without a battery grip and your pinky isn’t dangling off the bottom. On the a7S II, without the grip, your little finger has nowhere to go and it gets uncomfortable. I buy the grip anyway so I don’t deal with it, but it’s a real point in the GH5’s favor that you don’t have to.

Second, the flip-out screen. Oh my gosh. It rotates all the way around so you can watch yourself while recording, which the a7S II simply cannot do. If you vlog at all, buy this camera for that feature alone.

In-Body Image Stabilization Will Make You Throw Away Your Monopod

Once you’ve shot on a camera with IBIS you will never willingly go back, because any lens you put on it becomes a stabilized lens.

  • Need a tripod or monopod shot? Hold the camera still. The camera removes the shake.
  • Forgot your slider? Sway the camera side to side while holding it steady and you get the parallax without the rail.
  • Want a gimbal shot where you’re running after the couple through a field? I’m sorry, that’s too far. It won’t take your footfalls out.

For the record, the a7S II has had IBIS for years and I love it there too. The more cameras that ship with it, the better.

The Menus Don’t Suck

We’re never going to get a perfect menu system, because manufacturers keep adding features and features need somewhere to live. But Panasonic has done one of the best organization jobs I’ve seen. Color coding between sections, a touch screen, and, crucially, dedicated video headings, so all your video settings are in one place and you’re not digging around going “where is the frame rate, I’m missing shots.”

Even better is the custom menu, where you park your most-used settings up front so the obscure ones stop being obscure. And the camera actually explains what settings do, in plain English, or as plain as camera settings ever get.

Sixteen Custom Buttons

Sixteen. That is insane. There’s even one hidden down on the body I didn’t know existed until I went looking.

And Panasonic, in their unlimited genius, lets you start recording with the shutter button. Thank goodness. Finally. Meanwhile I’m over here on the a7S II burning a custom button on record because the shutter isn’t available in video mode, which, you know I’m in video mode, just let me press the button.

I only actually assigned four:

  • Fn1: punch in while recording, to check focus, because I pull a lot of focus manually.
  • Fn2: the level, so handheld shots stay straight.
  • Fn3: the teleconverter, which instantly gives you a 1.4x zoom in 4K and a 2.7x zoom in 1080p. Panasonic crops the sensor to do it and claims no image deterioration. In 1080p at the back of a church, you can count the groom’s nose hairs.
  • Fn4: the monitoring LUT, so V-Log doesn’t look flat on the screen and I can actually judge white balance.

Between the custom menu, the function settings, and the dedicated white balance and ISO buttons already on the body, I basically never went into the menus.

Synchro Scan: Never Fight Flickering Lights Again

This one’s buried and it’s brilliant. Normally your shutter speed steps in fixed increments: 1/50, 1/60, up to 1/125 and beyond. Turn on Synchro Scan and suddenly you’re adjusting in tiny fractions: 50.1, 50.2, 50.3.

Why does that matter? Because if you shoot weddings, at some point in your life you will walk into a room whose cheap lights are out of sync with your camera, and you’ll get flickering or rolling bands across your footage. With Synchro Scan you nudge the shutter until the banding disappears, in camera, on the spot.

My Biggest Frustration With The GH5

I like shooting off saved custom presets: C1 for 4K 24, C2 for 4K 60, and C3 hiding three more slots of its own. At a wedding, flipping between those instantly matters enormously.

Here’s the problem. Whenever you’re on a custom preset and you turn the camera off and back on, it reloads that preset, wiping any changes you made.

At the Portugal wedding the bride and groom were getting ready in adjacent rooms, so we ran back and forth all morning: her makeup, his groomsmen, her hair, him getting dressed. Different white balance, different aperture, different exposure in each room. I’d set the camera for the groom’s room, then switch it off to save battery, then switch it back on still standing in the groom’s room, and my settings had reverted to whatever was saved back in the bride’s room. So I’d be re-dialing white balance and aperture while moments happened in front of me.

Every other camera I have ever used, including the a7S II, remembers the last settings you had. This is the only one that doesn’t. To be fair, it only affects the custom memory presets: in creative video mode the camera remembers everything normally. But if you want presets, you have to remember to overwrite them every single time before powering down.

Battery Life

Good, and better than the a7S II. I’d put a GH5 battery at roughly 1.5 times a Sony one.

But not the mind-blowing figure the internet led me to expect. I’ve read posts from people who shot a whole day on two batteries. Between establishing shots, both prep rooms, and a ceremony of about thirty minutes, I’d burned through three and wasn’t even halfway. Some of that is on me: once I discovered the preset-reset problem I started leaving the camera powered on for five and ten minute stretches rather than risk it, and that has a cost. I’m giving you the context so you can weigh it yourself rather than just taking my word against everyone else’s. The battery grip smooths most of it out.

Resolution, Frame Rate, And 10-Bit Color

This is the good stuff, and it’s the reason most people want this camera. 4K up to 60fps. 1080p up to 180fps. Firmware 2.0 also added 6K, but in anamorphic, so unless you own anamorphic glass you’re capped at 4K.

We shot all the couple’s time together after the ceremony, sun going down behind them, at 4K 60. The crispness blew me away.

To put it in perspective: at the time, a Canon that shoots 4K 60 meant $6,000 for a 1D X Mark II, and a Sony that shoots 4K 60 meant $7,500 for an FS7. This camera is two grand.

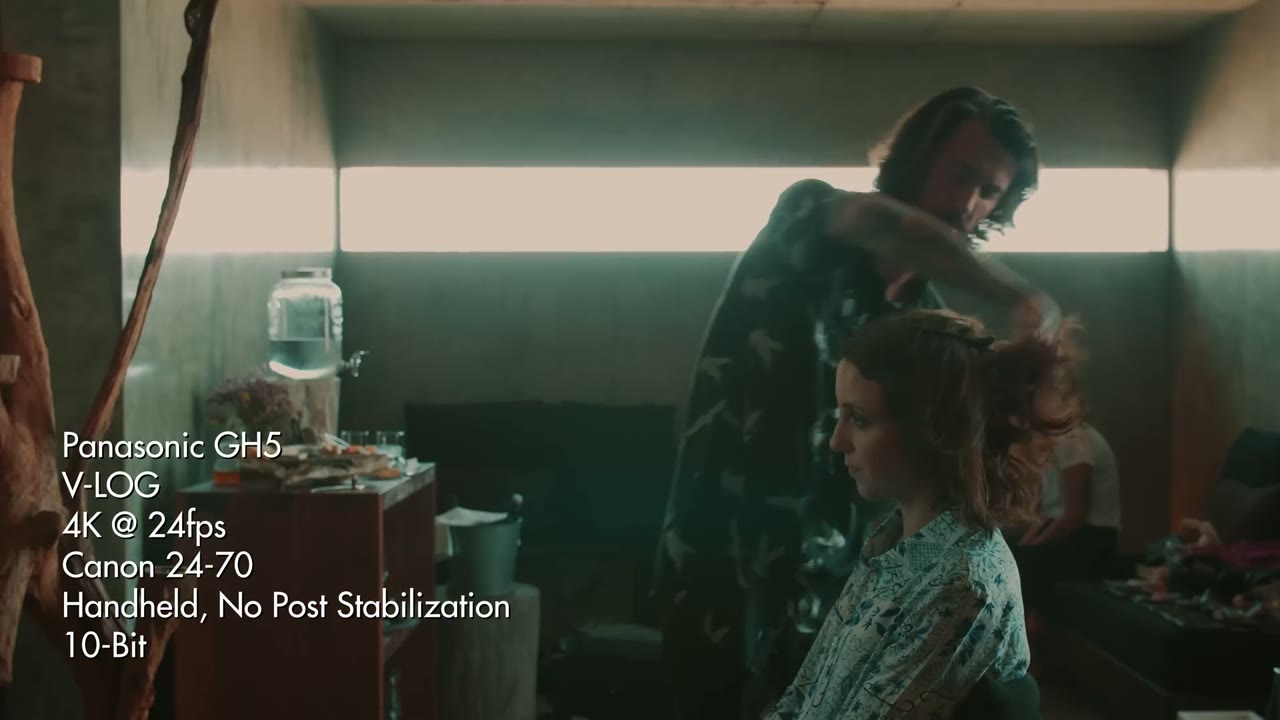
And 4K at 24 and 30 looks even better than the 60, because at those frame rates the GH5 records 10-bit color. More color information means more room to push a grade before anything falls apart, and paired with V-Log it gives you a flat picture that turns genuinely gorgeous once you grade it.

Dual SD Card Slots

Two slots, which for a one-shot event is the difference between a bad day and a catastrophe. It also opens up nice workflow options, like sending time lapses to one card and everything else to the other so neither fills up at the wrong moment.

Lenses, And The 2x Crop

The micro four thirds mount takes an absurd variety of glass. Panasonic, Nikon, Canon, Leica, and with adapters, nearly anything. On this wedding I shot Taylor’s Canon lenses, mostly a 24-70 and a 70-200, adapted with a Metabones Speed Booster.

The a7S II’s E-mount is also very adaptable (I run a Sigma Art with a Nikon mount on mine), but in 4K you’re limited to lenses that cover a full frame sensor, unless you drop to 1080p and crop the sensor.

Which brings us to the controversial part. The GH5 has a 2x crop sensor. Put a 24mm on it and you have a 48mm. All your wide lenses get tighter, all your tight lenses get way tighter.

Why does everyone get worked up about this? Honestly, I think it’s culture. Most of us start on a crop body, mine was a Canon 7D at 1.6x, and everyone we look up to is shooting full frame telling us the bokeh is better and the low light is better and our camera is trash. The whole industry pushes bigger, bigger, bigger. The GH5 walks in and says buy a smaller sensor, which just sounds wrong the first time you hear it.

I don’t think it’s a big deal, because the lens makers know about the crop and build for it. You don’t go buy an 85mm and get stuck with a 170mm. Panasonic makes a 42.5mm that gives you the full frame equivalent of an 85mm. The system accounts for itself.

The Biggest Con: Low Light

Here’s where it hurts. In my unscientific testing, which amounted to shooting clips at a range of ISOs on both bodies and judging by eye what looked equivalent in noise, ISO 1600 on the GH5 looked about like ISO 32000 on the a7S II.

That is an enormous gap, and half of filming a wedding happens after the sun goes down. For a wedding filmmaker that is a big issue, not a footnote. If you buy this camera, buy lights to go with it.

So Where Does Each One Win?

Both of these are big upgrades over most of what’s on the market, and either one will shoot a wedding well.

The GH5 beats the a7S II in daylight and well-lit image quality. Prep in a room with sun coming through the windows, an outdoor ceremony, a reception you’ve brought enough lights to cover: the 10-bit image is unreal. It also wins on slow motion, 4K 60 and 1080p 180 against the Sony’s 1080p 60 and 120.

The a7S II beats the GH5 in low light, and it isn’t close.

Am I Selling My a7S II?

No.

I still believe the Sony a7S II is the ultimate camera for filming weddings. It remembers my settings when I power it off, it’s full frame, the low light performance is ridiculous, and it handles anything I throw at it, light or dark. I plan on shooting with it for the foreseeable future.

But Which Should You Buy?

Buy the GH5 if you shoot a variety of work: YouTube videos, interviews, talking heads, music videos, indie films, with weddings as a supplement rather than the core. The colors are gorgeous and it’s a fantastic camera whenever you have enough lights and a more predictable scenario than a wedding.

Buy the a7S II if the majority of your work and income is weddings. It’s the best at run and gun, and the best at handling the sheer variety of situations a wedding day throws at you.

That said, whenever the a7S III shows up, hopefully with 4K 60 and 10-bit, oh my gosh. I would absolutely love for Sony to build an answer to the GH5. Hasn’t happened yet. We can dream.

Everything Mentioned

A wedding filmmaker’s review of the DJI Mavic Pro

It’s no secret that I love drones. Ever since I flew my friend Taylor’s Phantom 2 back in early 2014 (back when DJI had no app and video was recorded with a GoPro), I knew that I would be buying a lot of these flying cameras in the years to come.

What started with a Phantom 2 of my own, recently expanded to a Mavic Pro, and now a Phantom 4 Pro. My wife says I may have a problem. I say I may have a fleet. Can I call it a fleet? I like how that sounds: Matt’s fleet of drones.

With the advent of the FAA releasing their Part 107 certification for commercial drone pilots last year, there are thousands of new licensed drone pilots taking the knowledge test and wondering which drone they should invest in. There are also thousands of reviews of the new DJI Mavic Pro out there, but none of them have answered the two primary questions I feel that professional filmmakers are asking: Is the Mavic Pro good enough for commercial filmmaking? And: If I already own a drone such as a Phantom or Inspire, should I invest in a Mavic Pro as well? 

I love this drone. 🙂

So I’m going to spoil the conclusion right now, because I respect your time: yes, the Mavic Pro is a great addition whether you’re buying your first drone or adding it to a fleet you already own. If you want to know why, here’s the whole review written out.

It Took Me Three Tries To Get A Working One

I know it’s weird to open a review by talking about the buying experience, but stick with me, because this is genuinely the most useful thing in the whole video. I pre-ordered the Mavic the day after it was announced through a group-buy site to save two hundred bucks, and that turned into end of November, which turned into end of December, which turned into me getting no communication at all by mid-January. So I cancelled and ordered from a retailer that was shipping in five business days instead.

Mavic number one showed up fast, and the entire right hand side of the image was blurry. Not a focus problem. The camera assembly was physically put together wrong. Mavic number two showed up a week later and the gimbal shook so badly that every clip had jello in it no matter how gently I flew. Mavic number three is the one I actually made this review with, and even it has a quirk where the camera shuts off mid-recording after ten or fifteen minutes and does a little calibration dance before it starts again.

People on my Facebook page were telling me I was crazy for not giving up. They weren’t wrong! But here’s the actual lesson, and it’s the reason I told you that whole story: buy this drone from a retailer with a no-hassle return policy. Amazon, B&H, and Newegg will all take it back inside the first two weeks and some of them will even cover return shipping, which means you take it to a store and you’re done. If you buy from somewhere that makes you deal with DJI’s repair service instead, you’re shipping a thousand dollar drone off and hoping it comes back in a month or two. I don’t think it’s crazy to want a thousand dollar thing to work out of the box.

Test it the day it arrives. Fly it, look at the footage, check the corners of the frame, and if anything is off, send it back immediately while you’re still inside the return window.

The Size Is The Whole Point

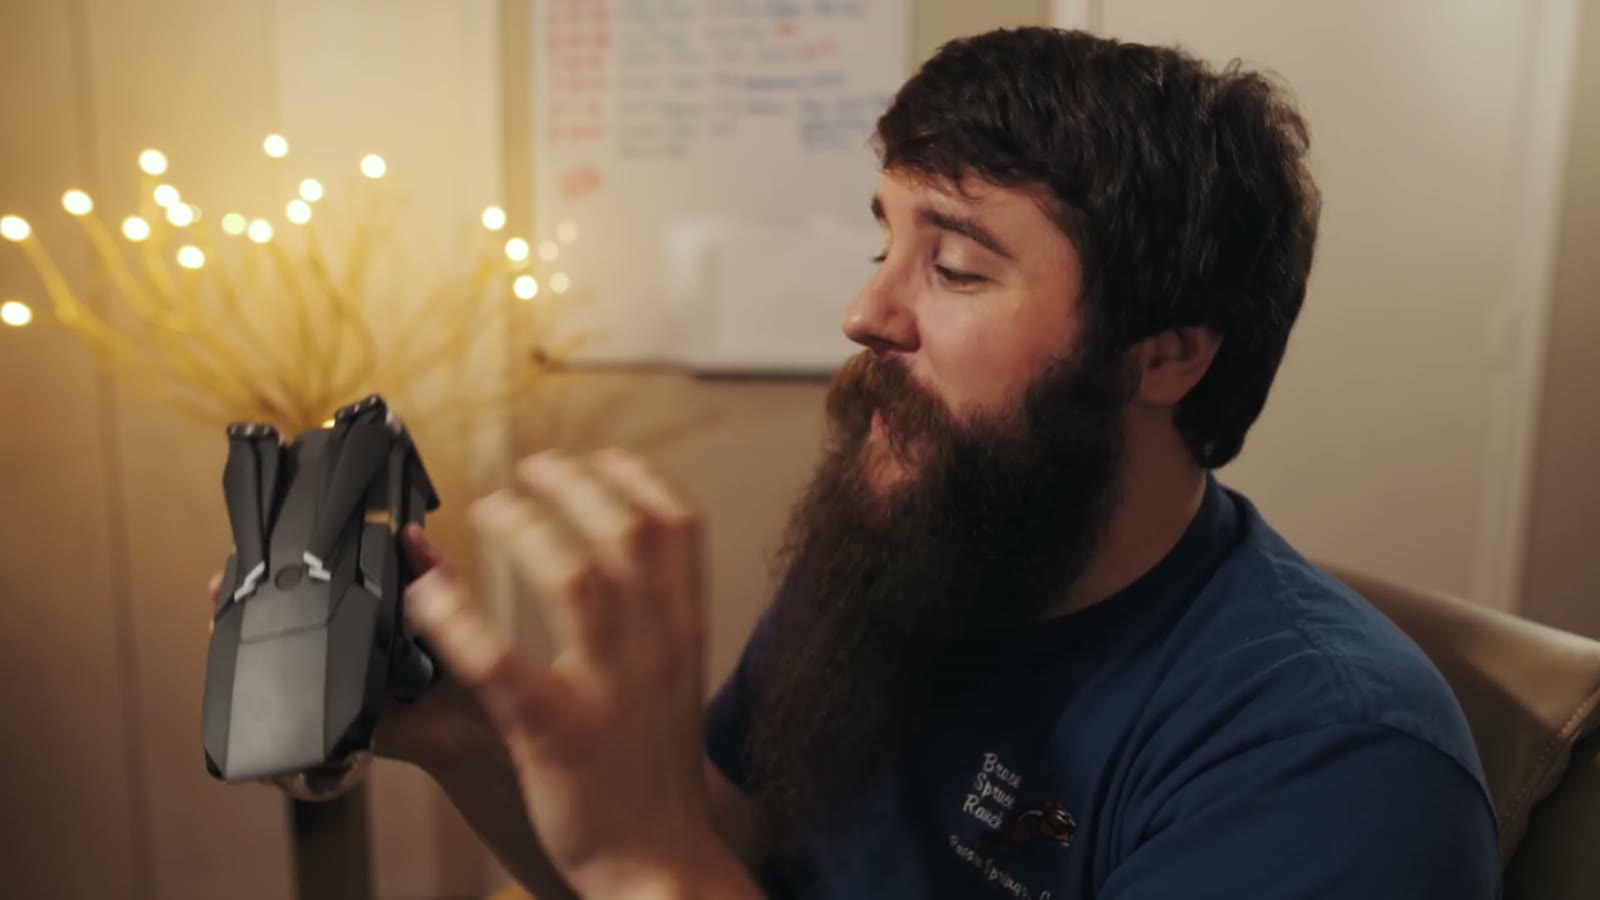
This thing is so small I can almost hide it behind my beard. You can’t do that with a Phantom, and you definitely can’t do it with an Inspire. Maybe one day the beard will be long enough for that too, but we’re not there yet.

Now, a lot of people will tell you a drone this small isn’t good enough for commercial work, that you need something big so your client looks at it and thinks “wow, a professional.” That’s the same logic as bolting a matte box onto a camera with no filters in it. It looks impressive on set and it does nothing. What you actually need most of the time is something small and compact that you can get in the air fast, and that is exactly where the Mavic wins.

It’s also quiet, which matters more than I expected. An Inspire taking off sounds like a weed whacker and everybody within two hundred yards looks up. The Mavic gets to altitude and effectively disappears.

Nobody Noticed Me For Ten Minutes

I was shooting a wedding and needed aerials of the ceremony site, which was a public venue that still had people wandering around it. I walked up with my little Mavic man bag and not one person gave me a second look, and then I launched and flew for a solid ten minutes before anybody noticed. Finally a kid spotted it, and then everybody spotted it, and then somebody yelled “call the FAA,” followed by somebody else yelling “it’s the Russians.” I am not Russian. I promise.

Compare that to walking up to the same venue carrying a Pelican case, opening the latches, screwing on propellers, and standing there for five minutes assembling something that looks exactly like a commercial operation. You get interrupted. You get asked questions. You get the fifty-fifty coin flip between “that’s so cool, I want one” and “quit spying on me.”
And it isn’t just the drone. The remote looks more like a video game controller than a piece of professional gear, so whenever you’re standing there holding it with your phone clipped in, people assume you’re playing Pokémon Go rather than working. I’ll take it.

The other half of small is fast. The propellers are already on, so all you do is pull the gimbal guard, run a quick calibration, and go. I was driving to a wedding, came over a ridge line at sunset with this gorgeous valley below, realized I could actually have that shot, pulled into a rest area, and was flying in two minutes. Whenever you’re filming a run and gun event, two minutes versus ten minutes is the entire difference between getting the shot and missing it.

Quality

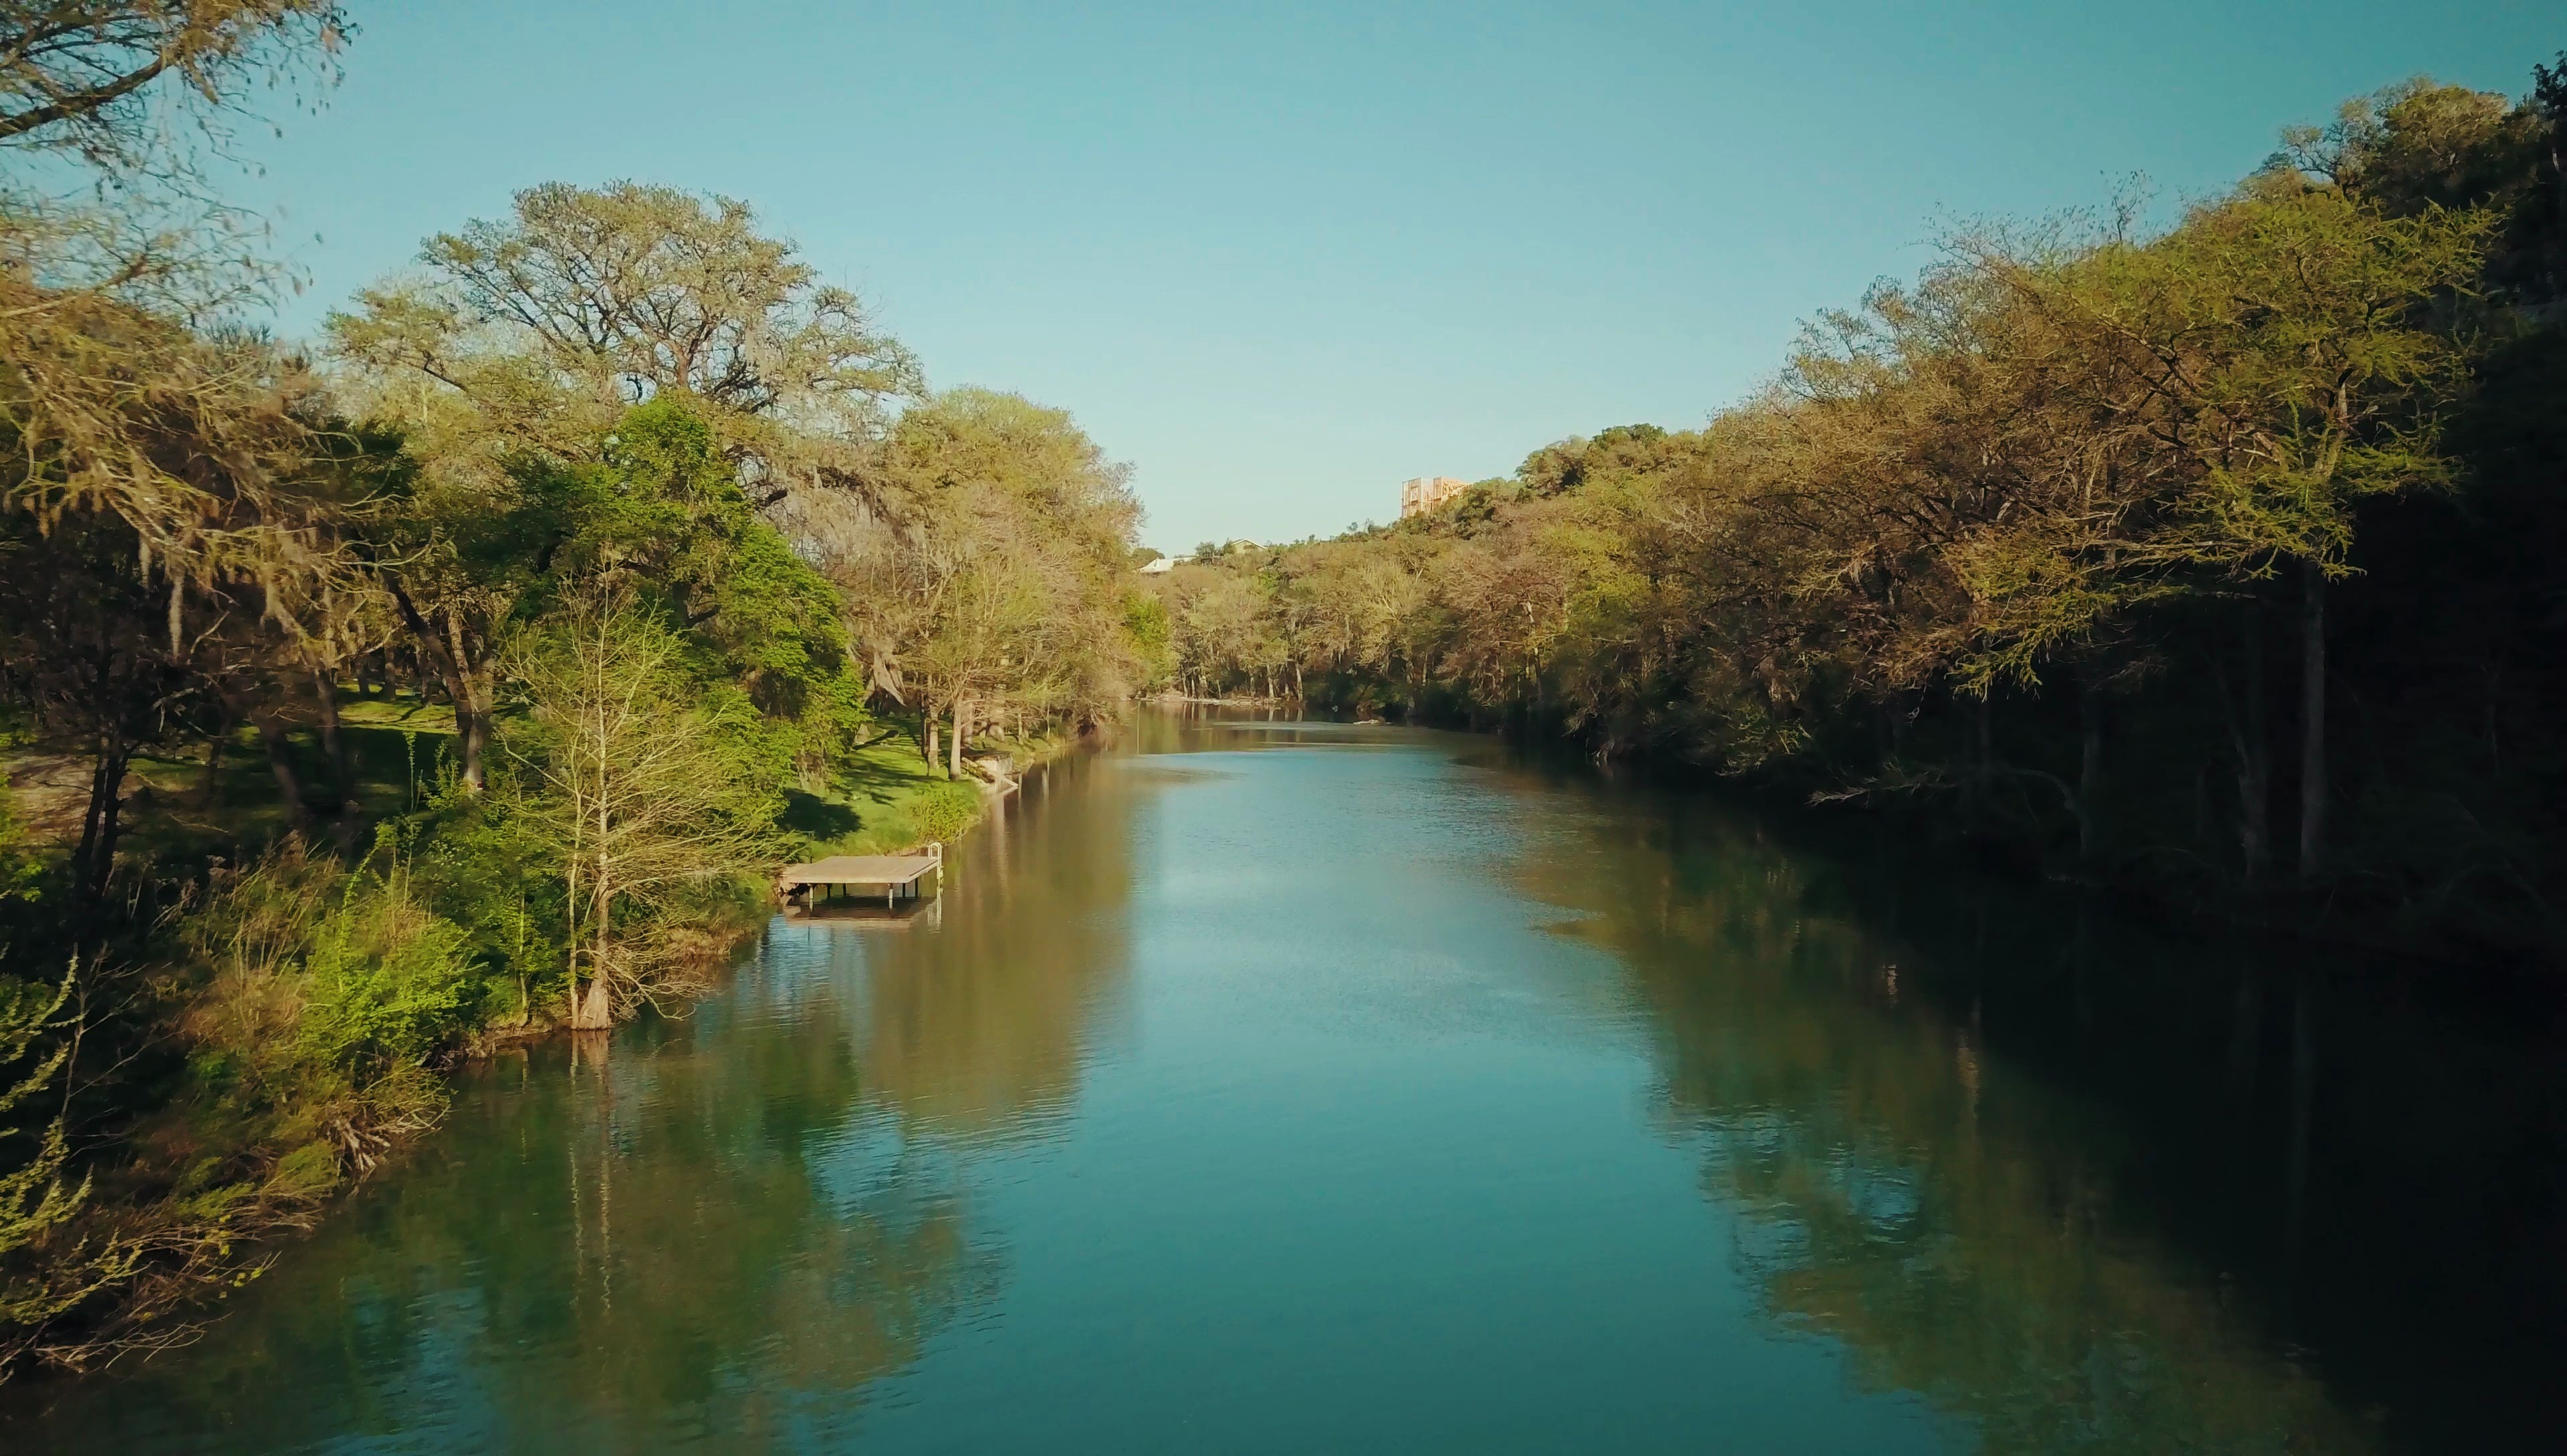
Here’s the big one, and I know what you’ve been reading online, which is that the build quality is beautiful but the camera is garbage and you should buy a Phantom instead. From my experience that just isn’t true. The image quality on the Mavic Pro is on par with the DJI Phantom 3, a drone that sold like hot cakes and that thousands of people are still using every single day to capture genuinely beautiful cinematic imagery. Same bit rate as the Phantom 3 and the Phantom 4. Same codec. Different lens. That’s it.

Which means this drone can absolutely produce cinematic images once you understand its limitations. So here are five things I do to get the most out of it.

1. Take The Dad Gum Bubble Guard Off

I have read way too many comments from people asking whether they should leave it on. No. It is not made to film through. You can see reflections on it, you’re putting an extra piece of plastic in front of your lens, and you’re going to get flaring and a softer image for absolutely no benefit. Unless you’re flying in a snowstorm, and if you’re flying in a snowstorm we have a bigger conversation to have.

2. Shoot In D-Log

Up until about a month before I made this video, everybody said don’t bother with D-Log, that it’s too compressed and too muddy and too much work to grade. That used to be true. Then DJI pushed an update in mid-February that genuinely fixed it, widening the dynamic range so it doesn’t look nearly as flat or as muddy, and now it can result in some truly beautiful images with only a little grading.

And I hear you saying you don’t want to grade, you just want to shoot it and put it on YouTube. Fine! Slap a LUT on it and you’re back to a nice looking image without much work at all. For me the bigger reason is matching, because I shoot with the Sony a7S II and I use a flat profile on it, so having a flat image out of the Mavic means I can match my aerials to my ground footage without a fight. If that’s useful to you, here’s my review of the Sony a7S II and here’s the flat picture profile I use on it.

I also promised in this video that I’d make a follow-up with my exact Mavic settings once I’d tested them properly, and I did: here is my favorite picture profile and cinematic camera settings for the Mavic Pro.

3. Buy ND Filters

I use the PolarPro Cinema Series Vivid filters with the polarizer, which come in ND4, ND8, and ND16, and they do two things for you. The polarizer kills reflections so your greens and blues actually pop, which this camera needs all the help it can get with. And the ND lets you drop your shutter speed to double your frame rate, so if I’m shooting 4K at 30 frames per second I can sit at 1/60th and get proper motion blur instead of cranking to 1/1000th and getting that stuttery, over-sharp look.

4. Shoot 4K, Always

A lot of you are going to read this and go “well, duh,” but I tested it and 1080p on this drone simply does not have enough bit rate. The second you point it at trees or leaves or anything with real detail in it, the image starts falling apart. Shoot 4K and scale down later if you need to.

5. Don’t Fly It At Night

If you’re a Part 107 pilot you’re not legally allowed to fly at night without a waiver anyway, but for anybody thinking about it: the image does not hold up. Even with street lights and car trails, this sensor falls apart the second you push the ISO. If night footage is what you need, look at a Phantom 4 Pro or an Inspire, because they have bigger sensors and better cameras. If somebody could figure out how to dangle an a7S II off this thing I would fly it in a heartbeat, but here we are.

Tripod Mode And Cinematic Mode

Two settings in the DJI Go app do most of the work for me. Tripod mode slows every movement down to a creepy crawl, which is what you want whenever you’re flying in a tight space or under trees or anywhere you’re nervous about hitting something.

Cinematic mode is the one I use more. It doesn’t slow the drone down much, it slows down the rotation and it ramps your acceleration and deceleration, so whenever you’re following a couple walking through a field and they suddenly stop, you can let go of the sticks and the drone gently glides to a halt instead of snapping to a stop. You get a beautiful cinematic slowdown without doing anything for it. The catch is that if you’re about to hit a tree and you panic, the drone will also gently float into that tree. Know what you signed up for.

Battery Life

Depending on wind, flight speed, and how acrobatic you’re being, expect 20 to 25 minutes per charge, and I’d recommend landing at 30% rather than pushing it. For actually getting the shot, 20 minutes is plenty of time to pull over, get up, film a venue, and come back down.

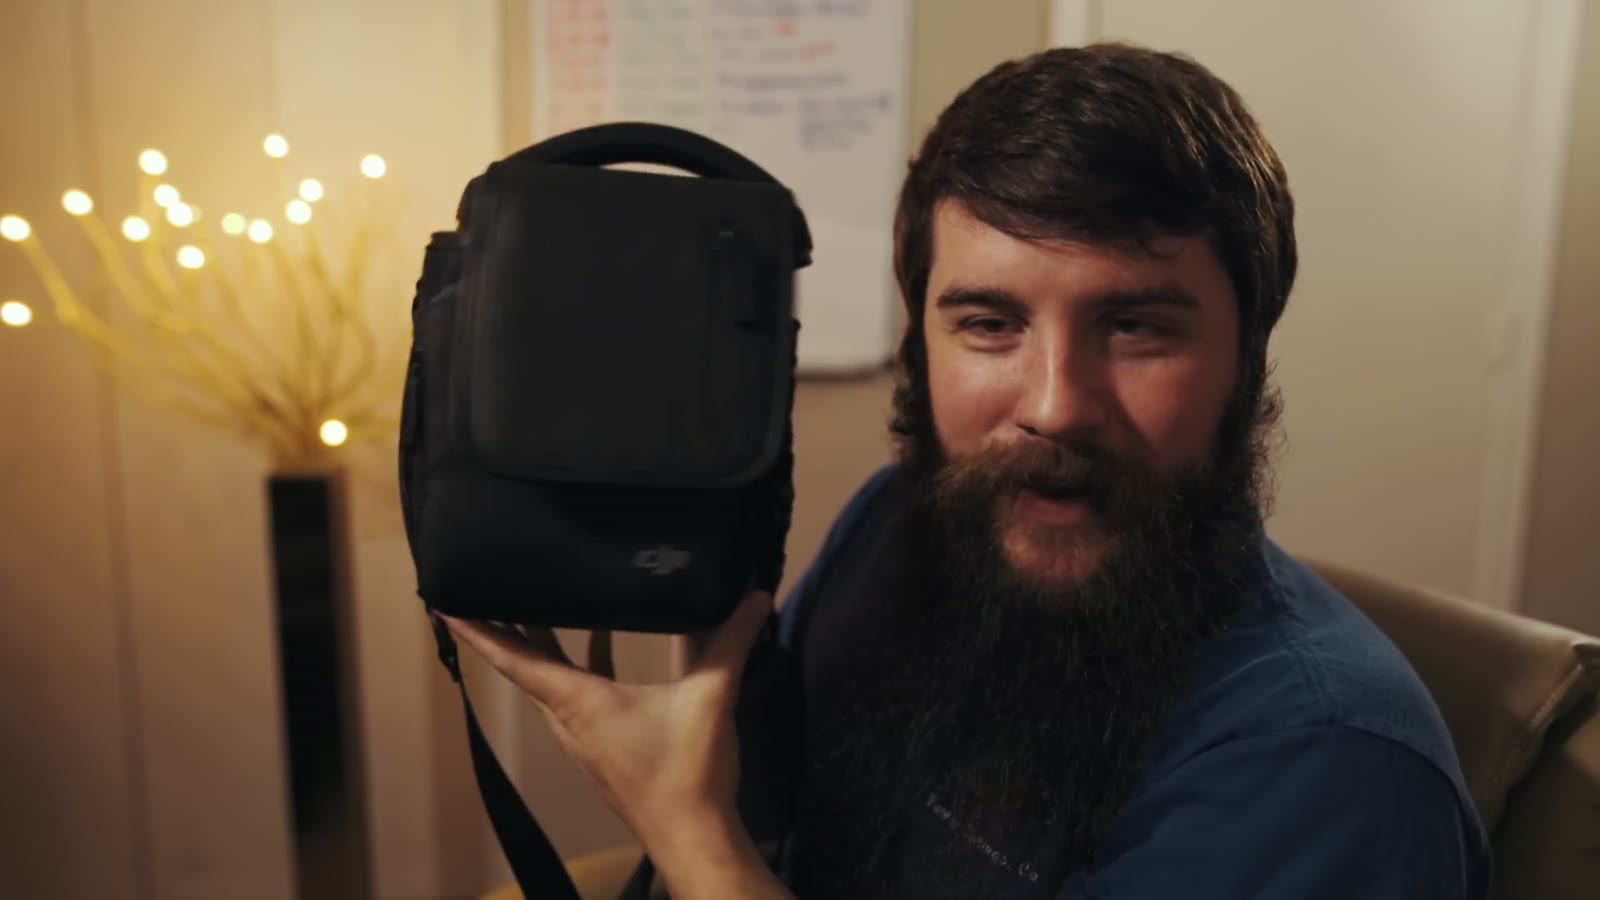
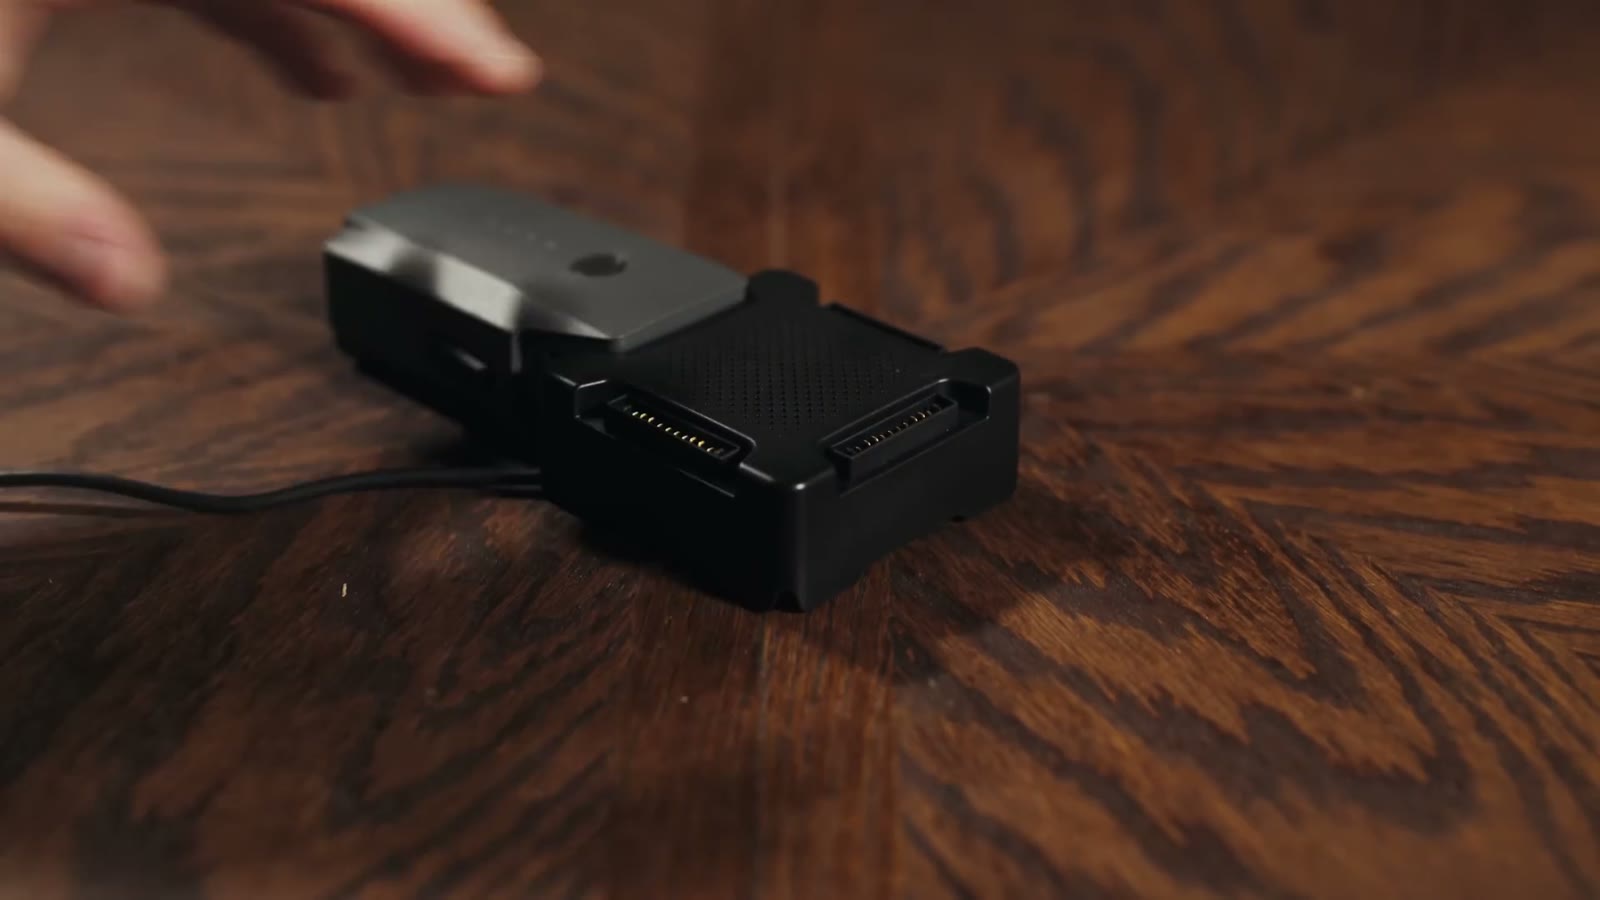
Get the Fly More combo though. It comes with three batteries, the little man purse, and a charging hub, and that hub is honestly one of my favorite things I own. With my old Phantom 2 I had to charge every battery individually, which meant setting an alarm for 3:00 a.m. to go swap one and stumble back to bed. It sucked. The hub takes four and charges them in sequence, so you set it up the night before a wedding and wake up to a full set.

Conclusion

Is this drone good enough for commercial use? Yes, I totally believe so. Is it worth buying if you already own a Phantom or an Inspire? Also yes, wholeheartedly, because it’s perfect for the situations where the bigger drones are simply too much. I’m going to Iceland next month, and my options are to check a Pelican case at the airport, or cut foam for the Phantom 4 Pro, or just put the Mavic in my carry-on next to my a7S II and my lenses and my clothes and be done with it. That’s not a close call.

Drones are like potato chips, and you can’t have just one. There are genuinely different drones for different jobs now. If you travel and you want a small footprint and you’d rather not get harassed, fly the Mavic. If you need better image quality, buy the Phantom 4 Pro. If you need raw video, buy an Inspire. Three tiers, and I think that’s really cool. And if you’re brand new and you’re asking me which one to buy first, my honest answer is the Phantom 4 Pro, because it costs more but the image quality is that much better.

One note for anybody reading this later: this review is from 2017, and the prices, firmware, and DJI’s lineup have all moved on considerably since. Check what’s current before you buy anything.

Where To Buy Everything

Here’s my drone gear list with all the places to buy the Mavic and the accessories, and here’s the rest of my gear. This is what’s in my bag now, which has changed a good bit since this review went up:

Everything here was cut in Adobe Premiere Pro and color graded with my own WhoisMatt LUTs.

Getting Your Part 107

If you want to fly a drone commercially in the United States you have to pass the FAA’s Part 107 knowledge test. I took it, I passed it, and I made a video about exactly how I studied for it, so if you’re going for yours I hope my video helps you.

More Help For Filmmakers

If you’re trying to fill a wedding calendar, I put together a free quick tips guide on how to book more wedding film clients, and my wedding film editing course covers the editing side end to end. There’s also a free Learn Wedding Filmmaking Facebook group if you’d rather just talk to other people doing this job. And whenever I need a hand with an edit, I use Archaius Creative, who’ll give you 10% off your first project through that link.

I am also now offering one-on-one personal filmmaker consulting! Wanna talk about cameras, lighting, or booking clients? Let’s do it!

As always, if you have any questions or comments about this review, please feel free to leave one below, or get in touch. You can also follow along on Instagram for photos, videos, and behind-the-scenes stuff.

A filmmaker’s review of the Vizelex ND Throttle lens adapter

Way back in December of 2015 when I posted my review of the Sony A7Sii (and subsequently started vlogging about reviews, gear, etc.), I mentioned that I had ordered a revolutionary new lens adapter: the Vizelex ND Throttle. Many of you began asking for my thoughts on this adapter, and I promised in my replies that I would post one “soon.” Well, soon ended up being over one year later, but I’m pleased to announce that my video review of the Vizelex ND Throttle Lens Adapter is finally here!

Vizelex. You really can’t help but pronounce it that way whenever you see it, because it’s just such a cool name. It sounds like a super villain.

My Bag Of Lens Adapters

Over the past 9 years of creating videos, I have amassed quite a collection of lens adapters for my cameras. Since switching to Sony E-mount in 2012, this number has grown considerably.

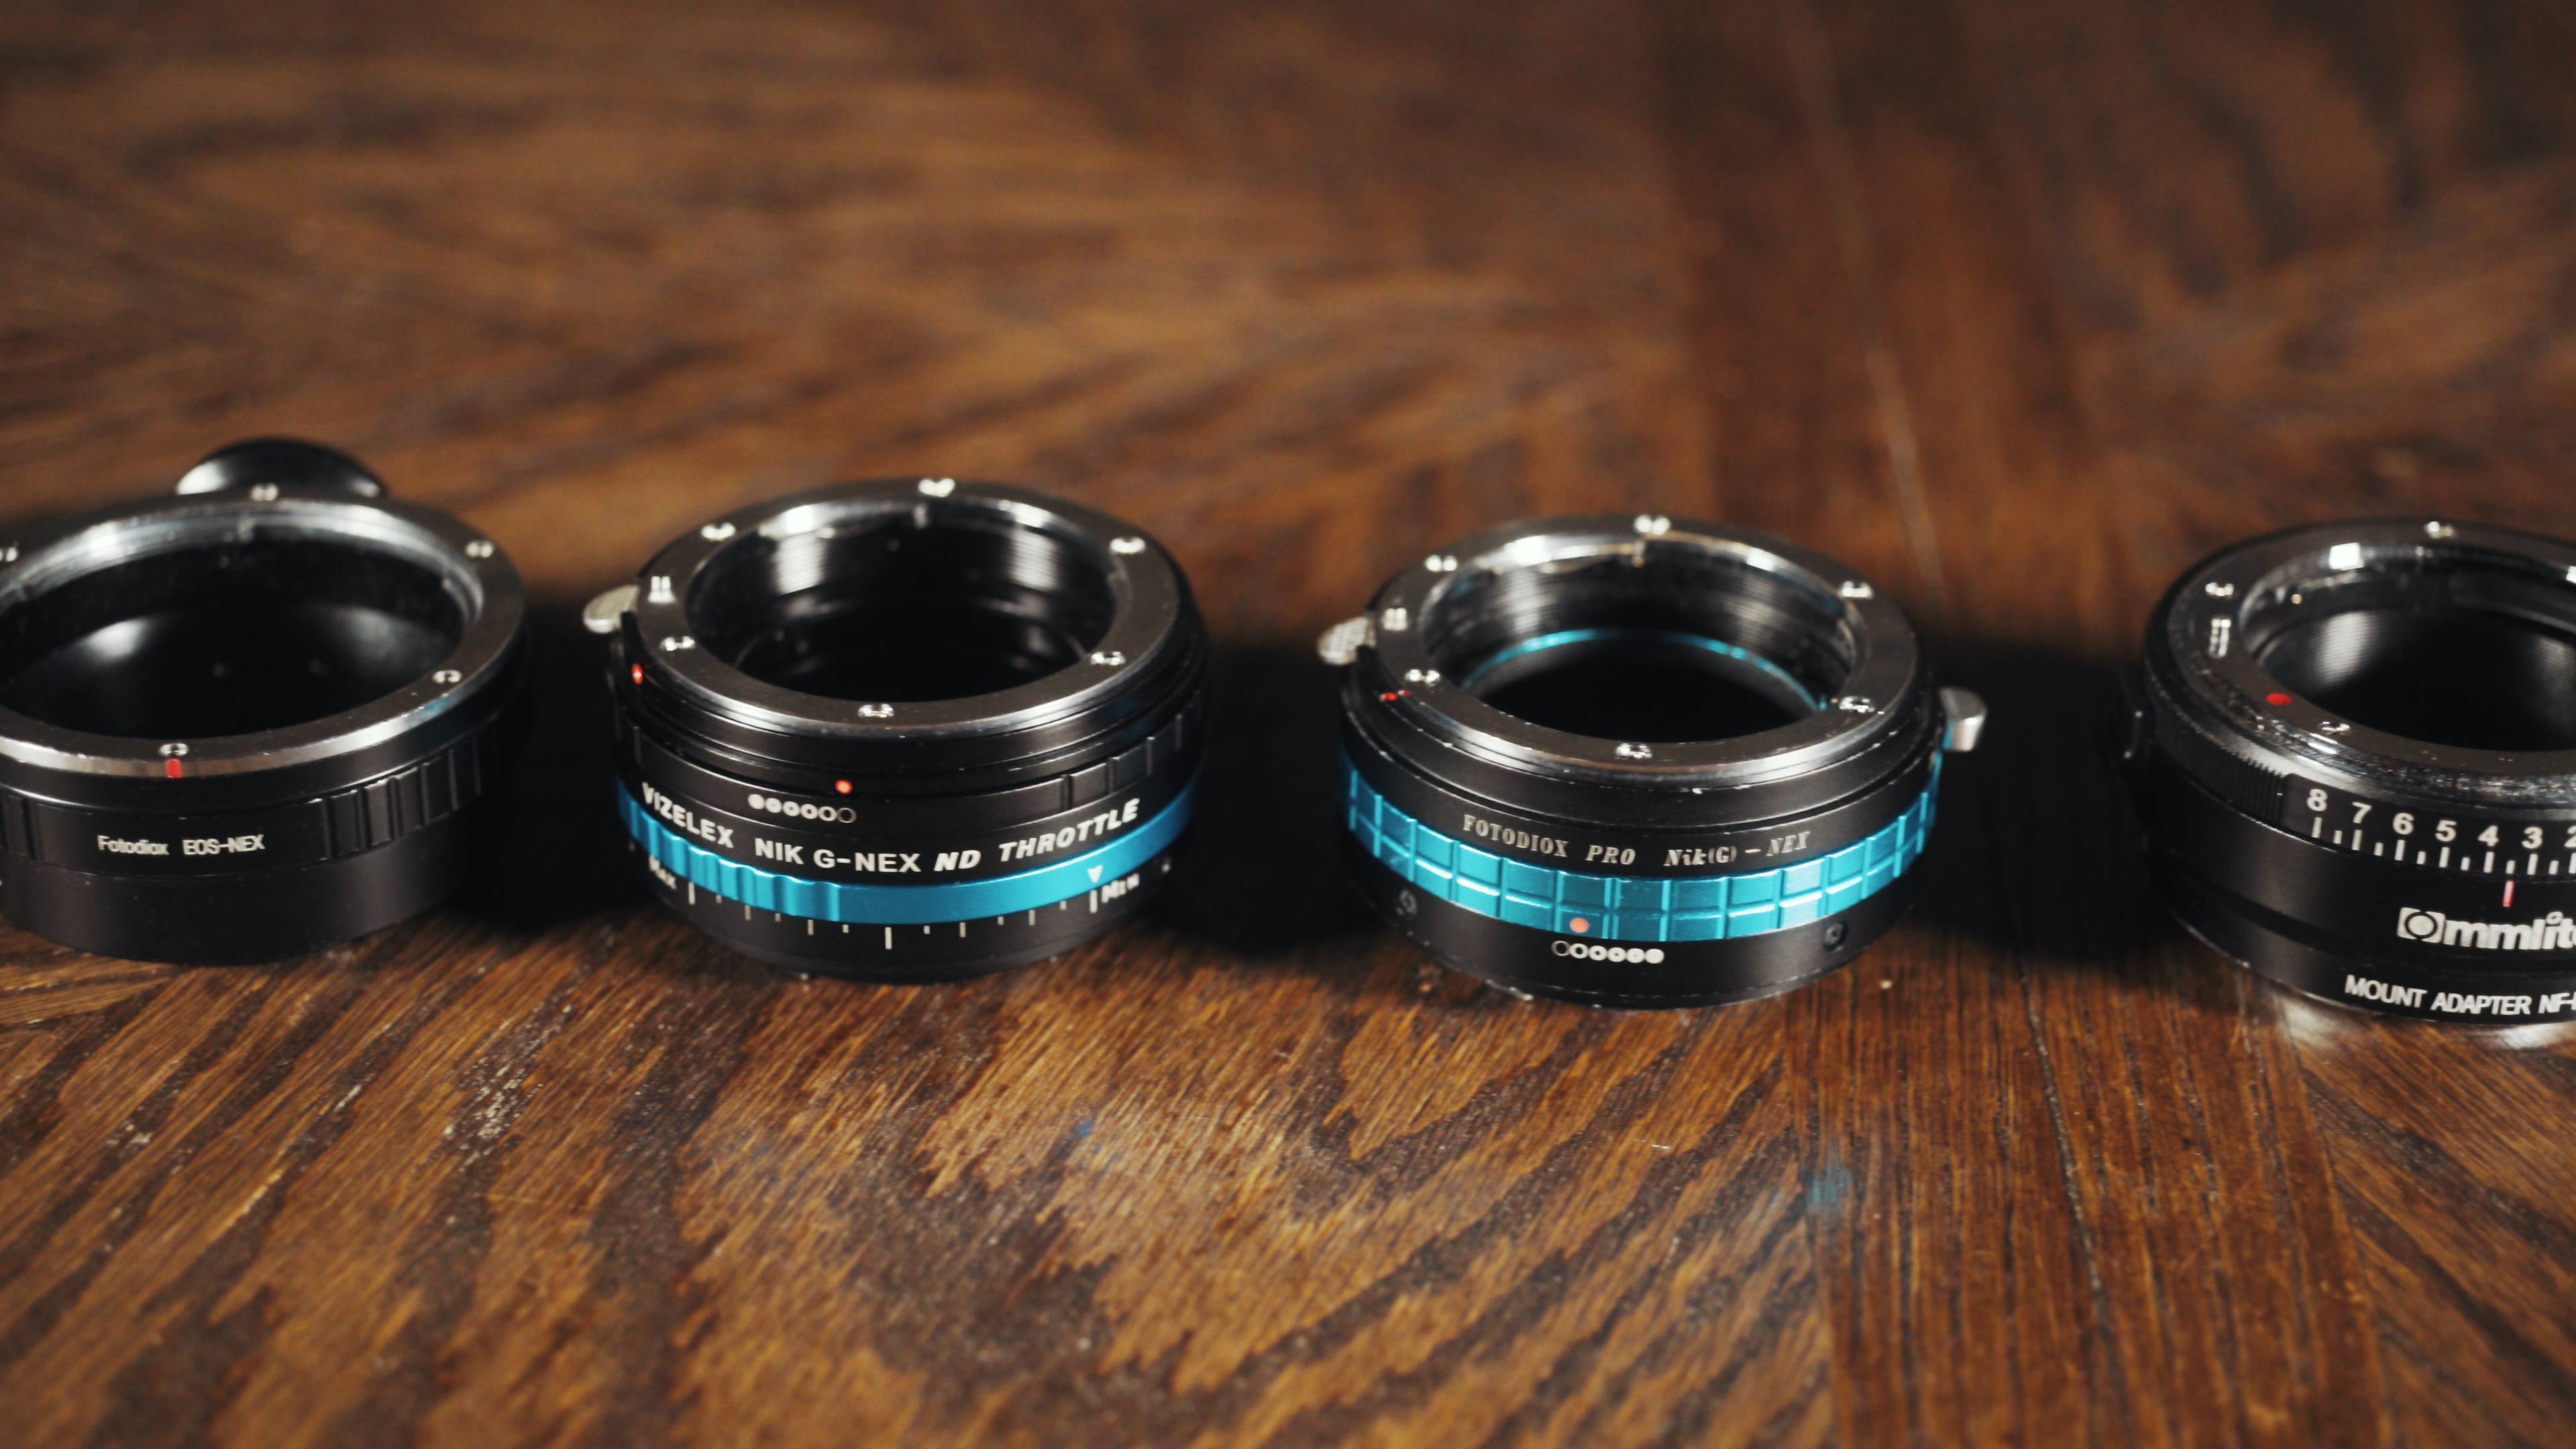
This is the bag of lens adapters I bring to every single wedding, and you’re probably thinking, Matt, that is total overkill. But whenever you’re shooting with two A7S bodies and an FS100 and sometimes a Canon 70D thrown into the mix, you have a lot of lenses across a lot of different camera systems, and you need to make every lens work with every body. So I’ve got Nikon to Canon, Canon to Sony, Nikon to Sony, speed boosters, plain manual adapters, and now adapters with variable ND filters built right into them. I love that we keep seeing this miniaturization of technology, and I hope to see even more nifty features crammed into lens adapters in the future.

SO MANY lens adapters…

Why All Of This Works: Flange Distance

The reason all of these adapters can work with Sony E-mount cameras comes down to something called flange distance. And I’m sure you’re thinking, flange distance, Matt, that sounds kind of dirty. Hang with me.

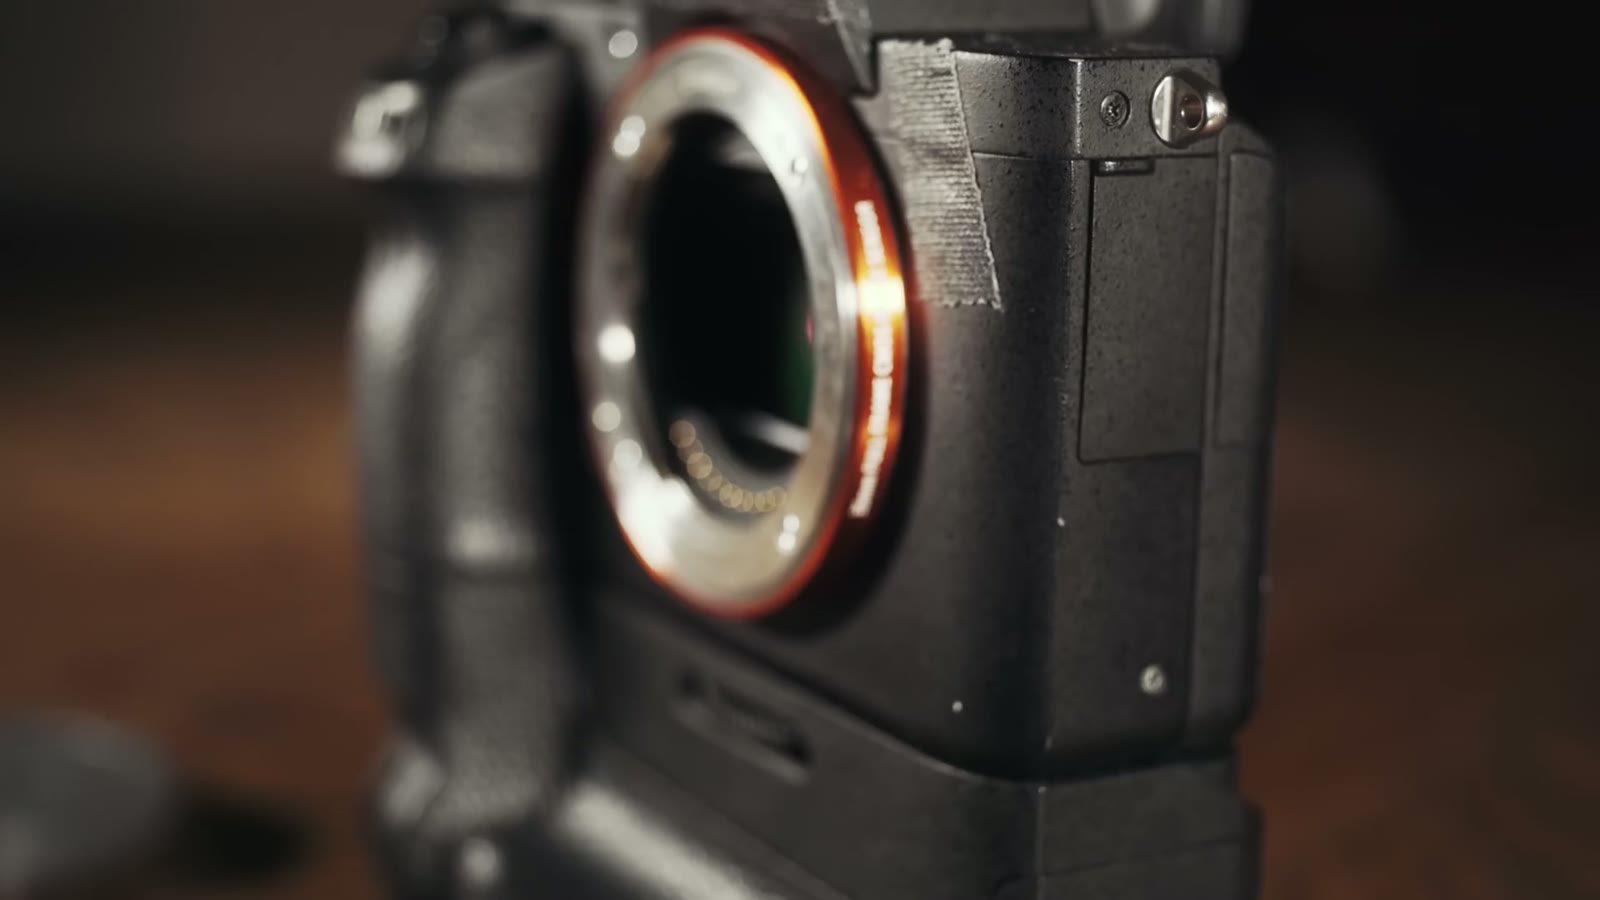
Flange distance is the distance between the back of your lens and the sensor of your camera. E-mount cameras have a very shallow flange distance, meaning the sensor sits very close to the back of the lens. The benefit is that you can adapt nearly any lens system onto E-mount, because there’s room to put an adapter in that gap. There are adapters for Nikon, Canon, Sony, Hasselblad, Pentax. Pretty much everything except some micro four thirds lenses, which won’t cover a full frame or even a Super 35 sensor. Outside of a few outliers, you can adapt nearly anything to this camera, which is amazing.

I could honestly talk about lens adapters for hours, and sometimes I do, and it tends to annoy my wife. But regardless of the status of my marriage, let’s talk about this specific adapter.

Why The Nikon Mount Version

The one I’m reviewing is the Nikon lens mount to Sony E-mount version, which adapts Nikon lenses onto Sony cameras. The reason I’m on the Nikon version is that I run Sigma Art lenses in Nikon mount.

Why Nikon instead of Canon? Because I got tired of dealing with the electronic connection between the lens and the camera. Sometimes there’d be flickering, and changing aperture through different adapters was a hassle. So I said forget it, let me switch everything over to manual control.

Nikon lenses have a little lever on the back, and whenever you move it, it physically opens and closes the aperture of the lens. So adapter makers build adapters that interface with that lever, which gives you real manual aperture control with no electronics involved.

Look how pretty it looks!

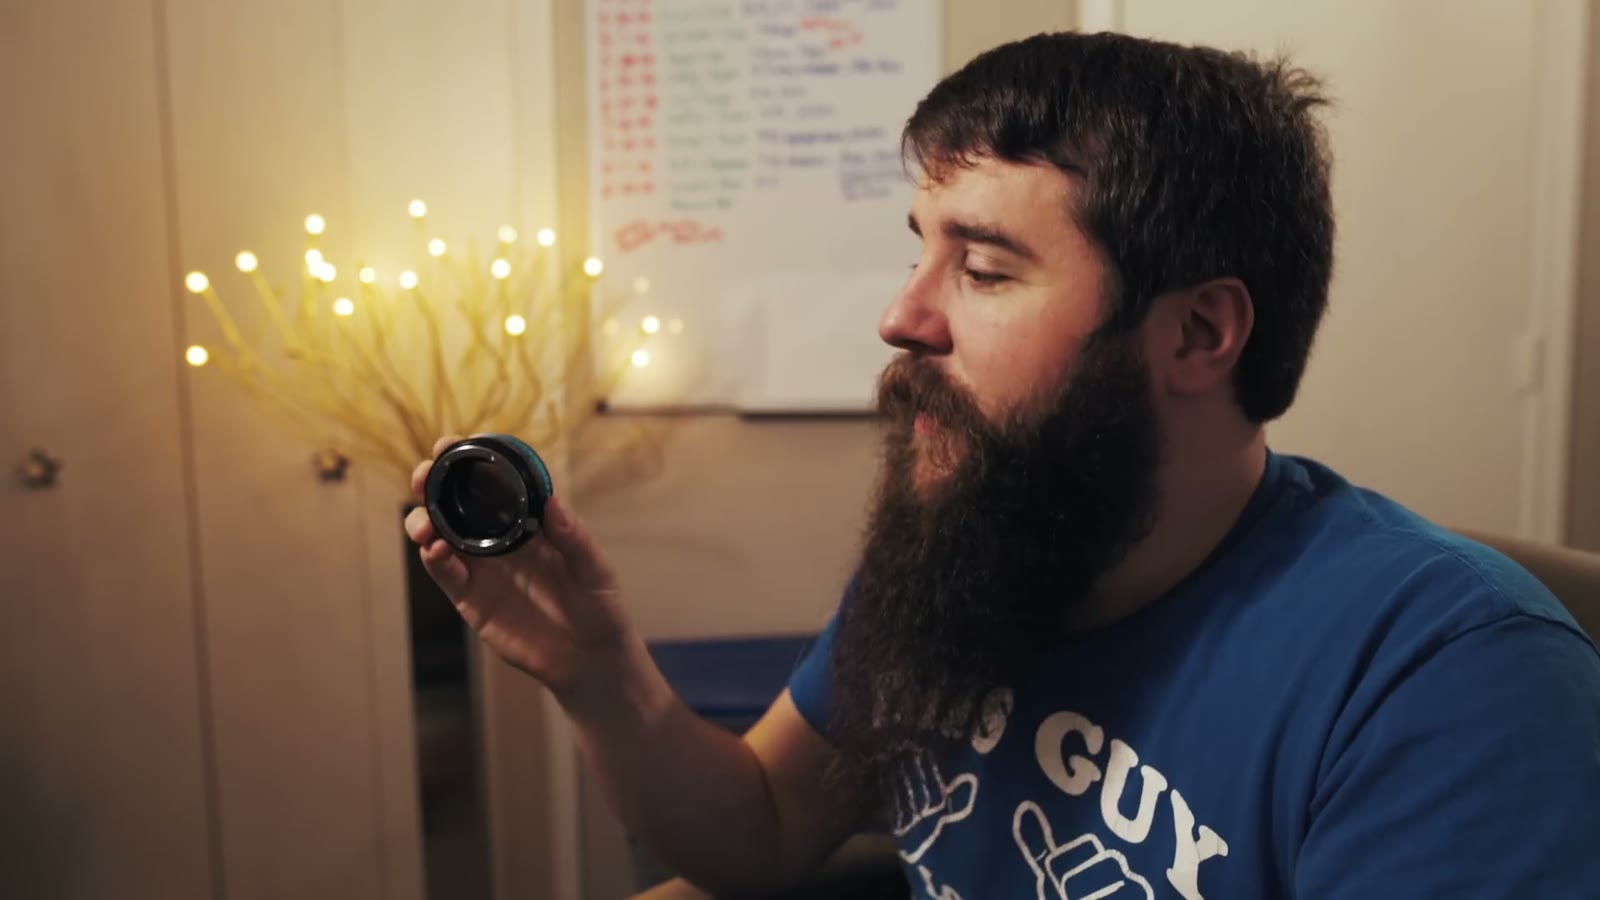
That’s why the Nikon version of the ND Throttle is the good one. It has two separate rings on it. A blue ring that controls the intensity of the ND filtration, and a black ring that controls the aperture of the lens. So you get manual aperture control and manual ND control, both living on the adapter.

What An ND Filter Is And Why You Need One

This part is honestly super basic and I’m sure half of you are going to say dumb Matt, we already know this. But I want to cover it.

For all intents and purposes, an ND filter is a set of sunglasses for your camera.

Imagine you’re a photographer shooting outdoors on a sunny day, and you want to shoot wide open at f/1.4 for that beautiful buttery bokeh. All you have to do is turn your shutter speed up. A 250th, a 500th, a thousandth, whatever gets you a proper exposure. Done.

Now, if you’re a filmmaker who wants to go out into the bright hot sun and shoot that same buttery f/1.4, because who doesn’t, it is not in your best interest to just crank up the shutter speed until it’s exposed. Why? Because of a little thing called motion blur.

Look at my hand waving here, kind of like an idiot but also kind of like a bearded Miss America, which is honestly kind of cool. It has a decent amount of motion blur, because this camera is recording at 24 frames per second with the shutter at a 50th. The general rule is that your shutter speed should be double your frame rate.

And you’re thinking, wait, I’m no math genius but 24 times 2 is 48, and that isn’t 50. Correct. Most mirrorless cameras and DSLRs won’t let you set exactly double your frame rate. You get a 50th instead of a 48th. It’s close enough that it doesn’t matter.

What does matter is what happens when you start cranking the shutter up. Six clicks up and we’re at a 200th.

Now that same hand wave looks completely different, doesn’t it? Really sharp and jaggedy. That’s amazing if you’re filming a Jason Bourne fight scene, look how fast I’m punching, it looks so awesome. If you’re filming a wedding, that is probably not the look you’re going for.

So purely aesthetically, you don’t want that sharp jaggedy look. And you’re saying, okay Matt, then how do I shoot in bright sun and keep my shutter at a 50th without blowing everything out? That’s where the sunglasses come in.

The Hardware

The first thing you notice taking the ND Throttle out of the box is that it has some nice heft to it. It’s aluminum and glass, it has a good weight, it feels good in the hand, and there are no plastic parts that make you think oh man, is this going to snap off and take my lens with it. Everything feels solid.

The second thing you notice is that both the aperture ring and the ND ring rotate very smoothly. They’re well oiled. It’s almost a sensual movement, if you will.

The third thing is that both rings have hard stops. Unlike some variable ND filters I’ve used that just keep rotating forever, this one stops, so you can always tell whether you’re at minimum or maximum filtration. That’s really helpful.

The one con about the rings is that they’re both ridged very similarly, so it’s hard to tell by feel which one you’re turning. If you look at it, fine, the blue one’s ND and the black one’s aperture, duh. But if you’re behind the camera and can’t look, you’re going to grab one and hope, start rotating, and immediately find out that no, that was the aperture. That’s a real con. You need to be able to look at it.

ND Visual Quality

I’d put this one in the “decent” part of the ND visual quality range, which is a range I am completely making up on the spot, just so we’re clear. For scale, here’s the whole ladder:

  • Sunglasses held in front of your lens. The worst possible DIY option.
  • The no-name ND filter from China. Not quite as cheap, still really cheap, turns out to be plastic, makes your image worse in every possible way with no redeeming qualities, and you’re left wondering why you spent even $30.
  • Decent, where most ND filters live. The hundred dollar range. Good ND, some color cast, a little less sharpness, but usable and it works for the majority of situations.
  • Ultra high end, like Heliopan. You drop $400 on one filter, you put it on, and it’s amazing, angels are flying and singing, and you love it while also being terrified of dropping it.
  • Matte box with 4×4 filters. Your rig is fully built out, you carry it on your shoulder, you look so cool. Then you film a wedding with it for eight hours and never do that again.

The ND Throttle works very well for the price, and there are three things you need to know about its visual quality.

One, it has a slight color cast. It leans toward the ambers, browns, oranges, and yellows. Since I’m already grading toward that warmer style, I find it actually pushes me in the direction I was headed, so I don’t count it as a con. But if you’re filming a dark blue sci-fi thriller, this may not be your filter. And if you’re shooting a multi-camera interview where you cut back and forth between two cameras that need to match, do not put an ND filter on one camera and not the other. I’m speaking from experience there. You’ll end up with a color cast mismatch and a lot of correction work in post.

Two, sharpness drops as you increase intensity. I rarely turn this past halfway, which still gives me plenty of ND without visible softening. Push it well past that and you’ll start thinking man, this is getting a little blurry. Fifty percent, or even up to seventy-five if you really need it, is totally usable. Beyond that, be aware you’re adding glass between your lens and your sensor, so of course something has to give.

Three, it vignettes. Not as badly as a front-mounted filter would, but it’s there, and it gets worse as you turn the intensity up. I can usually pull it out in Premiere with a reverse vignette pretty easily. Stay under about 75 percent and you’ll get a good range of filtration without weird dark corners.

The Cons

The first con is also kind of a pro. If you put an ND filter on the front of your lens, you generally deal with reflections caused by that extra layer of glass. Shoot a long exposure timelapse of a street and you’ll occasionally catch a reflection of a car headlight showing up somewhere weird in your frame. Because this filter sits behind the lens, that doesn’t happen at all, which is great.

The main con also has to do with reflections, and it affects every Fotodiox lens adapter I’ve ever used. Look at the inside of the adapter and you’ll see fairly shiny metal, and that causes some crazy internal reflections. If you’re filming with a light source just barely outside the frame, you’ll get wild lens flares coming into your image. Which can look kind of cool, honestly, but it can also be jarring. I have chosen to embrace it in my wedding films, because I like the flare effect. But if you’re shooting in a more sterile environment, or you have a client who is specific about not wanting flares, treat this as a tool and be careful about when you use it. If you want an adapter that doesn’t flare at all, this is not that adapter.

The second con is that you can’t fully turn the ND off without taking the adapter off entirely. Even at the minimum setting you’re losing about a stop of light. So if I’m filming outdoors and I know I’m heading inside for a while, I’ll swap to a non-ND adapter, because otherwise I’m cranking ISO and making a bunch of other changes just to have enough light. Outdoors, though, it’s fantastic to have on the lens.

Durability, And Why I’m On My Second One

I know at the start of this review I said this thing is beautifully built and metal and strong and feels great, and I stand by all of that. But you should know I am not one to baby my gear. I’m usually running around going I need to get this shot, hurry, slamming lenses onto bodies. I am not the poster child for careful handling. And with that comes the chance that things break.

This is actually my second ND Throttle. The first one looks the same and feels the same, and the only real difference is that after about nine months the aperture ring started to slip. I’d have a Nikon lens on it, adjust the aperture, and it would creep from wide open to slightly stopped down on its own, and I’d have to set it again. It stopped being precise, which got annoying fast. I’d guess that’s the spring mechanism. I genuinely don’t know whether that’s how I handle my gear or a design flaw, but if you’re buying one, know that after nine months or so a ring could start going. The rings are the weak point, in my opinion.

If you can live with some slippage you could probably keep using it for a long time. For me it was $100 and I really enjoy using it, so I just bought another one, and now I’ve got a backup.

So, Should You Buy It?

Even after listing all of those cons, the sharpness and the color cast and the reflections and the durability, I still find myself loving this adapter. And maybe I’m crazy. I am crazy, let’s be totally honest. But whenever I’m filming a wedding and I reach into my bag and ask myself, do I want an ND that goes on the front of the lens or one that goes on the back, I grab this one every time.

Maybe it’s because it doesn’t have the bad reflections you get from an external ND. Maybe it’s because I don’t have to fish around my bag for a separate filter. Or maybe I genuinely do love the internal flares for wedding films. For $100 I think it’s a great purchase.

Here’s the honest buying advice, though. Your choice is either this or a regular variable ND that screws onto the front of your lens. The front-mounted one has real advantages, especially if you buy magnetic quick-swap adapters to go with it, because then you just slap it on and go without stressing about it.

This adapter only makes sense if you’re shooting Nikon mount lenses. That’s a very big if. If you don’t have Nikon glass, I wouldn’t even consider it, because you lose electronic control. With a Canon lens on this thing you can adjust the ND but not the aperture, because it’s a dead adapter. Nikon’s mechanical lever is the entire reason this works.

So if you’re in the very small subset of people shooting Nikon mount lenses who want manual aperture control and built-in ND, this is a great choice. I realize that is a tiny group of people I’m telling to buy this thing, but hey, what can you do.

Is it perfect? No, not at all. Does it make my day easier whenever I’m filming a wedding? Yes. So I’ll take it every time.

Fotodiox has also announced an ND Fusion adapter, which I haven’t had a chance to look at, but which is supposed to offer electronic aperture control alongside the built-in ND. That’s very exciting to me, and it would solve the one thing keeping this adapter from being useful to everybody.

Note: Back in the Summer of 2016, Fotodiox released a Canon lens to E-Mount version of the adapter, but I haven’t had the chance to test it yet, so I have kept my review focused on the Nikon mount version. The build quality appears to be similar, so if you are considering purchasing one of the other lens mount adapter versions, this review should still be very helpful to you.

You can check out the Vizelex ND Throttle Adapter on Amazon and at B&H.

Ethics statement: This is an entirely independent review. Fotodiox did not pay me to create this video, I didn’t receive this adapter for free, and I received no other compensation. I bought two of them with my own money, a lot of people asked me how I felt about it, and so here we are.

Want To Watch More?

If you have any questions about the ND Throttle, or filmmaking questions in general, feel free to leave a comment below or get in touch. I’m now also offering one-on-one filmmaker consulting, an hour and a half where we can talk about getting started, or critique one of your wedding films, or work through pricing and packages and how to get couples to pay you what you’re worth. Or how to grow a better beard. I’d love to talk to you about that too.

A wedding filmmaker’s review of the SKB Tripod Case (1SKB-R4209W)

Up until around six months ago, when I wanted to transport my video support gear such as tripods, monopods, slider, etc. to weddings and other shoots, I did it all by hand. This typically resulted in multiple trips to and from my car whenever I changed locations on a wedding day, as well as horrible back pain. I will say though, that there was something macho about treating my gear transport in the same way I handled bringing in grocery bags inside from a trip to the store – all in one trip.

After six years of living like this, I realized that it was time for a change and began researching cases that would enable me to transport my support gear, ideally in one trip. My only requirements were that it be sturdy and hold a lot of gear. After much reading and requesting recommendations from friends, I chose the SKB R4209 RotoMold Tripod Case. I’m pleased to say that after taking it to three states, thirteen shoots, and subjecting it to a diversity of terrain, it has held up in a spectacular fashion. In the review video above, I cover the hardware, storage capacity, and a few of the issues I have with the case.

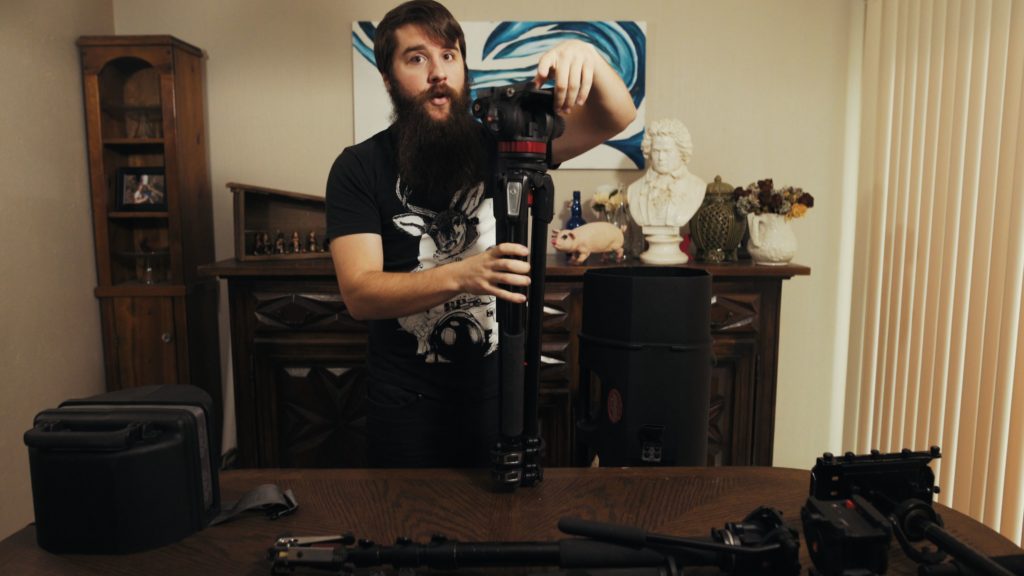
Look it’s a tripod case that holds tripods!

Overall, if you are living your life like I was and transporting a lot of gear inefficiently, take hope! A good tripod case can go a long ways to improving your speed, and this one is a winner.

If you watch my review video and decide to invest in one of these cases for yourself, I would recommend checking out the “Used and New” section Amazon for their Warehouse Deals. The case retails at time of this video for $199, but the Warehouse Deals may have them for as low at $170.

Ethics Statement: This is an entirely independent review. SKB did not pay me to create this video, I didn’t receive this case for free, or receive any other compensation. I’m a fan of this case and after six months of use I really wanted to make a review about it.

If you have any questions about the case, or wedding filmmaking questions in general, feel free to leave a comment below or get in touch.