
I recently made a video sharing my easy S-Log3 picture profile settings for the Sony a7S III, and afterwards I started getting a lot of comments asking about S-Cinetone, which is a beautiful profile that looks great straight out of camera.
And a lot of those comments were wondering the same thing. What happens if you combine S-Cinetone with S-Log3? Would that create some magical combination that gives you beautiful straight out of camera footage that is also high dynamic range? Is this everything we ever dreamed of?
Let’s find out.
PP8 And PP11 Differences
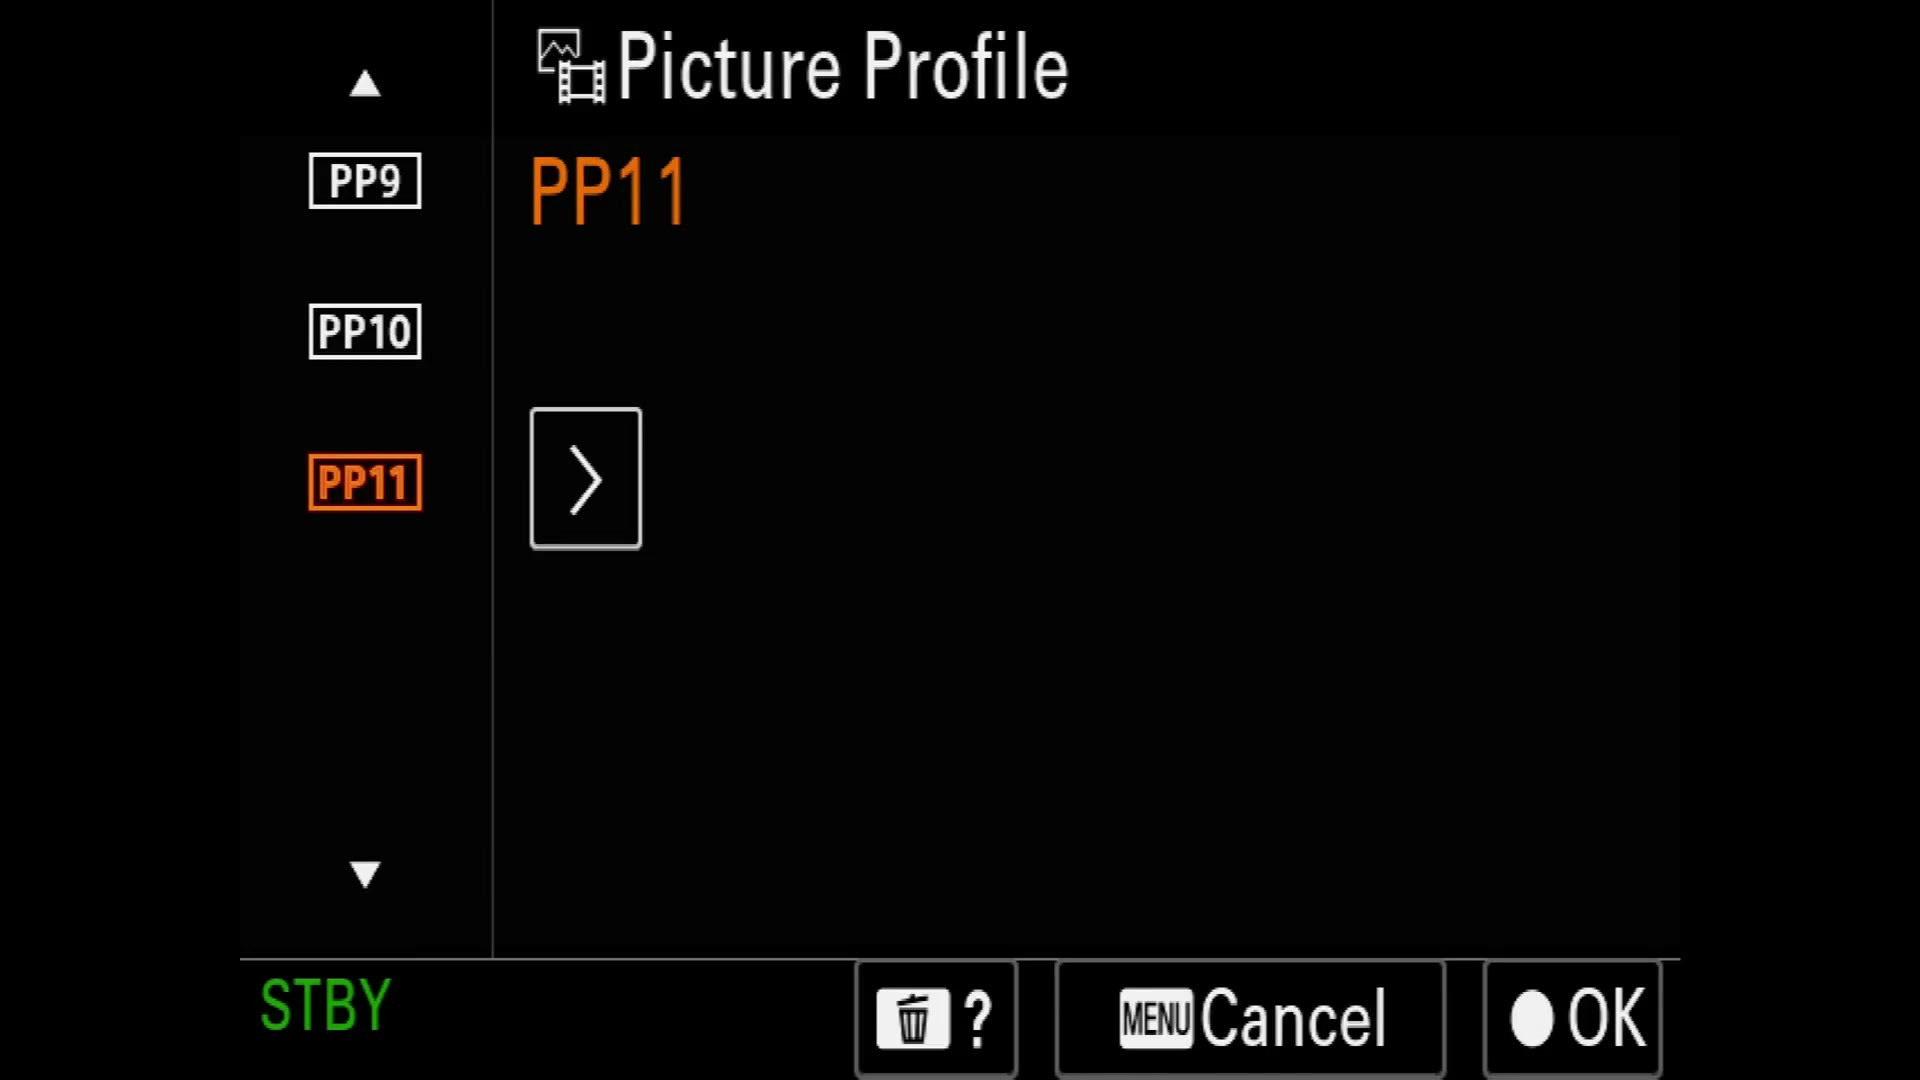
We’re focusing on PP8, which by default is the picture profile for S-Log3, and PP11, which by default is S-Cinetone.
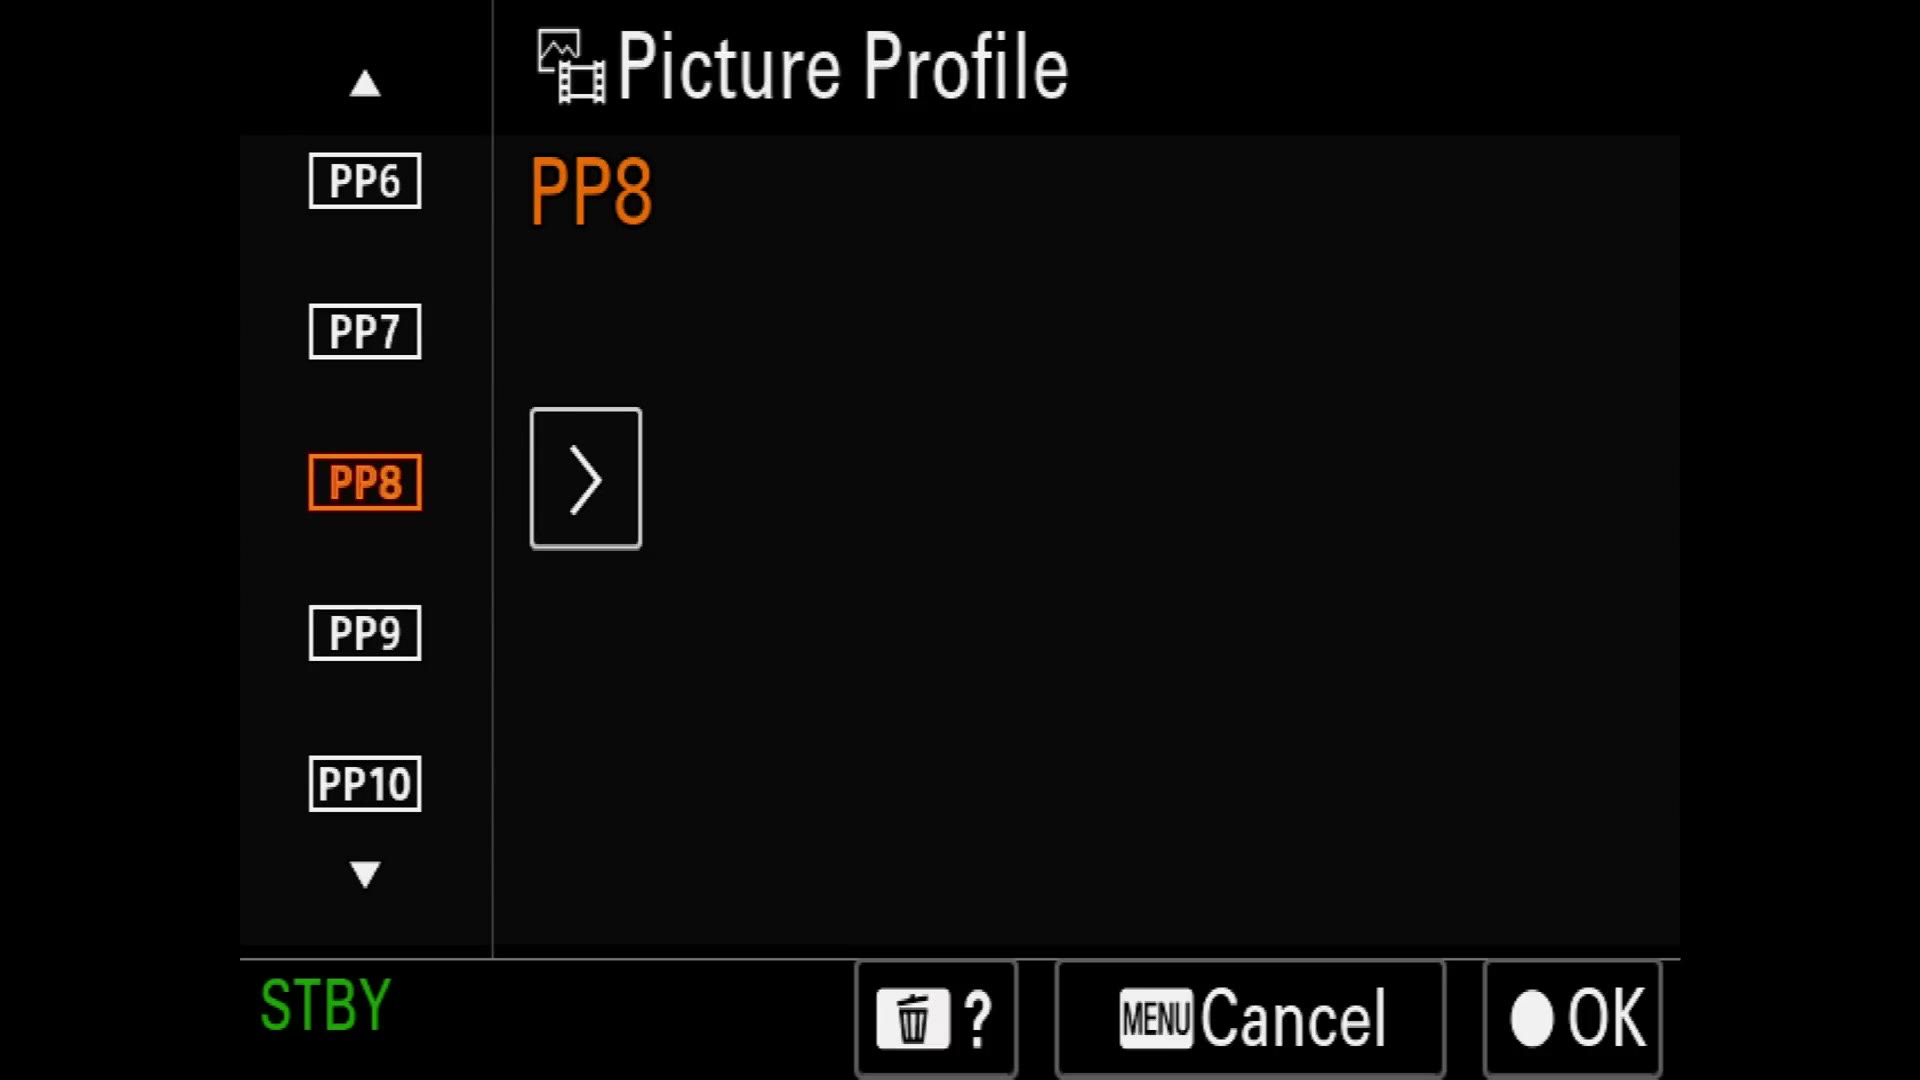
Put them side by side and the main differentiator between the two comes down to two settings.
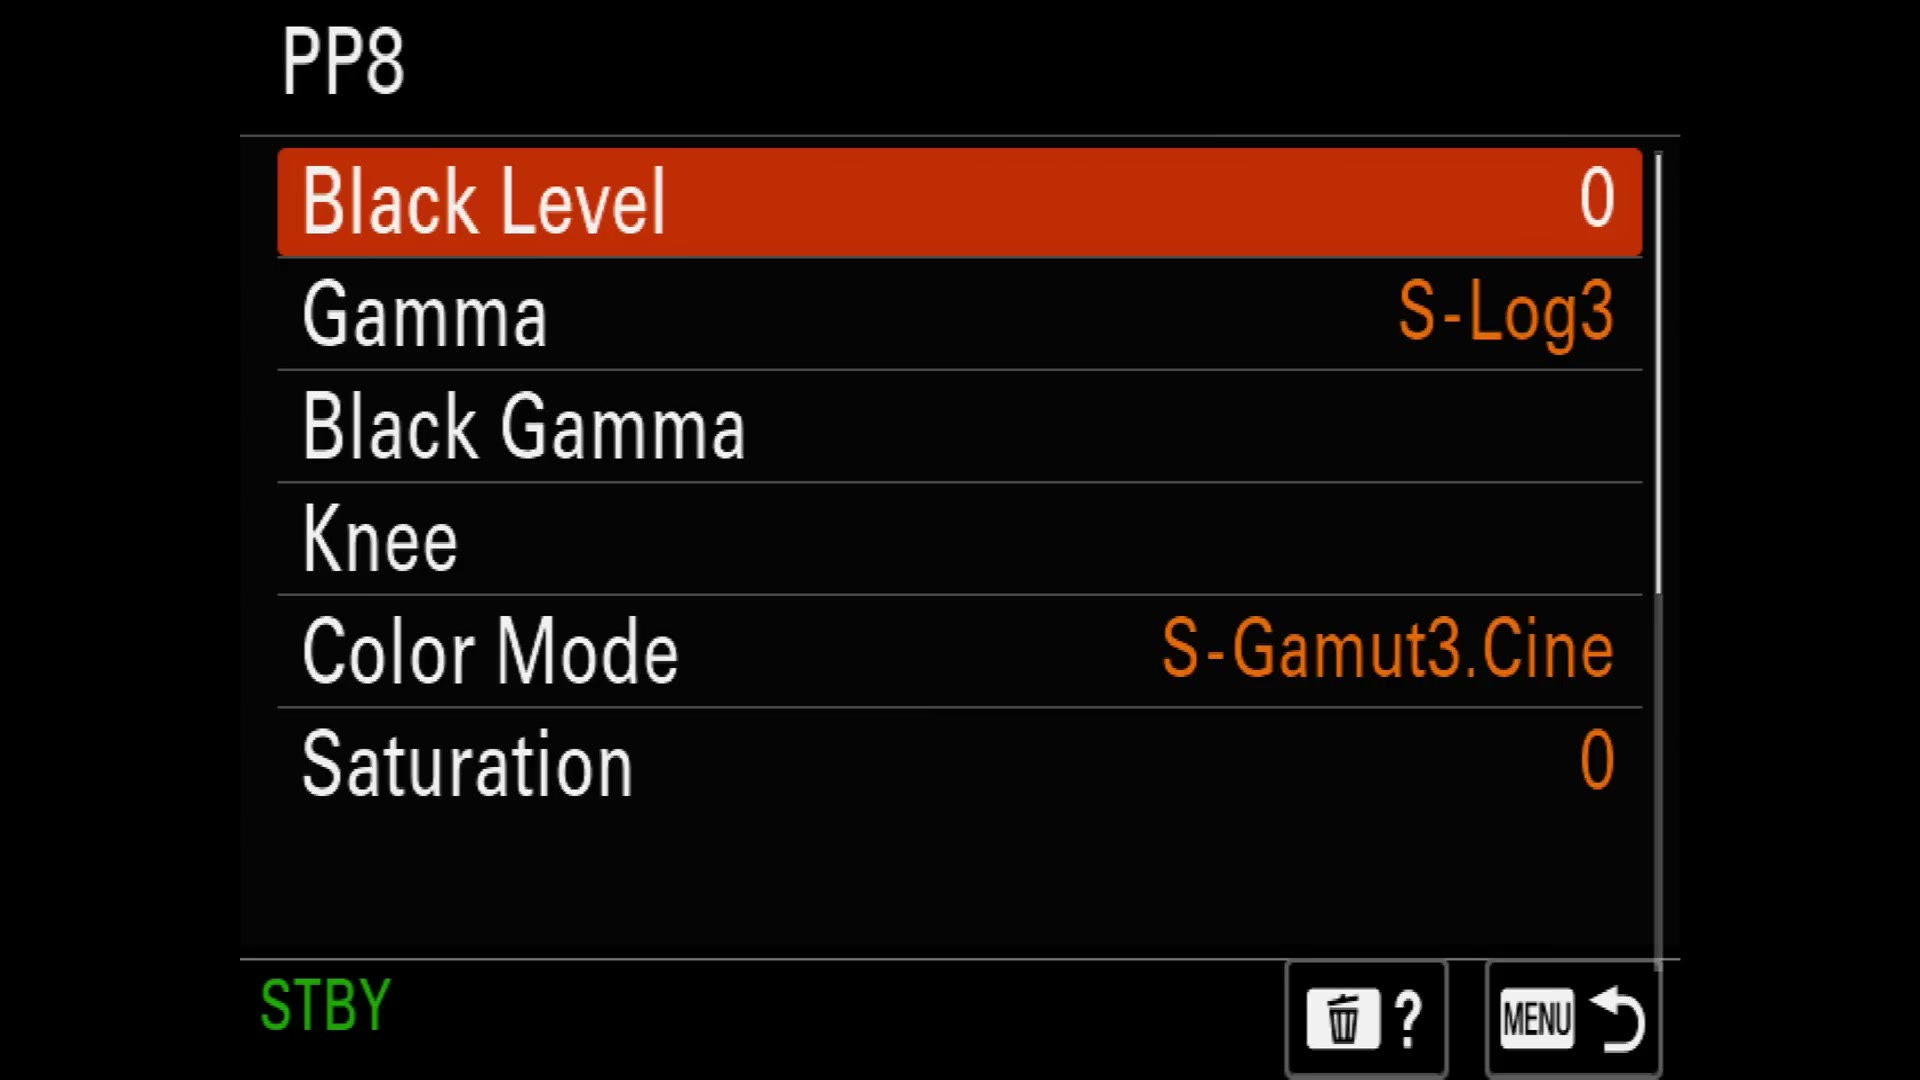
Gamma, which on PP8 says S-Log3 and on PP11 says S-Cinetone. And Color Mode, which on PP8 says S-Gamut3.Cine and on PP11 says S-Cinetone.
Think of the gamma as the main thing affecting the dynamic range of the image, meaning how much detail you have in the shadows and how bright your highlights can get before they blow out. The color mode, as the name implies, affects the colors: saturation levels and skin tone color.
So what would be the ideal combination of these two? Can you set one to S-Cinetone and the other to S-Log3 and create the ultimate picture profile?
Straight Out Of Camera
First, here’s how they look by default. This is S-Log3 with no correction or grading, flat and desaturated.

And here it is with a grade applied, bringing out the skin tones and making everything pop.

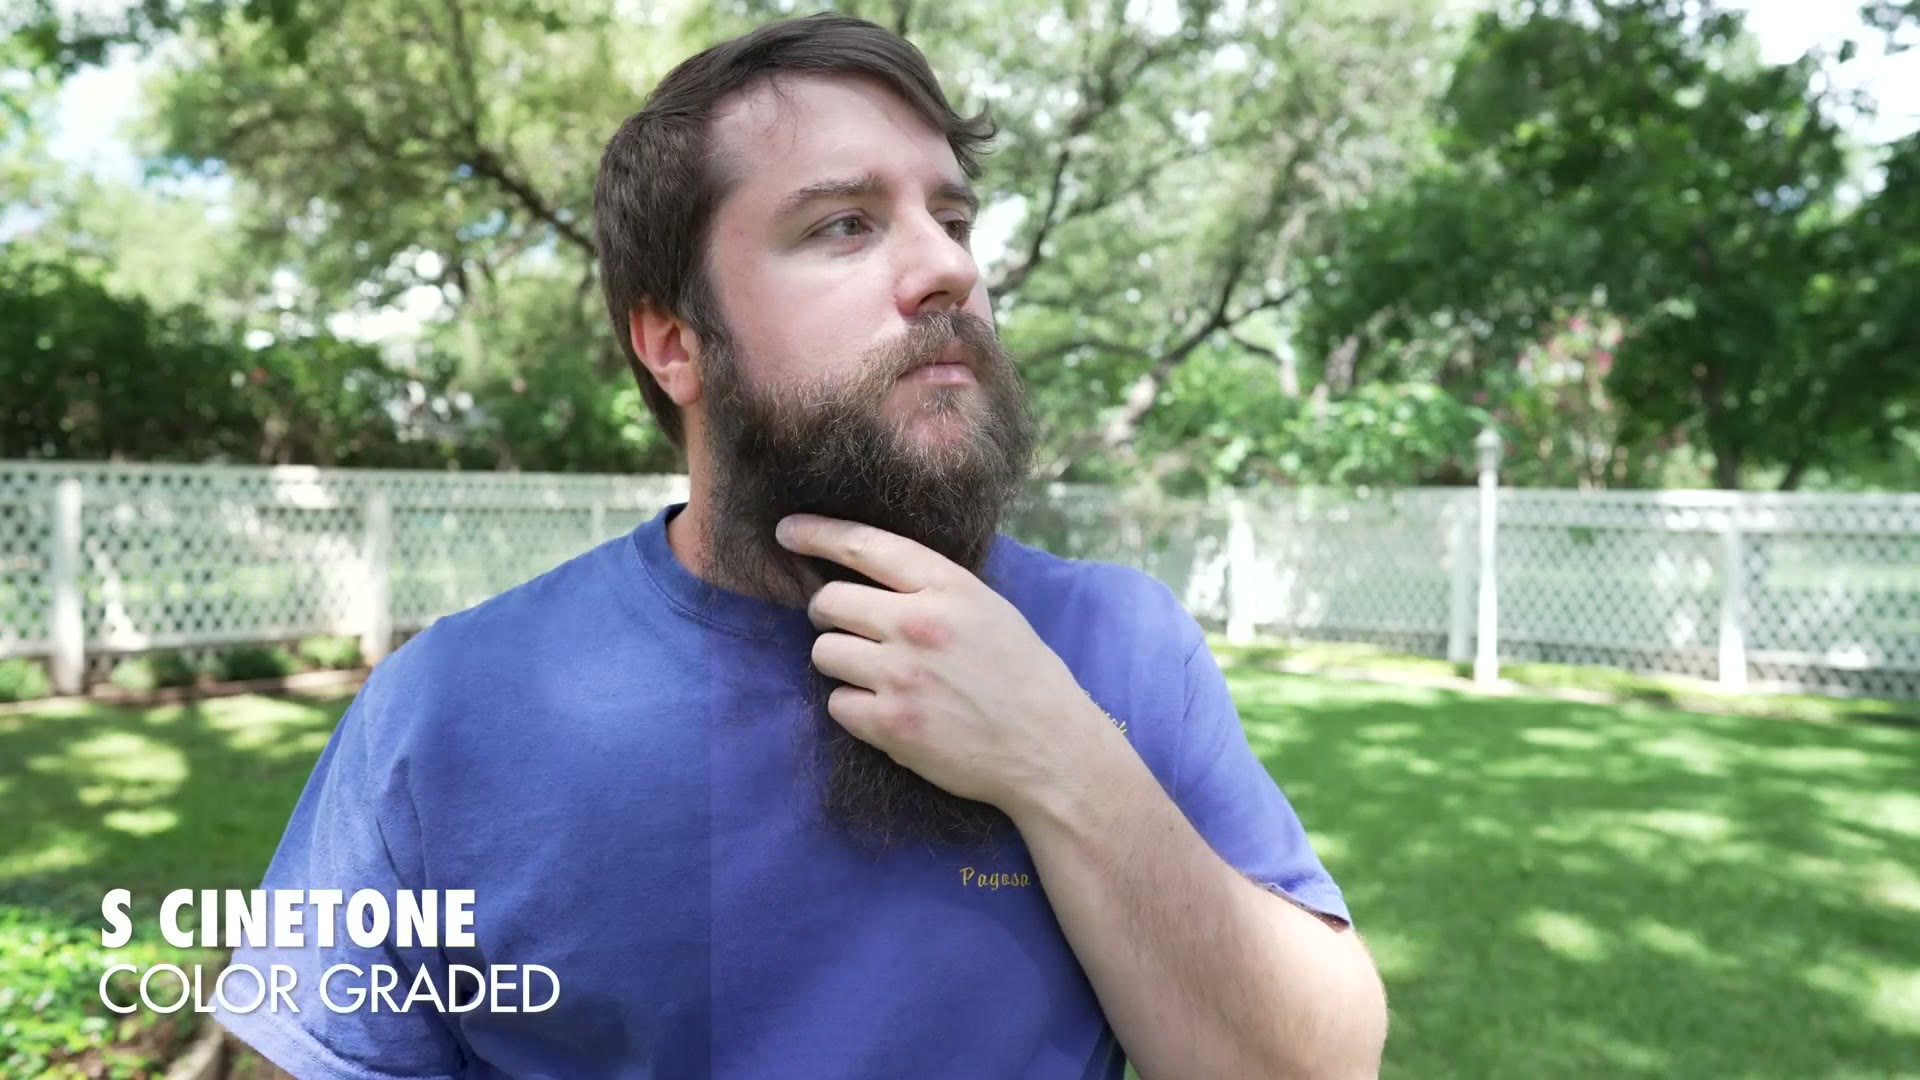
Next, S-Cinetone straight out of camera. Much more saturated and contrasty by default, but it still feels straight out of camera.

And with a grade applied that gives it a stronger look and brings out the skin tones.
S-Cinetone Gamma In PP8
Time to experiment. I started with PP8, which is set to S-Log3 by default, and changed the gamma to S-Cinetone.
It didn’t really work. Gamma is what mostly affects dynamic range, so setting it to S-Cinetone stripped out a lot of the dynamic range you normally get from S-Log3. It also, unfortunately, kept the desaturated colors that come with S-Log3.
A total fail. Worse dynamic range and desaturated colors.
I also tried it from the other direction, going to PP11, leaving the gamma at S-Cinetone and changing the color space to S-Gamut3.Cine to mirror what I’d done in PP8. That didn’t help either and looks virtually identical. I didn’t expect it to, but I wanted to be thorough.
S-Log3 Gamma With S-Cinetone Color
Now let’s switch it around, and this is where it gets interesting.
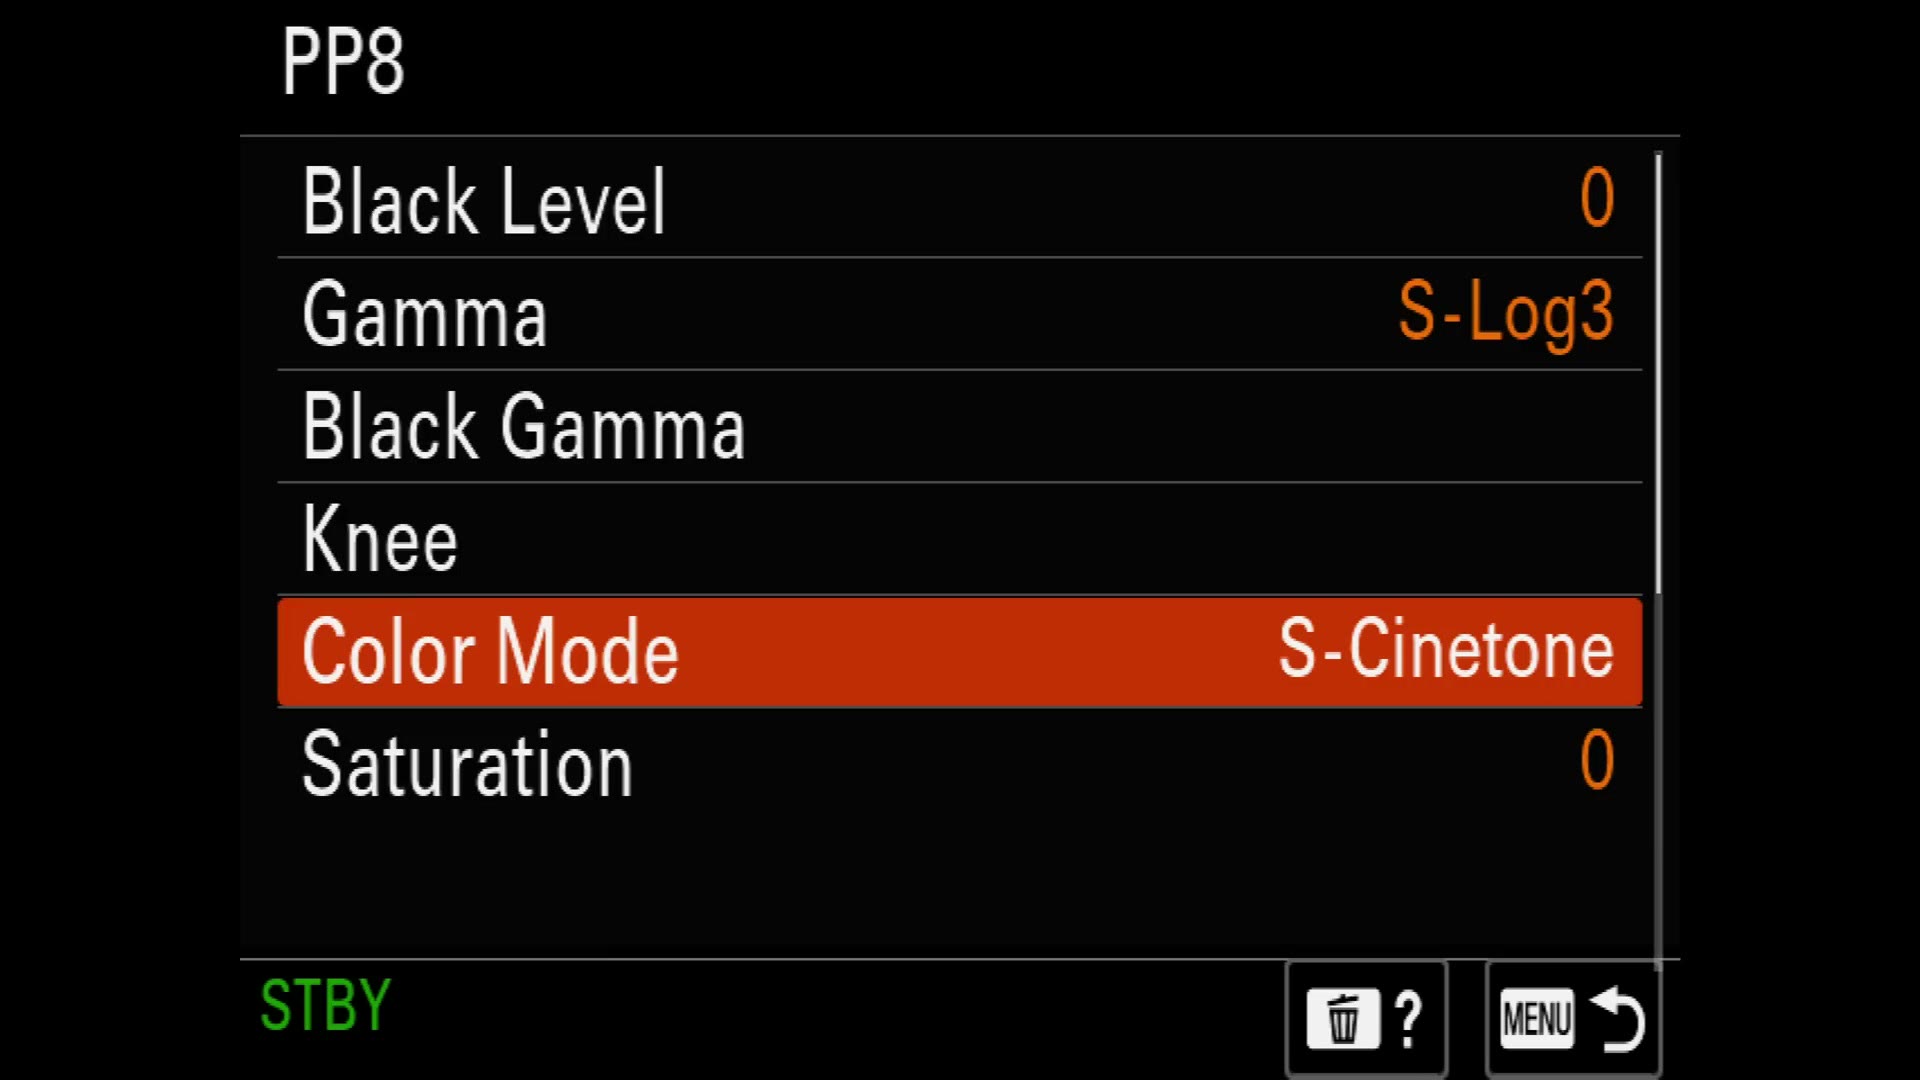
Back in PP8, I kept the gamma at S-Log3 to preserve the dynamic range, and switched the color mode to S-Cinetone. Colors from S-Cinetone, dynamic range from S-Log3.
And, wait a second. This doesn’t look any better. It’s just as desaturated and flat as normal S-Log3. What the heck?
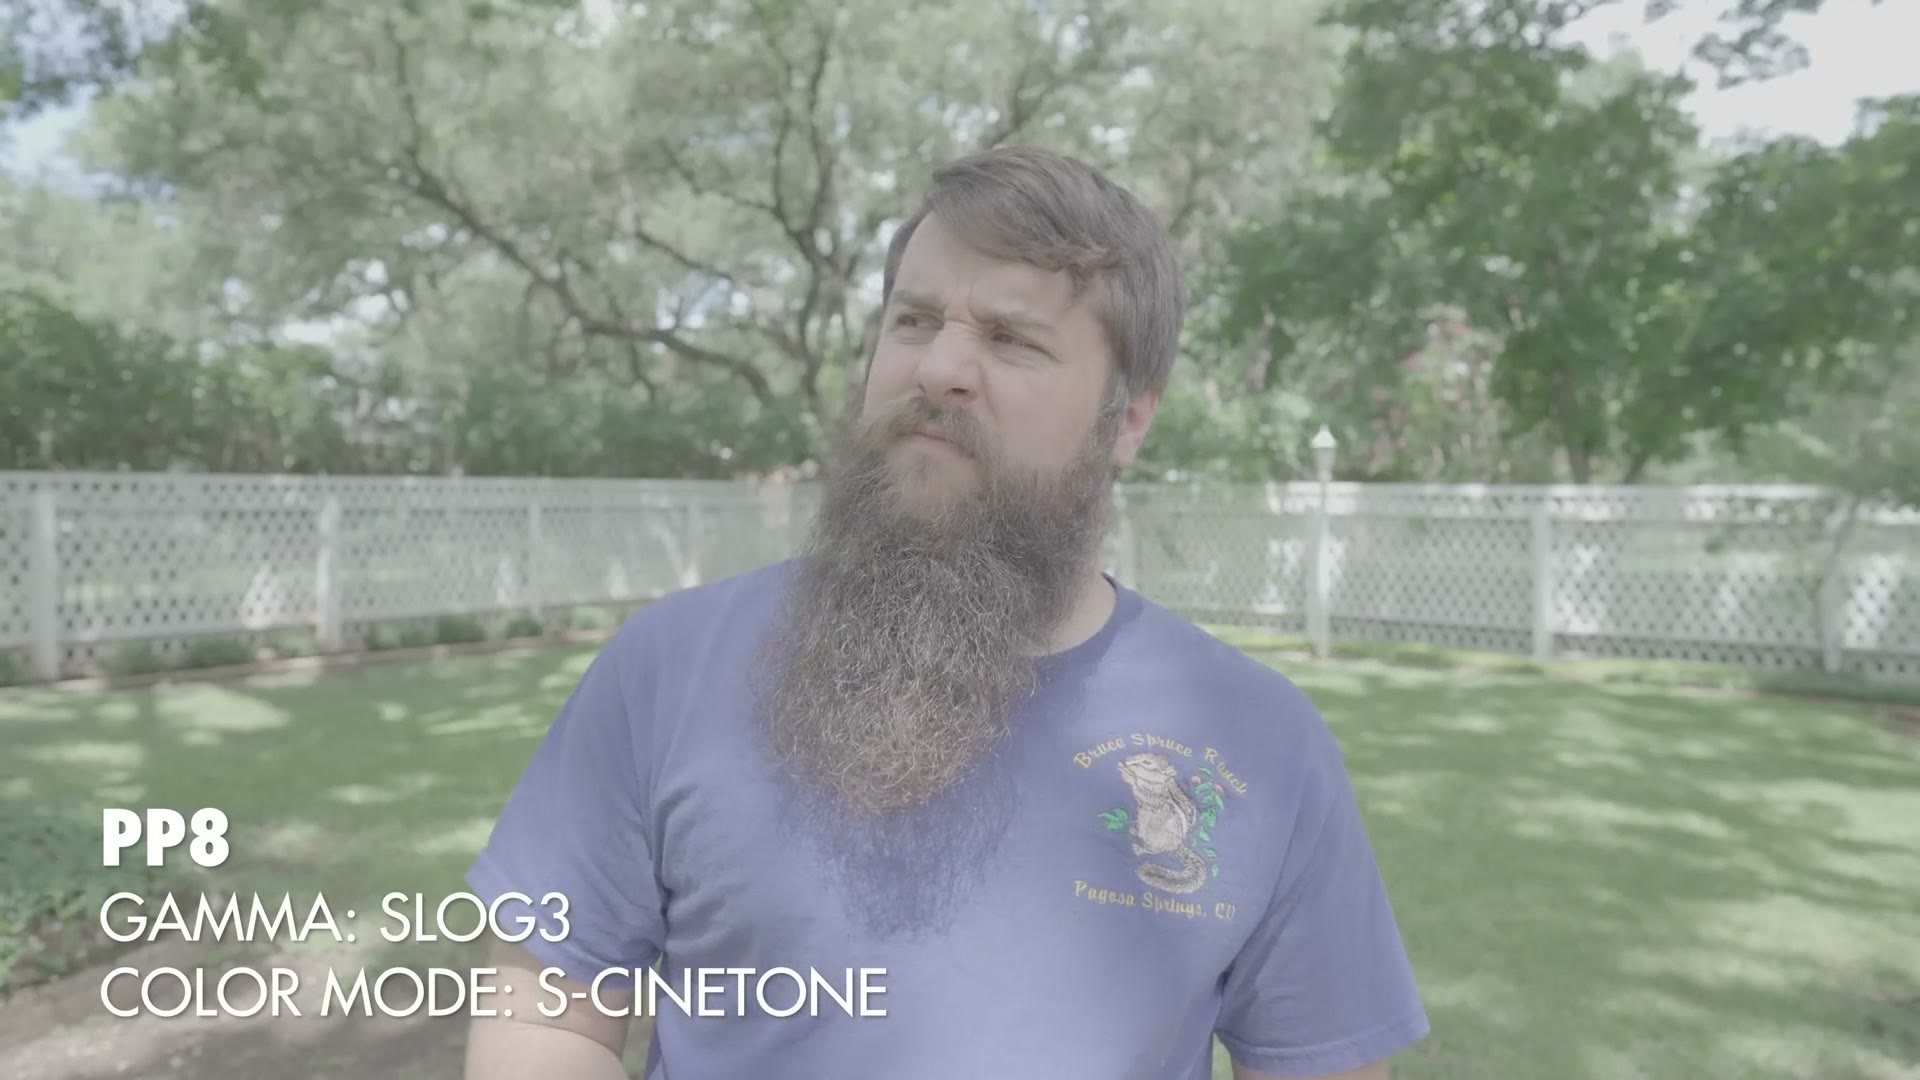
Hold on though, because looking at the shots side by side, the green of the grass is a little greener and my shirt is a little bluer. And that actually does make a difference. When I applied the exact same color grade I’d used on the stock S-Log3 footage, this suddenly looked far more saturated and colorful. Too much, in fact. I had to go into Premiere and pull back the saturation and contrast to get the image looking like it should.
Same story when I did it in PP11 with the gamma set to S-Log3 and the color mode left on S-Cinetone. Flat straight out of camera, significantly more contrasty and saturated once graded the way I normally grade S-Log3.
Are There Any Benefits?
There is one, and it’s a real one. If you find yourself struggling to color grade S-Log3, and especially if that struggle is about getting enough saturation in your colors, consider filming in PP8 with the gamma on S-Log3 and the color mode on S-Cinetone. You’ll get more saturated colors with a bit less work at the grade.
Before you do that, though, I’d watch my easy S-Log3 filmmaking settings and my S-Log3 color grading videos first.
So, back to the big question. Can you combine S-Log3 and S-Cinetone into an extremely high dynamic range picture profile that is also properly contrasty and saturated straight out of camera?
No. Sorry. That doesn’t exist.
A Color Grading Shortcut For You
If you want a shortcut, I’d highly recommend my video presets, WhoisMatt LUTs. I designed them specifically to take a lot of the guesswork out of shooting in a complicated picture profile like S-Log3 and help you get great colors. They even work with S-Cinetone if you want to add a bit of oomph to your footage.
A few other things worth having: my free a7S III settings preset, which you can download and install straight onto the camera to have it set up for filmmaking immediately, and my full menu setup guide. If you’re still deciding between the two profiles in the first place, I compared them directly in S-Log3 vs S-Cinetone, and my own favorite picture profile is here.