
These are my exact settings for the Tascam DR-10L, the ones I have used for the past year or so to record people speaking at weddings and in my YouTube videos. I am going to walk the whole menu with you, top to bottom, and tell you why I picked each one.
Before we start, I do recommend updating your recorder to firmware version 2.0. Don’t sweat it if you can’t right now, you will still be able to follow most of this, but one setting genuinely changes. You can grab the latest DR-10L firmware from Tascam here.
If you don’t have the recorder yet, it is on B&H here, and on Amazon there are a few bundles worth knowing about: the DR-10L with a free SD card and headphones, the DR-10L with two free SD cards and a reader, or two recorders with two cards and two sets of headphones if you are covering a groom and an officiant at once.
The Whole Menu At A Glance
| Menu item | My setting |
|---|---|
| 01 Mic Gain | Ignore it |
| 02 Low Cut | On |
| 03 Limiter | On |
| 04 Auto Level | On |
| 05 FS Sample | 48 kHz |
| 06 Bit Length | 24 bit |
| 07 File Type | Mono |
| 08 Dual Rec | -12 dB |
| 09 MP3 Mode | Off |
| 10 Track Inc | On |
| 11 Warn Beeps | Off |
| 12 Power Save | On |
| 13 Name Type | Date |
| 14 File Name | Not used |
| 15 Format SD | Only after you have copied everything off |
| 16 Mic Bias | On |
| 17 Batt Type | NiMH |
| 18 Date/Time | Set it accurately |
| 19 Sys Init | Do not touch |
| 20 Ver Info | Mine reads 2.0 |
Mic Gain
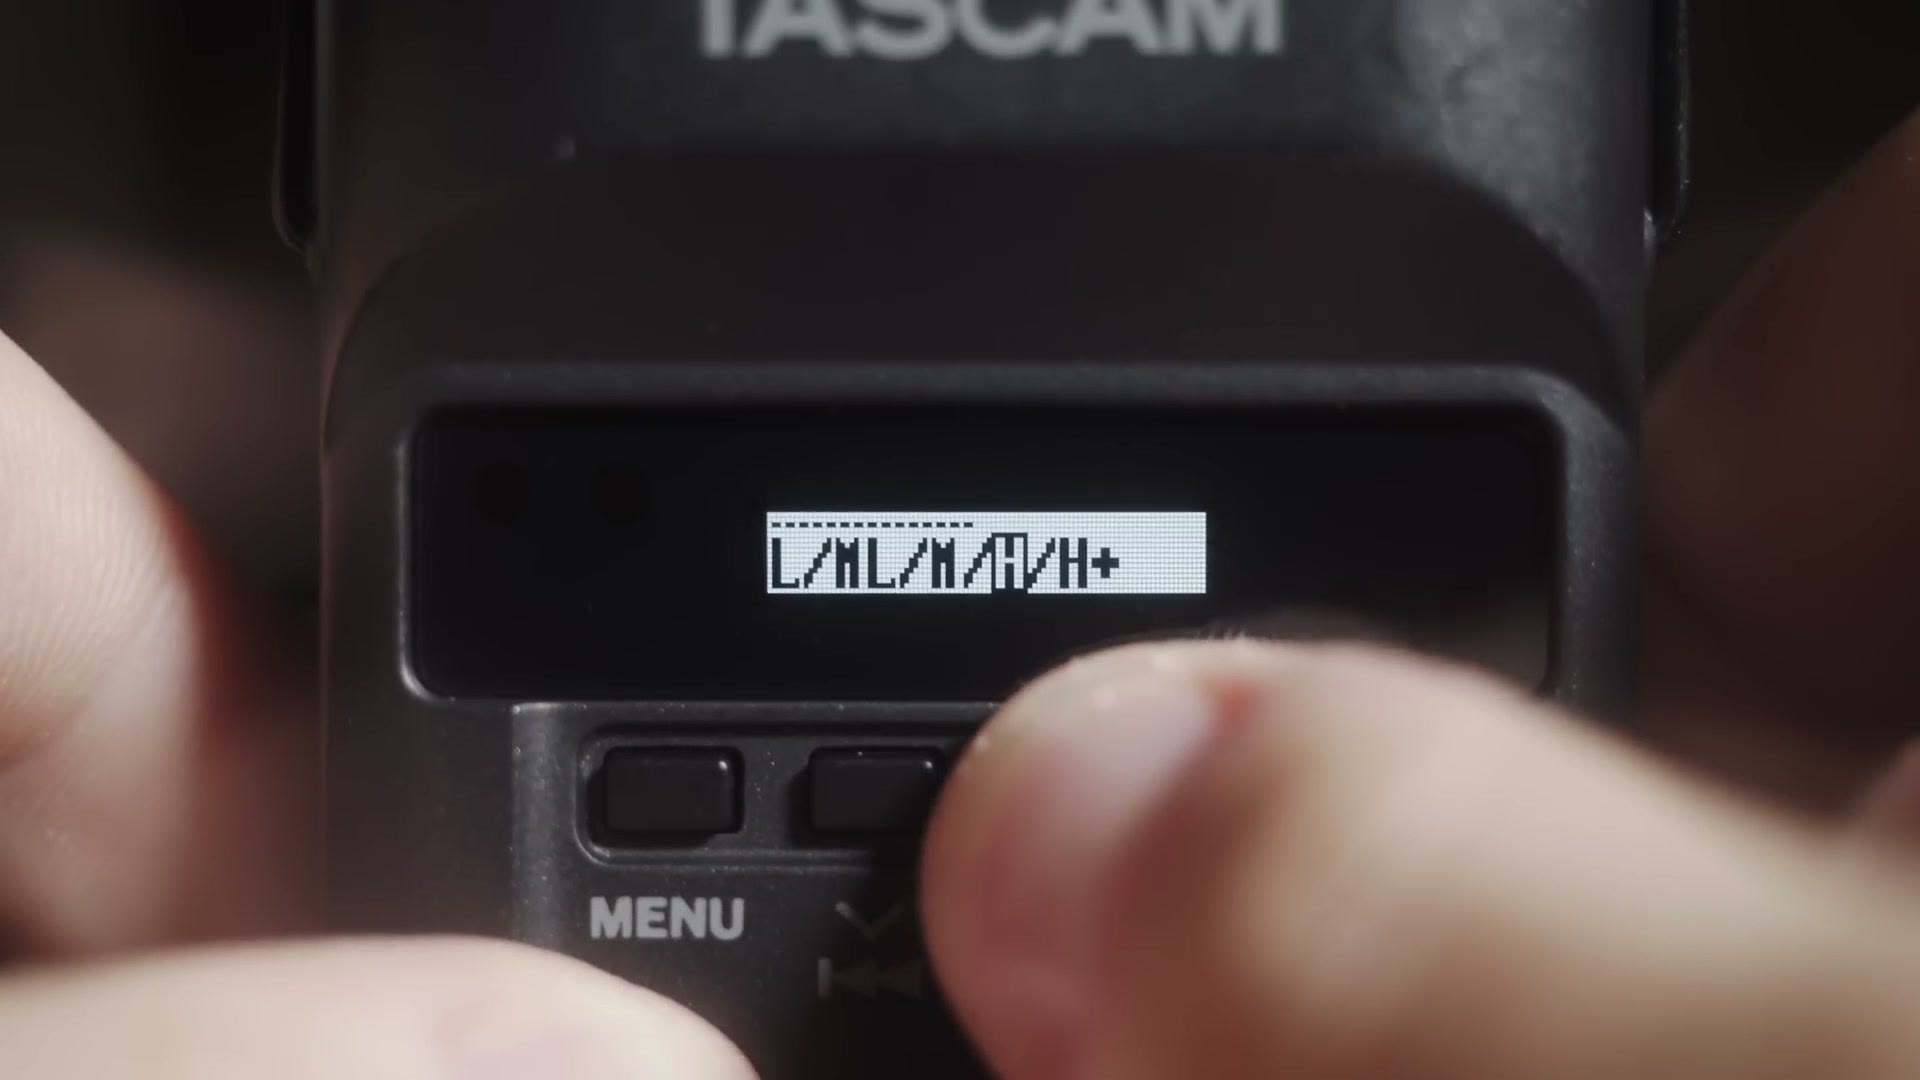
You do not need to worry about Mic Gain at all, and that surprises people. The reason is that we are going to have the DR-10L set its own levels using Auto Level down in section four. So leave the L/ML/M/H/H+ screen alone and move on.
Low Cut, Limiter & Auto Level
Low Cut is on. A low cut filter removes some of the lower frequencies from your audio, which helps a lot with wind and with clothing rustle. In my experience it has not hurt my audio quality at all, and it has saved me from a lot of scratchy lav noise.
Limiter is on, always. If somebody is talking quietly and then suddenly gets loud, that is when you get peaking. The limiter is what stops that from happening.
Auto Level is on, always. This dynamically changes the gain depending on how loud the person is speaking, so they stay at roughly the same loudness throughout. Very beneficial, and it is the reason Mic Gain doesn’t matter.
FS Sample, Bit Length & File Type
FS Sample goes to 48 kHz. Most cameras also record audio at 48 kHz, so matching the sample rate makes syncing easy and helps prevent audio drift. This one is not a preference, it is just correct.
Bit Length goes to 24 bit. 24 bit is higher quality than 16 bit and I see no reason at all to record lower quality audio. I want as much as I can get.
File Type is mono. If you are using the stock lav that comes with the DR-10L, mono works fine and it will still fill both your left and right channels.
Dual Rec
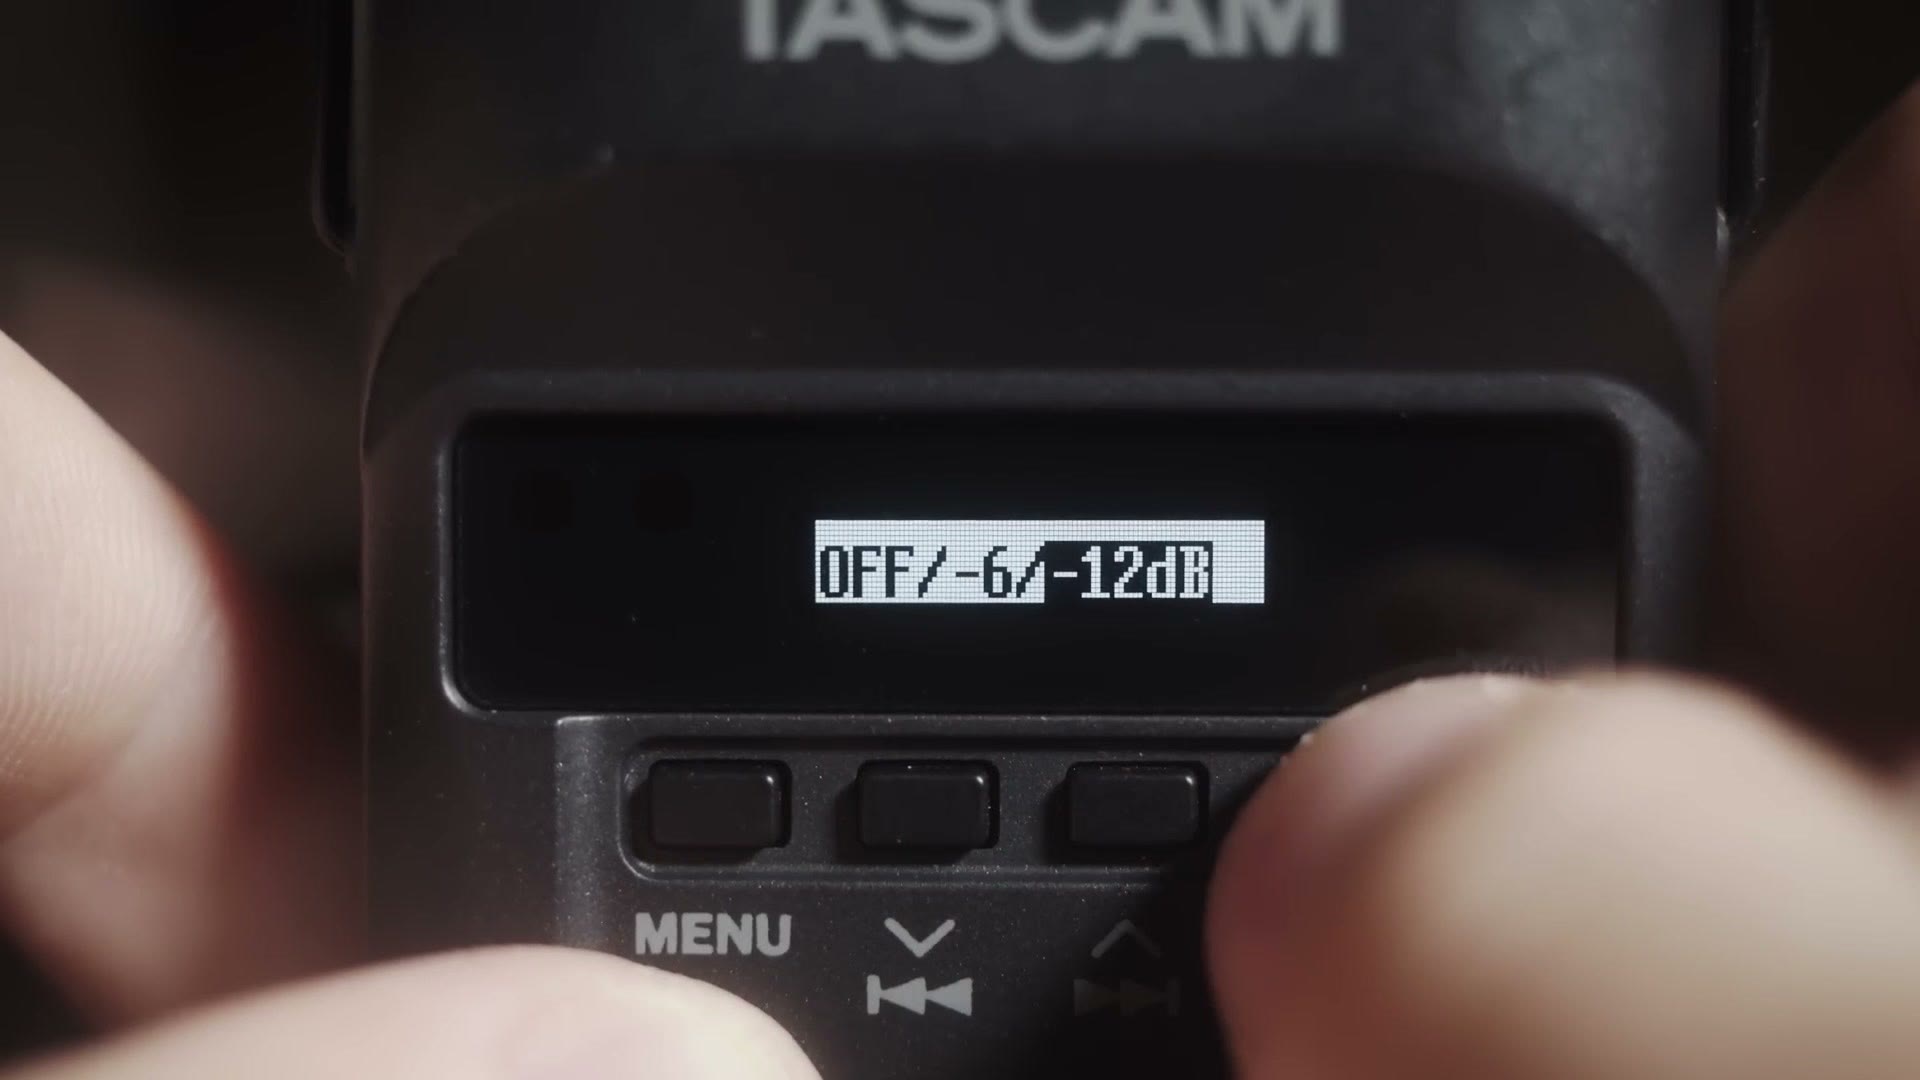
Mine is set to -12 dB, and this is my favorite setting on the whole recorder. Dual Rec lays down a second, quieter backup track alongside your main one. If your main track peaks, you still have a clean high quality file to pull from.
If you only see On and Off here instead of -6 dB and -12 dB, that is because you have not updated to firmware 2.0. That is the one setting the update actually changes, and it is worth doing.
Keep in mind that dual recording essentially doubles your file size, because you are recording two of every file. But with the 32 gig SD cards I recommend, you are still getting something like 30 hours of recording time even with it turned on. I would not stress about it.
MP3 Mode
Off. By default the DR-10L records a high quality lossless WAV, and that is exactly what you want. You could turn MP3 mode on for much longer recording times, but the audio comes out compressed and you will not be able to push it around in the edit anywhere near as well.
Track Inc
On. Track Incrementation means that every 15 minutes or so the recorder saves the file it is working on and starts a fresh one.
Here is why that matters. If you drop the recorder and the battery falls out, or somebody yanks the memory card while it is running, a single long file would probably come back corrupted and you would lose the entire thing. With track incrementation you lose the most recent 15 minutes and the rest of the ceremony is fine. That trade is not close.
Warn Beeps
Off, though I love that this is what it is called. Warn Beeps.
If you have this on and you have headphones plugged into the recorder, it will beep at you when the battery or the card is running low. The problem is that whenever I use this thing, it is clipped to somebody across the room at the front of a ceremony. I am not running a long snaking cord across the aisle so I can go yeah, you sound good, great. So it is useless to me and I turn it off. If you are in a situation where you can actually monitor, it would not hurt to turn it on.
Power Save
On. This is not a magic battery life extender, unfortunately. What it does is turn the recorder off after 10 minutes if it is powered on but not recording.
I put together Tascam X8 – The Best Audio Recorder For Wedding Filmmaking (Review), Tascam DR-10L PRO Review – The Recorder You Need!, and Tascam X6 – A Powerful & Affordable Audio Recorder For Wedding Filmmaking (Review) as well, which cover the part I skipped over here.
Name Type & File Name
These two go together. Name Type lets you pick Word or Date. Pick Date and your files start with the date they were recorded. Pick Word and they start with a custom word you set down in File Name.
The custom word is genuinely useful if you are running several recorders, because you can name them groom, officiant, bride and then tell at a glance in the edit which audio is which. For me, I set Name Type to Date and don’t bother with a custom name, but it is there if you need it.
Format SD
You have seen this on every camera you have ever owned. It wipes the card. Do not do it until you are actually sure every file is copied off and backed up. Not pretty sure. Sure.
Mic Bias
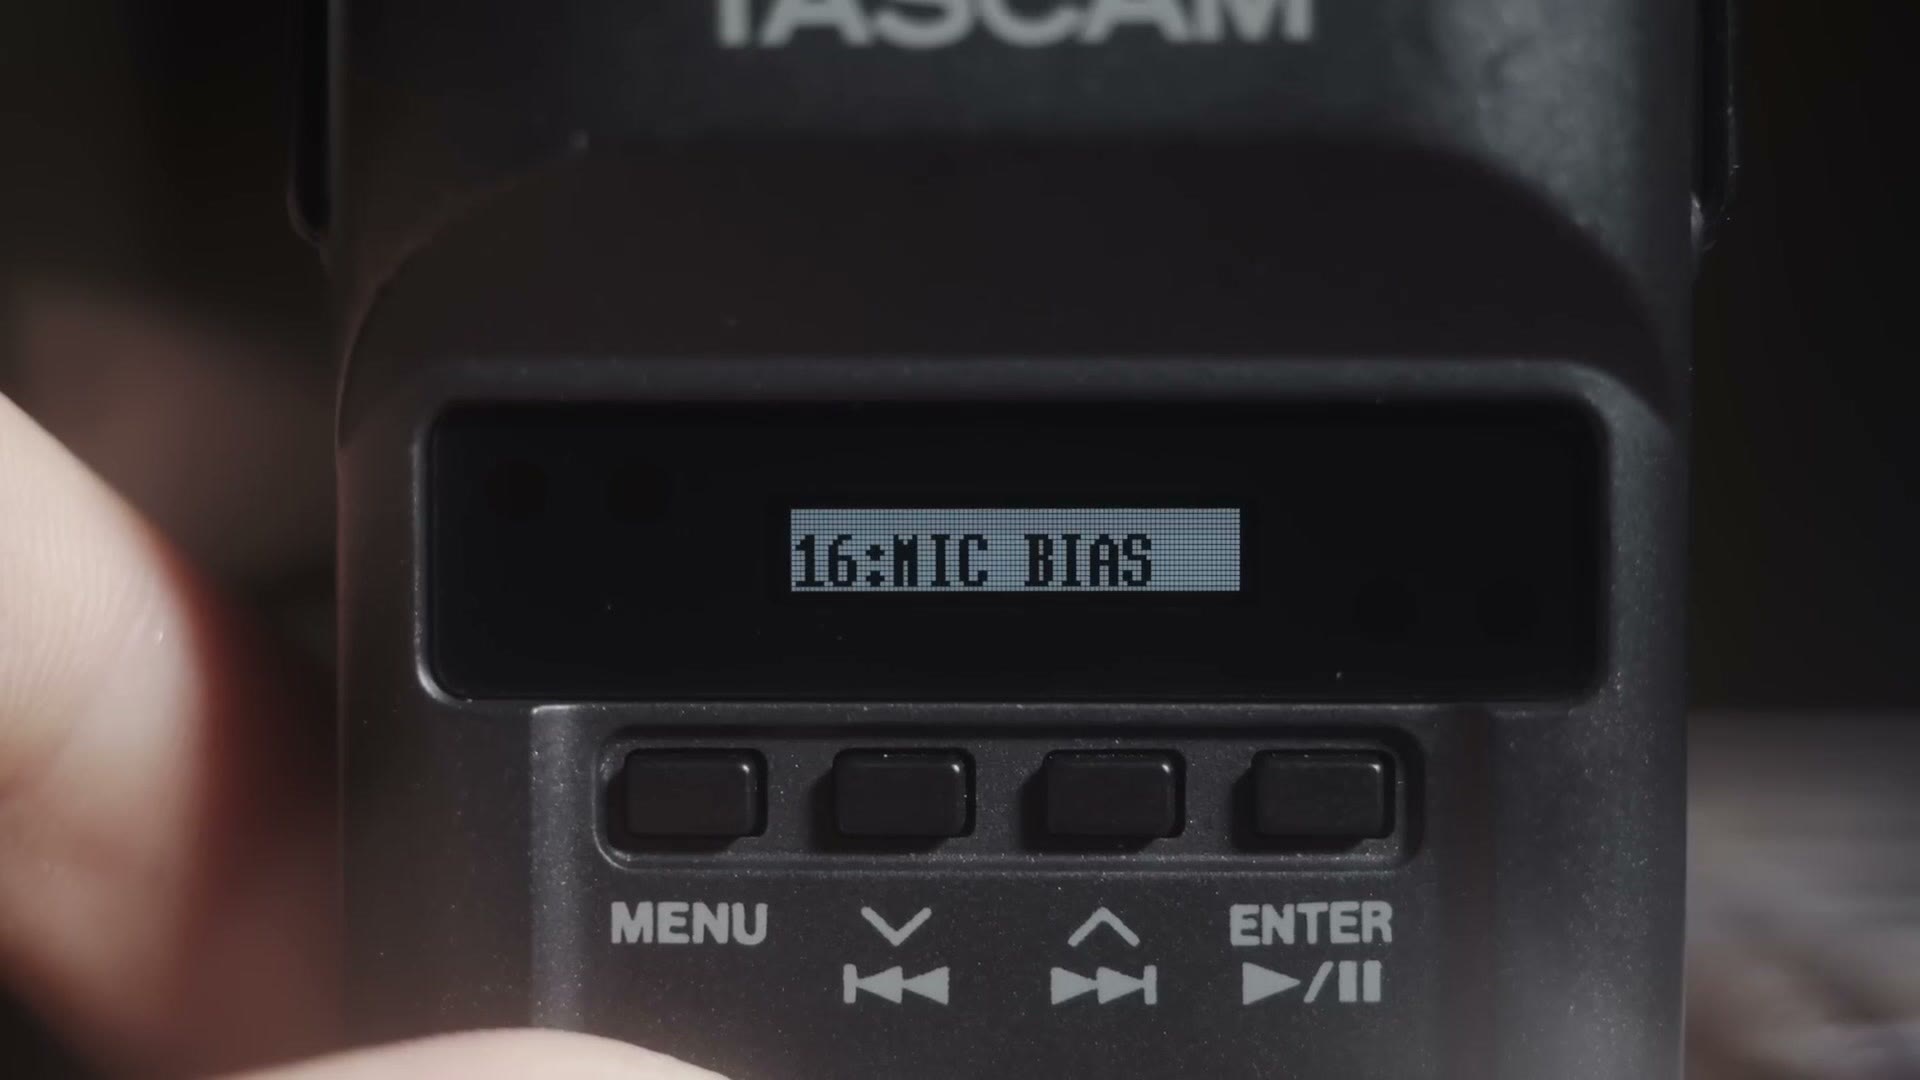
On, if you are using the stock lav that came with your DR-10L, because Mic Bias is what supplies power to that mic. If you have a powered lav you can turn it off. I always use the stock lavs, so mine stays on, because I would quite like to actually record audio.
Batt Type
This is not a misspelled way of picking your favorite actor who played Batman. Although since you asked, I do love Christopher Nolan, so I have to say Christian Bale.
Batt Type is where you tell the recorder what kind of battery you have in it. Mine is set to NiMH because I use AmazonBasics high capacity rechargeables, which I love and which are reasonably priced. Whatever you use, set this correctly, otherwise the battery meter lies to you and you end up going I thought that was full, and it is dead.
Date/Time, Sys Init & Ver Info
Date and Time is exactly what it sounds like. Set it accurately so your computer doesn’t think your ceremony audio was recorded in 1992.
Sys Init resets the recorder to factory settings. Do not say yes to this unless you want to come back here and redo everything we just did.
Ver Info tells you which firmware version you are running. Mine reads 2.0.

That is the whole menu. These settings have been working great for me for about a year across a lot of ceremonies.
The DR-10L is only part of the setup though. Everything else I use to record audio at a wedding is listed on my wedding audio gear gear page. And if you want help with what happens to that audio once it is in your timeline, that is what my wedding film editing course is for.