
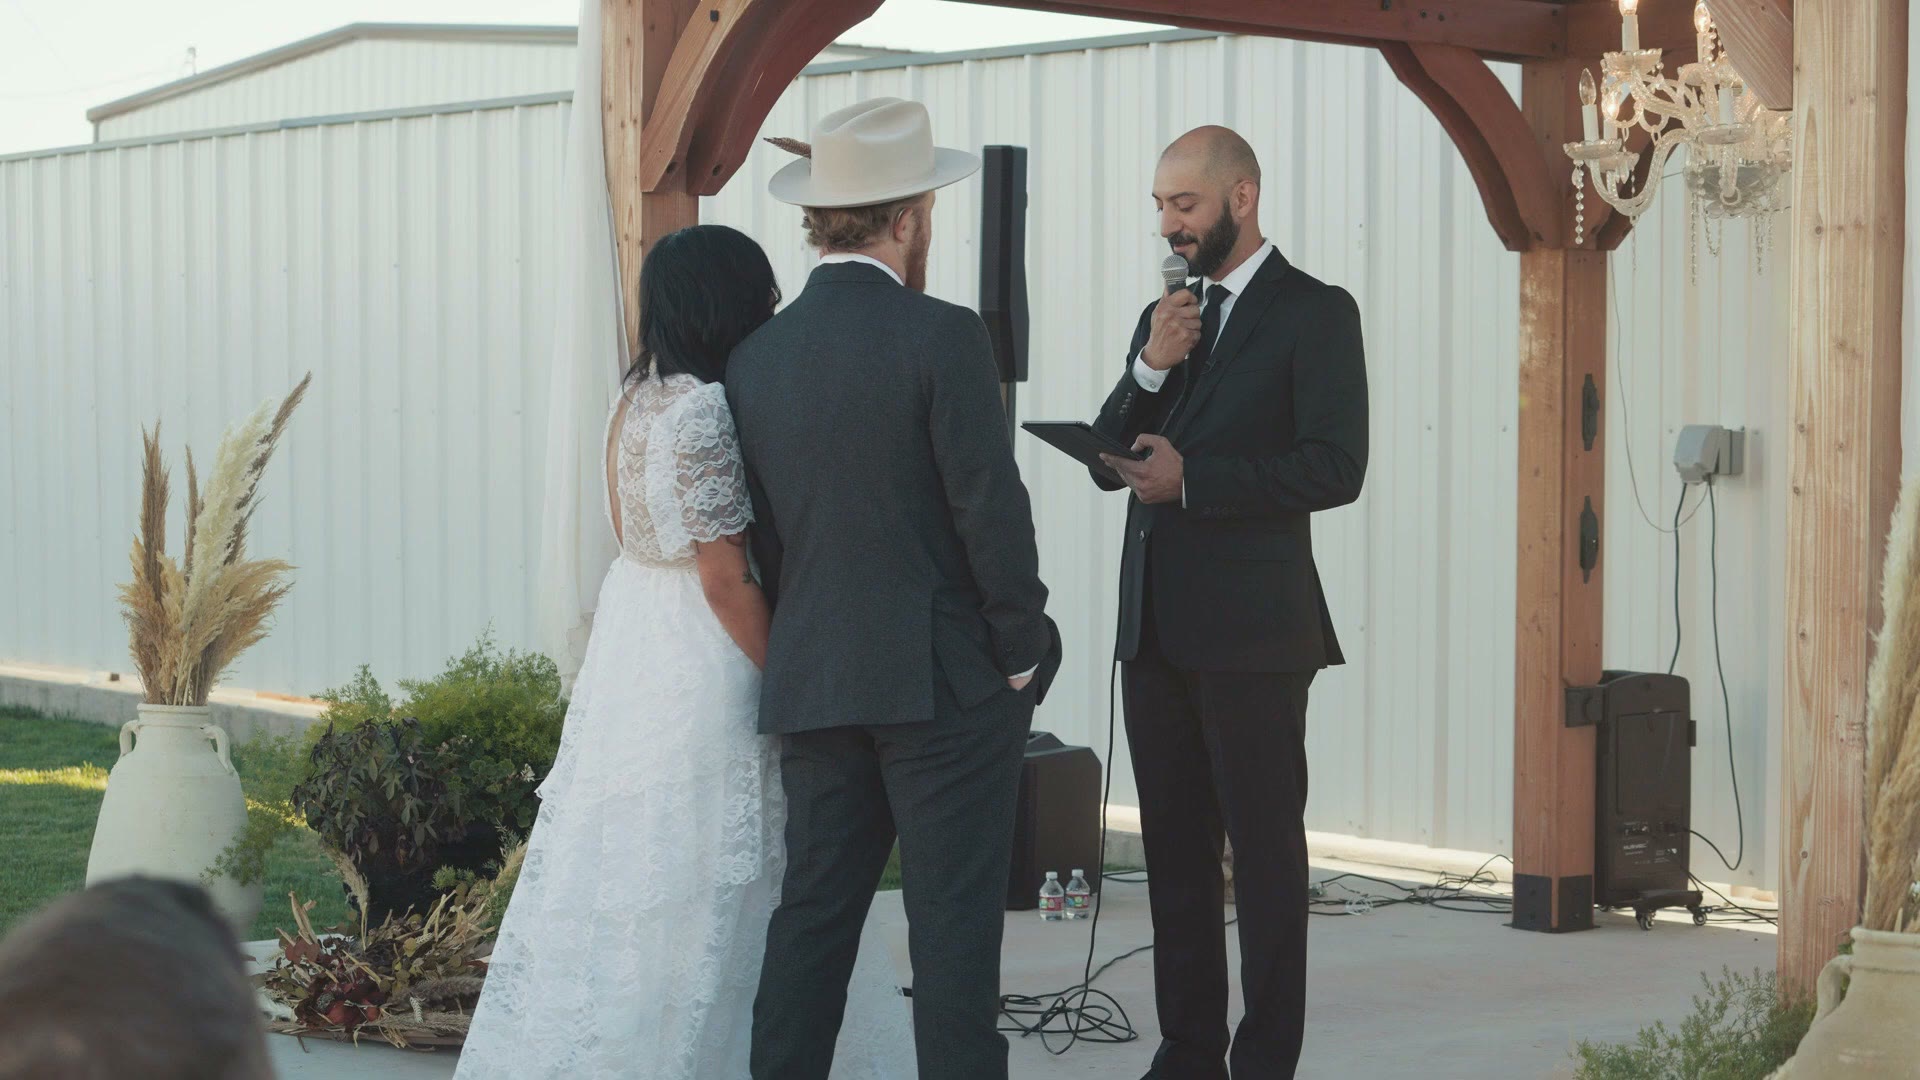
If you have a lot of audio and video clips that you need to sync together, like if you’re editing a wedding ceremony and you’ve got a bunch of camera angles and microphones all recorded on different cameras and different recorders but they all need to line up in one timeline, here are two ways to do it fast in Adobe Premiere Pro.
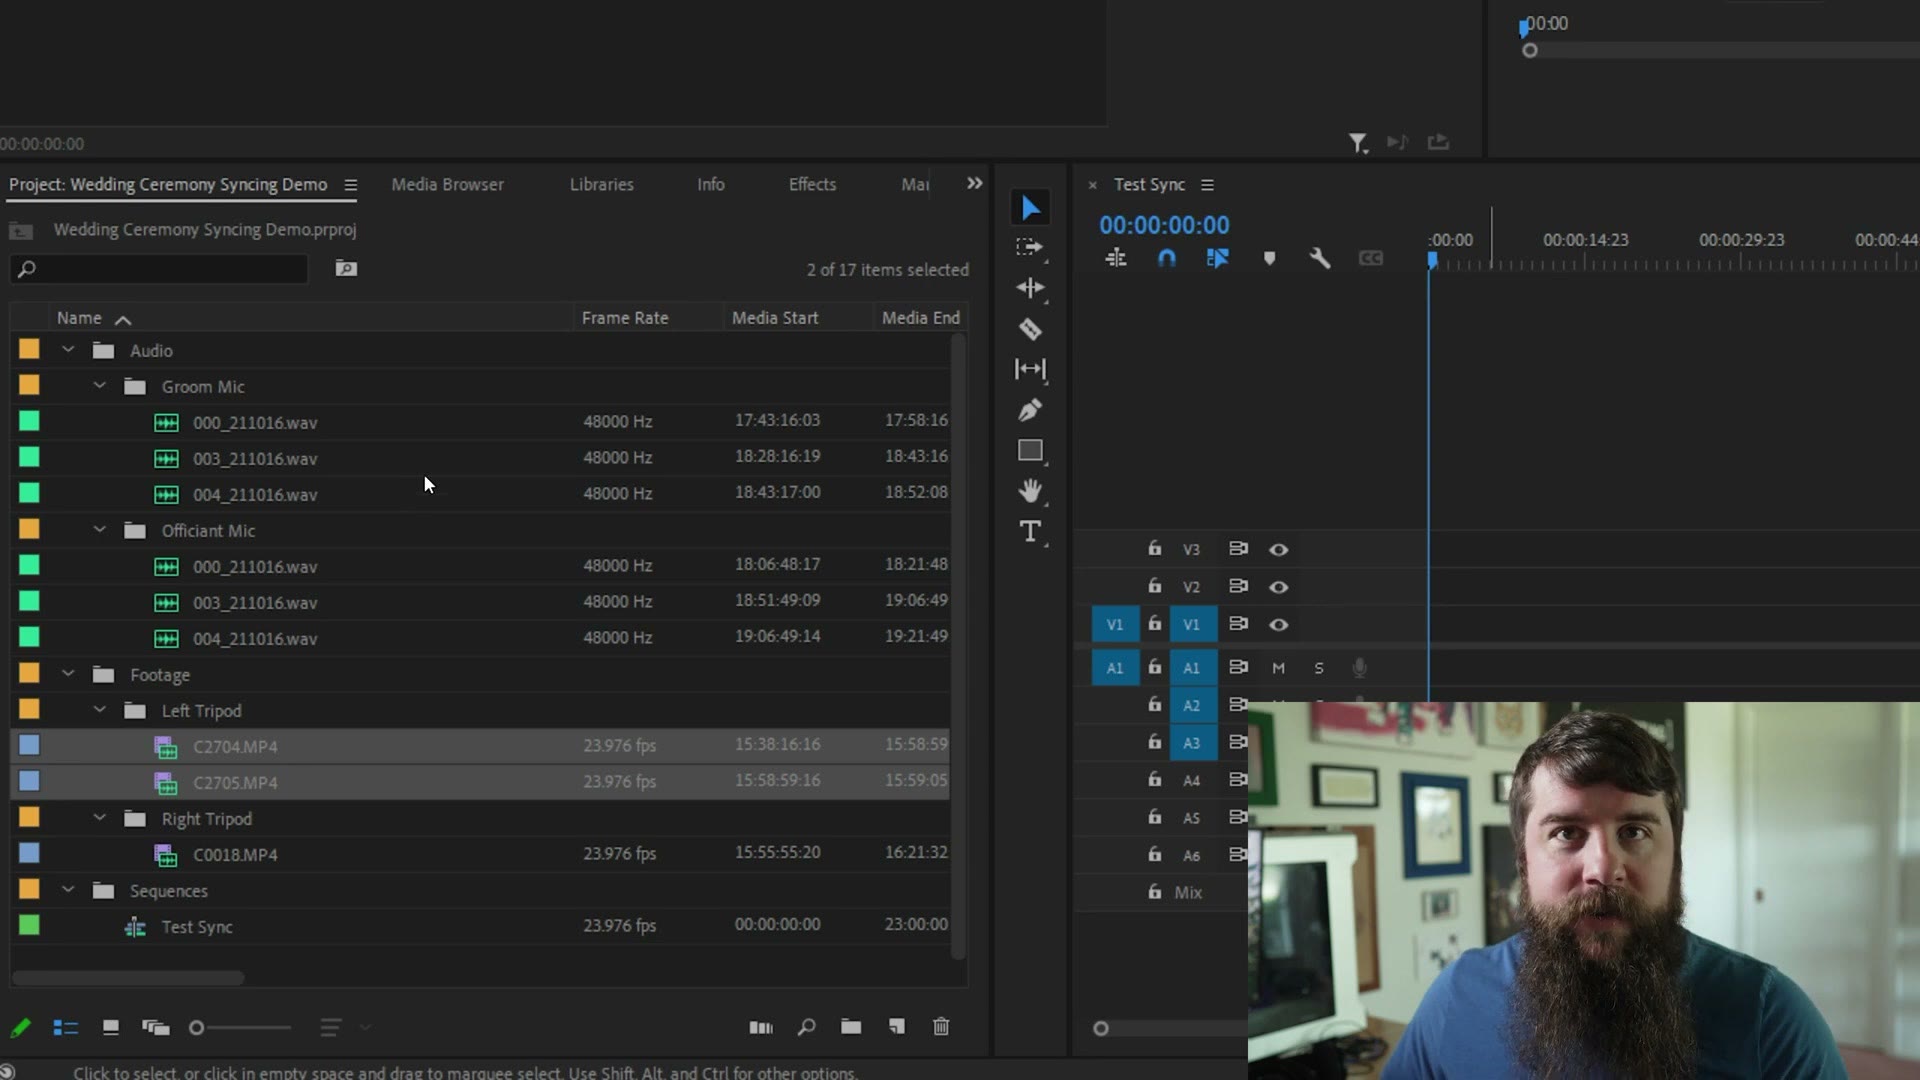
First, open up Premiere and import your audio and footage, which I’ve already done here. I’ve got everything sorted into bins: groom mic, officiant mic, left tripod, right tripod, that kind of thing.
The Old (Slow) Method
If you’ve synced audio and video before, you know the traditional way. You drag your audio and video clips over to the timeline, put them all on their own tracks, select them all, right click, choose Synchronize, make sure Audio is selected, and press OK. Then Premiere goes off and processes and syncs everything up.
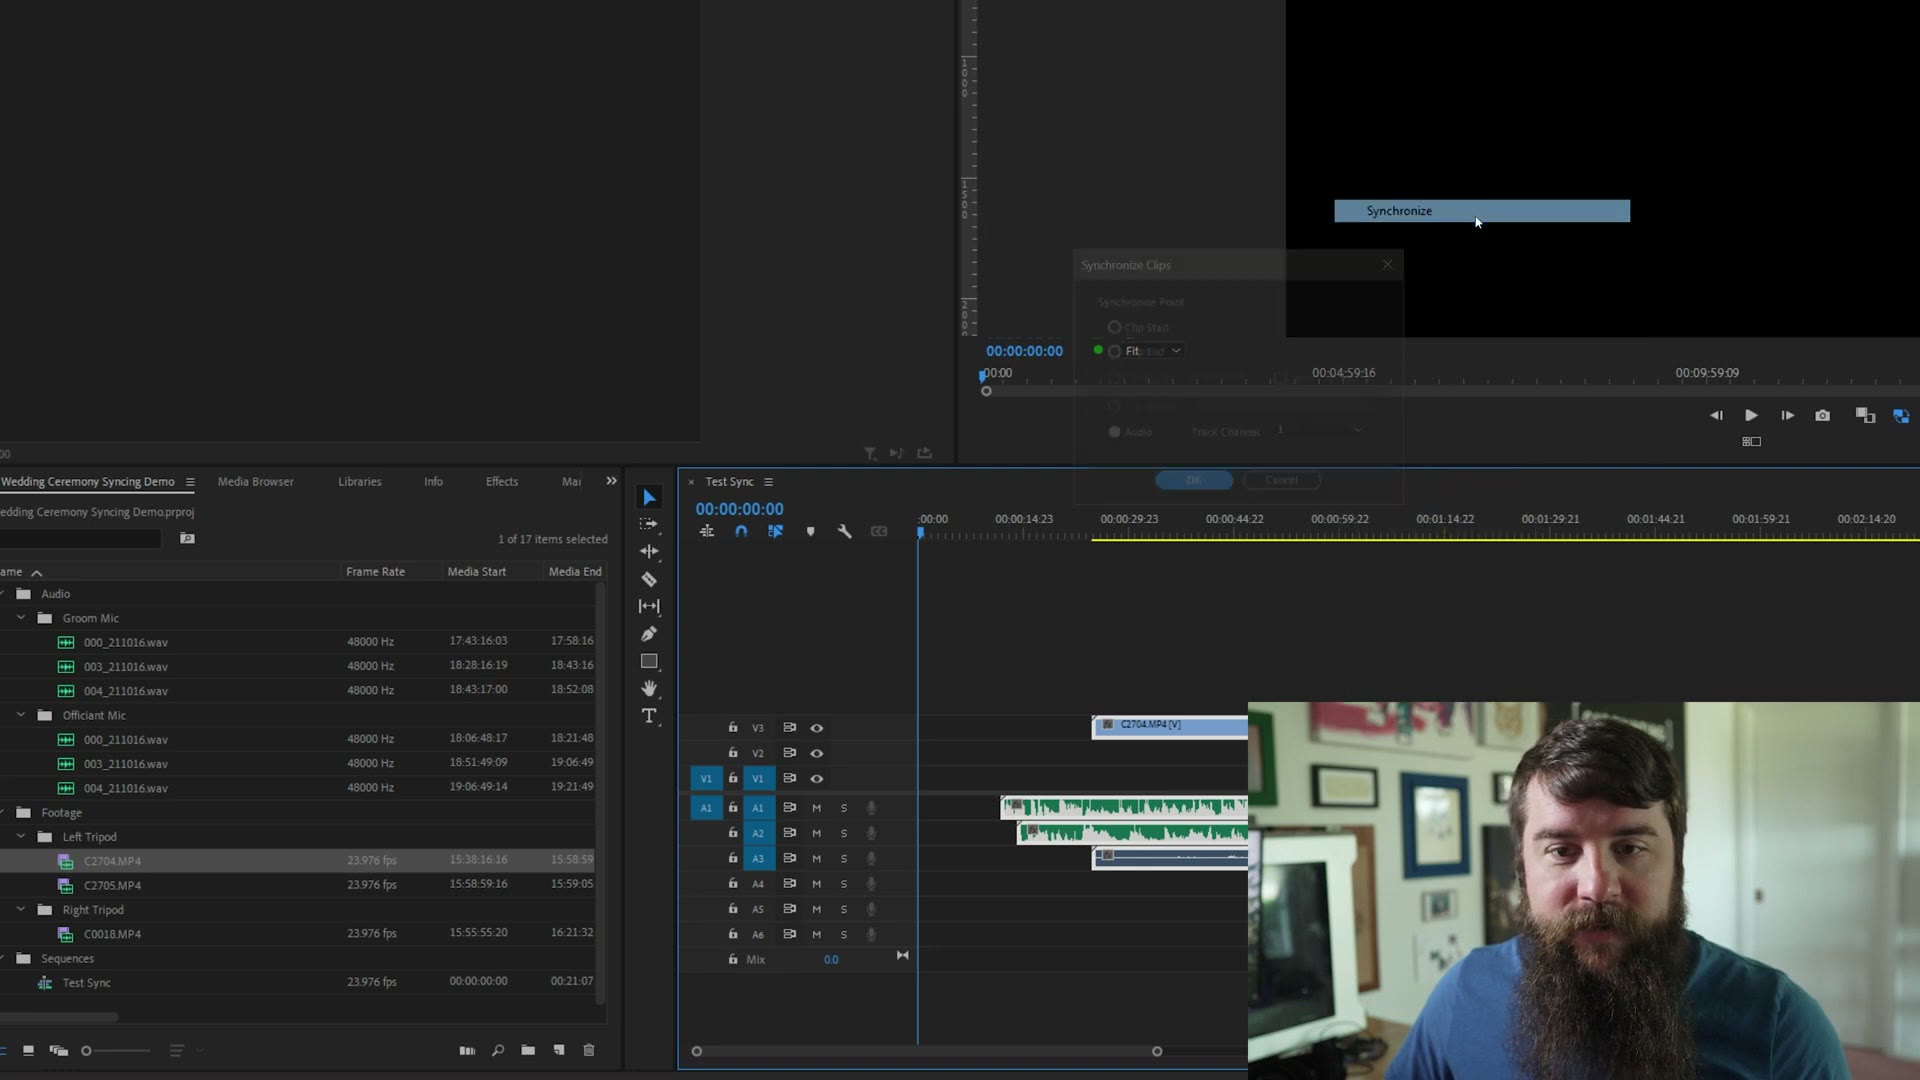
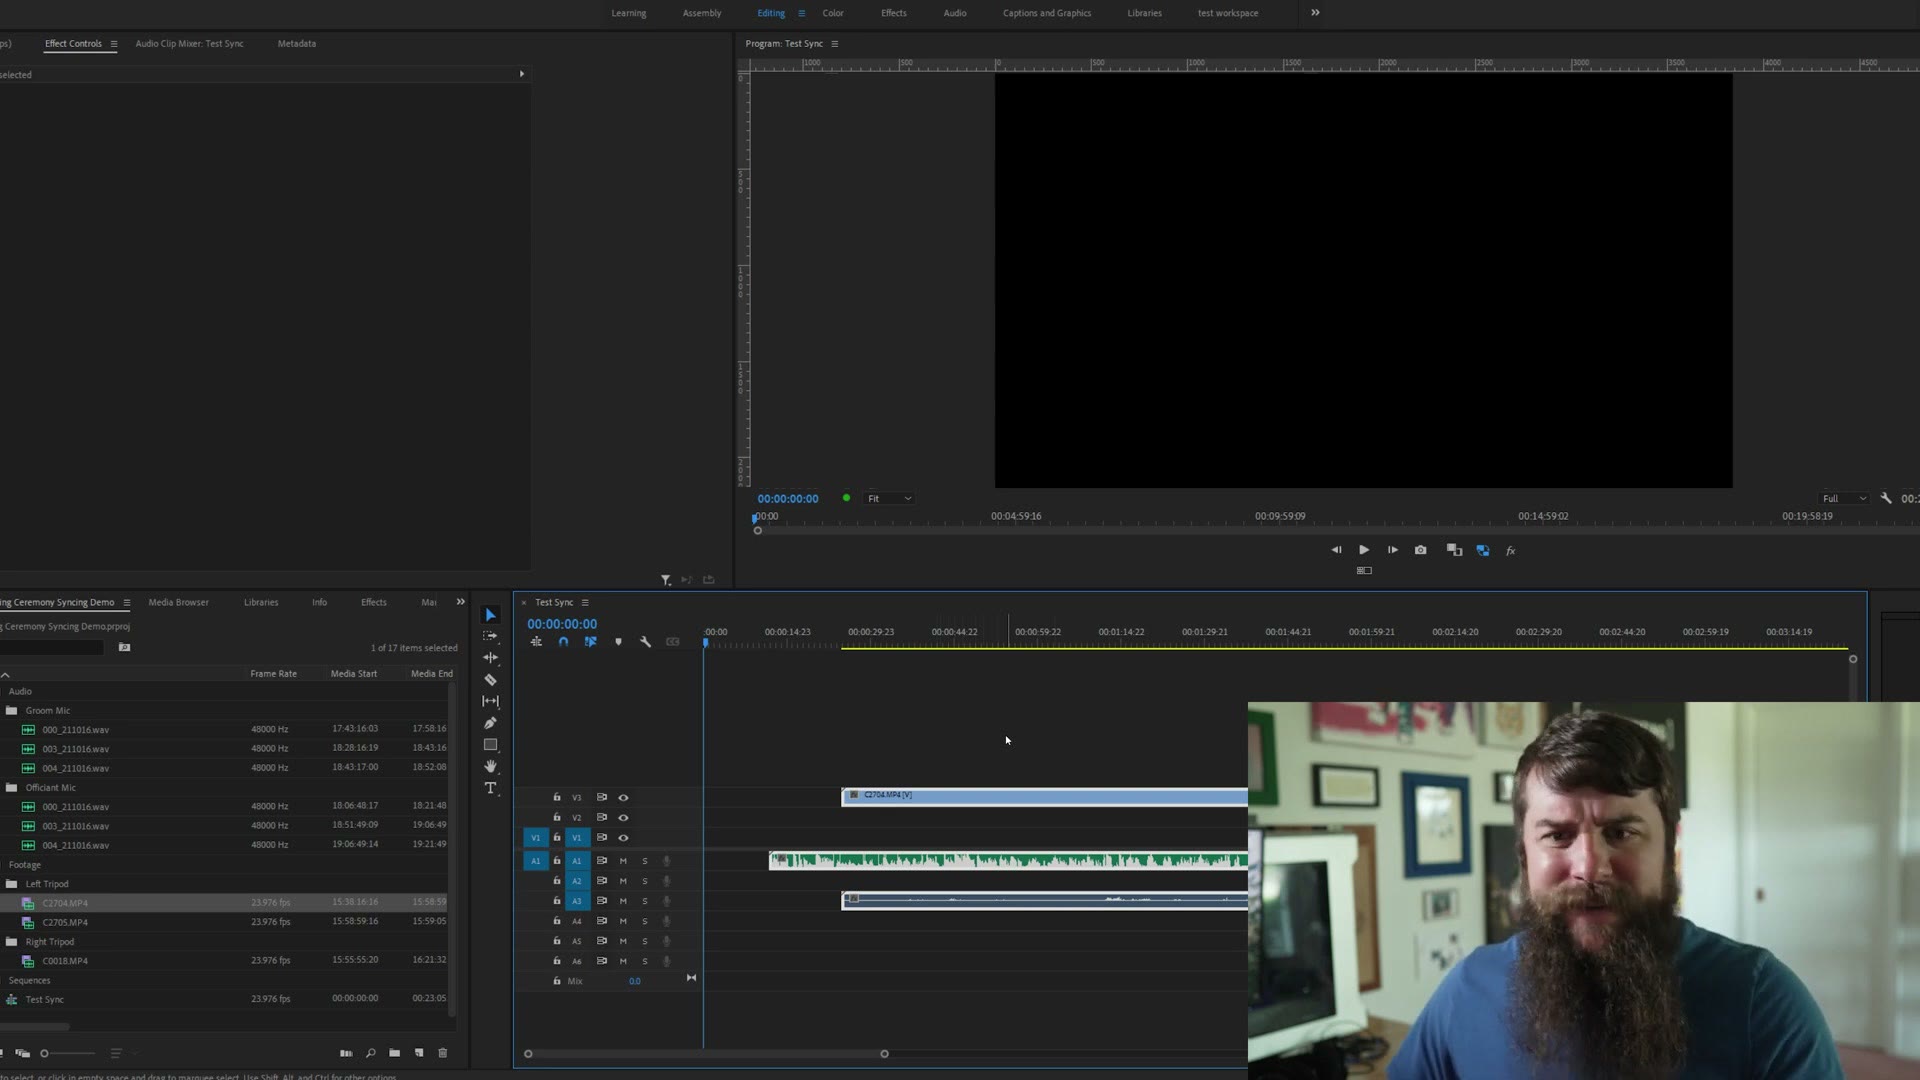
And that just took a while, and I only had two audio tracks and one video track. For a wedding ceremony you’re typically going to have a whole lot more than that, and this gets super time consuming really fast.
The FAST Way To Sync A LOT Of Audio & Video
So here’s a faster way. Close that test sequence, and make a new bin inside your footage folder. Select all of the audio and video clips from the ceremony, press Control C on PC or Command C on Mac, go into that new bin, and press Control V or Command V to paste them all in there. It doesn’t matter how they’re labeled and it doesn’t matter which camera or recorder they came from. Just get them all into one bin.
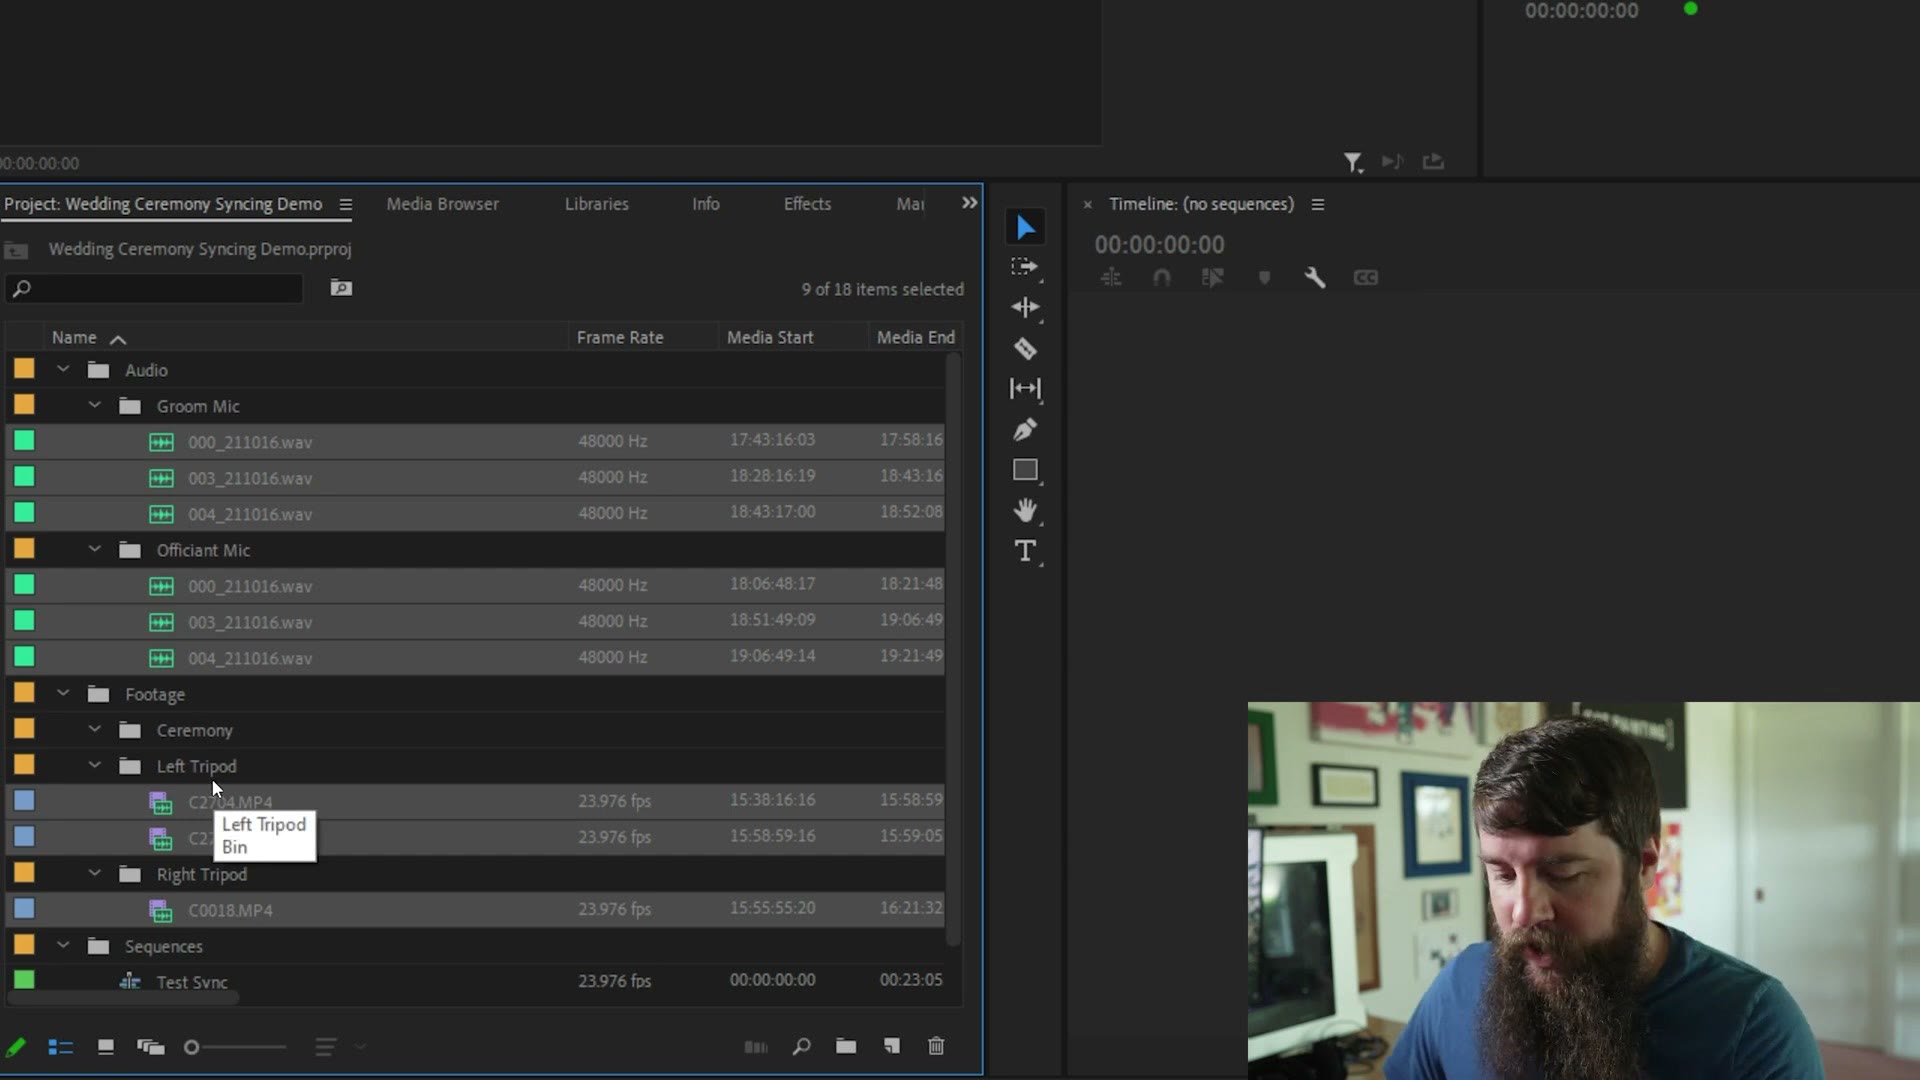
Then with all of them still selected, right click and choose Create Multi-Camera Source Sequence.
Wait Matt, are we making a multi-camera sequence? Yes, but only as a shortcut to sync everything up. This is not a multicam tutorial, so do not freak out, we are not changing the title of this thing halfway through.
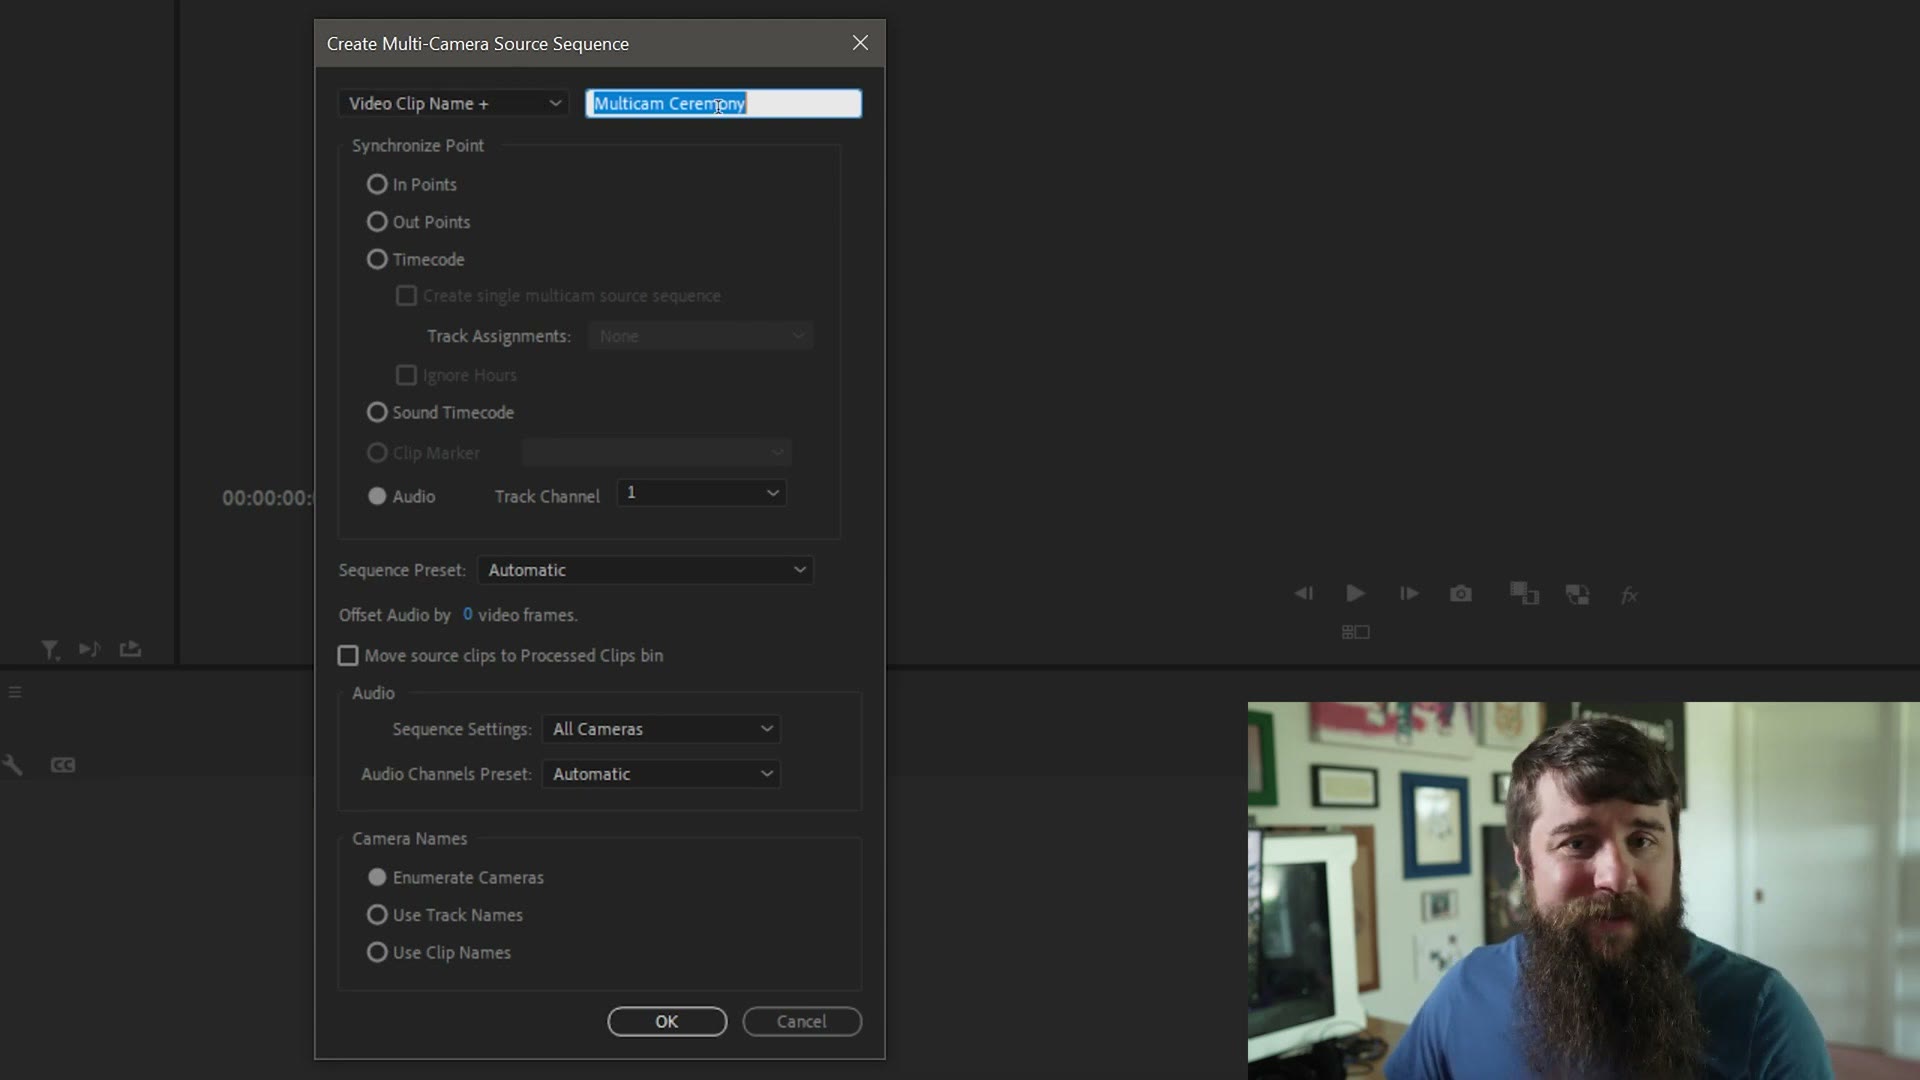
Most of these settings are fine by default. You can leave the name as multicam ceremony. Just make sure that for Synchronize Point you have Audio selected, so Premiere analyzes the audio in your files.
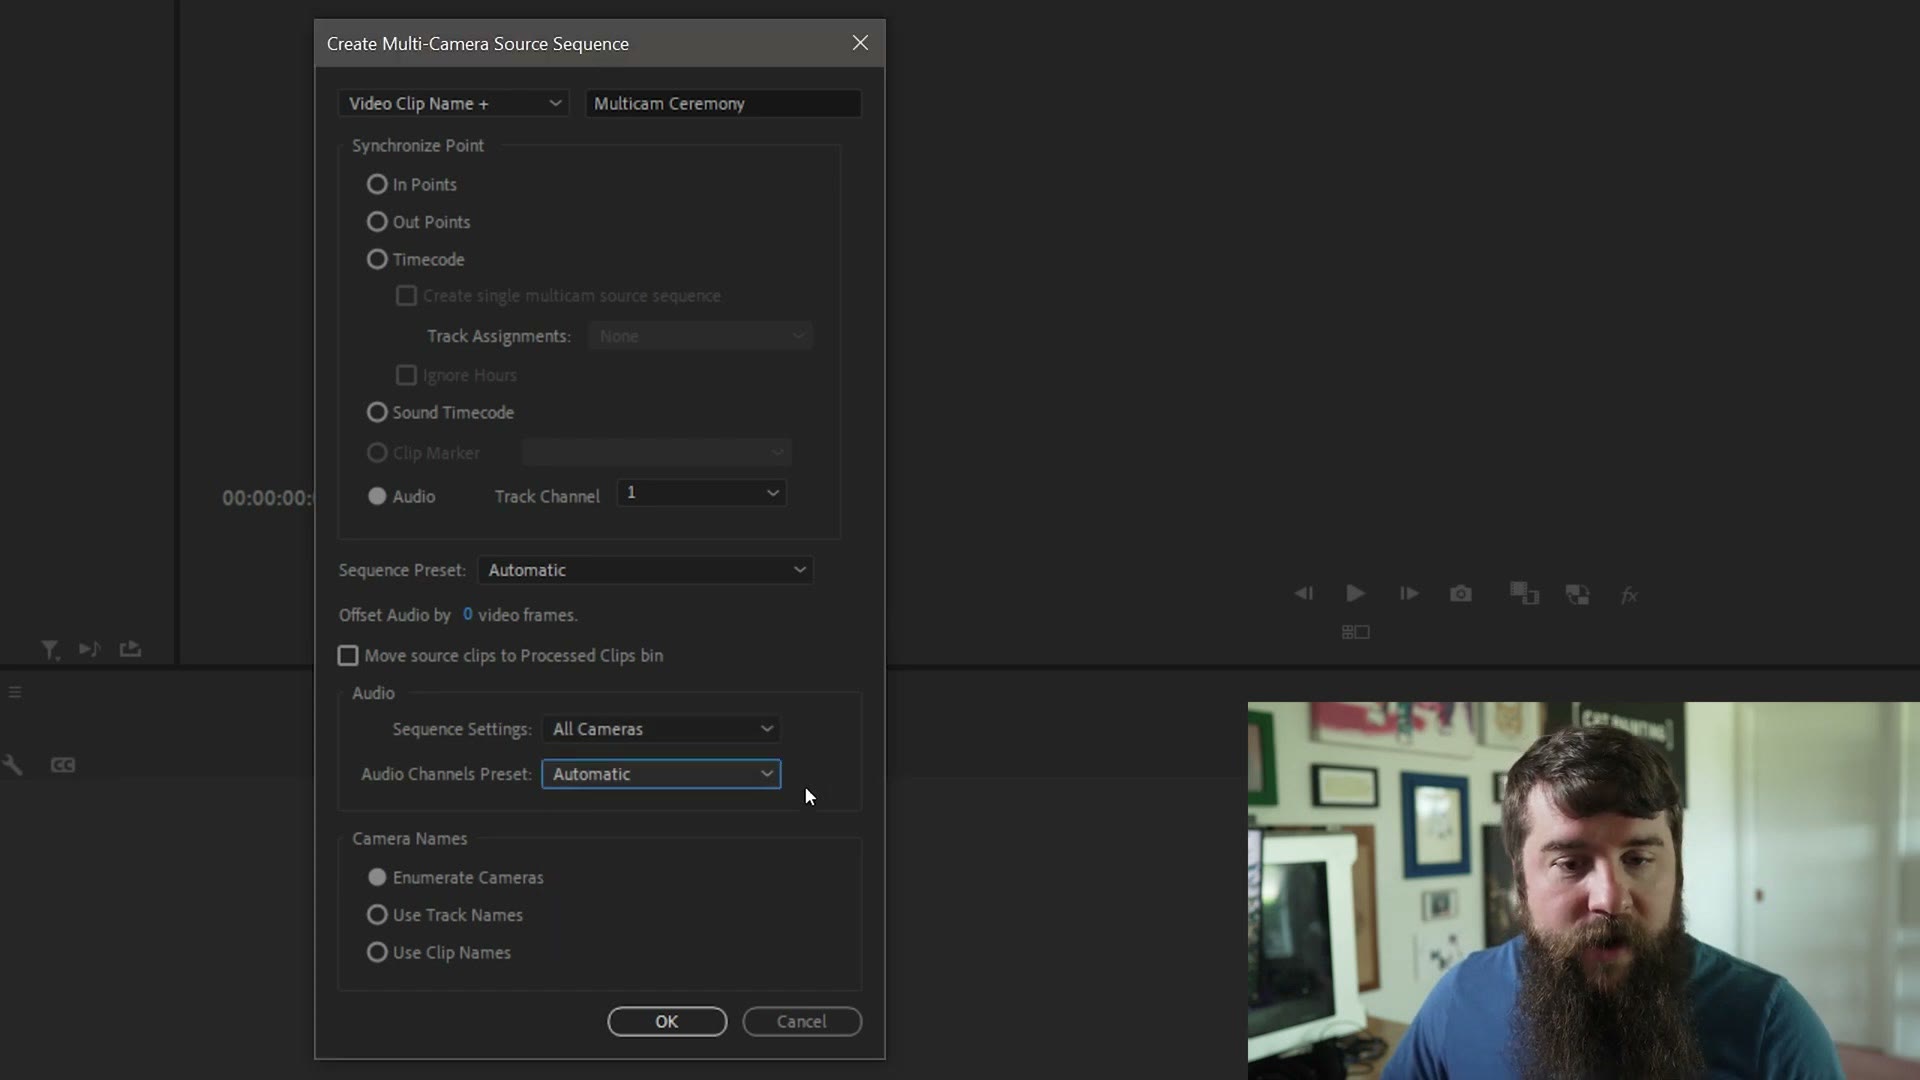
Then down in the Audio section, for Sequence Settings make sure it’s set to All Cameras. You do not want Camera 1, because then Premiere only listens to the audio from camera one, and you want it listening to all of them. Leave Audio Channels Preset on Automatic, leave the rest on Numerous Cameras, and press OK.
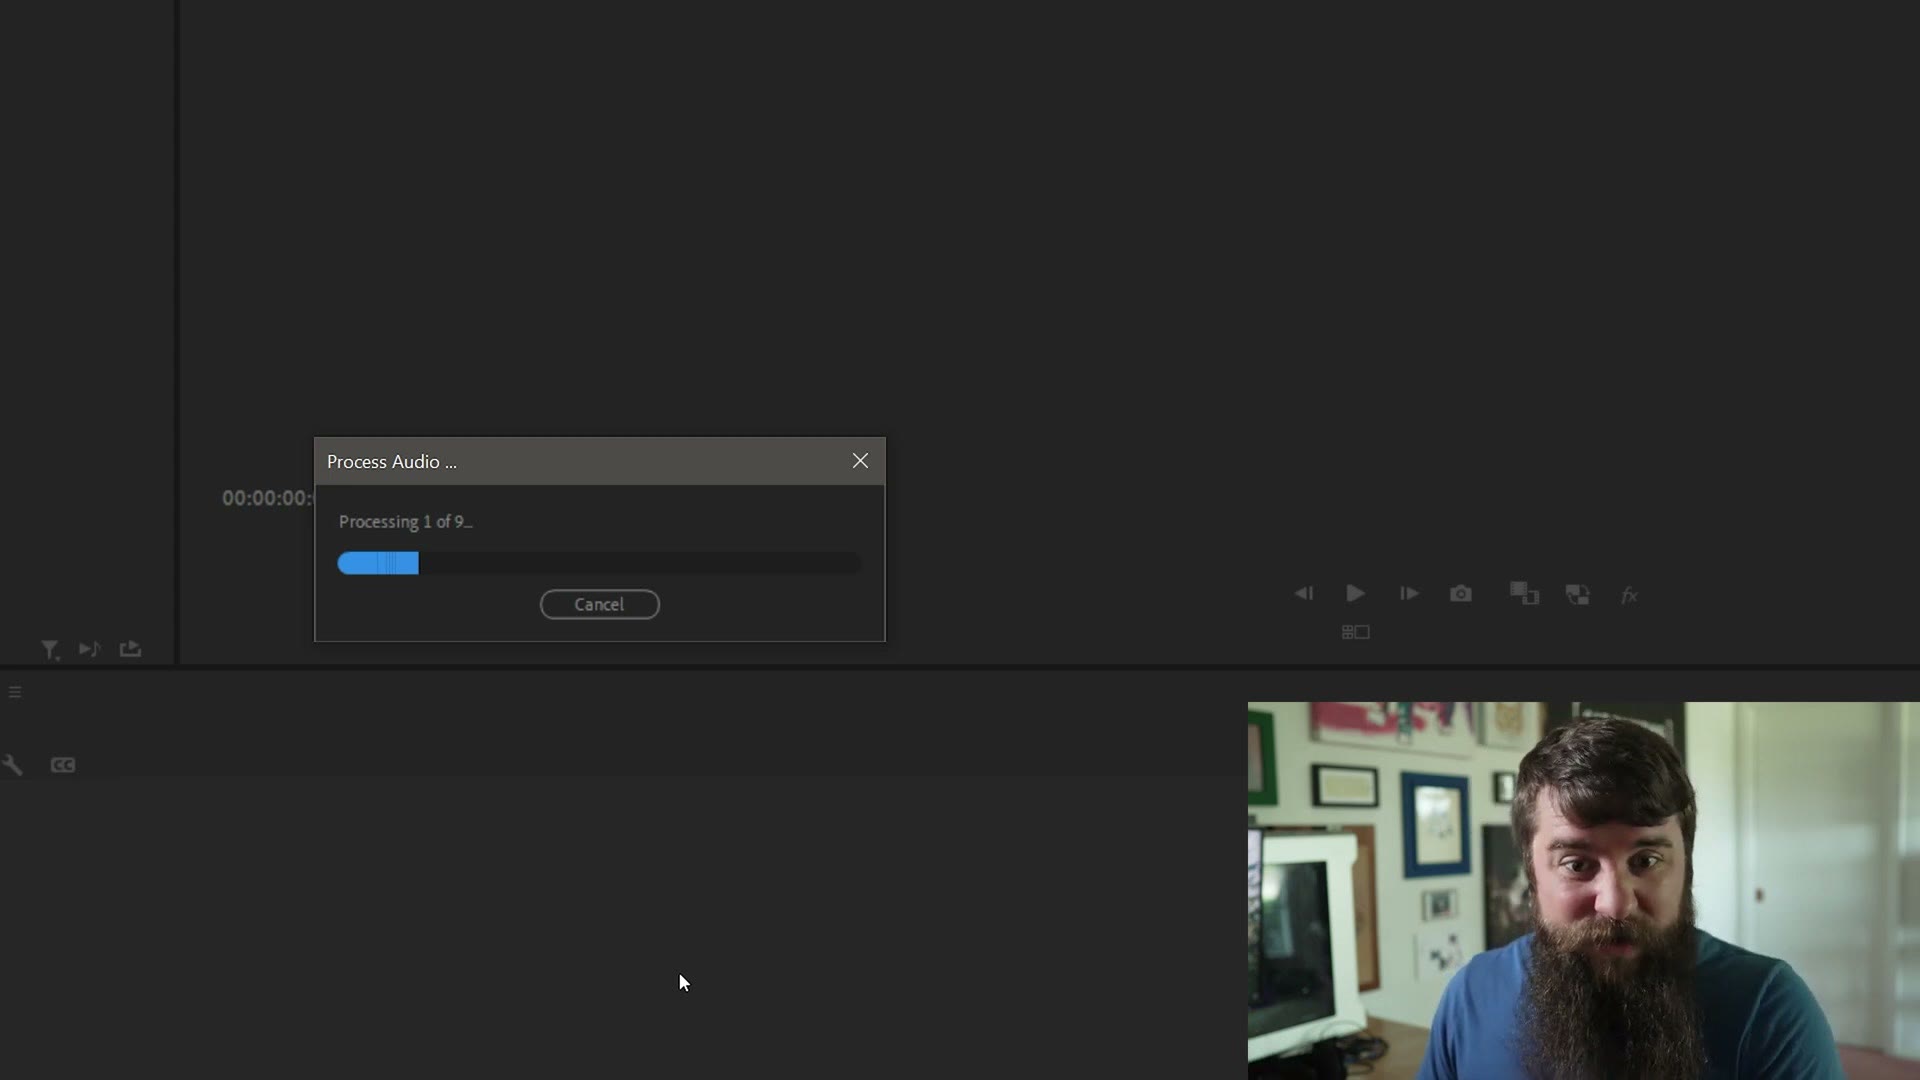
Premiere will now analyze all of those clips, and depending on how many you have this could take a bit. If you’ve got a whole ceremony with a ton of angles and audio sources, go have a stretch, walk around a little, and come back.
If a warning pops up saying audio synchronize failure, don’t worry, we’re going to cover how to fix that in a bit.
Over on the left you’ll see you now have a new multicam ceremony sequence. Let’s not leave it sitting in the footage folder, so drag it down into your sequences folder to keep things clean.
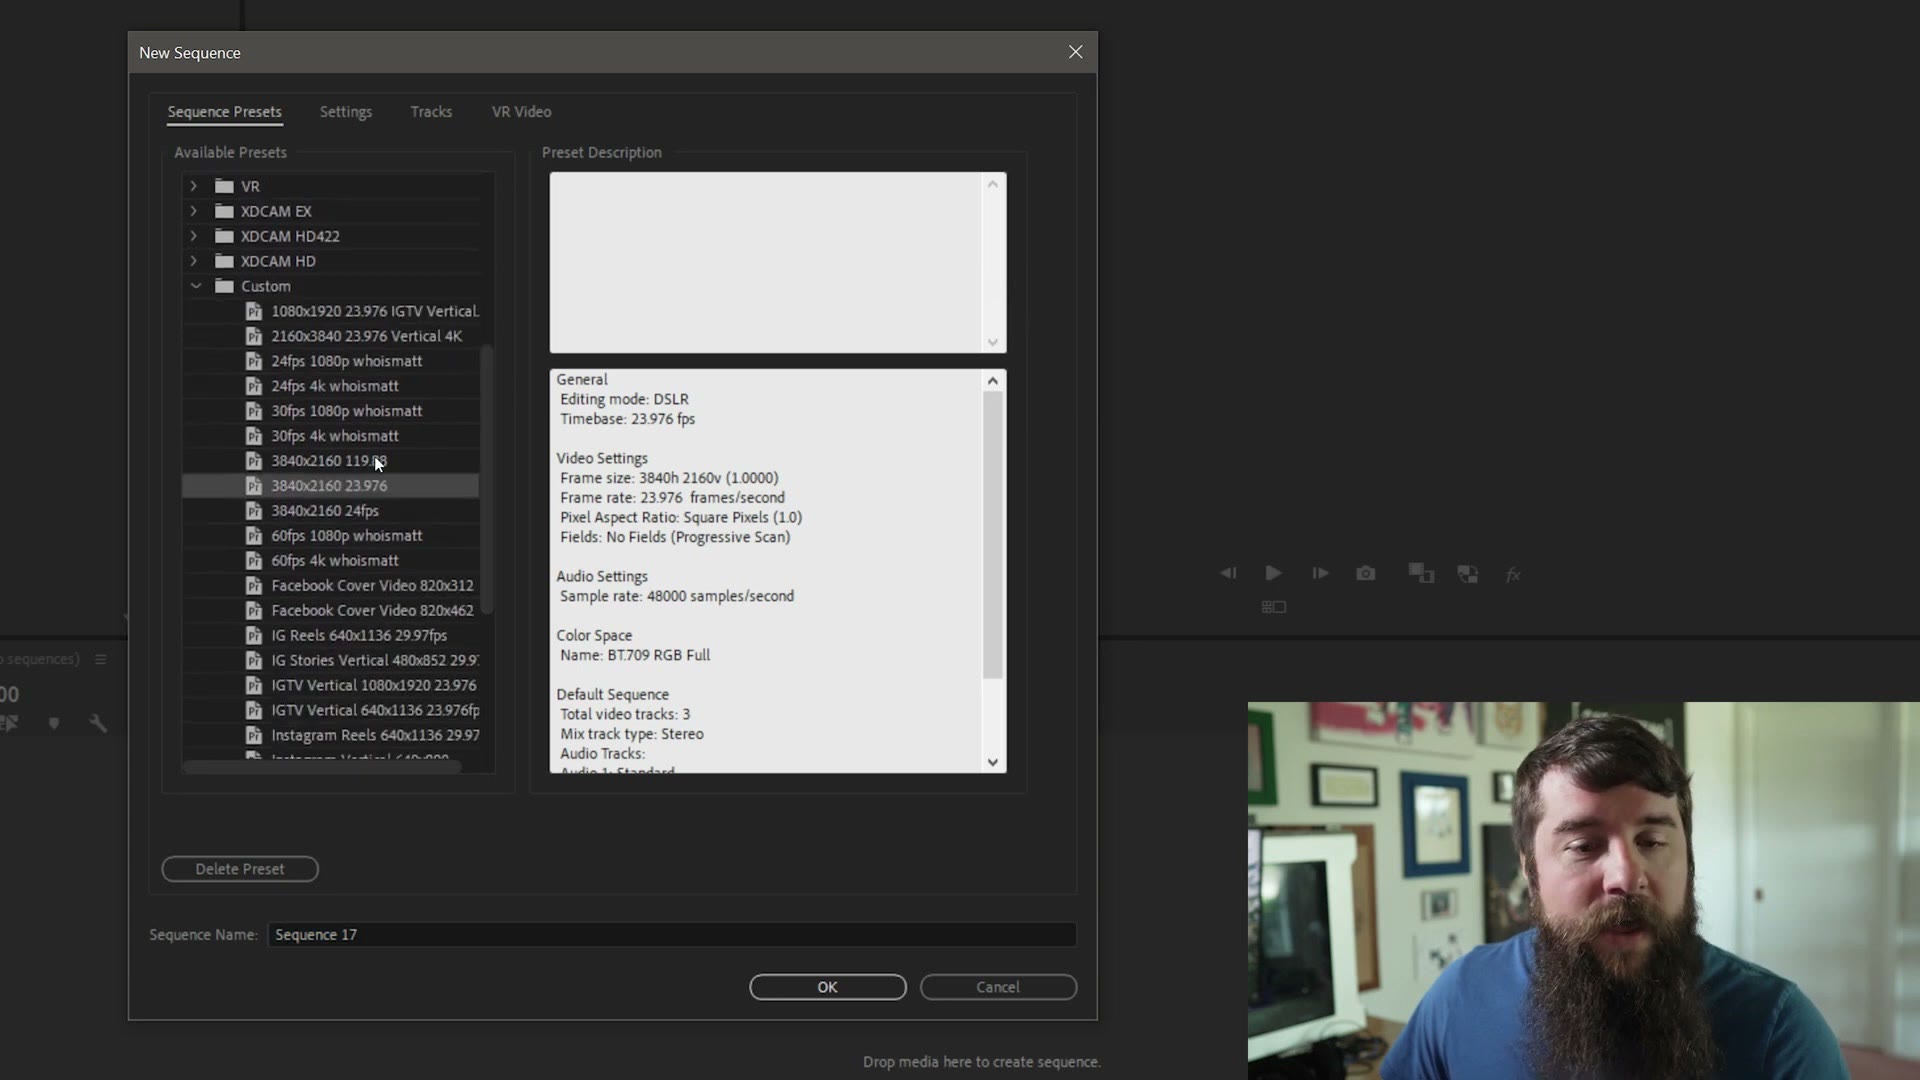
Next, make a brand new sequence. I select my sequences folder first so the new one lands there, then press Control N on PC or Command N on Mac. I’ve got a custom preset here that’s 4K at 24 frames per second, because that matches the frame rate and resolution I want for the ceremony. Name it ceremony and press OK.
Now here is the important step. In that new sequence there’s a button on the left that says “insert and overwrite sequences as nests or individual clips.” Make sure it is unselected and not lit up blue.
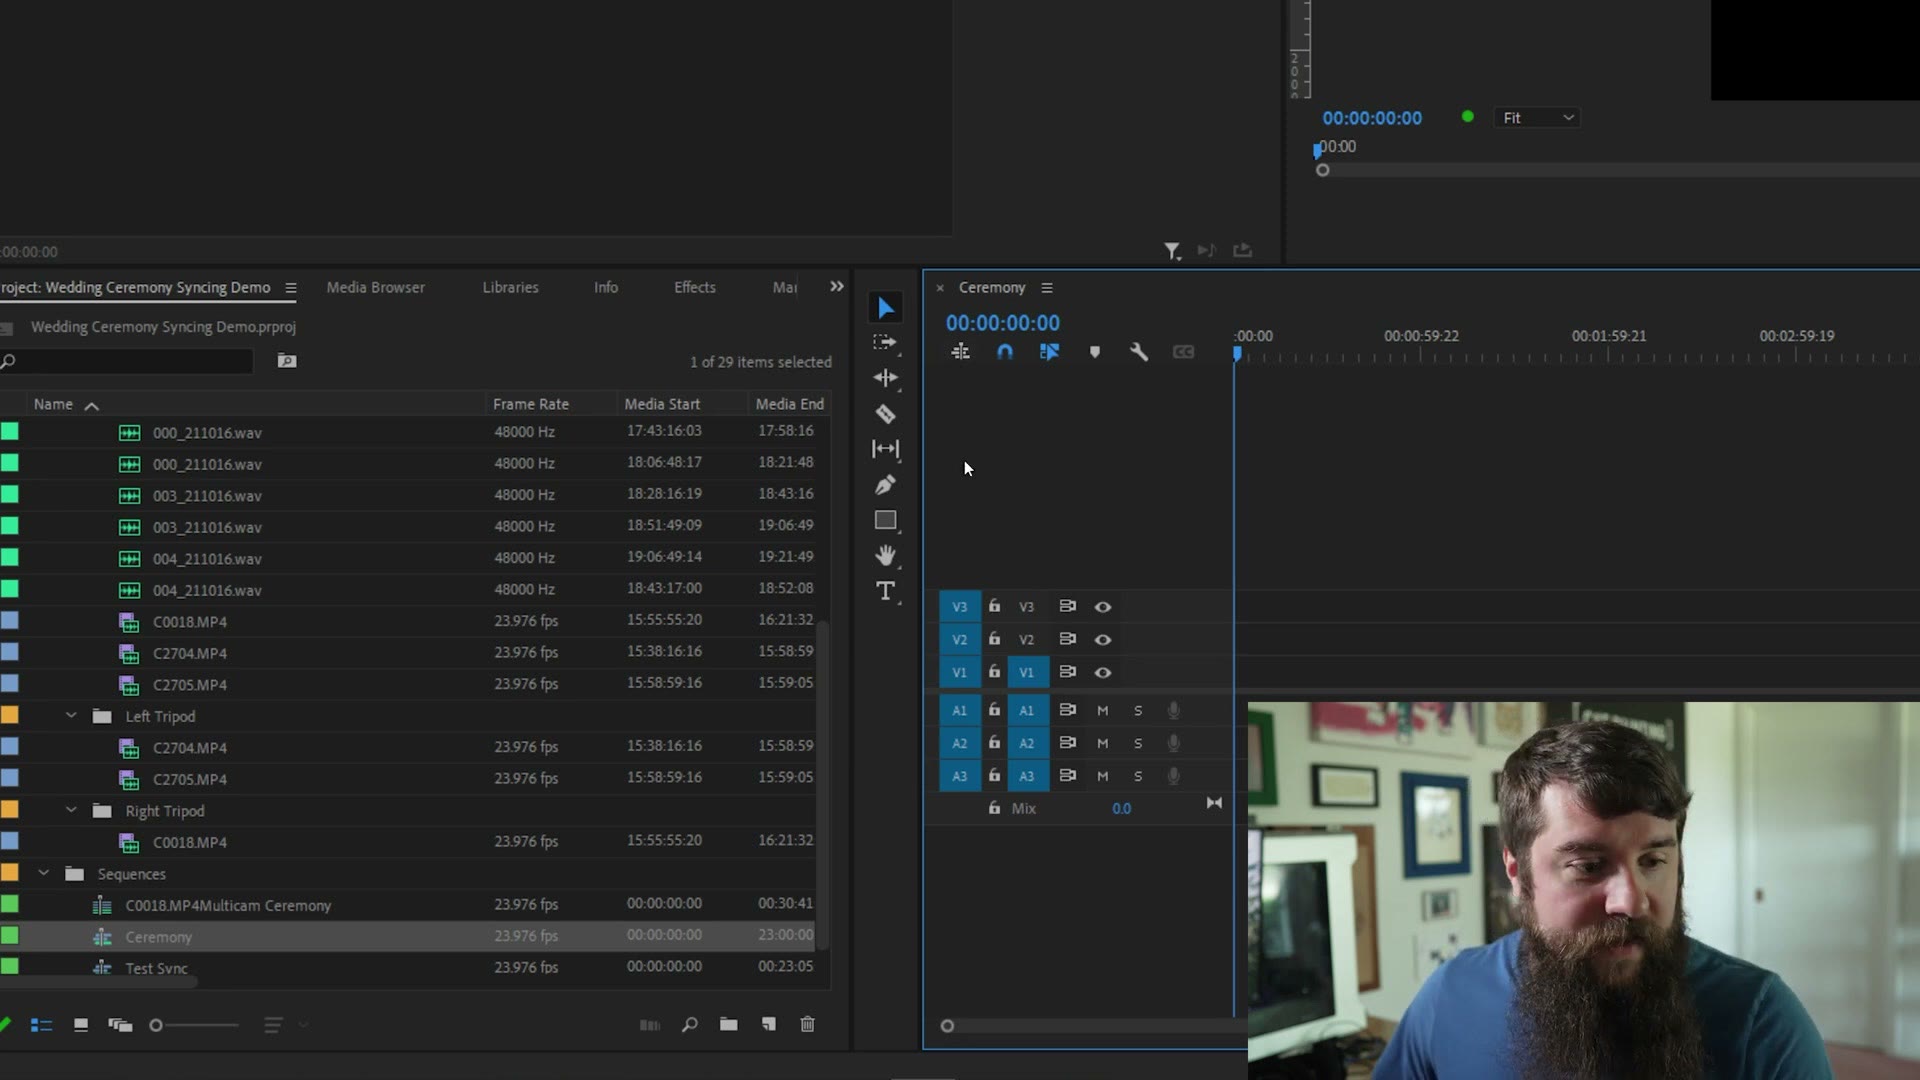
With that deselected, grab the multicam ceremony sequence you just made and drag it into this new sequence. Let go, and check it out. There’s all of your synchronized audio and video, laid out on the timeline.
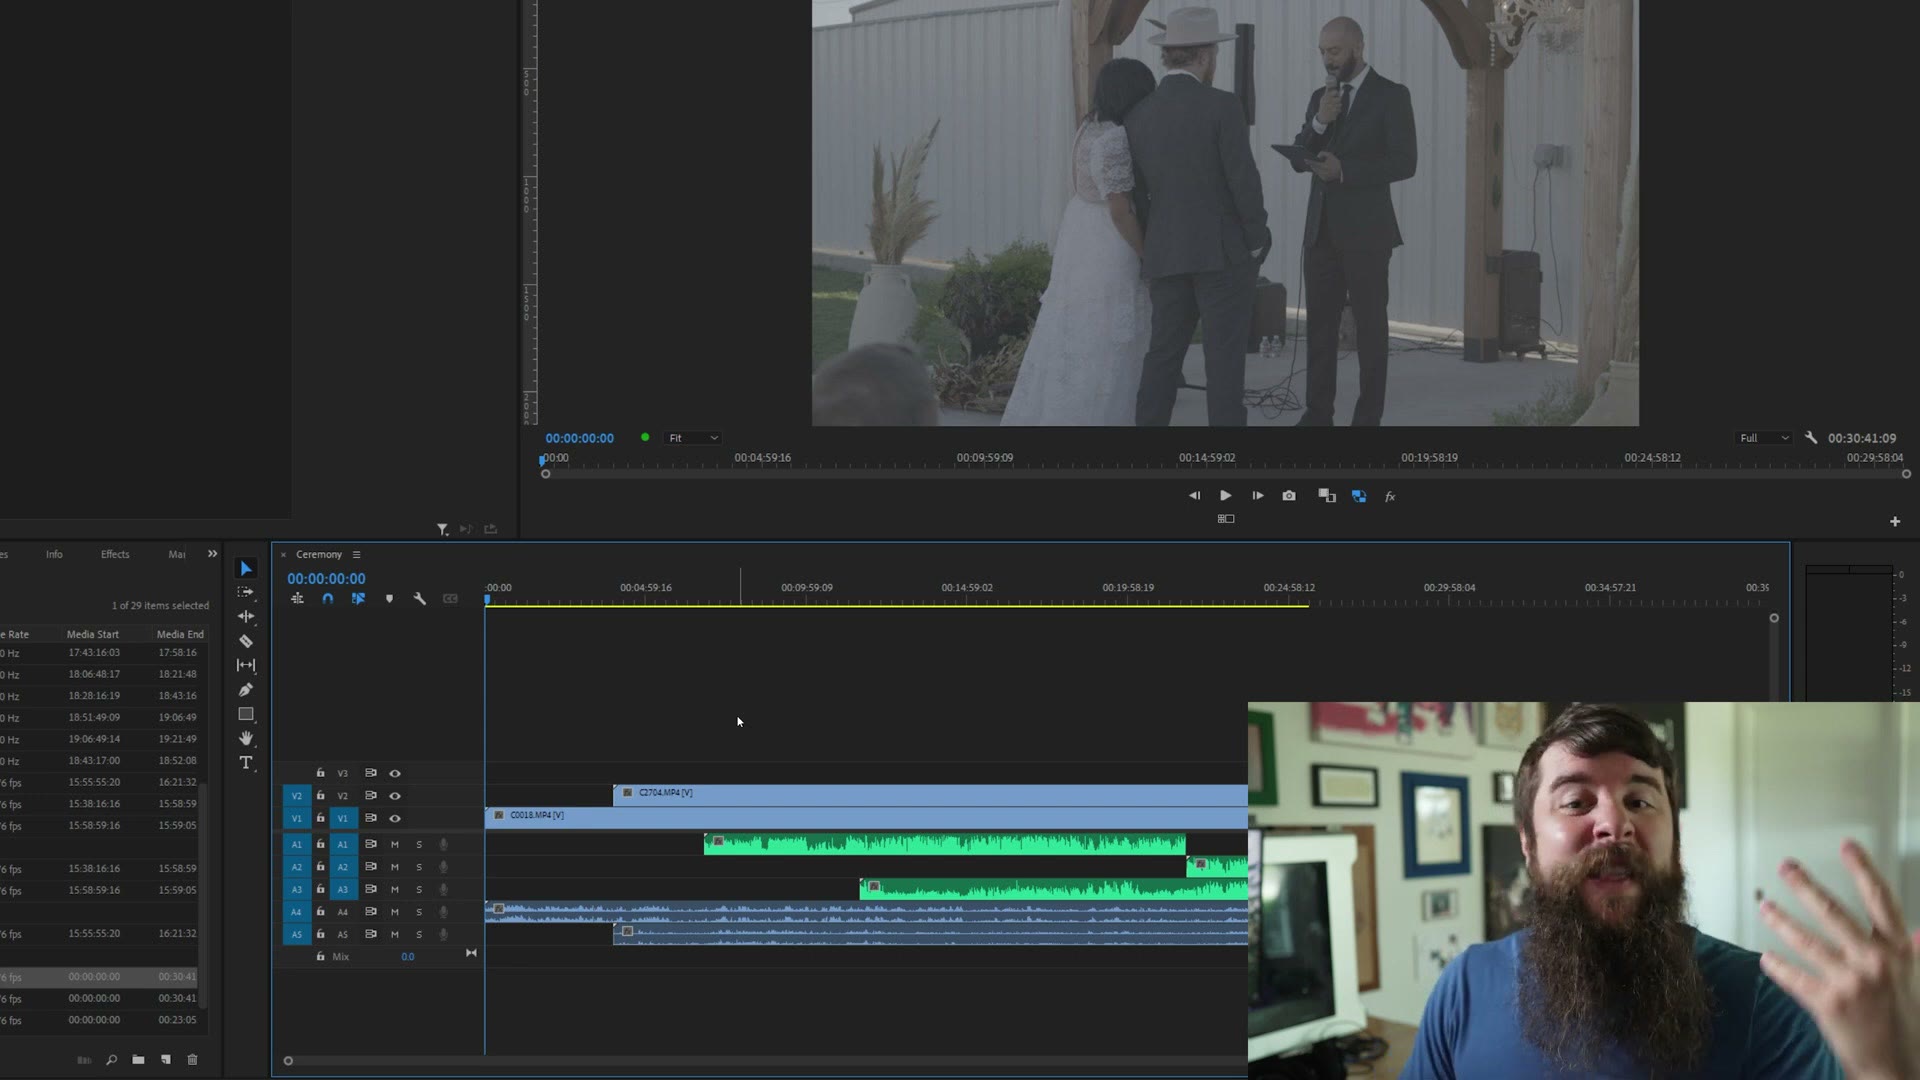
It does look a little cluttered, and there’s an empty track up top, but that’s only because I’m syncing two video tracks here. If you’re syncing a complete wedding ceremony you could easily end up with 30 plus video tracks, and it gets super messy.
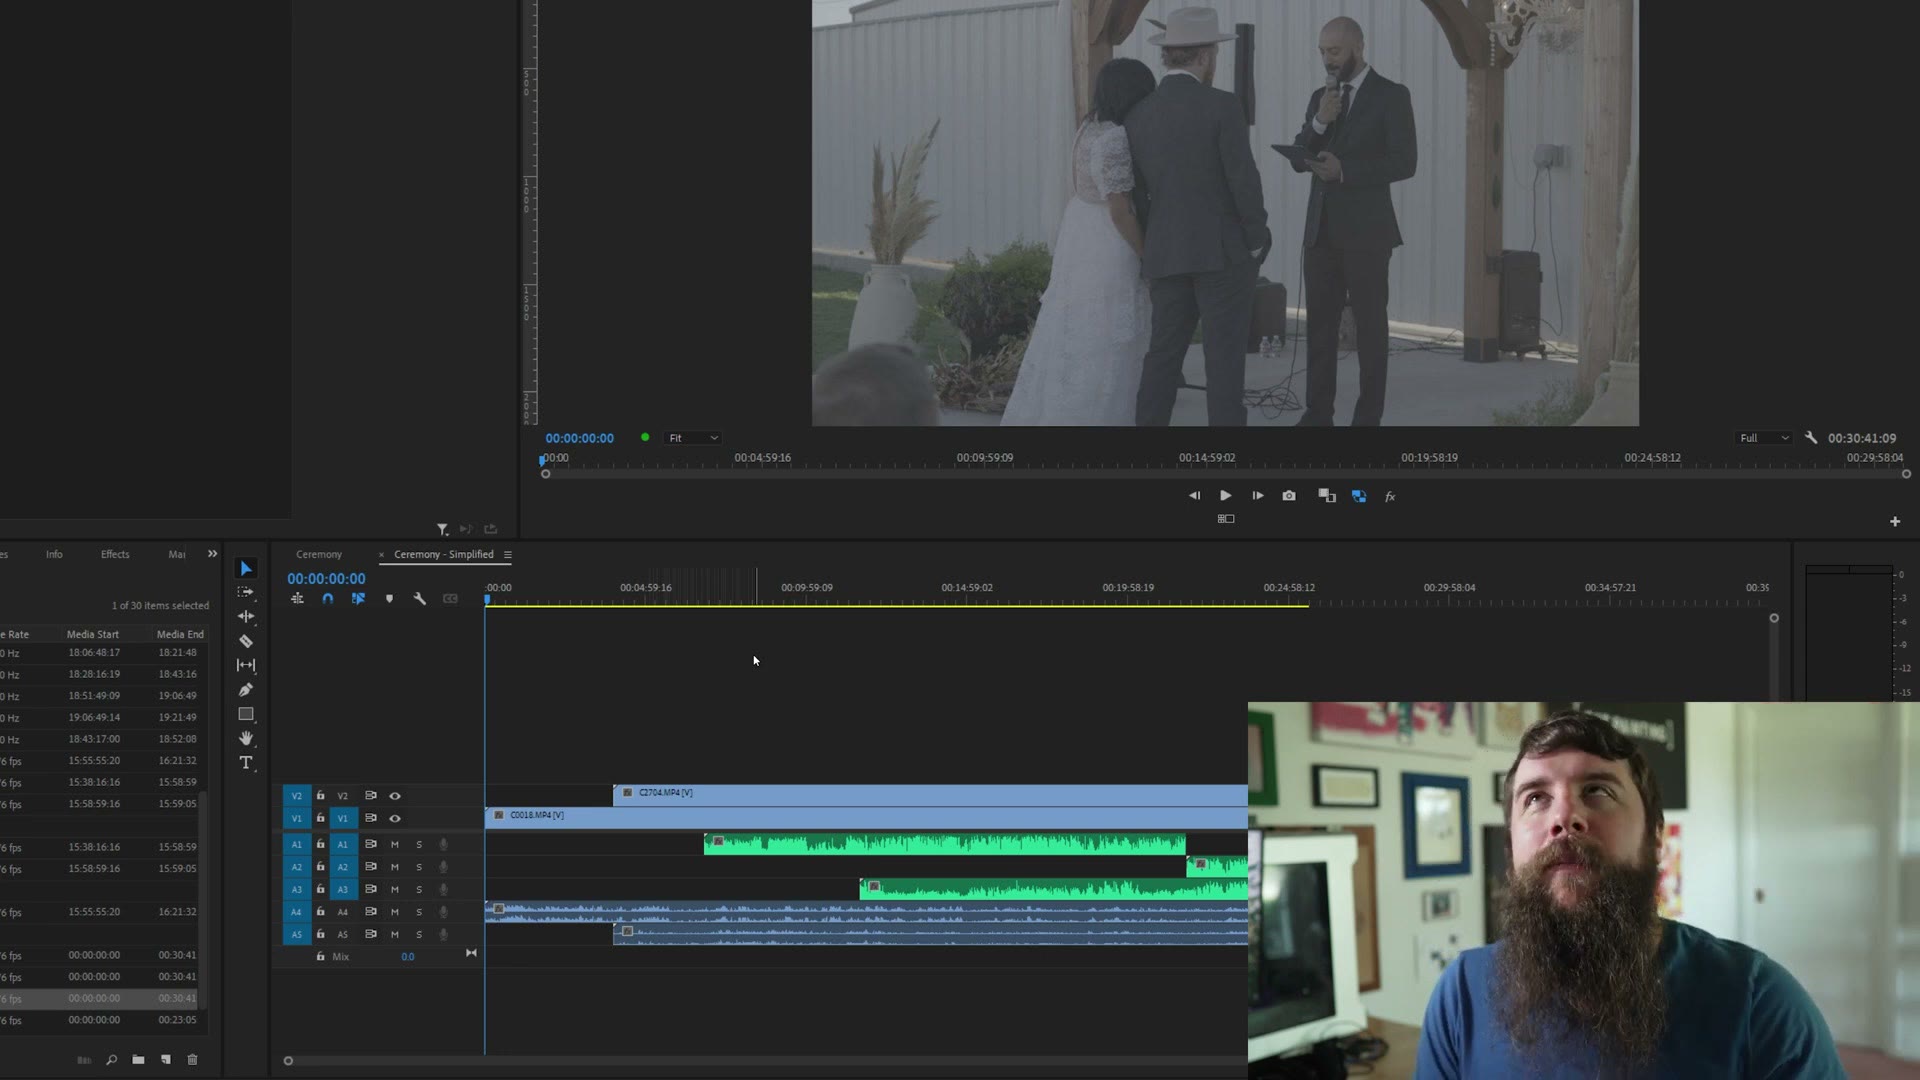
So let’s clean it up. With the sequence selected, go up to Sequence in the top menu and down to Simplify Sequence. Leave the name, or call it ceremony simplified. Check “close vertical gaps on video tracks,” then set it to remove from both and select empty tracks, and press OK.
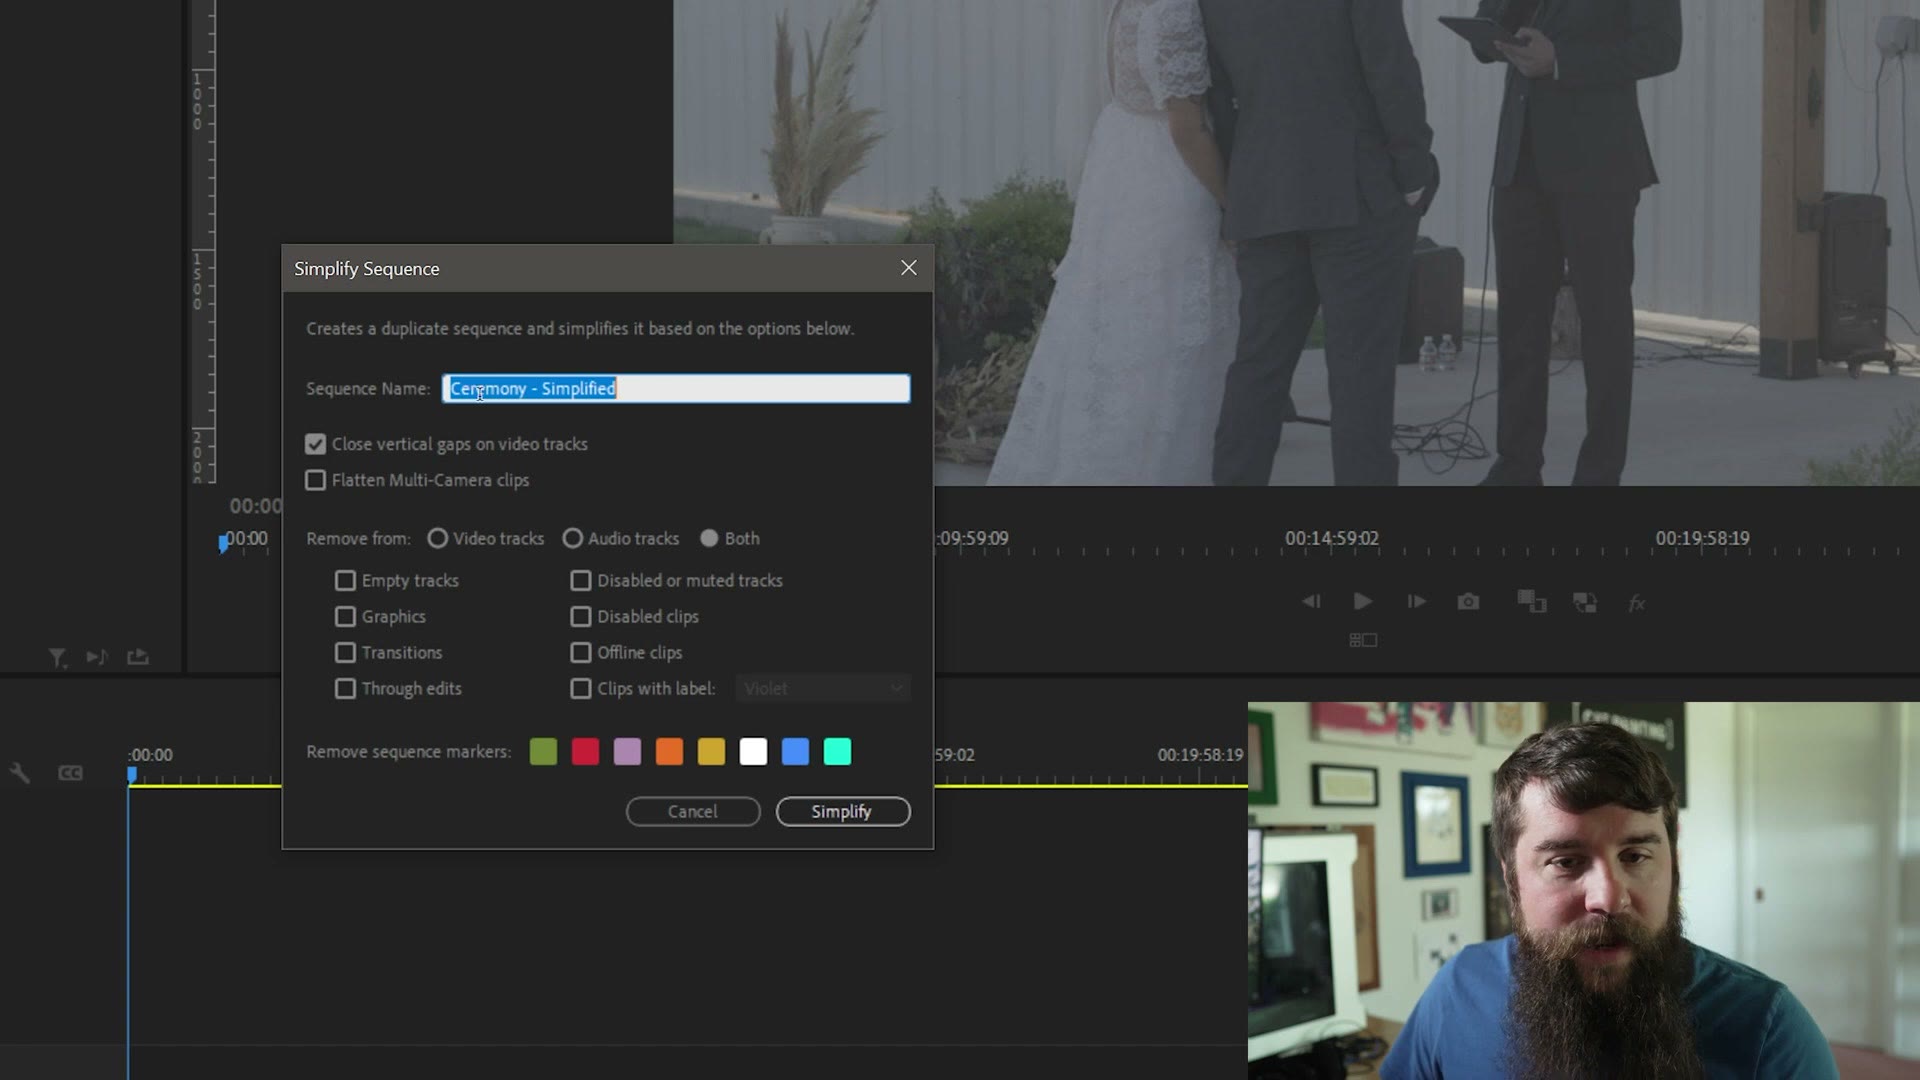
Premiere deletes that empty track automatically, and if you had a lot of video tracks it compresses them all down into just a few, which makes everything so much cleaner and quicker to edit. Your audio is still going to be on its own individual tracks, and I’ll get to an alternative for that in a minute.
What To Do If Premiere Can’t Sync Everything
Let’s deal with that warning where Premiere tells you it couldn’t sync everything.
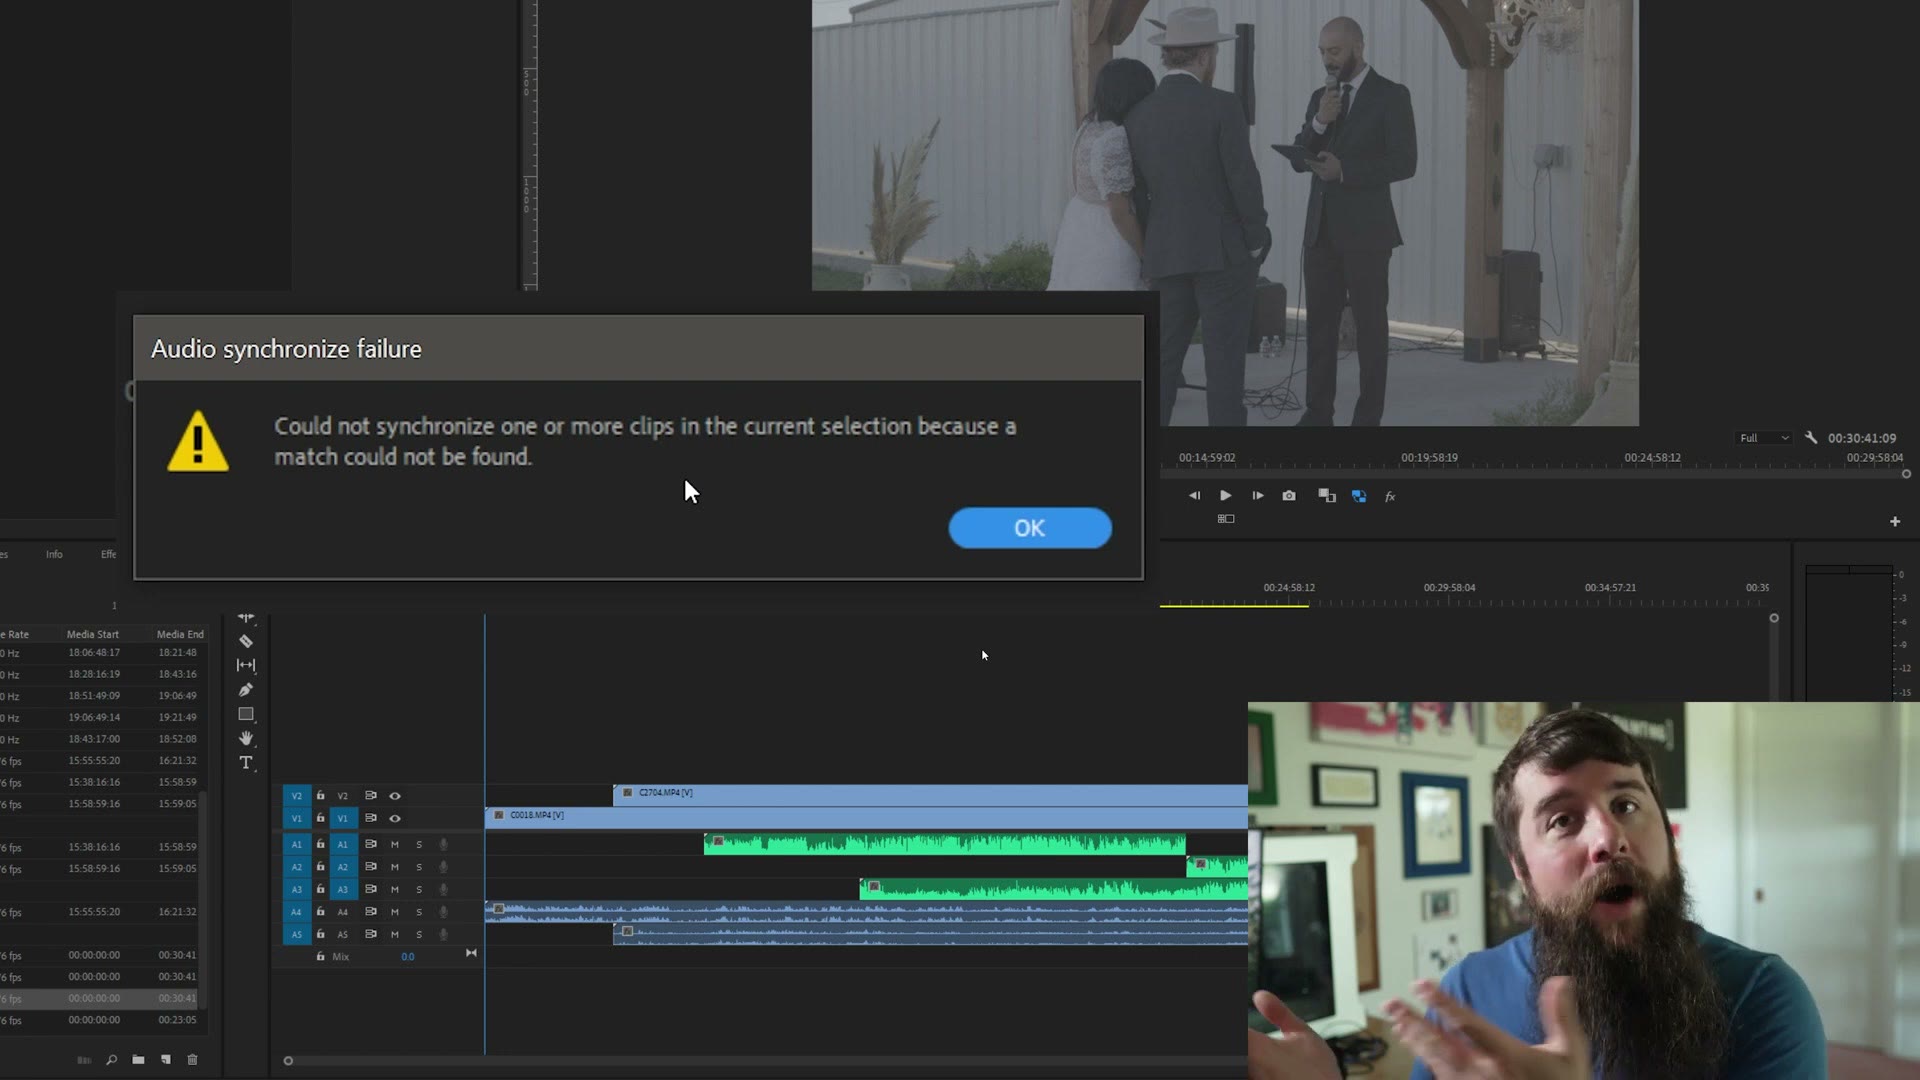
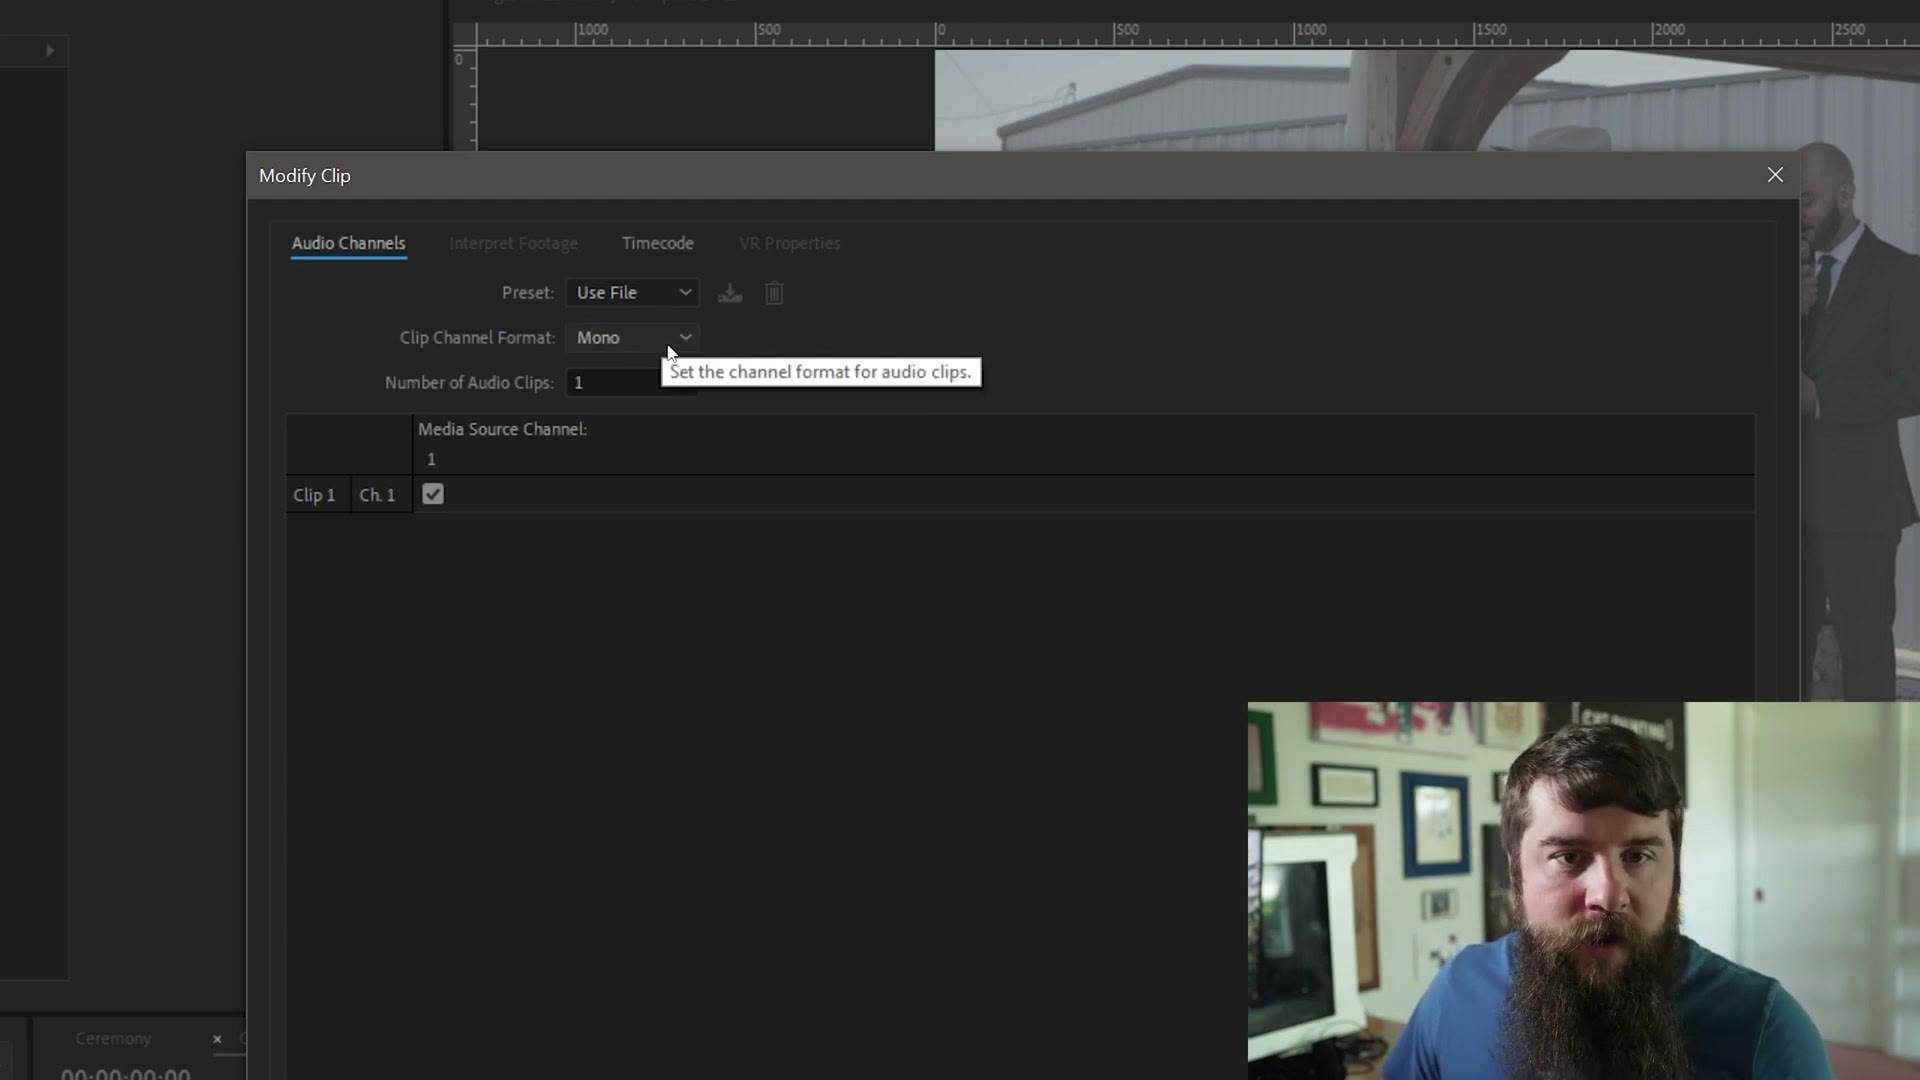
If that happens, it’s most likely because some of your audio sources were recording in mono instead of stereo. To fix it you have to find out which track didn’t sync, and unfortunately Premiere is not going to tell you. What I’ve found works best is to right click on a track, select Reveal In Project, and go through until you figure out which ones aren’t accounted for. In my case it was two audio tracks starting with 000 that didn’t make it.
Select both of them, right click, go to Modify, then Audio Channels. You’ll see they’re recorded in mono, and the issue is that Premiere wants them in stereo to match everything else. Change that to stereo and press OK.
To finish syncing those two, drag each one down to the timeline on its own track, press Control A or Command A, right click, select Synchronize, make sure Audio is selected for the sync point, and press OK. Premiere analyzes them again and voila, it syncs up the tracks it couldn’t find the first time.
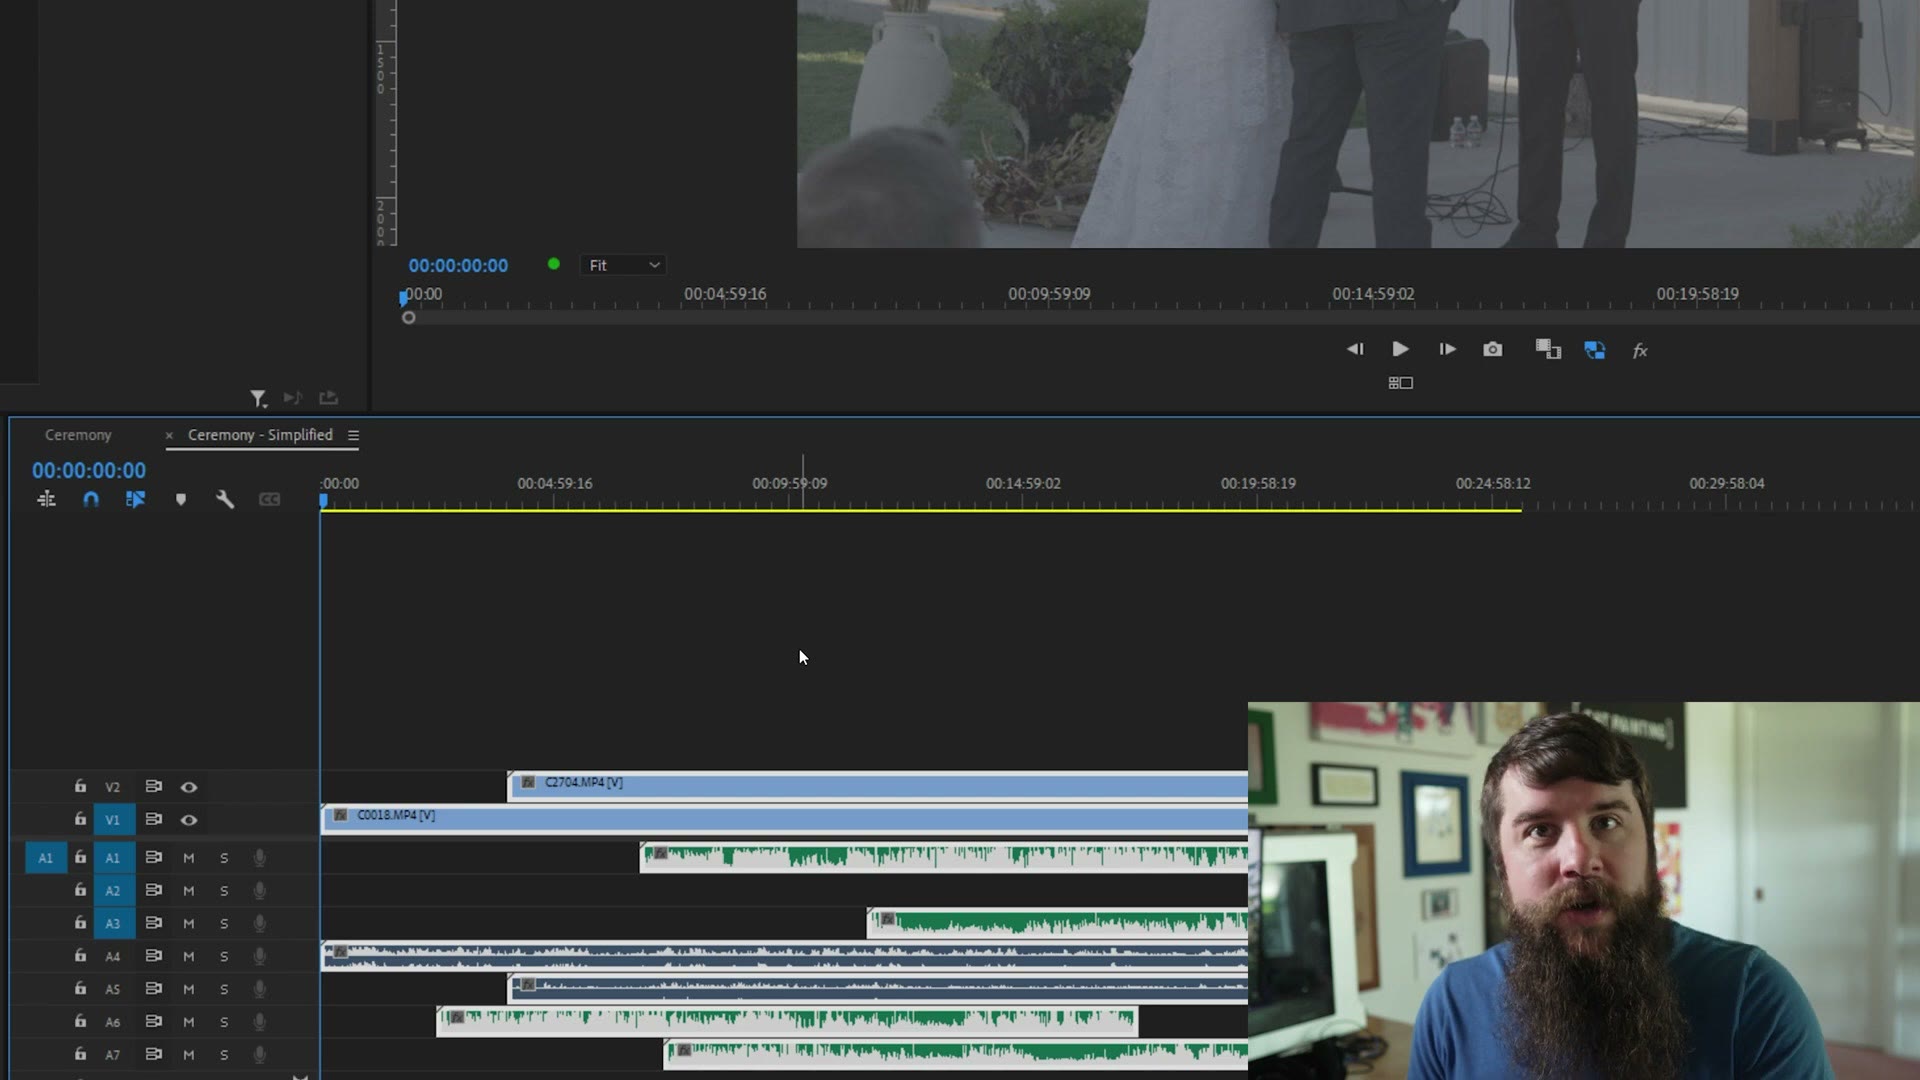
That works great, though I really wish Premiere had a way to just tell you which tracks failed, because digging around to find them can be a real pain. On top of that, while Premiere will sync all your audio and video, it does nothing about audio drift. So if your audio and video slowly wander out of sync over the length of a long clip, you’re fixing that by hand.
My Favorite Way To Sync Audio & Video Fast
But what if you don’t want to fix drift manually, and you want to guarantee that everything syncs and any drift gets taken care of automatically? Here’s the second technique, and spoiler, this is the one I prefer. I will warn you though, it costs money.
Unlike the free way I just showed you, this one needs a program called PluralEyes, which at the time of writing costs $299. It’s also a bit difficult to find the one time payment option, so that link goes specifically to where you need to be so you end up with the perpetual license and not a monthly subscription.
If you want to go deeper, I’ve also got The NEW Way To Sync Audio & Video With Time Code In Premiere Pro 2025!, How To EASILY Sync Audio FASTER with TIMECODE & Your Tascam & Zoom Audio Recorders, and Adobe Responded To My Video About Editors Leaving Premiere Pro….
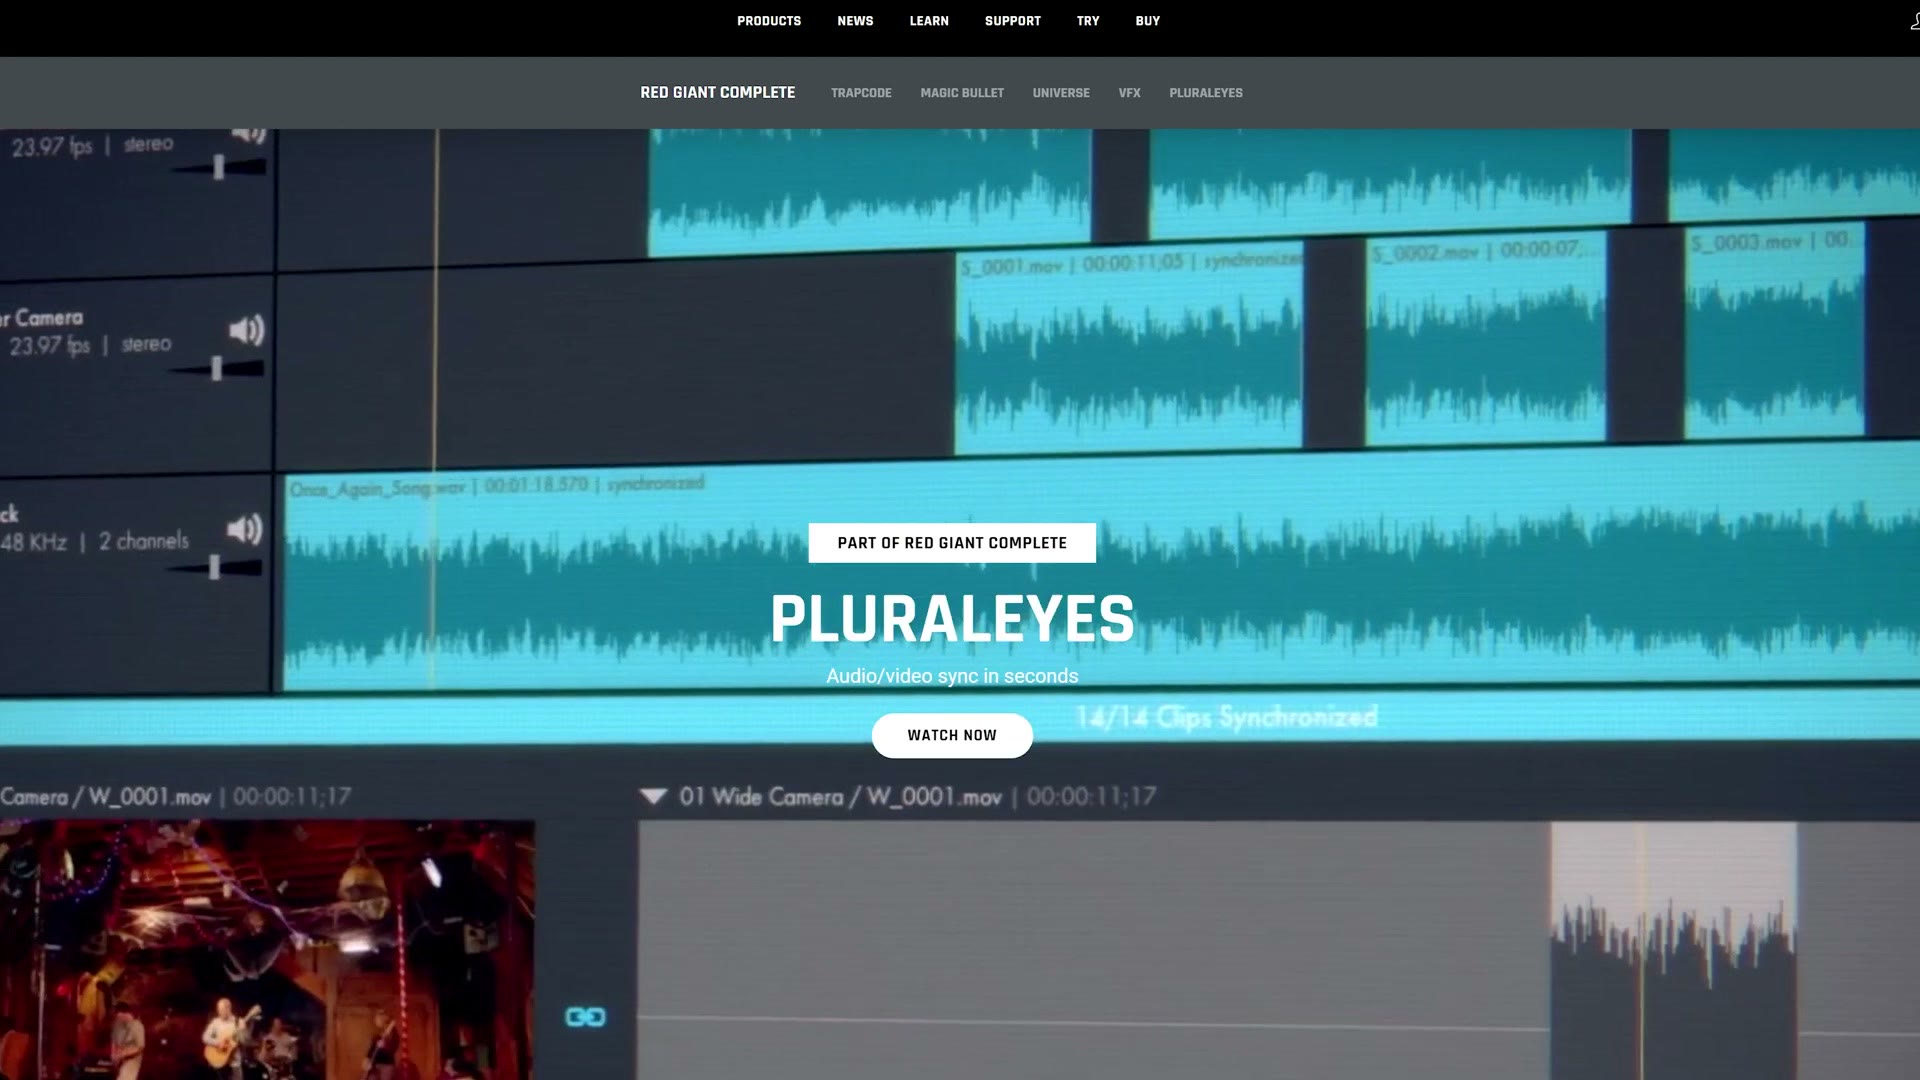
Also, for the sake of ethics, I want you to know this is not sponsored by PluralEyes. They don’t even know I’m writing about them.
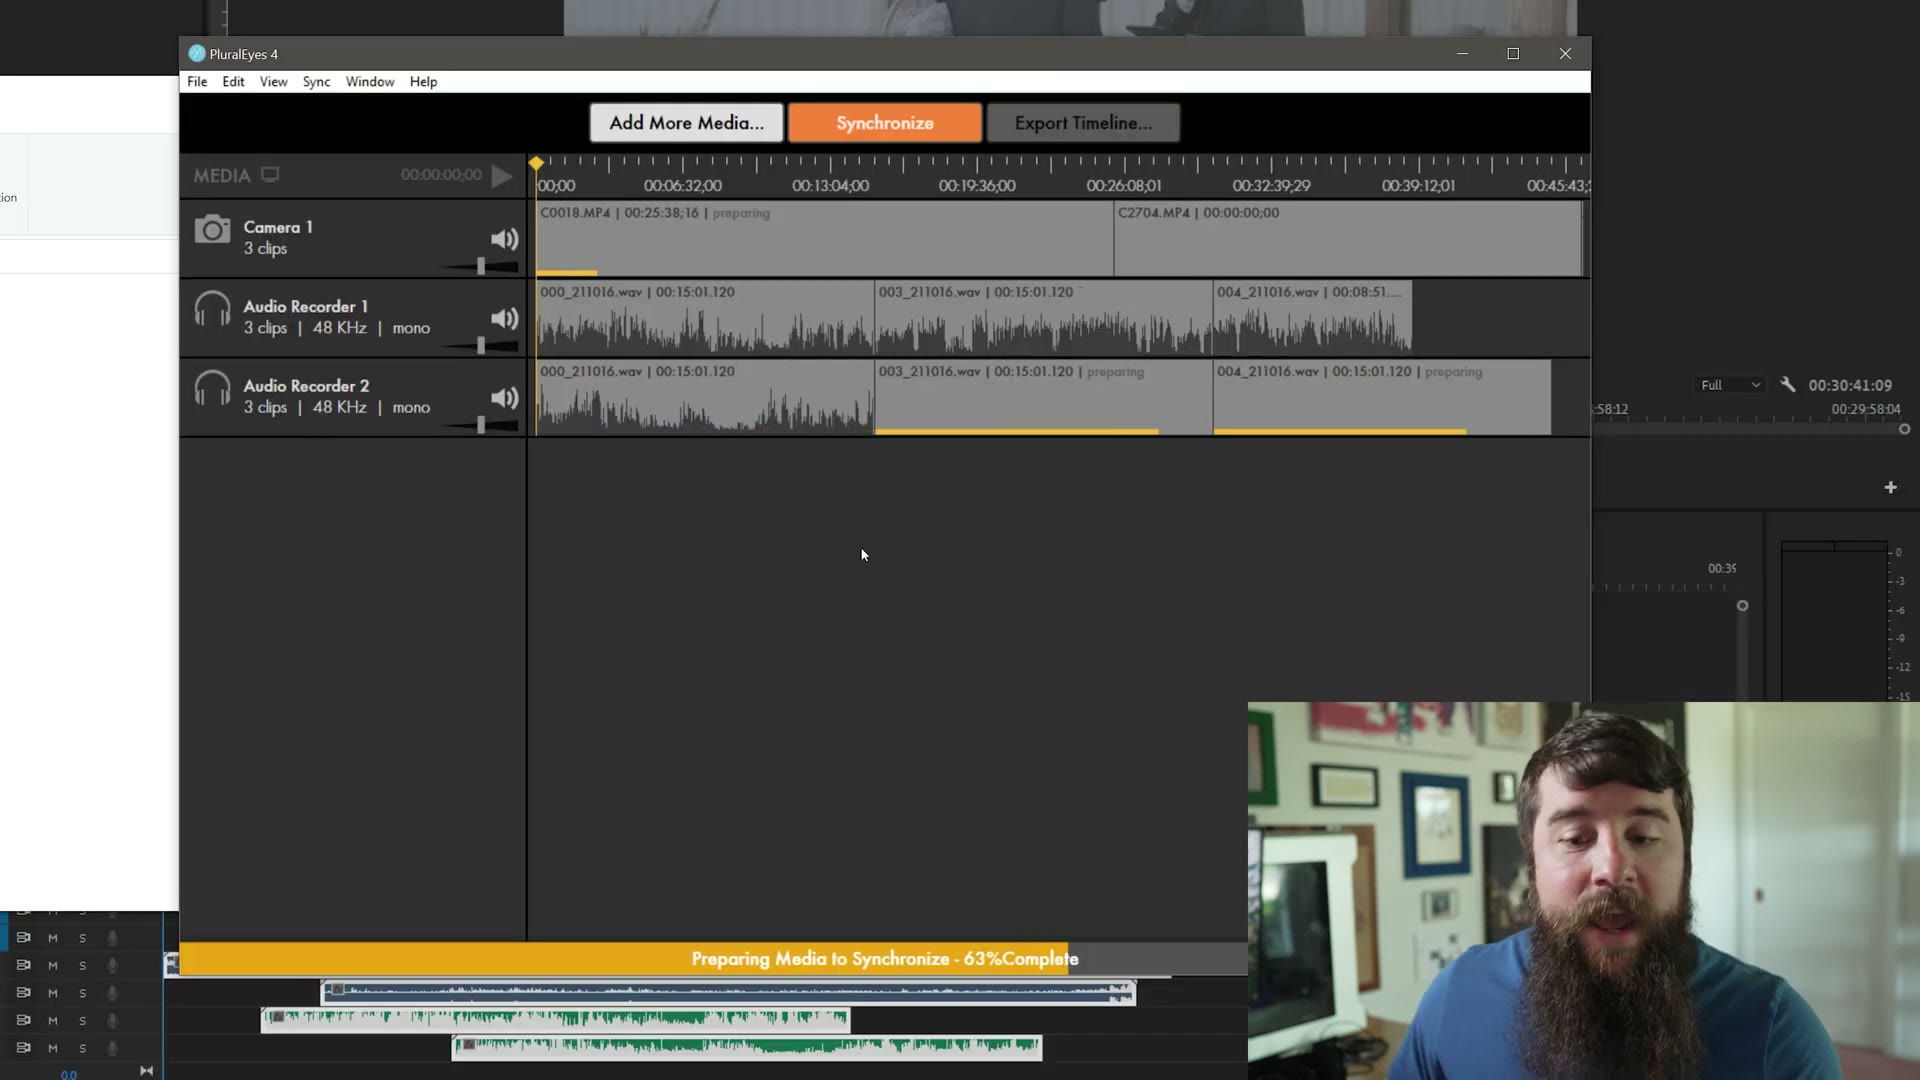
Once you’ve bought and installed it, here’s the first thing I love. Open it up and drag all of your audio and video clips into it. It does not matter how many clips you have and it does not matter how you filmed them. Select everything and drop it in.
PluralEyes immediately starts analyzing, and once it’s done you press Synchronize. It syncs everything and applies an audio drift correction that keeps your clips from wandering out of sync over time.
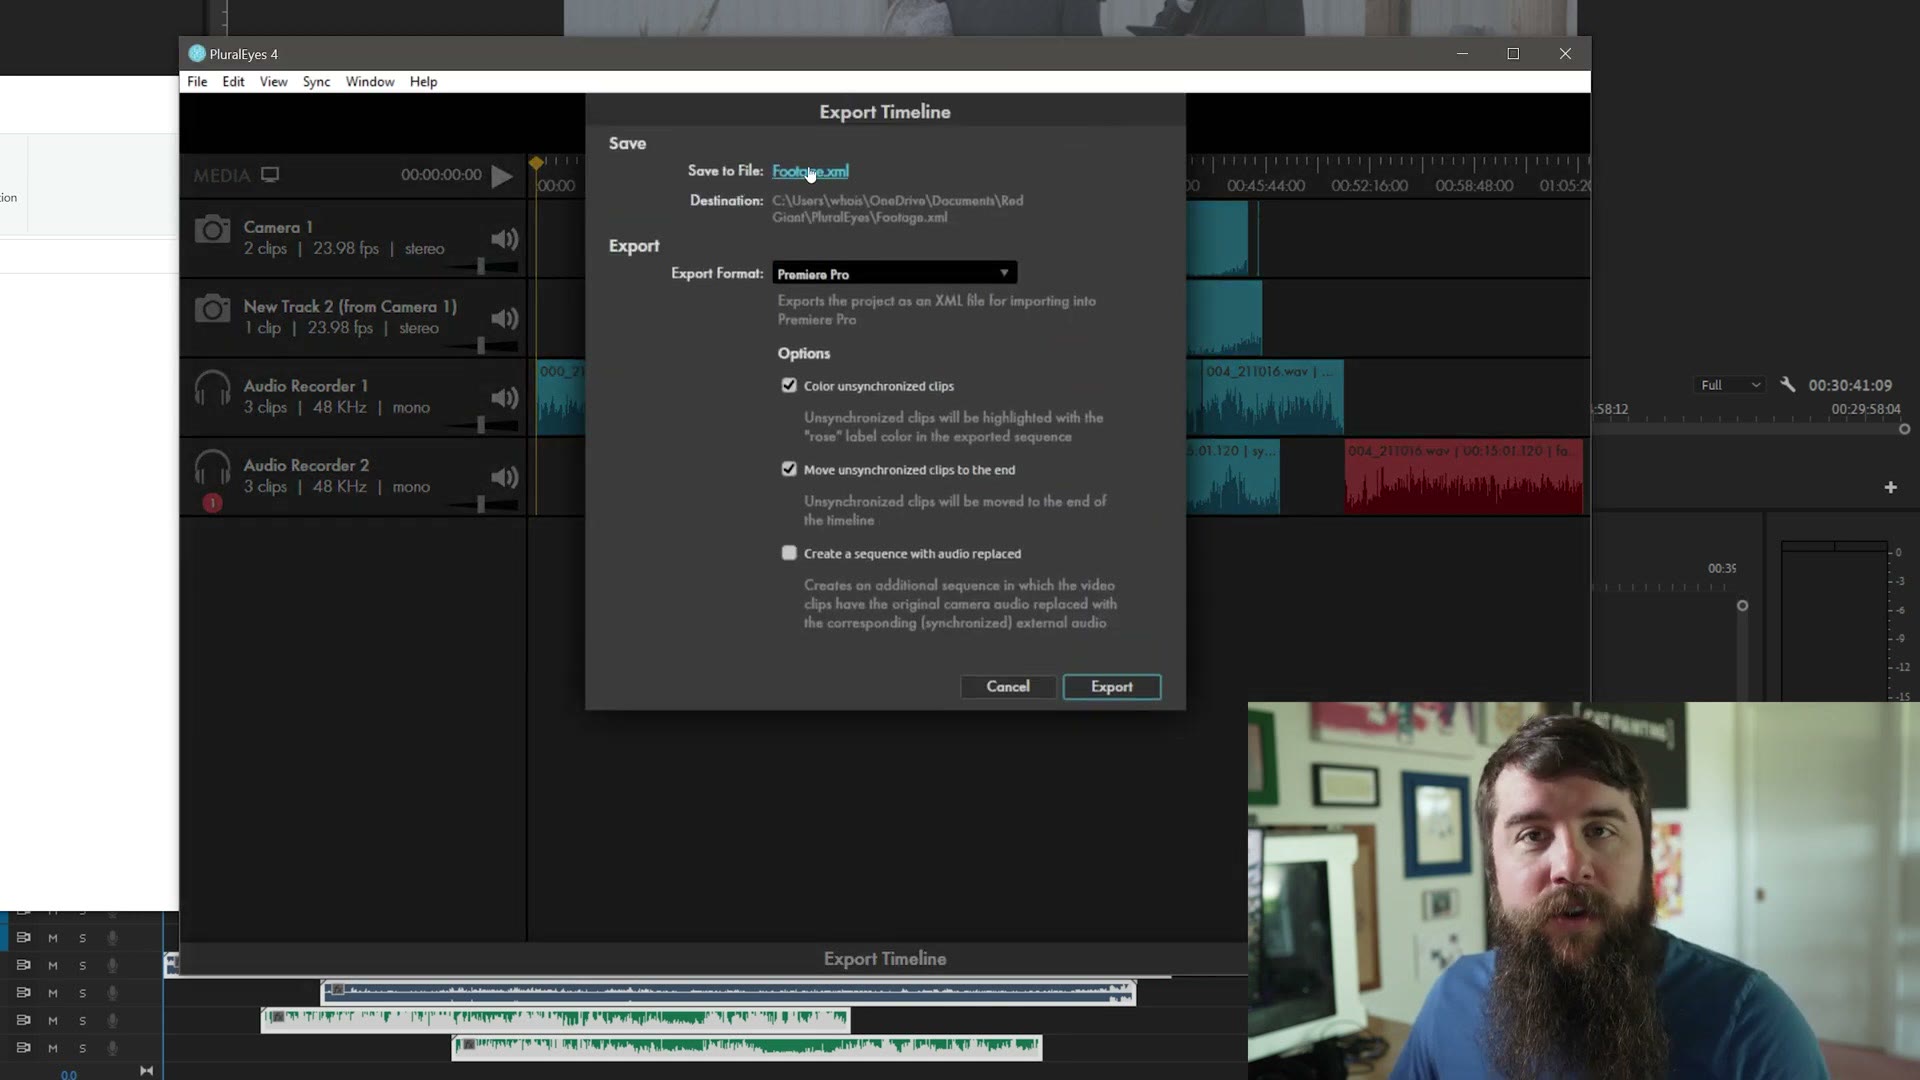
Then press Export Timeline and choose where to save the XML file. I’ll call this one ceremony and save it into a PluralEyes folder next to my project file, then press Export.
PluralEyes spits out a beautiful ceremony XML file. Back in Premiere, drag that XML down into your sequences folder, and inside the folder it creates you’ll find a new synced sequence. Double click to open it and check it out.
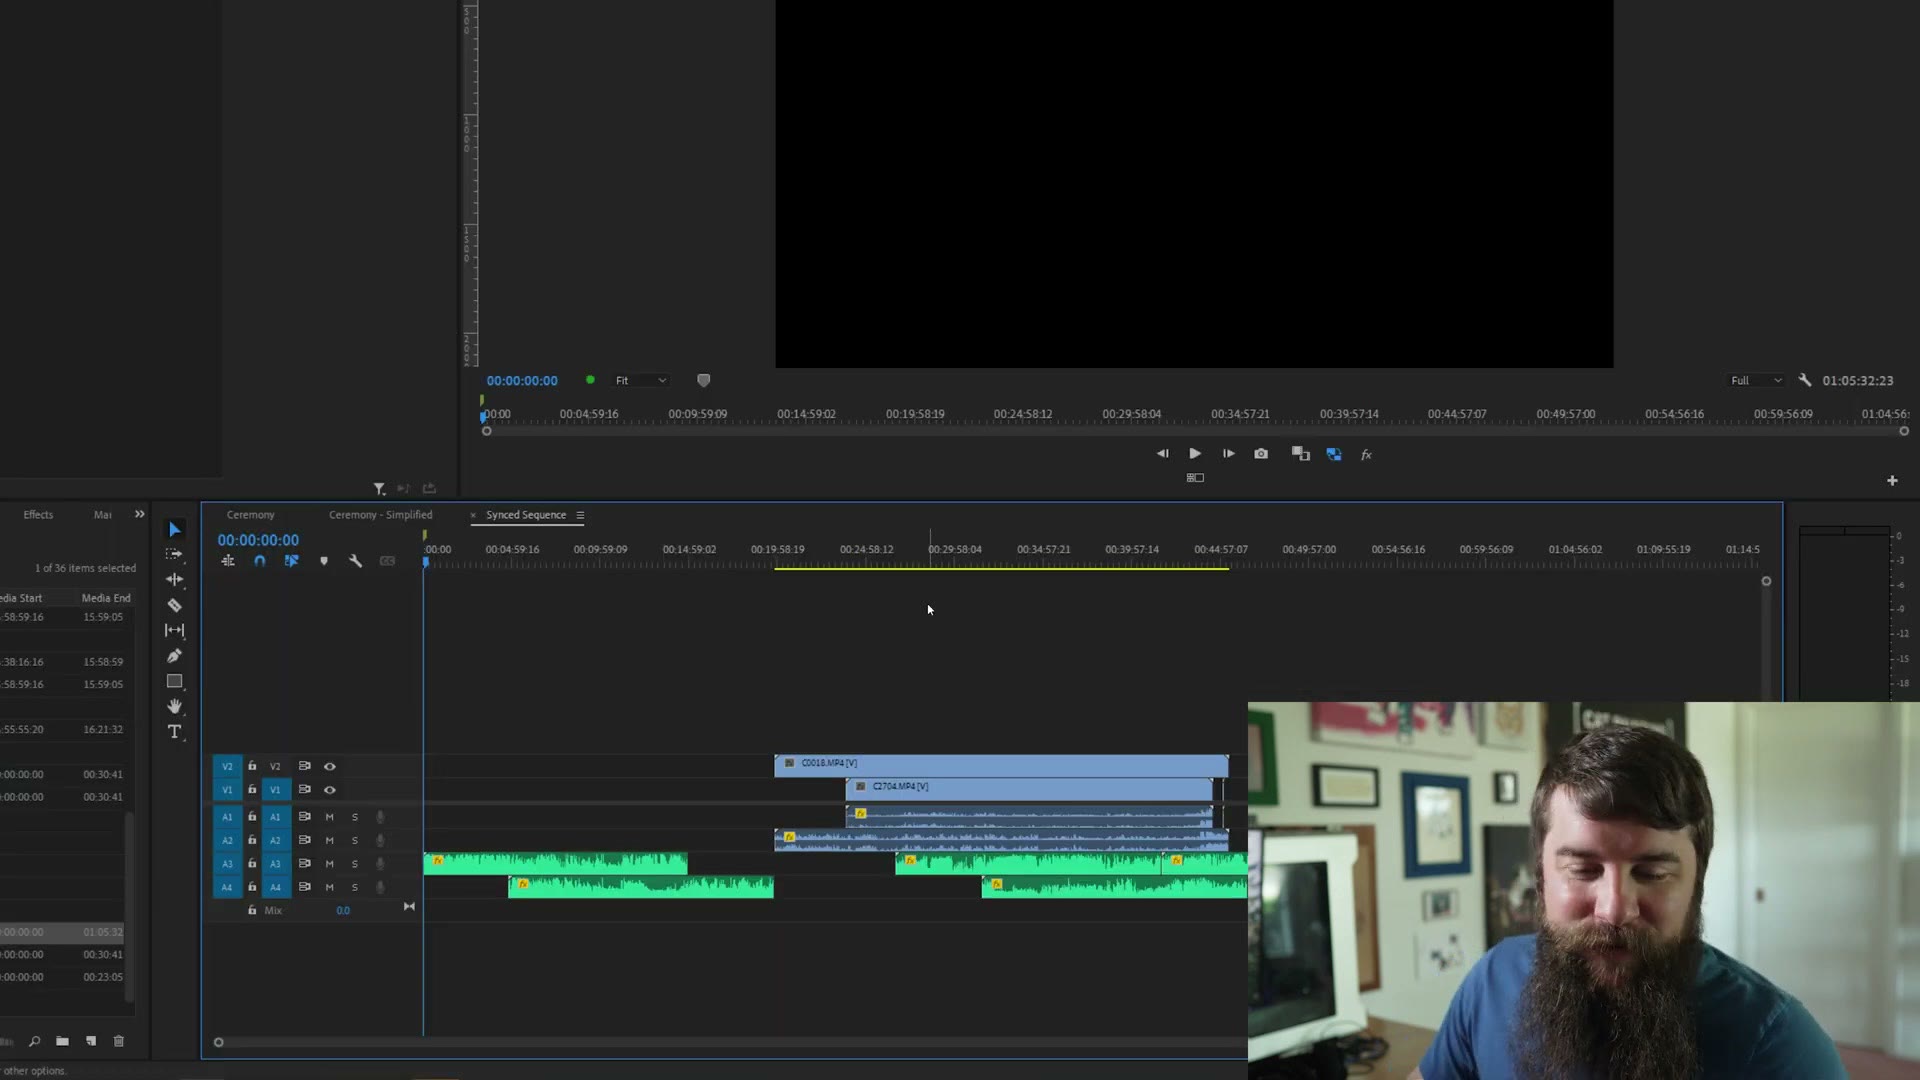
Everything is synchronized onto its own tracks and already neatly organized and ready to edit. In this case there are a couple of audio tracks at the beginning that synced to each other but had no video to sync with, so it left them alone. And you’ll notice one clip showed up in red inside PluralEyes, which means it failed to sync. Thankfully PluralEyes just parks that at the end of the timeline, so I can grab it and try to place it manually if I want to.
And there you have it. This second technique will cost you a bit, but you only buy PluralEyes once. Considering it’s easier and faster than Premiere’s built in tools, especially if you’ve got a lot of clips to sync or you frequently deal with drift, I think it’s completely worth the purchase.
Musicbed
Speaking of things being worth the purchase, I highly recommend you check out this video’s sponsor, Musicbed. If you’re a wedding filmmaker like me, I’m sure you need music for your films, and Musicbed is one of my favorite places to license it. I’ve been using them since way back in 2011, and over the past decade plus they just keep getting better.
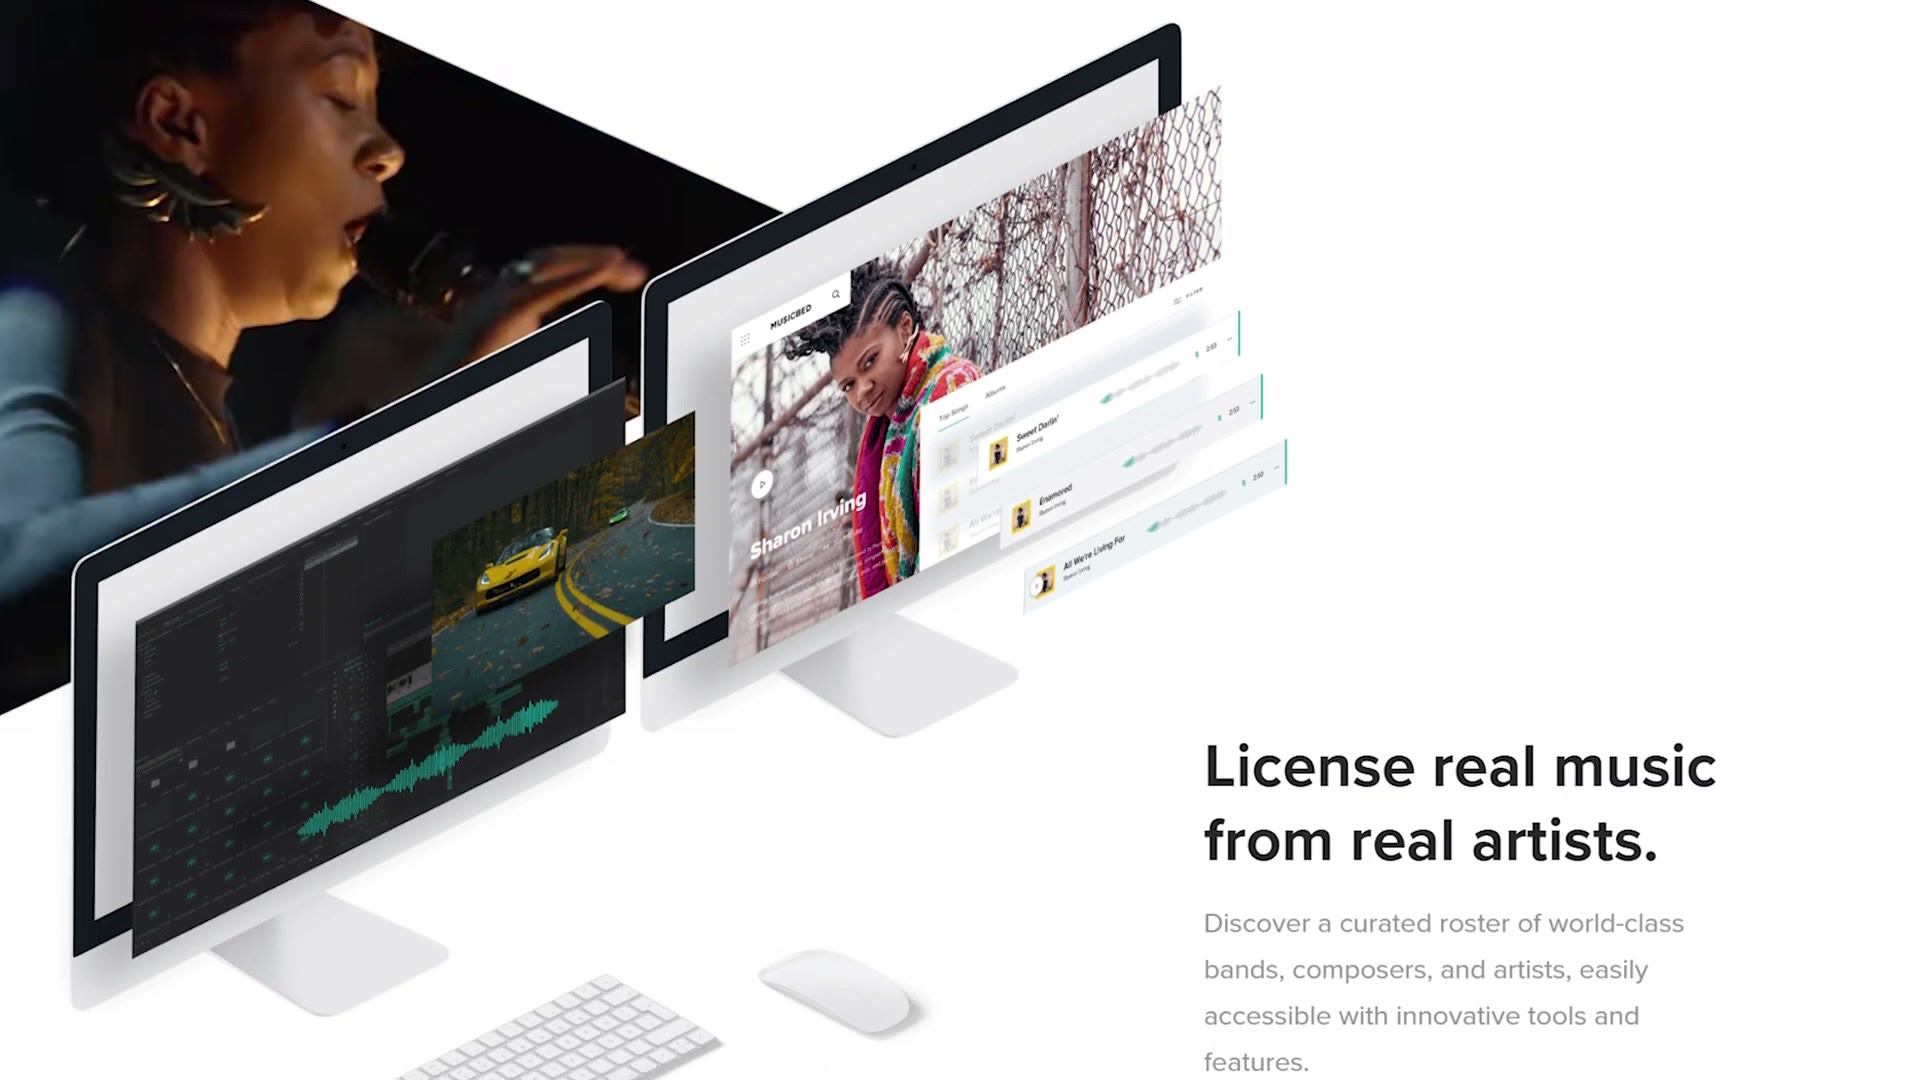
There are thousands upon thousands of songs on there from real musicians that will sound amazing in your videos, from artists like Tall Heights, and they’ve recently been adding a lot of classical and vintage music too, from the 1940s through the 1960s.
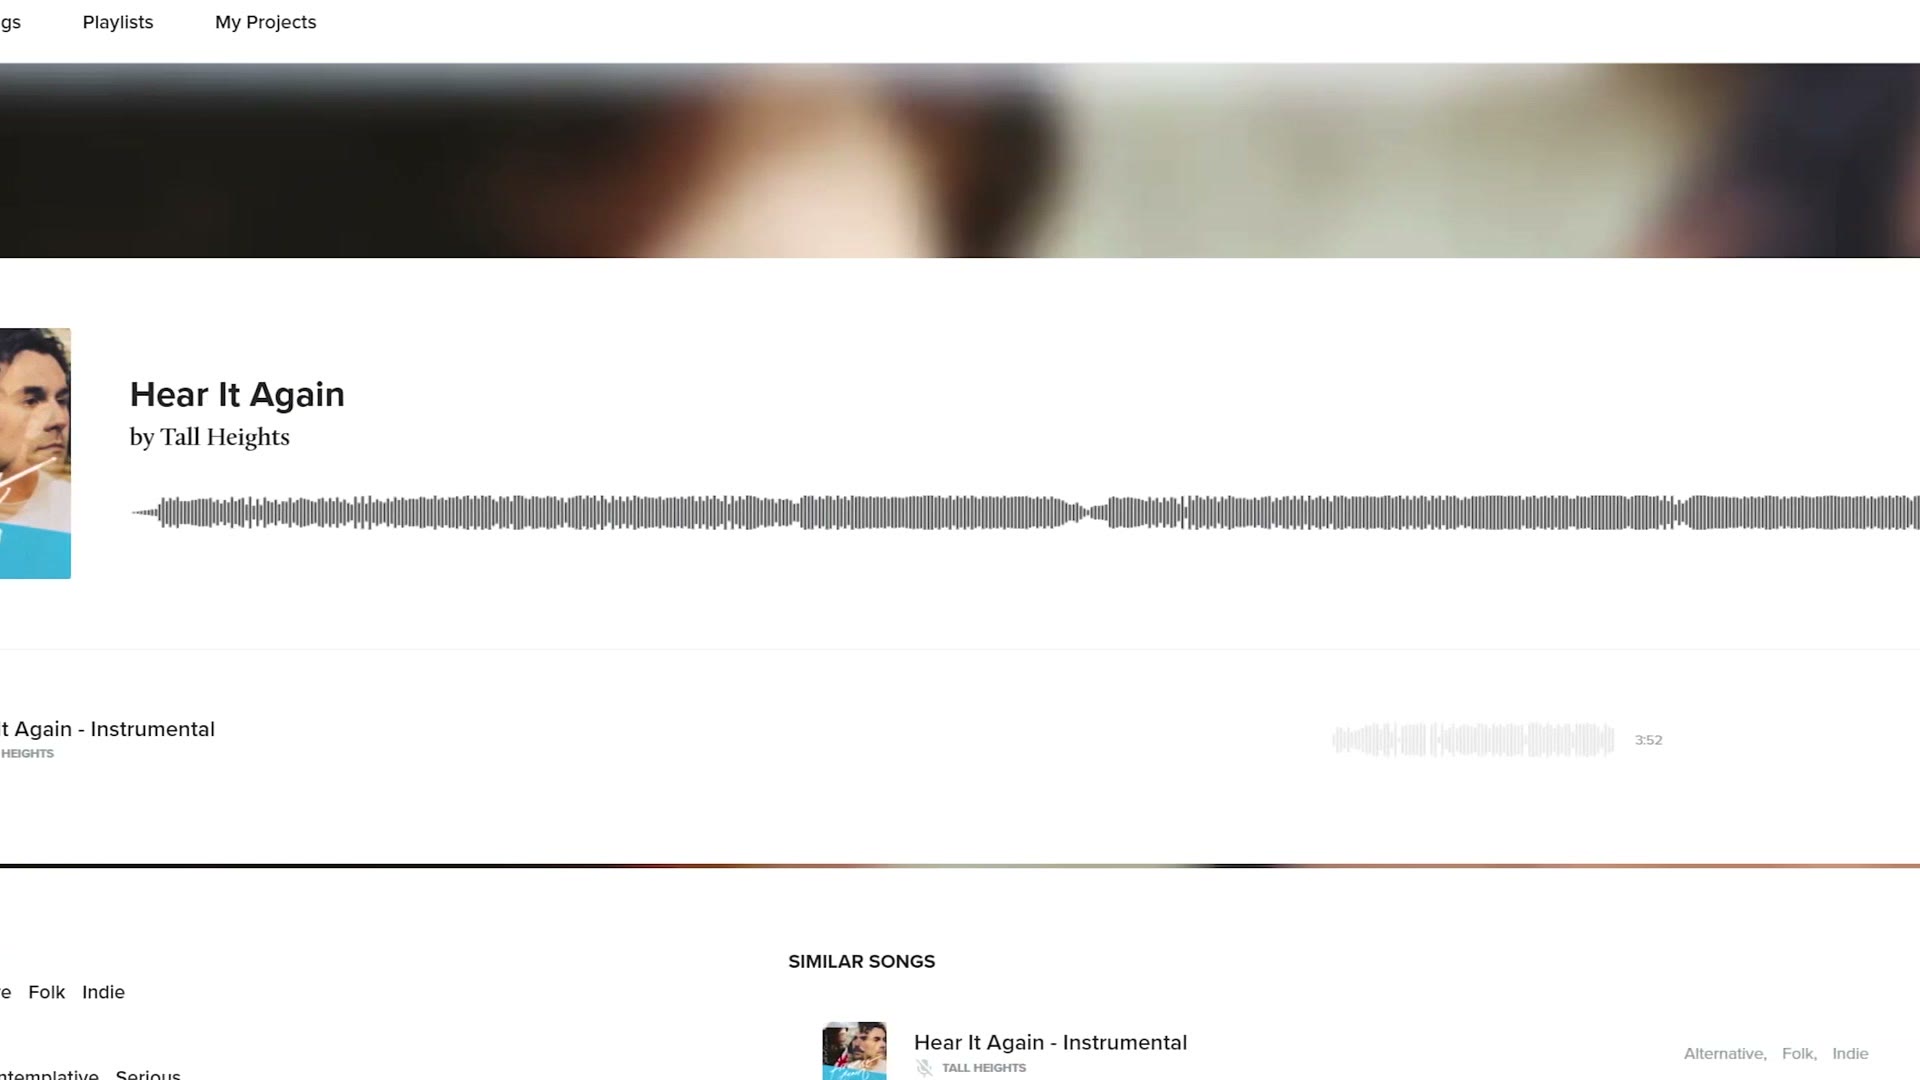
As a huge plus, Musicbed offers a complimentary song search service where you tell them the kind of song or the vibe you’re after and they send you back a list. They have projects, where you can save playlists of songs and share them. And they also let you search by key, which makes it much easier to mix two songs together that are actually in the same key.
So Musicbed is awesome, and if you want to sign up you can use my link and enter the coupon code MATTMUSICBED, all one word, all caps, which gets you a month free with an annual subscription. Thank you again to Musicbed for sponsoring this.
Do You Film Weddings?
One last thing before I go. If you happen to film weddings like me, I’ve put together a free guide called Level Up Your Wedding Films that shows you some of the biggest things it took me many years to learn about filming weddings. It’s completely free and you can download it right here.
The footage in this one is graded with my own color presets, which live at whoismatt.com/luts. If you don’t have Premiere Pro yet, you can grab a free trial here. My full gear list is on kit.co, and I have filmmaking courses if you want to go deeper.
Thanks so much for reading, and have a great day!