
I’m going to show you how to easily sync your audio faster with timecode using your Tascam and Zoom audio recorders. So if you’re a filmmaker who records video on a mirrorless camera and audio on a standalone recorder like the Tascam DR-10L Pro, or a Portacapture X8 or X6, or a Zoom F2, F3, F6 and so on, all of which support wireless timecode with the Atomos UltraSync devices, this is how you set it up so you can synchronize every bit of video and audio you recorded by clicking two buttons in your editing software.
Does that sound magical? It’s pretty darn magical.
And to save you time, I put together a cheat sheet that shows you everything you need to buy and the settings to use to get your video and audio synced extra fast, and I highly recommend downloading it here, because timecode can get, in a word, complicated. We’re going to do a deep dive here. Prepare yourself.
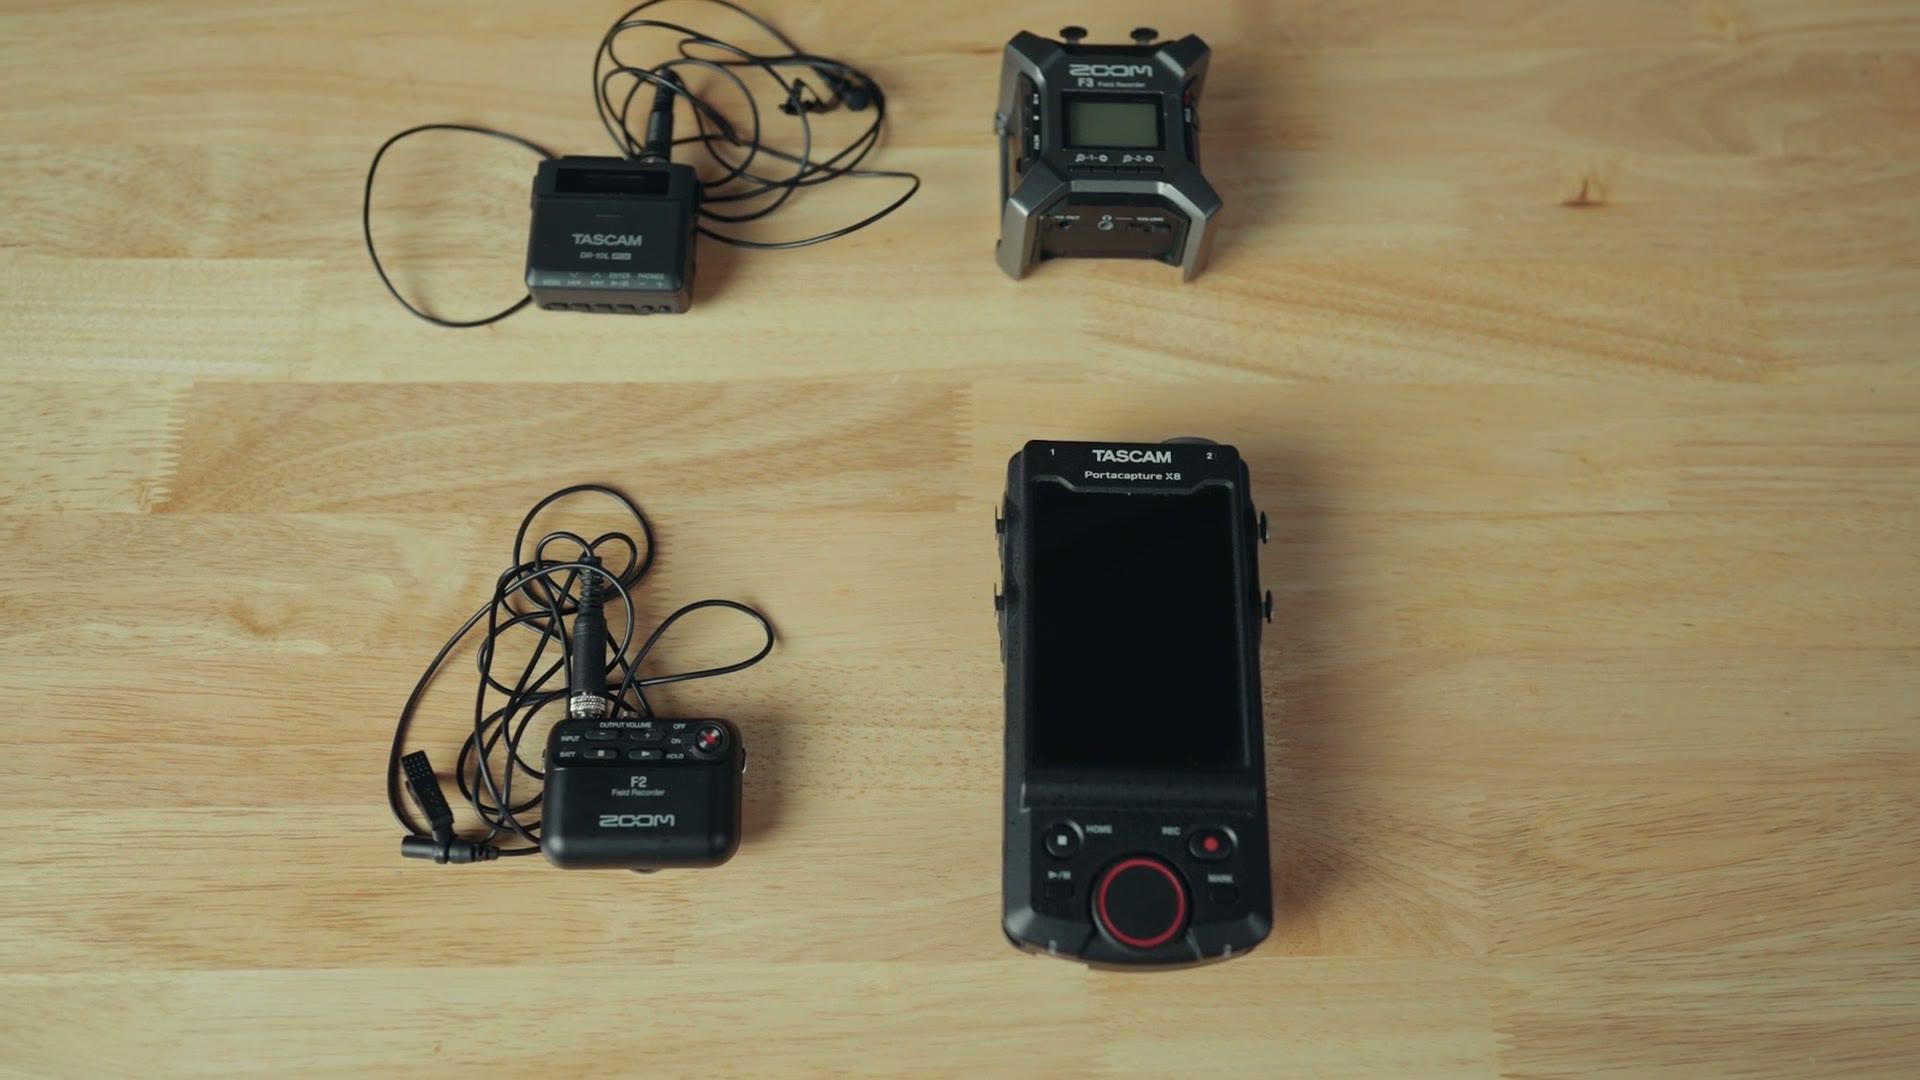
Equipment You Need For Timecode
First, you’re going to need an audio recorder that supports timecode over Bluetooth, like a Tascam DR-10L Pro, a Portacapture X8 or X6, or a Zoom F2, F3 or F6, plus the Bluetooth adapter that goes with your recorder.
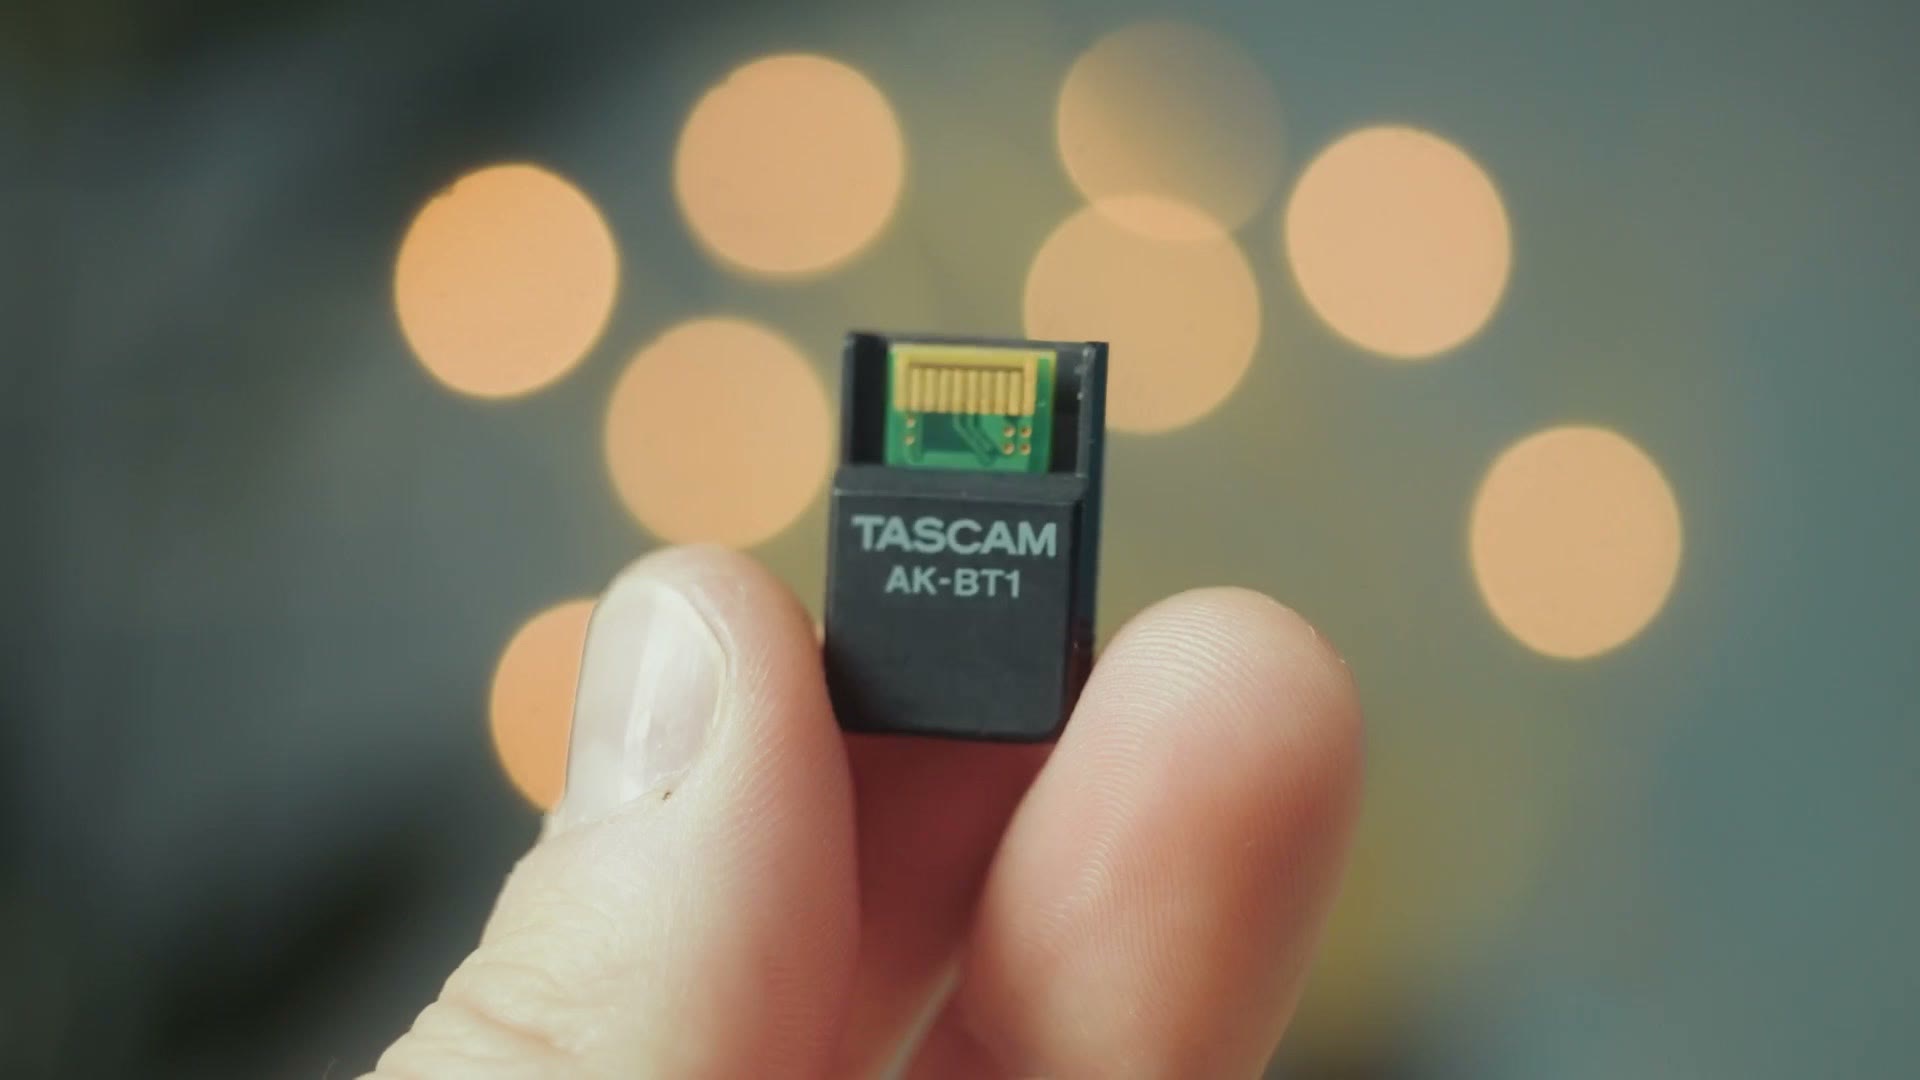
Then you need an Atomos UltraSync BLUE and an Atomos UltraSync ONE.
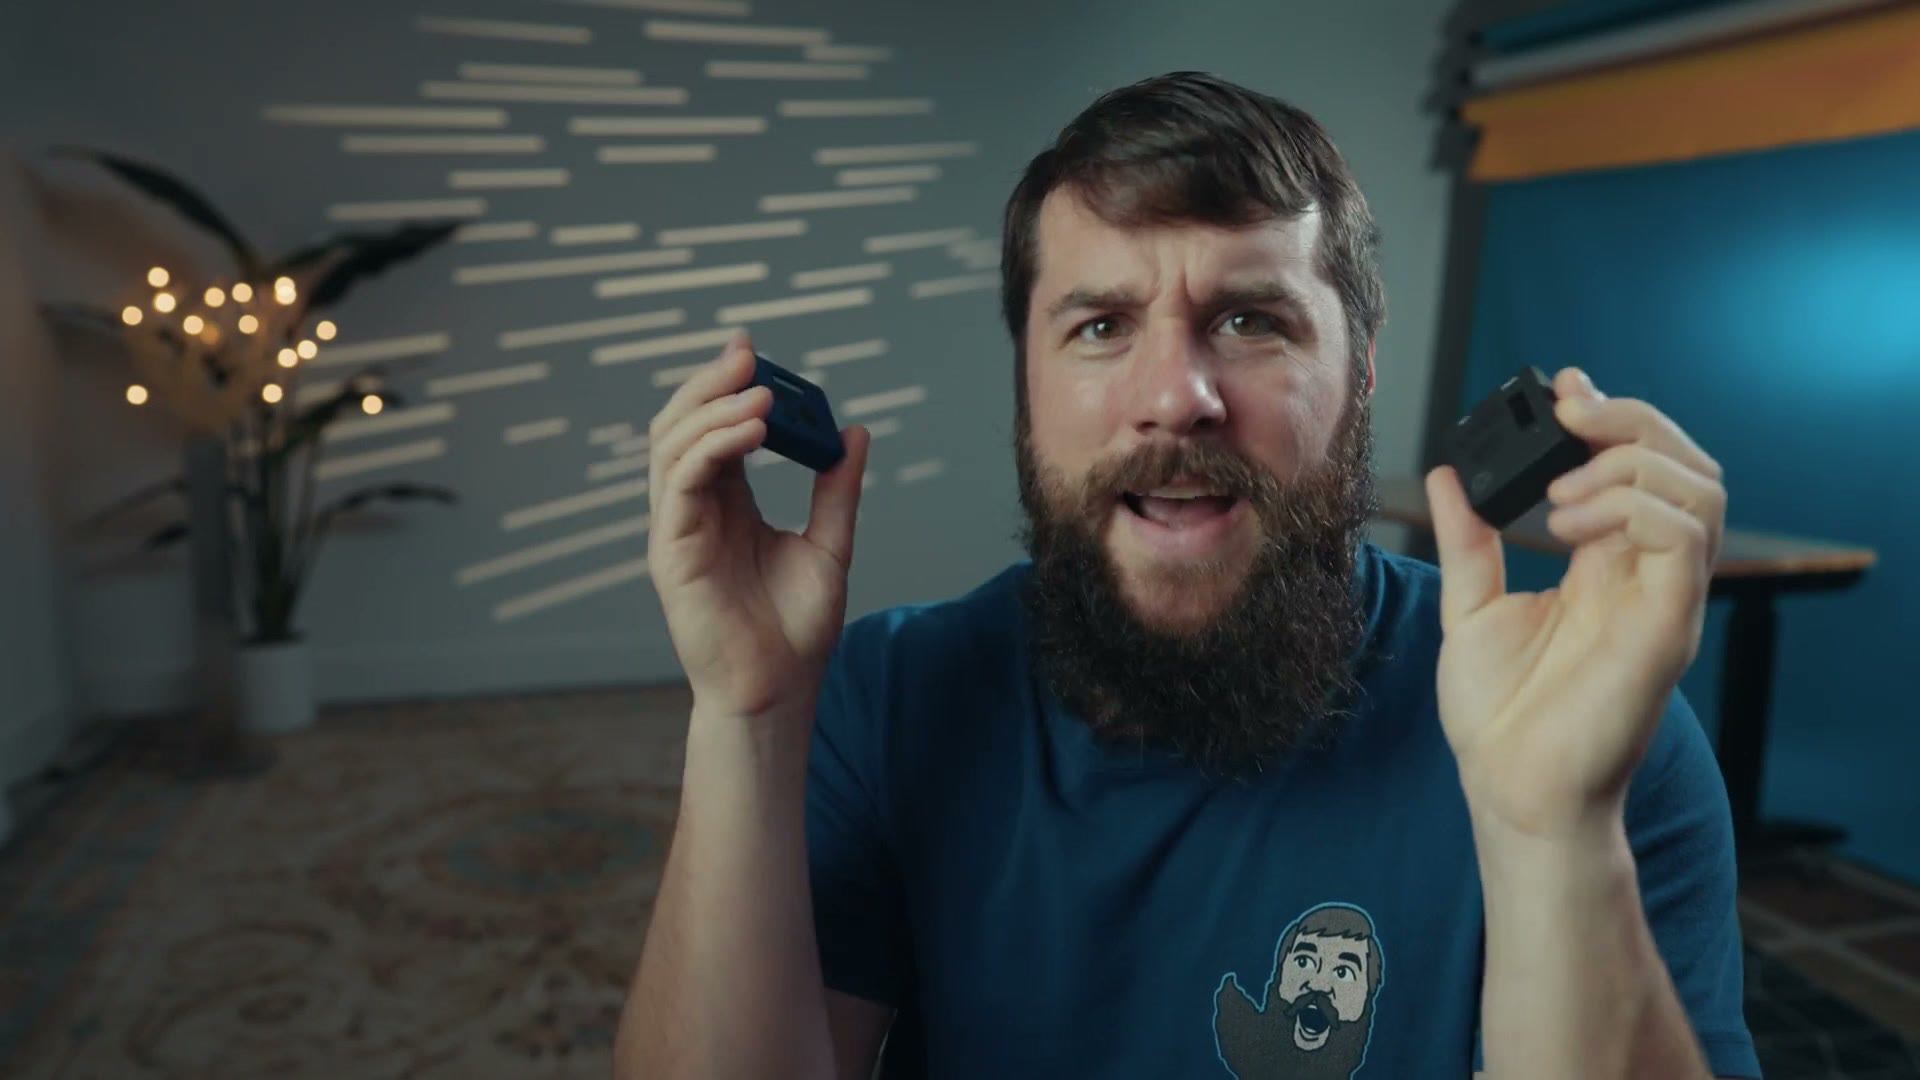
Now I realize you’re already thinking, I have to buy two timecode devices? Yes. If you want to connect your DR-10L Pro or other audio recorder to a camera like the a7S III I’ll be using in this tutorial, you unfortunately need two different timecode devices.
Why, you ask? Because the timecode is transmitted over Bluetooth, and as the UltraSync BLUE name implies, it uses Bluetooth. The UltraSync ONE unfortunately does not have Bluetooth, but it does have a cable connection that lets you connect it to your camera. So you basically need the BLUE to talk to your audio recorder and the ONE to talk to your camera.
There is an alternative though. If you already have an Atomos monitor and recorder that you use with your camera, because Atomos owns UltraSync too, you can buy something like the Atomos CONNECT module for your monitor, which supports Bluetooth timecode, and have your devices connect into that instead.
I do not have an Atomos monitor, so we’re not going to be covering that today. Just know it’s a possibility that may work better for you, especially if you already own one.
Do you see why I made a cheat sheet you can download? There’s a lot of equipment here, and it’s going to be a whole lot easier to look at if it’s all written out on one page.
Here is everything, with links:
- Atomos UltraSync BLUE at B&H and Amazon
- Atomos UltraSync ONE at B&H and Amazon
- Tascam Bluetooth adapter at B&H and Amazon
- Zoom Bluetooth adapter at B&H and Amazon
- 3.5mm microphone splitter at B&H
- Timecode adapter cable for the Sony FX3 and FX30 at B&H
- LTC Convert
So at this point you have your audio recorder with the Bluetooth adapter, which for this tutorial is going to be the Tascam DR-10L Pro, but everything I’m about to show you applies to any other recorder that does timecode over Bluetooth. You have your UltraSync BLUE. You have your UltraSync ONE. All that’s missing is a camera.
In my case I’m using a Sony a7S III, which does support timecode, but only through the microphone jack. If you’re using a camera like the Sony FX3, that one can take a dedicated timecode cable into the micro USB port, which gives you timecode metadata instead of timecode audio data. For this video we’re going through the mic jack.
Choosing The Correct Frame Rate
First thing you’re going to want to do is turn on your UltraSync BLUE by holding down the big select button. Side note, none of the buttons on this device are labeled, but for the sake of this tutorial we’ll call the big one the select button and the two on the left the up and down buttons. Once it’s on, it immediately starts running and generating timecode.
Press the select button, choose Timecode, and the first thing you’ll want to set is the frame rate you plan to record your video in.
Yes, timecode is very dependent on the frame rate you’re filming in, and ideally, if you want to use timecode, that means you will not be changing your frame rate throughout the shoot. You can change it, but then you have to go into your UltraSync BLUE every single time and make sure the frame rate is updated and that all of your other devices are synchronized to it. This can be a bit of a pain. So if you’re filming something like a wedding and you want to be sure all of your audio lines up, you’re ideally going to want to film everything at the same frame rate.
And I hear you now saying, Matt, I’m a filmmaker who loves to film at 60 frames per second so I can do super cool, dramatic slow motion. That’s great, I like doing the same thing. But this is where you run into one of the first complications with timecode, which is that the timecode standard does not officially support high frame rate recording like 60fps. 30 is the max.
Thankfully you can still use timecode with higher frame rate video, as long as the frame rate you film in is exactly double the timecode frame rate you choose. So if you wanted to film at 59.94fps, aka 60, you’d select 29.97 on your timecode device, and you’d still be able to sync everything in post.
Just keep in mind that this doubling trick is only going to work if you’re using a camera with a dedicated timecode input, like the FX3 we just talked about, and not a camera that makes you use an audio channel for timecode, like the a7S III I’m using here. So in this example I’m selecting 29.97 drop frame, which matches the frame rate I plan on filming with.
Connecting The UltraSync BLUE & Audio Recorder
Next, select Bluetooth, and the UltraSync BLUE will tell you it’s searching for something to connect to.
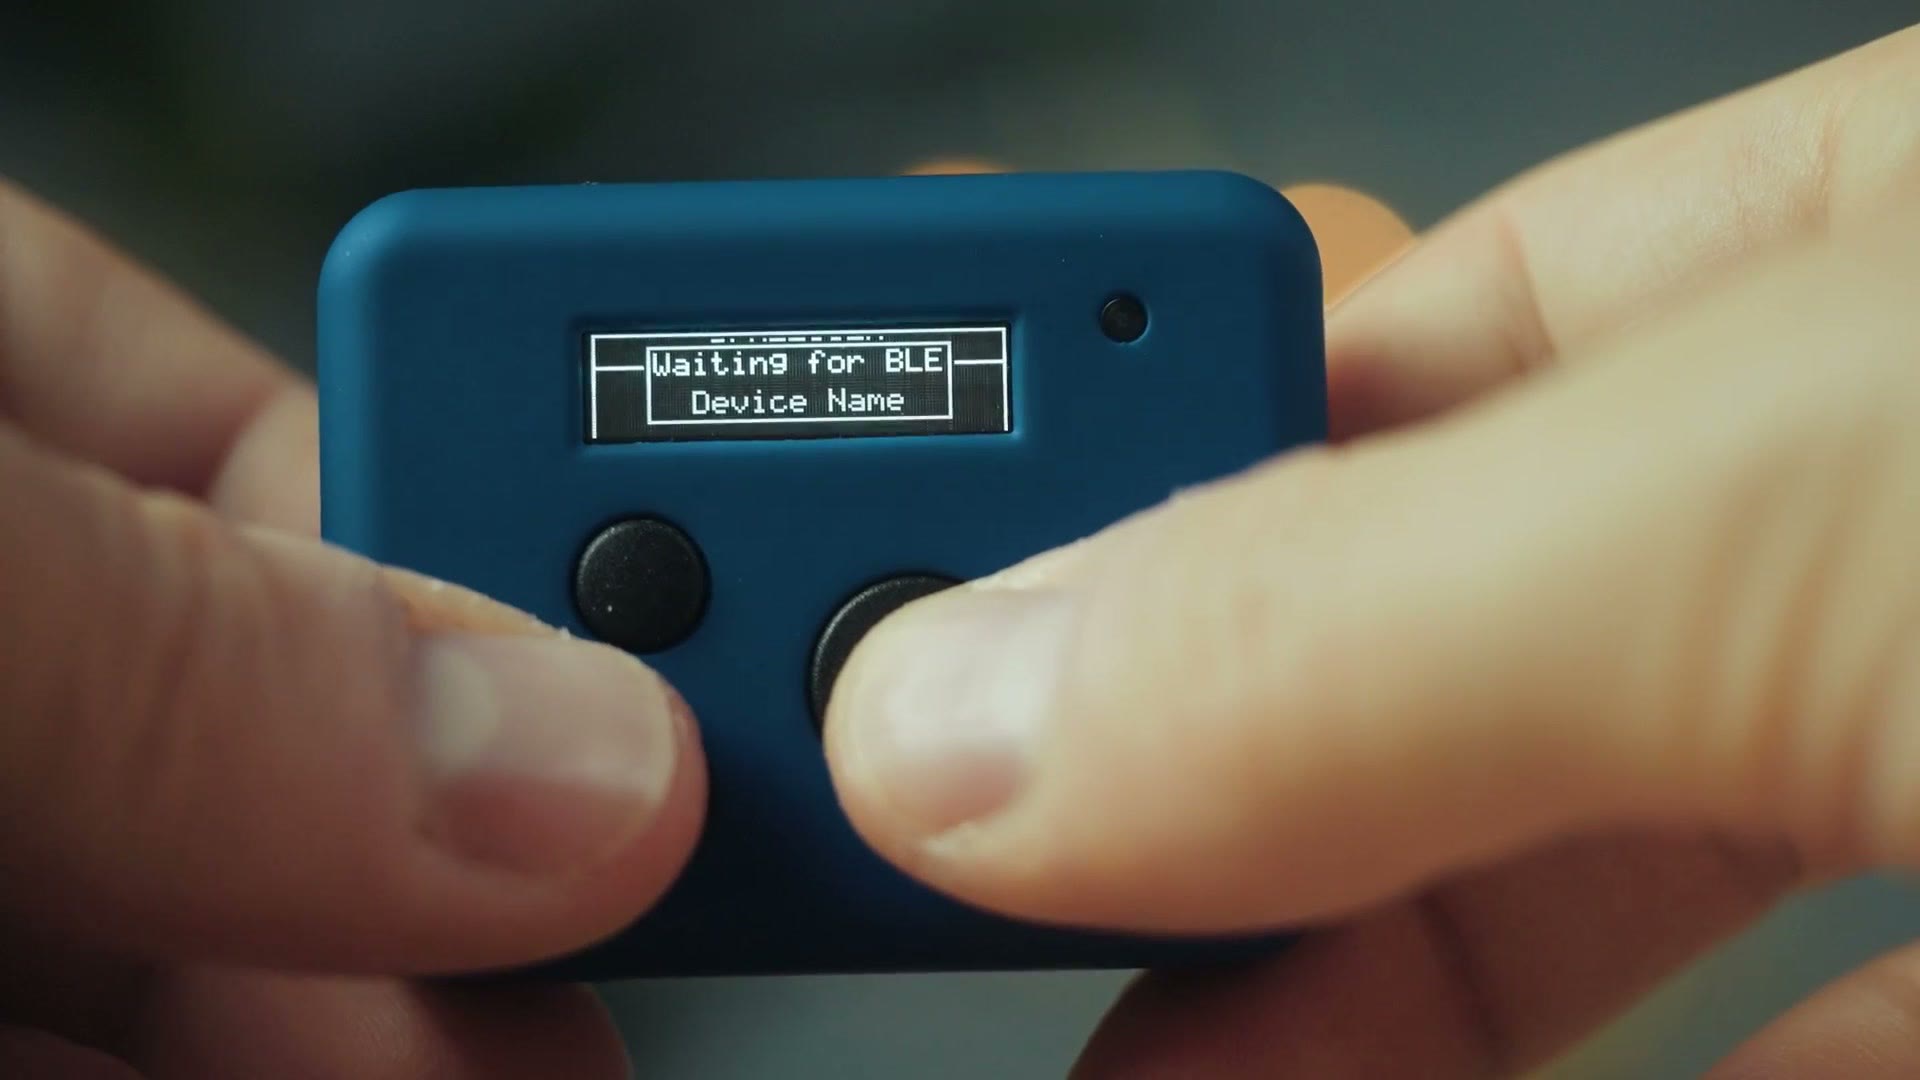
Then grab your DR-10L Pro, make sure the Bluetooth adapter is inserted and powered on, go to menu 25, which is the Bluetooth menu, press enter and select Timecode. The DR-10L Pro will say it’s searching, and you can go back to your UltraSync BLUE, select the searching icon, and it should say 10L Pro. Select that, and your recorder is connected to your UltraSync BLUE wirelessly over Bluetooth.
Now, if you want to know for sure that your DR-10L Pro is properly synced, check the timecode number displayed on the UltraSync BLUE, then hold down the play pause button on your DR-10L Pro and it’ll show you its timecode. They should match.
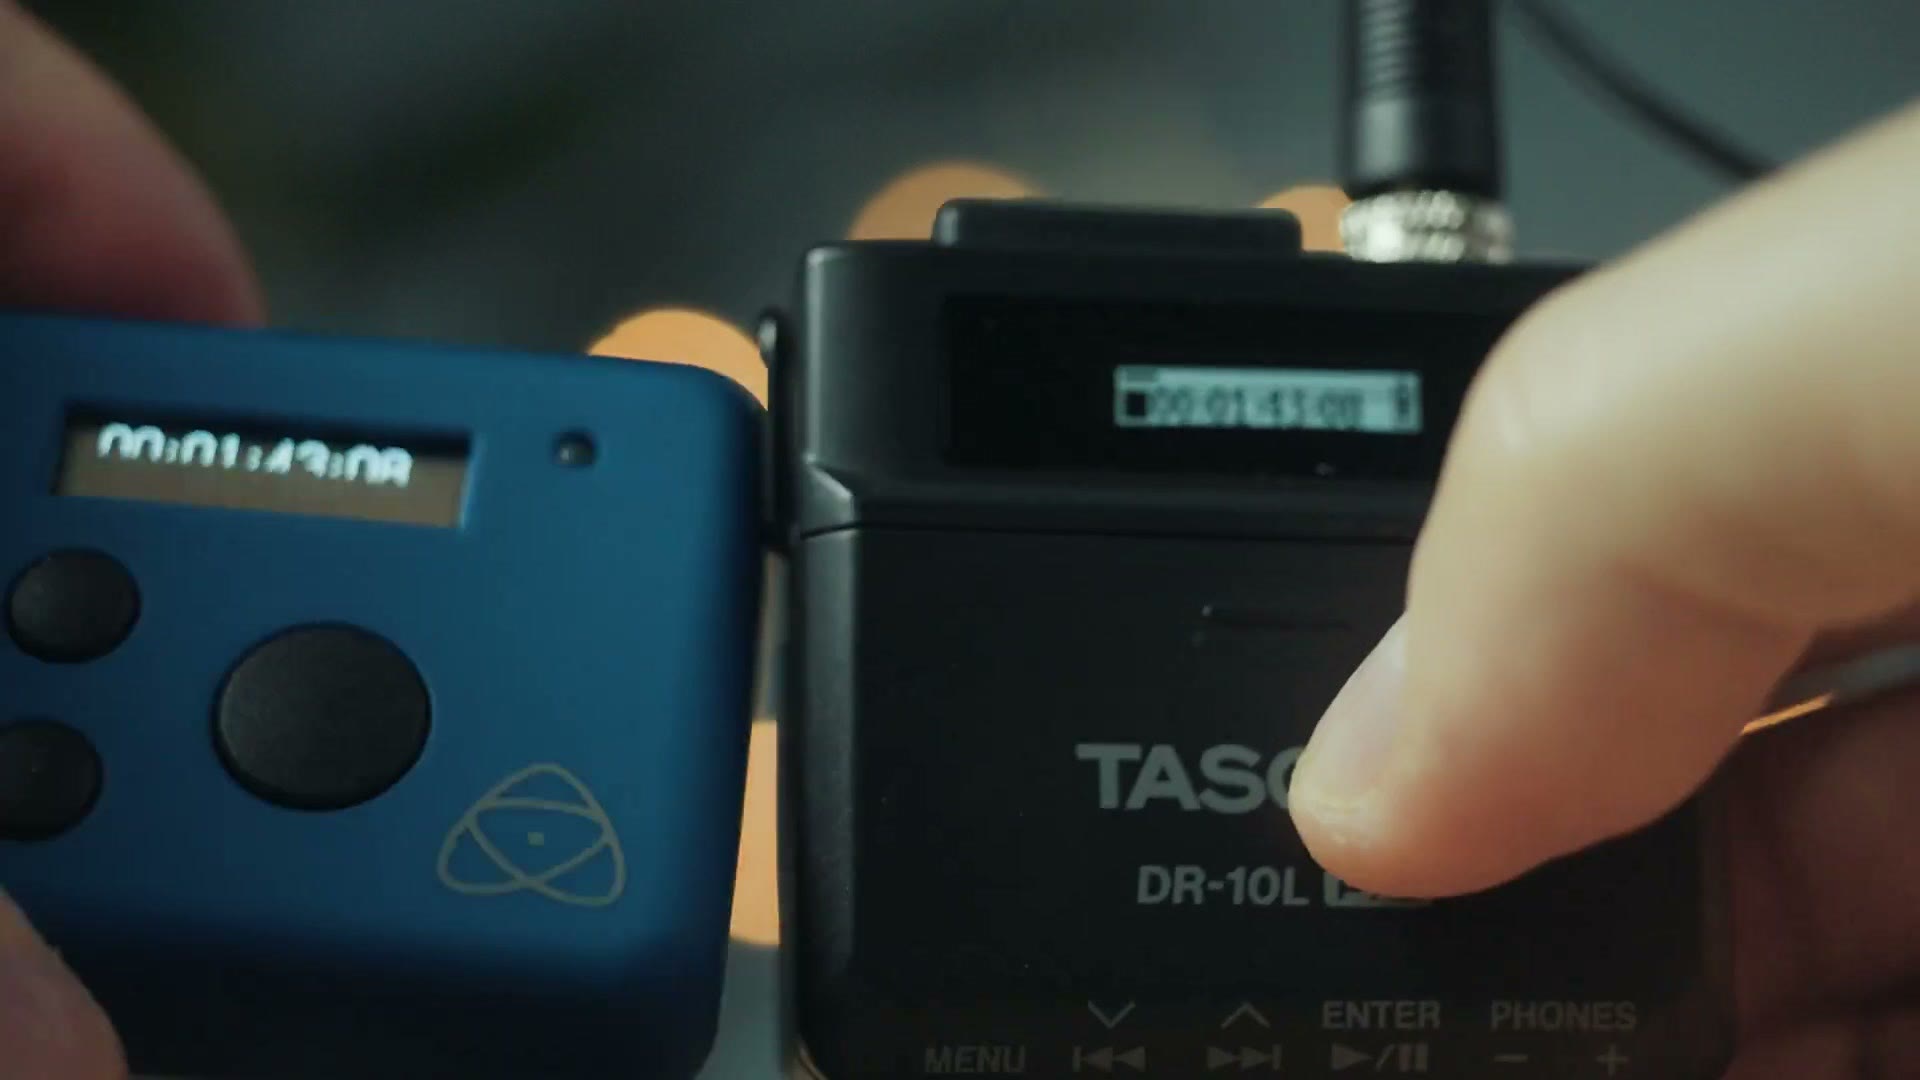
You’ll also notice a T appear next to the battery indicator on your DR-10L Pro, and it’s going to flash at the same rate the LED is flashing on your UltraSync BLUE, which is another way to tell that these two are talking to each other.
Congratulations. We are now halfway done.
Connecting The UltraSync BLUE & UltraSync ONE
Reopen the menu on your UltraSync BLUE, go down to RF Setting, set the RF channel to 1, and make sure the RF region says US, unless of course you’re in a different region.
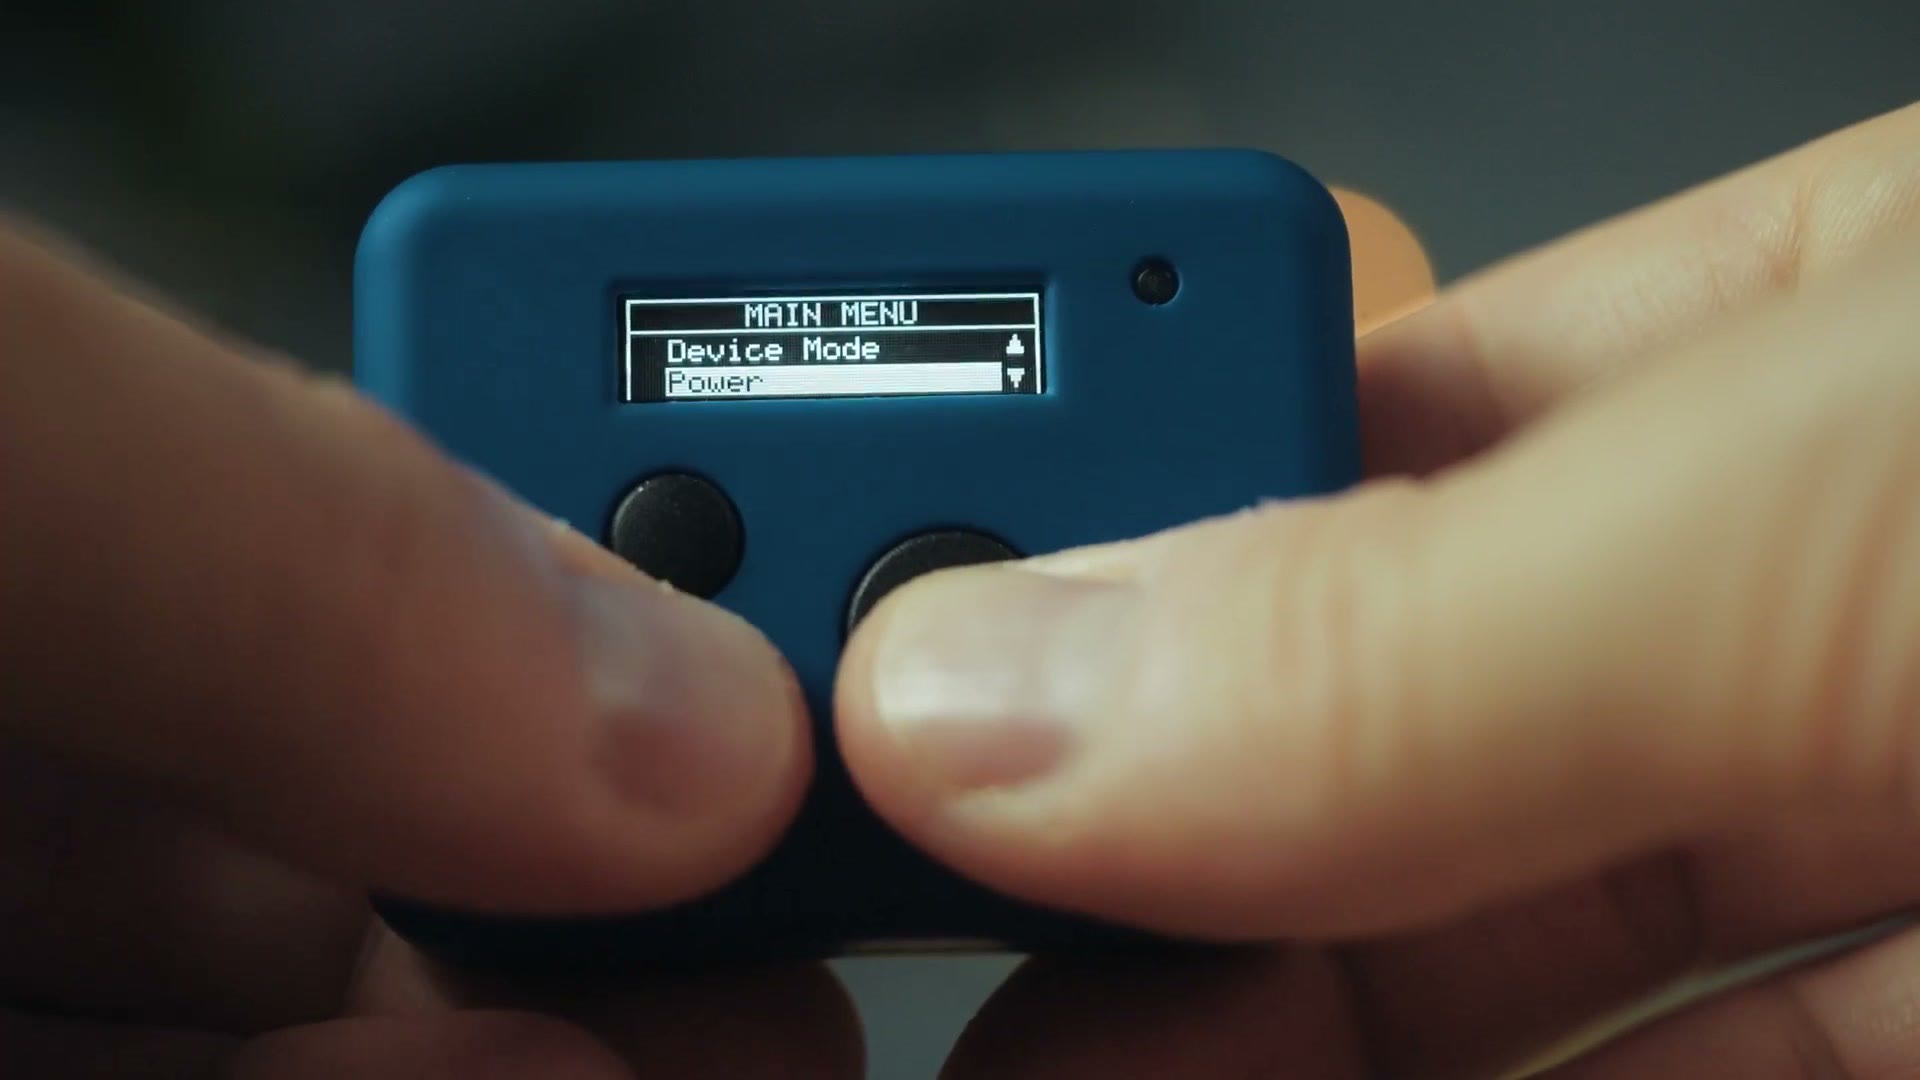
Then go down to Device Mode and select Timecode RF Server, which basically means you’re telling all of your other timecode devices that you want the settings to be controlled by the UltraSync BLUE.
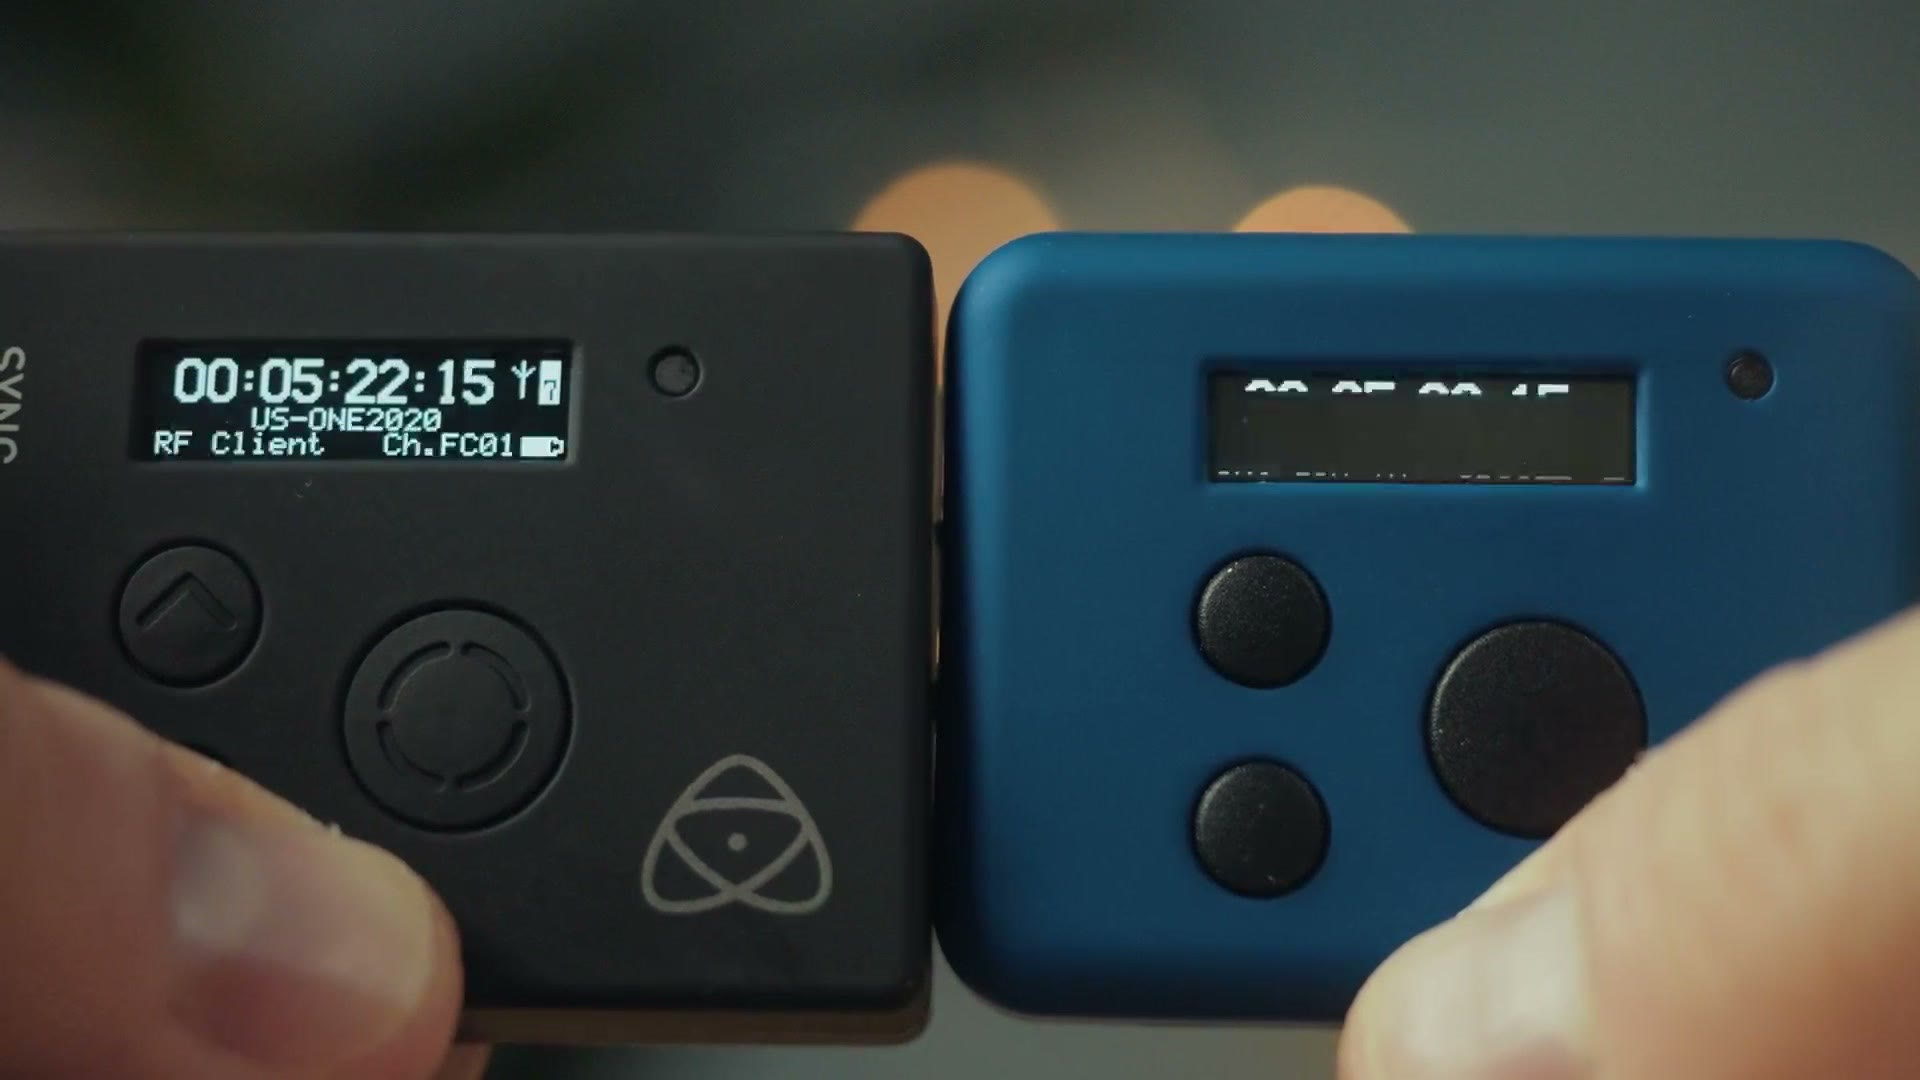
Speaking of other timecode devices, grab your UltraSync ONE and hold the select button to power it on, just like the DR-10L Pro. Press select again to open the menu, go to Set RF Channel Number and set that to channel 1, same as the BLUE. Then go to Timecode Mode and select RF Client.
And voila. The timecode numbers on your UltraSync ONE should now perfectly line up with the numbers on your UltraSync BLUE, with green lights flashing in sync on both of them, meaning everything is synchronized properly between the DR-10L Pro, the UltraSync BLUE and the UltraSync ONE.
Connecting The UltraSync ONE To Your Camera Via Audio Cable
Last step. Stick with me. We just need to get this UltraSync ONE working with your camera.
Go back into the menu for the UltraSync ONE, select Sync Generator, and for Set Sync Copy Mode, set it to LTC, which stands for Linear Timecode. We’re basically telling the UltraSync ONE to send a timecode signal out to my camera.
In the box that came with the UltraSync ONE you should have a variety of cables made to connect to different ports on different cameras. In my case, because I’m using an a7S III, I’m grabbing the cable that has a timecode port connection on one end and a standard 3.5mm microphone jack on the other. Plug one end into the SYNC port on the UltraSync ONE and the other into the mic jack on your camera.
If you want to go deeper, I’ve also got How To Sync Audio & Video FAST in Adobe Premiere Pro CC.
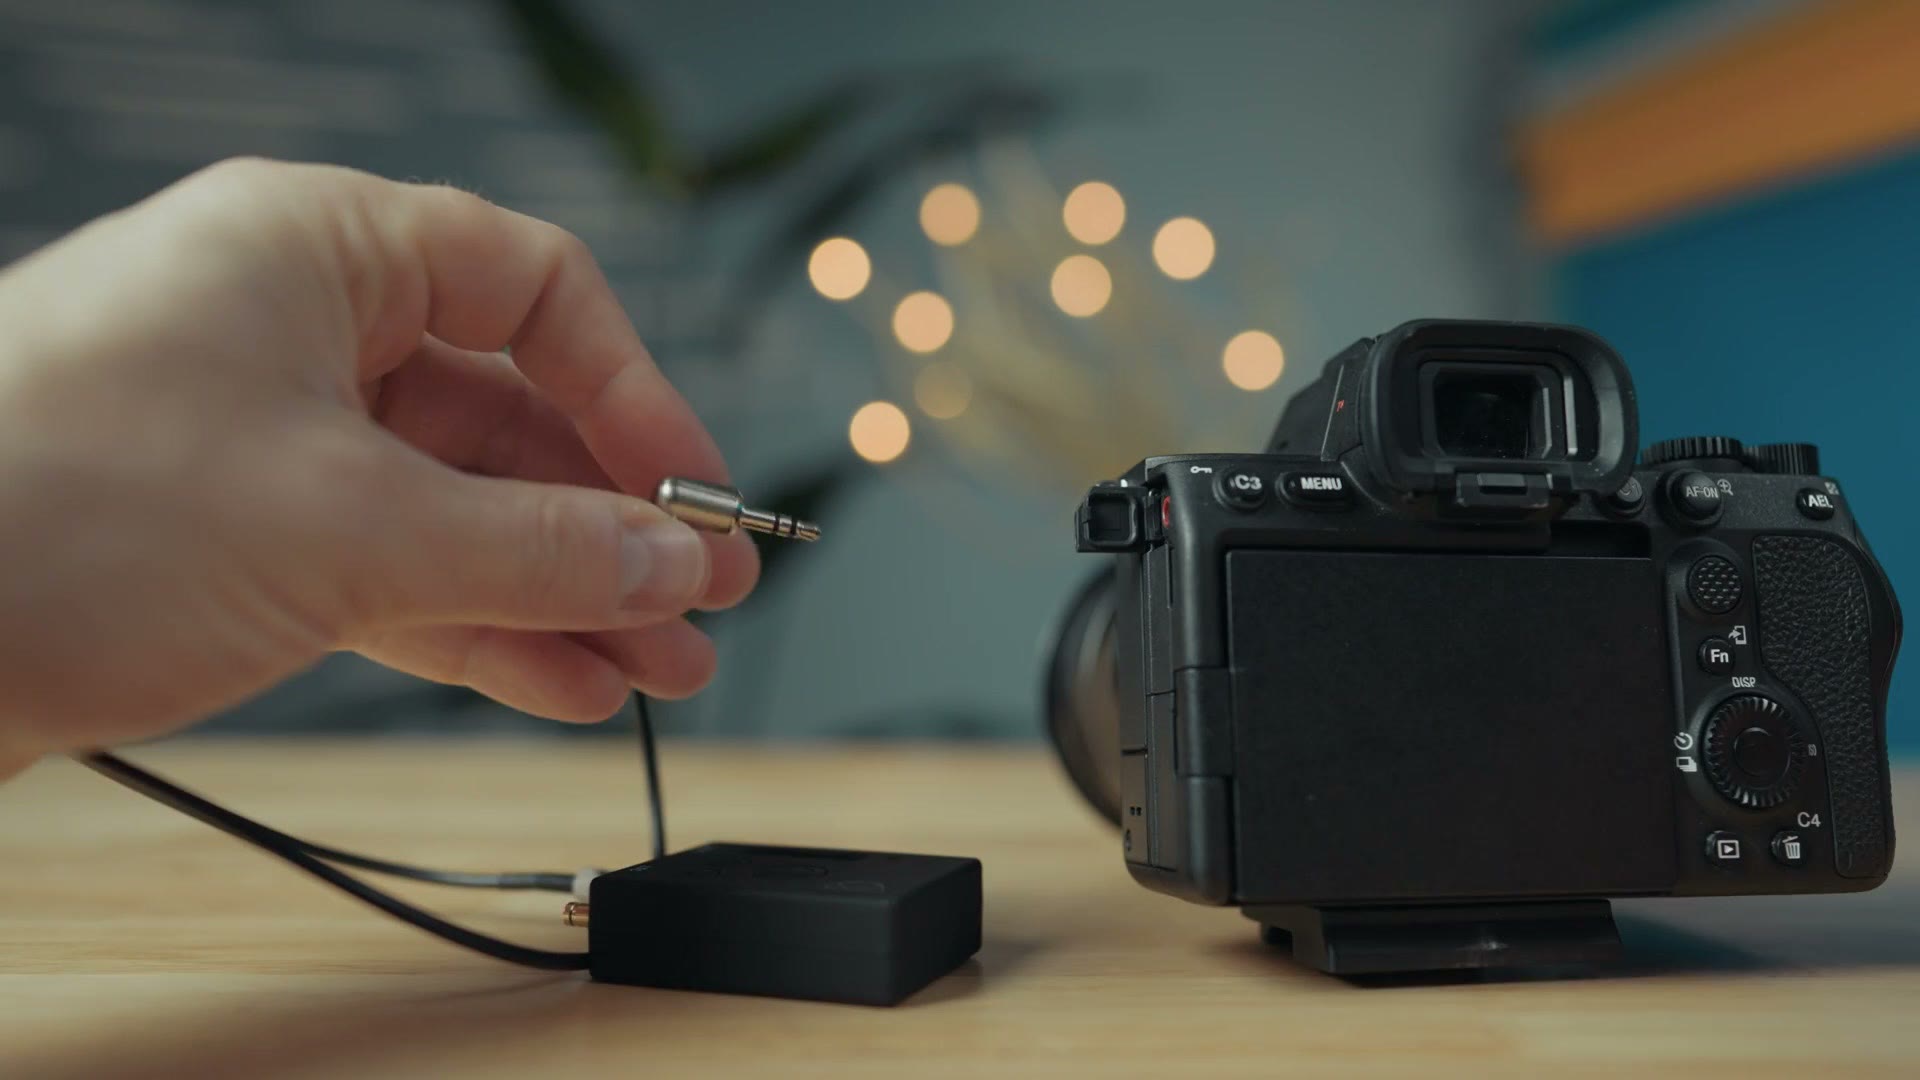
Once you do that and turn on your camera, you may notice your audio levels are almost completely peaking on your meters. This is by design.
The way this works is that if your camera does not have a dedicated timecode port, the timecode device sends a loud signal that gets saved into your camera’s audio file, and that signal can then be read by your editing software to sync up all of your audio and video.
On Camera Audio Workaround
Now I’m sure you’re thinking, wait a second Matt, I have a timecode device plugged into the mic jack of my camera, so what do I do if I want to record audio with my camera? Maybe you’re like me and you like to use your camera’s microphone to record ambient audio at a wedding, or maybe you usually run a shotgun mic. What do you do then?
Well, here’s your workaround. You’re going to want to invest in a 3.5mm audio splitter, which is linked up above with all the other equipment.
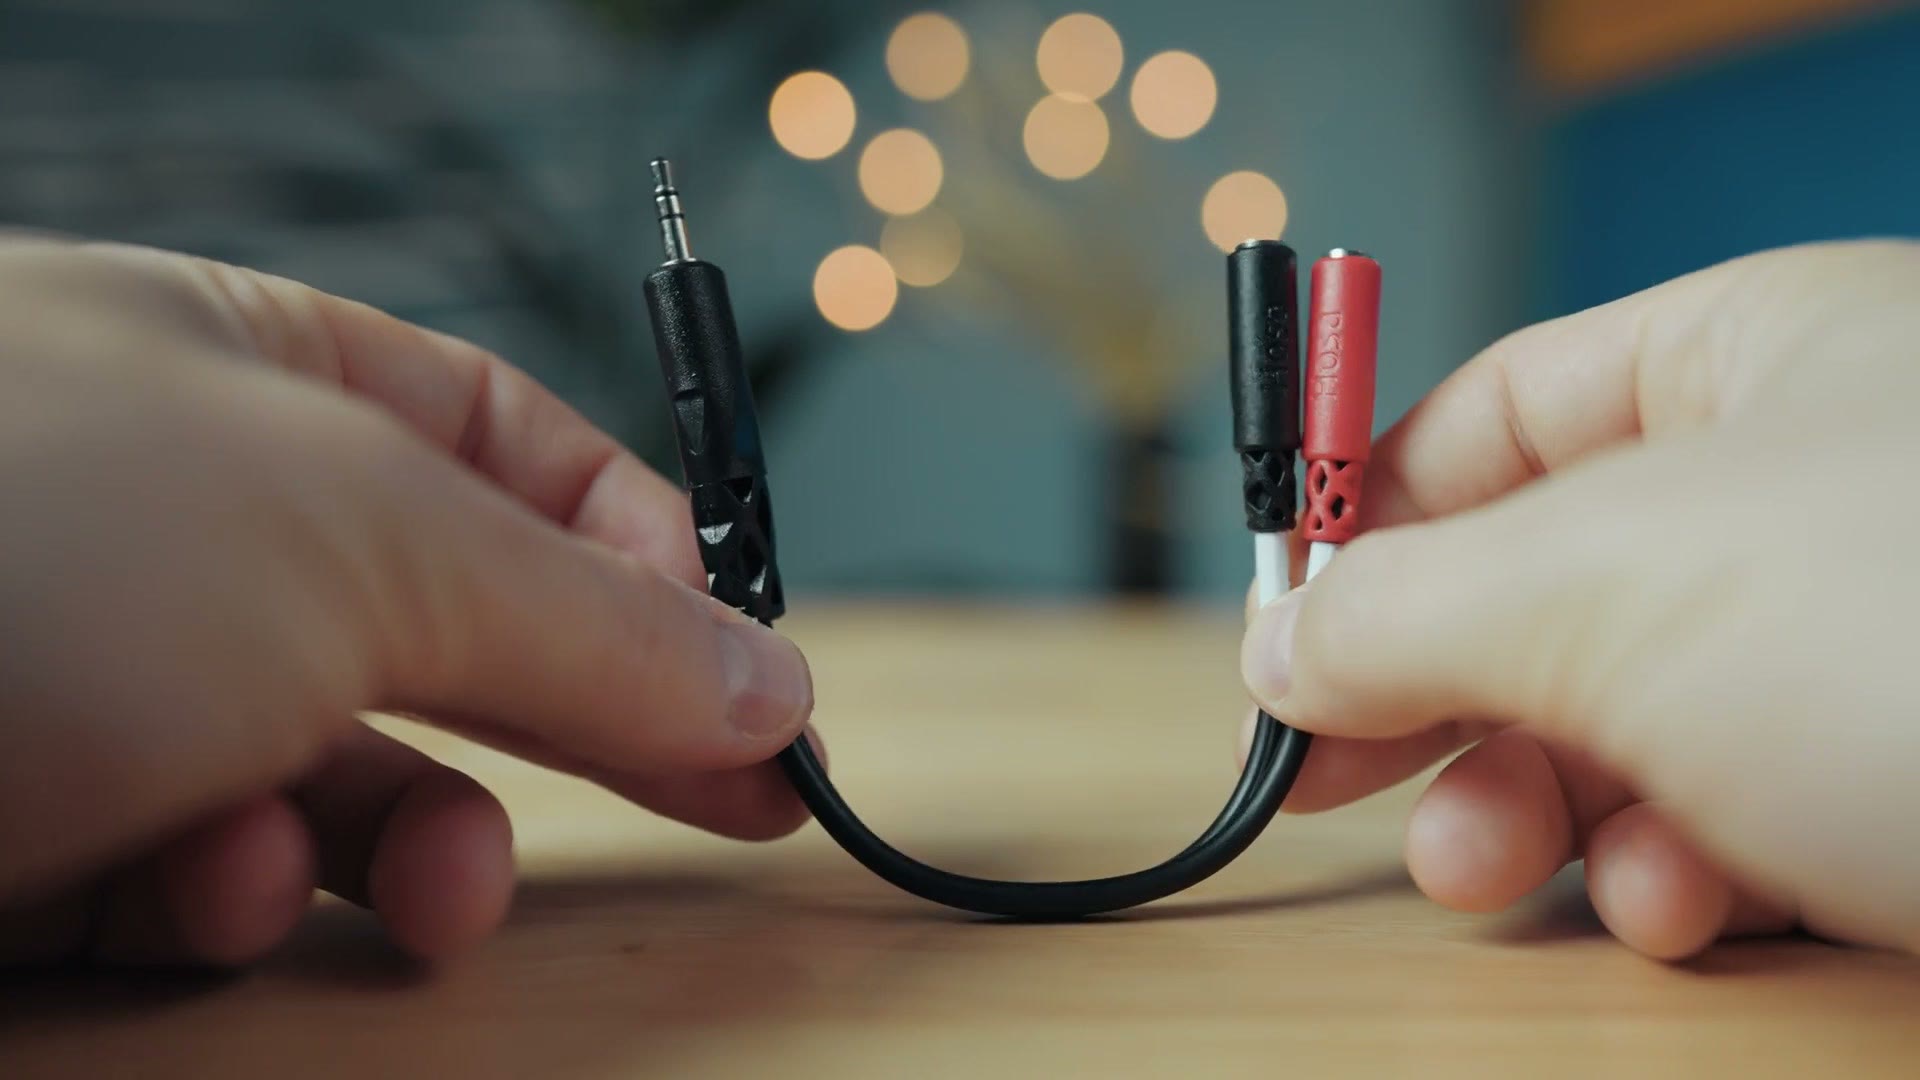
Plug your timecode generator cable into the left or right channel of the splitter, then plug the splitter into your camera. Notice that when I do that, the camera is suddenly not recording timecode audio to both channels. It’s only recording the left. I’m then free to grab a shotgun microphone with a 3.5mm plug, put that into the other port, and suddenly I’m recording timecode audio into the left channel and ambient audio into the right. This is a fantastic workaround.
Next, set your audio recording level so your audio isn’t completely peaking. You may need to turn your gain down to 1, or some low number like that, to help with it.
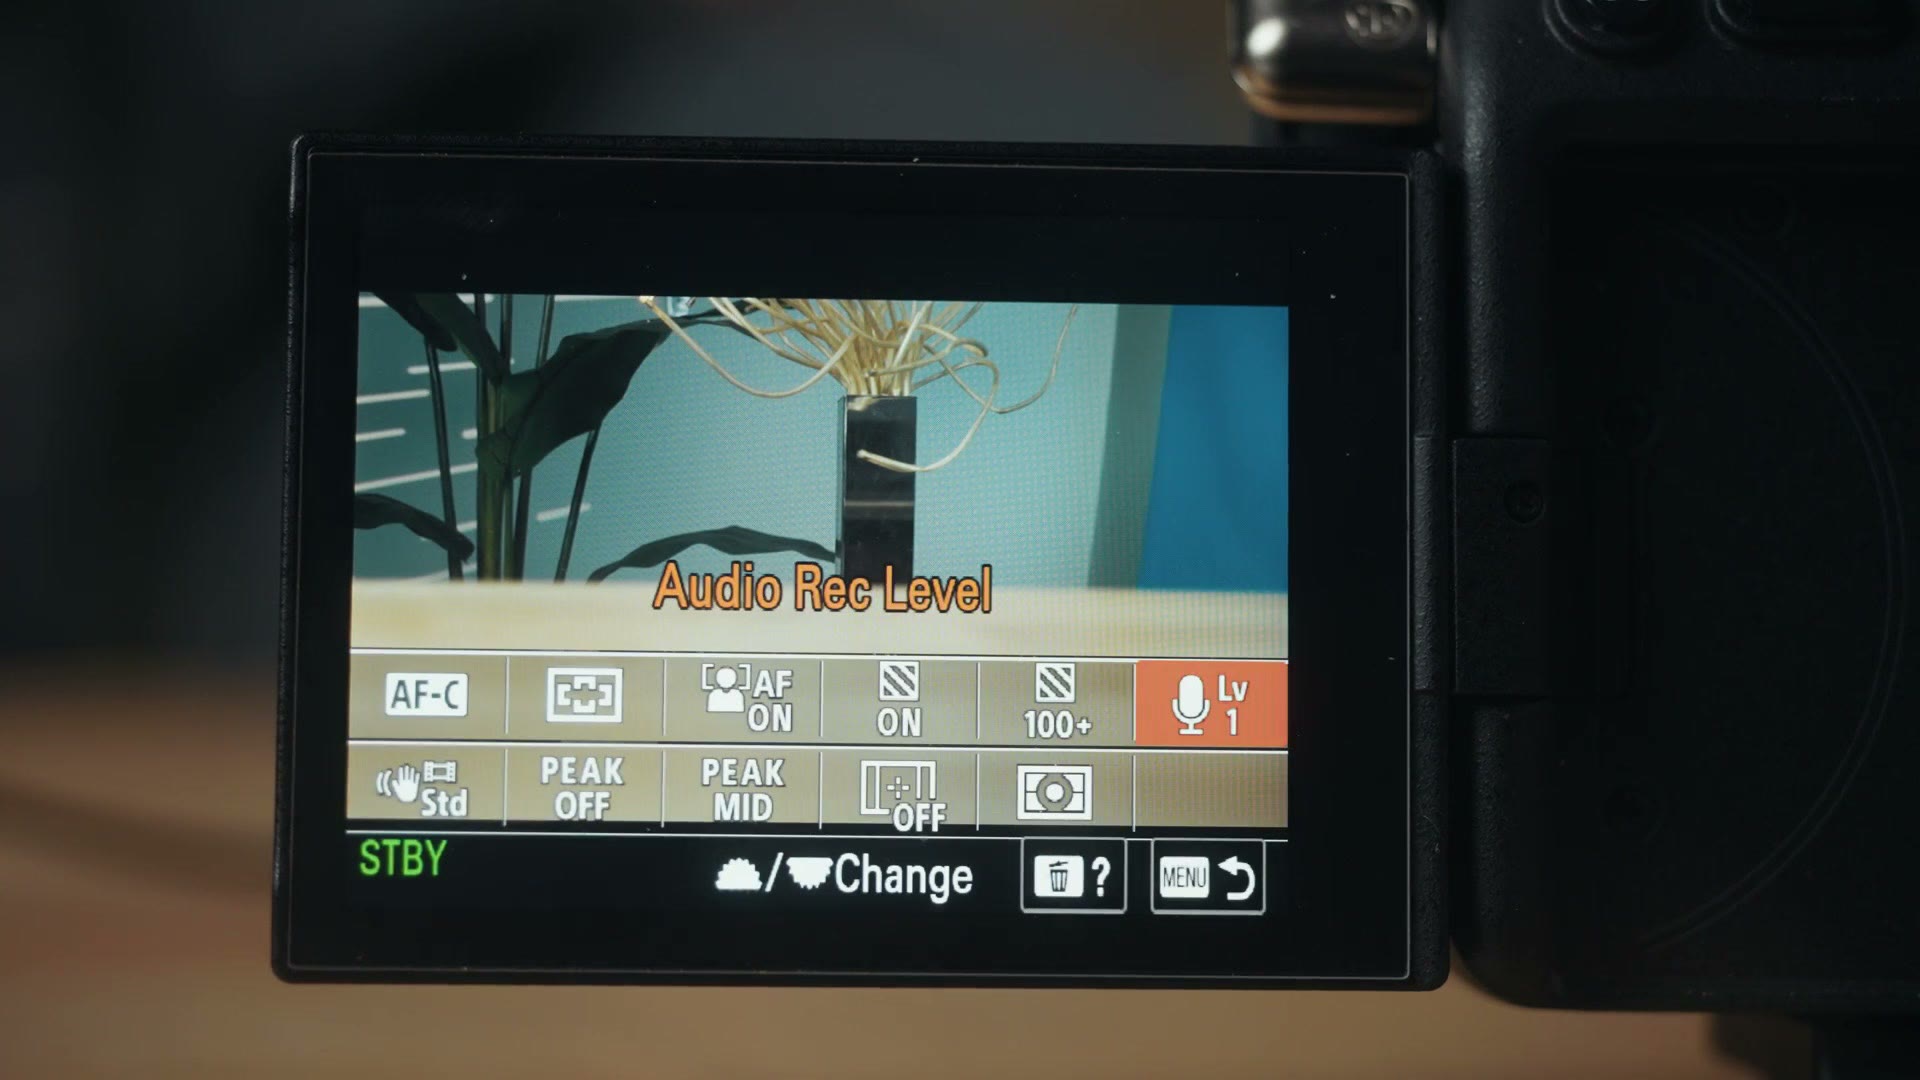
And with that, everything is set up on the a7S III. Now, you may be aware that there is a timecode menu on the a7S III with multiple different settings, but because we’re setting up timecode this way, using audio, we do not need to adjust any of those settings, since all of our timecode syncing is happening over that left audio channel.
Synchronizing Your Audio & Video In TWO CLICKS In DaVinci Resolve
With that done, all you have to do is film your video and record your audio, and then when you’re finished you sync it all up in your editor.
In my case I’m using DaVinci Resolve, which supports audio timecode out of the box and lets you sync your footage and audio using only two button clicks.
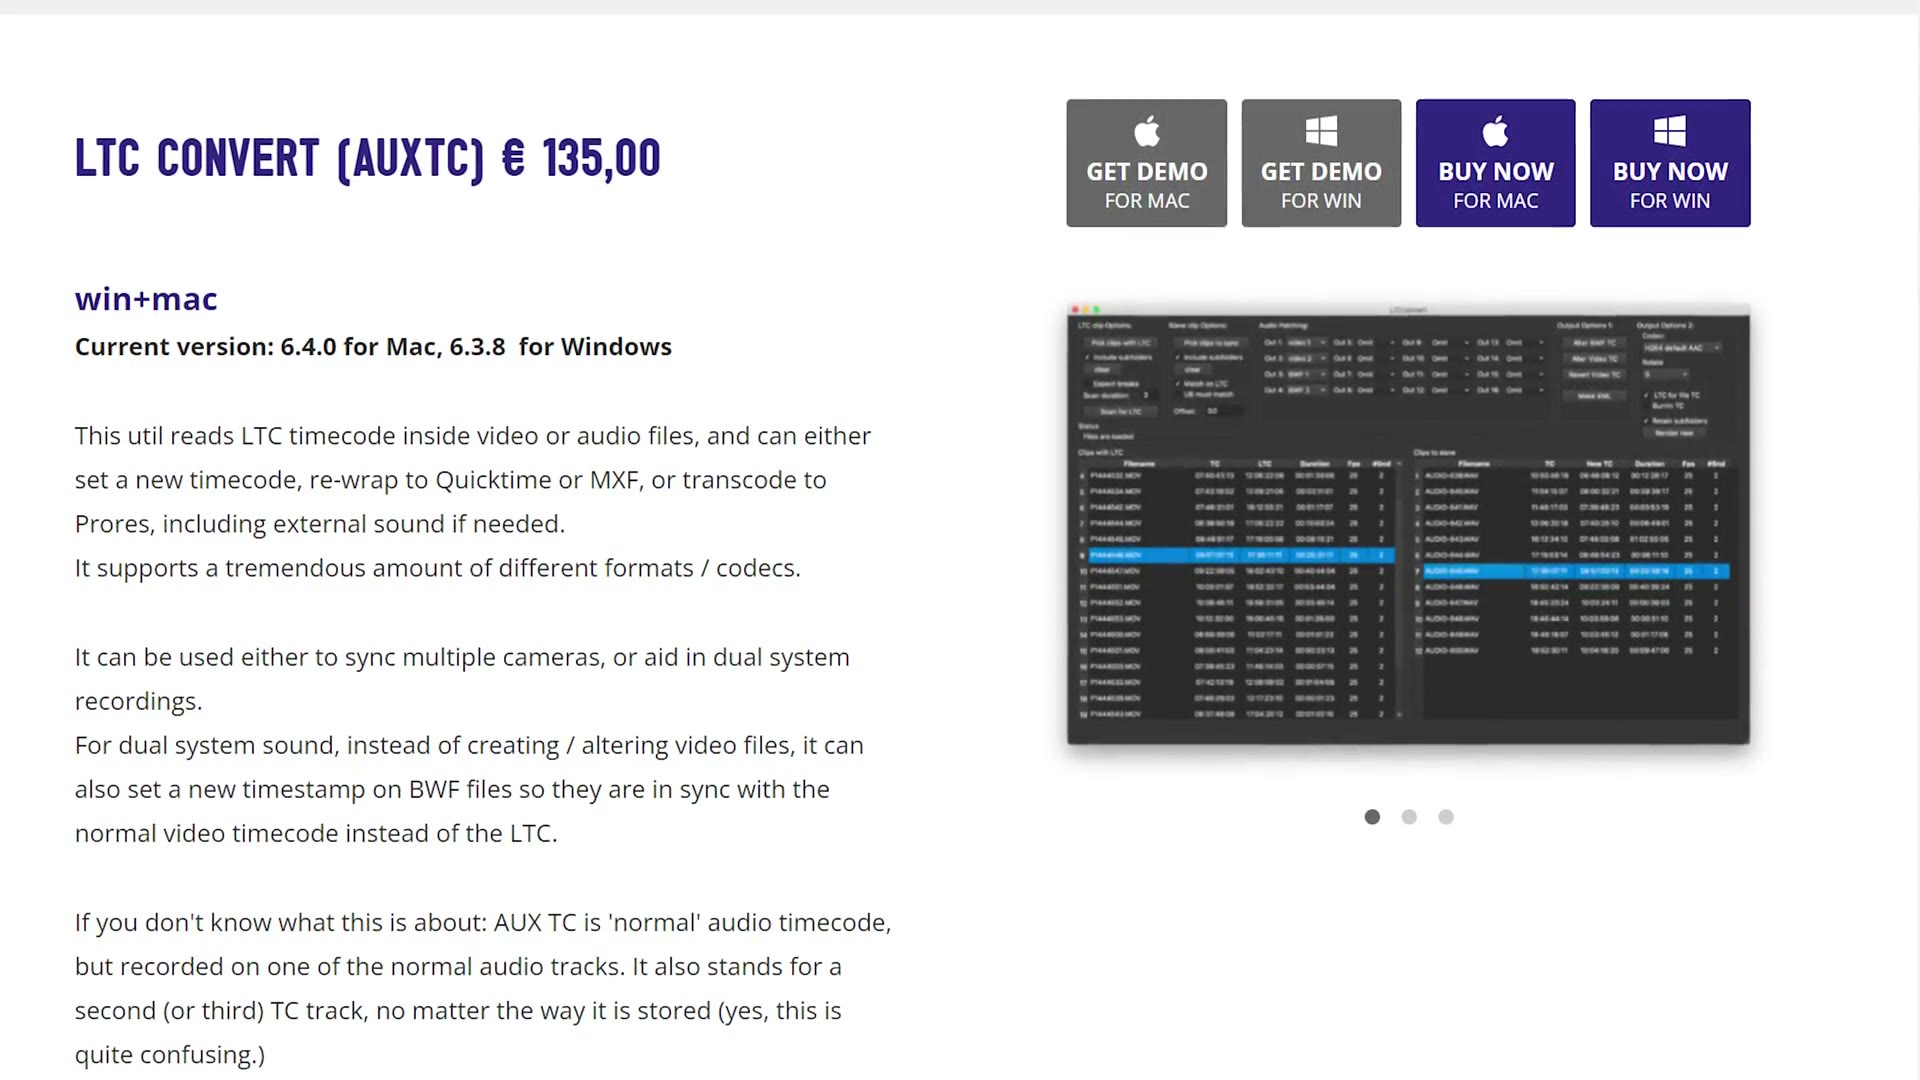
If you’re using another editor like Premiere Pro, you may need a third party app like LTC Convert from VideoToolShed to read the timecode that was recorded into your audio file and convert it into timecode your software can read. LTC Convert also supports Final Cut Pro if you need it.
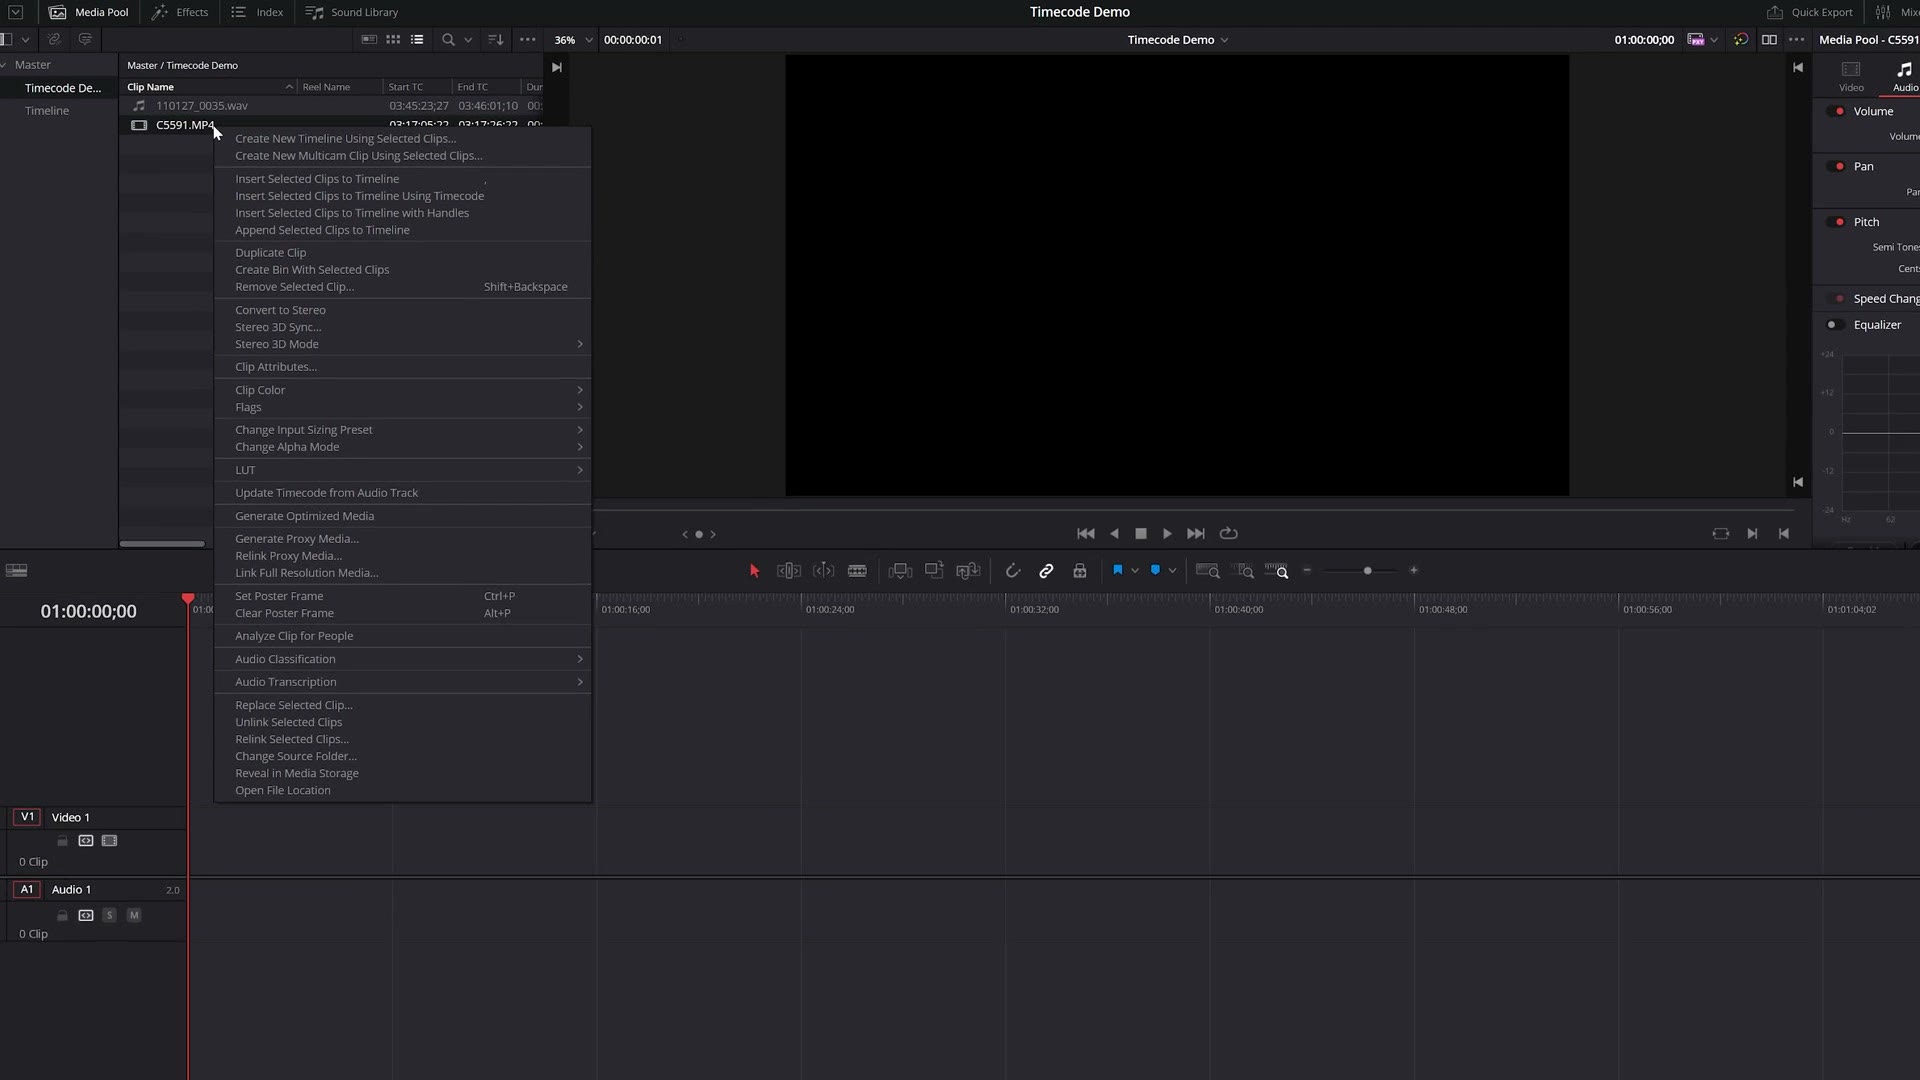
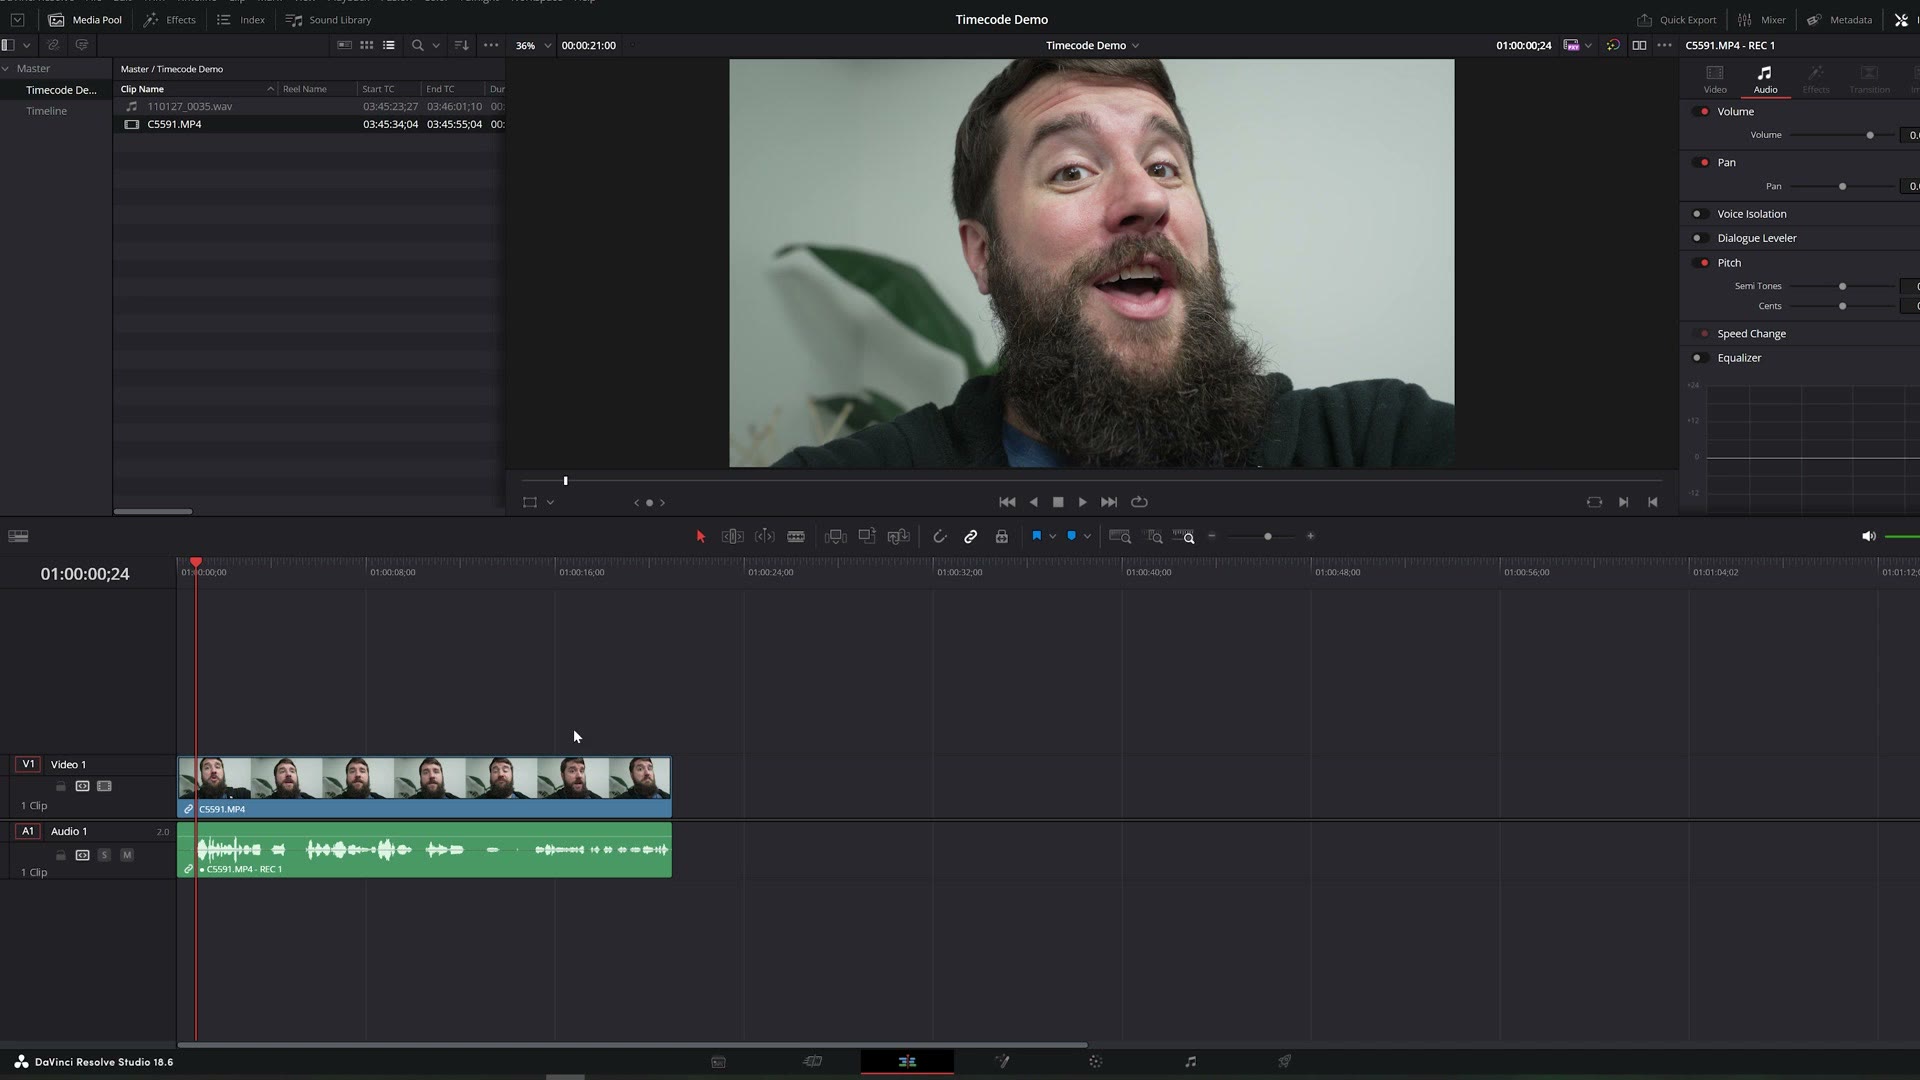
Back to Resolve. Once you’ve imported the audio and video clips you recorded, find the video clip that has the timecode audio in it, right click on it in the media pool, and here comes button click one: select Update Timecode from Audio Track. That updates the video clip’s timecode with the timecode audio recorded to the left channel.
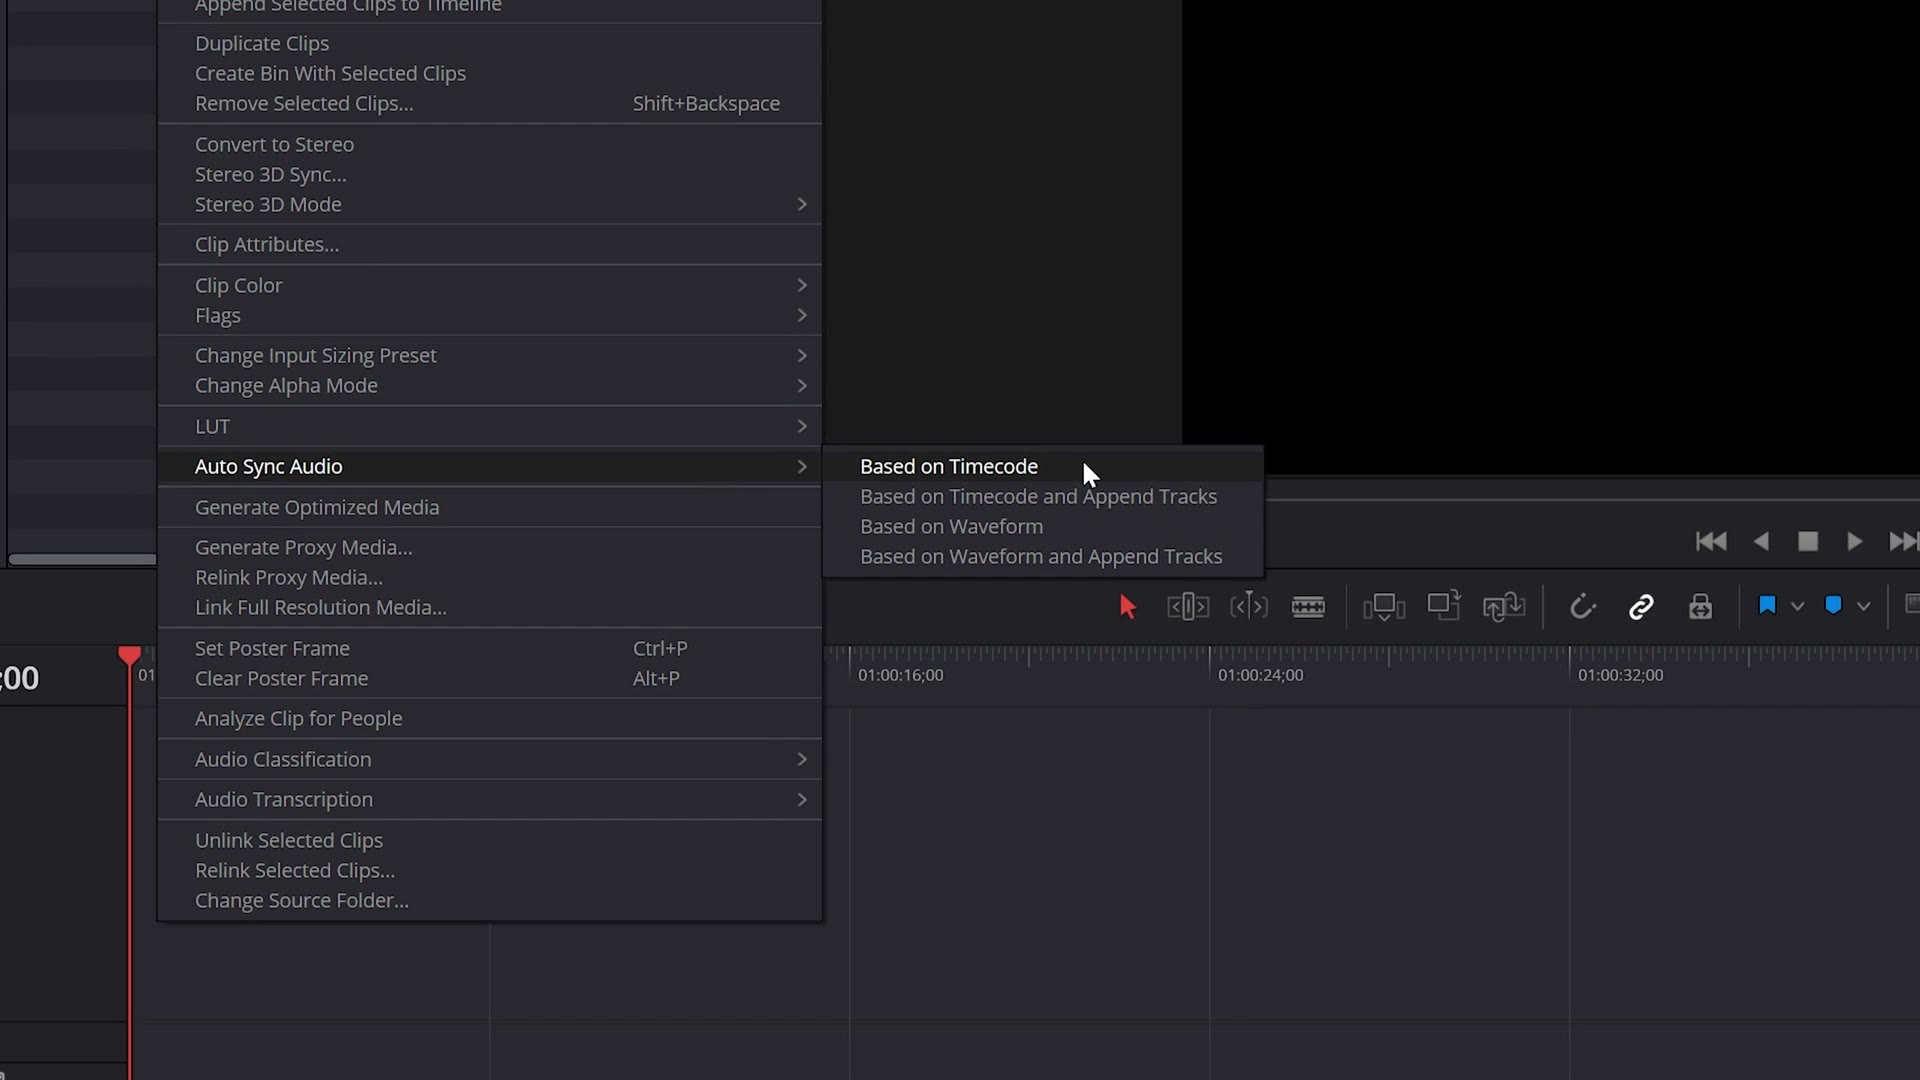
Then select both your video and audio clips at the same time, right click on them, and here is button click two: select Auto Sync Audio, then Based on Timecode.
Once you’ve done that, click on your video clip, drag it to your timeline, and you’ll see that the audio you recorded with your DR-10L Pro is now perfectly synced with your camera footage.
It’s magical.
Download My FREE Timecode Setup Cheat Sheet
Speaking of magical, I would highly recommend downloading my magical cheat sheet for these timecode settings and all of the equipment. I know I covered a lot here, and I want to make this as easy as possible for you to start using timecode in your own videos. It’s completely free.
And while you’re at it, let me know if you want to see videos about other timecode devices, and which ones specifically.
Thanks so much for reading, and have a great day!