
Doug really wanted to be in the BTS. We were sitting in a meeting with him and Kaley and he goes, “you’re shooting BTS, right? You’re gonna shoot BTS?” Yeah, Doug. Of course I was going to.
So here’s the whole day, from groom prep through the last portrait of the night, filmed on the kit I actually carry to weddings. One thing to know before we start: this wedding was filmed back in 2018, when my second shooter was pregnant, which is why our behind the scenes shooter ended up pulling double duty and stepping in on camera partway through the day.
Groom Prep
Groom prep is the time of the day before everybody is actually doing anything important. The guys are hanging out, college football is on, Pokémon Go is happening. Which is exactly why it’s the right time to make life easier for yourself later.
First thing I did was move the whole thing outside, because the lighting out on the porch looked a lot better than it did in that room, even though it was hot and humid.
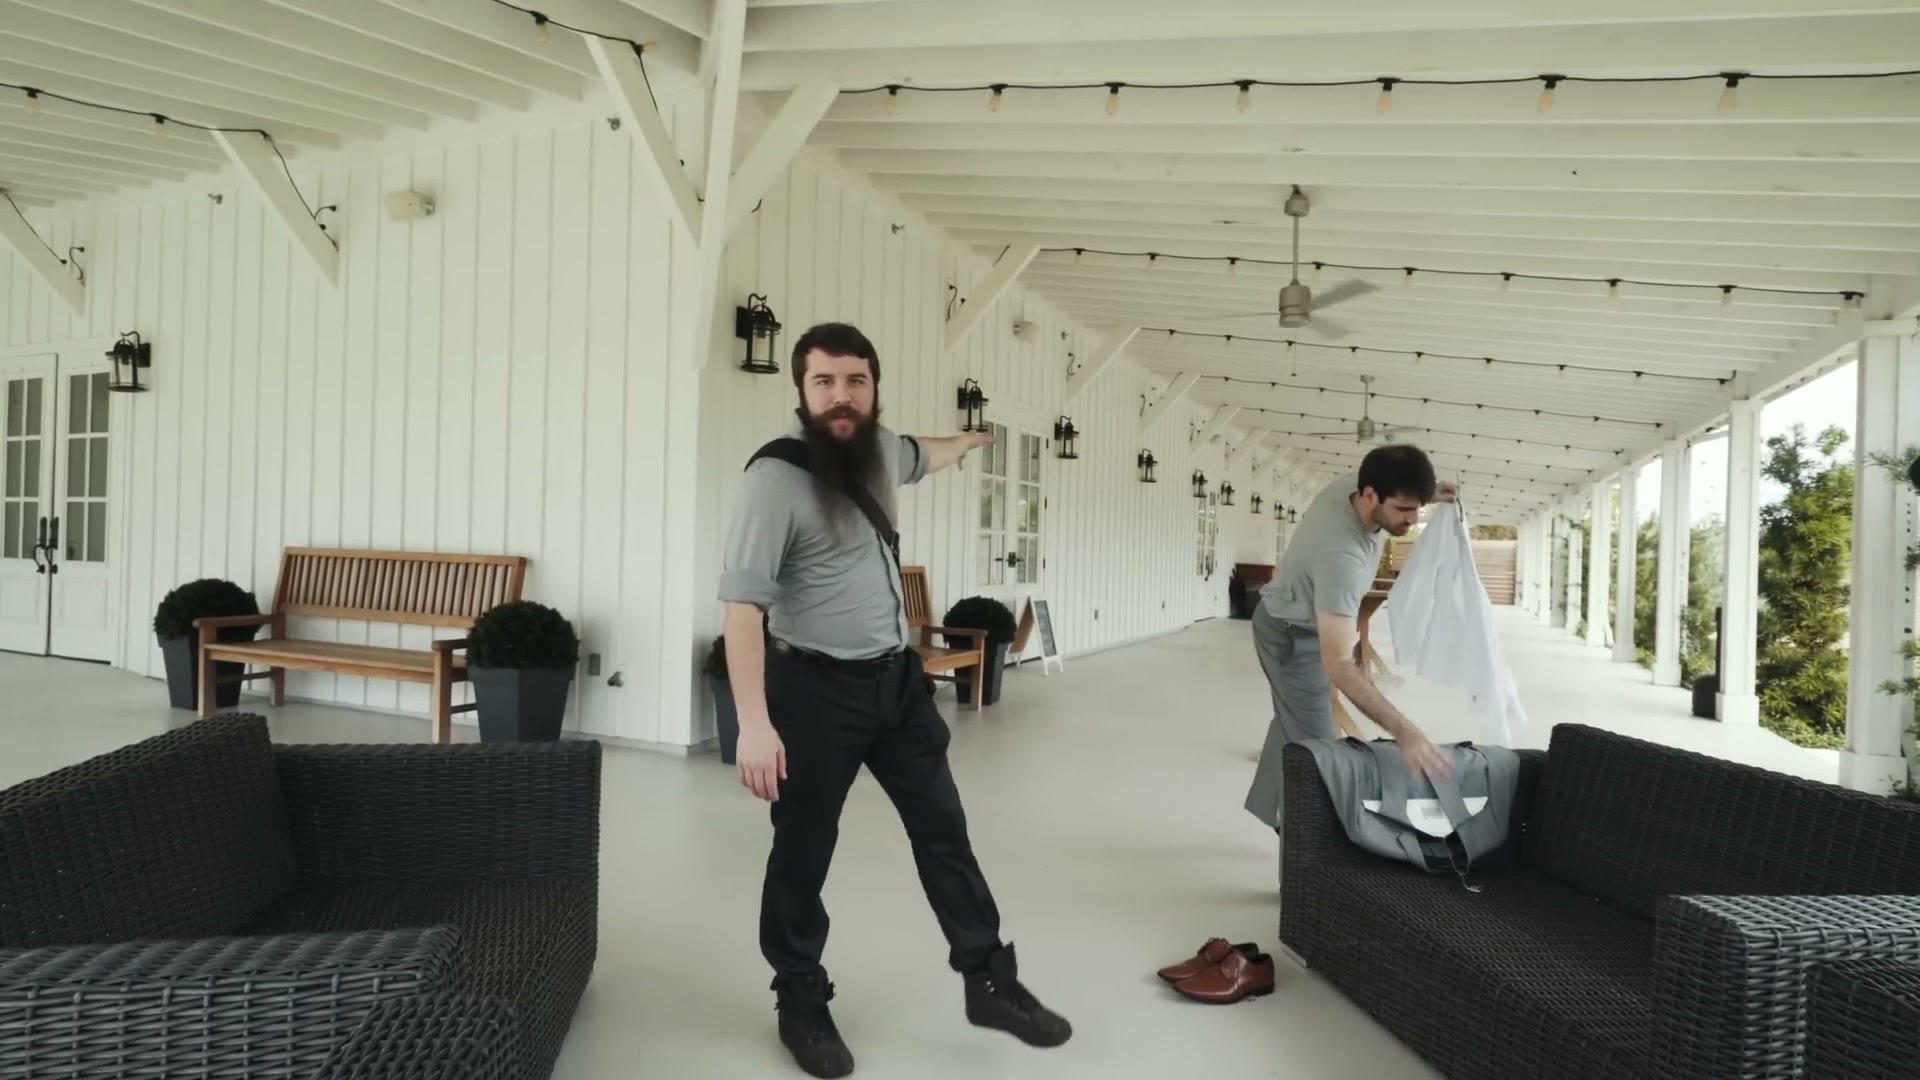
I liked the depth we had out there, and it wasn’t overexposed. I also switched over to my ND filter at that point, which helps out a little bit.
Now, some things we just don’t film. We don’t usually film the pants changing. We don’t film the tuck in, because look at it, it’s just awkward. Don’t film tuck ins. I don’t film fake eyelashes, and I don’t film hair extensions either.
What we do film is everything after he’s dressed, and then some moody shots of him staring pensively off into the distance, for which I switch over to 60 frames per second. If you want the longer version of how I work these two rooms, I’ve got a whole piece on how to film bride and groom prep.
Reading The Letters
Once he’s dressed, we have him read his letter. I have my Sennheiser G3 running into my Zoom H5, so that I can monitor the audio while it is recording and just make sure I have good audio of the letter reading. Heads up: this link goes to the newer Sennheiser EW 112P G4.
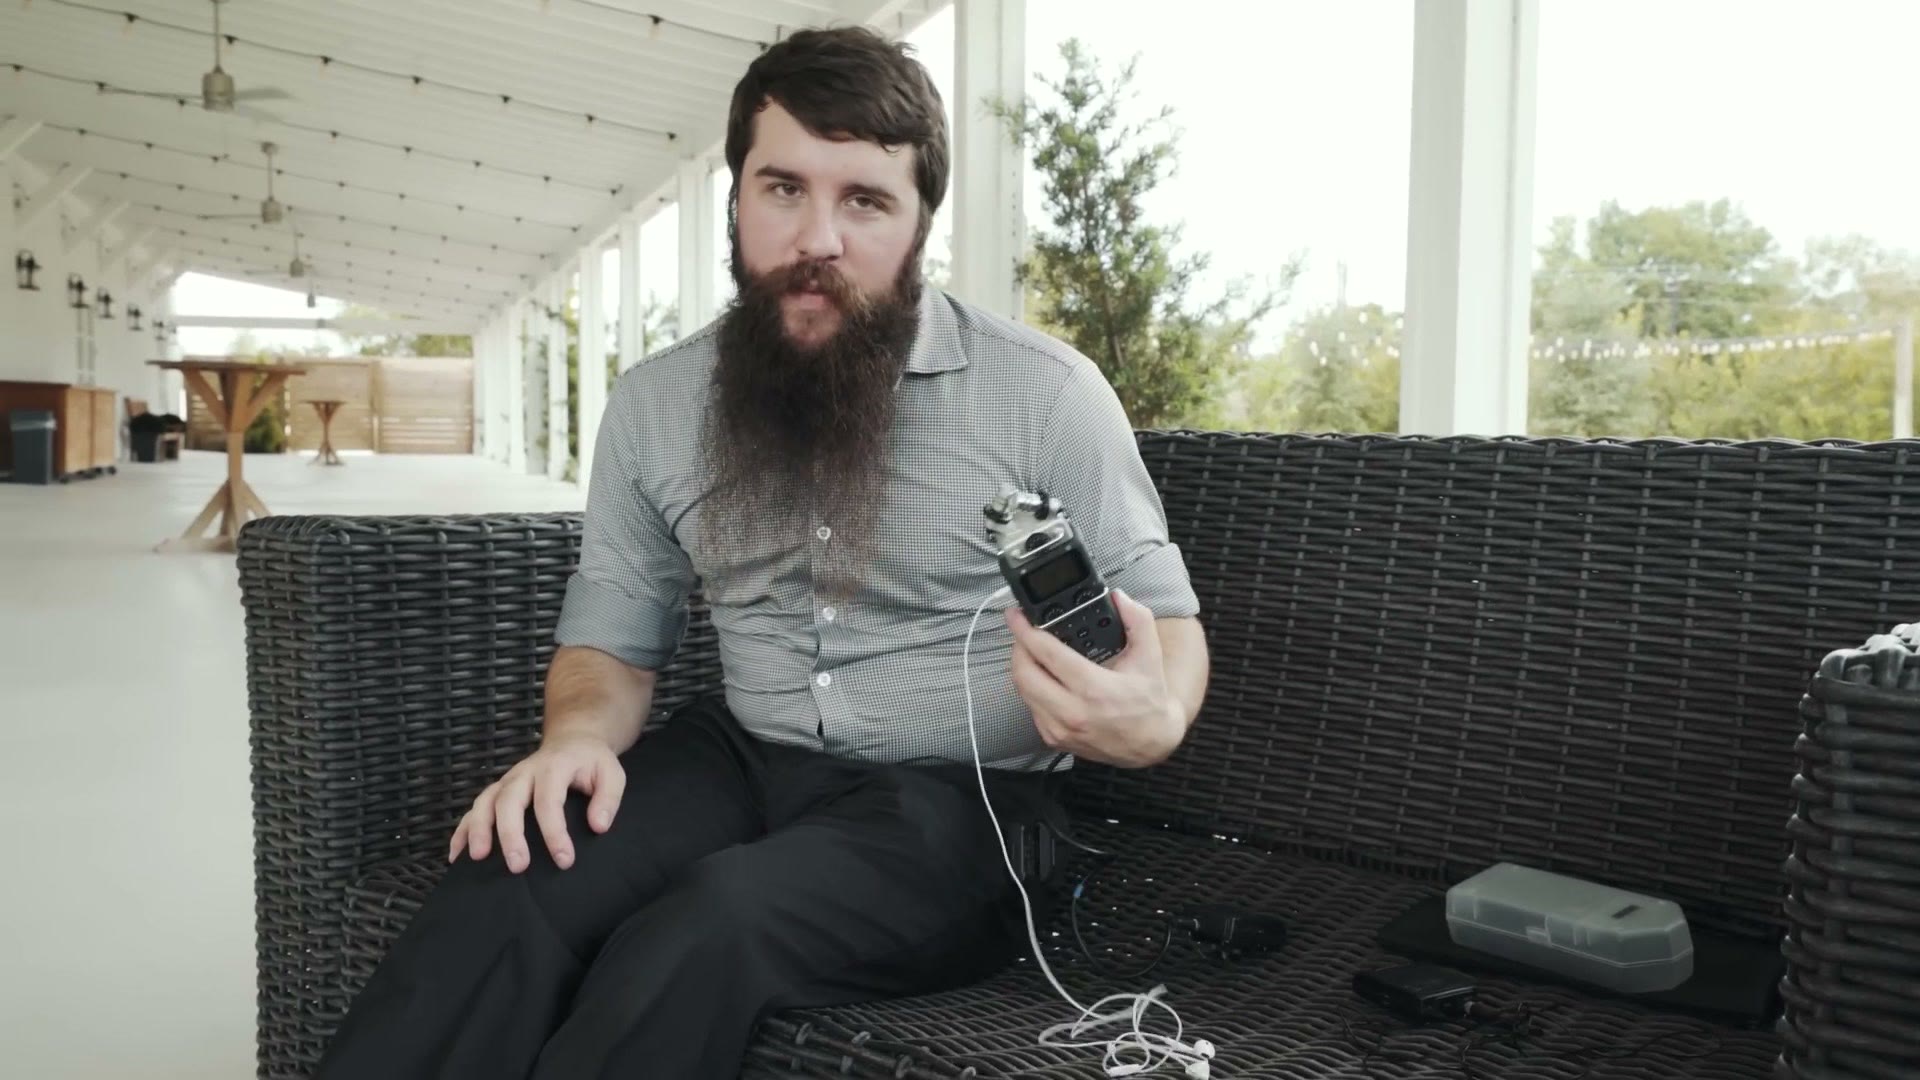
So much of this is just trying to find the right angle. I want the shadow side of the face, and once you get it, you get it.
Then I have him read the first line, just to check his projection. “It’s good projection, you’re a solid projector. If you were a projector, you’d be a 4K projector.” Then he reads it normally, and if he messes up, we can edit it, so he just goes back a sentence and re-reads.
Here’s the actual reason I care so much about this: having them read their letters means we already have good content. That is a really, really good storytelling piece from the wedding day, and the day has only just begun. We film Kaley getting ready, then we film her reading her letter, and before the ceremony has even started we’ve already banked some really good story.
Bride Prep
The makeup lights in the bride’s room weren’t matching the daylight coming in, so I asked if we could turn them off. The nice thing about that room afterward is that it’s all the same lighting now, which makes me very, very happy.
Then I moved a suitcase out of the way, because I just knew I was going to trip over it later on if I didn’t move it right then.
Bride prep is also where I like to bring out the prism, to block out myself or other people who are visible in the mirrors and salvage shots that would not be usable otherwise. There’s somebody standing right there in the reflection, and then there’s a prism in front of the lens, and now, who’s there? Nobody. If you’ve never used one, I wrote up four ways to use a $16 prism in your wedding films, and later upgraded to a Prism Lens FX.
We also try to shoot two cameras at the same time, because whenever I’m editing it’s a lot easier for me to cut back and forth between the two shots. A wider one, a tighter one, and it just works really well together.
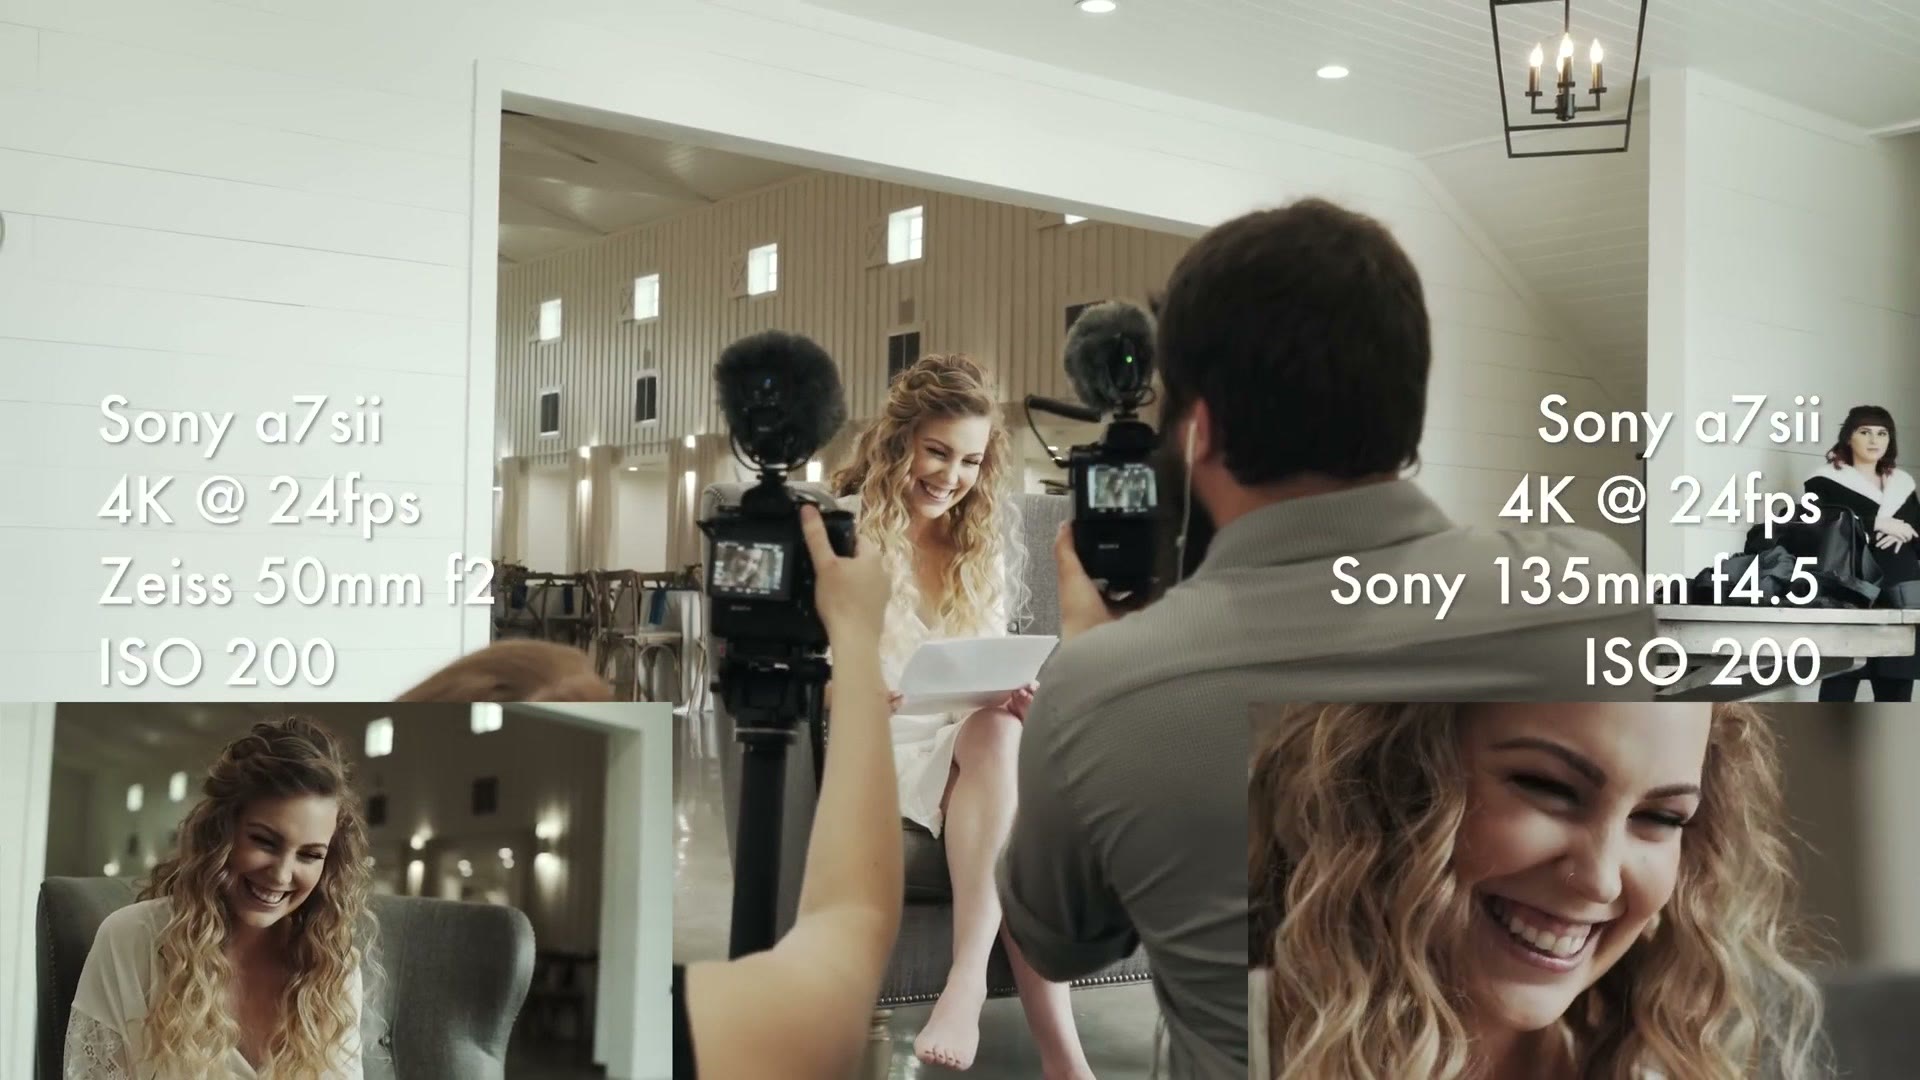
Same idea for her letter. I asked whether she was okay with other people hearing it, and since it was quieter downstairs we took her down there instead. My second shooter puts the mic on her, because it’s just less awkward for me. Mic check, one line to set the level, then everybody stops talking and she reads. She read it fast the first time, so we had her take her time and start over.
Micing The Bride
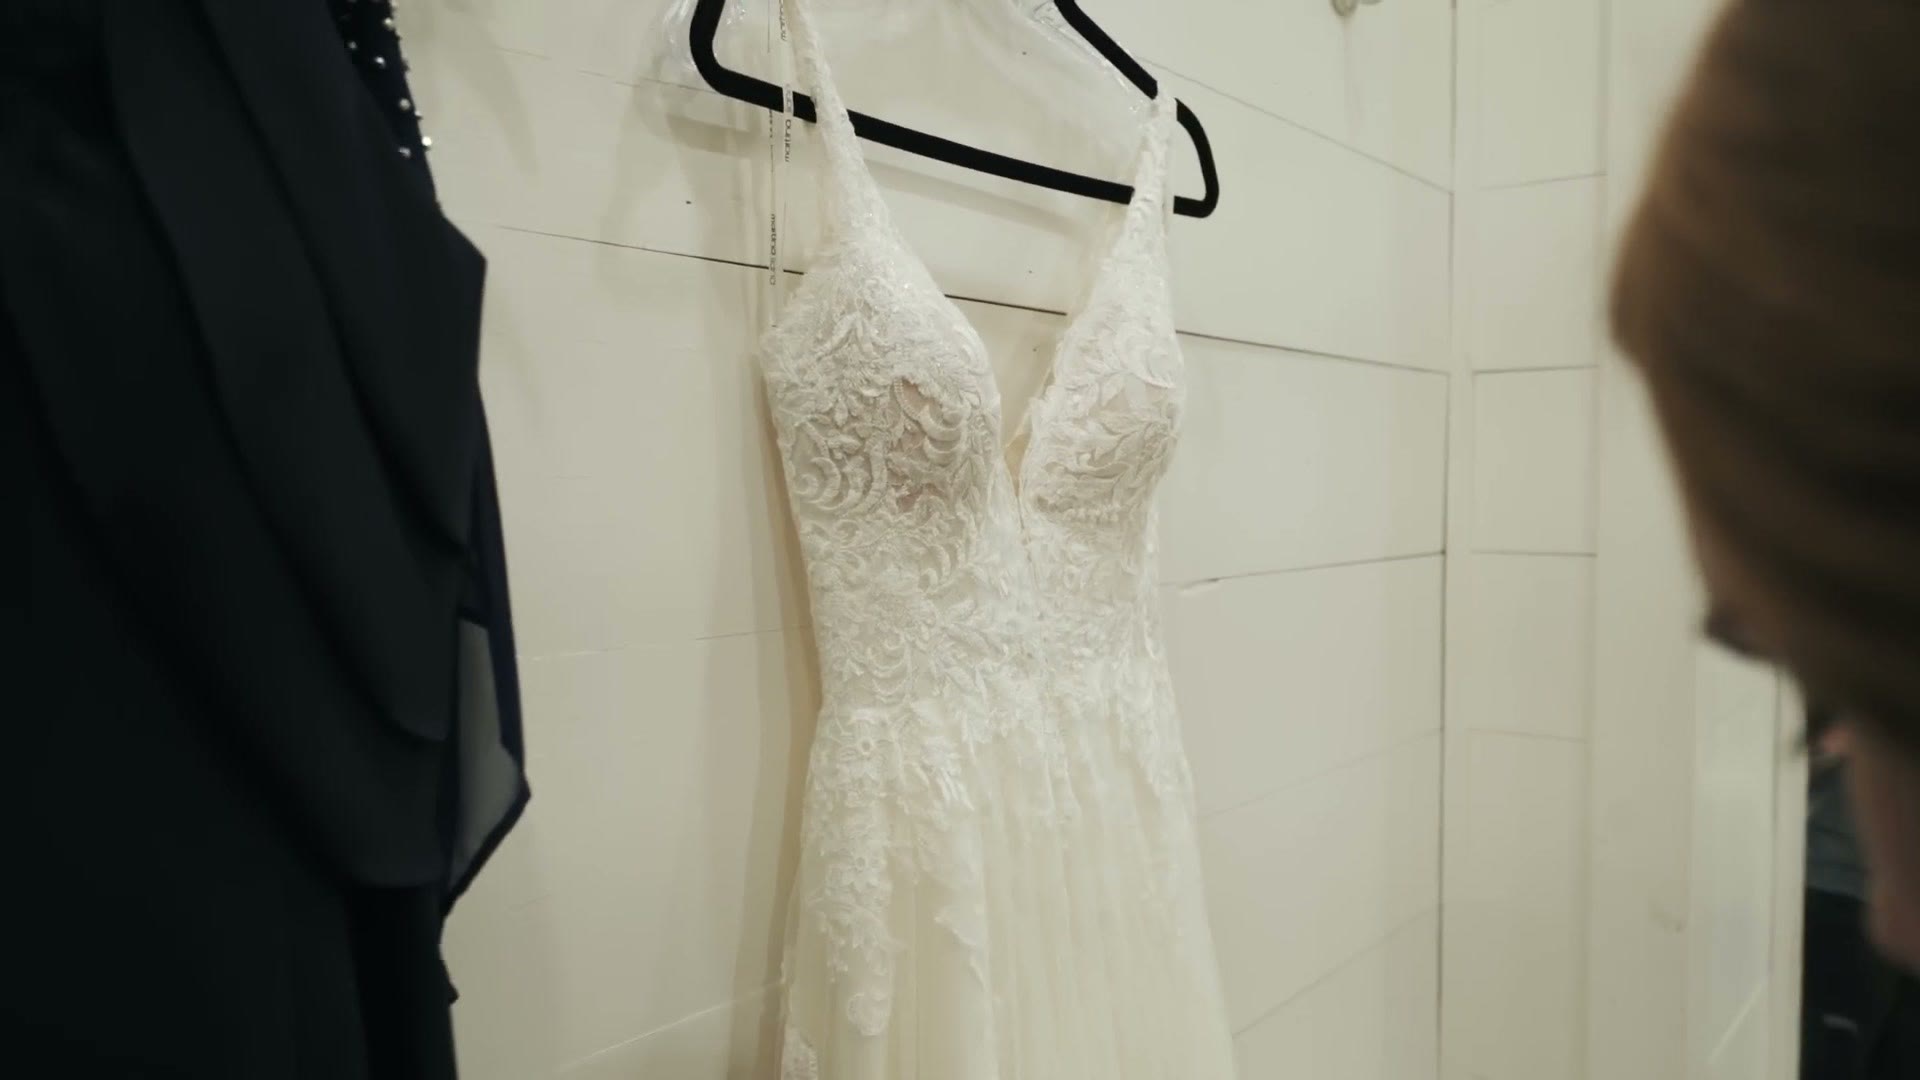
Every bride’s dress is different, and this one was harder than most. It’s a little more see through up toward the top, so we had to figure out exactly how to put the mic on it in a way that isn’t going to be visible.
Thankfully we were using the white Tascam recorder and lav, which has a white cord, so it hides pretty well.
Normally you put it in the center and run it straight down, but because that part of this dress is translucent we didn’t want to do that. There’s a less translucent piece of ribbon further back, so we went there instead, which meant using two stickies: one at the top to hold the mic, and another lower down to actually hold the cord in place. Then we ran it down to the thigh strap at the bottom.
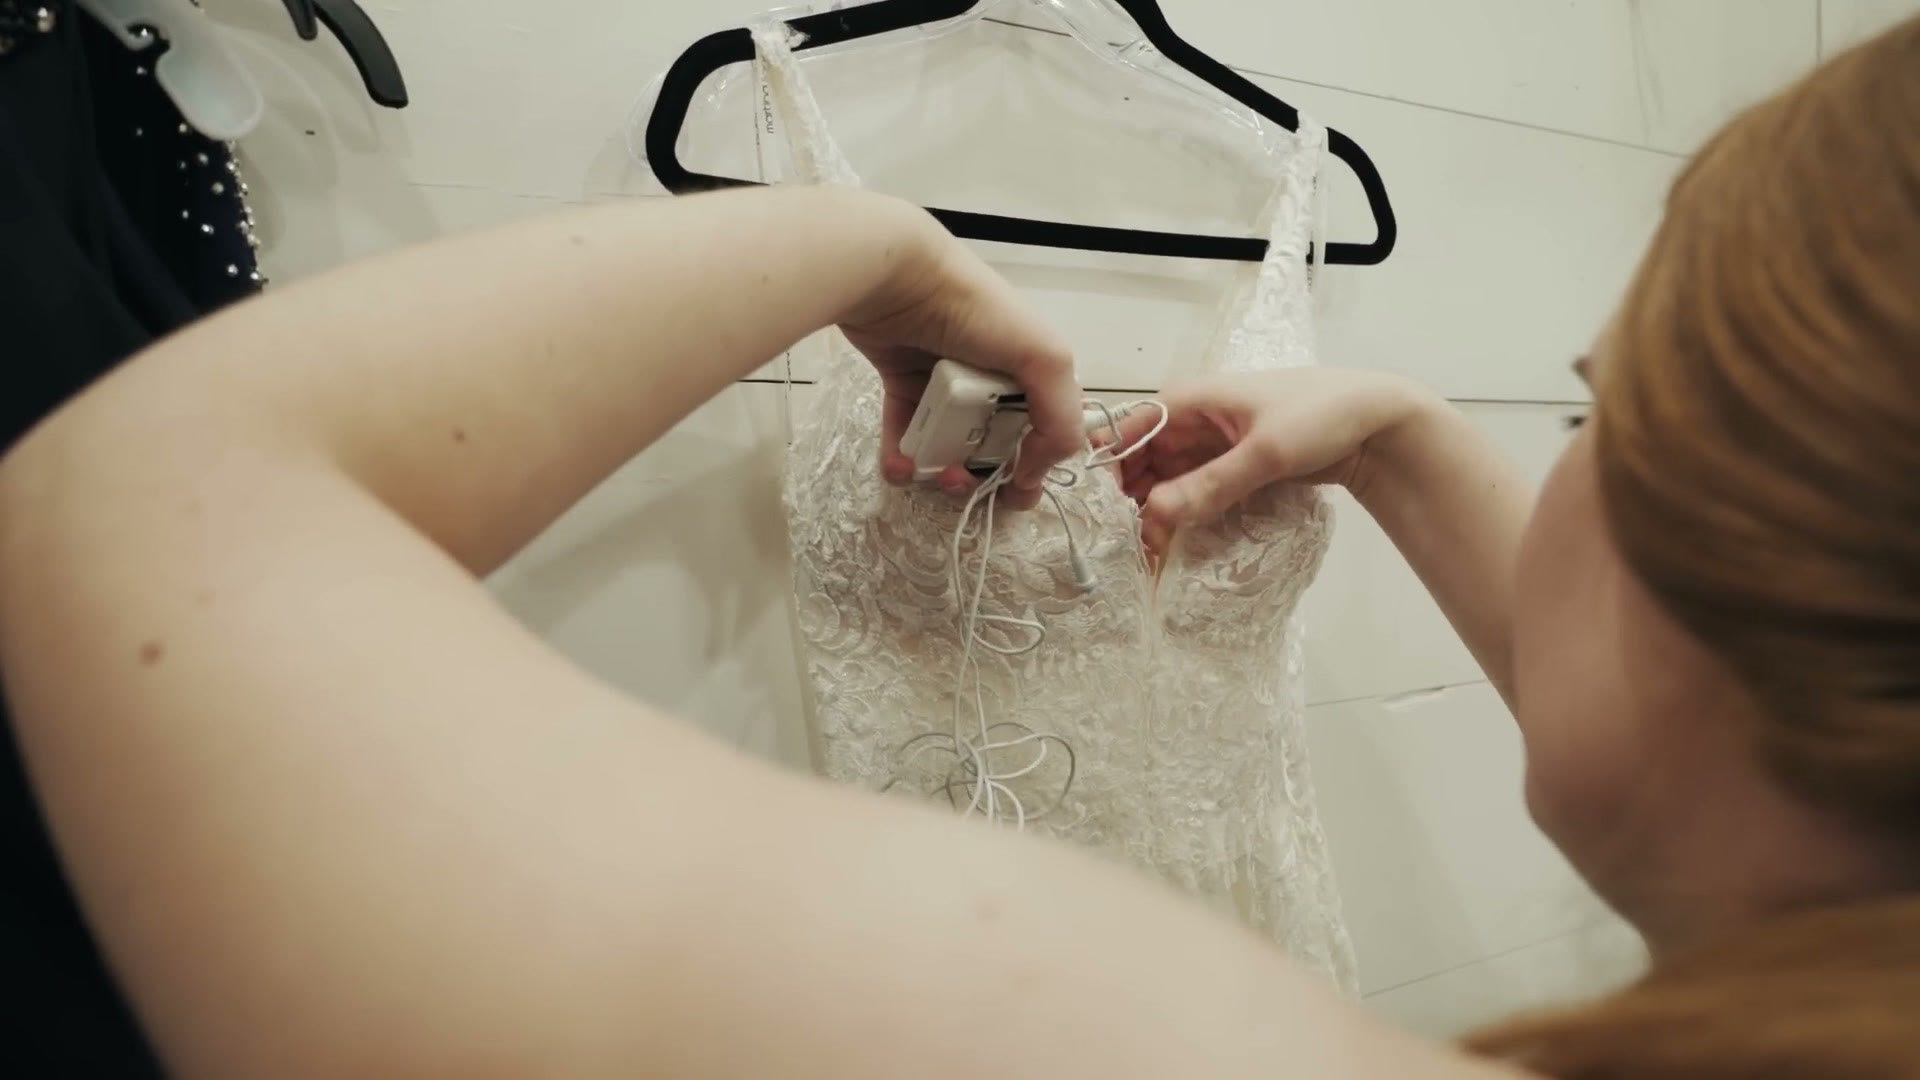
And you can’t even see it.
The First Look
The only note I had on the setup was that with her coming down toward him she was going to be in shadow a lot, so I asked whether he could stand further out. That way I don’t have to worry about him being blown out quite so much.
Micing the groom is easier. It goes behind the tie. “I’m touching your butt right now, but do not be alarmed.” He doesn’t even know he’s mic’d. The mob will never know.
I also grabbed my old Crane for this one, because I needed some stabilization for the first look.
If you want to go deeper, I’ve also got Wedding Film Breakdown: Gear & Settings Used in Kaley & Doug’s Film, Wedding Filmmaking Behind The Scenes: Holly & Luke’s Colorado Adventure Part 1 | Filmed with a7S III, and Wedding Filmmaking Behind The Scenes: Jordann & Nick filmed with the Sony a7Sii in Ireland.
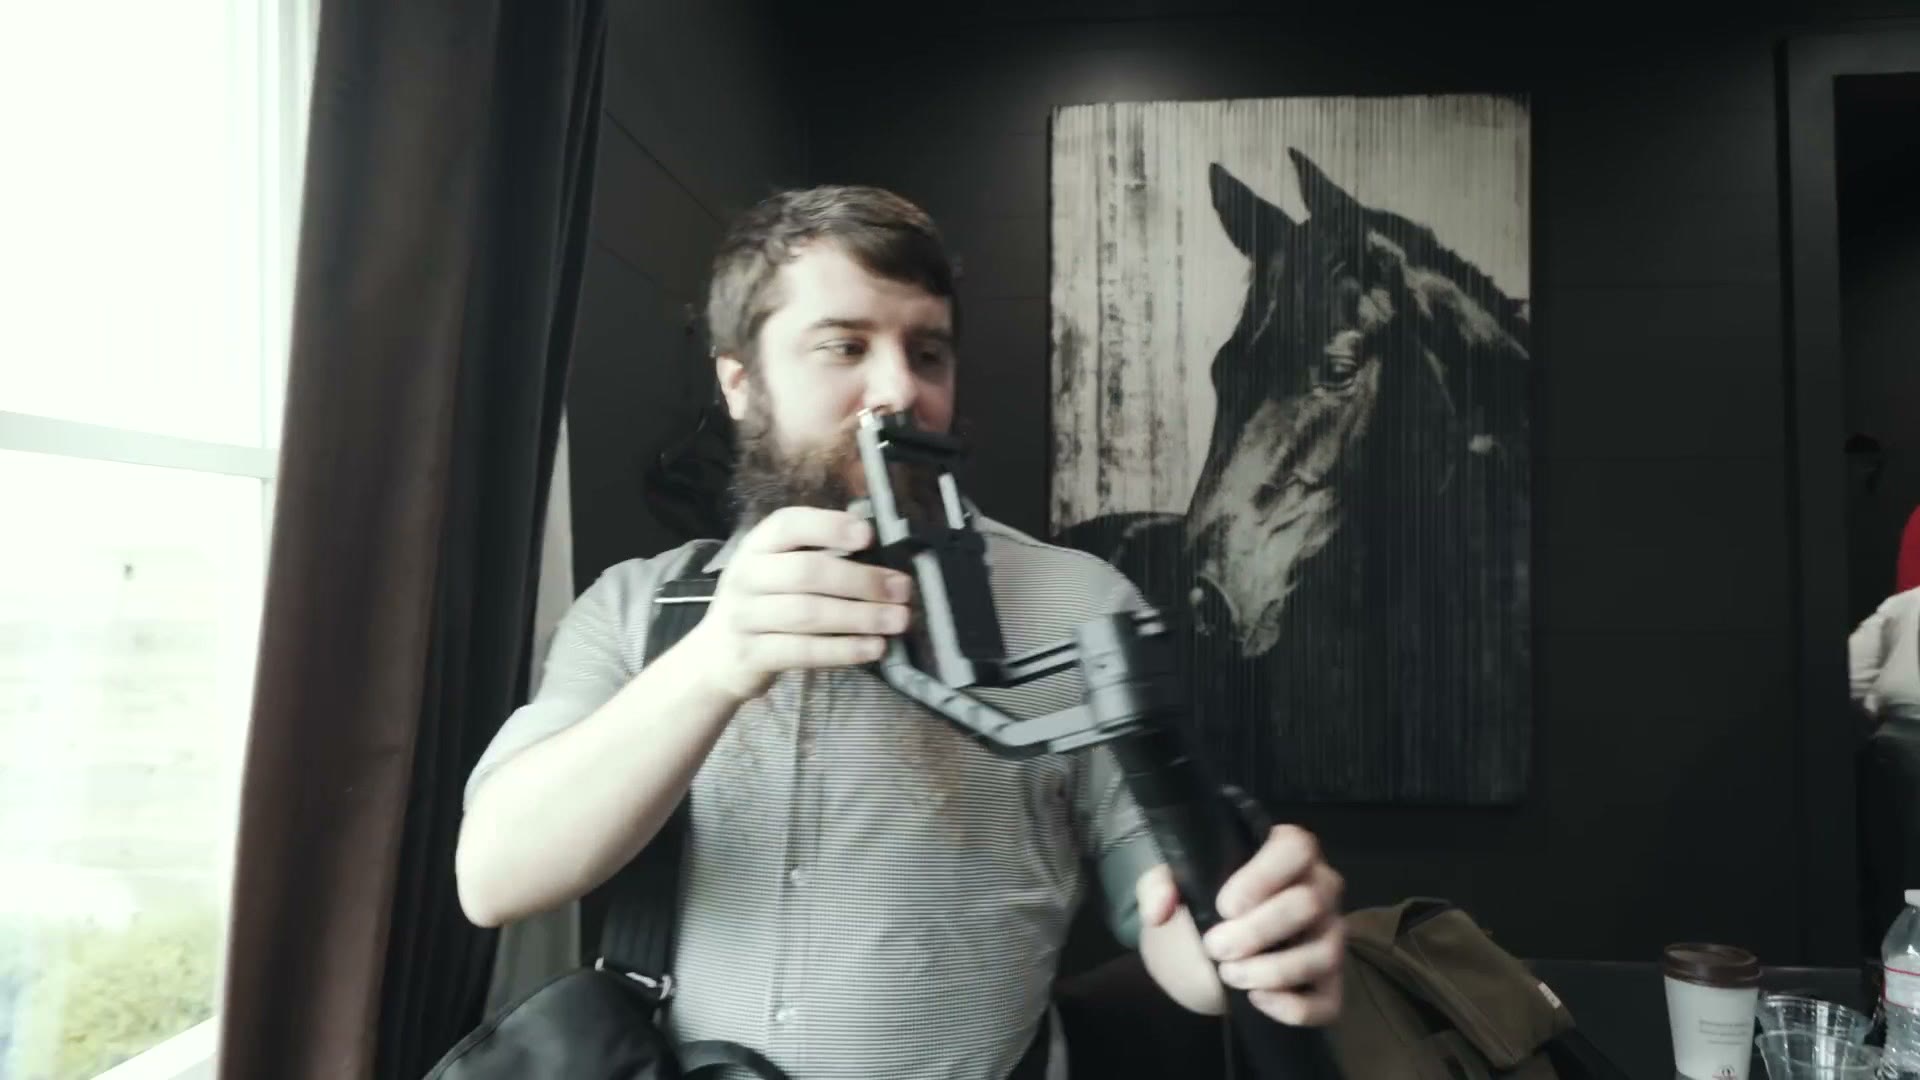
And I took the shotgun mic off the camera, because everybody is mic’d now anyway. I like having that mic on for prep, because then I get ambient sound, but at this point a lot of the audio we’re going to be using is coming from the lav.
The Reception
The first thing I do at the reception is find the DJ. His mic is the one the toasts are going through, and toasts are the thing I cannot afford to lose.
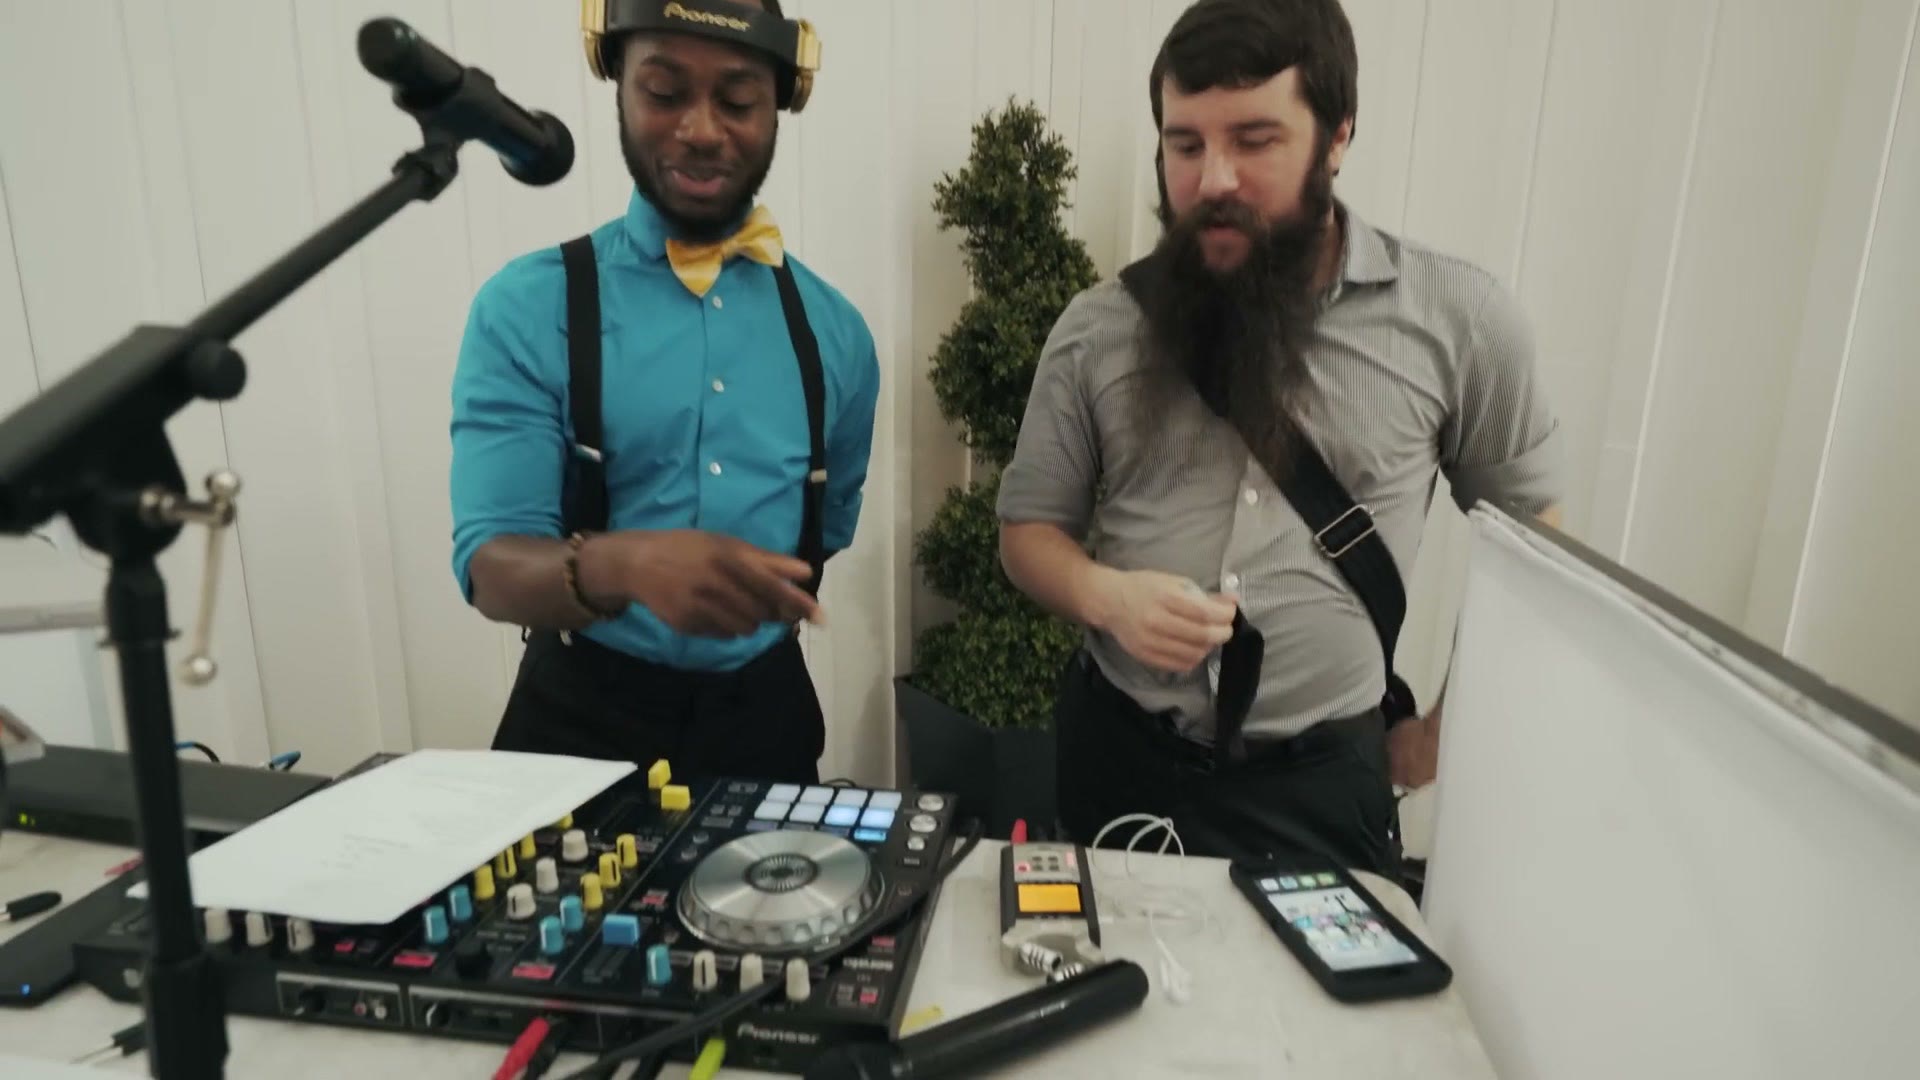
So I have this stretchy sleeve that goes over the handheld mic, and the little standalone recorder slides down into it as a backup, in the event that the DJ’s mic starts cutting out or something like that. It’s not wireless, it’s just a recorder riding along inside the sleeve. You slide it down to power it, then slide it back up whenever they’re about to toast.
This has saved my butt at so many weddings.
Lighting The Dance Floor
Whenever I’m lighting a reception, I’m looking for somewhere out of the way where I can put my light without worrying about somebody tripping over it or knocking it over, while still lighting the dance floor nicely. So I want it pretty close to the dance floor while staying out of traffic.
The other thing I’m checking is the DJ. I don’t want to be competing with him. If the DJ has colored lights and they’re throwing green skin tones across the floor, I can come over to the opposite side and still have good clean normal skin tones when I need them for the dancing.
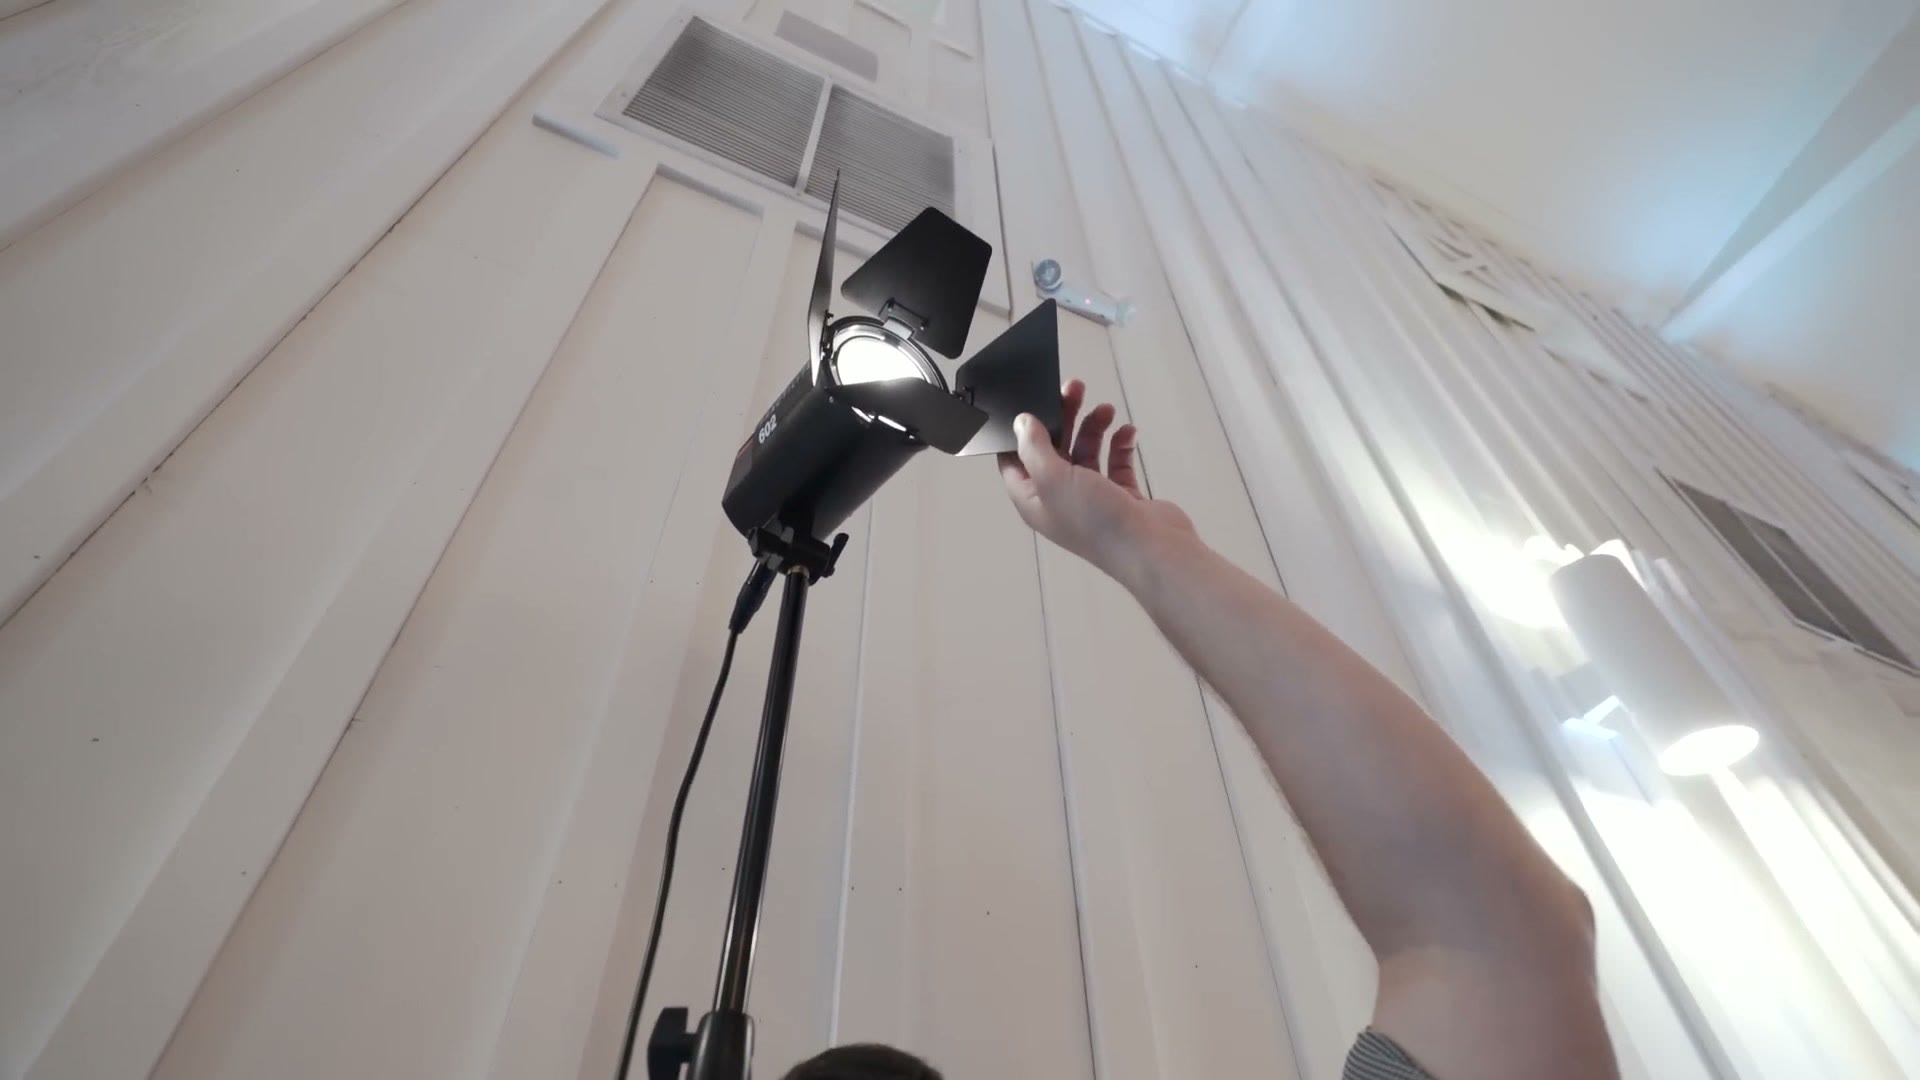
I’m using a battery powered LED, which matters, because it means I can pick it up and move it later if I need to. It has barn doors and a focusable beam, which is very beneficial, because I wanted the throw to fill the dance floor but I did not want the light blasting out and hitting the guests. Between the barn doors and the focusable funnel, it looks really good. I line the barn doors up exactly where the people and the dance floor are.
Then I leave it sitting at about 19 or 20 percent for now. Once the dancing starts I can whip out my phone, open up the app and bring it up. I don’t want to blind a guest who is just standing there eating cake, but whenever the dancing starts I need it bright enough. There’s more on all of this in how to film a wedding reception, and on the dancing specifically in how to film incredible dancing footage.
One Last Portrait
At the end of the night we took them out into the darkness and backlit them with a practical light, and it looked pretty good.
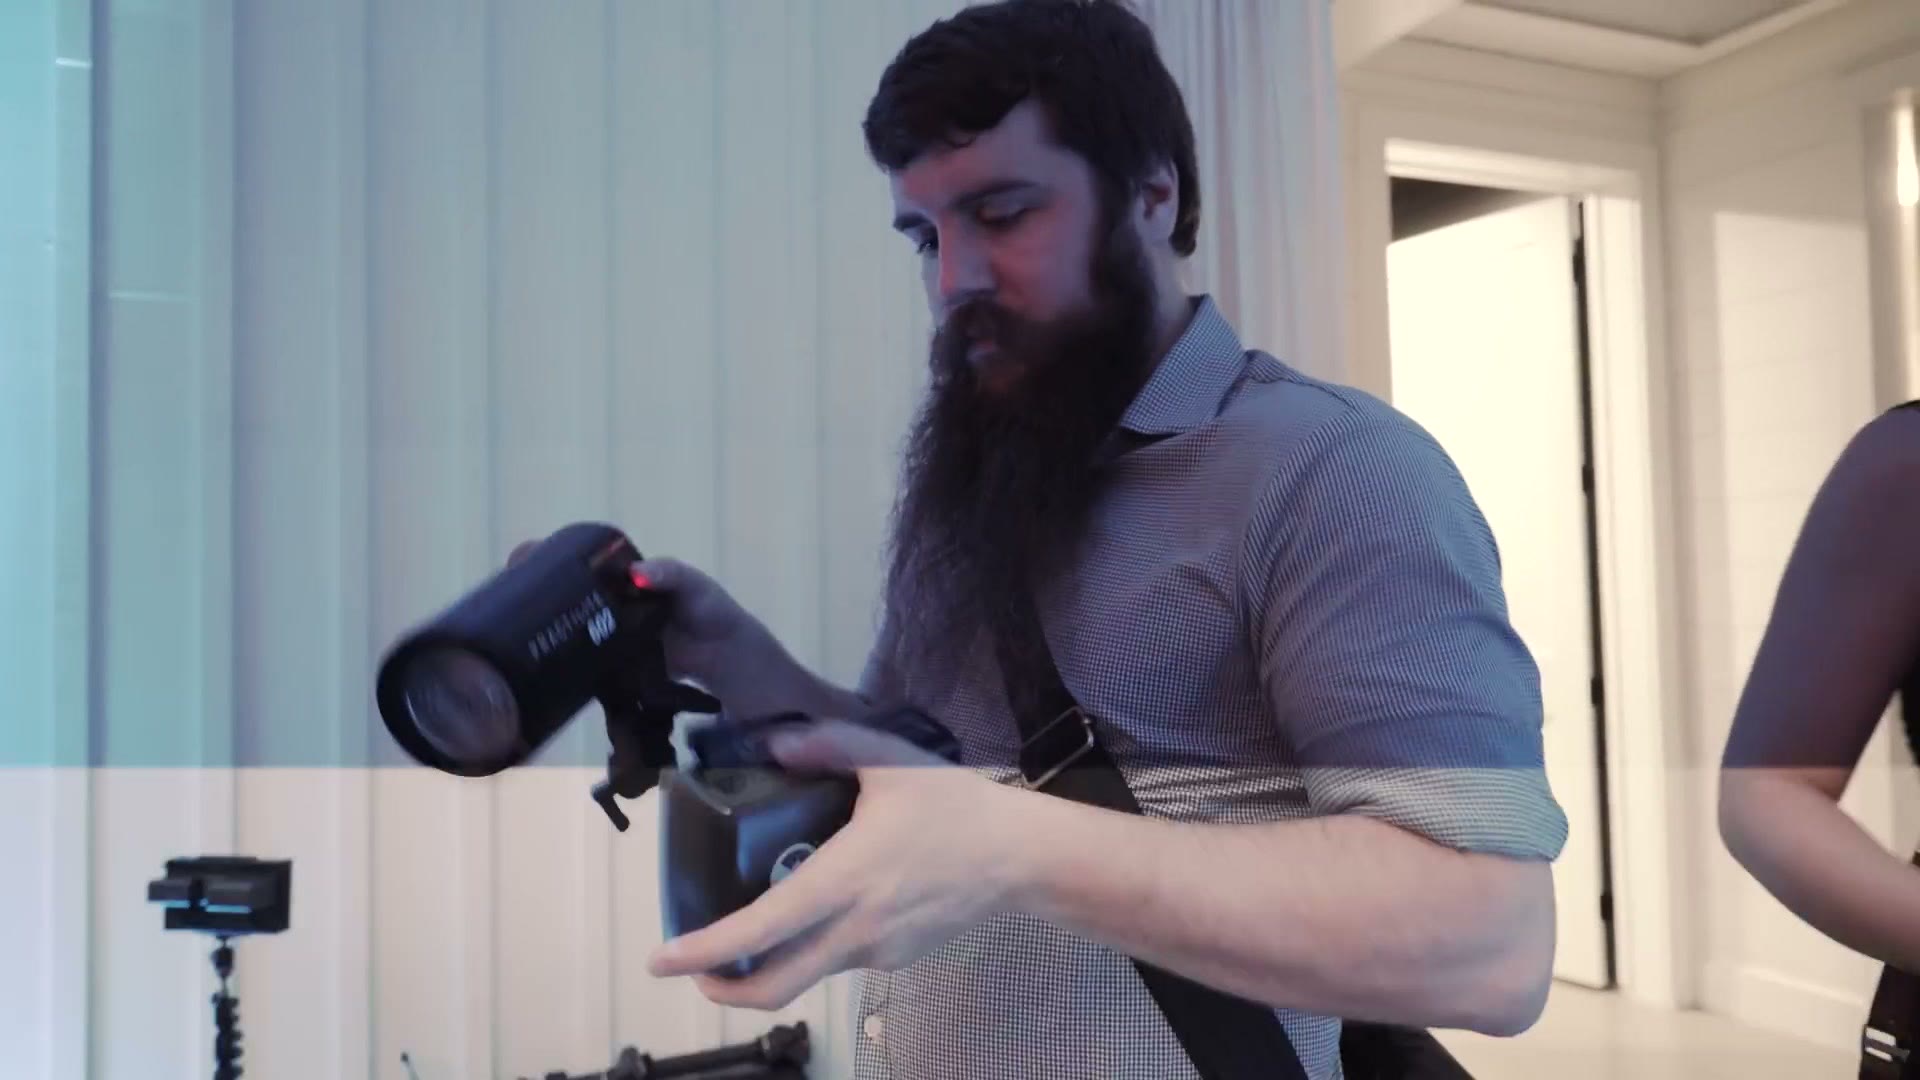
Doug held the light. I told him where to point it, told him higher, then a little higher, and there it is. Holy crap, there it is. He did a great job, very talented. A plus model.
And that is the behind the scenes for Kaley and Doug’s wedding.
Want More Of These?
I have a lot of them. There’s one I filmed with the Sony a7S III, and there’s Allison and Seth’s, filmed with the a7 III. The rest of them live in my wedding BTS playlist.
If it’s the editing side you want rather than the shooting side, that’s what Wedding Film Framework is for.
And lastly, do you happen to be a wedding filmmaker? You probably are, considering this is a wedding filmmaking behind the scenes. If you are, you probably want to book more couples and film more weddings. To help you out with that, I’ve created a free guide that’s gonna walk you through some practical steps you can take right now in your business. It’s a completely free gift to you.