
You may have noticed a prism showing up in my wedding films, and a lot of you have been asking me two questions: why am I using it, and how?
Here are the four techniques I actually use, which is what makes this thing a really great sixteen dollar investment for any filmmaker. Here’s the prism on Amazon if you want the exact one. I have since upgraded to a Prism Lens FX prism, which is nicer glass doing the same job.
Draw Attention
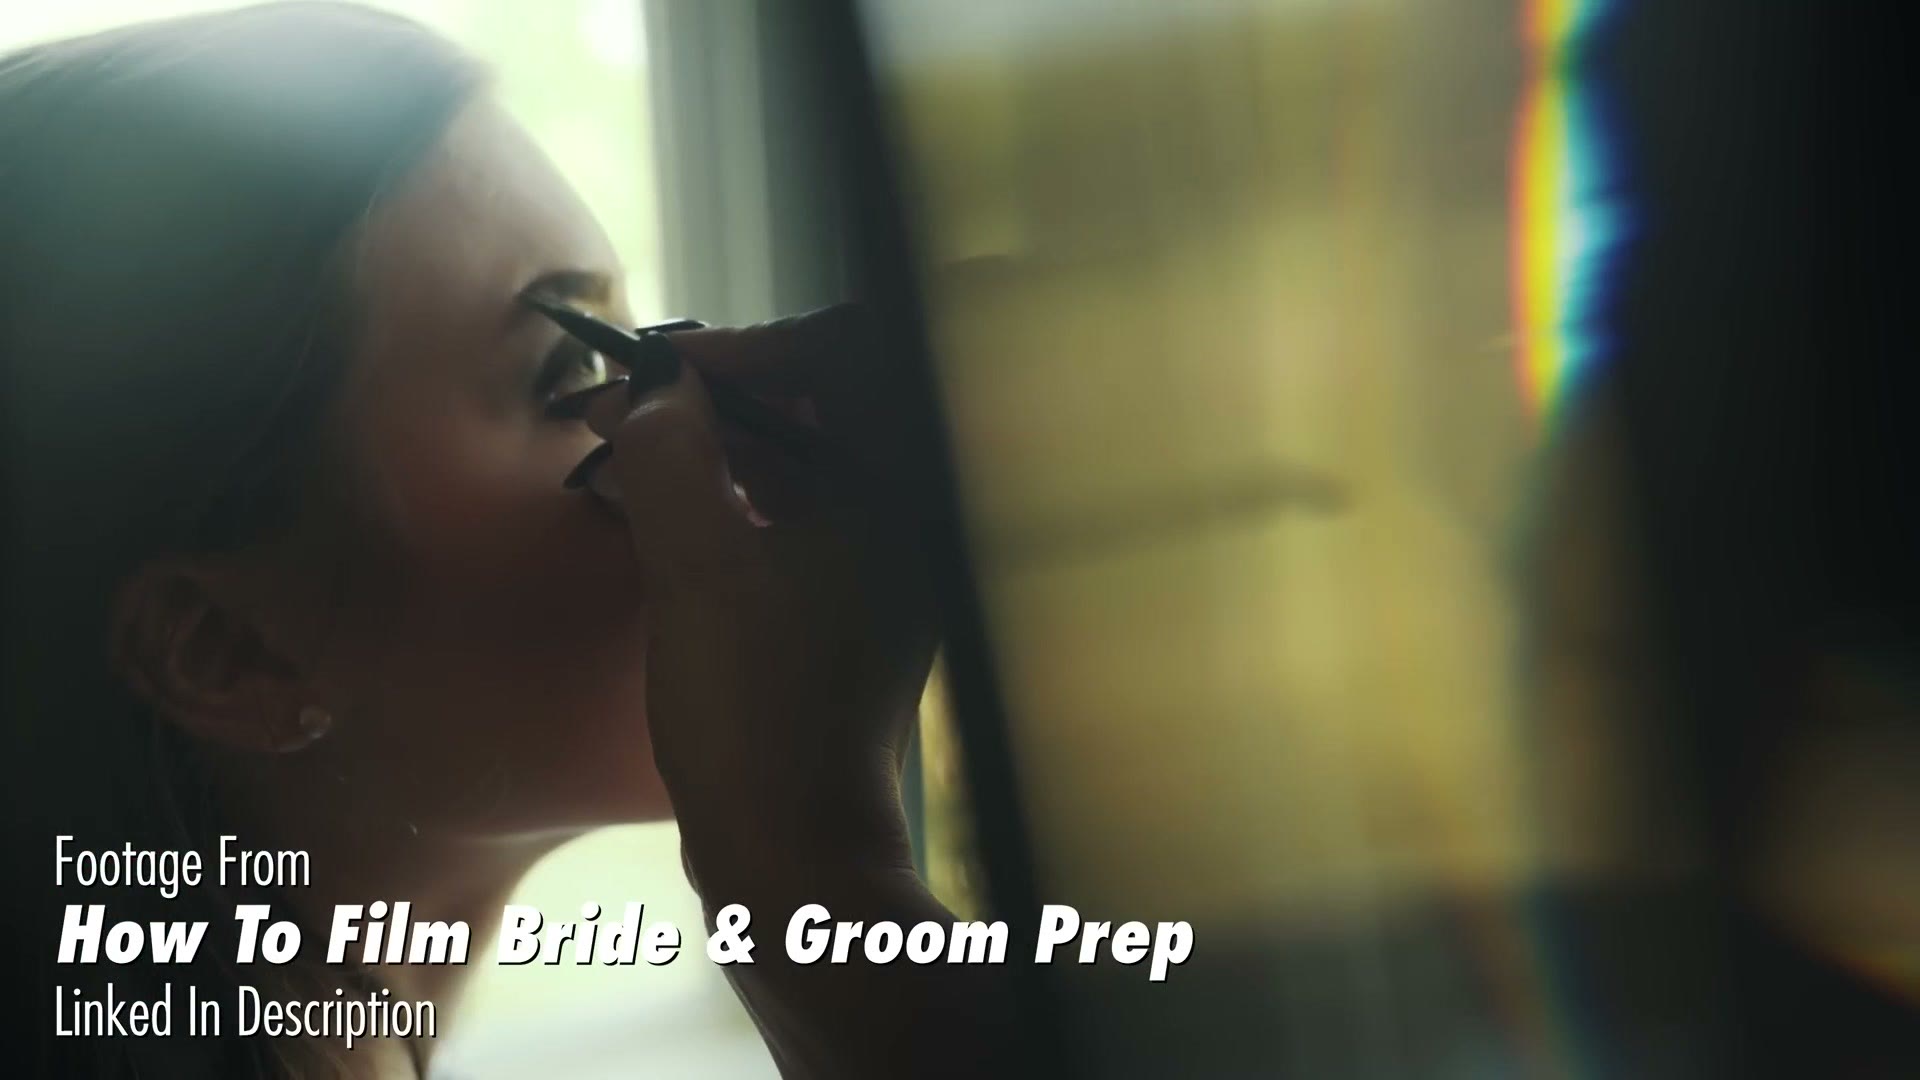
This is probably the most common way I use it. Say I’m filming a bride getting ready and the room is full of people. Bridesmaids, hair, makeup, all of them competing for attention in the shot. But I want the video to be about the bride.
So I hold the prism up in front of the lens and block the other people out. Instead of distracting from her, they get replaced by pretty refracted light, and you’re only looking at the one person I want you looking at.
Block Out The Window
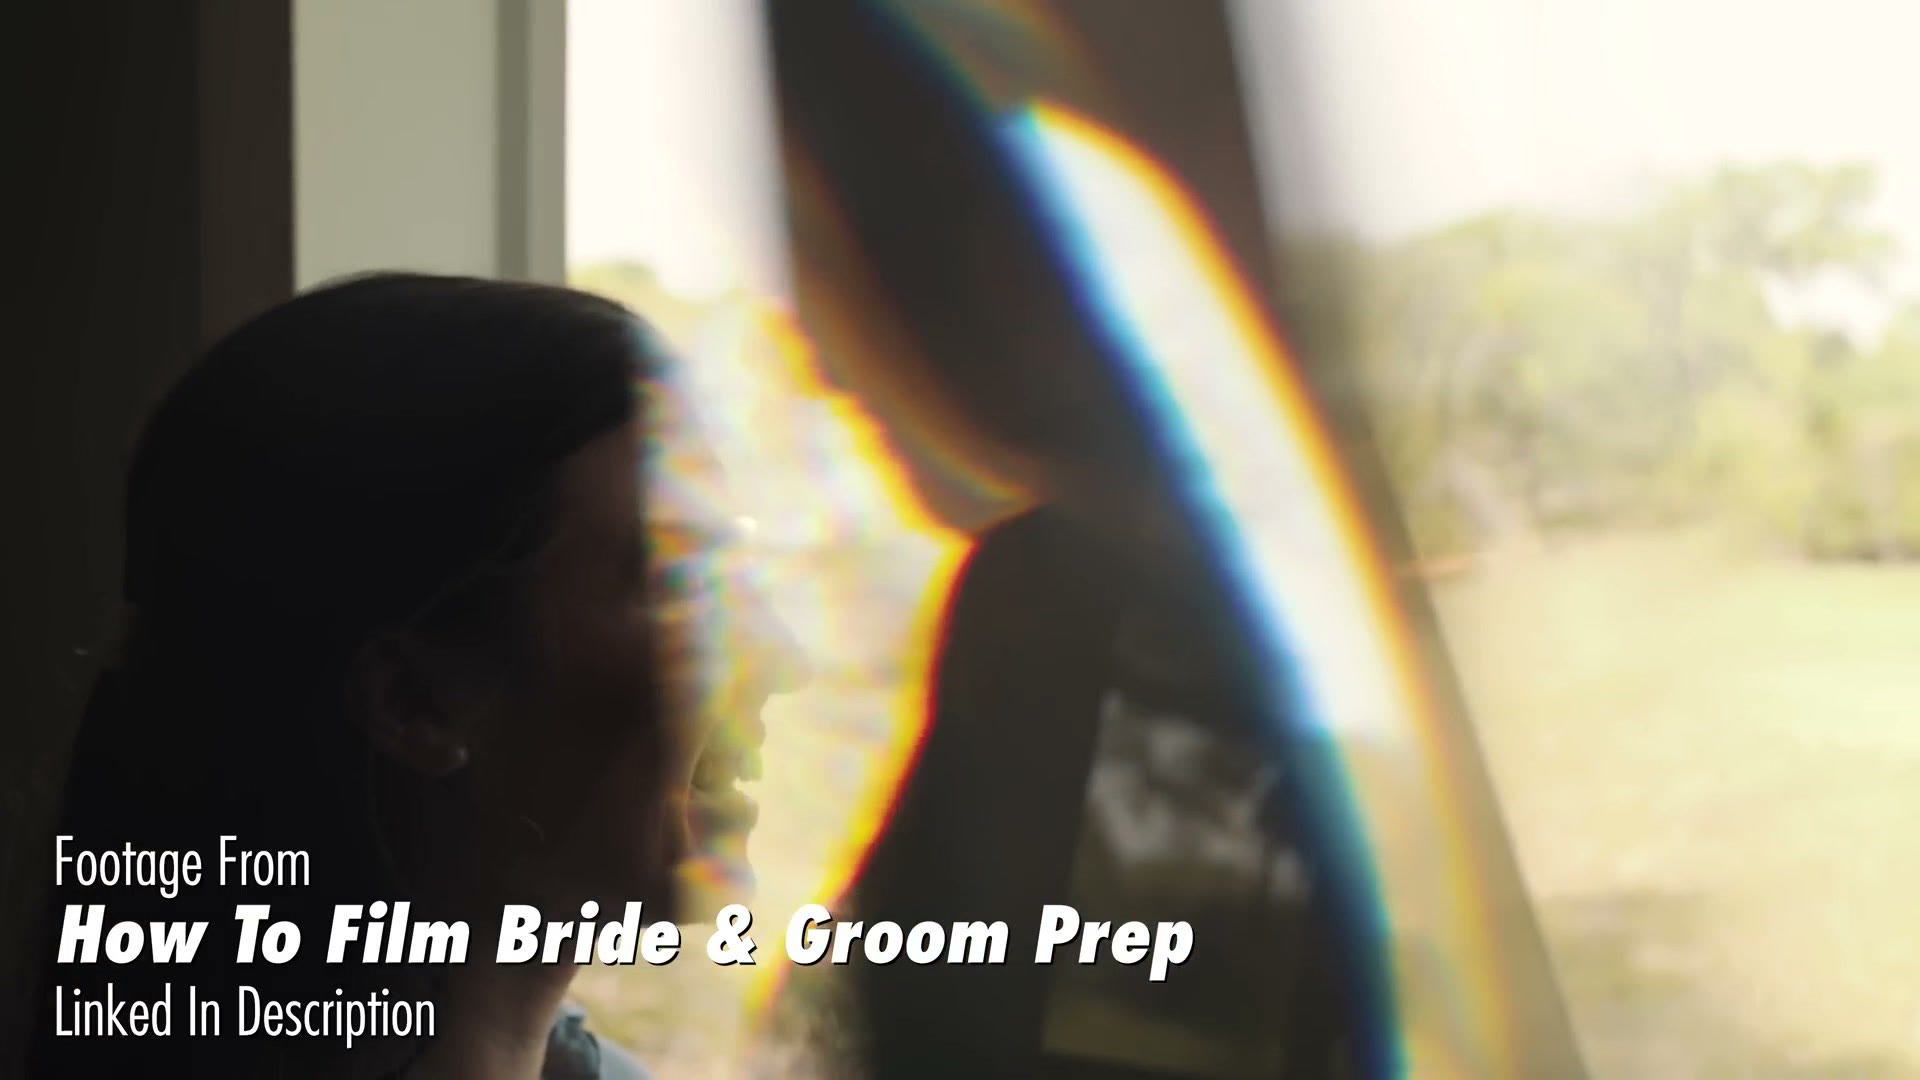
The second one is really a variation on the first. When I film prep I usually put the bride or groom by a window, because that is a massive light source and it looks gorgeous.
The problem is any angle where the window ends up in the background. You get a silhouette and a blown out frame, and that doesn’t look good. So I hold the prism up over the overexposed part instead, and the dead white window turns into refracted colour. It stops looking like a mistake and starts looking like a choice.
In Camera Transitions
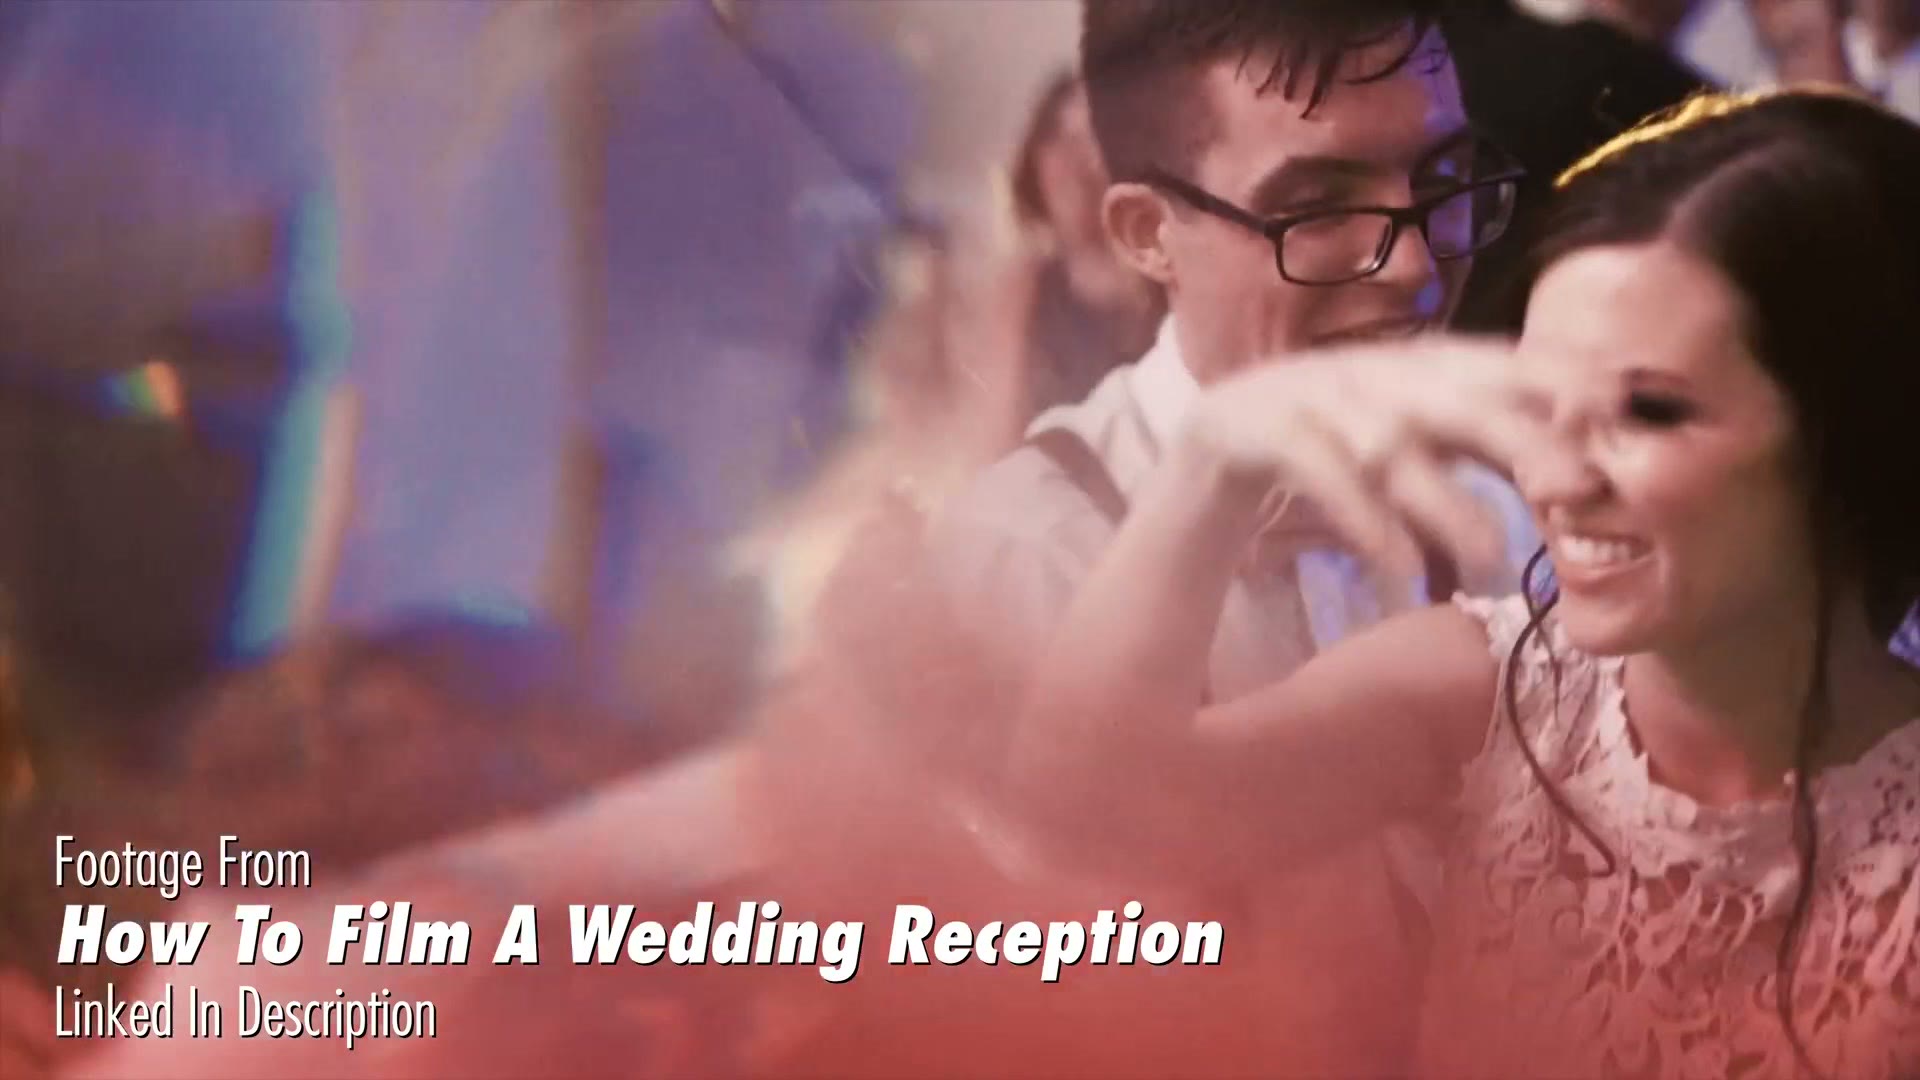
The third one is my favorite. When I was filming Noah and Mallorie’s wedding film, I needed to cut from dancing at the reception to their exit. I had a bunch of shots where I was sweeping the prism across the lens while they were dancing, so I faded one of those into an exit shot.
People kept asking me how I did it. It was all in camera. Well, not completely in camera. I did not teleport outside the second I moved the prism. But the transition effect itself was done in the lens, not in Premiere.
Any Time The Lighting Is Good
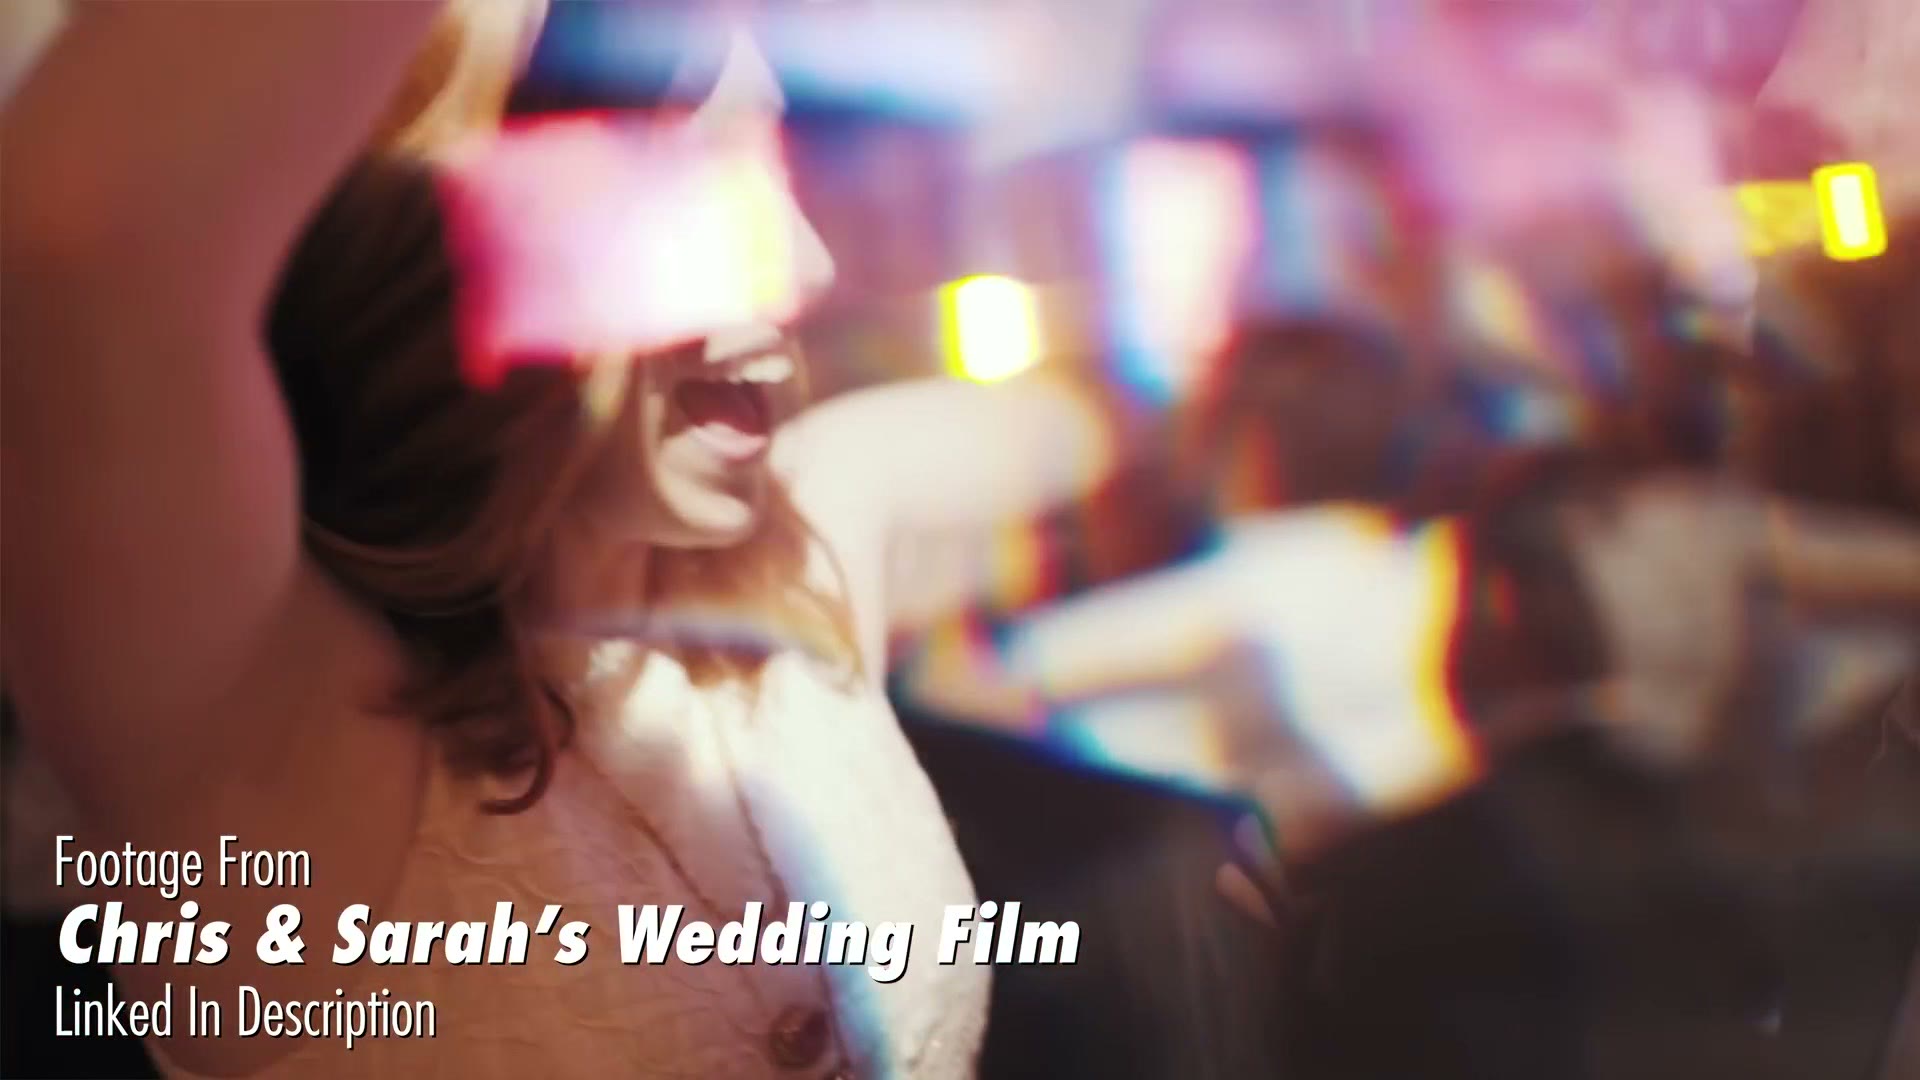
The fourth one is more generic, but honestly I whip this thing out whenever I see cool lighting. If the DJ’s lights are hitting the dance floor and reflecting off everything, out comes the prism.
I’m really not picky about it. It comes down to two questions: is the lighting good, and is this going to give me a more creative shot than I could get otherwise?
Tips For Actually Using It
Shoot with a lens that is at minimum f/2.0, and wider is better. f/1.8 is good, f/1.4 is even better. You want the lens open as wide as possible, because when you put the prism in front of it you will start seeing the edges of the prism, and that looks weird if you’re stopped down.
Speaking of which, 3 Ways To Make More Money Filming Weddings is worth a look too.
Get the prism as close to the front element as you can, and set focus manually. Do not try to run autofocus and wave this thing around at the same time. Your camera will have no idea what to focus on.
Shoot handheld too. You cannot adjust focus while you’re also moving the prism, so you’ll be rocking your body forward and backward to keep the subject sharp. Handheld, prism close, manual lens. That’s the whole recipe.
Why Not Just Use A Plugin?
People ask me this. Why go through the hassle of holding glass in front of your camera when you could get a similar look from an overlay in post?
Because it’s usually pretty obvious when somebody is using an overlay. It looks fake. With the prism you are getting real light with all of its actual colors coming through the glass, plus real reflections from the day bending around in there. It looks significantly better and more realistic than a plugin ever will.
More On Filming Weddings
If you want to see where these shots came from, most of them are in How To Film Bride & Groom Prep and How To Film A Wedding Reception, and there’s more prism work in Henry and Victoria’s wedding film.
And if you want to learn the whole edit, that’s what Wedding Film Framework is for.