
Last year this build was $700. This year it is $650 and faster. Every part, why I picked it, and which upgrade to make first if you have a little extra.
Continue reading
Last year this build was $700. This year it is $650 and faster. Every part, why I picked it, and which upgrade to make first if you have a little extra.
Continue reading
A GoPro-sized recorder you can magnet onto a speaker, a dress or a groom in the rain. Here is where the Instamic is brilliant, and the four reasons it is not my primary recorder.
Continue reading
A six-core i7 and an RTX 2070 in a box smaller than my graphics card, benchmarked as a 4K editing machine, priced against a custom build and against a Mac Mini with an eGPU hanging off it.
Continue reading
A normal Instagram feed upload gets crushed to 640×360. Upload it as a long form video and tick one checkbox instead, and you nearly double that. Here is the method and the one setting everybody misses.
Continue reading
Here’s an annoying thing about IGTV cover thumbnails. You make one, it looks fantastic on the IGTV tab, and then you go look at your main Instagram feed and it’s been cropped to pieces, with your title chopped in half and somebody’s forehead missing.
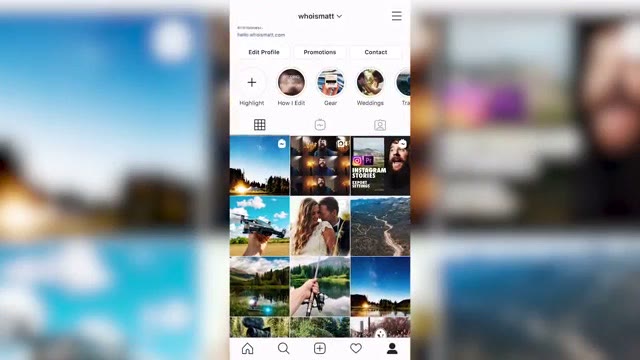
That’s because those are two different crops of the same image, and Instagram doesn’t warn you about it. So here’s how to build a Photoshop template that makes your thumbnails look right in both places, which takes about five minutes once and then never again.
Good news first: Photoshop already knows about this one. Go to File, New, and look under the Film & Video tab, and there’s a preset sitting right there called IGTV Thumbnail.
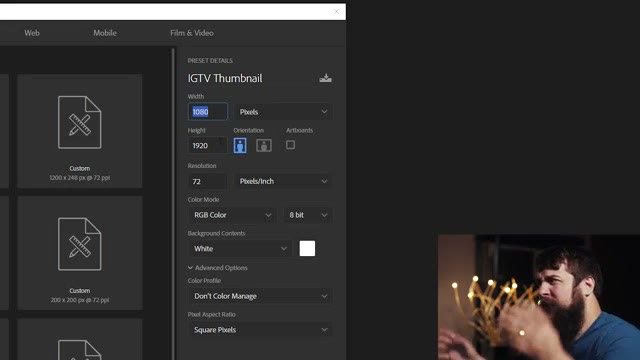
It gives you 1080 by 1920 pixels at 72 pixels per inch, RGB color at 8 bit, with a white background. That’s the full IGTV cover size, and those settings are correct, so don’t change them.
This is the part that makes the whole thing work, and it’s the reason a template beats doing it by eye every time.
What you’re doing is dragging guides in from the rulers to mark off the region that survives whenever Instagram crops your tall cover down for the feed grid. Everything outside those guides is going to disappear in the feed, and everything inside them is safe in both views.
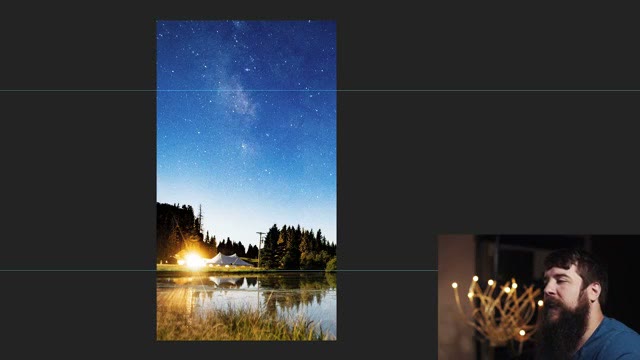
Once they’re in place, the rule is simple: anything that has to be readable goes inside the guides. Your title text, faces, logos, the thing the viewer is supposed to notice. The area outside them is for background, sky, blur, texture, whatever can get cut without anybody caring.
Save this as a PSD right now, before you put anything in it. That’s your template, and every thumbnail from here on starts by opening it.
Bring in your still and scale it so the important content sits inside the guides. If you’re pulling a frame out of the video itself, remember your footage is landscape and this canvas is tall, so you’re going to be cropping hard and you’ll want a frame with room to breathe.
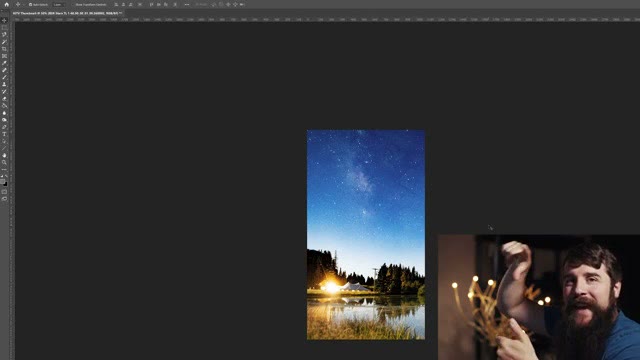
Then add your text, keeping it inside the guides, and check it once by hiding the layers outside the safe area in your head. If it still reads, you’re done.
File, Export, Export As. Set the format to JPG and the quality to 70%, which is plenty for something Instagram is going to recompress anyway, and confirm the image size is still 1080 by 1920 at 100% scale.
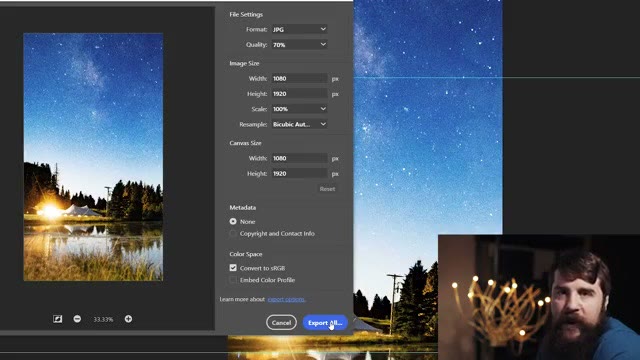
Leave Convert to sRGB checked. This one matters more than it sounds like it should, because if you export in a wider color space your thumbnail will look noticeably duller and more washed out on a phone than it does in Photoshop, and you’ll spend an hour wondering what you did wrong.
Set metadata to None while you’re in there, and export.
Get your cover onto your phone however you normally move files around, and upload it with your IGTV video. It’ll look right on the IGTV tab and it will still look right in your feed, which is the entire point.
My full wedding film edit process is in Wedding Film Framework, there are a few thousand of us in the Learn Wedding Filmmaking Facebook group, and my free guide to booking more wedding clients is here whenever you want it.

Instagram plays Stories back at 480×852 and about three megabits. Match that on the way out and the app has far less to ruin. Full sequence, scaling and export settings, plus free presets.
Continue reading