Wedding Trailer Breakdown: Cameras, Lenses, & Settings Used in Allison & Seth’s Film

Wedding Trailer Breakdown: Cameras, Lenses, & Settings Used in Allison & Seth's Film

This is Allison and Seth’s wedding trailer from a December wedding at a ranch venue in Texas, and instead of just posting the film I put the camera, lens, and settings on screen for every single shot, because whenever I was starting out the thing I wanted most was to look at a wedding film I liked and know exactly what was used to get it.

So here’s the whole rundown, plus the reasoning behind it, which is honestly the more useful half.

What was in the bag

  • Sony a7S II and Sony a7 III as the two main bodies
  • Sony 135mm, Sigma 24mm, and a Canon 50mm on an adapter
  • DJI Mavic 2 Pro for the aerials
  • Zhiyun Crane 2 gimbal, a monopod, and a tripod
  • Canon 7D with a Rokinon 14mm, purely for the night sky title card

The two-camera system, and why each lens lives where it does

If you watch the overlays through the whole trailer you’ll notice the pairings almost never change, and that’s on purpose. Whenever you’re at a wedding you do not have time to be swapping lenses while something is happening, so each body has a job and stays in it.

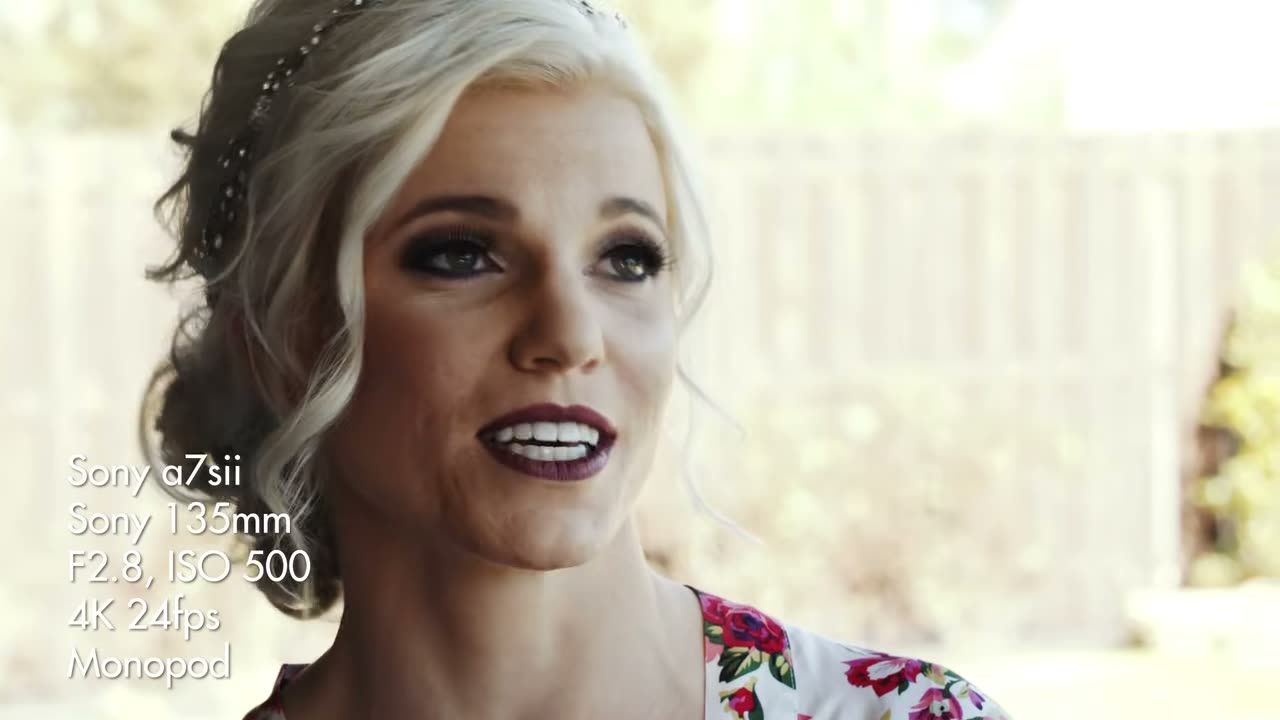
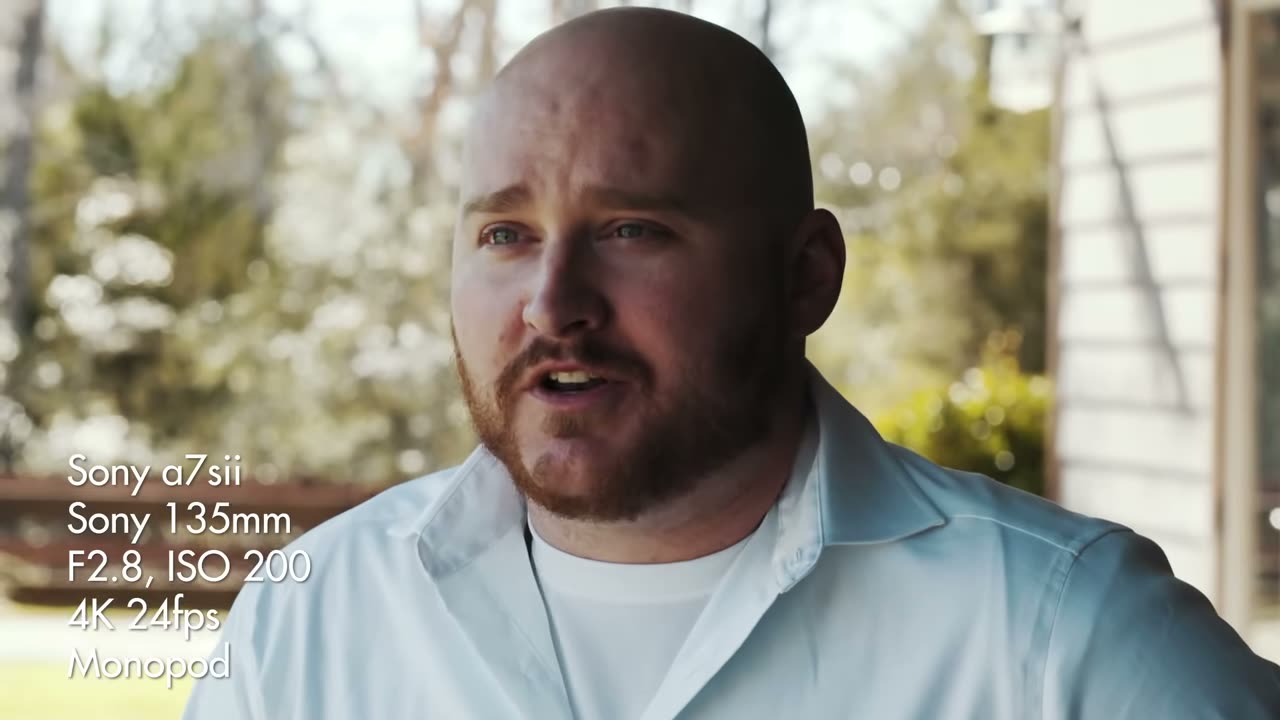
135mm on the a7S II, on a monopod, for anything emotional
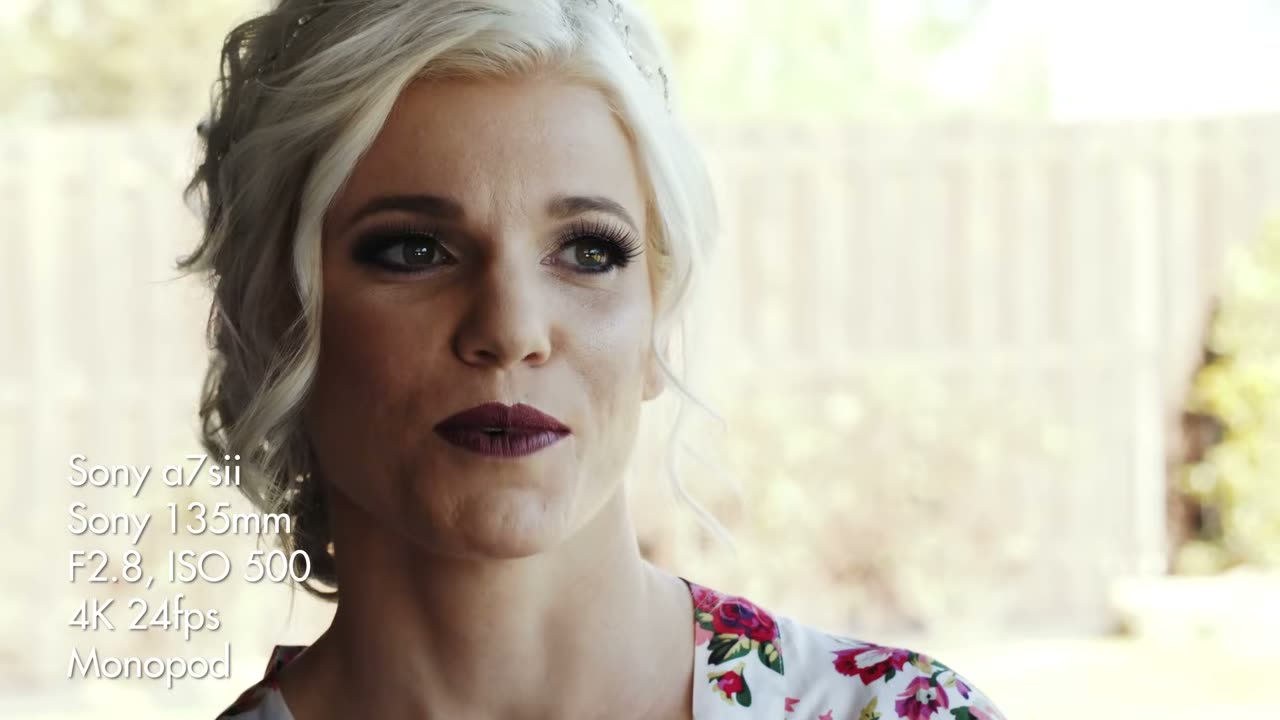
The bride in close-up with the on-screen overlay reading Sony a7sii, Sony 135mm, F2.8 ISO 500, 4K 24fps, Monopod
Sony a7S II, Sony 135mm, F2.8, ISO 500, 4K 24fps, monopod.

Every tight, flattering, someone-is-about-to-cry shot in this trailer is the 135mm, hanging around F2.8 to F5.6. It compresses the background into mush, it lets you stand well back so nobody feels watched, and on a wedding day that distance is the entire point.

The monopod is doing quiet work here too. A 135mm handheld will show every heartbeat, and a monopod kills that without tying you to a tripod, so you can still move whenever the moment moves.

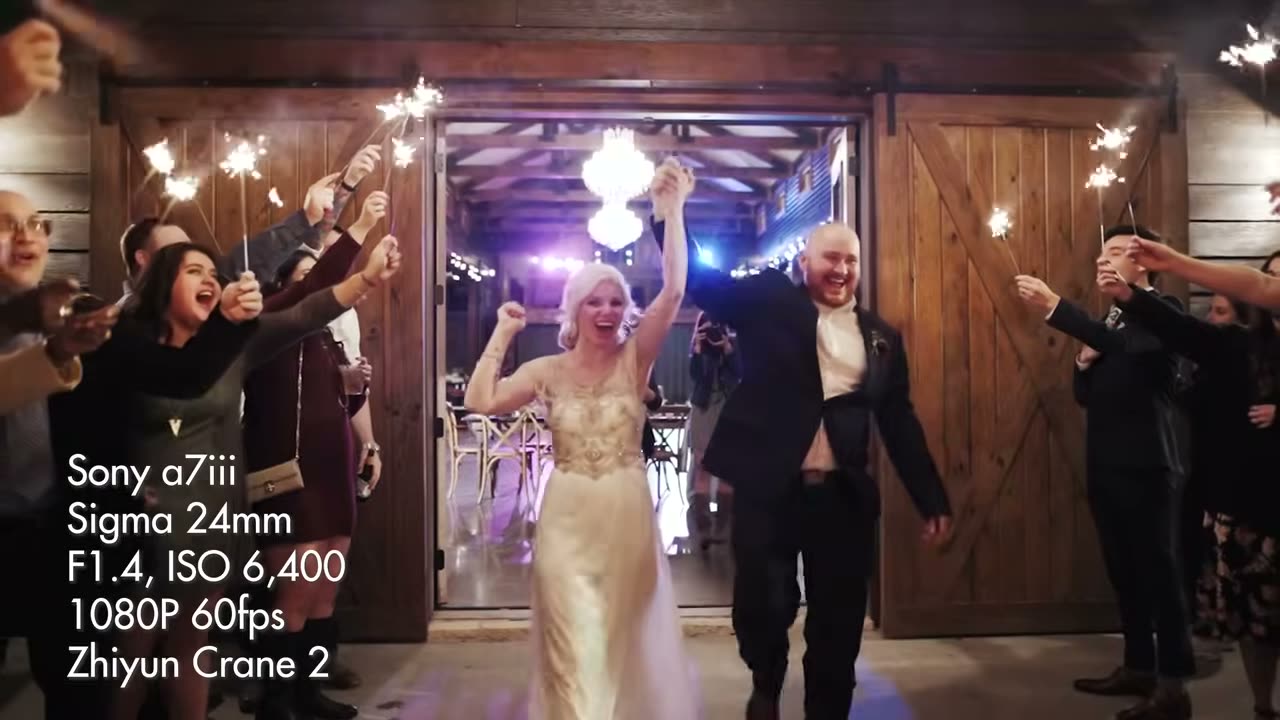
Sigma 24mm on the a7 III, on the Crane 2, for anything that moves
The couple dancing in the reception hall, overlay reading Sony a7iii, Sigma 24mm, F1.4 ISO 3200, 1080P 60fps, Zhiyun Crane 2
Sony a7 III, Sigma 24mm, F1.4, ISO 3,200, 1080P 60fps, Zhiyun Crane 2.

Wide lens, gimbal, and it never leaves that body all day. Look at how far the aperture swings on this one though, because that’s the interesting part. Outside in daylight for the ceremony wides it’s at F8 and even F12 at ISO 200, and then indoors for the first dance it’s wide open at F1.4 at ISO 3,200.

Stopping down that hard outdoors isn’t me being fussy about sharpness, it’s about focus. Whenever you’re walking a gimbal through a crowd at 24mm, a deep depth of field means everything stays acceptably sharp and you’re not fighting autofocus while you’re also trying not to trip over a flower girl.

Canon 50mm for the in-between
A guest dancing under reception lights, overlay reading Sony a7sii, Canon 50mm, F3.5 ISO 5000, 1080P 60fps, Handheld
Sony a7S II, Canon 50mm, F3.5, ISO 5,000, 1080P 60fps, handheld.

The 50mm covers everything the other two don’t, and it’s the lens that goes handheld once the reception starts and the dance floor gets busy. That’s also where the ISO climbs to 5,000, which is exactly what an a7S II is for and why I kept using that camera long after it stopped being the newest thing.

Why some shots are 4K 24fps and others are 1080p 60fps

This one’s worth spelling out because the pattern is completely consistent through the trailer, and it isn’t an accident.

The still, emotional, locked-off close-ups are 4K 24fps. The moving shots, gimbal walks, dancing, anything with motion in it, are 1080p 60fps. Shooting 60 gives you the option to slow it down to about 40% in the edit and have it still look smooth, and moving shots are exactly where a bit of slow motion earns its keep. A static shot of a bride’s face doesn’t need that option, so it gets the resolution instead.

You are trading resolution for the ability to slow things down, and on a wedding trailer that trade is almost always worth it.

The drone and the title card
An aerial view of the ranch venue and its lake, overlay reading DJI Mavic 2 Pro, Full FOV, F4 ISO 100, 4K 30fps
DJI Mavic 2 Pro, full field of view, F4, ISO 100, 4K 30fps.

One aerial, right at the top, doing the job an establishing shot is supposed to do: here is the place, here is the lake, here is the weather. ISO 100 because it’s the middle of the day and there’s no reason to be anywhere else.
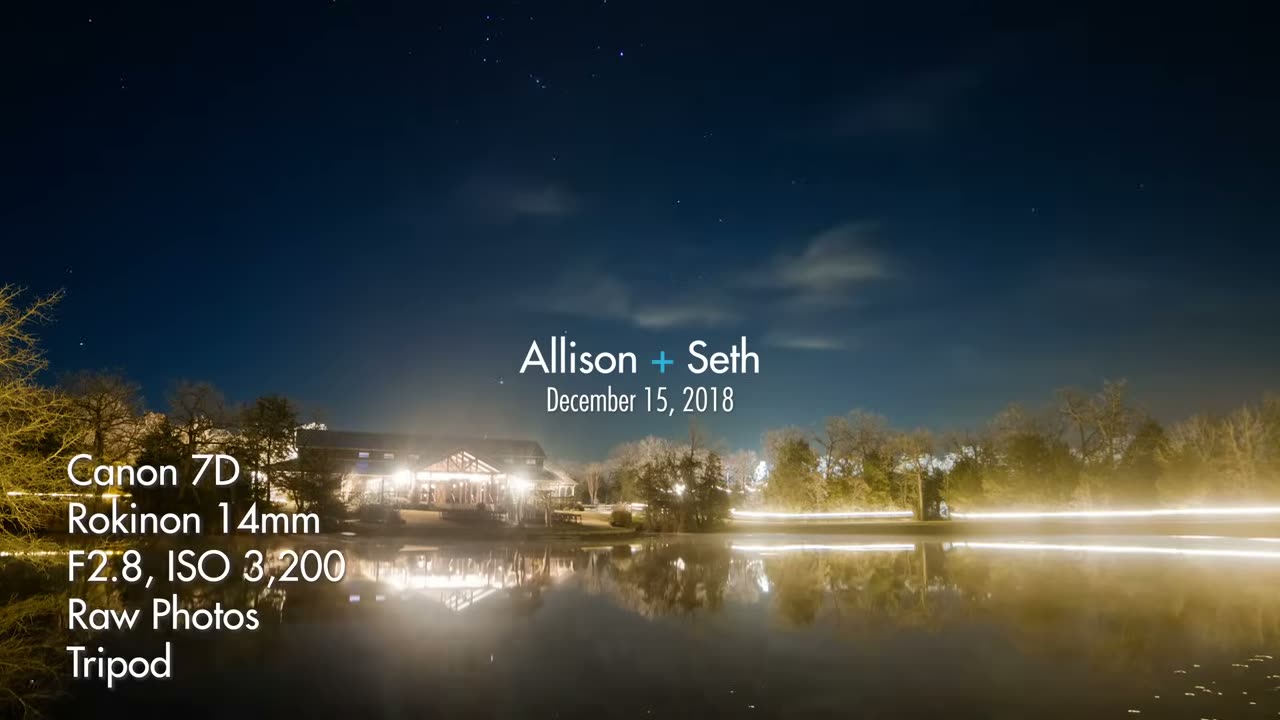
The Allison and Seth title card over a night sky, overlay reading Canon 7D, Rokinon 14mm, F2.8 ISO 3200, Raw Photos, Tripod
Canon 7D, Rokinon 14mm, F2.8, ISO 3,200, raw photos on a tripod.

And then the title card, which is the one shot in here that isn’t video at all. That’s an old Canon 7D with a Rokinon 14mm on a tripod shooting raw photos of the night sky, assembled afterwards. A crop sensor DSLR that was ancient even in 2018, doing something none of the newer cameras in the bag were set up to do that night.

Which is the note I’d leave you on, honestly. There is nothing in this trailer that requires current gear. The a7S II was three years old at this point, the 7D was closer to nine, and the shots still hold up. Buy the lens before you buy the body.

If breakdowns like this are useful to you, let me know in the comments on the video, because that’s genuinely why I started putting the settings on screen in the first place.

The Best Online Backup Services For Filmmakers (Store UNLIMITED Footage For Cheap)

The Best Online Backup Services For Filmmakers (Store UNLIMITED Footage For Cheap)

Get a free trial of Backblaze · 😲 Sign up for Google Workspace

Let’s talk about one of the least glamorous but most important parts of filmmaking: backing up your footage so it isn’t lost forever.

Over the years I’ve tried most of the online backup services out there, looking for one that offers unlimited storage of terabytes of footage while also being cheap. To be clear up front: nobody is paying me to make this video and none of these companies sponsored it. I’ve just done a lot of research on this over the years, and I would have killed for a video like this whenever I was starting out.

My Backup Strategy Has Two Halves

The first half is local backups, which we’re not covering in depth today. Short version: back your footage up to multiple hard drives, and do not store those drives in the same place in your house. If one drive fails you still have the other, and if somebody breaks in and takes your stuff, there’s a better chance they don’t get both.

The second half, and the part this is about, is an offsite backup. In the event your house burns down and everything is gone, or somebody breaks in, steals your things, and then burns your house down, you and your clients are still okay, because there’s a copy somewhere else.

Here’s the good news: there are a ton of online backup services and a lot of competition. Here’s the bad news: filmmakers are not who any of them are targeting. We’re small business owners, so we don’t want to spend a fortune, and we simultaneously need vastly more space than a normal customer. That combination is why this is hard.

If You’re Starting Out: Backblaze

If you’re new to filmmaking and don’t have a big budget for backups, because hey, you’ve got cameras to buy, I’d highly recommend Backblaze. At the time of this video it was $5 a month, or $50 a year, for unlimited backups of everything on your computer.

For $5 you’re wondering what the catch is. There are two.

Con 1: You Can’t Prioritize Files

Backblaze is almost too simple. You install it, it starts backing your computer up to the cloud, and that’s the whole experience. Lovely for most people.

But if you just shot a wedding and you want that footage uploaded first, there’s no way to say so. Backblaze picks what it backs up and it’ll get to your new files eventually, when it decides to. A lot of people love set-it-and-forget-it. I wanted a bit more control.

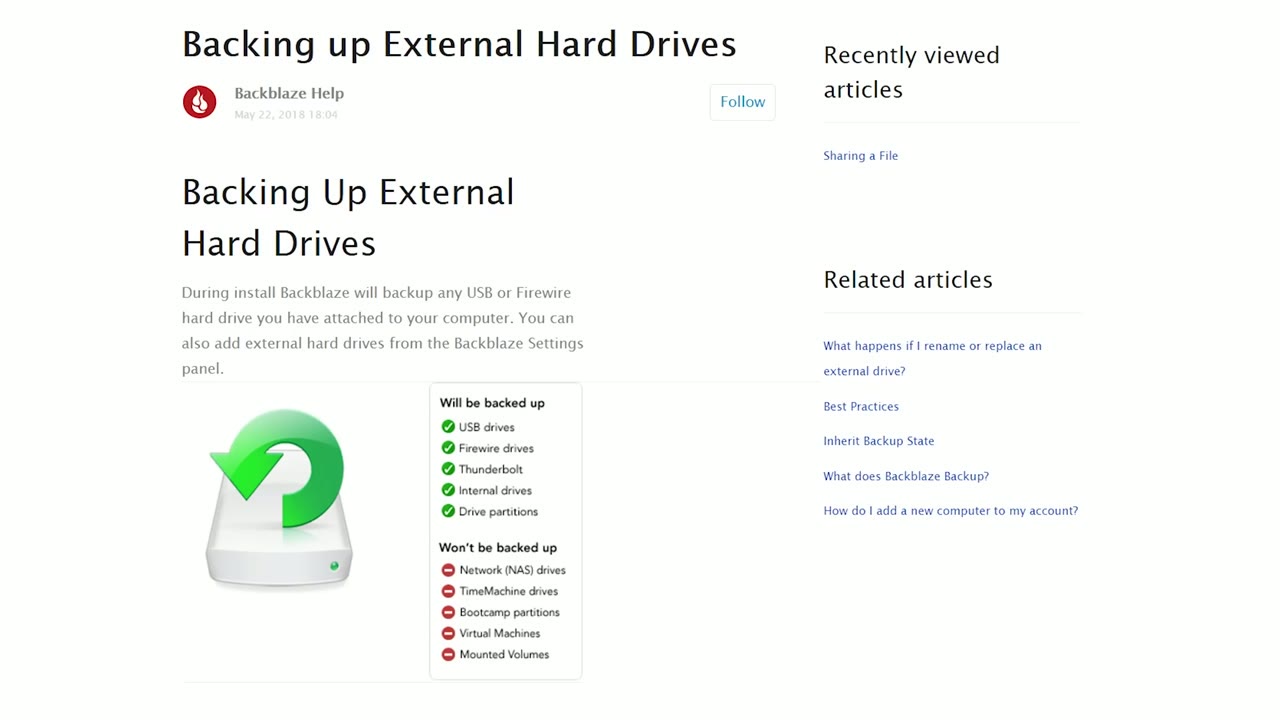
Con 2: The 30-Day External Drive Rule

Backblaze will back up external hard drives, but it requires that you plug each drive back into your computer at least once every 30 days to confirm the files are still there and still wanted. If you don’t, they delete those files from their system.

Backblaze help article explaining which drive types get backed up, checkmarks for USB, Firewire, Thunderbolt, and internal drives

Not a big deal whenever you’re starting out with a couple of drives. A very big deal if you’re me, with an archive spread across thirty or forty drives bought over the years. Once a month, let me just plug in all of these, hold on. That would suck.

Otherwise, that’s genuinely it for cons. Backblaze is a phenomenal option, especially if you don’t have any offsite backup at all right now, and there’s a free trial here if you want to see how it feels.

What I Actually Use: Google Workspace

You can probably tell by now that I don’t use Backblaze. What I use, and what I recommend if you want more features and control, is Google Workspace. (It was called G Suite whenever I made this video. Same thing, new name.)

It’s all of Google’s services, Gmail, Calendar, Docs, Drive, but for businesses, with one enormous difference: at the time, it offered unlimited Drive space. I currently have over 40 terabytes of footage sitting in there. Seriously, it’s awesome.

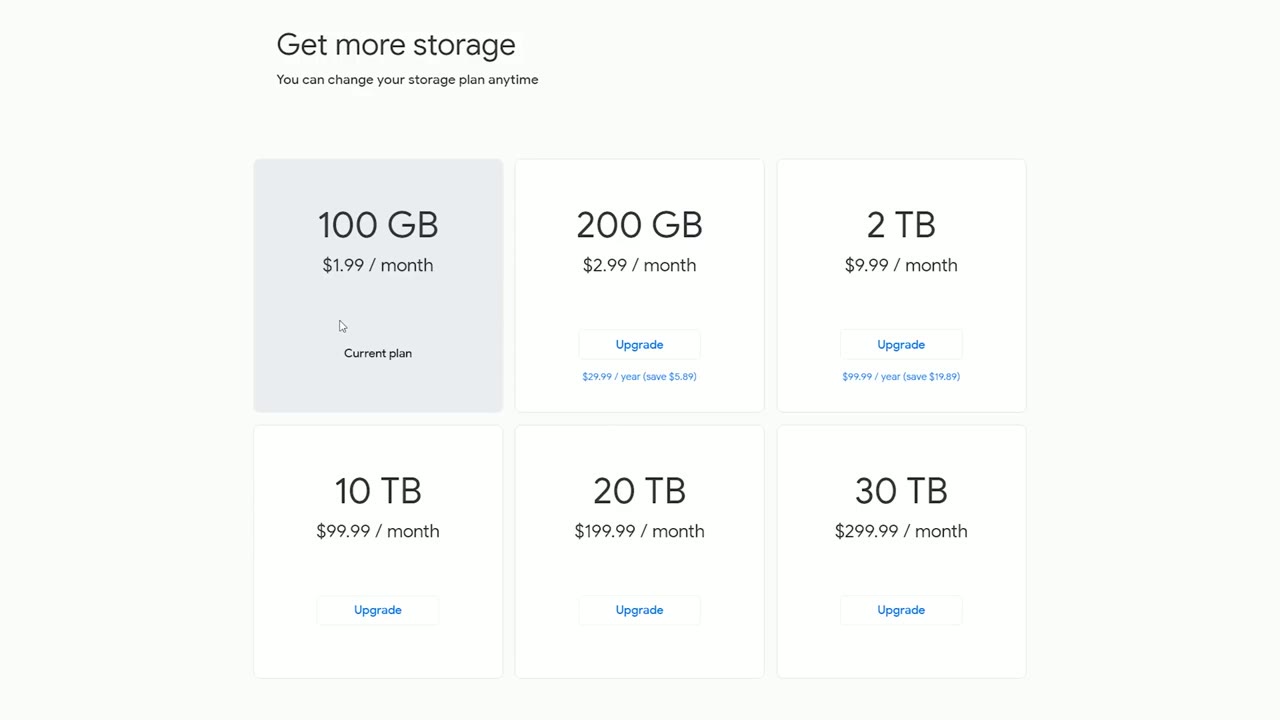
It almost felt like a Google loophole. Log into regular Google Drive and ask for more space and you’re looking at $1.99 a month for 100GB, on up to $299.99 a month for 30TB.

Google Drive storage plan tiers listed from 100 GB at $1.99/month up to 30 TB at $299.99/month

Sign up for Workspace instead and unlimited was $50 a month. Which, hey, beats $300.

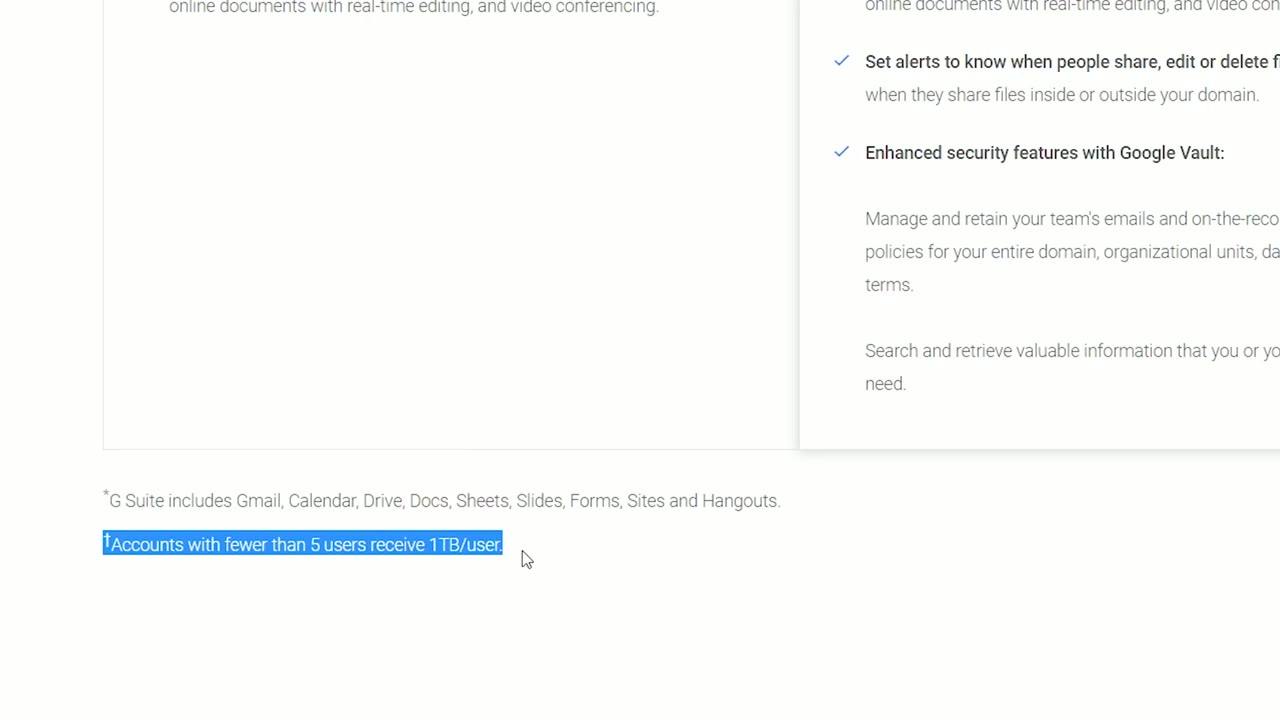
Note the fine print, though: you can sign up for $10 a month, but the unlimited Drive space requires at least five users. So I signed up, created four more users, and that unlocked it.

Google Workspace pricing page with the fine print highlighted: accounts with fewer than 5 users receive 1TB per user

Four Reasons It’s Worth Ten Times The Price

You’re saying $50 versus $5, is it really ten times better? Here’s my case.

1. It’s Just Google Drive

The normal interface. Drag and drop straight into the browser, make folders, organize things however you want, do everything you already know how to do, without the stress of running out of room.

2. Selective Uploads

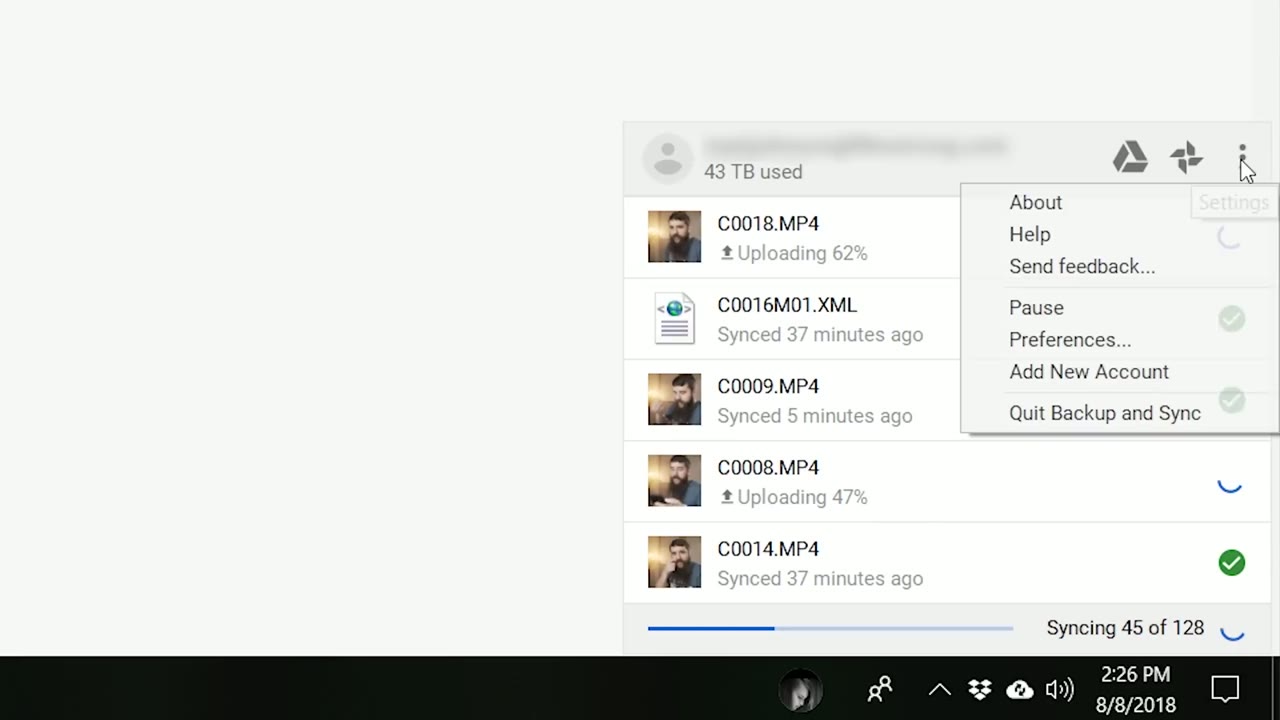
Google’s Backup and Sync software lets me pick exactly which files go up. I get home from a wedding, copy everything to my computer, select just those video files, and they start uploading immediately. That’s the direct fix for the Backblaze prioritization problem.

While you’re here, take a look at How to Backup UNLIMITED Footage Online for Cheap.

Backup and Sync app window showing MP4 clips uploading and synced, with 43 TB used at the top

3. It Doubles As Client Delivery

This one is huge. I can deliver finished wedding films to clients straight out of Drive. Send them a download link, and whenever they click it they get a familiar YouTube-style player to preview the film before they download it.

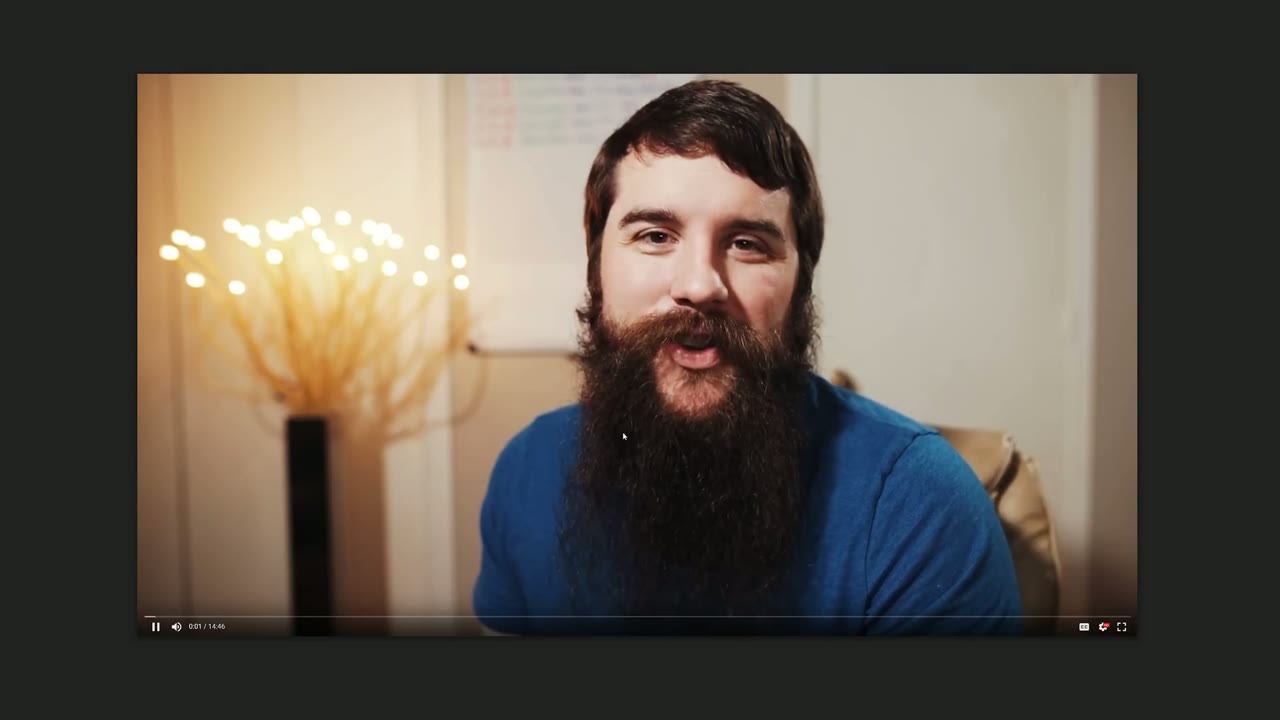
Paused video player frame of Matt talking to camera, playback controls visible along the bottom

It isn’t as pretty as Vimeo Pro or MediaZilla, but it covers a lot of the same core function, so you can skip paying for a separate delivery service if you want to save the money.

And because the space is unlimited, I keep every client’s download link live forever. No digging through an old drive whenever somebody asks for their film again three years later. It’s still sitting there.

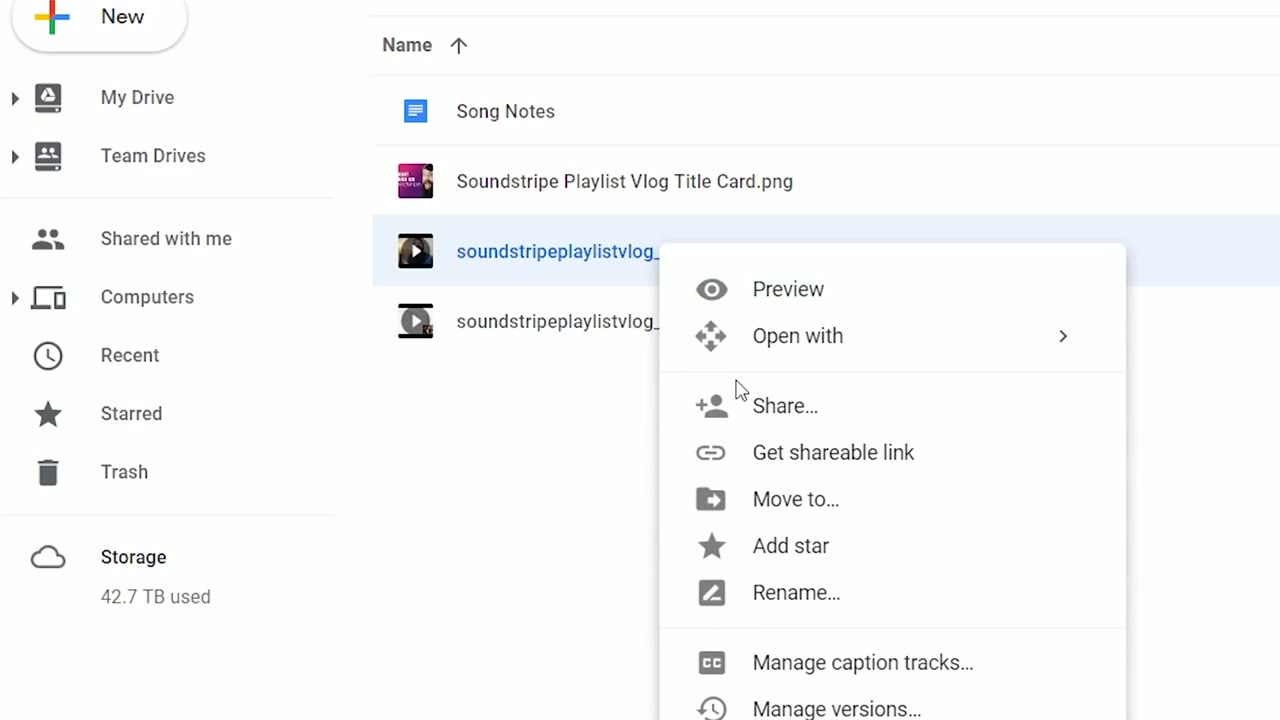
Google Drive right-click menu open on a video file, with Get shareable link listed among the options and 42.7 TB used shown in the sidebar

4. Google Photos, At Full Resolution

I shoot a lot of high resolution photos and 4K video on my phone and I want all of it backed up. Using my Workspace account with the Google Photos app means those go up at full resolution rather than compressed.

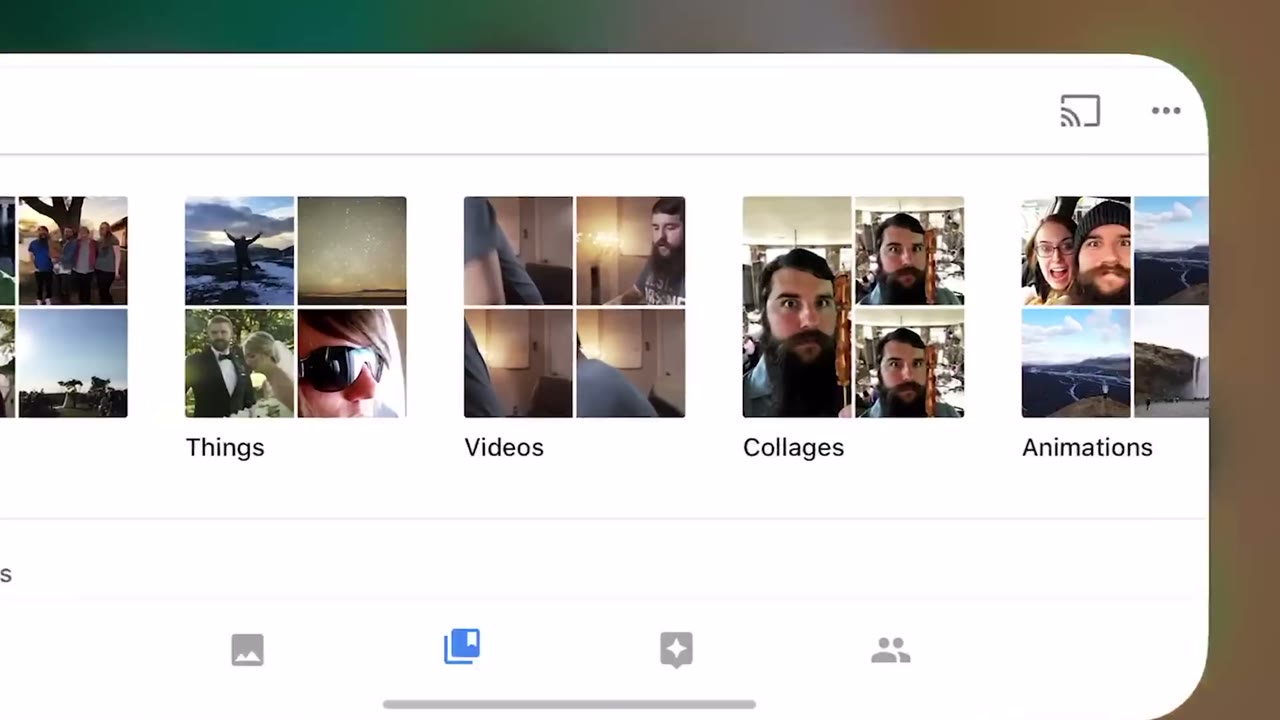
Google Photos library view organized into Things, Videos, Collages, and Animations albums

So Which Should You Pick?

As a filmmaker shooting many terabytes a year, I value being able to back up all of it and share all of it. And Workspace has none of Backblaze’s two cons: no plugging in forty hard drives every thirty days, and full control over what uploads and when. So I’m sticking with it.

If you’re starting out and don’t have anything offsite yet, start with Backblaze today. Five dollars is not a reason to have no backup.

Whether you’re brand new or you’ve been at this a long time, using an online backup service is only going to help you: it protects your footage and it keeps your clients happy.

One note since this video went up: the prices and the unlimited storage terms above are what they were at the time. Check the current plans before you sign up.

Links

Special thanks to Scott McKenna, who is the first person who told me about this and made me go “that is incredible, I need to sign up right away.” Go check out his videos.

If you’d like a follow-up video about my local backups, which hard drives I use and how I organize them, leave a comment and I’ll look into making it.