The Best Sony Video Format Settings (And When You Should Not Use Them)

You just bought a Sony a7V, or another recent Sony camera, and now you’re staring at the video format menu wondering what on earth you’re supposed to choose.

Totally fair question!

Sony gives you a lot of options, and while that flexibility is great, it can also be confusing if you just want to know what setting will give you the best results without wasting time.

So let’s start with the short answer, and then I’ll explain why I recommend it, plus the specific situations where you should actually do something different.

Here’s The Short Answer:

For most situations, I recommend filming in XAVC HS, selecting the highest bit rate available, and making sure it says 4:2:2 10-bit if your computer can handle it.

That’s it.

If you want a quick reference you can come back to later, I’ve also put together a Sony Video Formats Cheat Sheet that shows you exactly which settings to use. It’s completely free!

Now let’s talk about why these settings make sense, and when they don’t.


A Quick Note on Testing and Hardware

Before we get into the menu breakdown, you should know that while this video and article are not sponsored by MSI, they did provide me with the RTX 5080 graphics card I used for all of the testing discussed here. Thanks to MSI for that.

I’ll also link to this card, along with other MSI GPUs I recommend for video editing, since they currently offer the fastest performance for modern codecs.

This hardware context matters a lot for what we’re about to talk about.


Understanding Sony’s Video Format Options

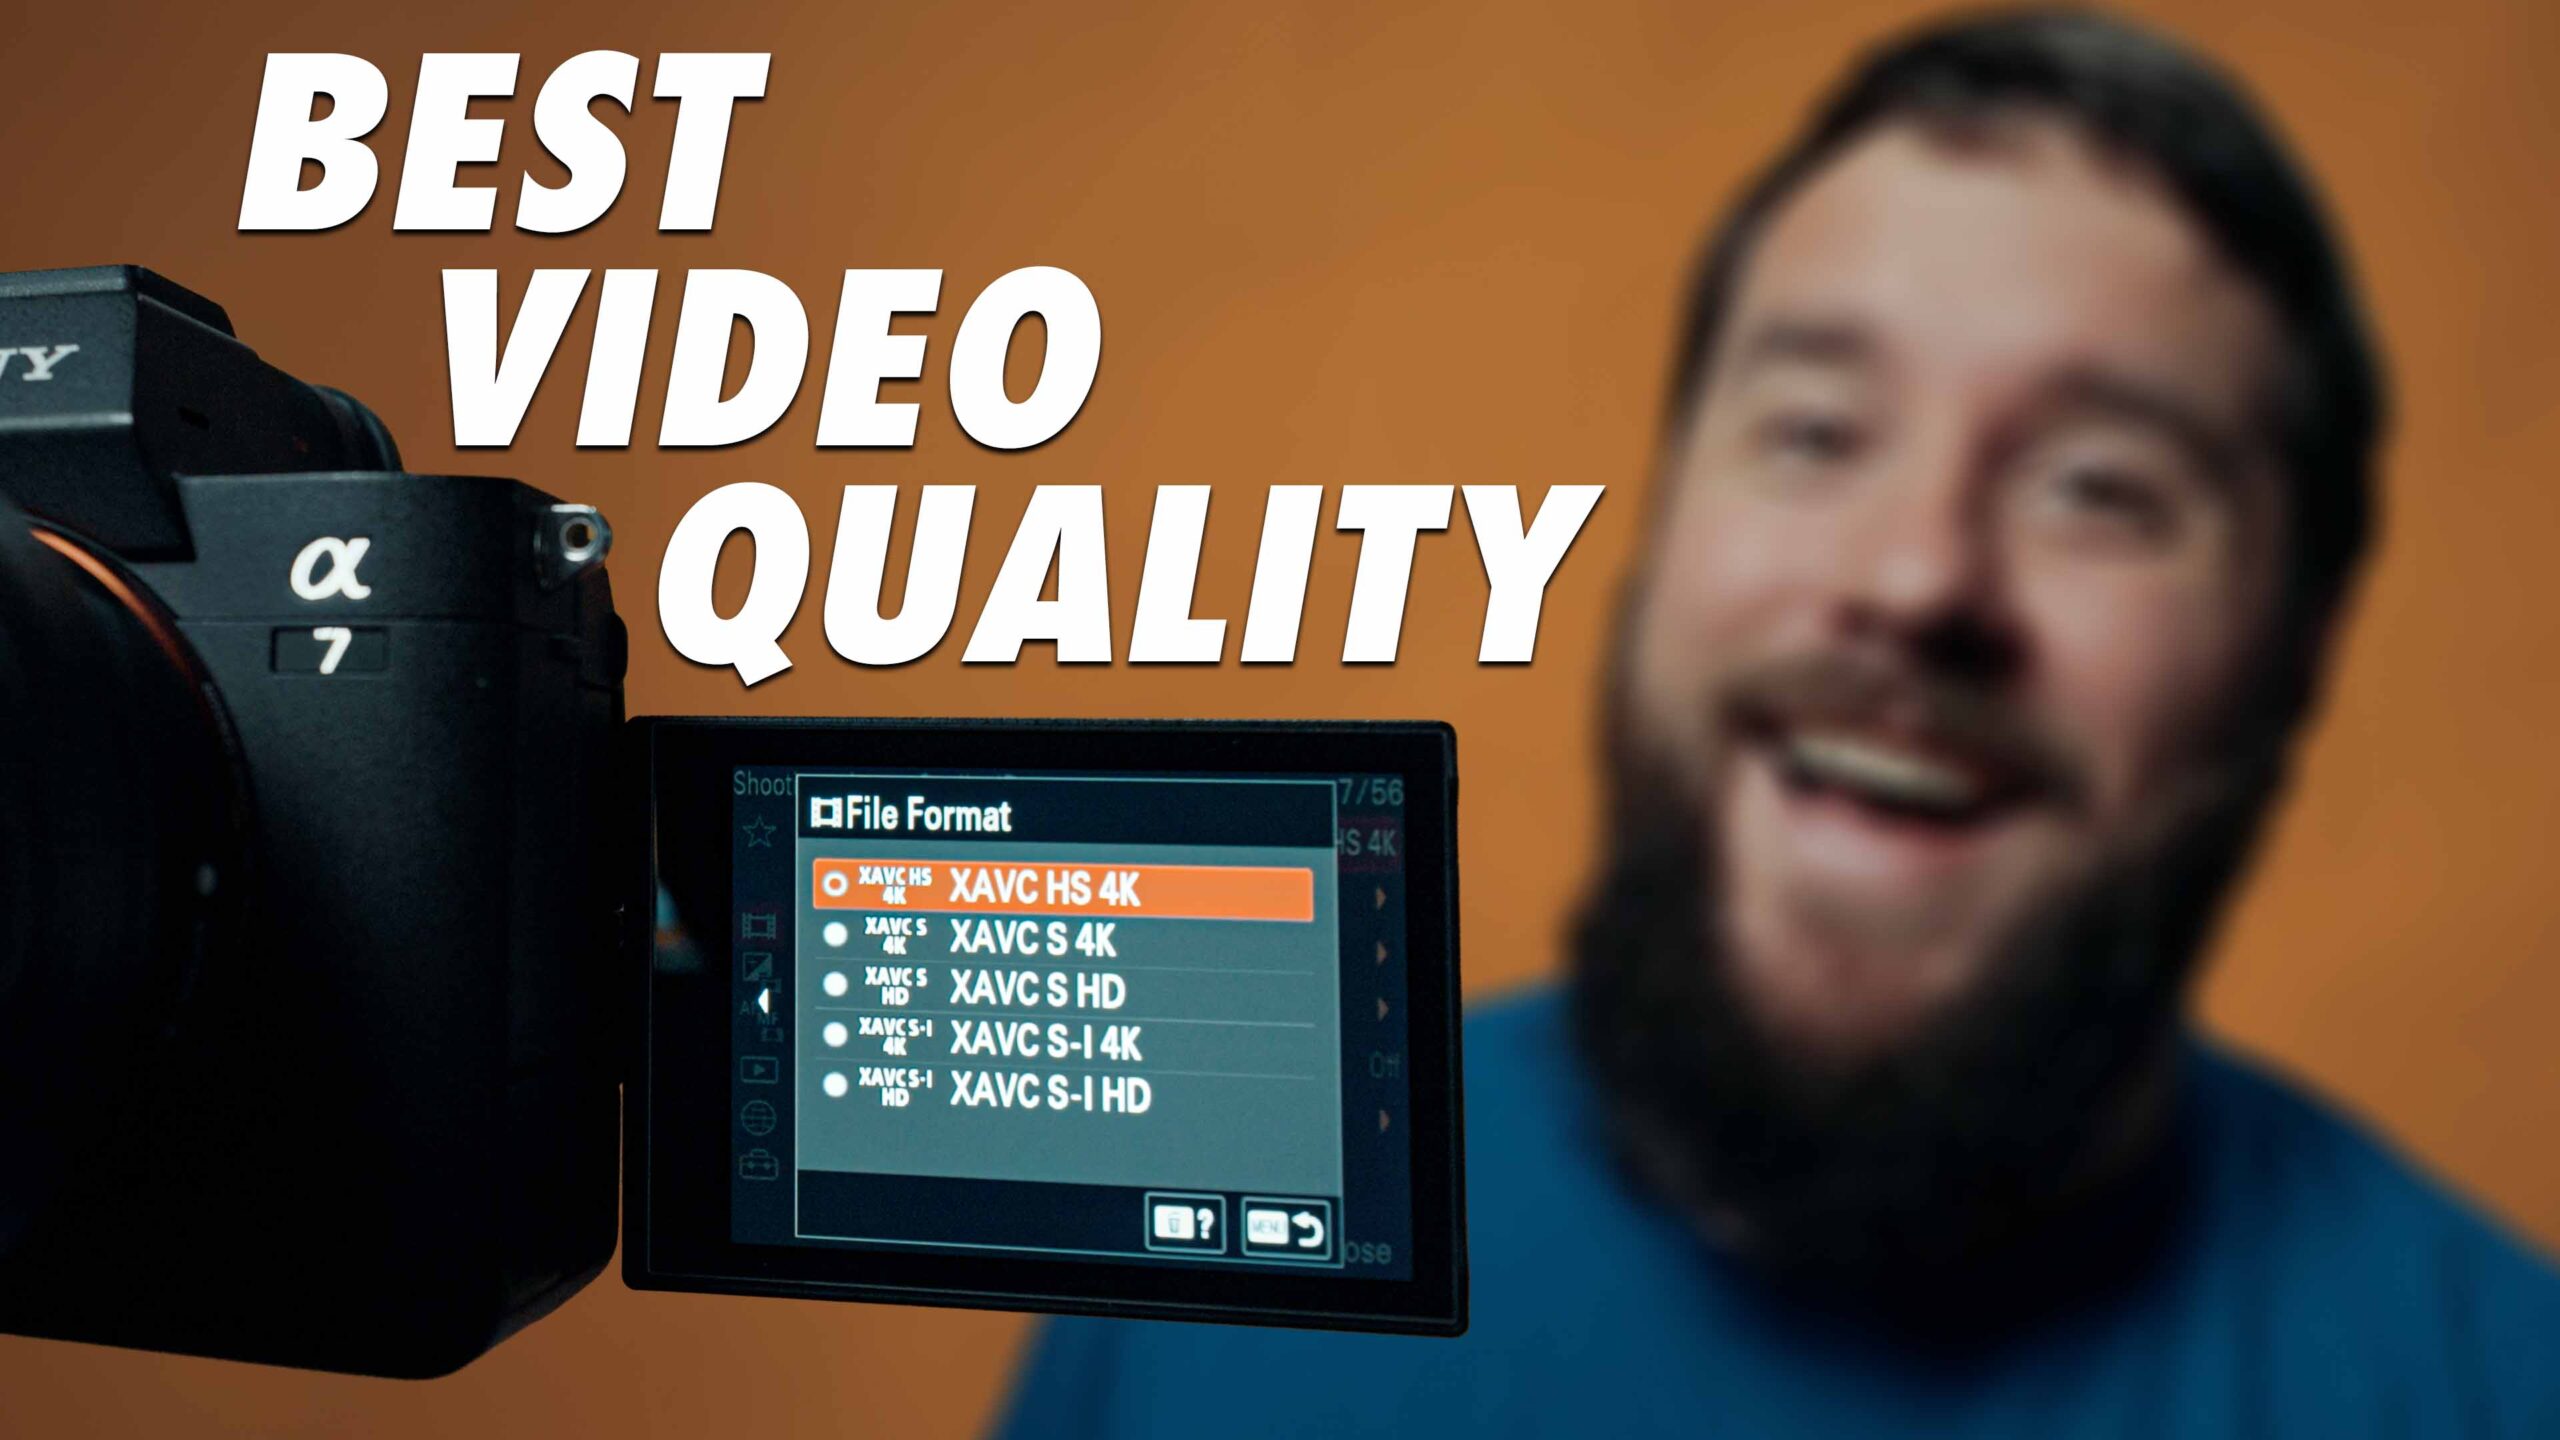
When you open the Sony menu and go to Shooting → Video Format, you’ll see several options, including:

  • XAVC HS
  • XAVC S
  • XAVC S-I
  • XAVC S HD

If you’re using a cinema-line camera like the FX3, FX30, or FX2, you’ll also see a DCI 4K option.

For the vast majority of your filmmaking, I recommend XAVC HS, and the reason is simple: XAVC HS uses H.265 compression, which is the most advanced and efficient codec your camera can record internally.

That means higher image quality and smaller file sizes at the same time, which is exactly what we want.


Choosing Frame Rate and Bit Rate

Once you select XAVC HS, you’ll need to back out and head into the video settings to choose your frame rate and bit rate.

You’ll typically see options like 24p, 60p, and 120p.

If instead you’re seeing 25p, 50p, or 100p, that means your camera is currently set to PAL mode, which is used in many countries outside the United States. This has to do with electrical frequency and broadcast standards, and we don’t need to go down that rabbit hole here.

What you need to know is that if you want access to frame rates like 120p, go into the yellow toolbox menu and switch your camera to NTSC.

From here, let’s assume we’re choosing 24 frames per second, and now Sony throws a bunch of other options at you, like 50M, 100M, 4:2:0, 4:2:2, 8-bit, 10-bit, and it suddenly feels overwhelming.

Let’s break it down quickly.


Bit Rate, Bit Depth, and Chroma Subsampling Explained

The number followed by an “M” represents the bit rate, measured in megabits per second. Higher numbers mean more data, which means higher quality video, so I recommend choosing the highest bit rate available.

Next comes 8-bit vs 10-bit, and this one is easy. Always choose 10-bit.

10-bit video records dramatically more color information, enabling your camera to capture billions of colors instead of millions, which results in smoother gradients, better skin tones, and far more flexibility when color grading.

The last option, and the one that causes the most confusion, is 4:2:2 vs 4:2:0, which refers to chroma subsampling, or how much color data is stored per pixel.

4:2:2 records more color information than 4:2:0, so on paper it sounds like something you’d always want to use. And in a perfect world, that would be true.

But here’s where your computer matters.


Why Your GPU Determines Whether You Should Use 4:2:2

This entire topic is the reason I reached out to MSI and asked for an RTX 5080 to test with.

Older computers, including Macs from before Apple’s M-series chips, older NVIDIA GPUs, and essentially all AMD GPUs at this point, do not offer hardware acceleration for H.265 video encoded in 4:2:2 color.

What that means in practice is that editing 4:2:2 footage on those systems is noticeably slower, with choppy playback, laggy scrubbing, and longer render times, because your computer has to decode everything in software.

Newer hardware changes that completely.

Apple’s M-series Macs and NVIDIA’s 5000-series GPUs support hardware encoding and decoding of 4:2:2 video, which makes editing dramatically faster.

To show you what that looks like, I tested the same DaVinci Resolve project on the same desktop computer, first using an RTX 3080 and then swapping in the RTX 5080.

With the 3080, playback wasn’t terrible, but scrubbing wasn’t smooth, and rendering a 10-minute project took 4 minutes and 6 seconds.

With the 5080 installed, playback was dramatically smoother, scrubbing felt instant, and the same render finished in 1 minute and 23 seconds, making it roughly 66% faster.

That’s a massive difference.


So Which Settings Should You Use?

If you’re editing on:

  • A Mac with an M-series chip, or
  • A Windows PC with an NVIDIA 5000-series GPU

You can safely shoot XAVC HS, highest bit rate, 4:2:2, 10-bit and enjoy both great image quality and fast editing performance.

If you’re using:

  • An AMD GPU
  • An older NVIDIA card
  • An older Intel-based Mac

Then I recommend choosing 4:2:0, 10-bit instead. The image quality is still excellent, and your editing experience will be significantly smoother.


The One Big Limitation of XAVC HS

There is one annoying limitation of XAVC HS that I was really hoping Sony would fix with the a7V, but unfortunately it’s still here.

You cannot record 4K at 30 frames per second using XAVC HS.

Yes, it’s weird, and yes, it’s been weird for years.

If you need 4K 30p, the workaround is to switch your video format to XAVC S, then select 4K 30p, 140M, 4:2:2, 10-bit.

XAVC S uses the older H.264 codec, which is less efficient than H.265, but the image quality is still very similar, so don’t stress about that.

The good news is that now that Apple and NVIDIA support hardware acceleration for 4:2:2, using XAVC S no longer comes with the editing penalties it used to.


Final Thoughts

Sony video formats can get complicated quickly, but once you understand what the camera is doing and how your computer factors into the equation, the right settings become pretty straightforward.

For most situations:

  • XAVC HS
  • Highest bit rate
  • 10-bit
  • 4:2:2 if your hardware supports it

And remember, if you want a quick reference you don’t have to think about, you can download my Sony Video Formats Cheat Sheet completely free.

If you want to learn more about cameras and filmmaking, consider subscribing, and as always, thanks for reading.

How To Shoot Super 8 – Cameras, Film, Processing, & Scanning Guide for Beginners

So you’re thinking about getting into Super 8 filmmaking!

First of all, welcome. It’s a ton of fun, it looks incredible, and it will absolutely make you think differently about how you shoot video.

My name is Matt Johnson, and in this post I want to walk you through everything you actually need to know to get started filming in Super 8. Not the romanticized version, the practical version.

We’ll cover:

  • What Super 8 cameras you should consider
  • The single most important feature to look for in a camera
  • Which film stocks to use, and when
  • Where to send your film for processing and scanning
  • And how much all of this realistically costs

This is a lot to cover, but by the end of this post, you’ll have a clear game plan.

And if you want an even faster overview, I’ve put together a free Super 8 Filming Cheat Sheet that walks you through recommended cameras, film stocks, and where to send everything.

Alright, let’s get into it.


The Tools You Need to Film in Super 8

First Things First: The Camera

Obviously, you need a Super 8 camera.

The good news is there’s a decent chance you already have access to one without realizing it. Super 8 cameras were wildly popular in the 60s, 70s, and 80s. Millions were sold, and once digital took over, most of them ended up sitting in attics and storage closets.

So ask around. Parents, grandparents, relatives. There’s a strong chance someone knows where one is. Or you’ll end up like me, with an uncle who swears he has one somewhere but can never actually find it.

If you can get a camera this way, it’s obviously the cheapest option. Free is hard to beat.

Buying a Camera Secondhand

If the family route doesn’t work out, your next option is the secondhand market. Think eBay, Craigslist, flea markets, or antique stores.

Super 8 cameras can be surprisingly cheap, but there’s a catch. Just because someone is selling a camera doesn’t mean it actually works.

Batteries could be corroded. The motor might be dead. Any number of things could be wrong. Buying this way is a gamble.

If you go this route, look for listings that say the camera has been tested and is working. Even then, be aware that “tested” usually means the seller put batteries in it and pressed the trigger. It does not mean they shot film and had it processed.

If possible, message the seller and ask how it was tested.

Refurbished Cameras (The Safe but Expensive Option)

If you want to guarantee that your camera works, you have a couple of better options.

The first is buying a refurbished Super 8 camera from Pro8mm. They’re one of the biggest names in the Super 8 space, and they sell refurbished cameras ranging from about $700 up to $3,600.

That’s significantly more than eBay prices, but what you’re paying for is reliability. The camera works. Period.

Etsy (Yes, Really)

The final option, and the one I personally chose, is Etsy.

Yes, the same Etsy that sells handmade sweaters and mugs also sells Super 8 cameras.

There are quite a few sellers refurbishing cameras there. I bought mine from MonsterFlips USA for about $450. He refurbishes a wide range of Super 8 cameras at different price points, which makes it much easier to find something within your budget.

So why did I choose Etsy over Pro8mm?

It comes down to one very important technical feature.


The Most Important Feature in a Super 8 Camera

While all Super 8 cameras use the same film, the biggest difference between them is whether or not they have a built-in light meter.

This matters a lot.

The light meter tells the camera how bright your scene is and automatically adjusts the aperture to compensate. If there is one thing you want in a Super 8 camera, it’s this.

Think about shooting digitally. You look at your screen, see the image is overexposed, and adjust your aperture. Now imagine doing that without a screen or a reliable viewfinder.

That’s what shooting Super 8 without a light meter is like.

If your camera doesn’t have one, you’ll need to carry a separate handheld light meter, measure the light, and manually set your aperture every time. That’s slow, clunky, and honestly the opposite of what Super 8 was designed for.

Super 8 was meant to be simple. Anyone could pick it up and shoot. Hand your grandma a Super 8 camera and she can figure it out. Hand her a light meter and… not so much.

This is why I recommend buying a camera with a built-in light meter. From Pro8mm, that starts around $700. On Etsy, you can often find one for much less.

Which Camera Should You Buy?

You may have noticed I still haven’t told you which Super 8 camera to buy.

That’s intentional.

As long as the camera works and has a built-in light meter, you’re good to go. Brand and model really don’t matter as much as collectors would have you believe.

Yes, cameras like the Braun Nizo are beautiful. But at the end of the day, they’re all shooting the same Super 8 film.

Which brings us to film.


Understanding Super 8 Film Stocks (Without the Confusion)

Film can feel overwhelming at first. You’ll hear terms like Ektachrome, Vision, and Tri-X, and it’s easy to overthink it.

Here’s the good news. If you just want to have fun shooting Super 8, there are really only three film stocks you need to care about.

They’re all made by Kodak:

  • 50D
  • 200T
  • 500T

What the Numbers Mean

Think of ISO on a digital camera. Higher ISO means more sensitivity to light.

On Super 8 cameras, there is no ISO button. The ISO is determined entirely by the film.

  • 50D = ISO 50
  • 200T = ISO 200
  • 500T = ISO 500

That’s what you’re working with.

What the D and T Mean

Just like ISO, white balance is also baked into the film.

  • D stands for Daylight
  • T stands for Tungsten

50D is balanced for bright daylight. It’s perfect for shooting outdoors in the sun.

200T and 500T are balanced for tungsten lighting, which is typical warm indoor light. Because indoor lighting is darker than sunlight, these films also have higher ISO values.

Which Film Should You Use?

Here’s the simplest way to think about it.

If you’re outdoors, use 50D.

If you’re indoors, use a tungsten stock. Between 200T and 500T, I usually recommend 500T. Indoor spaces are almost always darker than you think, and 500T gives you more flexibility.

What If You Go Indoors and Outdoors?

Some Super 8 cameras have a switch with a sun icon and a lightbulb icon. This toggles an internal filter.

If your camera has this, you can shoot tungsten film outdoors by flipping the switch to daylight. It engages a filter that corrects the color so things don’t look weird.

This makes life much easier.


One Big Difference Between Film and Digital

Unlike memory cards, film is a one-time use.

Each Super 8 cartridge is 50 feet long. At 18 frames per second, that gives you about three minutes of recording time.

That’s it.

No letting the camera roll and hoping something cool happens. You need to be intentional. Plan your shots. Think before you press record.


Where to Buy Film

Film has a shelf life, like milk. You want fresh film whenever possible.

I usually buy mine from B&H. Once it arrives, I keep it in the refrigerator until I’m ready to shoot. Keeping it cold helps slow deterioration.

You can experiment with expired film later, but when you’re starting out, buy new.


Processing and Scanning Your Film

Once you shoot your film, you still can’t watch it yet.

First, it needs to be processed. This is where a lab uses chemicals to develop the film.

Companies like Pro8mm and Spectra Film and Video offer processing. Pro8mm even sells film with processing included, which is convenient.

I personally use Spectra Film and Video because it’s cheaper. You fill out a form on their website, print it, box it up with your film, and ship it to California.

After processing, the film looks like an old reel. To actually edit it, you need it scanned.

Why I Use a Separate Scanning Company

Instead of scanning with Pro8mm or Spectra, I use a company called The Negative Space, run by Nicki Coyle in Colorado.

Two reasons:

  1. She’s incredibly knowledgeable and helpful.
  2. She owns a high-end scanner that can scan Super 8 up to 6.5K.

Spectra sends the processed film directly to Nicki. She scans it and sends me a download link to a massive, high-quality ProRes file. We’re talking 50GB for three minutes of footage.

It looks incredible!

Compared to other options, her pricing is also wildly better. A 5K scan with a download link costs $20.

Yes, really.

UPDATE: NICKI NOW OFFERS PROCESSING & SCANNING! REACH OUT TO HER FOR CURRENT PRICING AND AVAILABILITY.

How I Like My Film Scanned

I choose:

  • High-resolution scans (5120×3840)
  • Flat scans so I can color grade myself
  • Overscan, not cropped

Overscan shows the edges of the film and sprocket holes. It looks amazing and gives you that unmistakable Super 8 feel.


How Much Does Super 8 Cost?

Short answer: it’s not cheap.

Every step costs money.

Film: ~$40
Shipping: ~$10
Processing: $25
Scanning: $20

All in, you’re looking at about $100 per roll, for roughly three minutes of footage.

Retro isn’t cheap.

Ways to Save Money

  • Ship multiple rolls at once to save on shipping
  • Buy film directly from Spectra for slightly cheaper prices
  • Take advantage of film + processing bundles when they make sense

Final Thoughts

Super 8 filmmaking isn’t cheap, but it’s incredibly rewarding.

It forces you to slow down, be intentional, and actually think before you shoot. And the results have a character that’s almost impossible to replicate digitally.

If you want a condensed version of everything in this post, grab the free Super 8 Filming Cheat Sheet.

And most importantly, have fun with it. Super 8 is supposed to be fun.

Thanks for reading, and enjoy filming with film!

Destination Wedding Videography Gear Guide

Destination wedding videography can be incredibly stressful due to needing to pack up all your gear and fly with it across the country or around the world. Here’s everything I brought for a destination wedding I recently filmed in California!

How to EASILY film in Sony’s S-Cinetone Picture Profile

Updated 12-31-25

Color Presets For S-Cinetone

Today I want to share with you how to quickly and easily film with the S-Cinetone picture profile in your Sony camera! So if you have been looking for a picture profile that looks really good straight out of camera with minimal need to color correct and color grade, this video is for you!

And to help save you time and bring out the best possible colors with your camera, I’ve actually created a set of video presets called whoismatt luts, that work great with S-Cinetone and really help give your footage a unique look.

CAN YOUR CAMERA USE S-CINETONE?!

Getting started now, the first thing you need to figure out is if your camera can even use the S-Cinetone picture profile. This is a relatively new profile and is only available on the Sony FX9, FX6, A1, FX3, and a7S III at the time of making this video. 

If you aren’t sure, just open up your camera’s picture profile menu and scroll down to PP11. If you see PP11, congratulations, you have S Cinetone! If you don’t see PP11 though, either your camera doesn’t support it, or if you are on the a7S III, you will need to download a firmware update for your camera to add S-Cinetone. You can download this firmware update from Sony’s firmware update website.

Now grab your Sony camera and navigate to the picture profile menu. The first thing you should do is make sure your camera is set to PP11 and that both the gamma and color modes say S-Cinetone. If they don’t say that, scroll down to the bottom where it says reset and reset PP11 to its default settings.

EXPOSING S-CINETONE

Moving on, let’s talk exposure! If you’ve watched my SLOG3 easy filmmaking settings video, or if you’ve shot in log picture profiles with other cameras you’re probably used to overexposing your footage so you can then bring the exposure levels down in post when editing so your footage isn’t noisy. 

Well S-Cinetone is different so you’re going to need to relearn things! You do not need to overexpose your footage, and you don’t need to underexpose it either. With this picture profile, what you see is what you get, so it is in your best interest to make sure your exposure level is right in the middle, not too bright and not too dark, just right. It’s like Goldilocks with the bears and the porridge but it’s light and color and thankfully no bear attacks. 

Anyways, going back to your camera now, looking at the bottom of the screen you’re going to see your shutter speed, lens aperture, and the letters MM and a number anywhere from -2.0 to +2.0. This MM stands for multi-metering, and it tells you how bright the image is that your camera is recording.

If your camera doesn’t say MM, open the menu and go to exposure/color, metering, and set your metering mode to multi. Then, you can go back out and see this number which in my case says 0.0, which means that this image that it is recording isn’t over or under exposed. If your camera says -1.0 (minus one point oh) it means that it is 1 stop underexposed. If it reads +1.0 (plus one point oh) that means it is 1 stop overexposed. 

For S-Cinetone, you want this number to read ideally 0.0 because that is ideal for the profile. If it says -0.3 (negative zero point 3) or +0.3 (plus zero point 3) that is probably okay, but 0.0 is the sweet spot that will keep things from getting too dark or bright in your shot. 

That said though, I don’t want you to just trust this metering number and forget to look at the image on your camera screen! Remember, S-Cinetone is a what you see is what you get picture profile, meaning that the image you see on the back of the camera is very close to what you will see on your computer when you copy it. 

So if you are looking at your meters and they say 0.0, but the person you are filming looks really dark, they are going to look dark in the footage you are recording. That 0.0 may be because the camera is seeing a bright background behind the person and it is saying the background is properly exposed but the person is not. Ideally you want your subject to be 0.0 on the metering, so that means that you may need to brighten the image up until it looks good to you on the back of the screen.

I do want you to be aware though that this can cause some parts of your footage to be overexposed though. You may have to blow out some highlights to make your subject in the footage look bright enough. This is unfortunate but the price you will pay to use S-Cinetone and have the footage look good straight out of camera.

Now if you don’t want your footage to look overexposed, an alternative option would be to shoot in Slog3, as that picture profile has much higher dynamic range than S-Cinetone and you will not need to worry about your footage being overexposed.

ZEBRAS ARE YOUR FRIEND

Back to S-Cinetone now, if you want to take the guesswork out of whether it is overexposing or not, you really need to use Zebras. And not the animal either, this isn’t a goldilocks metaphor agaom, we’re talking about your camera’s zebras settings, which will put black and white lines on your screen that show you what is overexposed.

Go into your camera’s menu, go to Exposure/Color, Zebra Display, and for Zebra Level you’re going to want to select 100+. Next make sure Zebra Display in the menu is turned on, and as you start to bring up the exposure of your camera, either by changing your aperture or ISO, you are going to notice zebra lines appearing on the overexposed parts of your footage. 

Because you set your zebra level to 100+, that number is the maximum brightness the S-Cinetone footage can handle before it clips the highlights and cannot recover them. So as you are filming with your camera, I would first look at your metering and make sure it is at approximately 0.0, and then I would look for any zebras to appear on the back of the camera. If they show up, then I would consider what you are filming. 

If you’re filming a person standing in front of the sunset, and you have the super bright sun and clouds behind them, you will definitely see some zebras in the background and that is okay. But, if you are seeing zebras on the persons’ face or skin, that means that your footage is definitely too bright and your exposure needs to be darker. 

I would highly recommend filming some test shots with people lit by different light sources. As you gain experience with watching your metering and zebras you should get a good idea of how the camera is exposing and what looks good. 

DUAL GAIN ISO LEVELS FOR S-CINETONE

Alright, you’ve got your metering setup, and your zebras, the last thing we need to talk about is ISO. If you turn your ISO up, your footage gets brighter. If you turn it down, it gets darker. And as a bonus, unlike SLOG3 which I really never recommend filming at anything lower than 640 ISO, with S Cinetone, you can go all the way down to ISO 100, which is great if you are filming on a bright day.

Now if you’ve watched my SLOG3 settings video or my a7siii review, or basically any other video about proper exposure with the a7siii, FX3, or FX6, you will know that these 3 cameras share basically the same sensor, and it is known as a dual native ISO sensor. 

This means that there are 2 ISOs where the camera will look its best and give you the absolute maximum dynamic range that it is capable of. This dual native ISO will change depending on the picture profile and the camera you are filming with, but in the case of S Cinetone on the a7sIII and FX3, they are ISO 100 and ISO 2000. Alternatively, if you are filming with a Sony FX6 in S Cinetone, these ISOs where the camera looks its best will be ISO 320 and ISO 5000.

As I said, these camera’s sensors are similar, but testing from the very knowledgeable Alister Chapman over at XDCAM-USER has shown that they are slightly different, which is why the ISOS vary between them.

So to wrap up the talk about ISOs, I would keep your camera to ISO 100 or 2000 if you want it to look its absolute best, but honestly, in my testing, because the sensor Sony is using in these 3 cameras is so dang good in lowlight, I haven’t been able to really see a difference between ISO 100 and ISO 1600, and 1600 should arguably look worse because its right be low ISO 2000 where the dual gain sensor kicks in and gets cleaner. 

So in short, S-Cinetone is a what you see is what you get picture profile and that carries over to the ISO settings as well. I wouldn’t worry about the dual gain sensor with this picture profile, and instead I would focus on how good the image looks on the back of the camera. 

And that is how to easily film with S Cinetone picture profile on your Sony camera! If you have a new a7siii, FX3, or A1 and you want to know what settings are best for it, I would recommend watching my menu and custom buttons setup videos that will walk you through all the best settings to use. And if you are using the a7siii specifically, you can download my setup preset file which will give you all of my settings instantly. I will like to that preset file and my setup videos below.

I will also link down below to my color presets which work very well with S-Cinetone! Don’t get me wrong, S cinetone looks great straight out of camera, but these will make it look even better.