
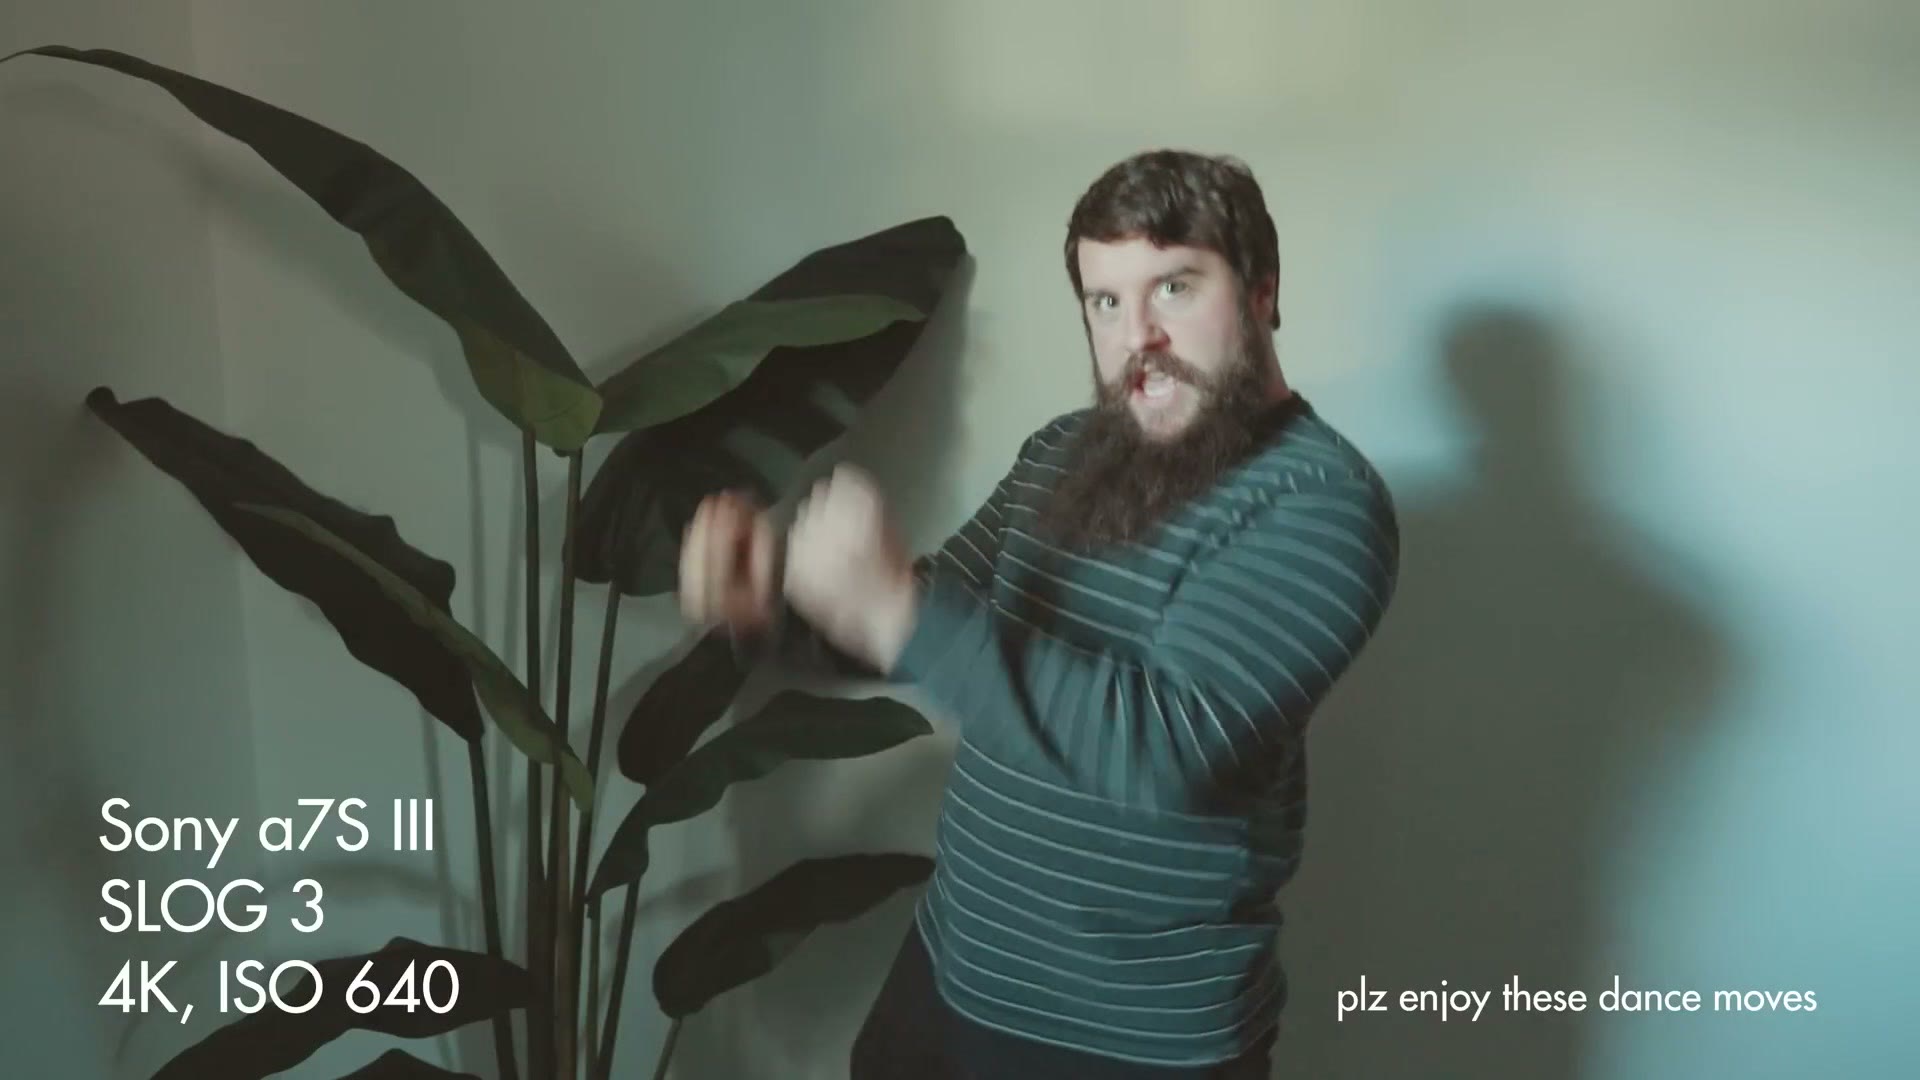
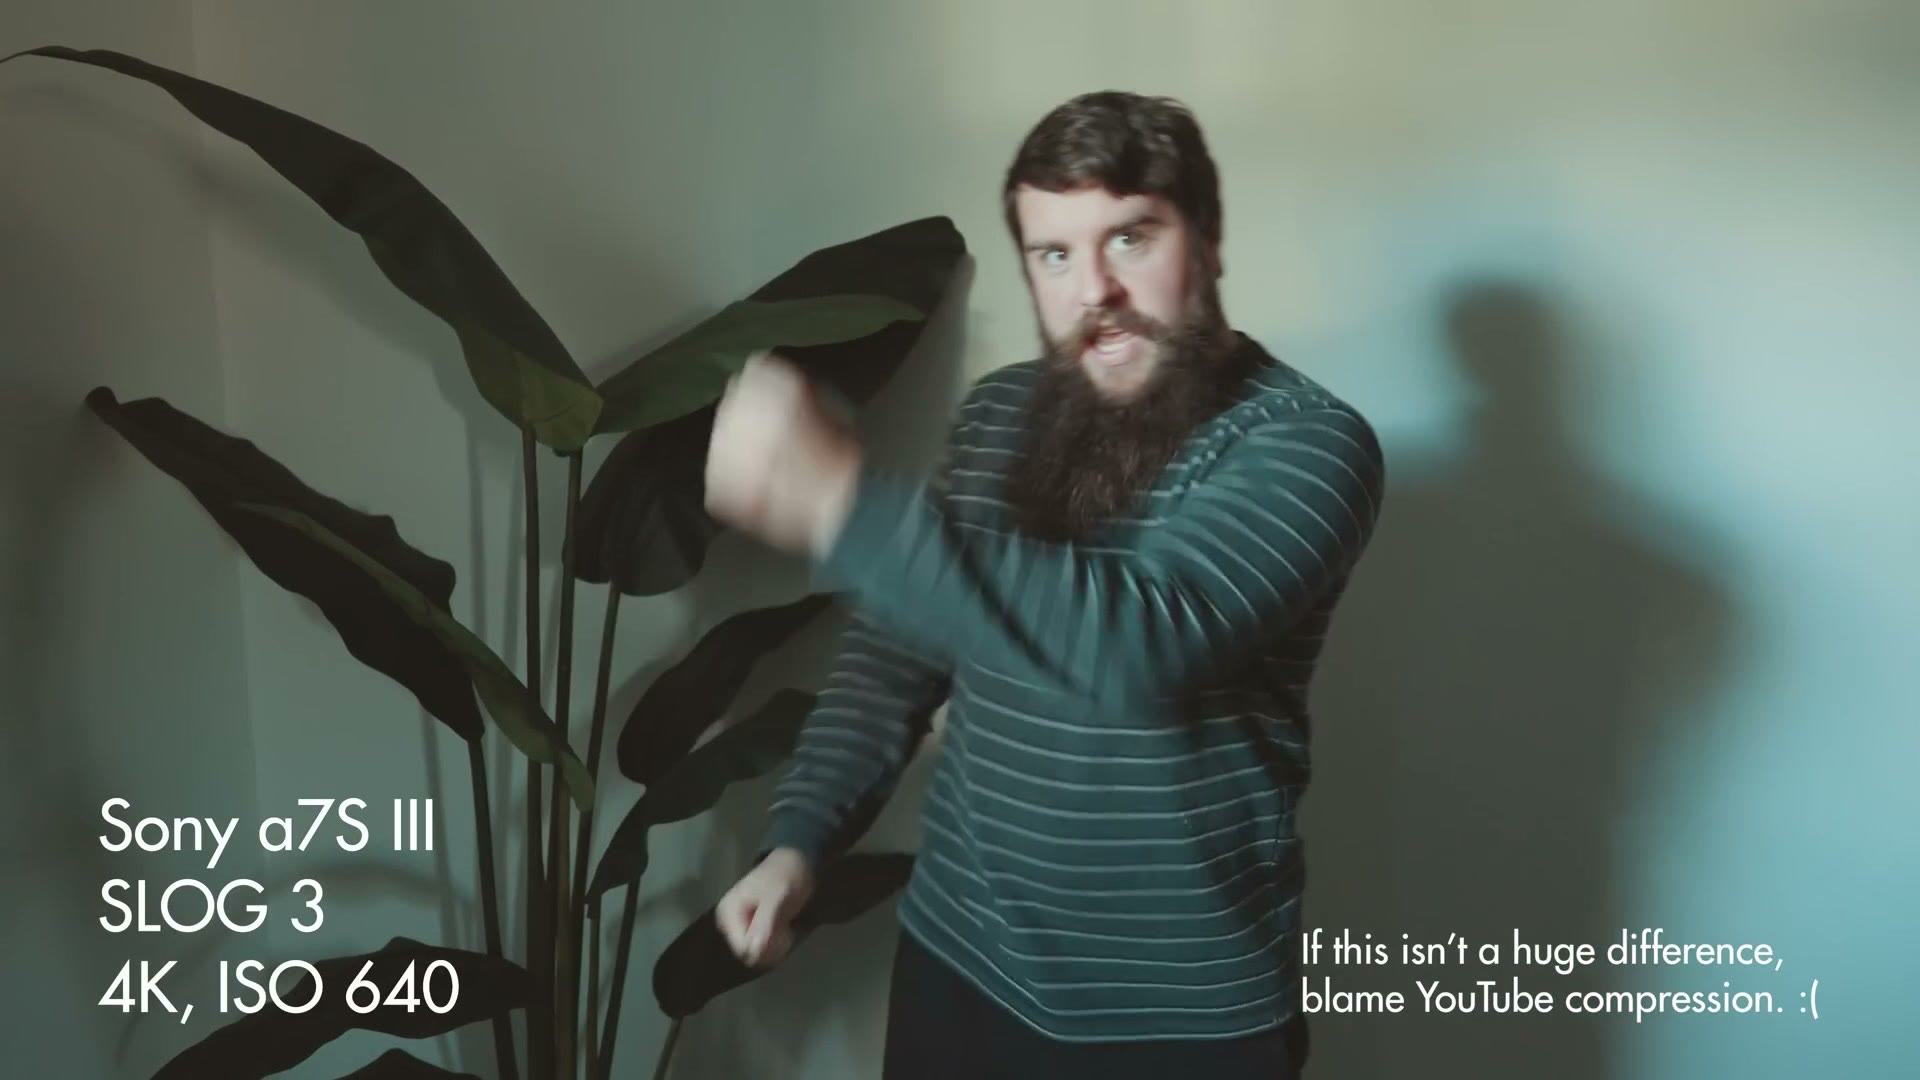
Today I want to show you how to take S-Log3 footage that looks like this whenever you color grade it, really noisy, especially in the shadows, and turn it into something with dramatically less noise that’s clean and completely usable.
Why Your SLOG3 Footage Is Noisy
Let’s start with why this is happening at all, and why your footage looks noisy whenever I’m sure you’ve seen plenty of other people online shooting S-Log3 without this problem.
In short, if your footage is noisy, you are not exposing brightly enough in camera.
Unlike a normal picture profile, where you’d set your camera’s metering to 0.0, meaning it’s neither under nor overexposed, with S-Log3 you actually want to overexpose by somewhere between 1.7 and 2.0 stops on your camera’s meter.
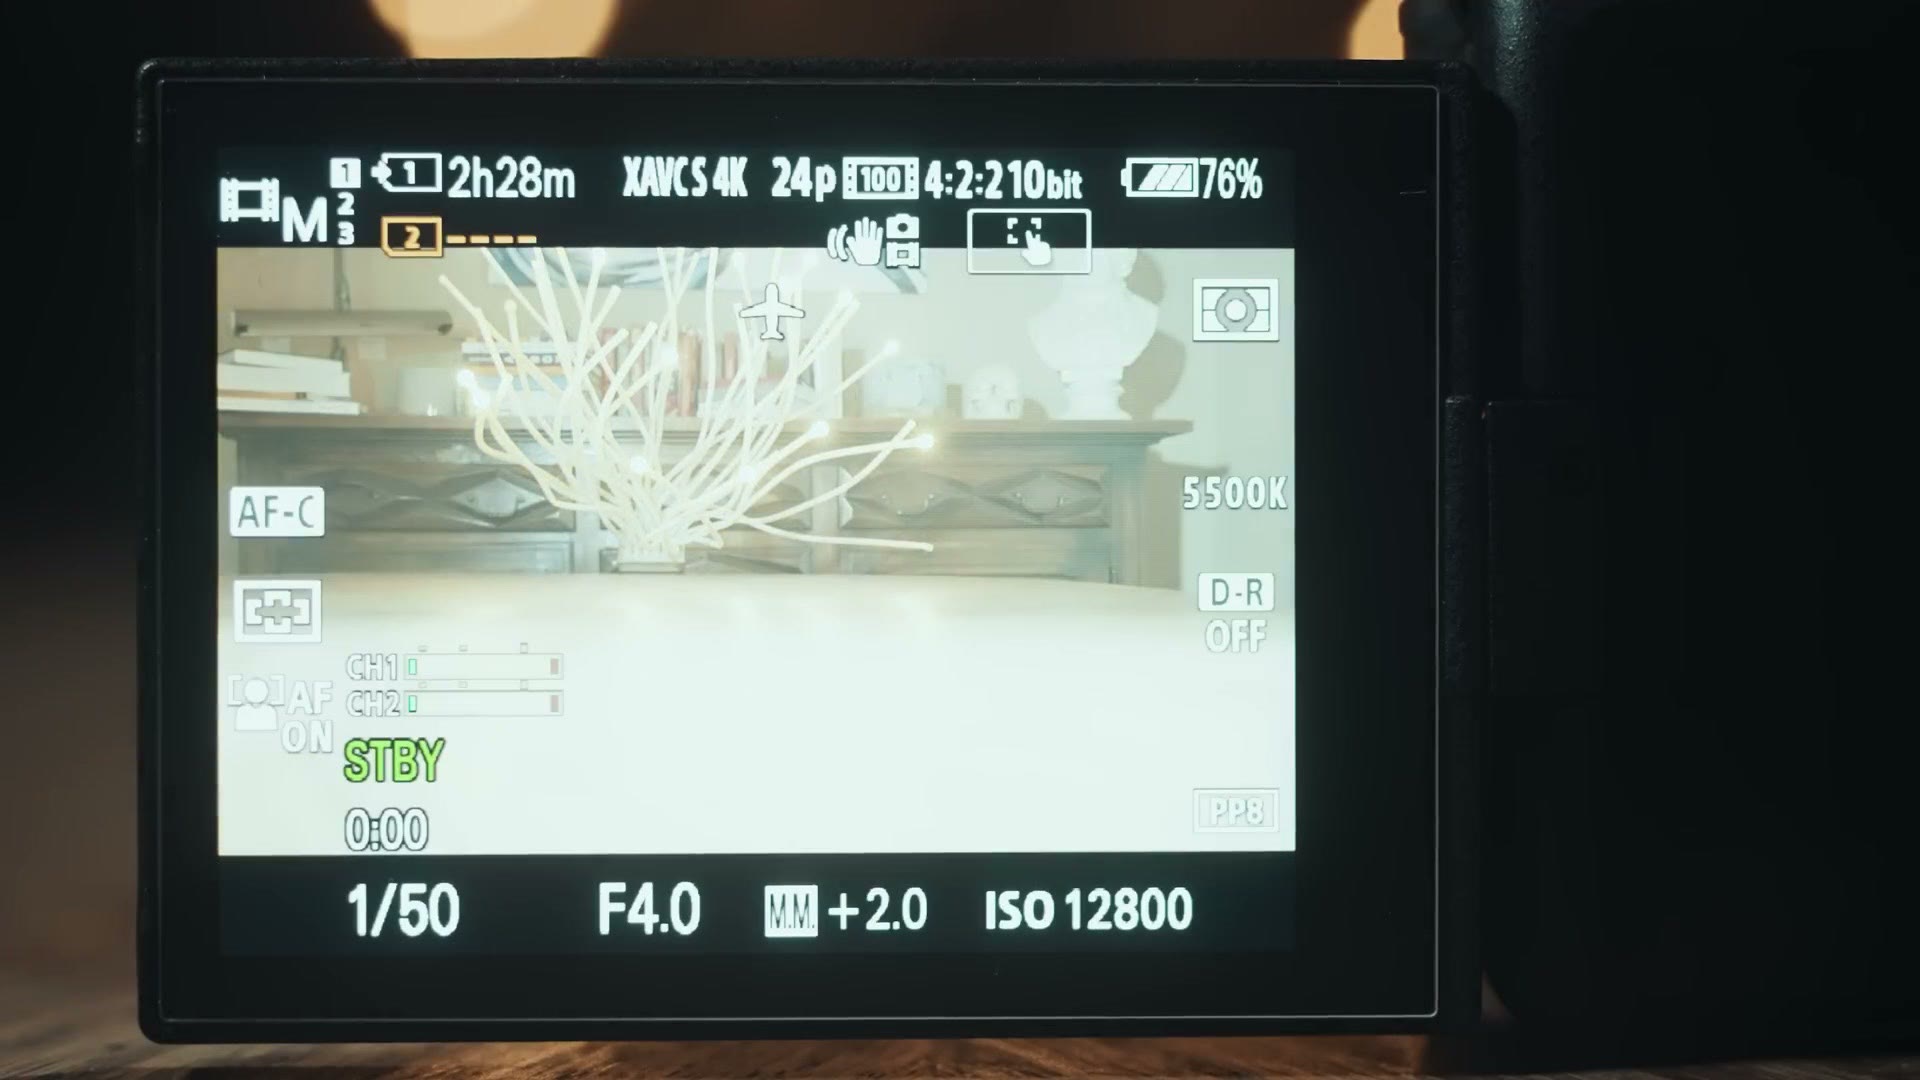
That is going to look pretty bright, and if you look closely you may even see some noise in it, but this is the correct way to expose S-Log3. And here’s what’s great about it. Whenever you go to color grade that bright, flat image and add all the contrast and saturation back so it looks normal, you’re also bringing your exposure levels down and crushing the blacks in the shadows, which removes all that noise and leaves your footage looking super clean.
If you want more detail on doing this properly, I have a full walkthrough of how to easily film in S-Log3 that goes through every step of getting clean footage in the first place.
Save Time Color Grading SLOG3
Also, if you want to save time color grading and get great colors out of any picture profile, S-Log3 included, I’ve made a set of color presets called WhoisMatt LUTs that will do a lot of this work for you.
How To Fix Noisy SLOG3 Footage In Post
Now let’s shift gears, because we’ve covered how to fix noisy S-Log3 in camera, but what about the footage you already shot? We’ve got to fix it in post, baby.
So if you’re sitting in front of your editing software with a bunch of S-Log3 that looks really noisy because you didn’t overexpose it properly, here’s how to fix that. I’ve got two fixes for you, and we’ll start with the easiest and free one.
I’m going to do these in Adobe Premiere Pro, but the techniques work in any editing software, so keep reading if you’re on Final Cut or DaVinci.
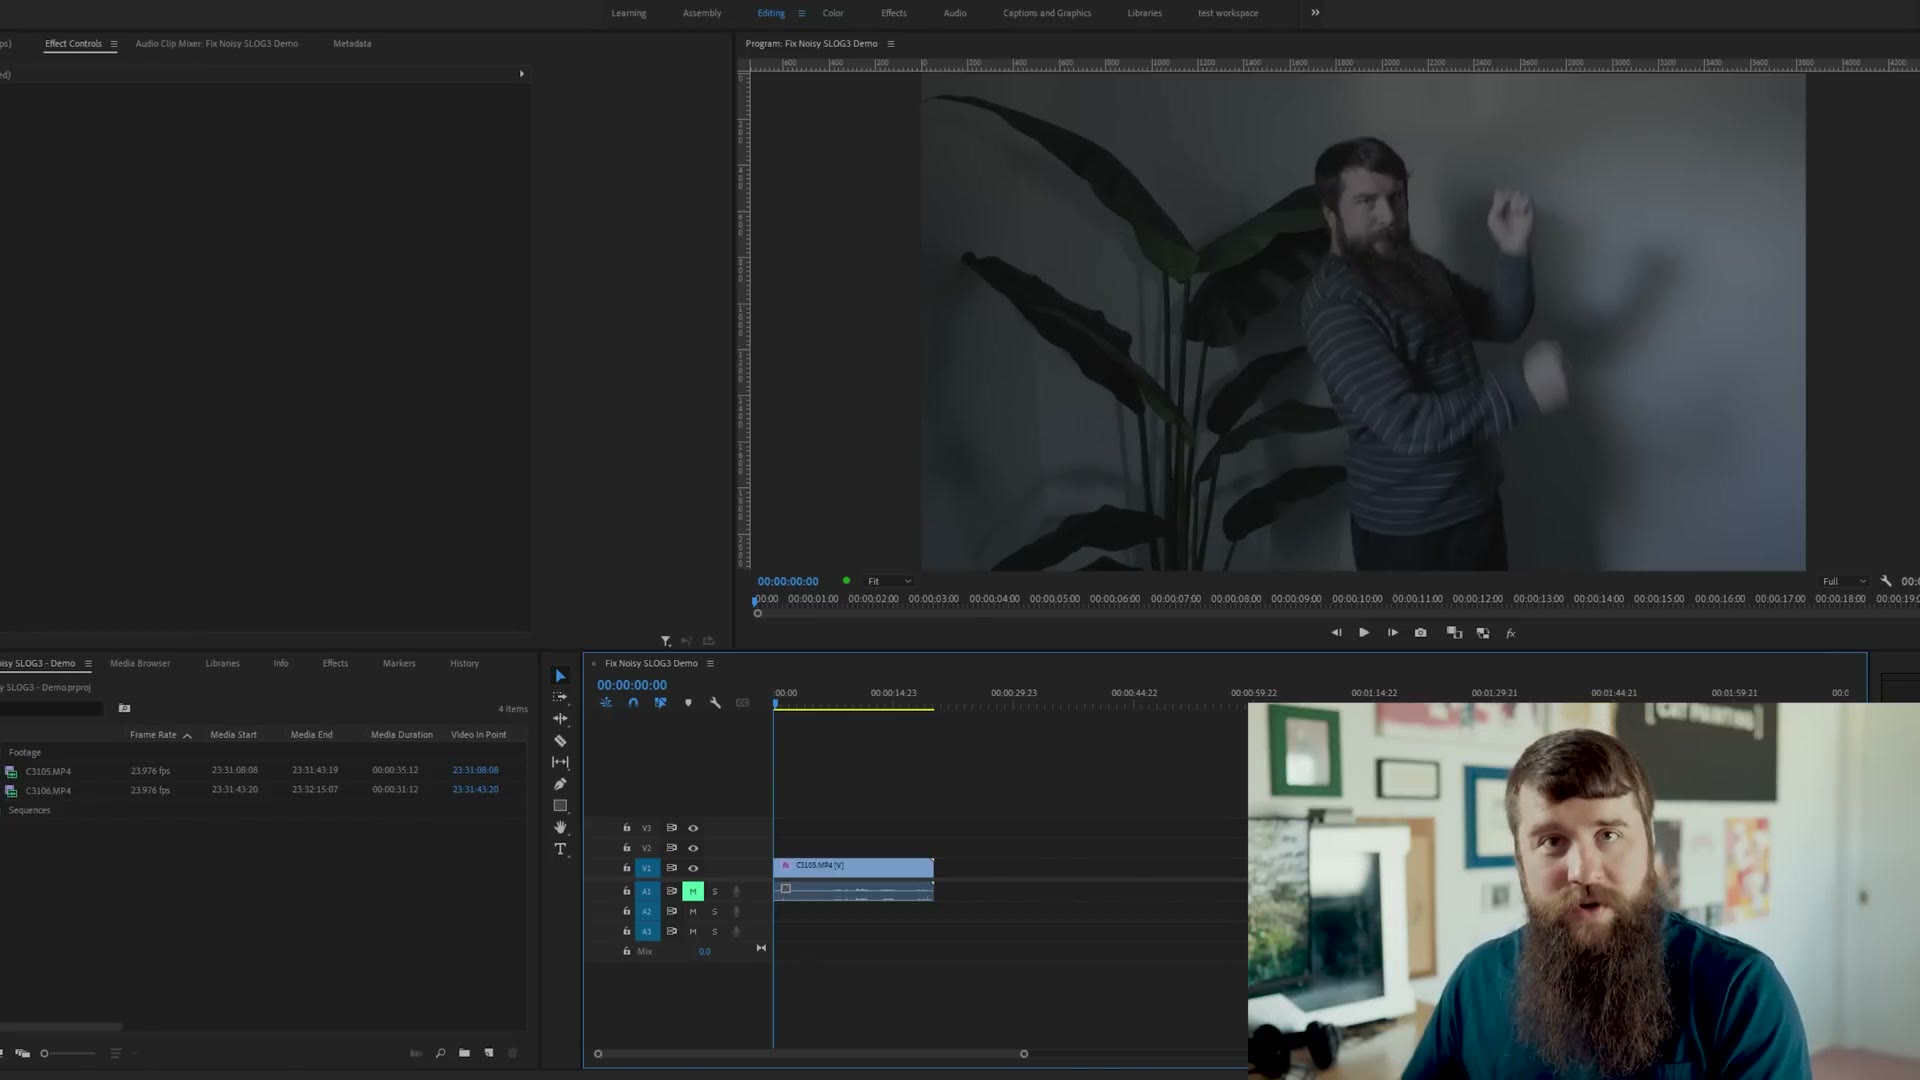
Here in Premiere I have an example clip I filmed intentionally too dark. I exposed this one to 0.0 on the camera meter instead of 1.7 to 2.0 stops over. Because it’s flat it doesn’t look bad, but once I grade it you’re going to see how much noise is in there.
Let’s do a quick grade. I’ll grab one of my S-Log3 LUTs, throw it on, and dang, that’s dark. Remember, my LUTs are built to work with properly exposed S-Log3, and we underexposed this by nearly two stops, so we have to fix things a bit.
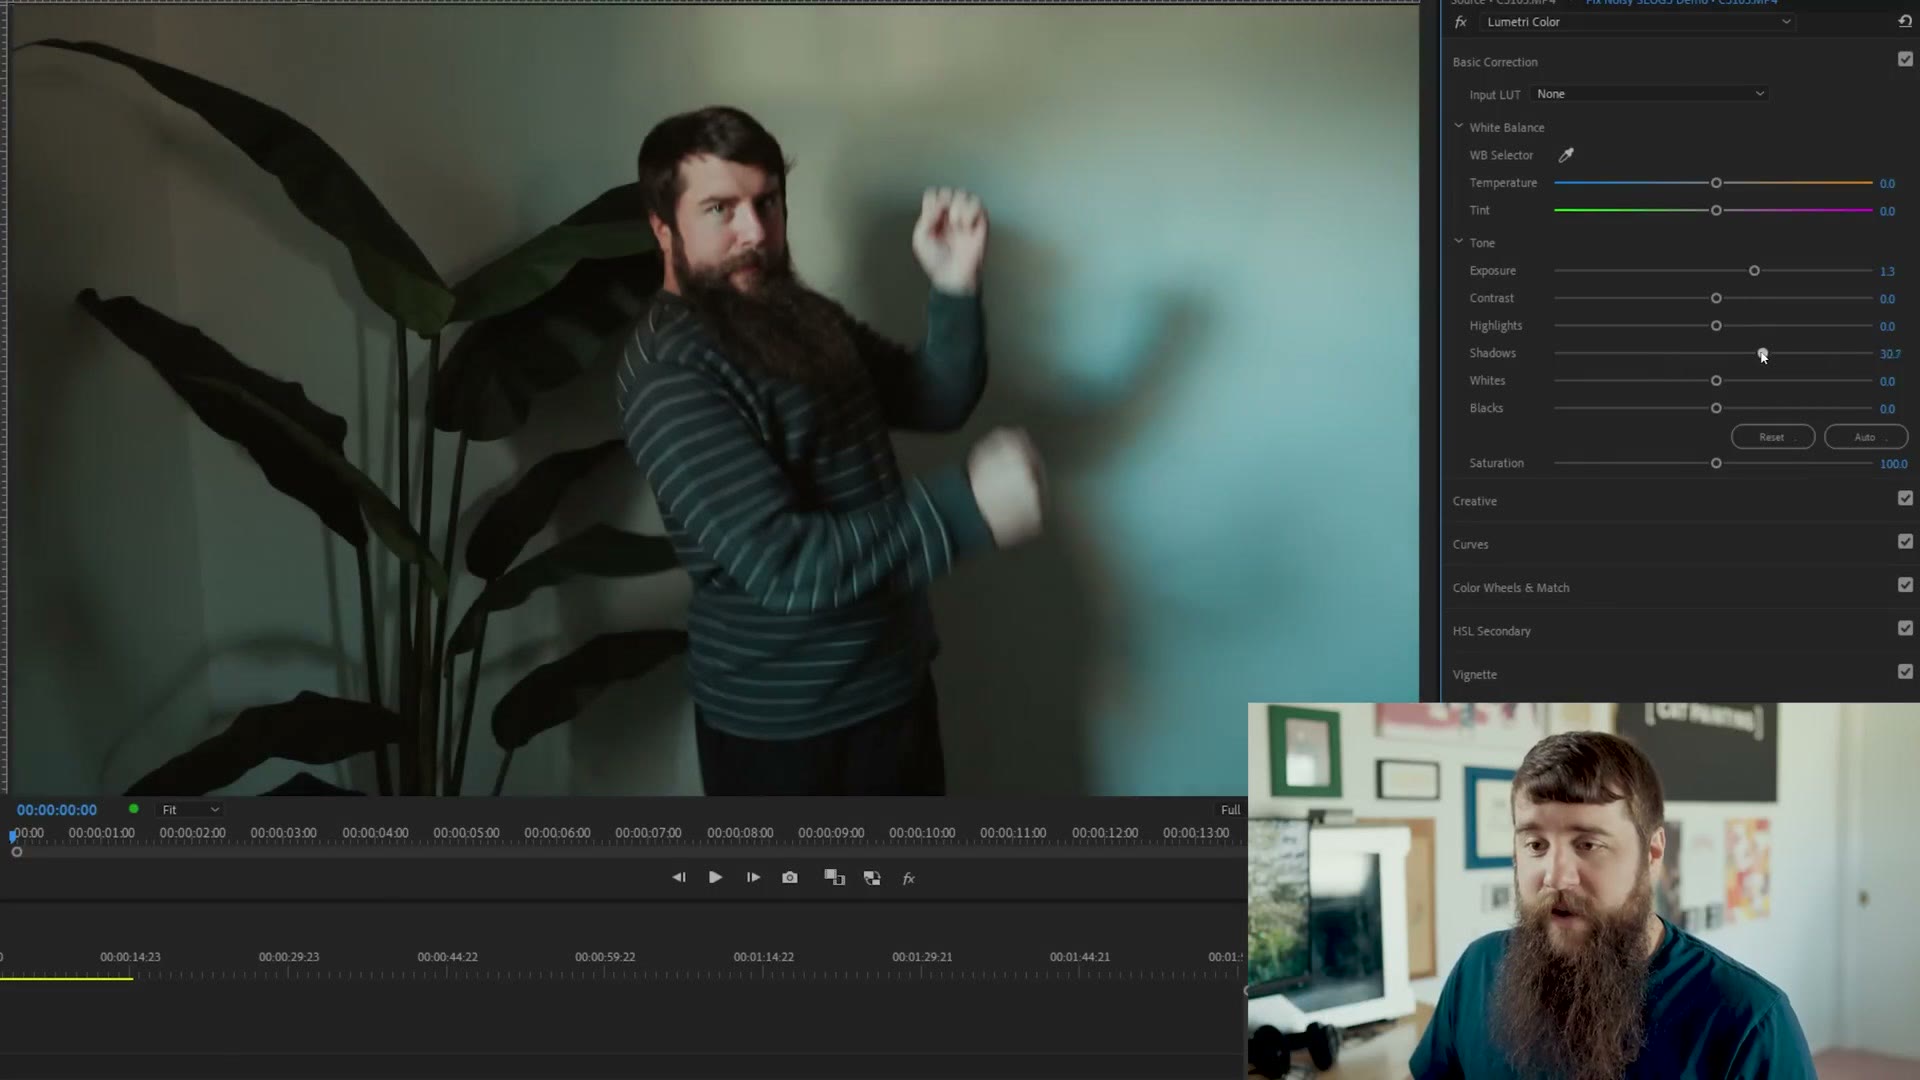
Let’s crank the exposure up. There we go. And bring up the shadows, because this room was not this dark whenever I filmed it and I don’t want a super moody shot.
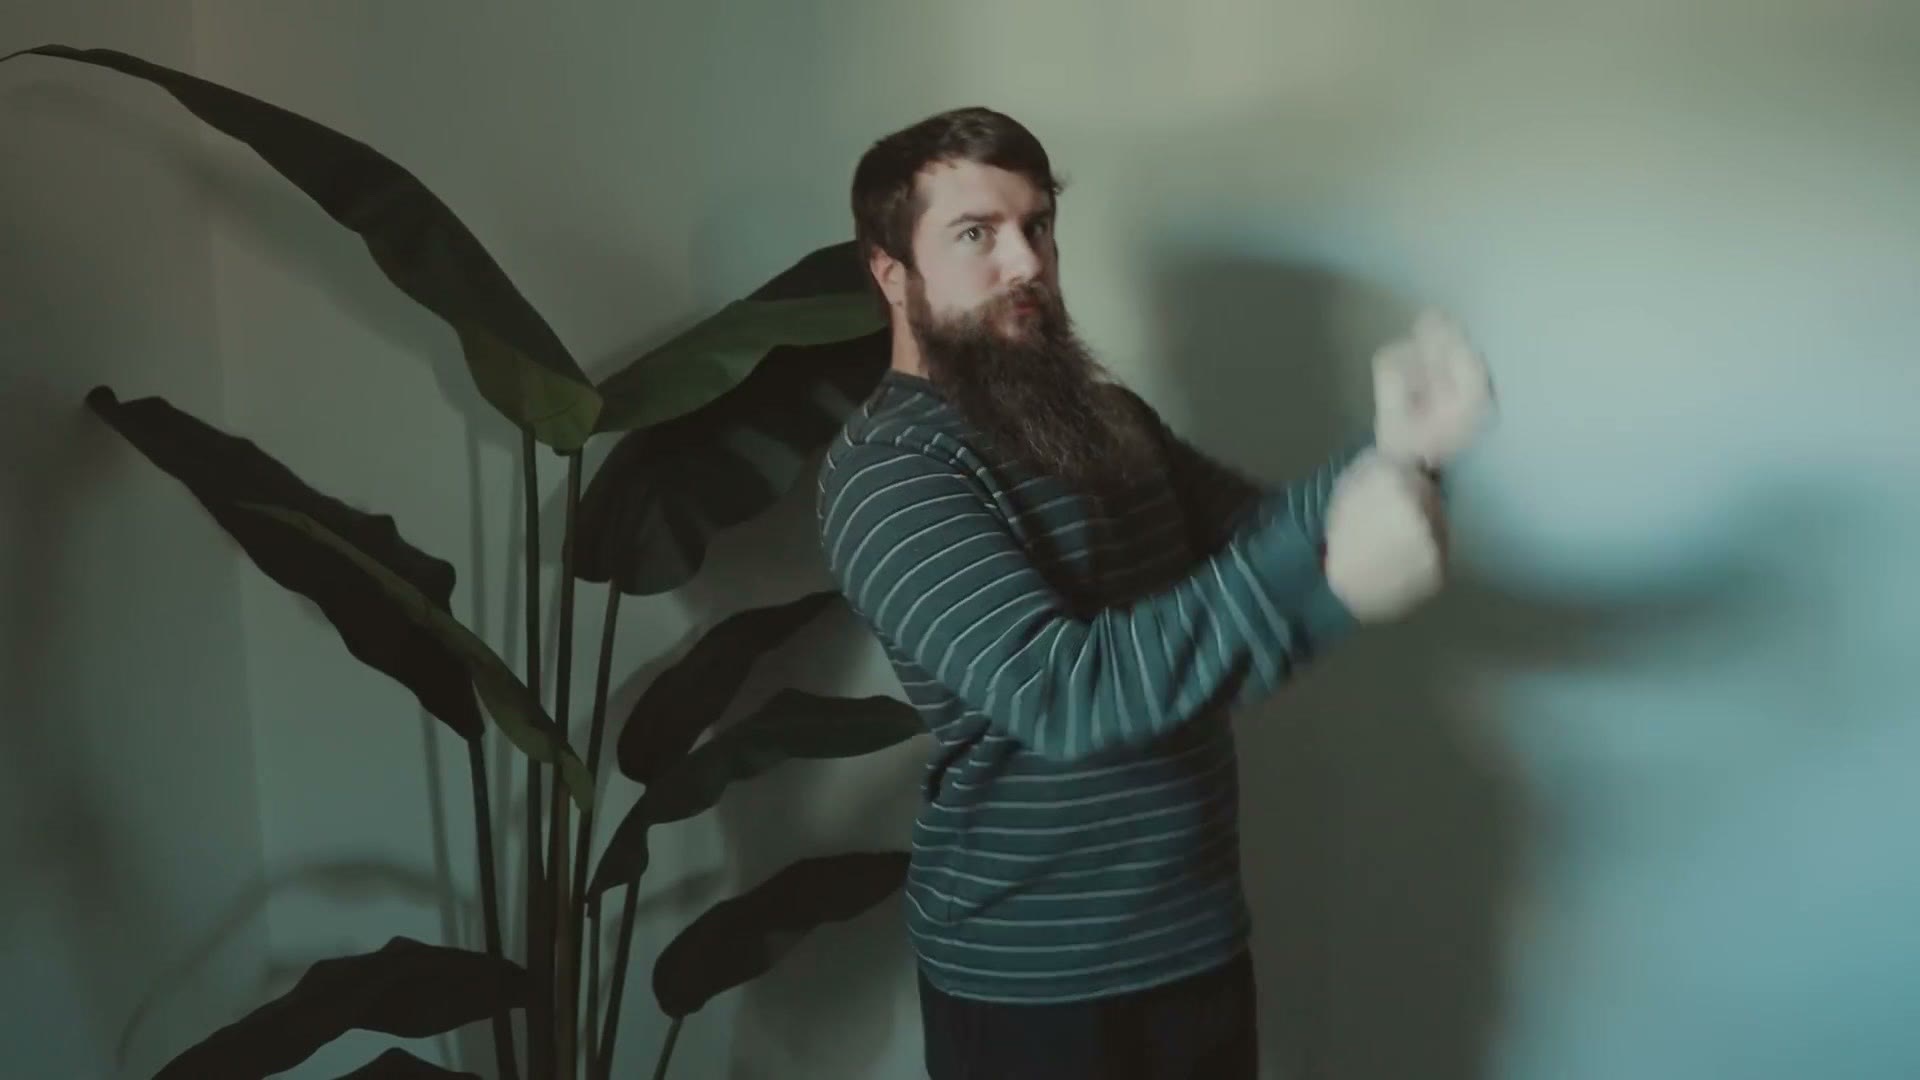
So there’s a quick grade applied, with the exposure and shadows brought up to look like I remember the room looking. And there is a lot of noise in those shadows. Instead of what you’d normally do with S-Log3, where you bring the exposure down and hide the noise, I had to bring it up to expose things properly, which dramatically increased the noise.
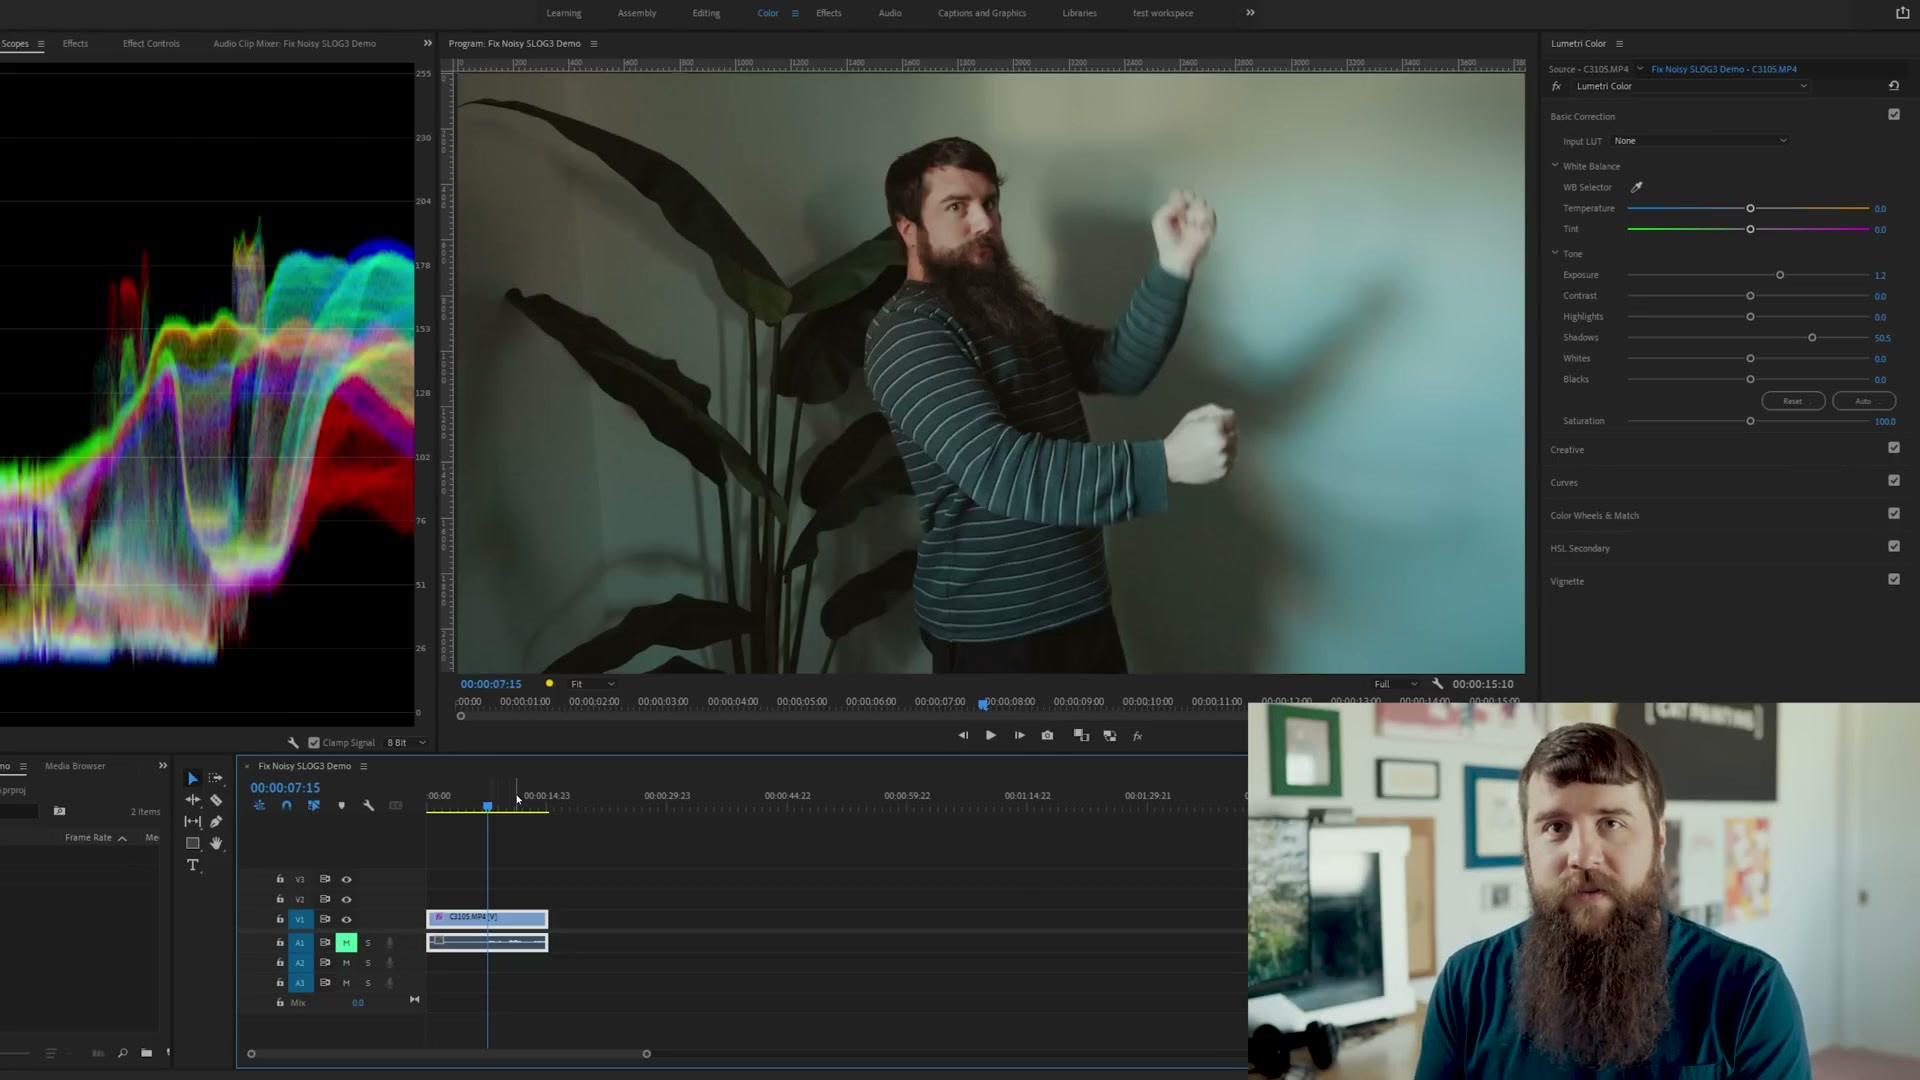
Fix 1 To Reduce Noise For FREE
If you’re in that situation where you had to bring your exposure up, you need to change how you’re grading the image, and specifically how you’re distributing that exposure.
You want to bring up your highlights and mid tones more, and bring your shadows down, because there’s usually significantly less noise in the highlights and mid tones. Those are the brighter parts of the image, and noise likes to hide in the shadows.
So first, I’m going to bring the shadows back down to nothing by double clicking. Then let’s go over to the curves, our good old curves tool, and click here in the middle, here on the bottom, and here at the top, so we have three control points. The top point affects my highlights, the middle affects my midtones, and the bottom affects my shadows.
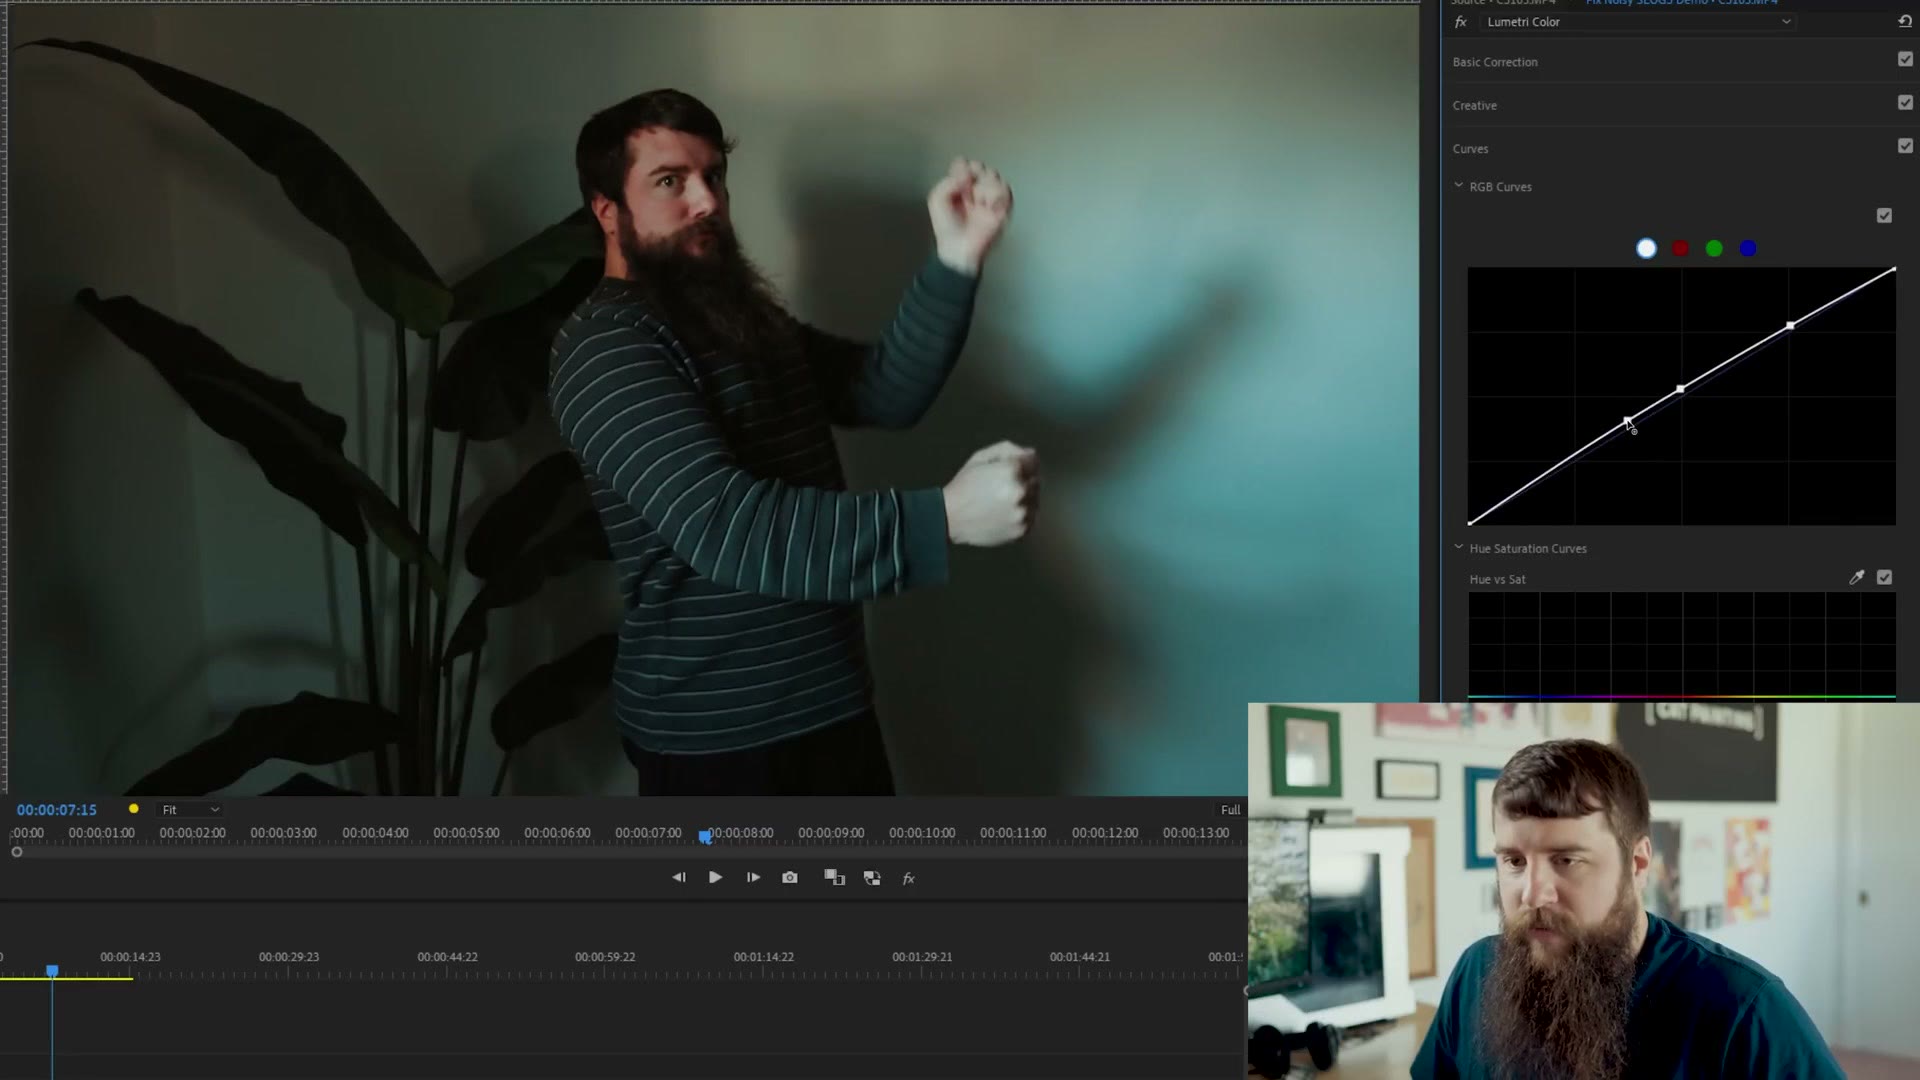
We do not want to bring the shadows up, because they’re not looking so good. So instead let’s focus on the mid tones and bring those up a bit, then pick the highlights up a bit. And if we drag this point over and bring the midtones up more than the shadows, we’re still keeping those shadows dark while making the mid tones of my face brighter.
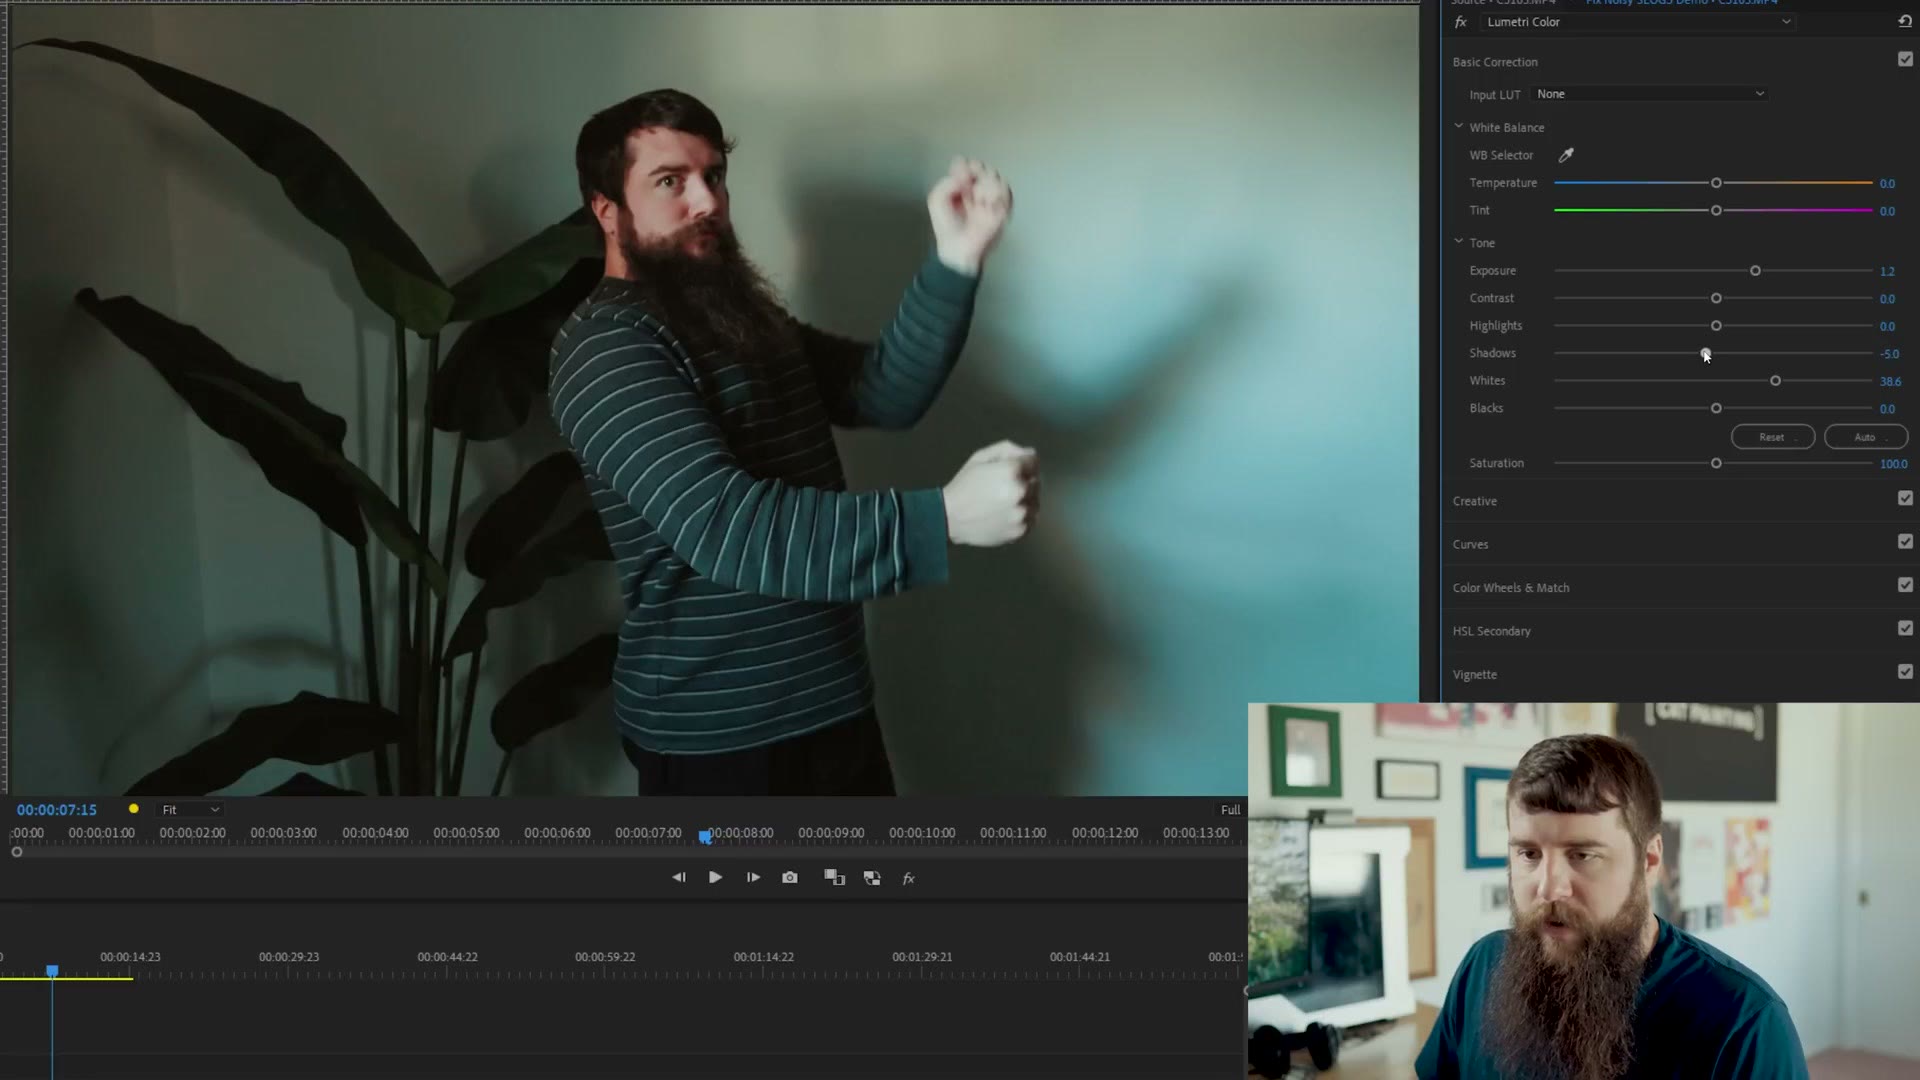
Then go back to basic correction and increase the whites a bit, which only affects the highlights of the image more than the shadows, and bring the shadows down a little further. I don’t want glowing skin tones.
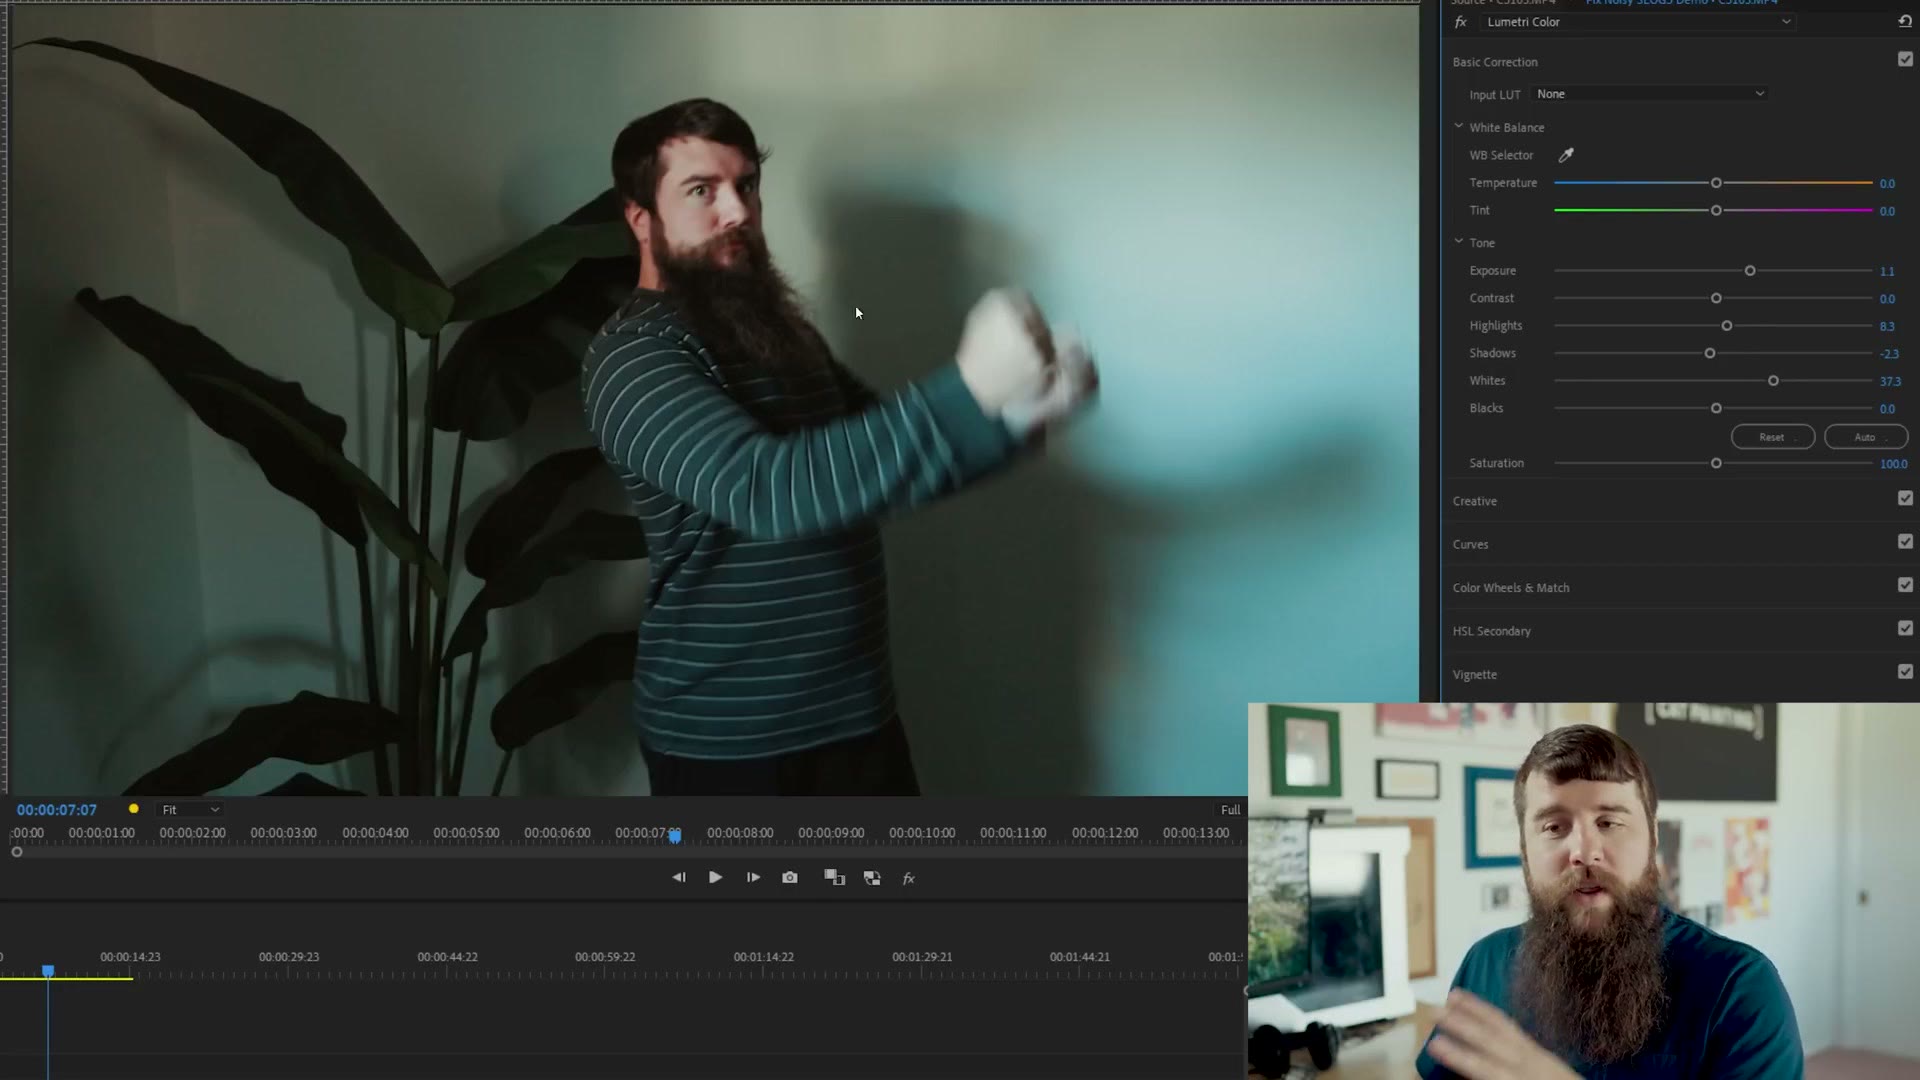
And there you have it. By going into the curves and adjusting the mid tones and highlights while leaving the shadows more alone, then going back to basic correction and bringing up the whites and highlights, you can focus on exposing the highlights and mid tones properly while ignoring the shadows.
As a warning, this can result in an image that looks less than optimal. But if you want a cleaner picture overall, I’d take this over a really noisy image where you’re lifting the shadows too much.
I put together How To EASILY Film In SLOG3 With The Sony a7 IV as well, which covers the part I skipped over here.
Fix 2 To DRAMATICALLY Reduce Noise
If that still isn’t good enough and you really want to dramatically improve the noise in your image, that’s where fix number two comes in, and it’s going to require you to invest in a plugin called Neat Video.
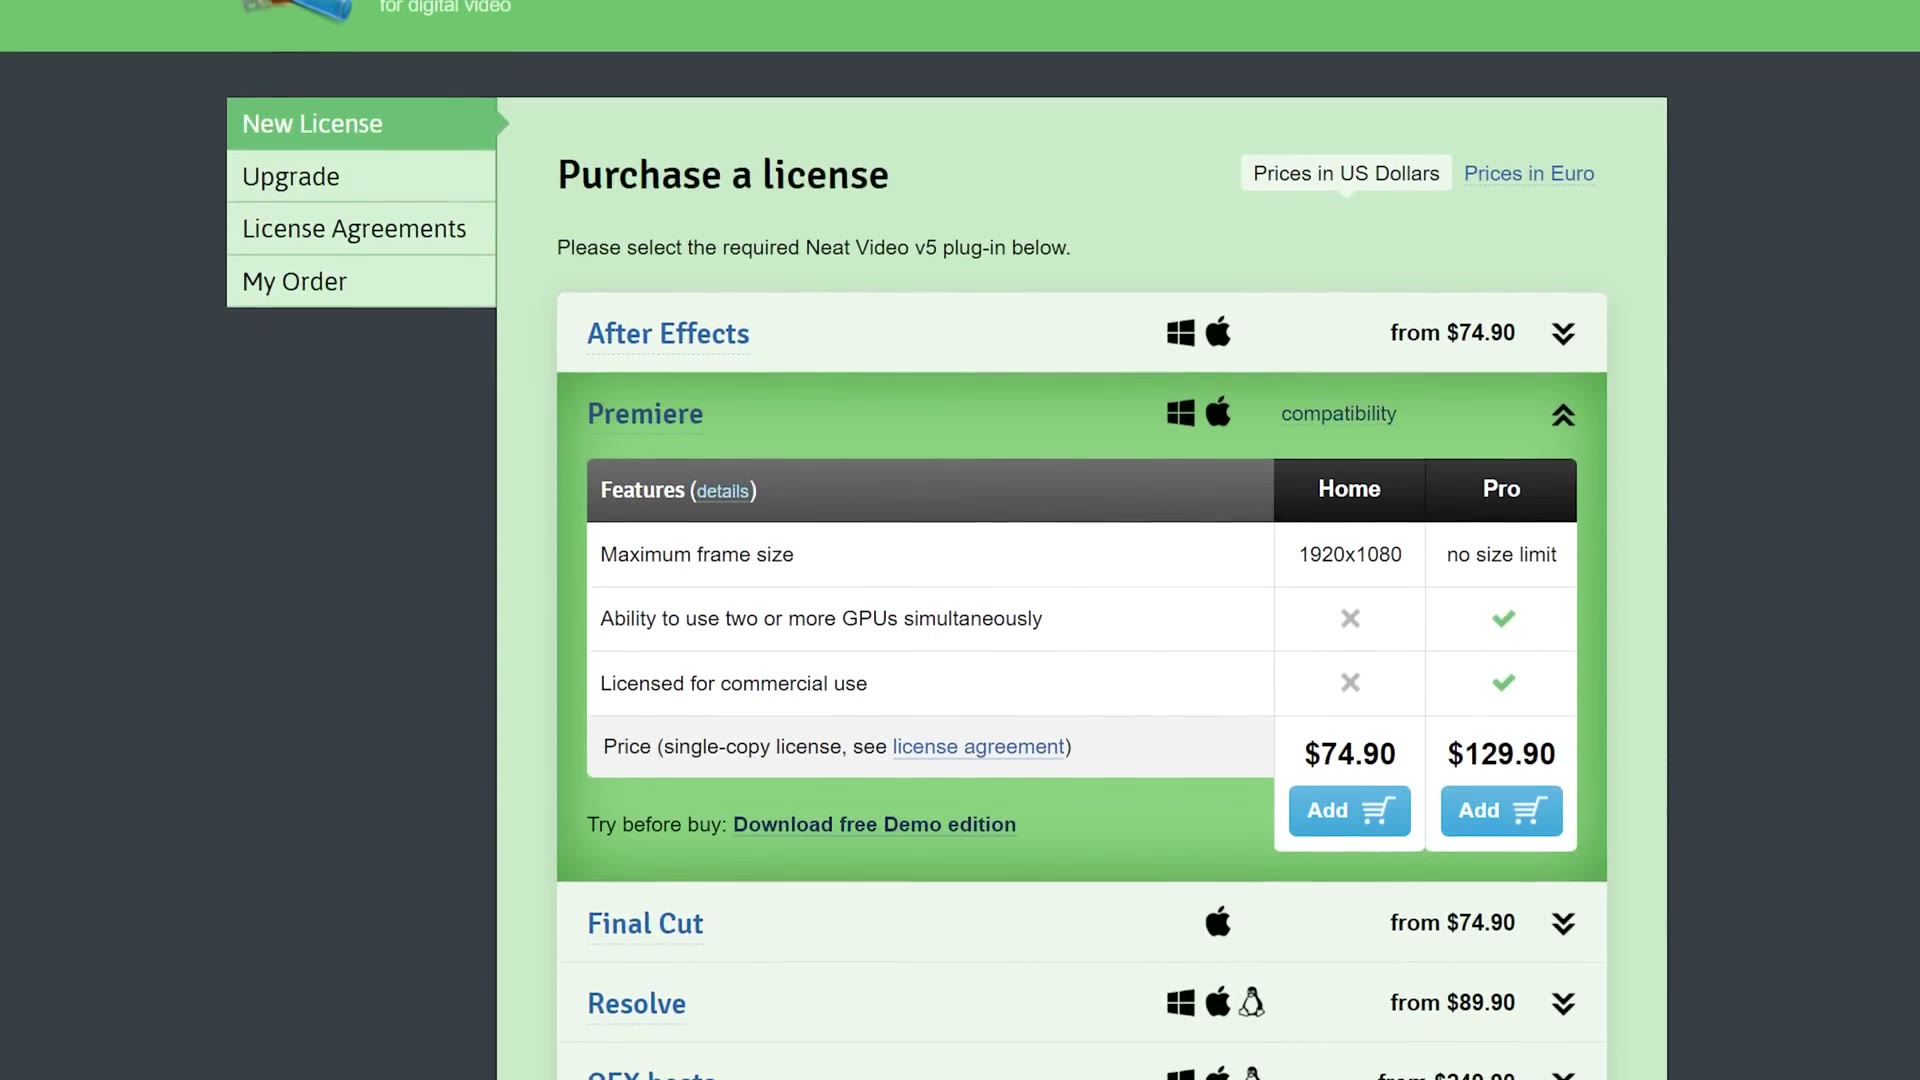
The Pro version runs a bit over a hundred bucks, and there are versions for pretty much every editing application. I absolutely love it, and I find myself using it a few times a year whenever I have footage I screwed up exposing.
Here’s how it works. I’ve made a new clip that’s roughly as underexposed as the first one, and as you can see it has a ton of noise in the shadows.
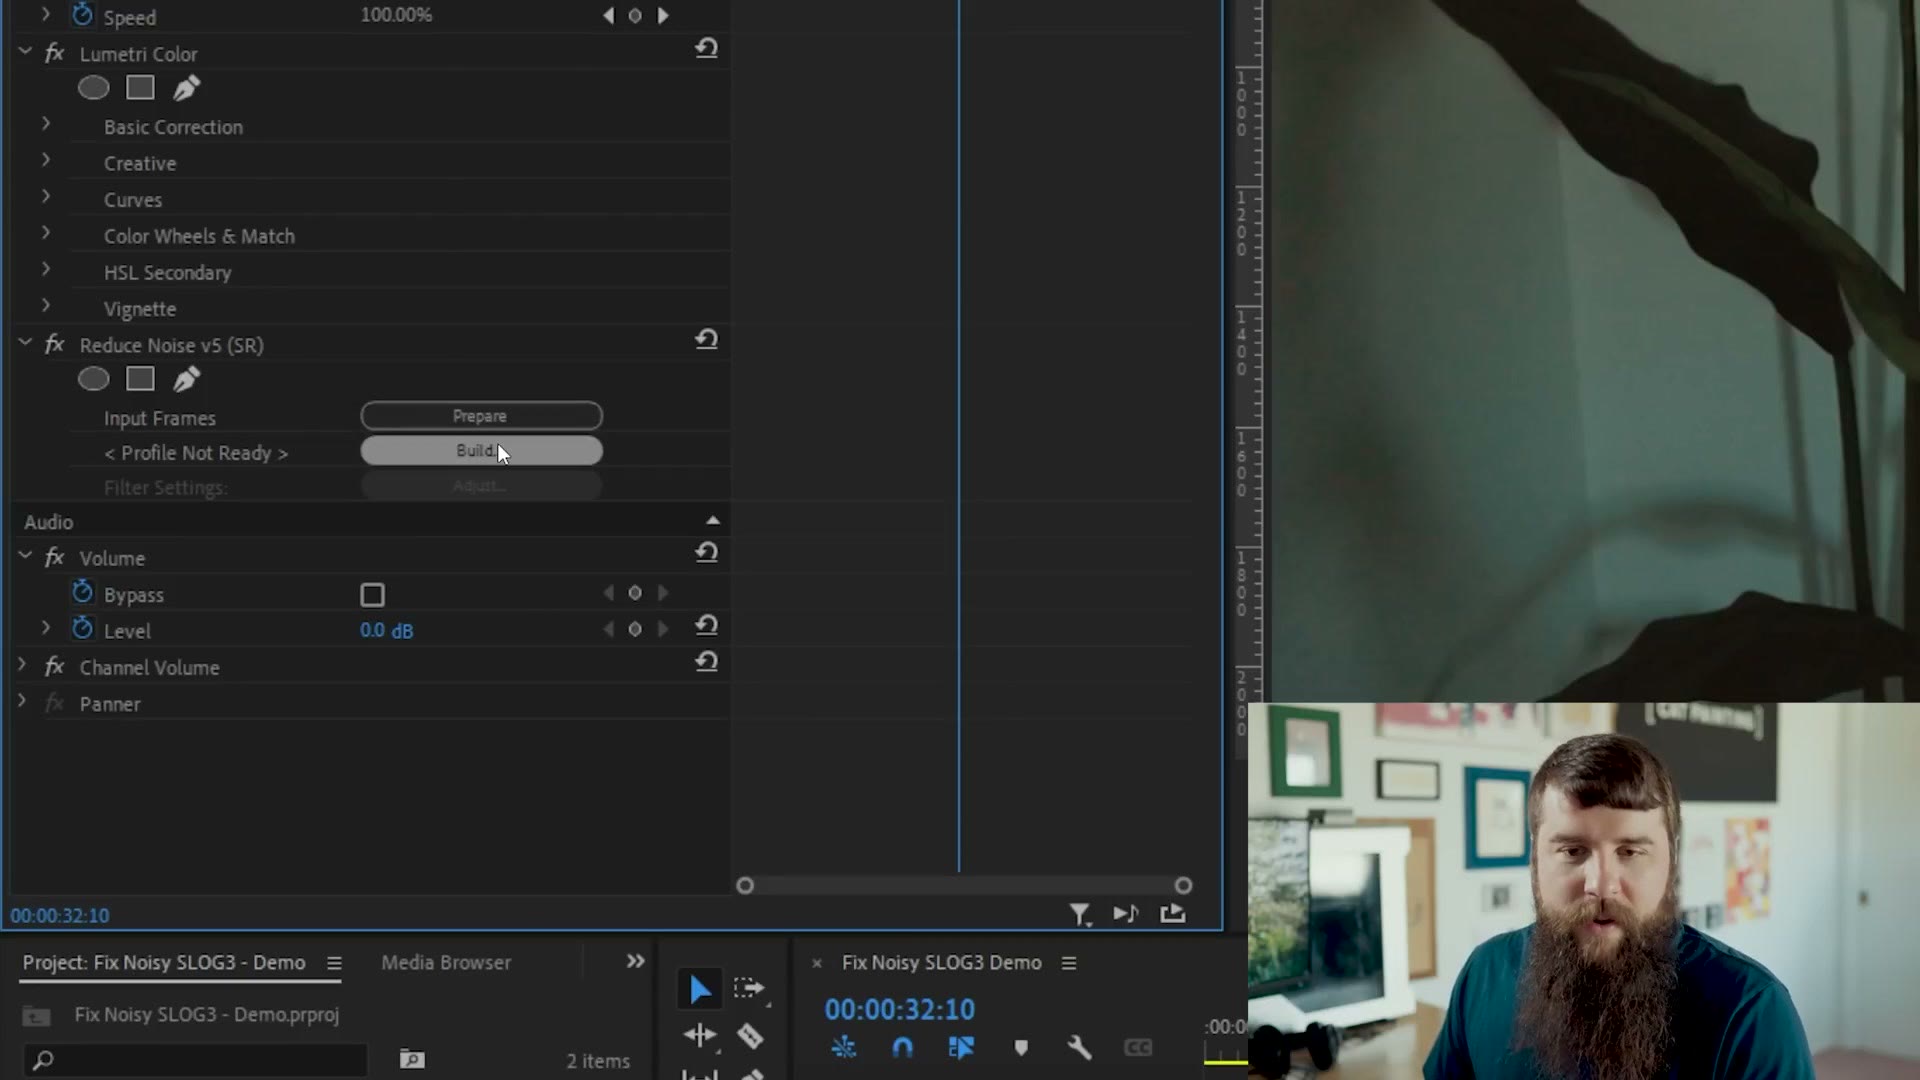
Select the clip, go up to Effects, search for Neat Video, select Reduce Noise and drag it onto the clip. Then go up to Effect Controls, click Prepare, and then click Build. Neat Video analyzes all the frames of your clip and opens up.
It may look really intimidating, because you’ve got your clip and there’s black and white and red and purple everywhere. What does all this mean? Good news, you really don’t need to worry about any of it. Just go up and click Auto Profile, and Neat Video will profile the noise in your clip for you.
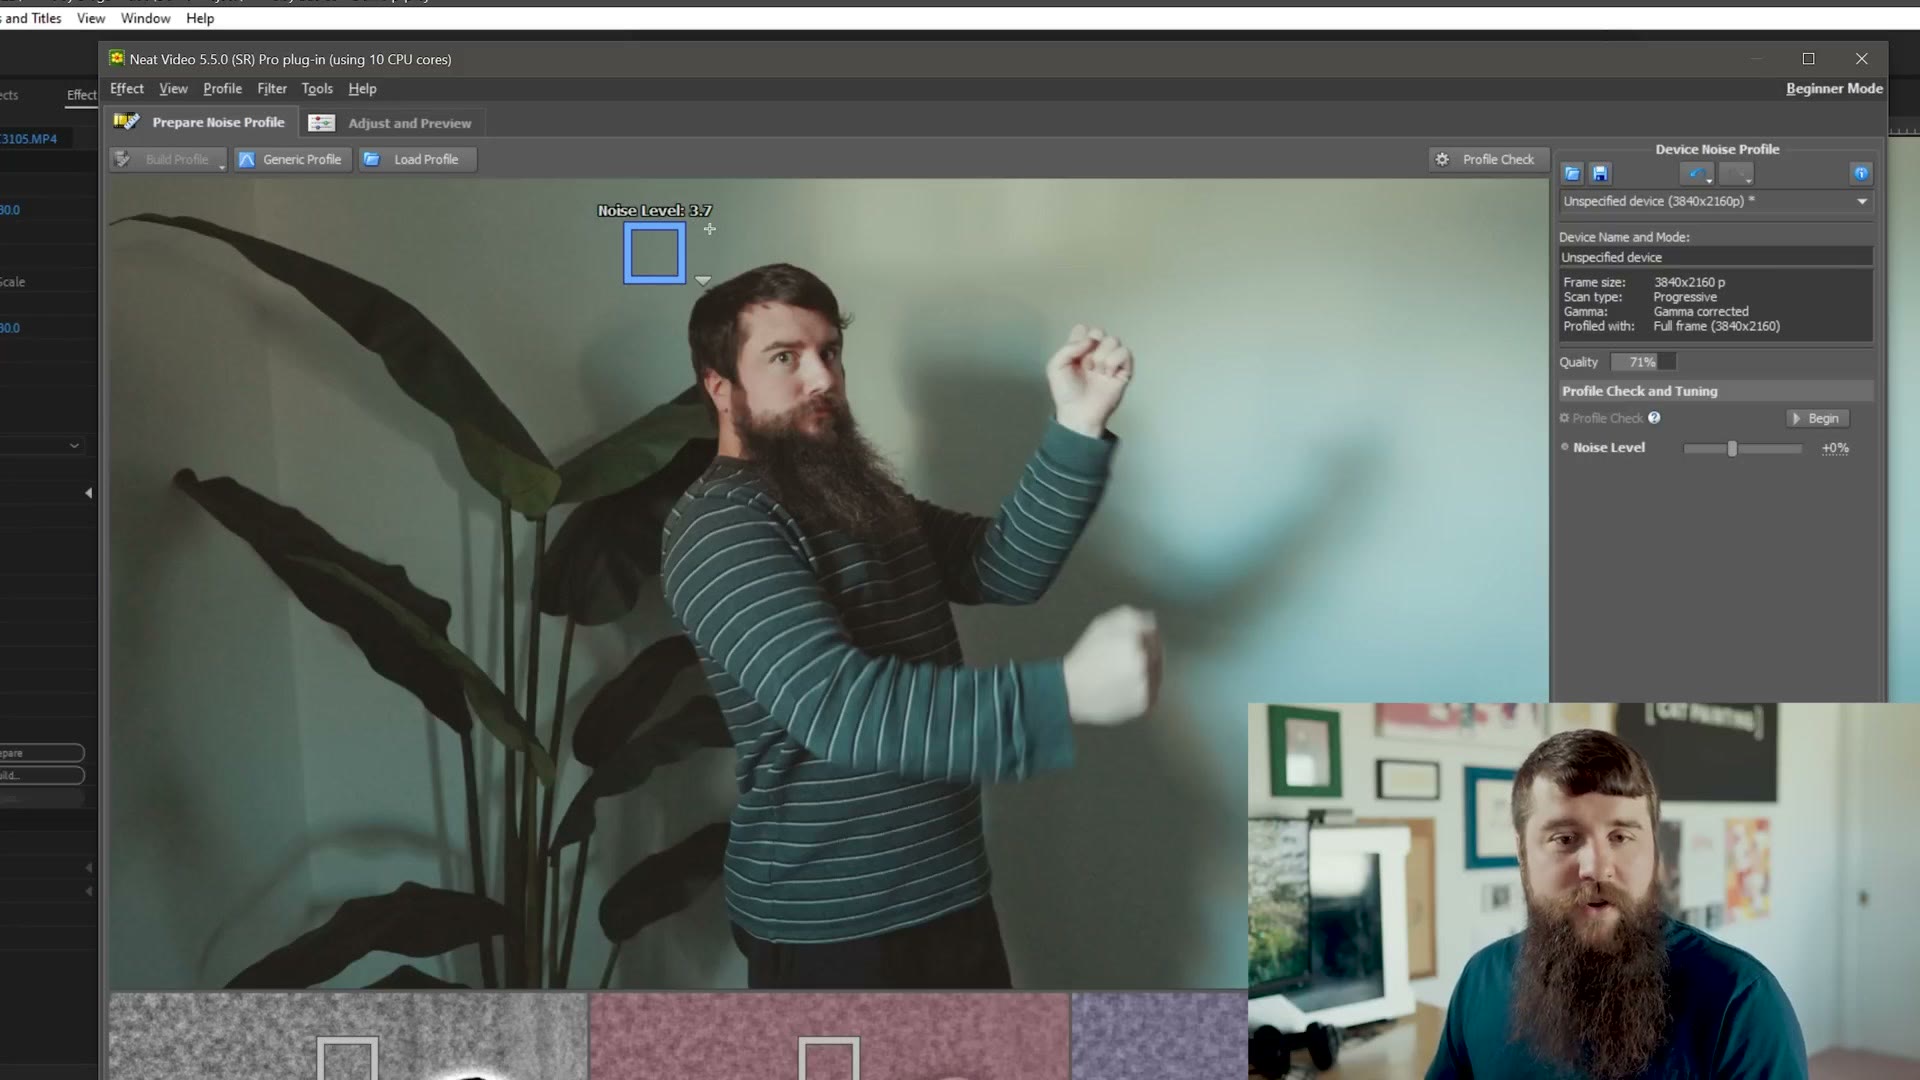
You’ll notice it draws a little square and tells you the noise level there, in my case 3.7. Automatically it usually does a good job. But if you notice it’s profiling an area of the image where there isn’t much noise, and you want it looking somewhere else, you can just click and drag to select a different region. Do that in the shadows and mine jumps to a noise level of 5.00. Dang, that’s a lot of noise. Now we’ve told Neat Video where the noise actually is, and that’s where we want it removed.
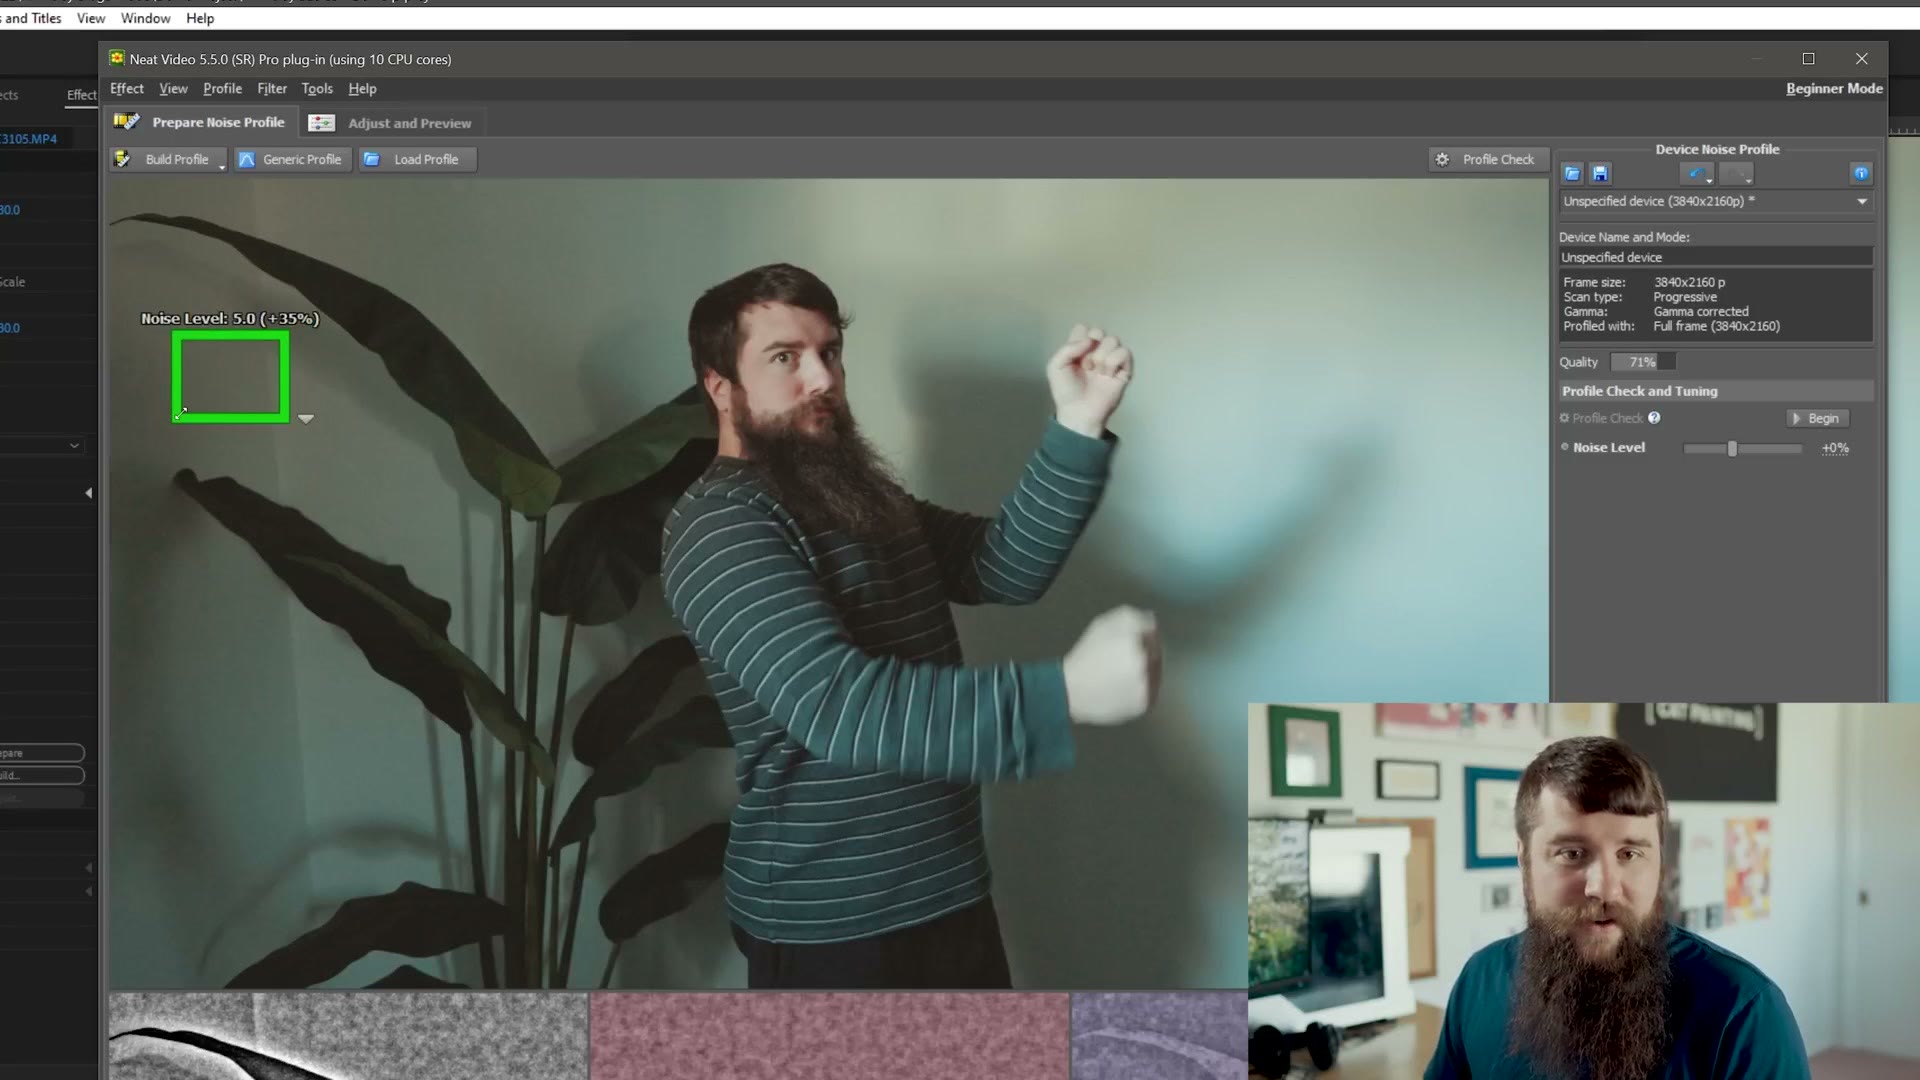
At this point you can hit Apply and be done. But if Neat Video isn’t removing enough noise for you and you want to get more advanced, click on Beginner Mode and select Advanced Mode. Ooh, fancy. Then click Adjust And Preview.
The only things I’d consider changing in there are under Temporal Filter, where Quality Mode says Normal and you can change it to High, and then under Spatial, where you can also set Quality Mode to High. Both of those can improve the noise reduction further. In this case I think it’ll work fine without them, so we don’t need to bother.
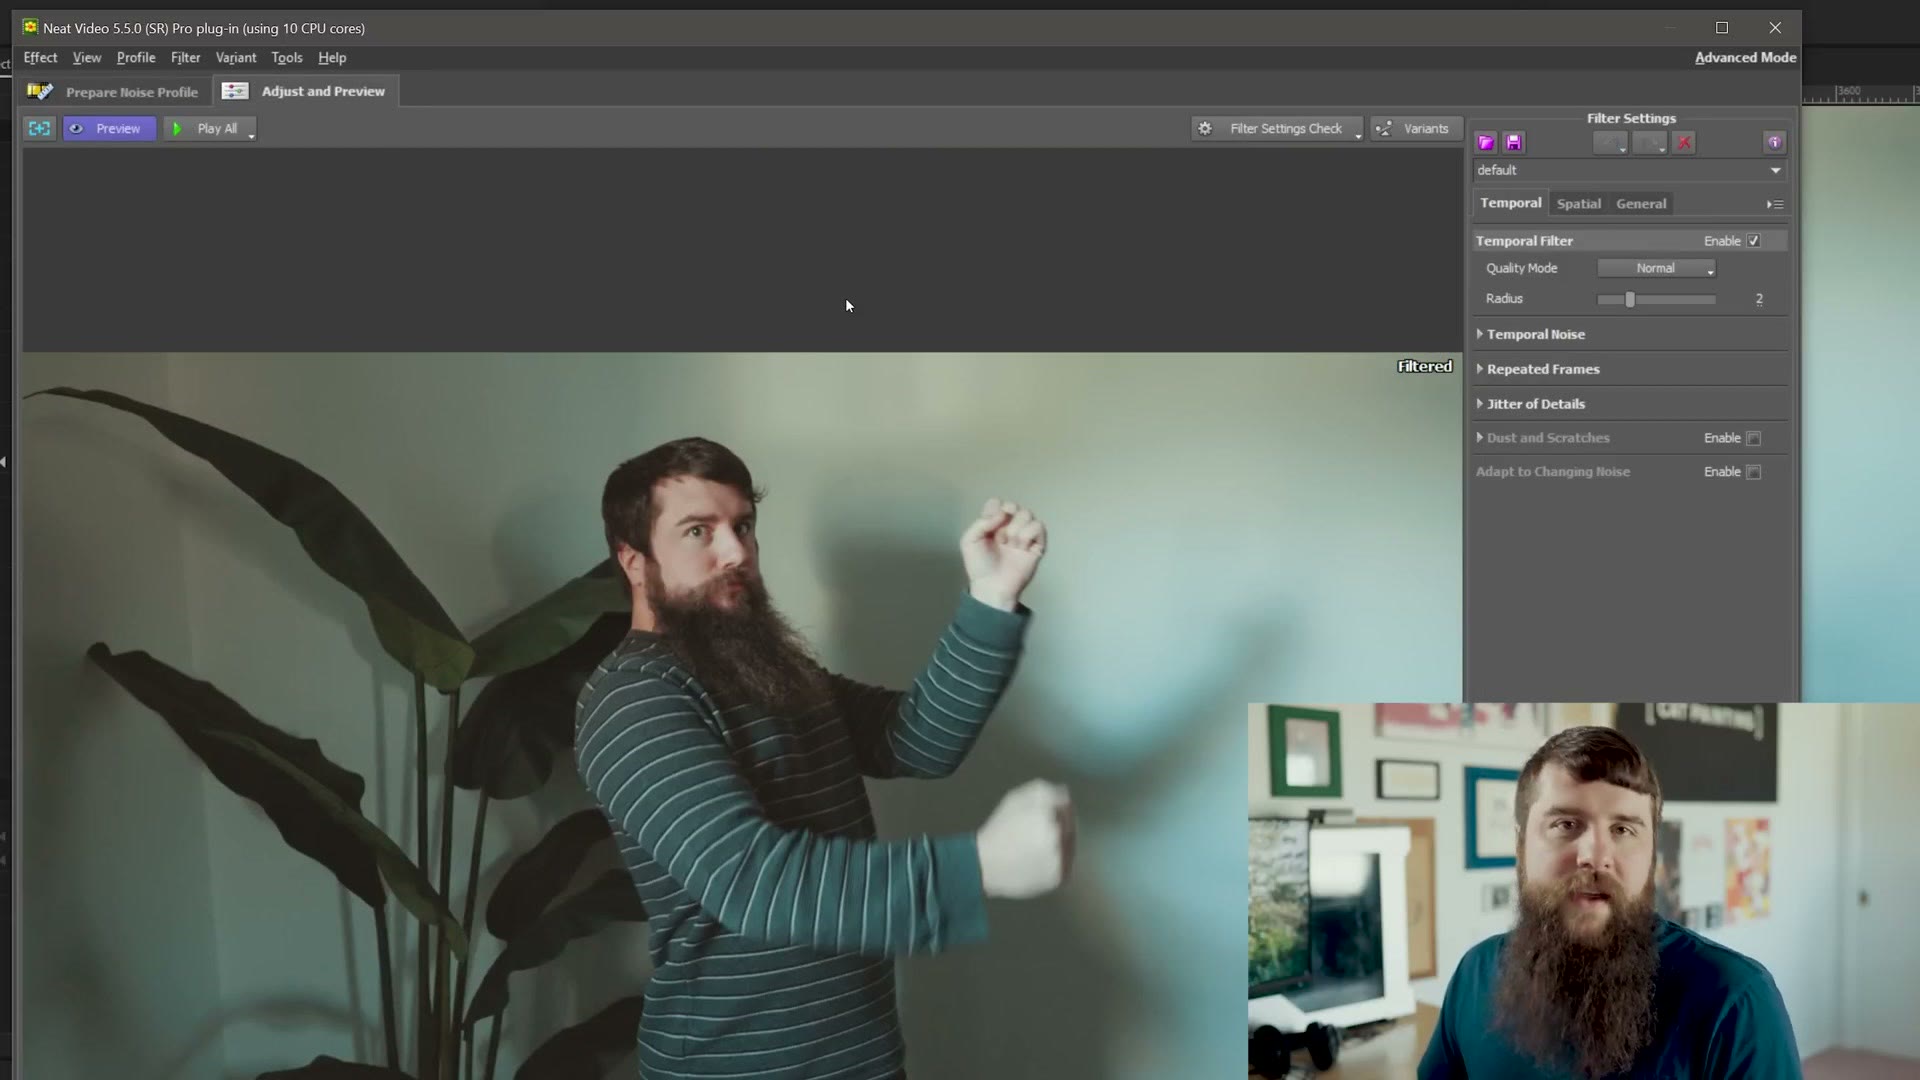
Hit Apply, give it a second, and check it out. Massive noise reduction.
One last warning before you go do this. Neat Video is a very processor intensive plugin, and while it’s been significantly improved lately with GPU acceleration, there’s a chance it will still dramatically slow down your editing and rendering. So I’d wait to apply it until you’re done editing the rest of your video, and I’d be careful to only apply it to the specific clips that really need it, which should help a lot with render times.
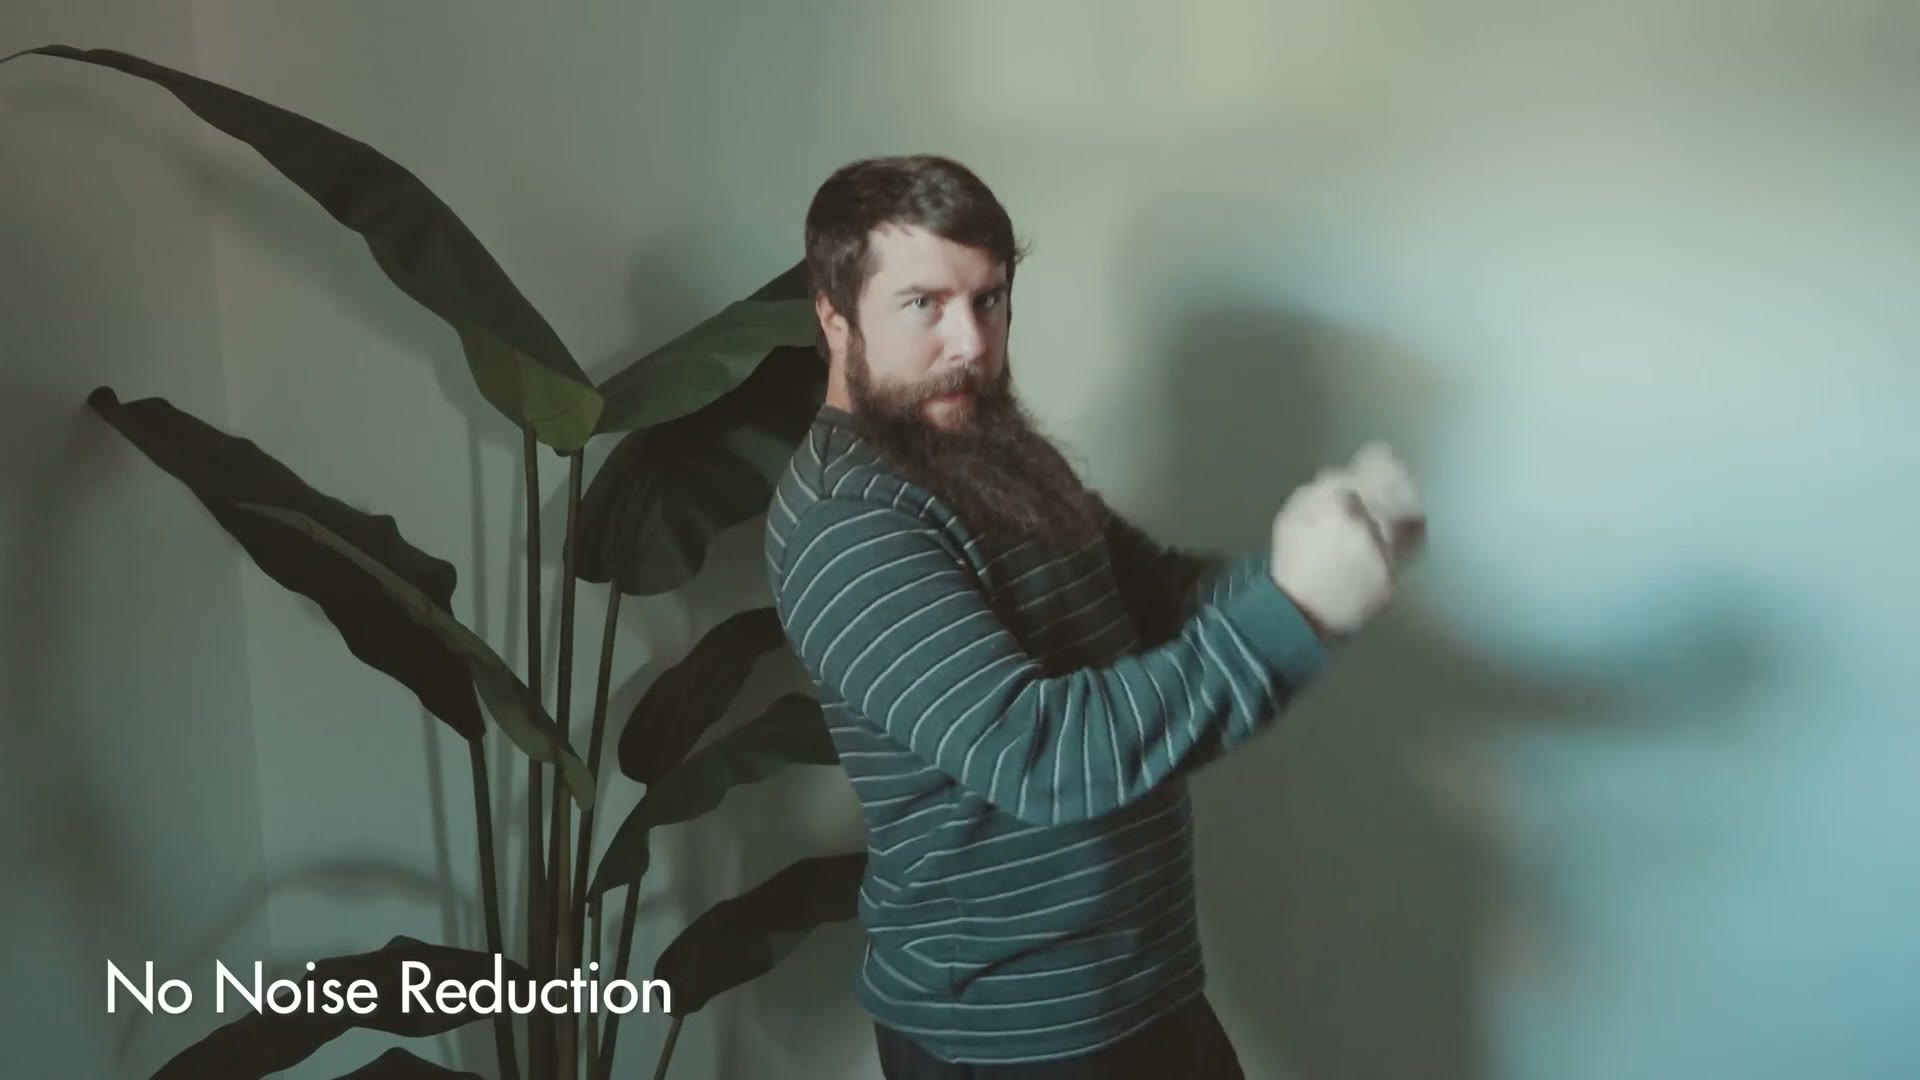
And that’s how you fix noisy S-Log3 footage.
Free Guide To Help You Edit Videos Like A Pro
Remember, I have those WhoisMatt LUTs color presets if you want to save time and grade your videos faster.

And if you’re a video editor, I’d love to help you improve your skills more. I’ve put together a free guide called Edit Videos Like A Pro that walks you through some of the most important editing techniques I know, the ones that took me years to learn. It’s completely free and you can download it right here. My full gear list is on kit.co, and I have filmmaking courses if you want to go deeper.
Thanks so much for reading, and have a great day!