
My name is Matt Johnson, and today I want to show you how to quickly and easily film with Sony’s S-Log3 picture profile on the a7 IV. Not the theory, not a forty minute deep dive into log curves. Just the settings you need so you can pick the camera up and shoot.
To save you time on the other end of it, I built a set of video presets called whoismatt LUTs that are made specifically to work with S-Log3. I have tested them extensively with the a7 IV and they look fantastic, and pairing them with the settings below is really the whole workflow.
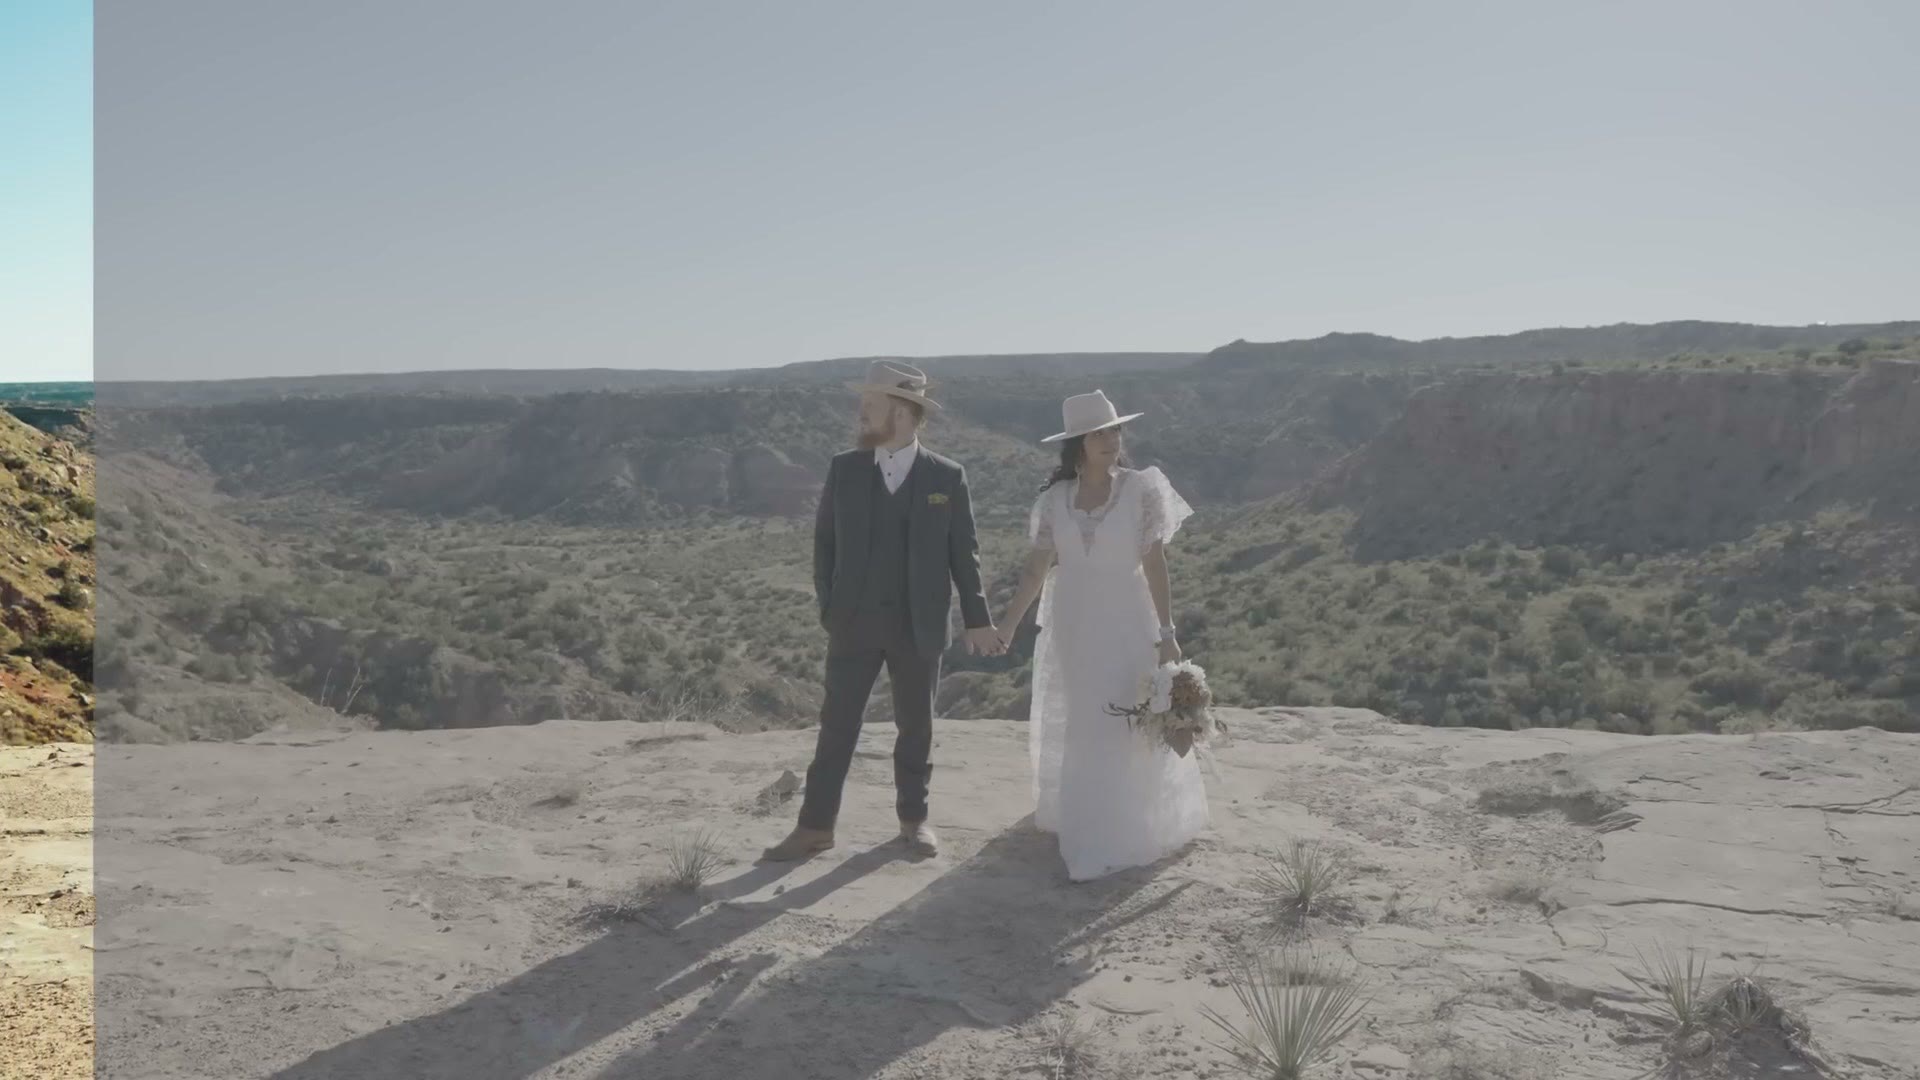
SLOG3 Picture Profile Setup
Grab your a7 IV, navigate to the picture profile menu, and the first thing to do is make sure the camera is set to PP8.
Then check two things inside PP8. Gamma needs to say S-Log3.
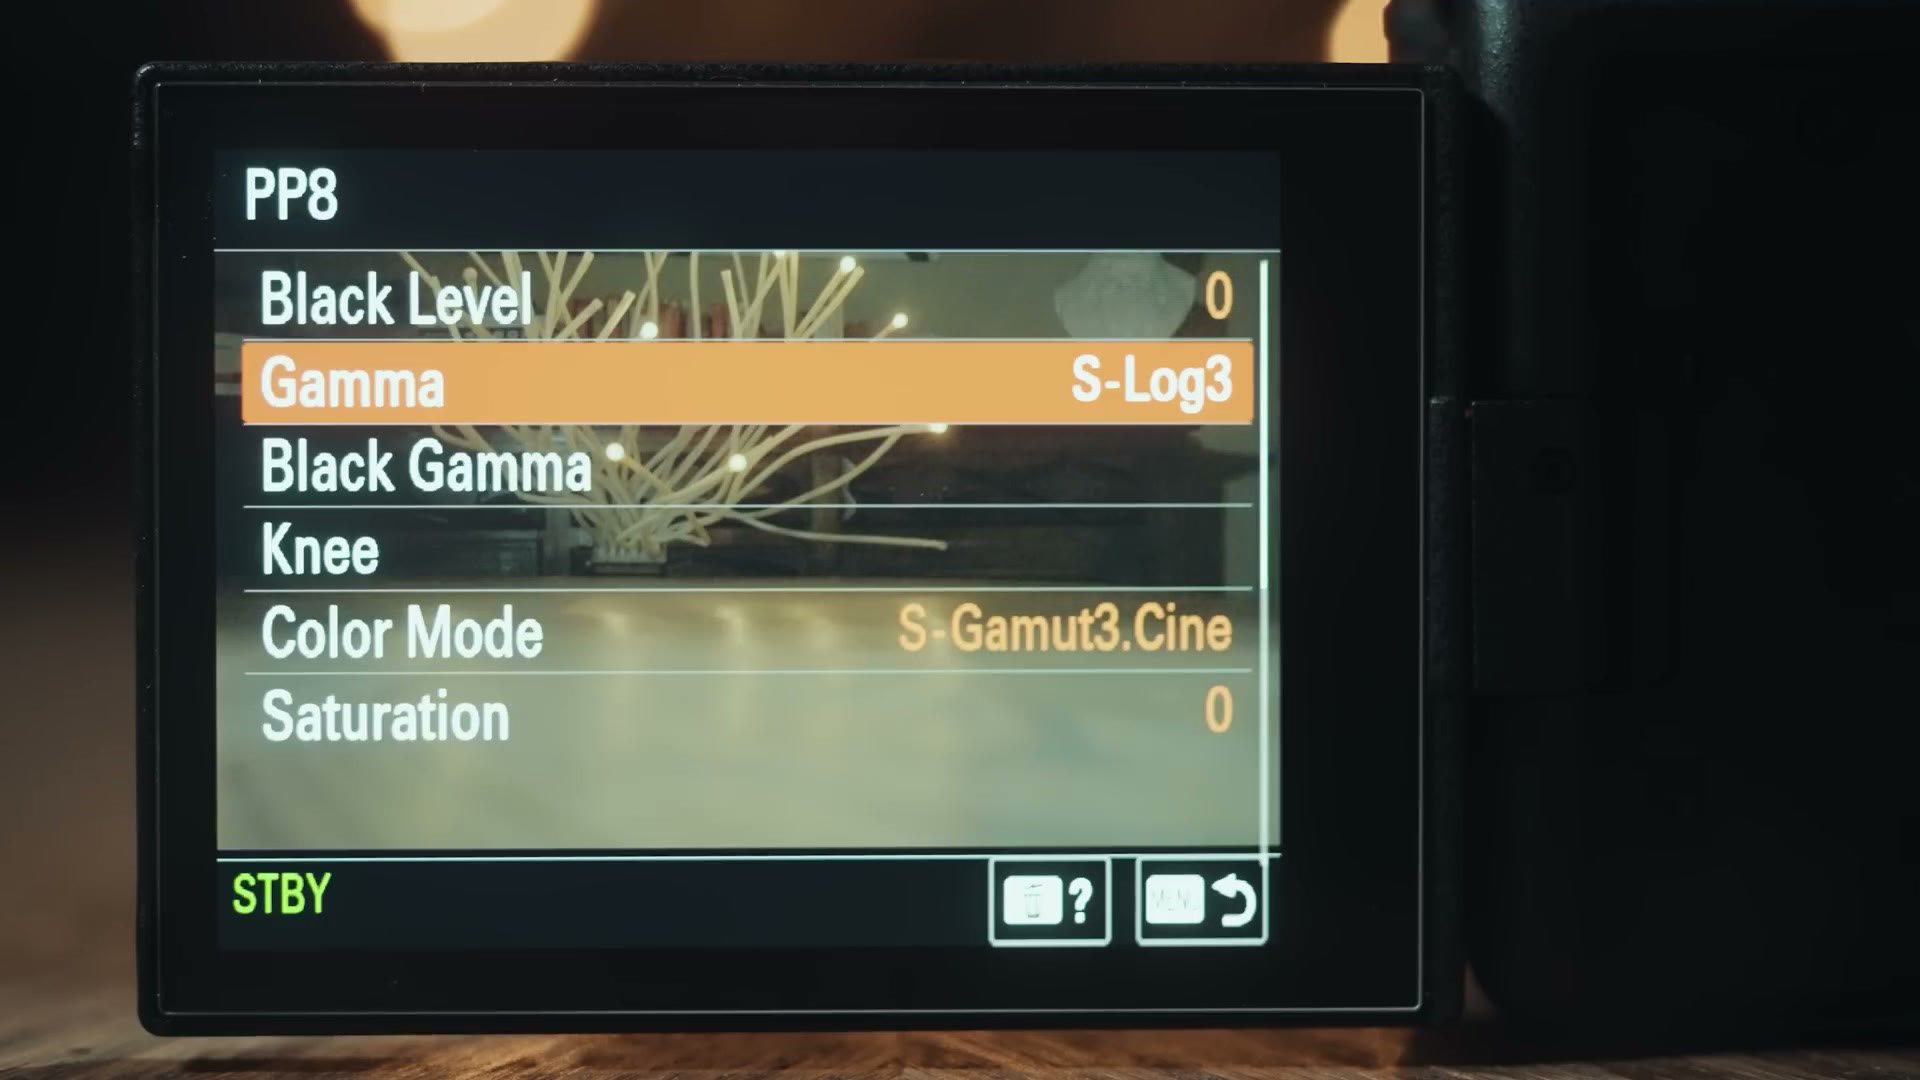
And Color Mode needs to say S-Gamut3.Cine.
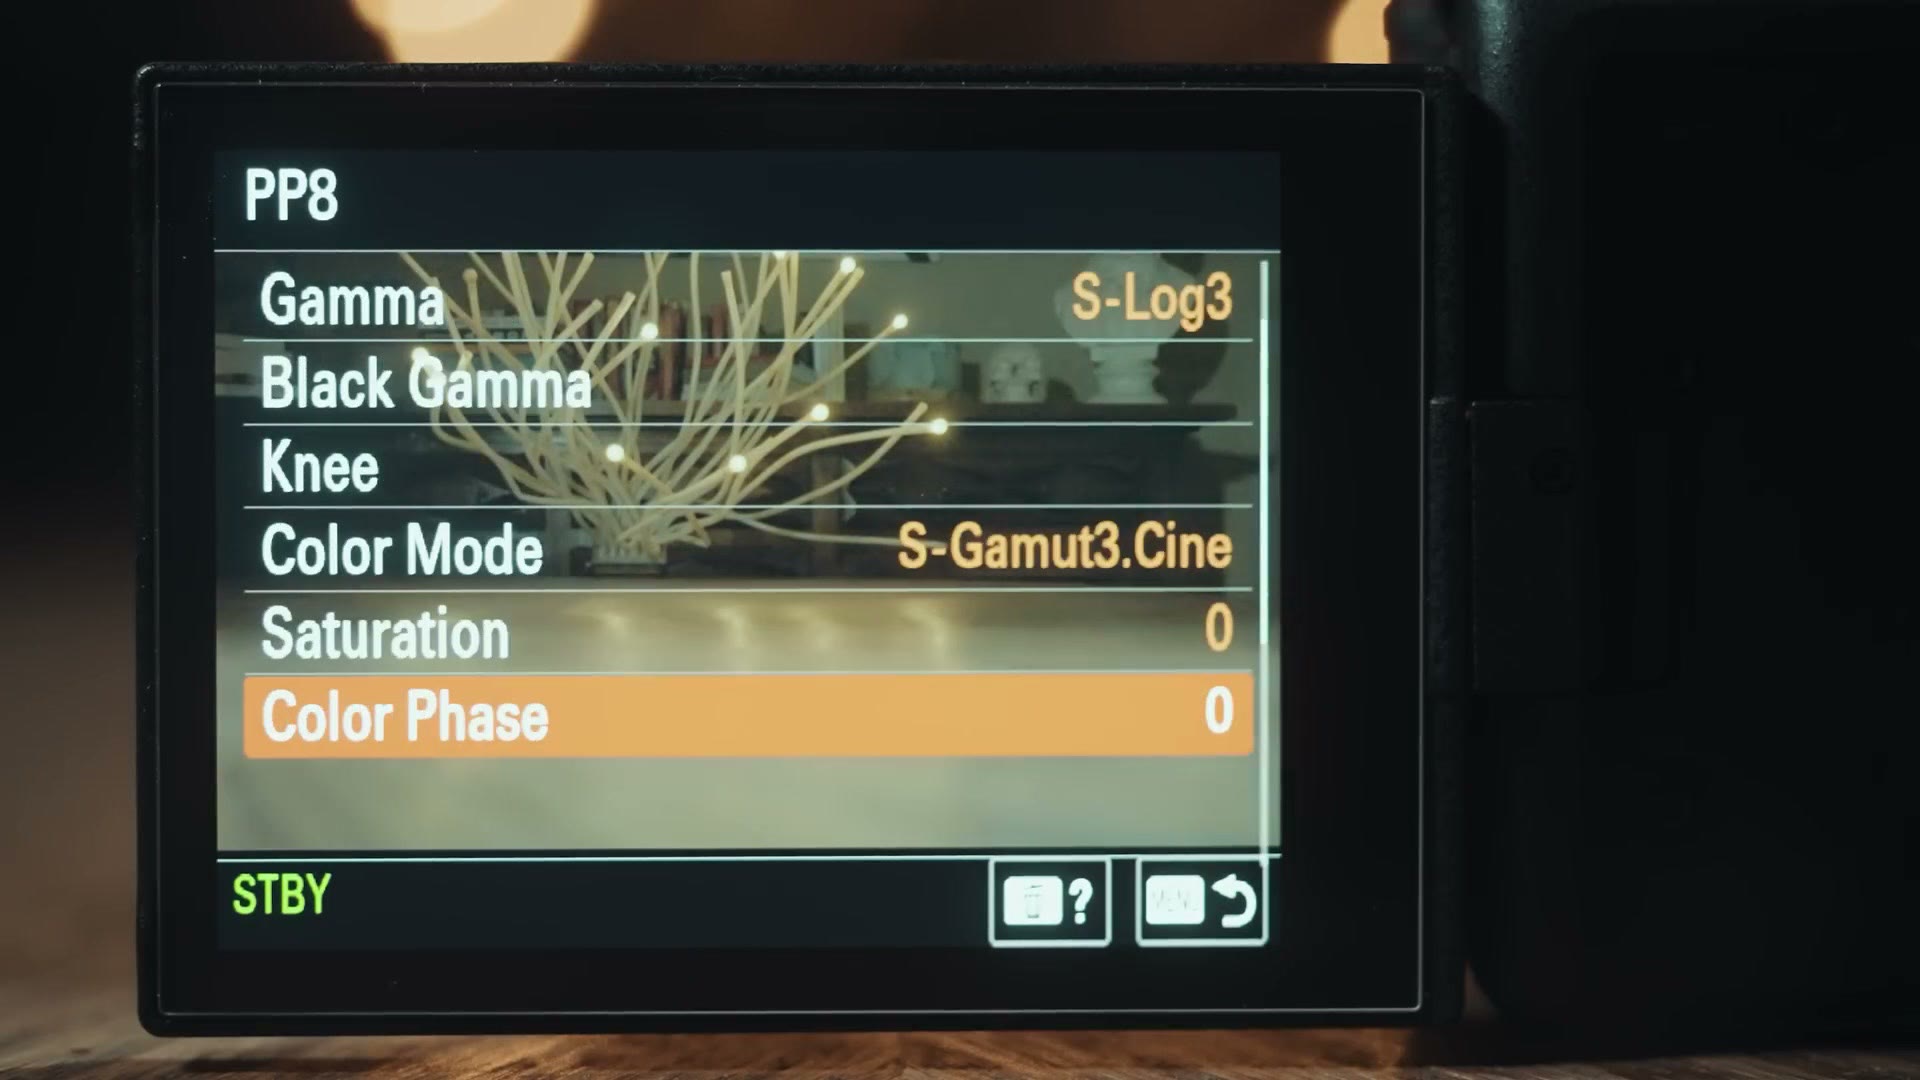
If it does not say that, scroll down to the bottom of PP8, hit Reset, and reset PP8 back to its default settings. That is it. That is the whole picture profile section, because Sony already set PP8 up correctly for you and there is no reason to go fiddling with it.
Exposing SLOG3 Properly On The a7 IV
Here is the part that actually decides whether your footage looks good.
If you want the best possible image quality out of the a7 IV with minimal noise, you have to expose properly when filming in S-Log3. And just like the a7S III, the FX3, the a1 and the rest of them, that means you actually want to overexpose your footage while filming, then bring the exposure back down whenever you color grade and add your contrast and saturation. Doing it that way greatly reduces the noise in your footage.
Go back to your camera and look at the bottom of the screen. You will see your shutter speed, your aperture, then the letters MM and a number. In my case it says 0.0.
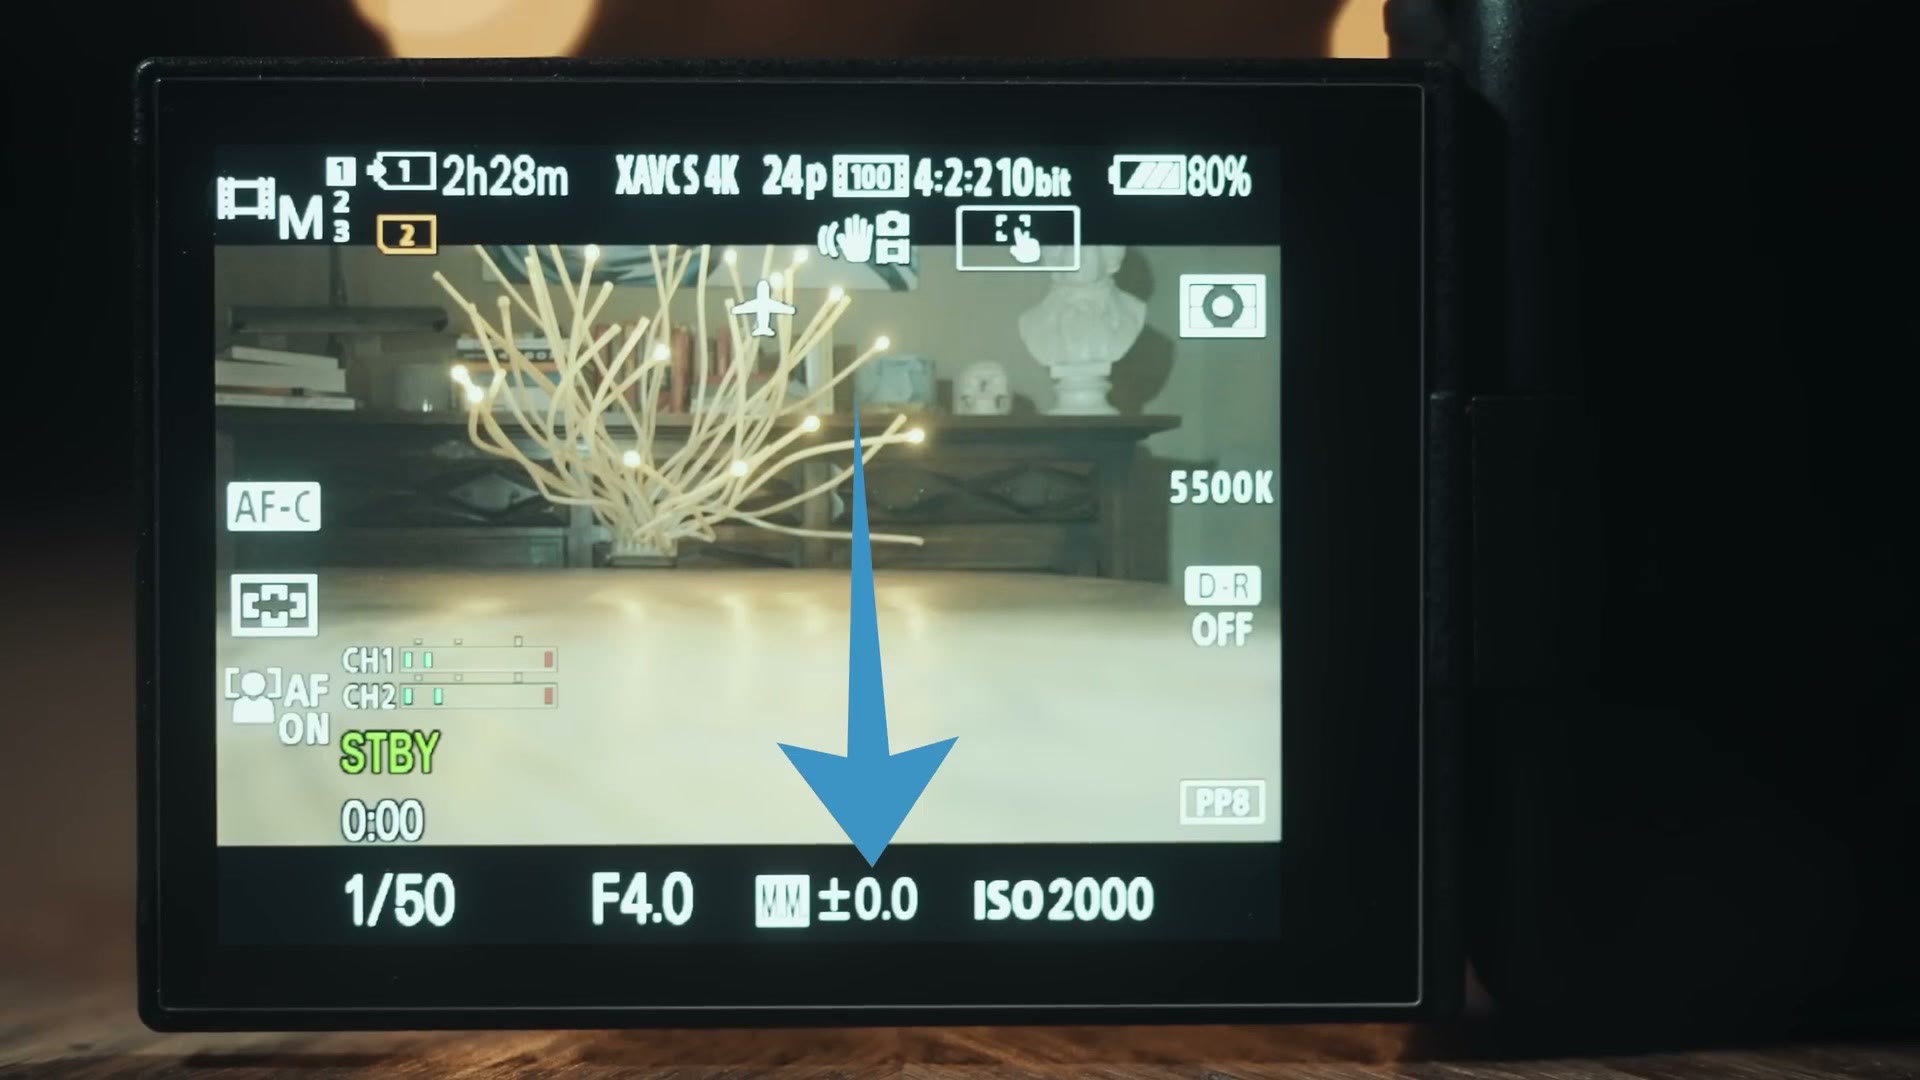
MM stands for multi metering, and it is telling you how bright the image your camera is recording actually is. If your camera does not show MM there, open the menu, go to Exposure / Color, then Metering, and set your metering mode to Multi.
With a traditional picture profile you would want that number to read 0.0, meaning the image is neither over nor underexposed. If it reads -1.0 you are one stop under.
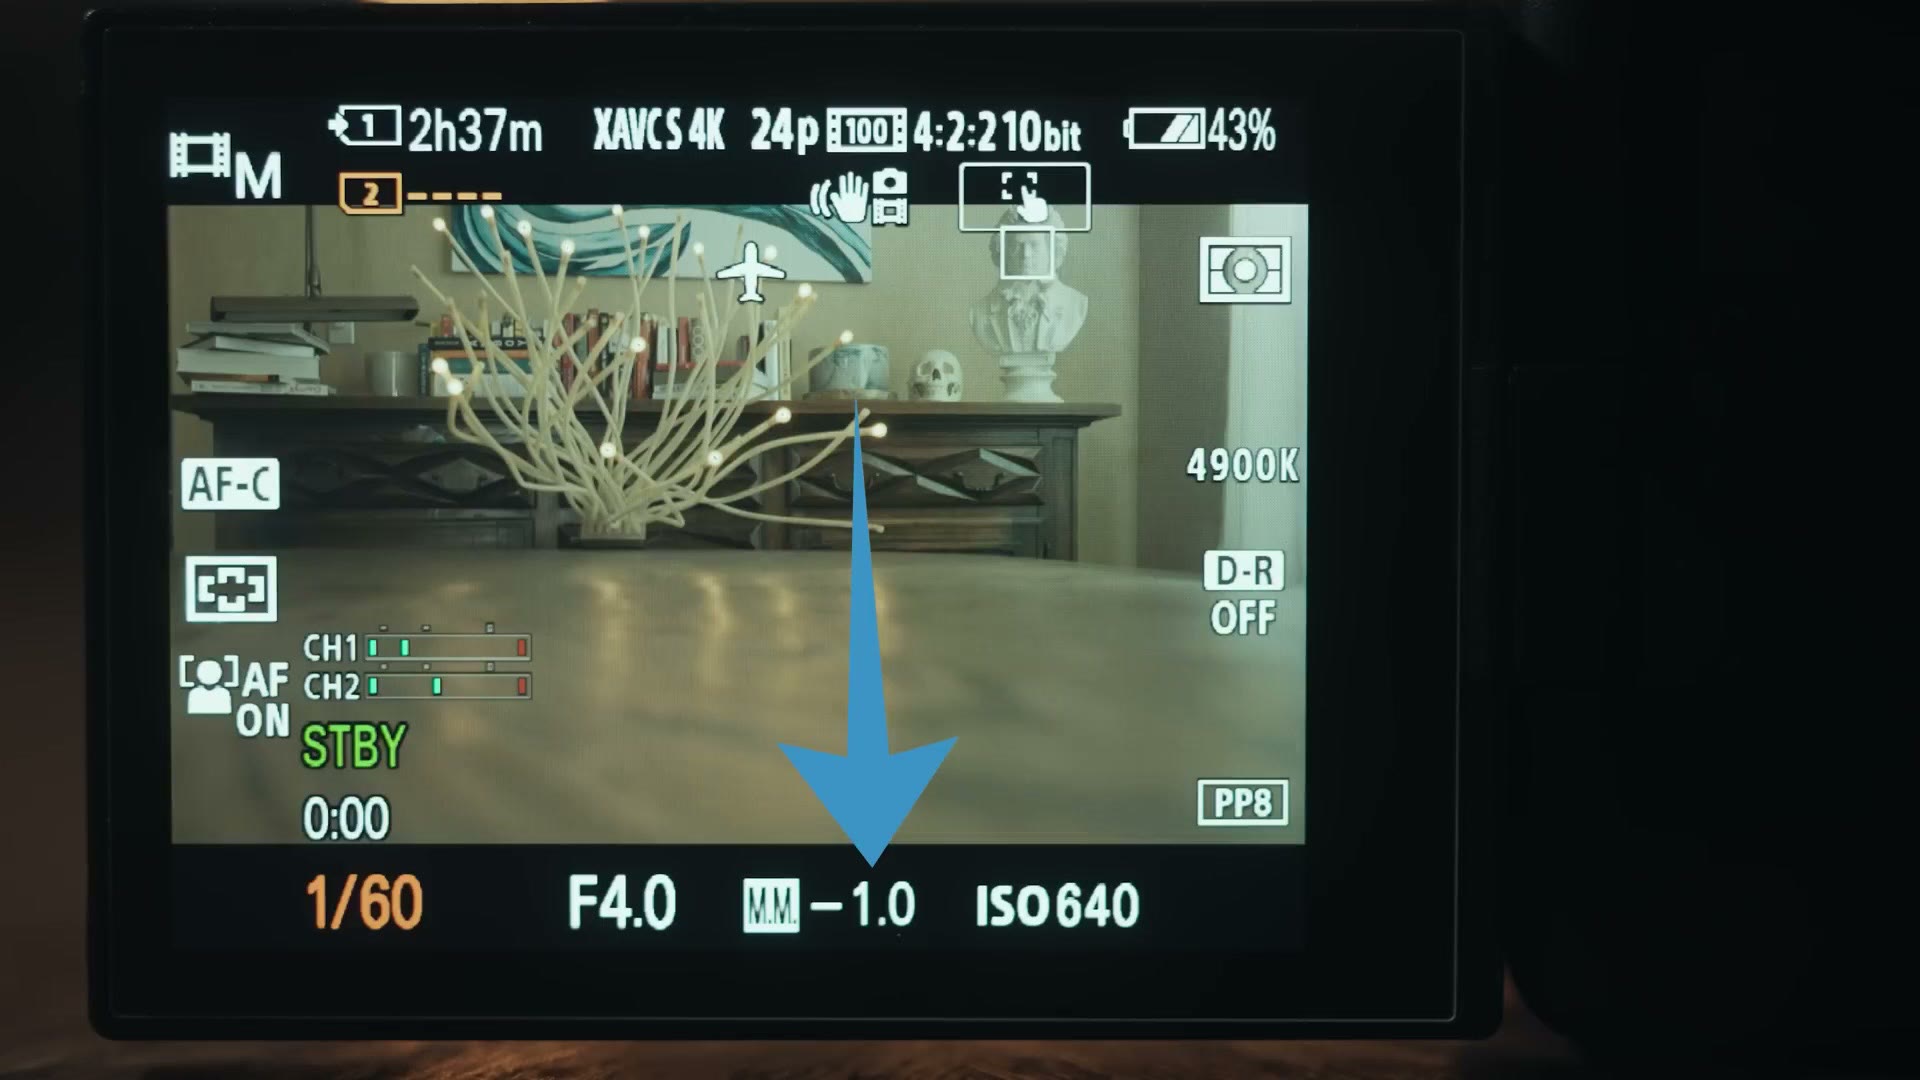
If it reads +1.0 you are one stop over. But remember, we are shooting S-Log3, and S-Log3 needs to be overexposed to record properly. So you actually want your metering to read between 1.7 and 2.0 stops over.
That is going to look bright on the back of the camera. Uncomfortably bright, honestly. But I promise you, this is where your camera looks its best.
One warning. Whenever I say 1.7 to 2.0 stops over, you want to make sure that 2.0 is not blinking. If it is blinking, that means you are past two stops over, and past two stops over is genuinely too bright.
Zebra Setup
To help you nail exposure without guessing, I would highly recommend turning on zebras. Zebras put black and white diagonal lines, the ones that look like zebra stripes, over the parts of your image that are overexposed.
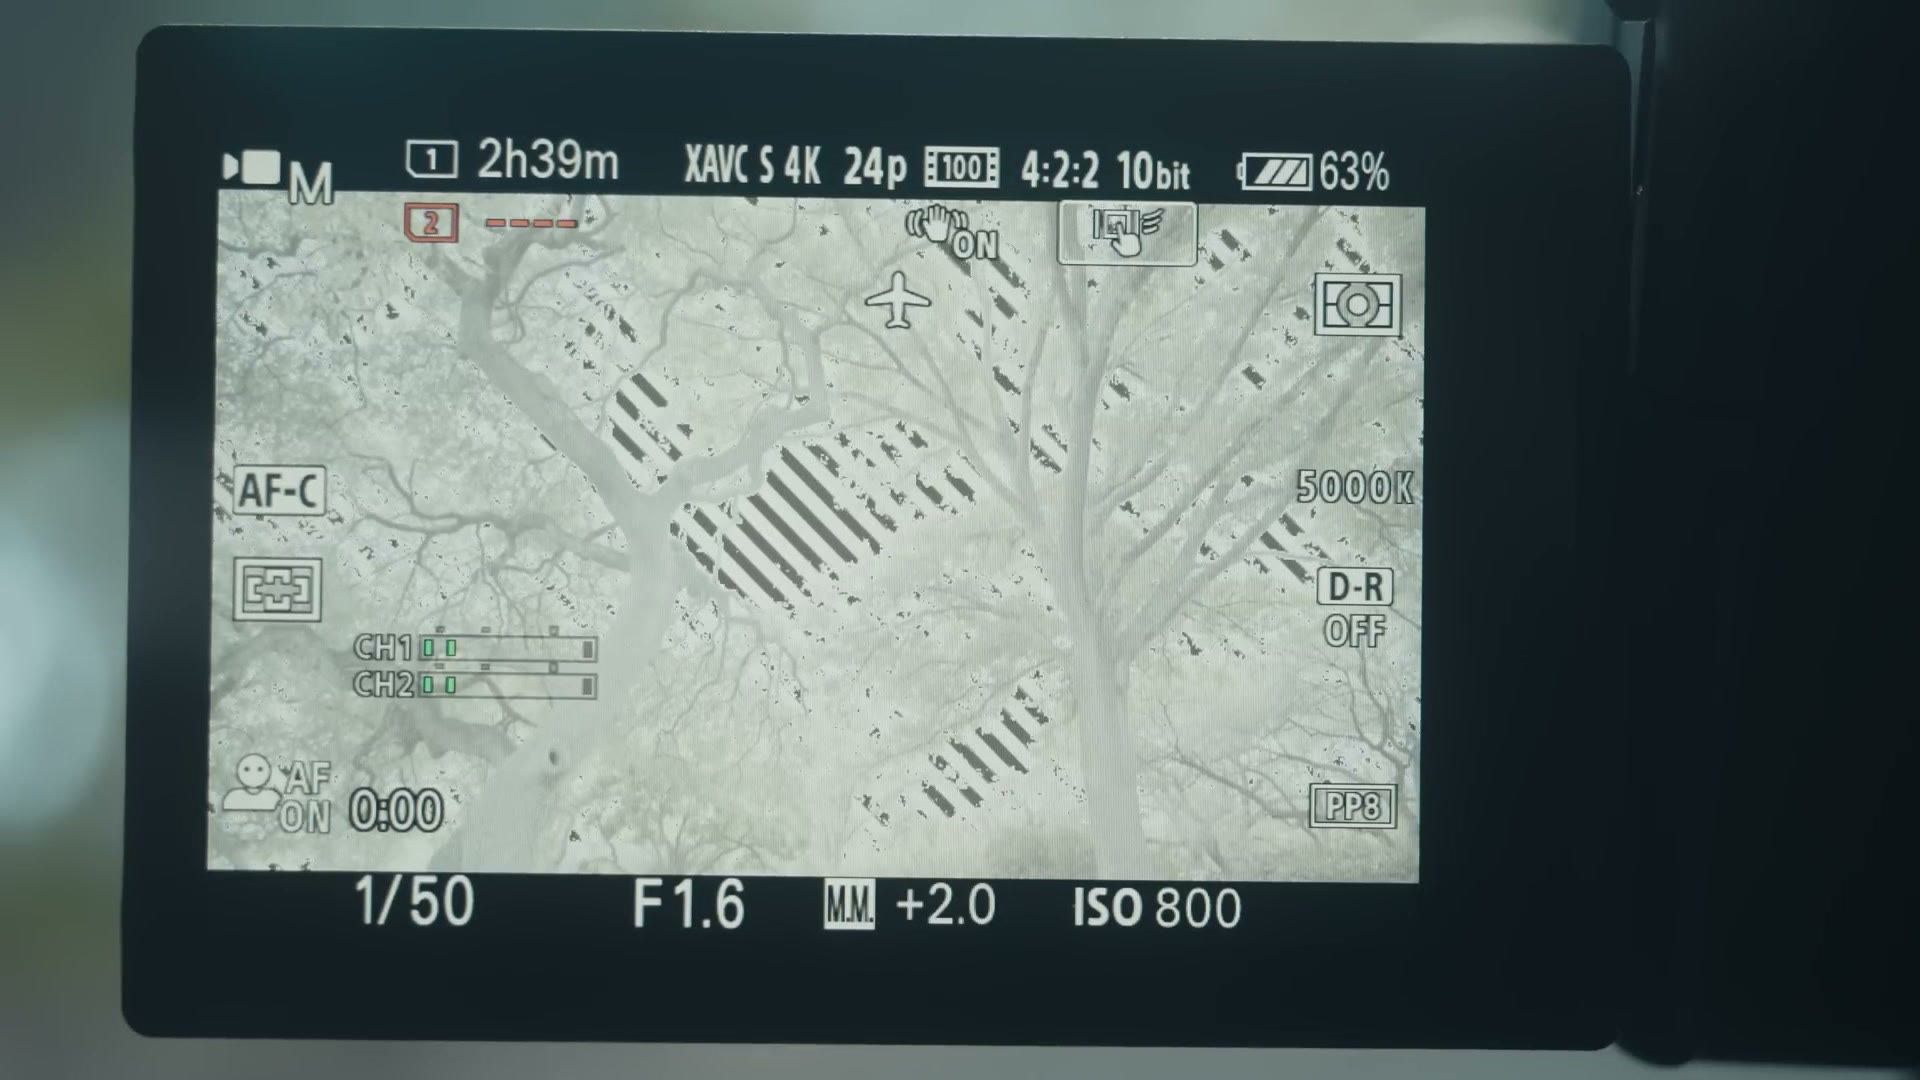
You do have to calibrate them to work properly with S-Log3 though, because the default zebra level is set for a normal picture profile and it will lie to you.
Incidentally, if you have already watched my a7 IV camera setup video and downloaded my settings preset, your zebras are already set up for S-Log3 and you can skip this whole section.
If not, here is how to do it. Go into the camera’s menu, go to Exposure / Color, then Zebra Display.
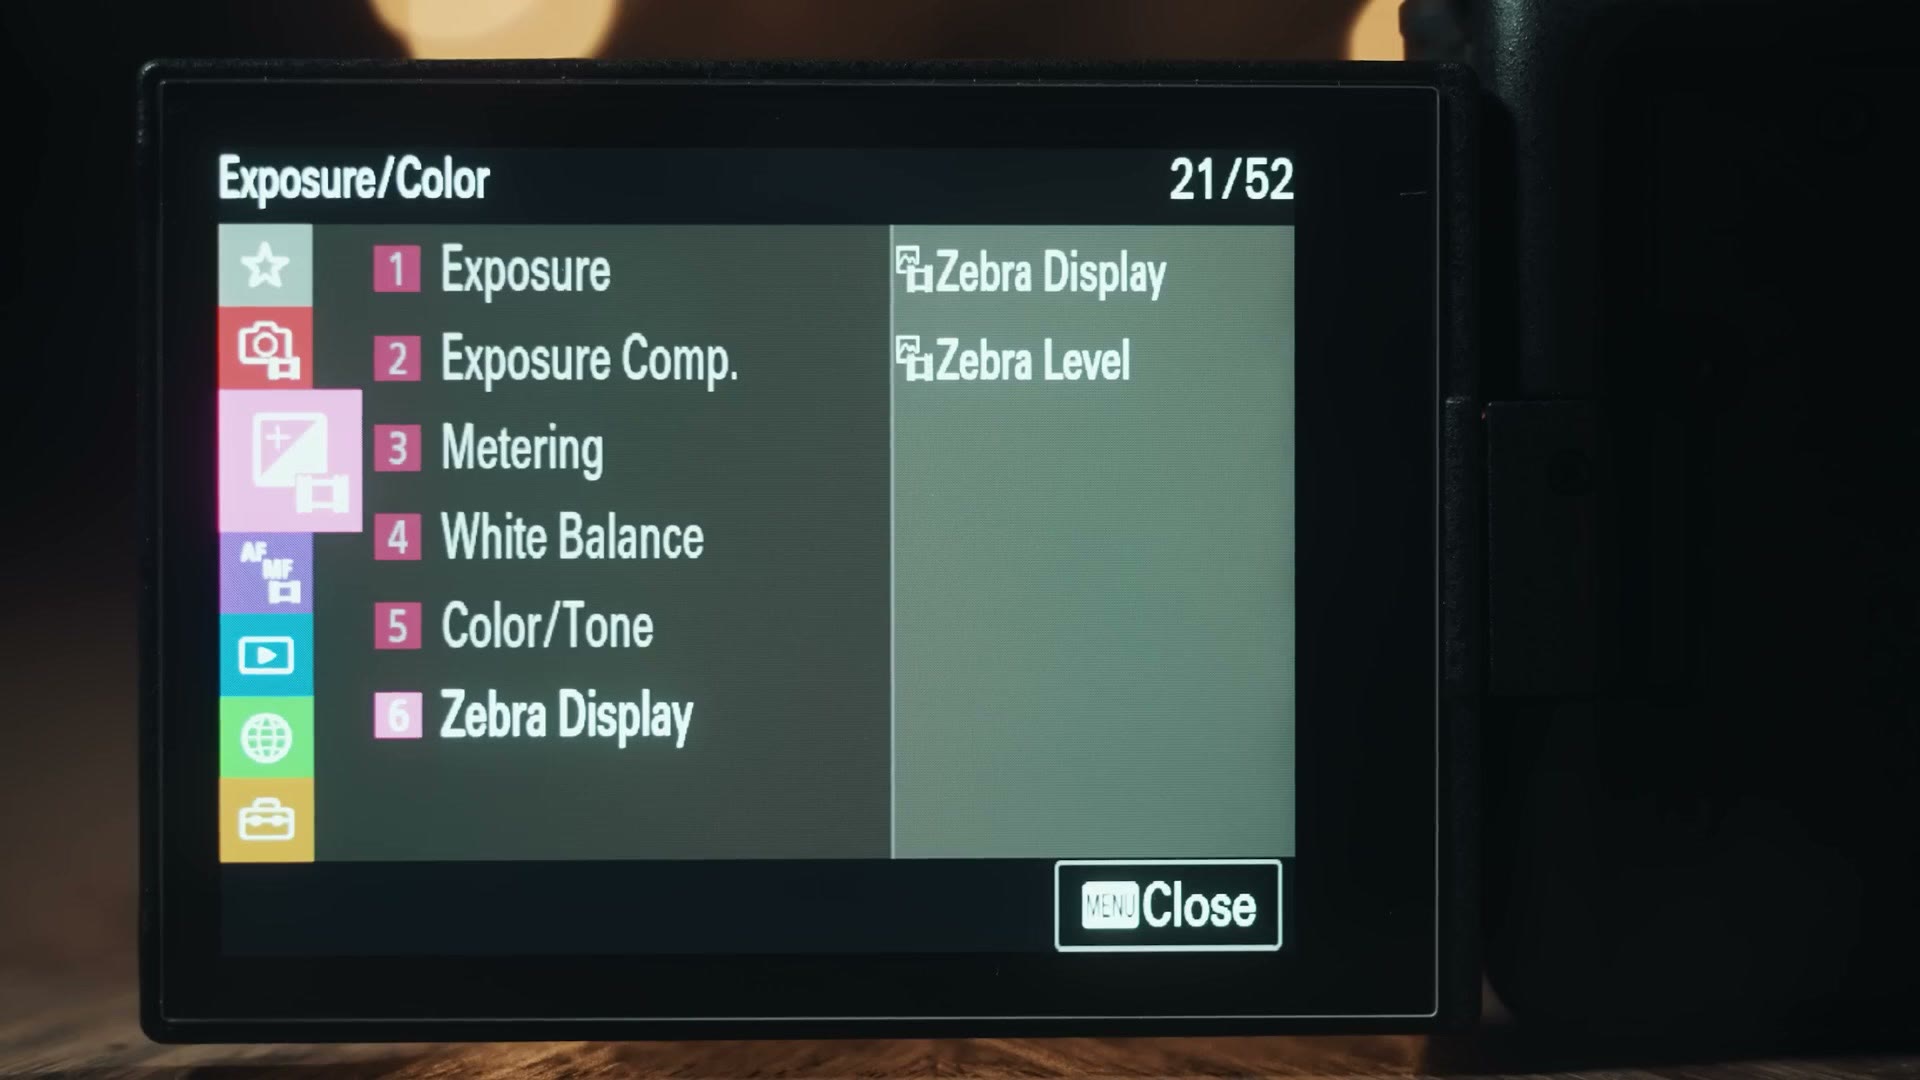
For Zebra Level, scroll down to Custom 2 so you can set your own level. Press right, select Lower Limit, press right again, and change the number to 94+. Then make sure Zebra Display itself is enabled.
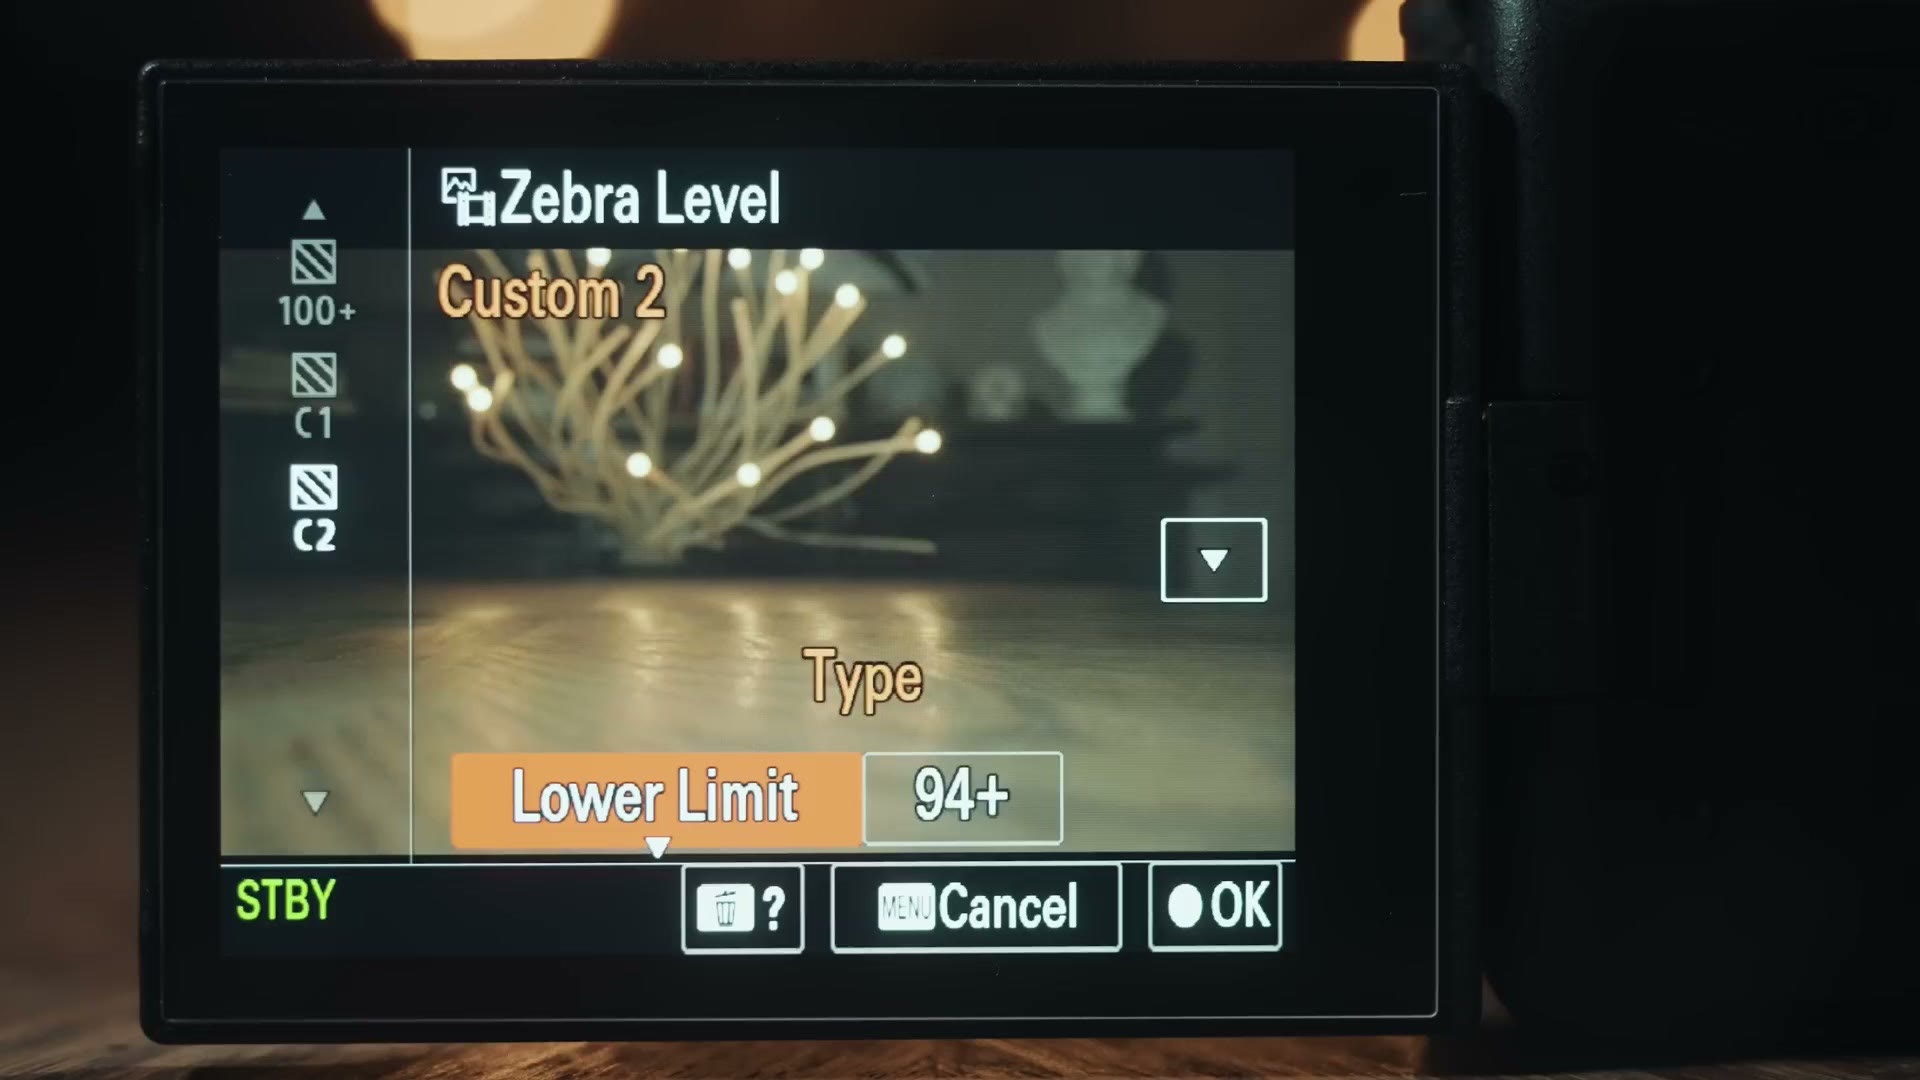
Now as you bring your exposure up, either with your aperture or your ISO, you will start seeing zebra lines appear on the overexposed parts of the frame. That 94 number is the maximum brightness S-Log3 footage can hold before it clips the highlights and they are gone for good, unrecoverable, no matter what you do in the grade.
How to actually use the two together
While you are filming, I would first look at the metering and make sure you are sitting between 1.7 and 2.0 stops over. Then I would look for zebras on the back of the camera.
If they show up, think about what you are actually filming. If you have a person standing in front of a sunset with a blazing sky behind them, you are going to see zebras in that background, and that is fine. That is just what a sunset is. But if you are seeing zebras on the person’s face or skin, your footage is definitely too bright and you need to pull your exposure down.
I would highly recommend going out and filming some test shots of people under a few different light sources. As you get used to watching the metering and the zebras together, you will get a feel for how this camera exposes and what actually looks good, and after that it stops being a decision you have to think about.
ISO Setup For a7 IV
You have got your metering and your zebras. The last thing is ISO, and there are two things to keep in mind here that are specific to the a7 IV.
Never go below ISO 800
Open the ISO menu on your a7 IV and you will see you can set the ISO all the way down to 200. But look closely: every ISO from 200 to 640 has lines above and below the numbers. Once you hit 800, those lines go away.
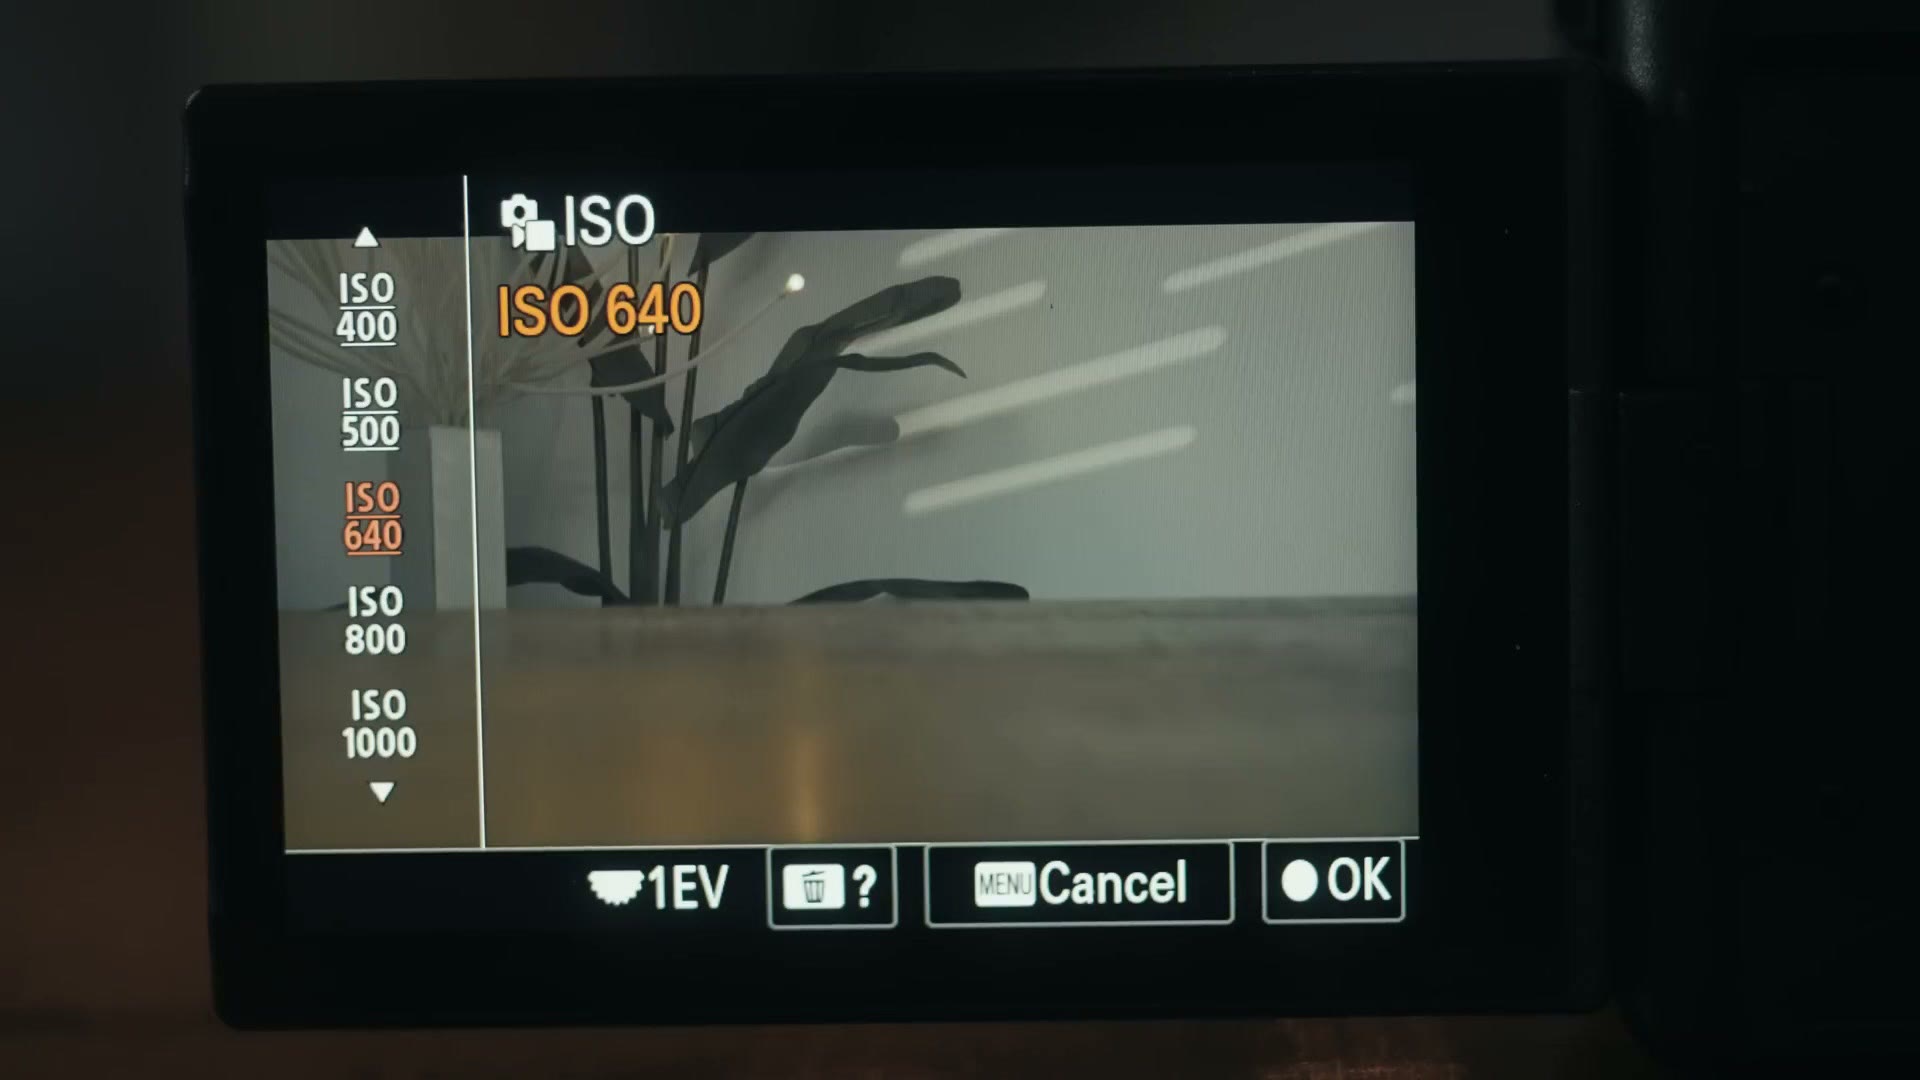
That is because in S-Log3 the recommended base ISO on the a7 IV is 800. It is the lowest ISO Sony recommends if you want to maximize the dynamic range of the camera. You can go lower, the camera will let you, but you get two problems the moment you do.
Speaking of which, How To Fix Noisy SLOG3 Footage is worth a look too.
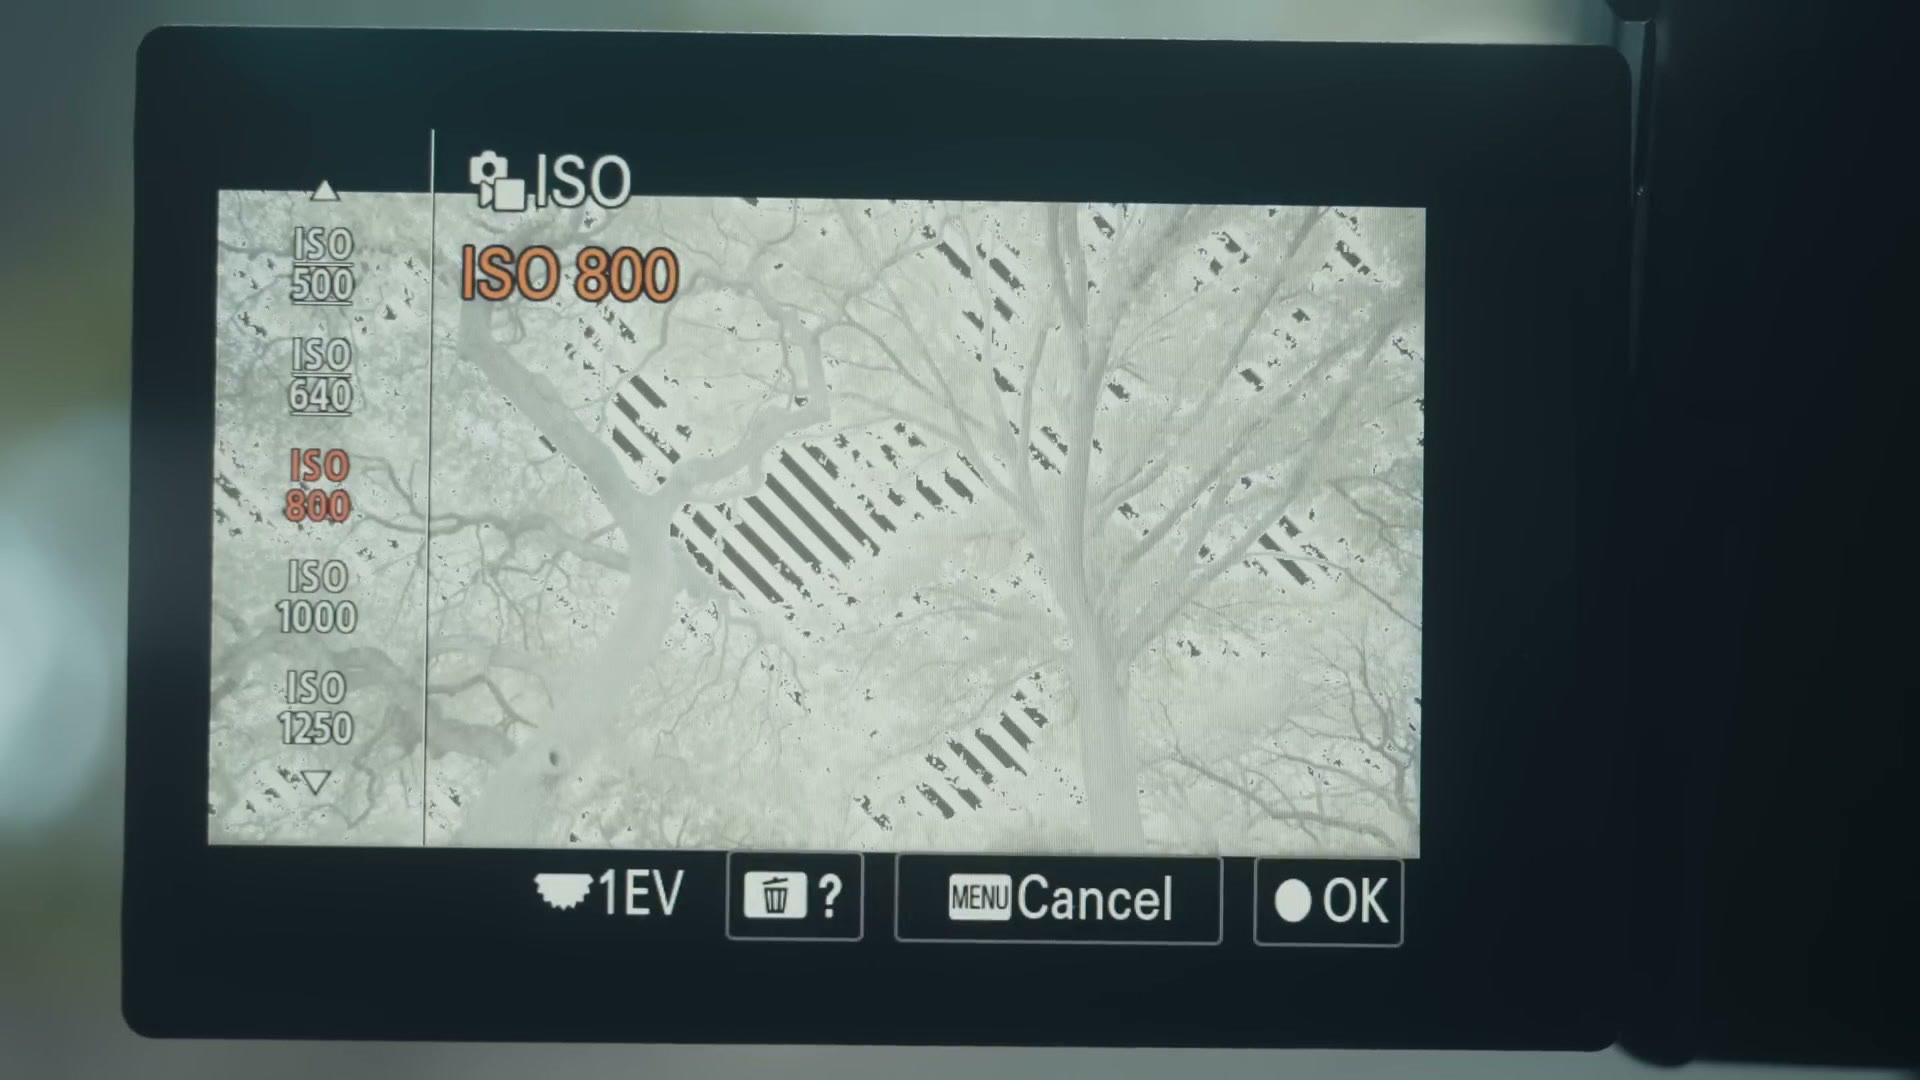
The first one is obvious the second you see it. Here is the camera at ISO 800 with zebras showing where the image is overexposed.
Drop it to ISO 640 and the zebras are gone.
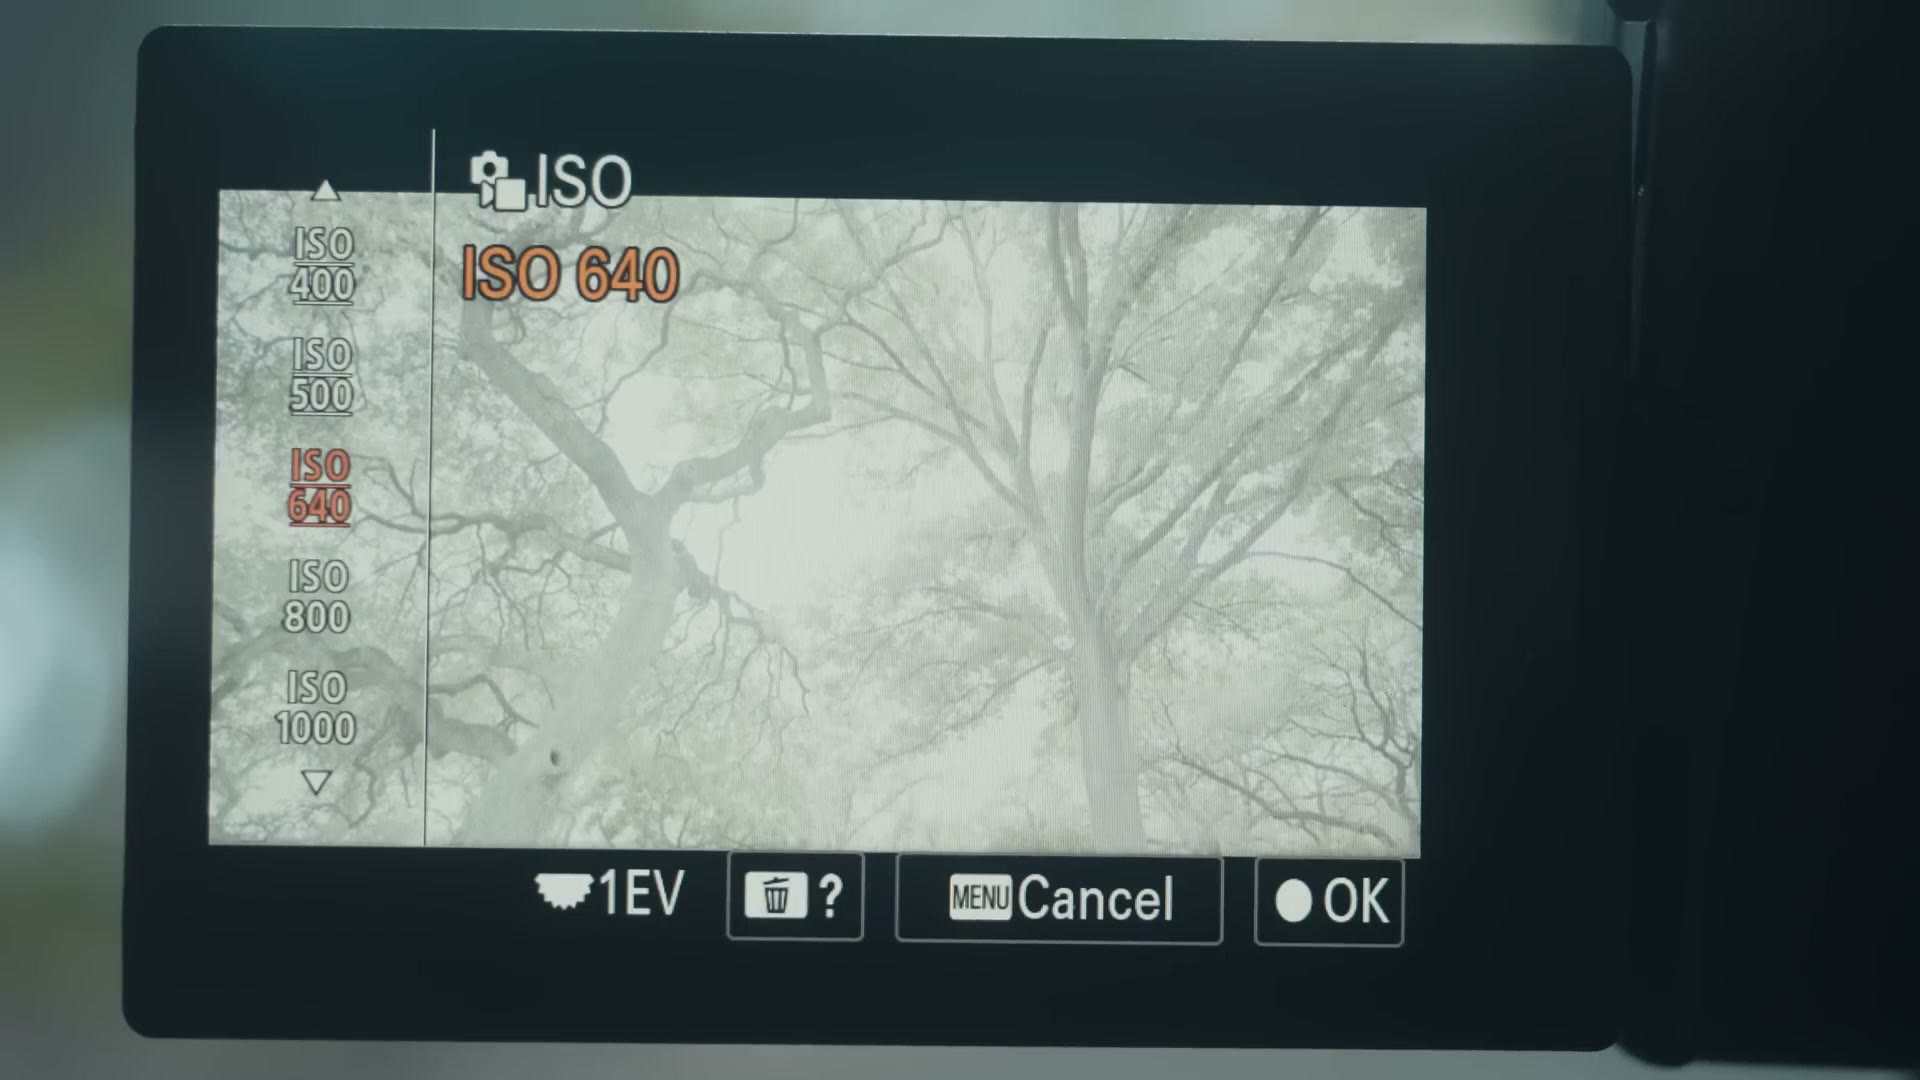
Yep. Set the camera below its base ISO and zebras stop working entirely. The camera can no longer tell you which parts of your image are blown out. That is a huge bummer, and it is not even the worse one.
The second problem is harder to see while you are filming but is arguably worse. Drop below base ISO and the camera starts electronically clipping your highlights at a lower level, which means you lose dynamic range. Which is the entire point of filming in S-Log3 in the first place.
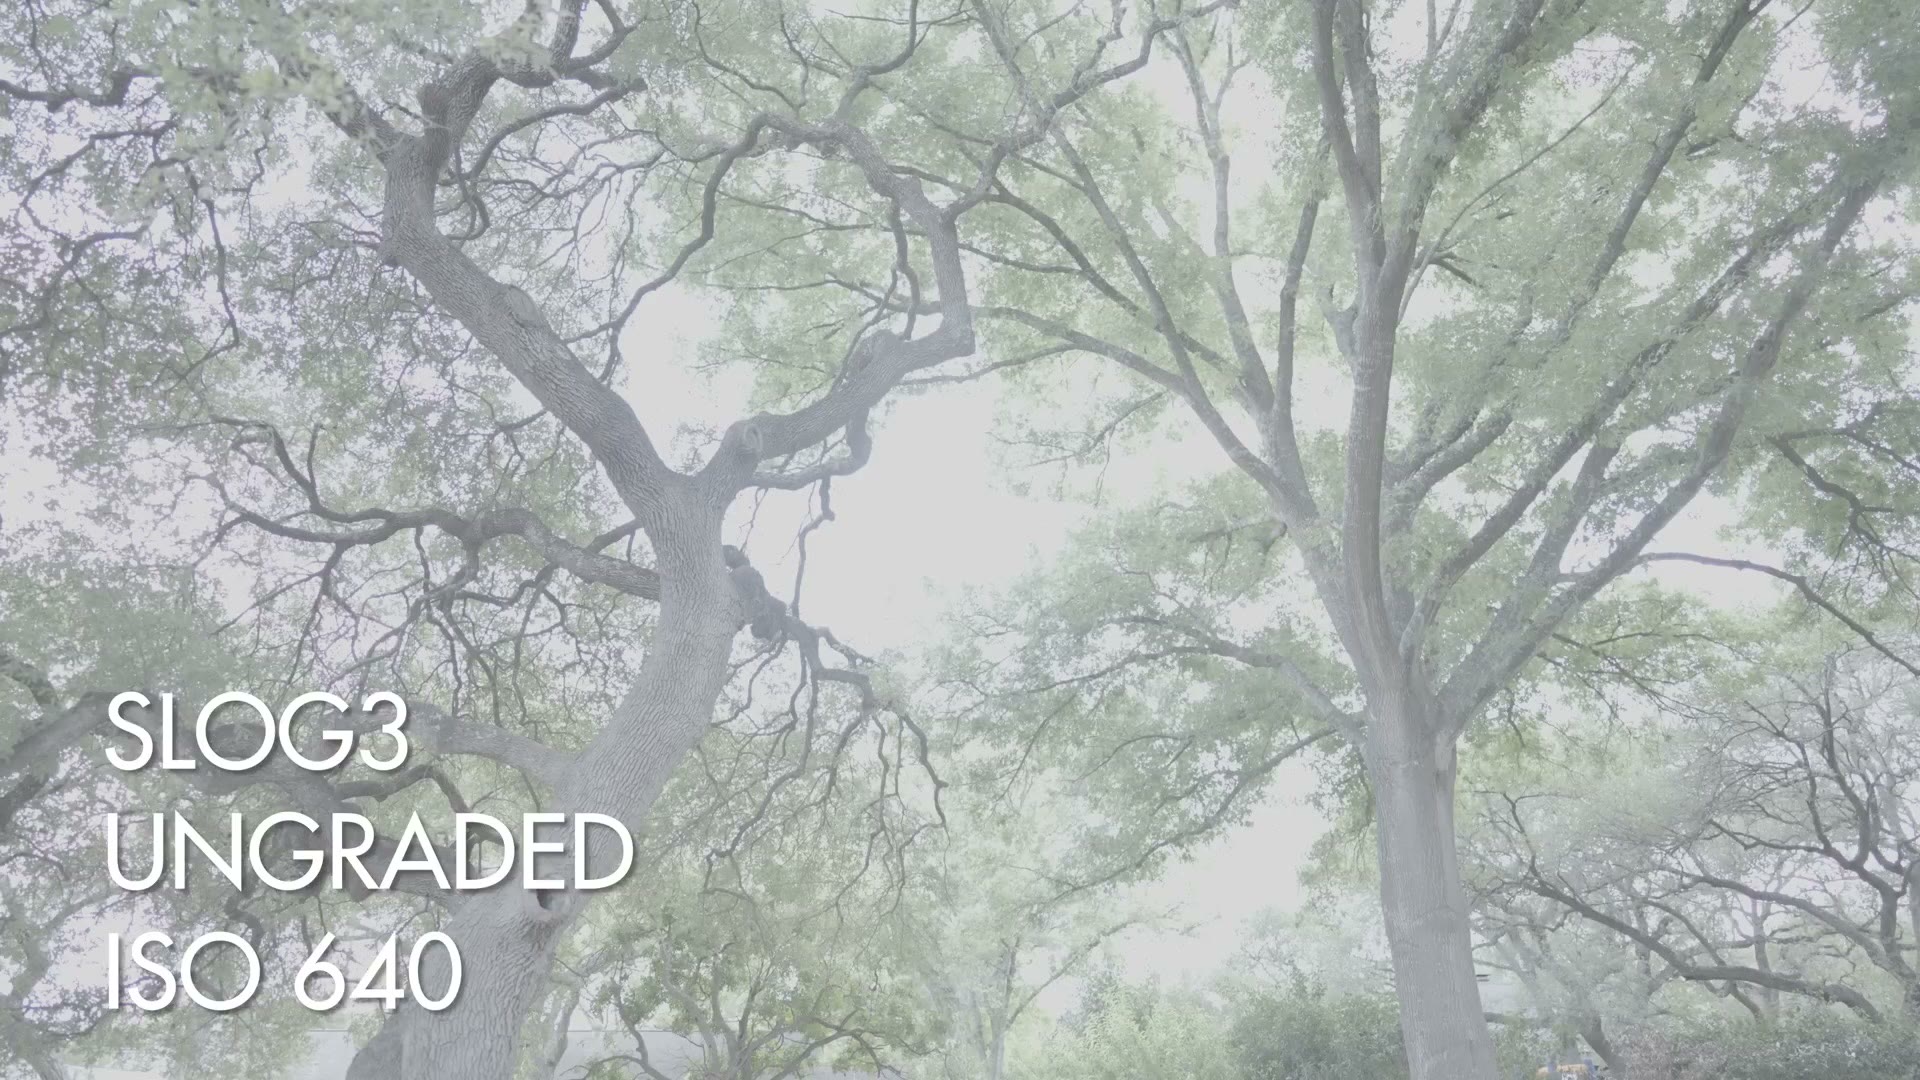
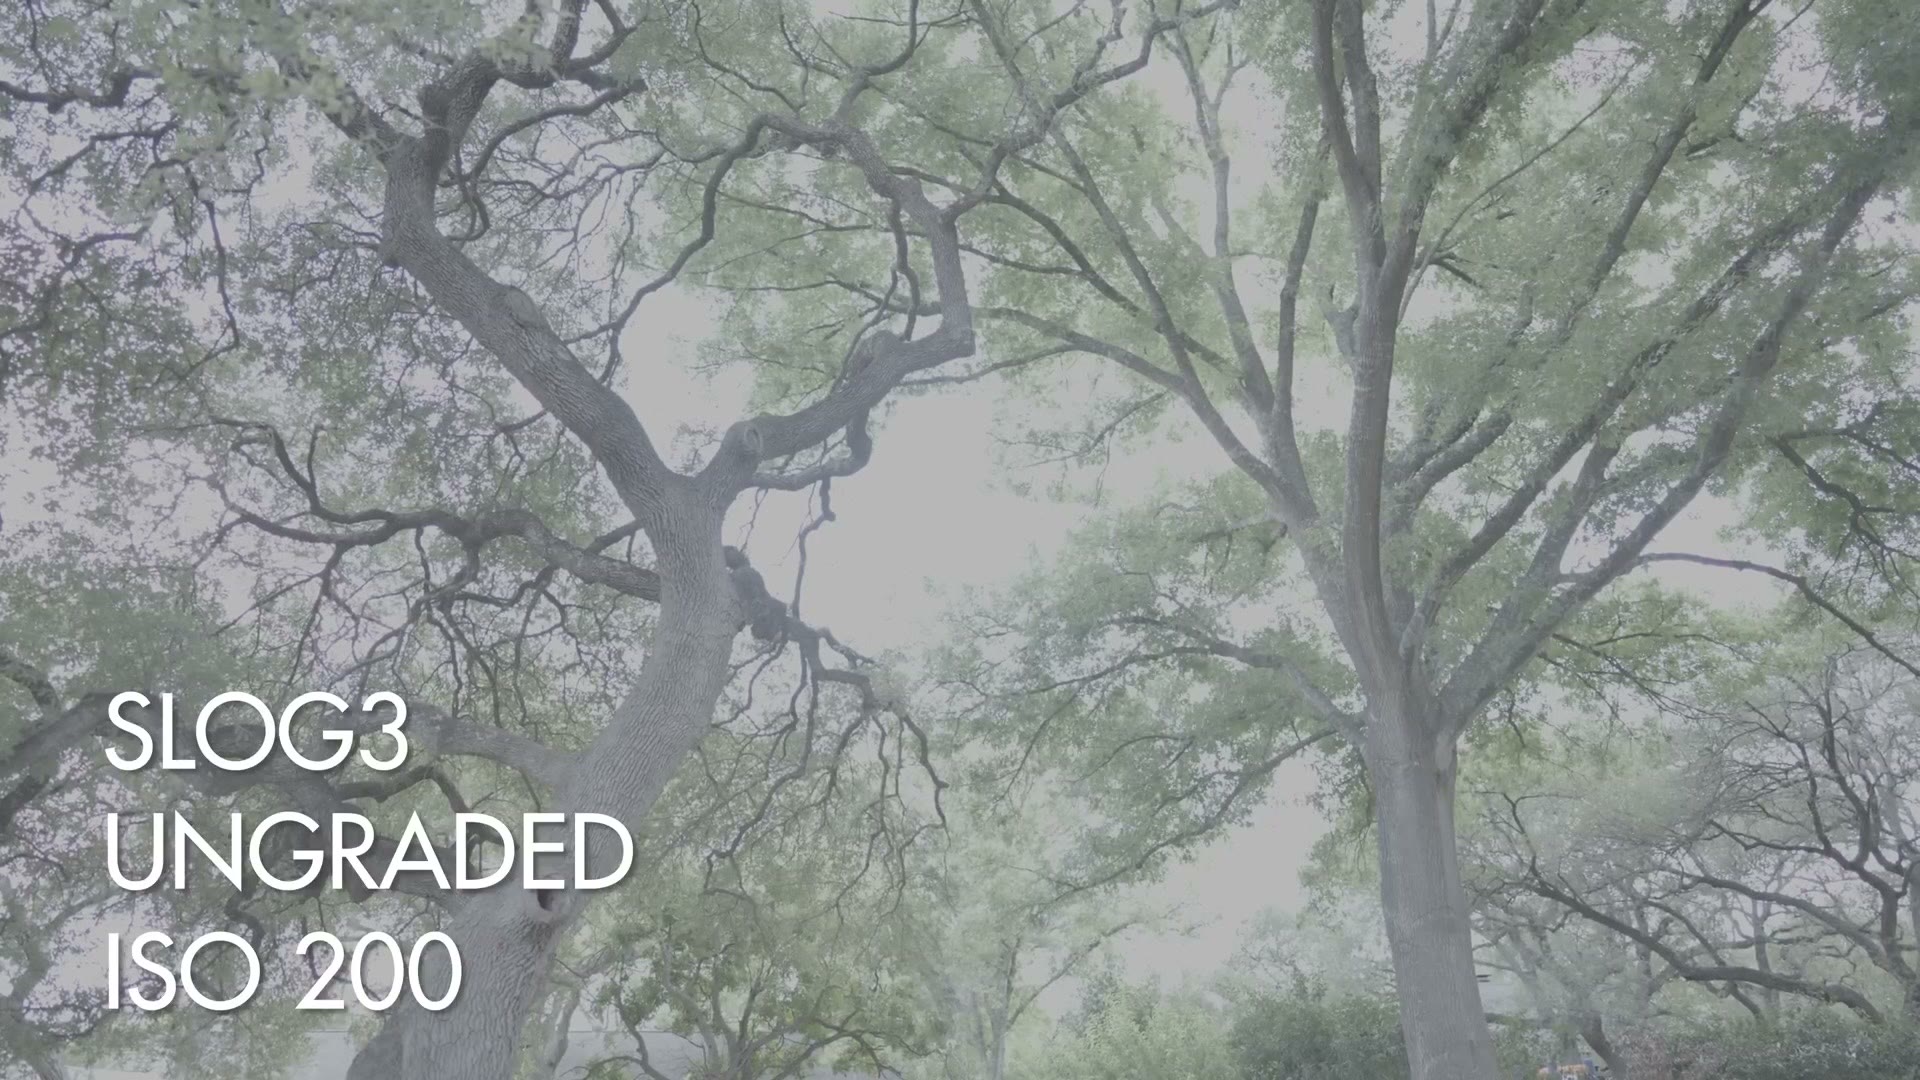
So as a rule, I would never drop your ISO below base ISO if you can help it. Adjust your aperture, adjust your shutter speed, and seriously consider investing in an ND filter before you ever reach for a lower ISO. An ND filter is the correct tool for that job and it costs a lot less than the dynamic range you are throwing away.
The two ISOs to actually live on
We have covered the minimum, but we are not done with ISO, because now we need to talk about low light.
The a7 IV, like other Sony cameras, has what is known as a dual native ISO. That means there are two ISOs where the camera looks its absolute best and gives you the maximum dynamic range it is capable of. Those two numbers change depending on which picture profile you are in, but in S-Log3 on the a7 IV they are ISO 800 and ISO 3200.
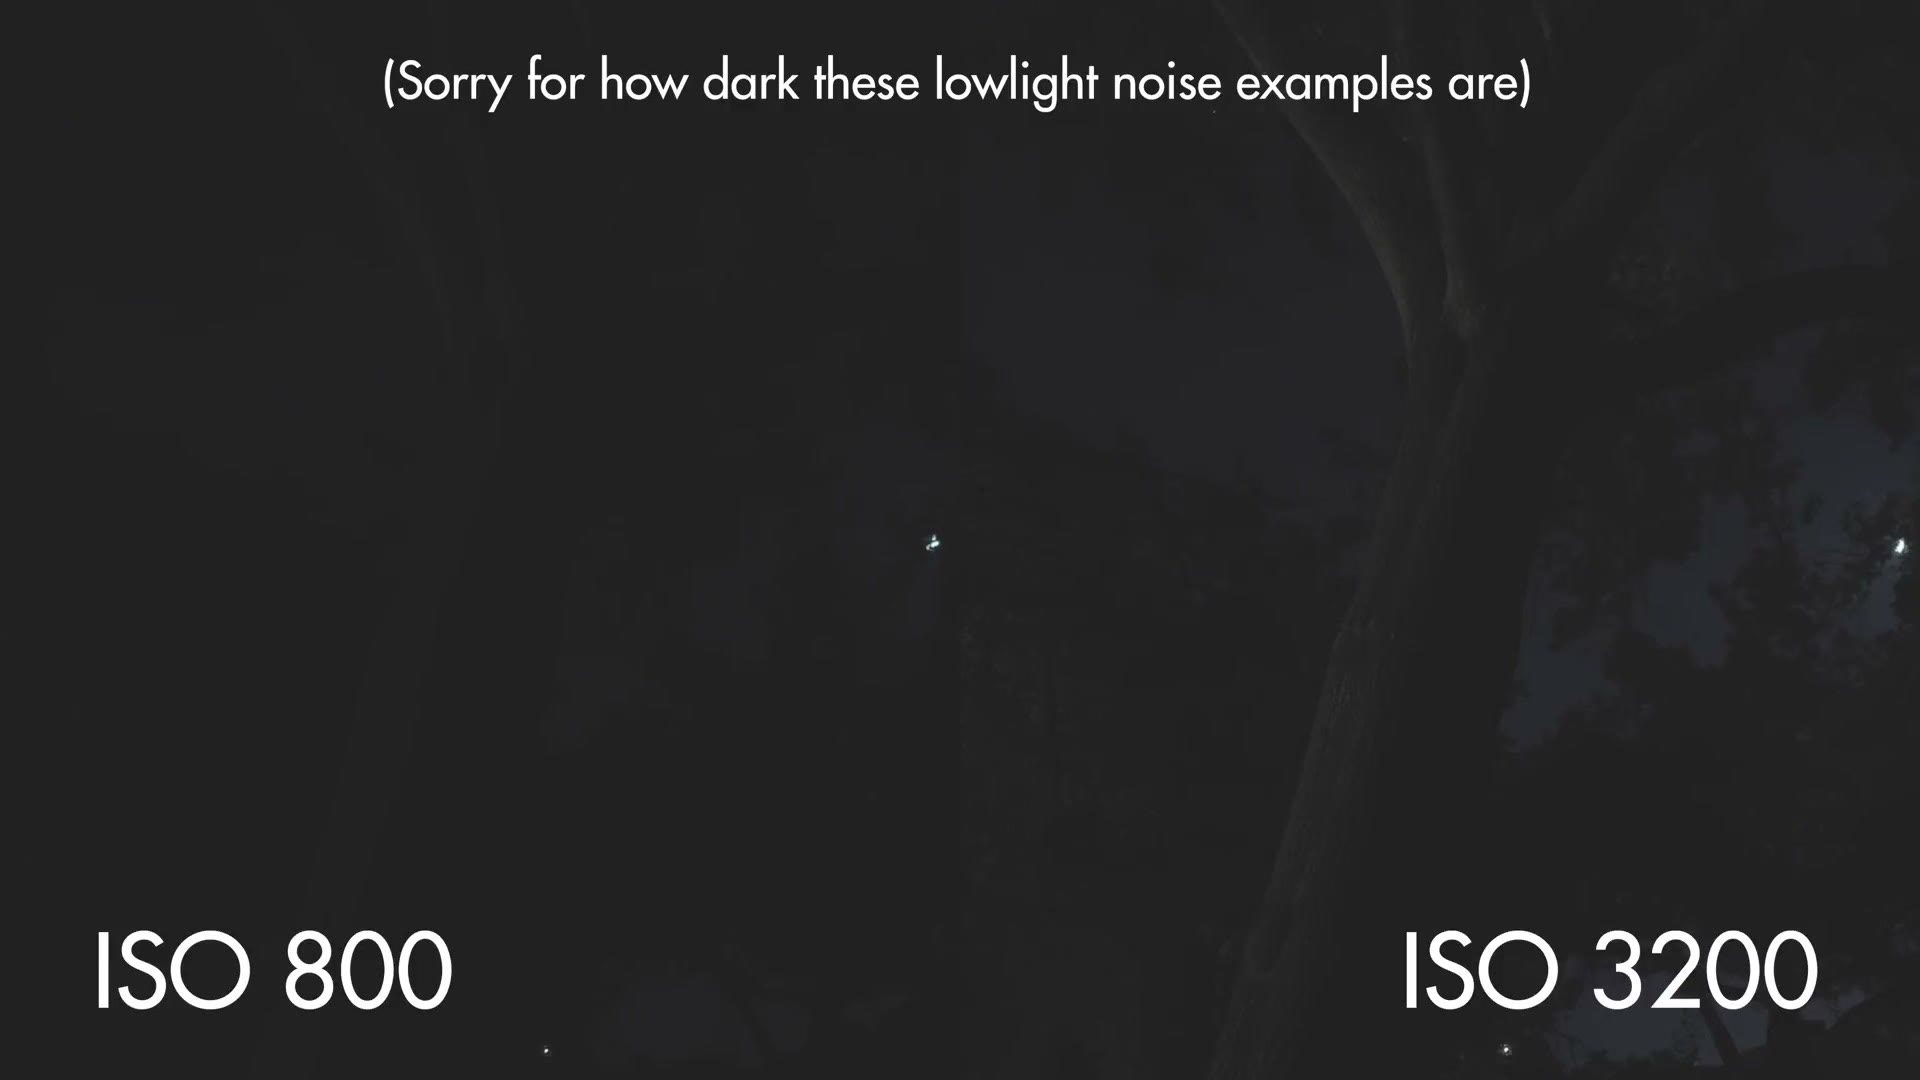
We already talked about 800. But 3200 is just as important, because it is the other ISO where your video is going to be at its cleanest with minimal noise.
So as a final rule of thumb: film at ISO 800, and if you find yourself in a low light situation, jump straight to ISO 3200. Not 1600, not 2500. Go to 3200 and you are guaranteed the cleanest footage the camera can give you.
Of course you can go higher if you need to, and the a7 IV is quite good, holding relatively low noise up to about ISO 25,600 or so.
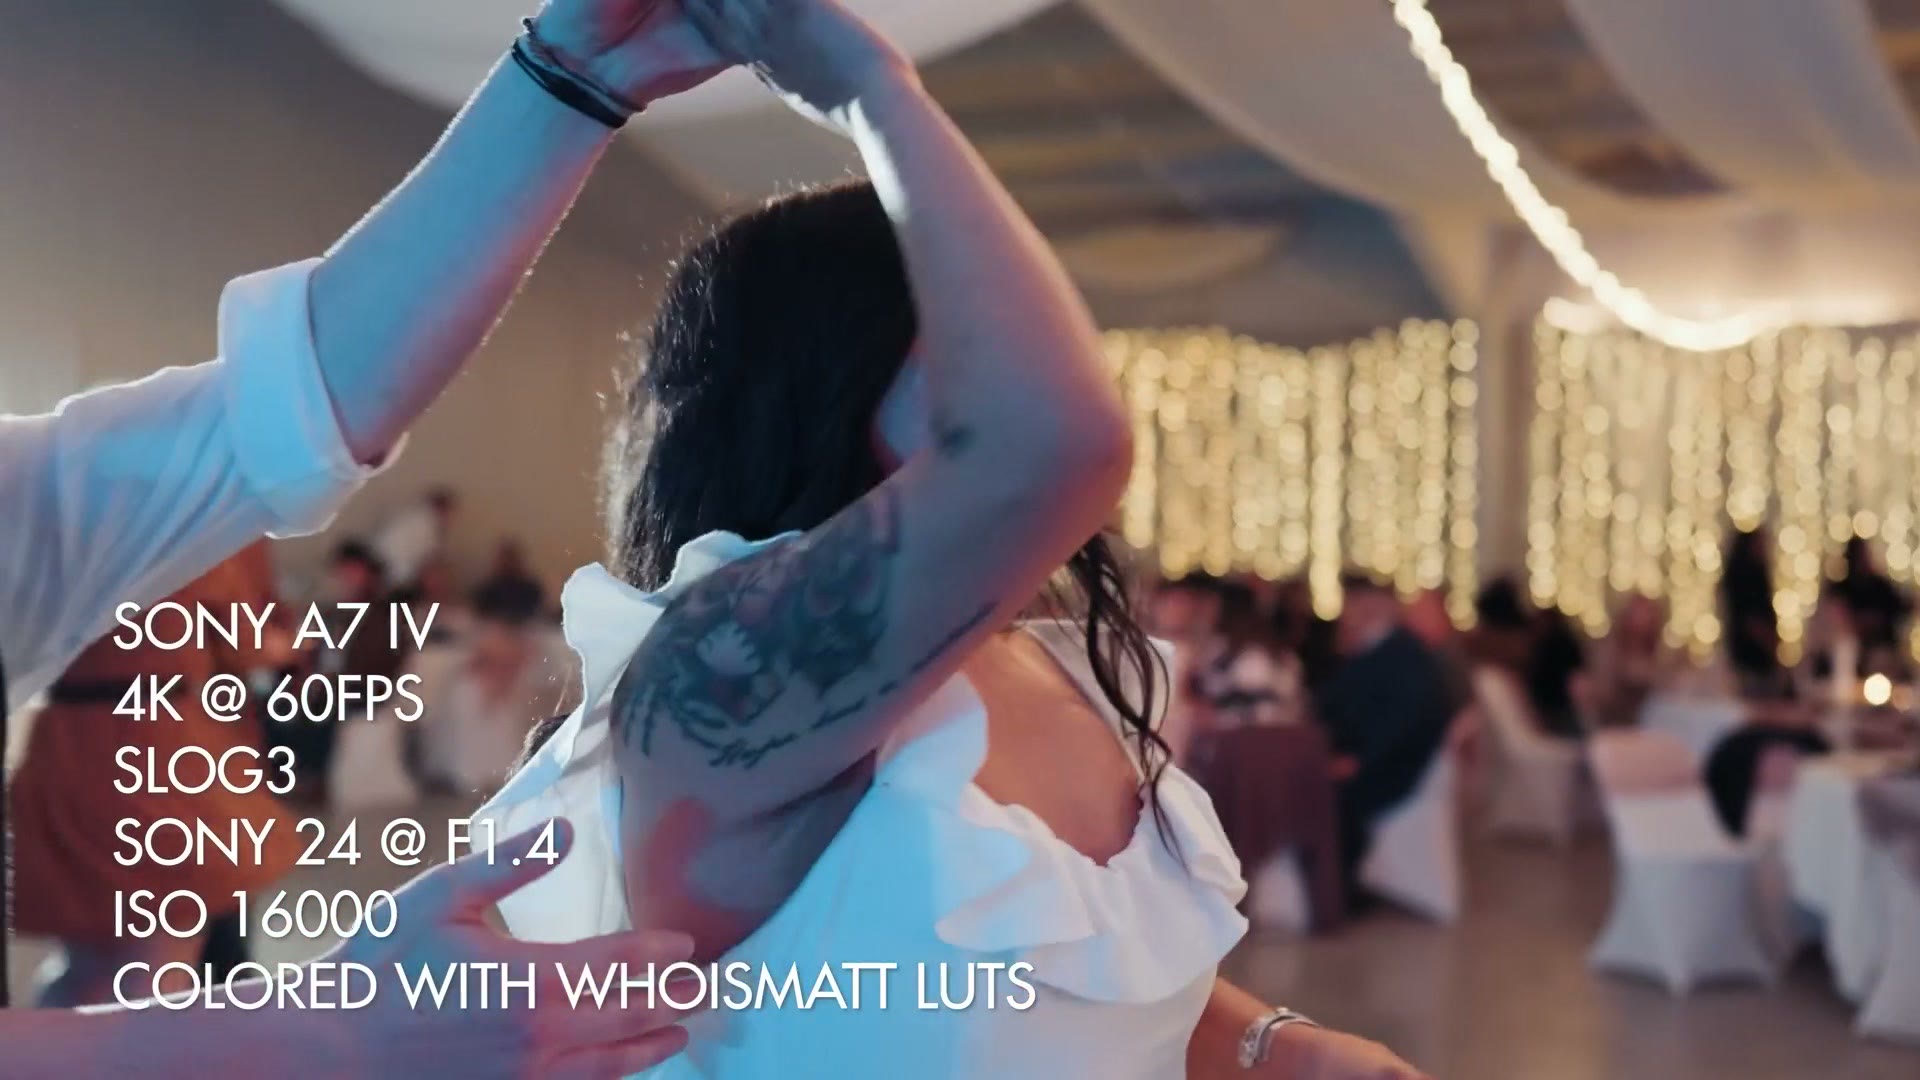
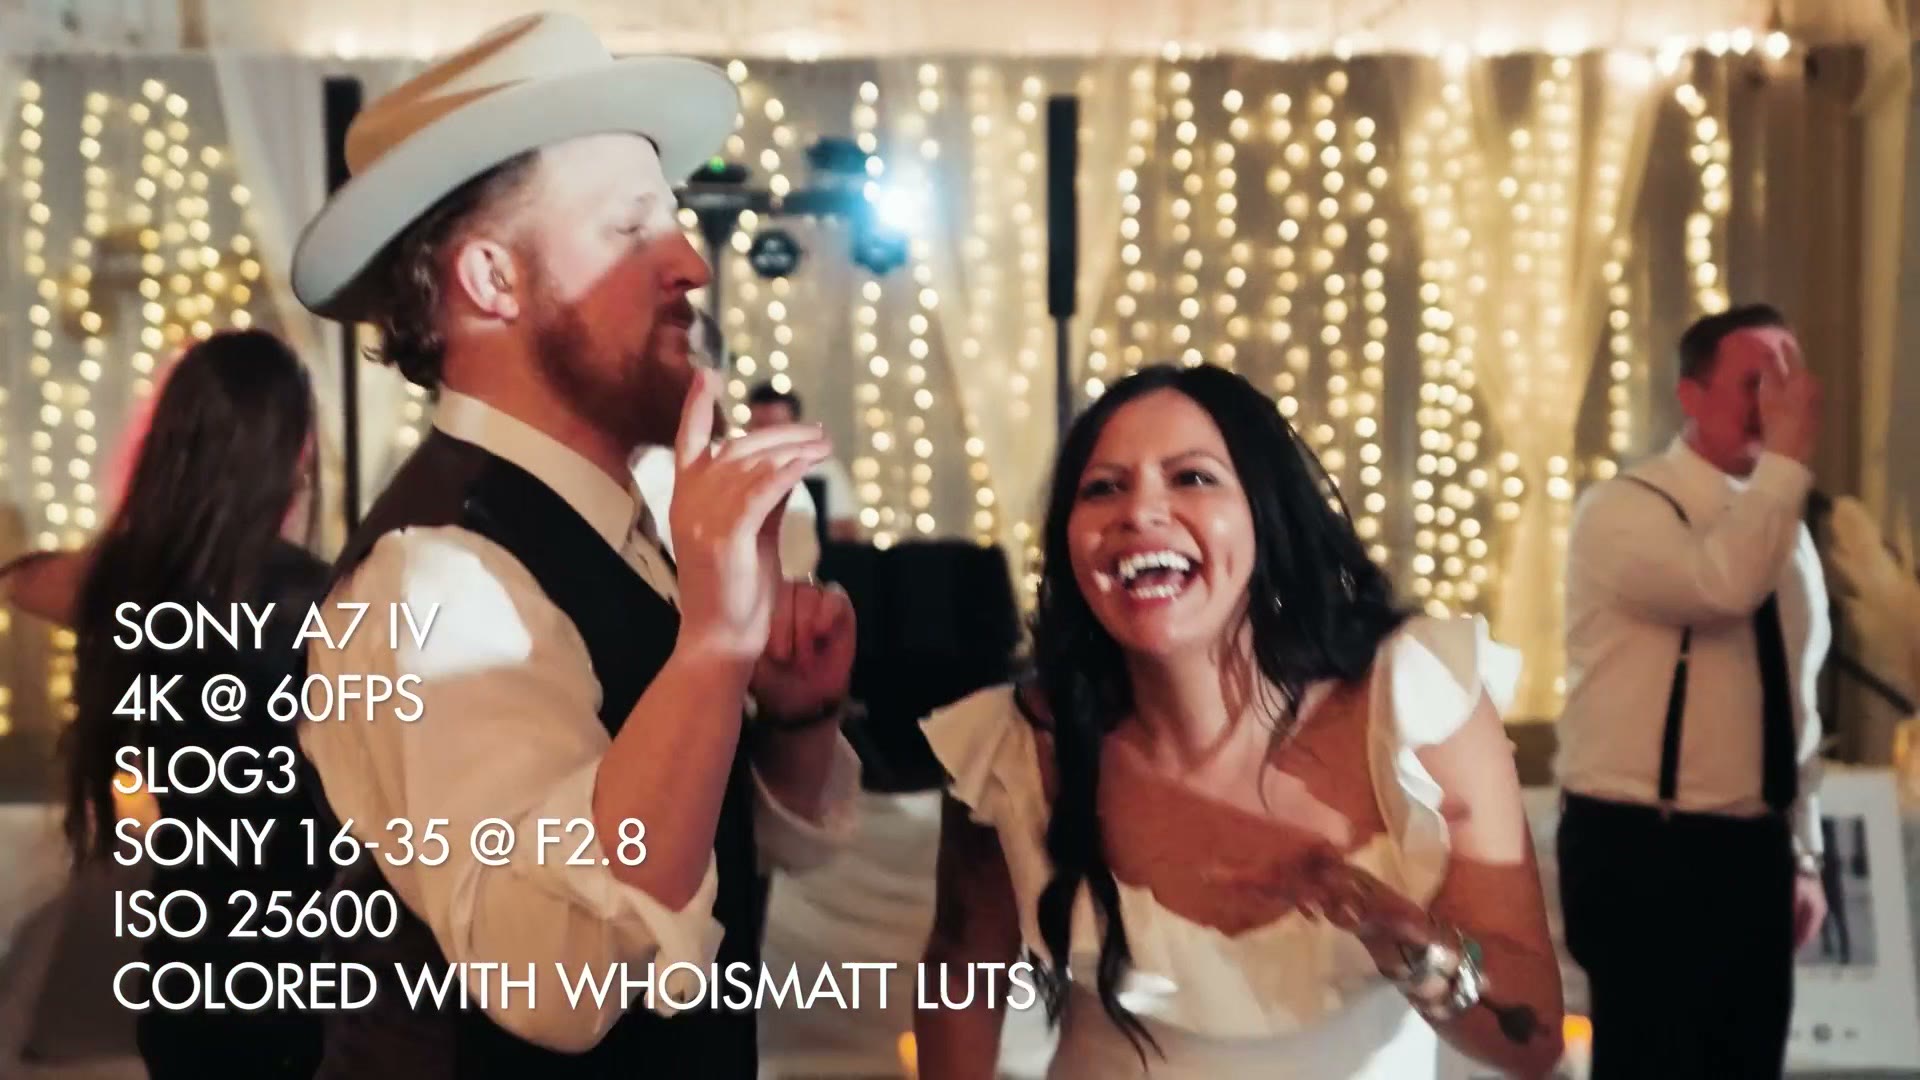
Just keep in mind that 800 and 3200 are the sweet spots for noise free footage with this camera, and that if you can help it, you want to avoid the ISOs sitting in between the two.
Get My Color Presets For The a7 IV
And that is how to film in S-Log3 quickly and easily with your Sony a7 IV. Set PP8, meter 1.7 to 2.0 stops over, set your zebras to 94, and stay at ISO 800 or 3200. That is the entire thing.
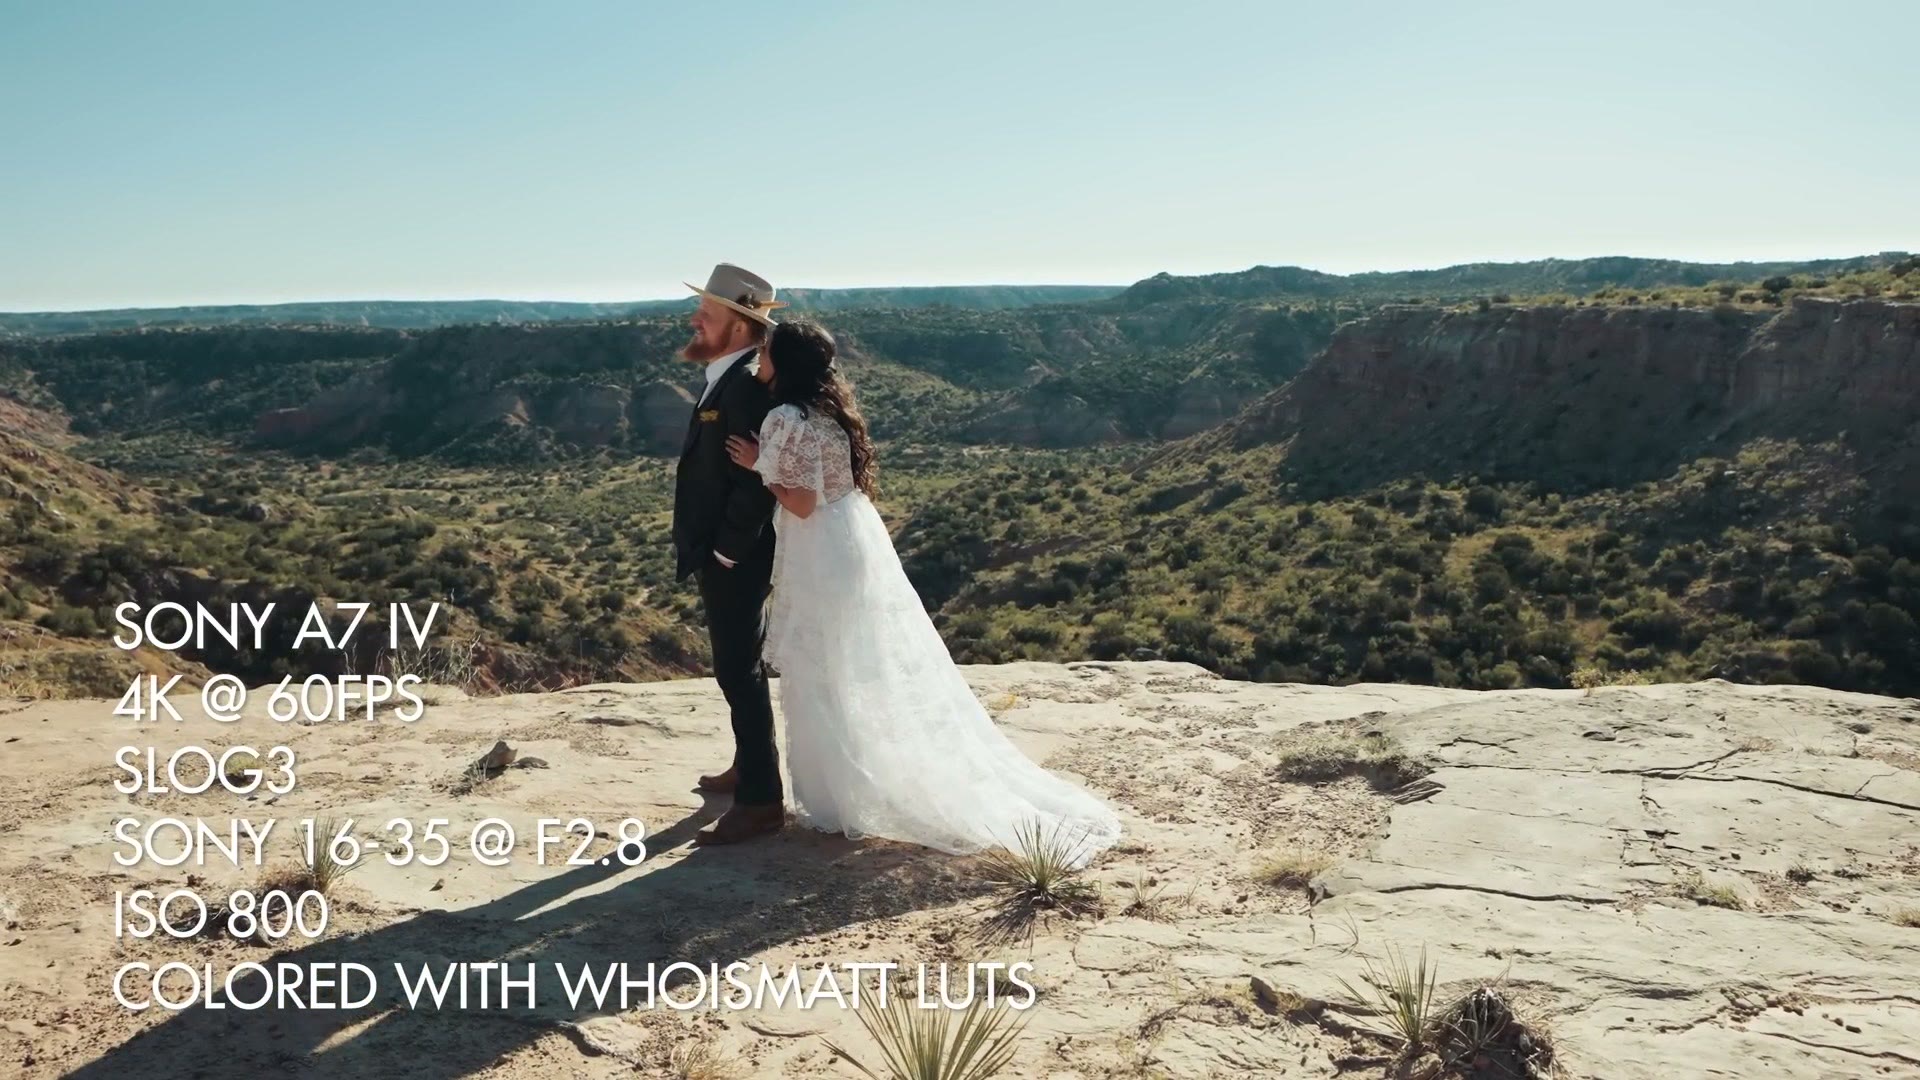
My S-Log3 color presets are tuned to work perfectly with the a7 IV, and if you combine those presets with these settings, hold onto your beard, because your footage is going to look awesome.
A few other things that pair well with this one:
- The full a7 IV setup guide, plus the downloadable settings preset that loads all of this onto the camera for you.
- Sony a7 IV vs a7S III for wedding filmmakers, if you are still deciding which body to buy.
- My Learn Wedding Filmmaking Facebook group, if you want to ask questions and see what other people are shooting.
- My favorite wedding filmmaking gear.
Thank you so much for reading, and have a great day!