
I just got back from filming a wedding with the new Sony 50mm F1.2 GM Lens! How does it compare to other 50mm lenses? Here is my review of the 50mm F1.2 Gm for wedding filmmakers!
I just got back from filming a wedding with the new Sony 50mm F1.2 GM Lens! How does it compare to other 50mm lenses? Here is my review of the 50mm F1.2 Gm for wedding filmmakers!

Destination wedding videography can be incredibly stressful due to needing to pack up all your gear and fly with it across the country or around the world. Here’s everything I brought for a destination wedding I recently filmed in California!

Move over SLOG3, there’s a new picture profile in town! S-Cinetone is here to give you beautiful footage straight out of camera! But how does S-Cinetone compare vs SLOG3? And which picture profile should you choose? Here’s a breakdown of the technical differences between these two picture profiles & some scenarios where I recommend filming in SLOG3 & S-Cinetone.

❗ Color Presets For S-Cinetone
Today I want to share with you how to quickly and easily film with the S-Cinetone picture profile in your Sony camera! So if you have been looking for a picture profile that looks really good straight out of camera with minimal need to color correct and color grade, this video is for you!
And to help save you time and bring out the best possible colors with your camera, I’ve actually created a set of video presets called whoismatt luts, that work great with S-Cinetone and really help give your footage a unique look.
Getting started now, the first thing you need to figure out is if your camera can even use the S-Cinetone picture profile. This is a relatively new profile and is only available on the Sony FX9, FX6, A1, FX3, and a7S III at the time of making this video.
If you aren’t sure, just open up your camera’s picture profile menu and scroll down to PP11. If you see PP11, congratulations, you have S Cinetone! If you don’t see PP11 though, either your camera doesn’t support it, or if you are on the a7S III, you will need to download a firmware update for your camera to add S-Cinetone. You can download this firmware update from Sony’s firmware update website.
Now grab your Sony camera and navigate to the picture profile menu. The first thing you should do is make sure your camera is set to PP11 and that both the gamma and color modes say S-Cinetone. If they don’t say that, scroll down to the bottom where it says reset and reset PP11 to its default settings.
Moving on, let’s talk exposure! If you’ve watched my SLOG3 easy filmmaking settings video, or if you’ve shot in log picture profiles with other cameras you’re probably used to overexposing your footage so you can then bring the exposure levels down in post when editing so your footage isn’t noisy.
Well S-Cinetone is different so you’re going to need to relearn things! You do not need to overexpose your footage, and you don’t need to underexpose it either. With this picture profile, what you see is what you get, so it is in your best interest to make sure your exposure level is right in the middle, not too bright and not too dark, just right. It’s like Goldilocks with the bears and the porridge but it’s light and color and thankfully no bear attacks.
Anyways, going back to your camera now, looking at the bottom of the screen you’re going to see your shutter speed, lens aperture, and the letters MM and a number anywhere from -2.0 to +2.0. This MM stands for multi-metering, and it tells you how bright the image is that your camera is recording.
If your camera doesn’t say MM, open the menu and go to exposure/color, metering, and set your metering mode to multi. Then, you can go back out and see this number which in my case says 0.0, which means that this image that it is recording isn’t over or under exposed. If your camera says -1.0 (minus one point oh) it means that it is 1 stop underexposed. If it reads +1.0 (plus one point oh) that means it is 1 stop overexposed.
For S-Cinetone, you want this number to read ideally 0.0 because that is ideal for the profile. If it says -0.3 (negative zero point 3) or +0.3 (plus zero point 3) that is probably okay, but 0.0 is the sweet spot that will keep things from getting too dark or bright in your shot.
That said though, I don’t want you to just trust this metering number and forget to look at the image on your camera screen! Remember, S-Cinetone is a what you see is what you get picture profile, meaning that the image you see on the back of the camera is very close to what you will see on your computer when you copy it.
So if you are looking at your meters and they say 0.0, but the person you are filming looks really dark, they are going to look dark in the footage you are recording. That 0.0 may be because the camera is seeing a bright background behind the person and it is saying the background is properly exposed but the person is not. Ideally you want your subject to be 0.0 on the metering, so that means that you may need to brighten the image up until it looks good to you on the back of the screen.
I do want you to be aware though that this can cause some parts of your footage to be overexposed though. You may have to blow out some highlights to make your subject in the footage look bright enough. This is unfortunate but the price you will pay to use S-Cinetone and have the footage look good straight out of camera.
Now if you don’t want your footage to look overexposed, an alternative option would be to shoot in Slog3, as that picture profile has much higher dynamic range than S-Cinetone and you will not need to worry about your footage being overexposed.
Back to S-Cinetone now, if you want to take the guesswork out of whether it is overexposing or not, you really need to use Zebras. And not the animal either, this isn’t a goldilocks metaphor agaom, we’re talking about your camera’s zebras settings, which will put black and white lines on your screen that show you what is overexposed.
Go into your camera’s menu, go to Exposure/Color, Zebra Display, and for Zebra Level you’re going to want to select 100+. Next make sure Zebra Display in the menu is turned on, and as you start to bring up the exposure of your camera, either by changing your aperture or ISO, you are going to notice zebra lines appearing on the overexposed parts of your footage.
Because you set your zebra level to 100+, that number is the maximum brightness the S-Cinetone footage can handle before it clips the highlights and cannot recover them. So as you are filming with your camera, I would first look at your metering and make sure it is at approximately 0.0, and then I would look for any zebras to appear on the back of the camera. If they show up, then I would consider what you are filming.
If you’re filming a person standing in front of the sunset, and you have the super bright sun and clouds behind them, you will definitely see some zebras in the background and that is okay. But, if you are seeing zebras on the persons’ face or skin, that means that your footage is definitely too bright and your exposure needs to be darker.
I would highly recommend filming some test shots with people lit by different light sources. As you gain experience with watching your metering and zebras you should get a good idea of how the camera is exposing and what looks good.
Alright, you’ve got your metering setup, and your zebras, the last thing we need to talk about is ISO. If you turn your ISO up, your footage gets brighter. If you turn it down, it gets darker. And as a bonus, unlike SLOG3 which I really never recommend filming at anything lower than 640 ISO, with S Cinetone, you can go all the way down to ISO 100, which is great if you are filming on a bright day.
Now if you’ve watched my SLOG3 settings video or my a7siii review, or basically any other video about proper exposure with the a7siii, FX3, or FX6, you will know that these 3 cameras share basically the same sensor, and it is known as a dual native ISO sensor.
This means that there are 2 ISOs where the camera will look its best and give you the absolute maximum dynamic range that it is capable of. This dual native ISO will change depending on the picture profile and the camera you are filming with, but in the case of S Cinetone on the a7sIII and FX3, they are ISO 100 and ISO 2000. Alternatively, if you are filming with a Sony FX6 in S Cinetone, these ISOs where the camera looks its best will be ISO 320 and ISO 5000.
As I said, these camera’s sensors are similar, but testing from the very knowledgeable Alister Chapman over at XDCAM-USER has shown that they are slightly different, which is why the ISOS vary between them.
So to wrap up the talk about ISOs, I would keep your camera to ISO 100 or 2000 if you want it to look its absolute best, but honestly, in my testing, because the sensor Sony is using in these 3 cameras is so dang good in lowlight, I haven’t been able to really see a difference between ISO 100 and ISO 1600, and 1600 should arguably look worse because its right be low ISO 2000 where the dual gain sensor kicks in and gets cleaner.
So in short, S Cinetone is a what you see is what you get picture profile and that carries over to the ISO settings as well. I wouldn’t worry about the dual gain sensor with this picture profile, and instead I would focus on how good the image looks on the back of the camera.
And that is how to easily film with S Cinetone picture profile on your Sony camera! If you have a new a7siii, FX3, or A1 and you want to know what settings are best for it, I would recommend watching my menu and custom buttons setup videos that will walk you through all the best settings to use. And if you are using the a7siii specifically, you can download my setup preset file which will give you all of my settings instantly. I will like to that preset file and my setup videos below.
I will also link down below to my color presets which work very well with S-Cinetone! Don’t get me wrong, S cinetone looks great straight out of camera, but these will make it look even better.

Can you combine S-Log3 with S-Cinetone to create the ultimate picture profile?! Let’s try to make an extremely high dynamic range picture profile that also looks great straight out of camera!

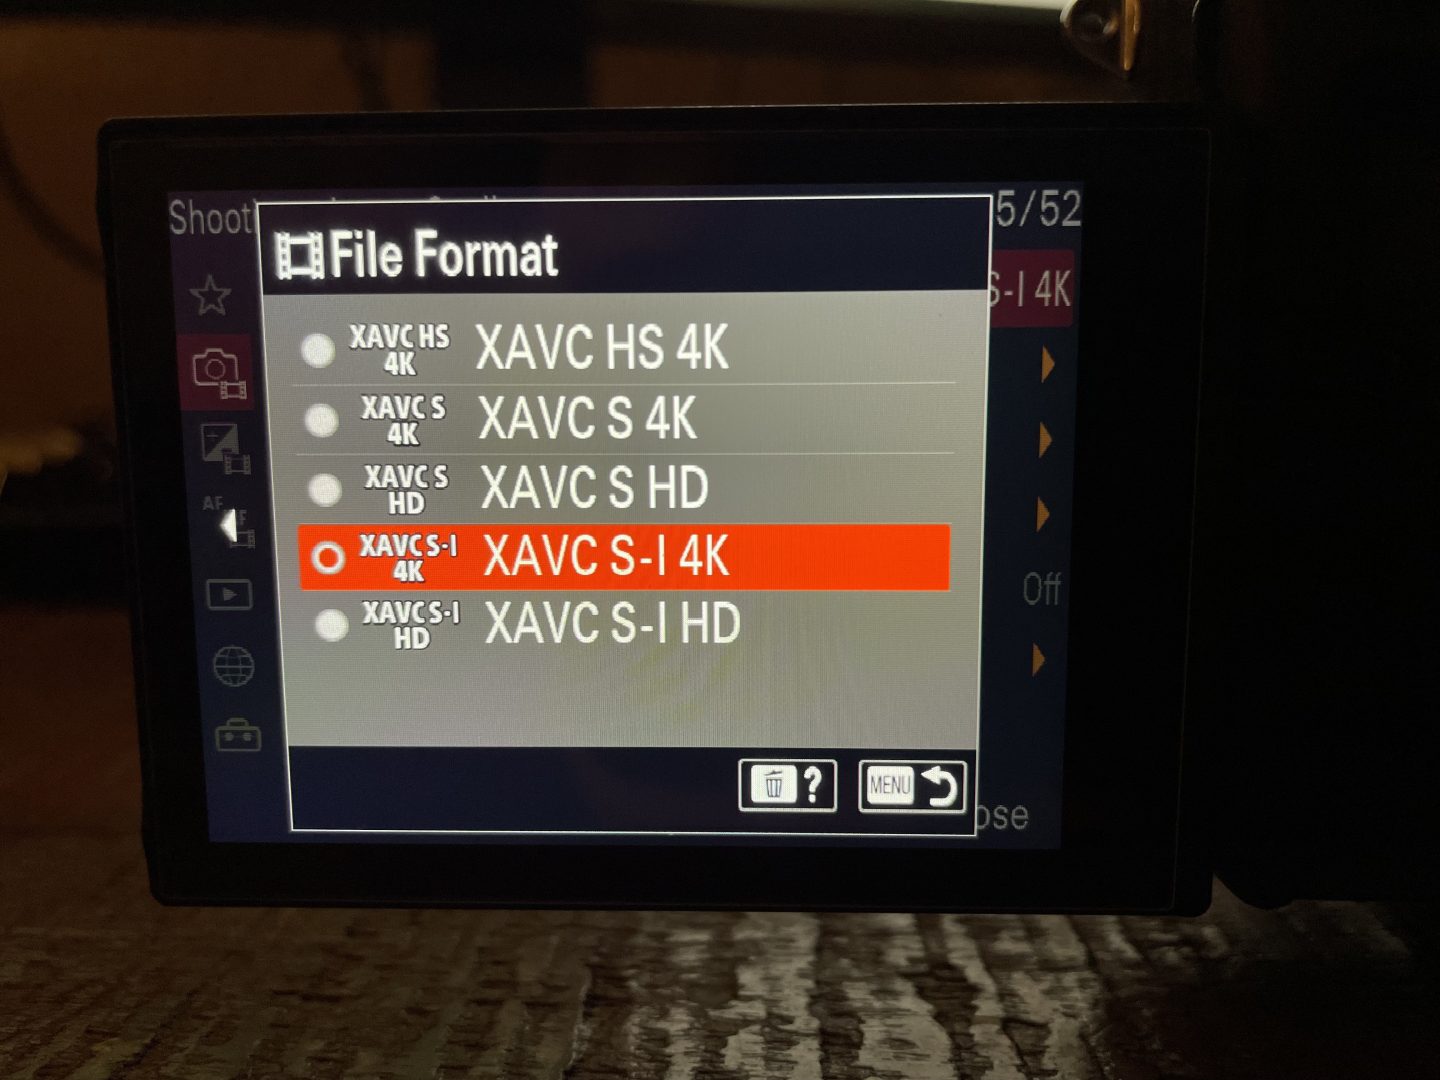
If you are trying to record in 4K at 120FPS in XAVC S-I on the Sony a7S III and cannot figure out how to access this frame rate, here’s how to do it in 4 easy steps.
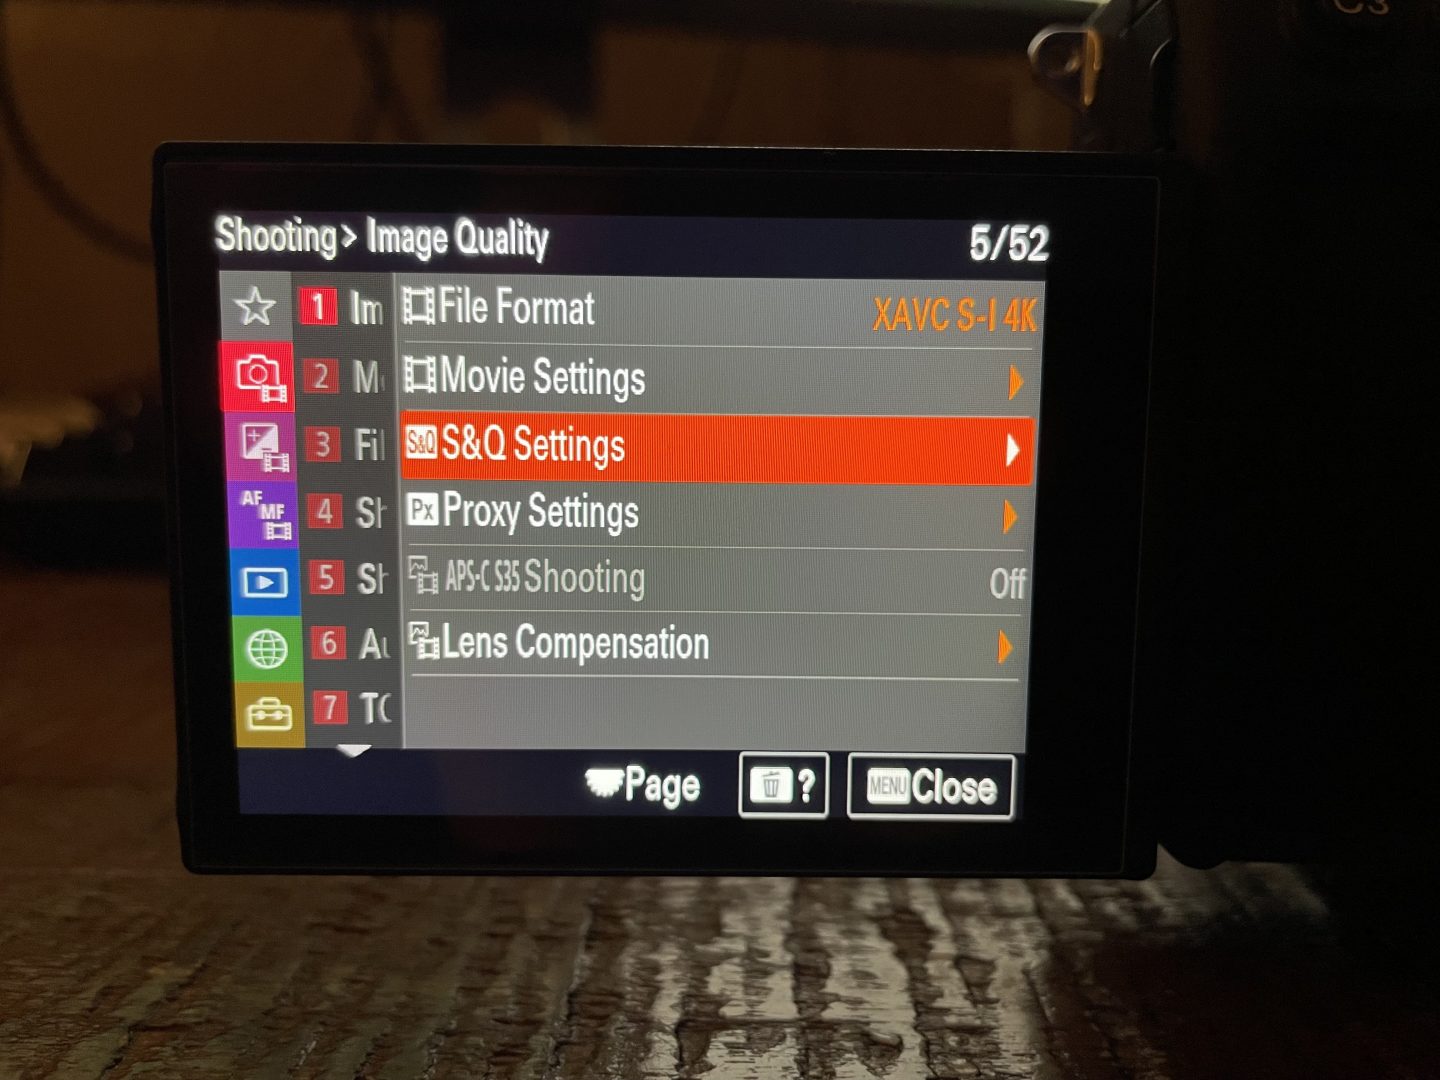
2. Navigate to the S&Q Settings Menu
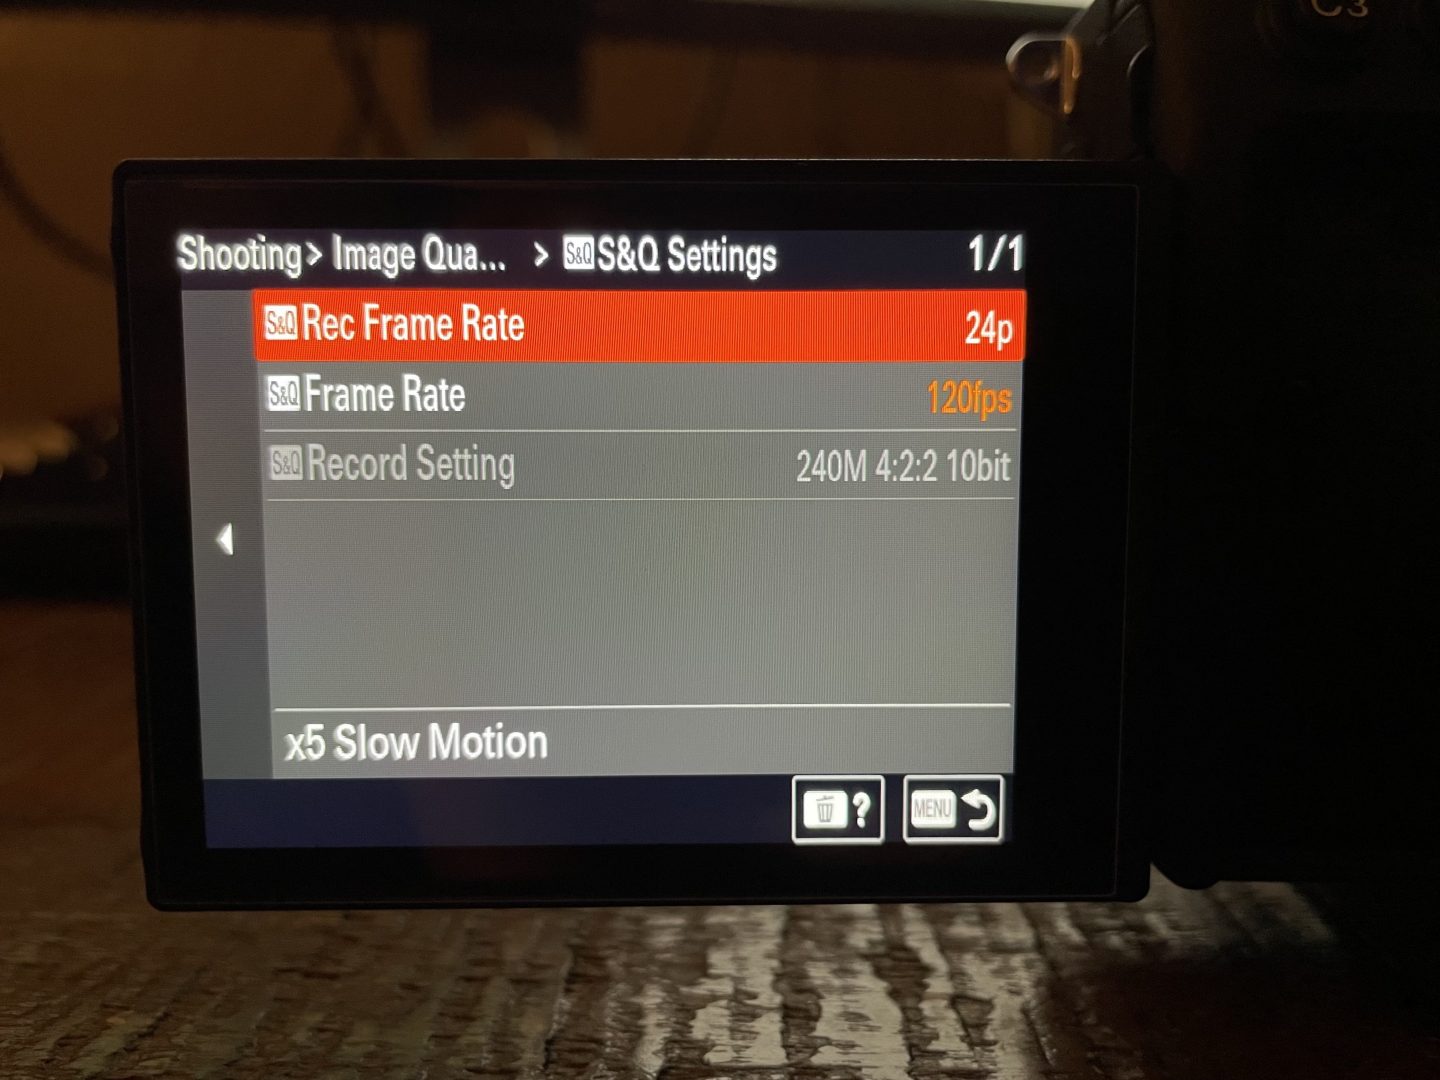
3. Set your S&Q Frame Rate to 120fps. For your S&Q Record Frame Rate, you can select the final frame rate you want your video to be in. I usually use 24p.
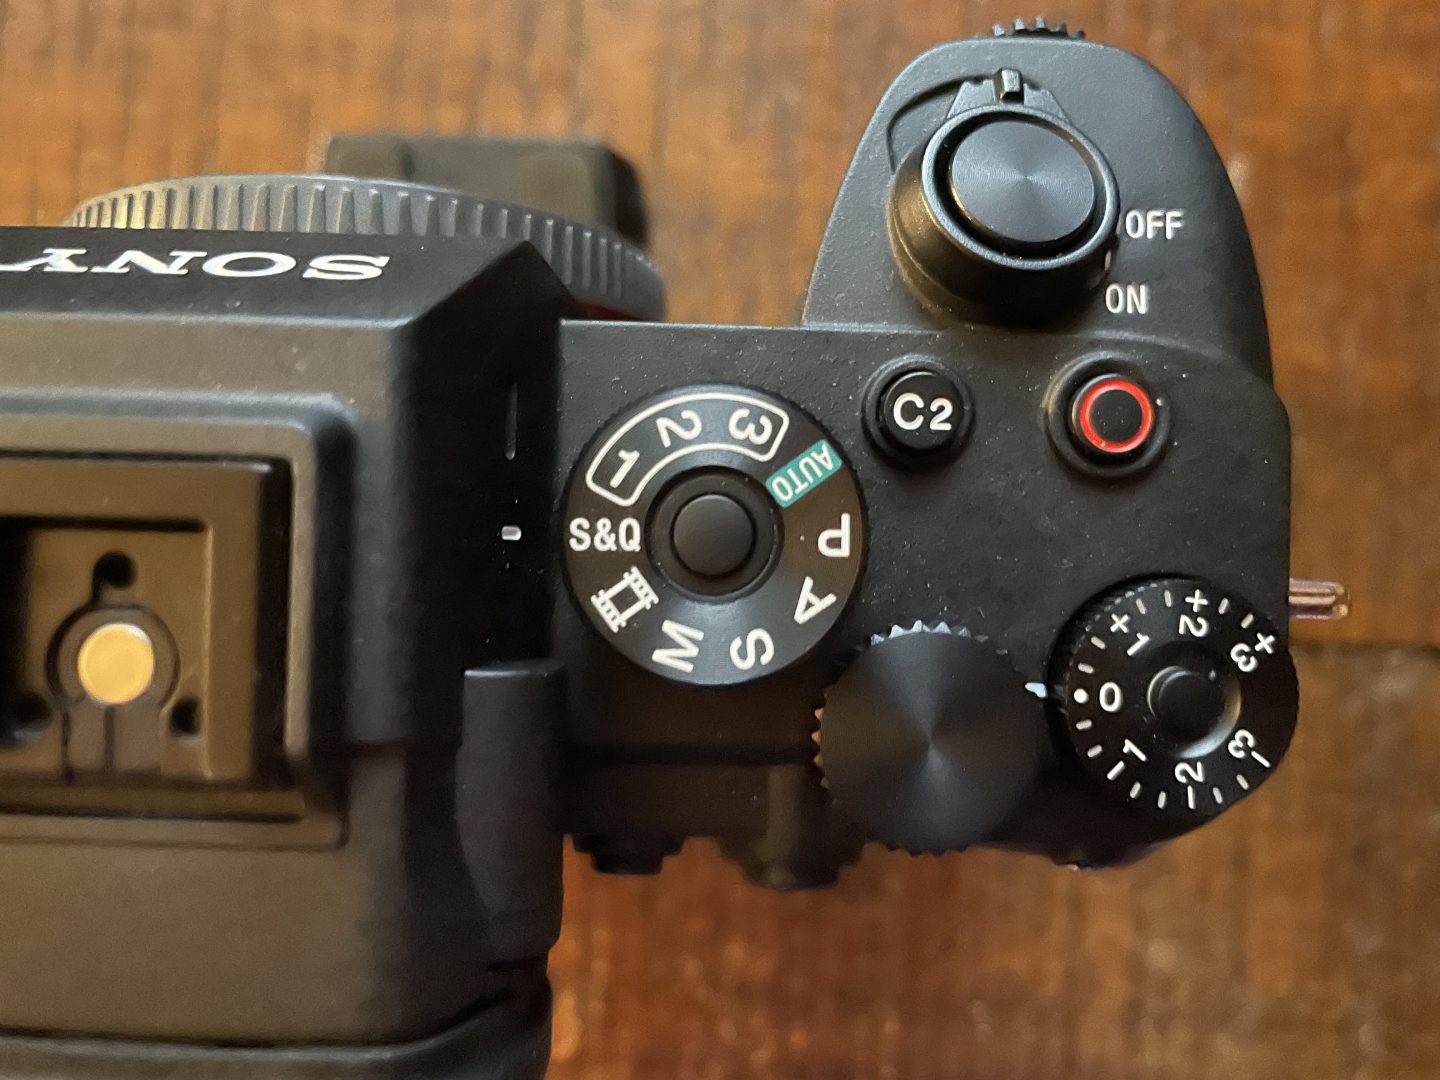
4. Set the mode dial at the top of your camera to S&Q and begin recording. Anything you film will now be in 4K at 120fps in XAVC S-I!
That’s it!
Due to the large amount of data recording in XAVC S-I in 4K generates, you have to use the camera’s S&Q mode to access 4K at 120FPS in XAVC S-I. Please be aware that recording in S&Q mode will disable audio recording, and automatically make the footage slow motion in-camera.
If you still need to record audio with your a7S III while recording in 4K at 120FPS, I recommend avoiding using XAVC S-I and instead using XAVC S or XAVC HS.
TROUBLESHOOTING
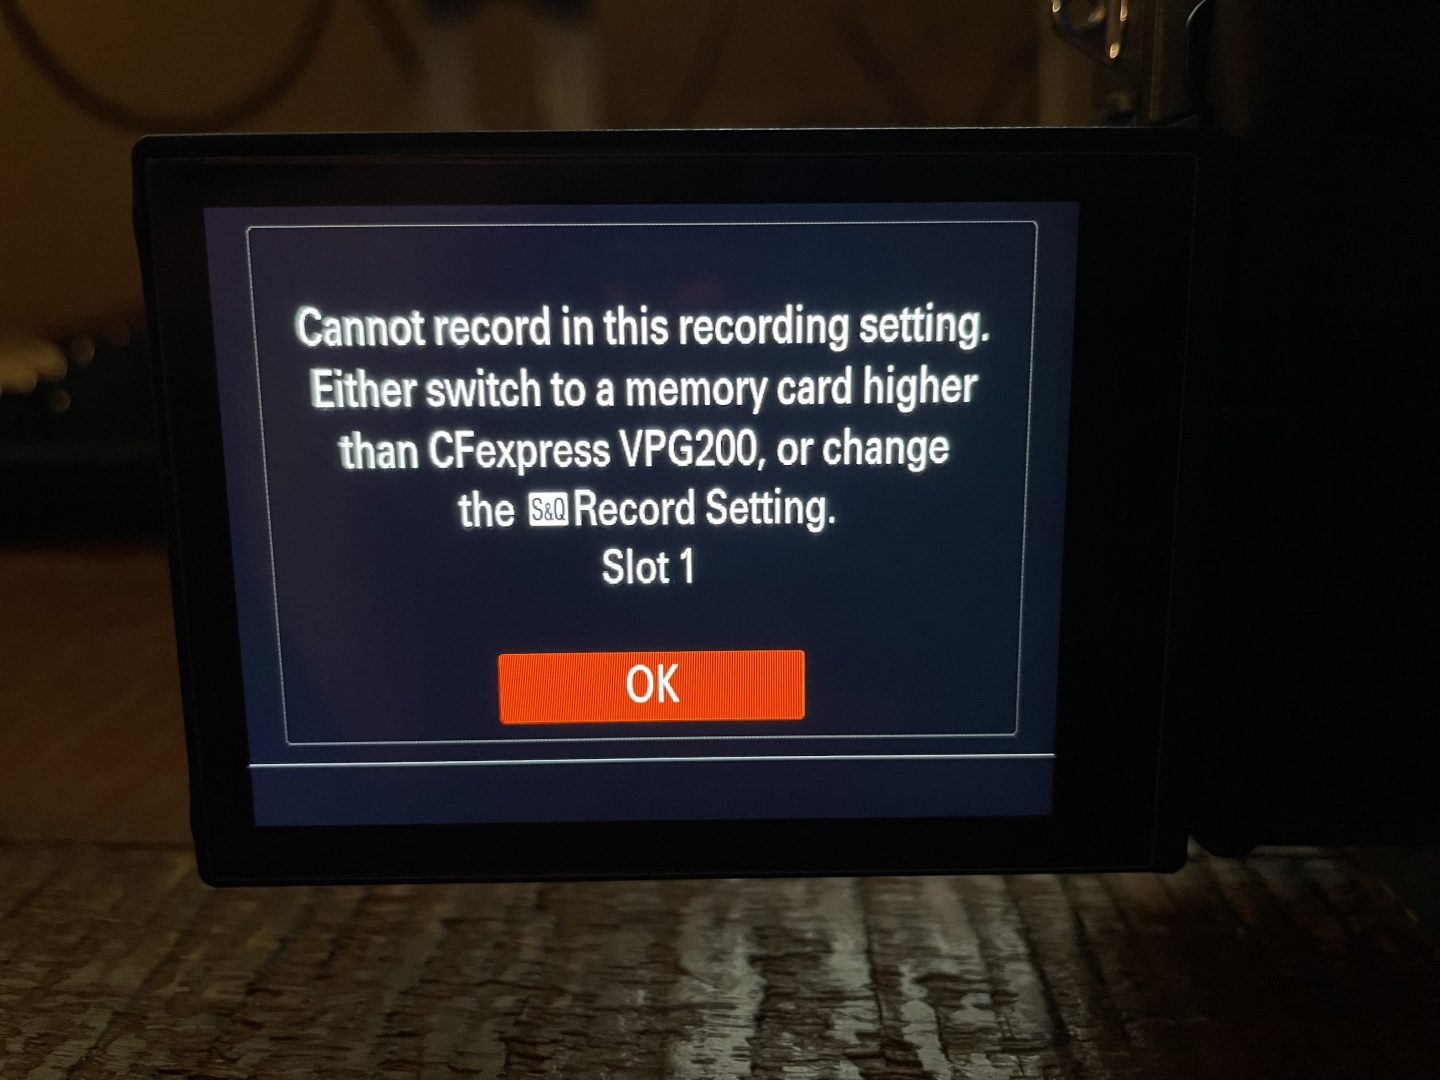
If you receive the error, “Cannot record in this recording setting. Either switch to a memory card higher than CFexpress VPG200, or change the S&Q Record Setting,” this means your memory card is not fast enough to record in XAVS S-I at 4K 120fps.
To fix this issue, you will need to use a CFexpress Type A memory card with your camera. For more information about memory cards for the a7S III, check out my a7S III Memory Cards Guide!
Has this been helpful? Send me a message using the contact form if you have any other questions!