
My name is Matt Johnson, and I am so excited to introduce you to whoismatt Studio 4.0.
You are probably wondering what I mean by 4.0. So let’s start there, and then I will walk you through how this room went from a dingy garage workshop to a space that actually looks and sounds the way I always wanted a studio to look and sound.
Why 4.0?
Because there were three before it.
- Studio 1.0 was a bedroom slash office in Dallas that I converted into a filming space. Which meant one wall was clear enough to film against and everything else in that room was a mess.
- Studio 2.0 was a dedicated recording room after we moved, which worked well, except it was about ten feet by eight feet, so there was no room to really set up a background. And we were renting, so I could not modify anything.
- Studio 3.0 was half of our master bedroom after we bought a house. I filled it with recording equipment and sound blankets and made it look pretty decent, working with the green wall paint my wife wanted for the master bedroom. So if you ever wondered why the background was green in those videos, that was not a stylistic choice on my part. That was keeping my marriage happy.
And that brings us to 4.0, which as you can see is a lot bigger. There is actually about another ten feet behind the camera that you have not seen yet.
The Transformation
This space looks great now. It did not look great a year ago.
When we bought this house, this was a workshop attached to the main garage. Cheap wood paneling, concrete floors, stained drywall, you name it. There were a lot of issues.
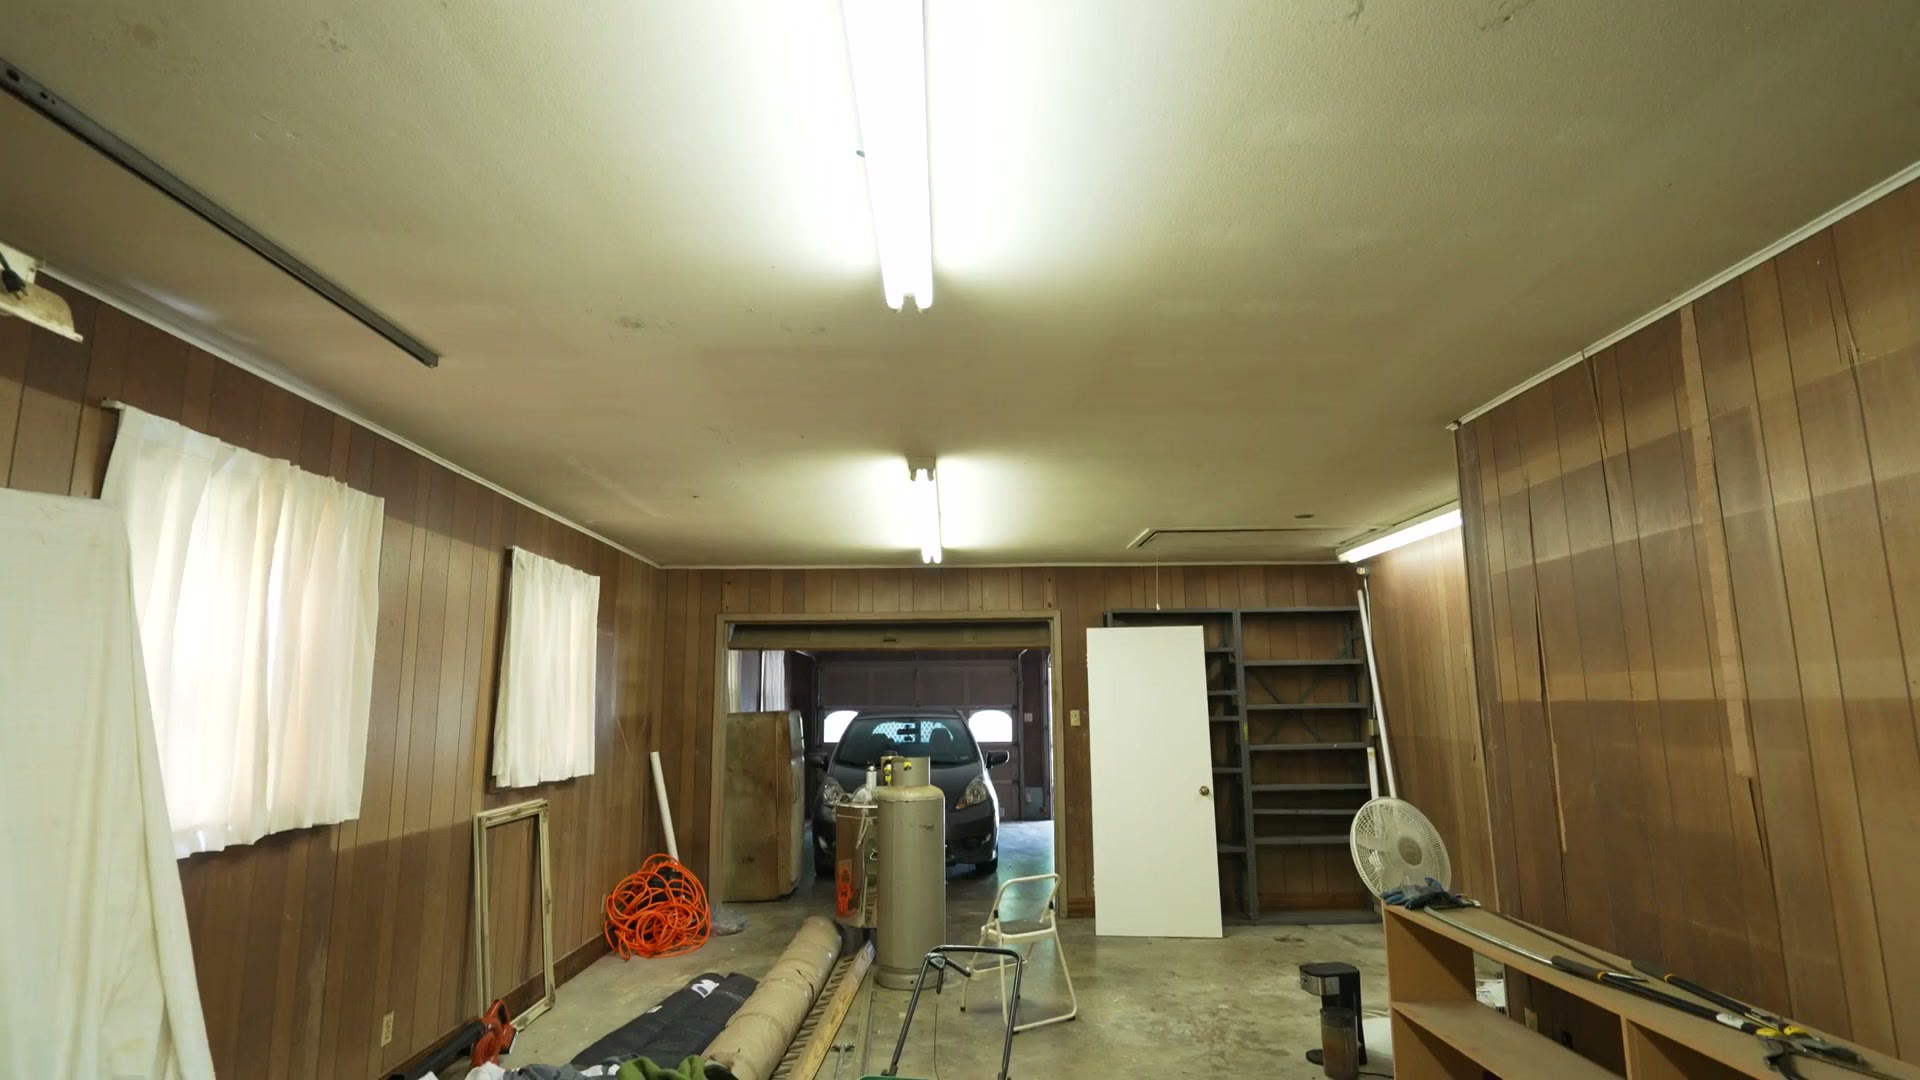
So over the past year or so I have been chipping away at it. Every few nights I would come out here, tear down some wood paneling, pull out some insulation. Once that was done I had a large hole in one wall where a garage door used to open into the garage, so my dad and I framed up a wall and closed it in.

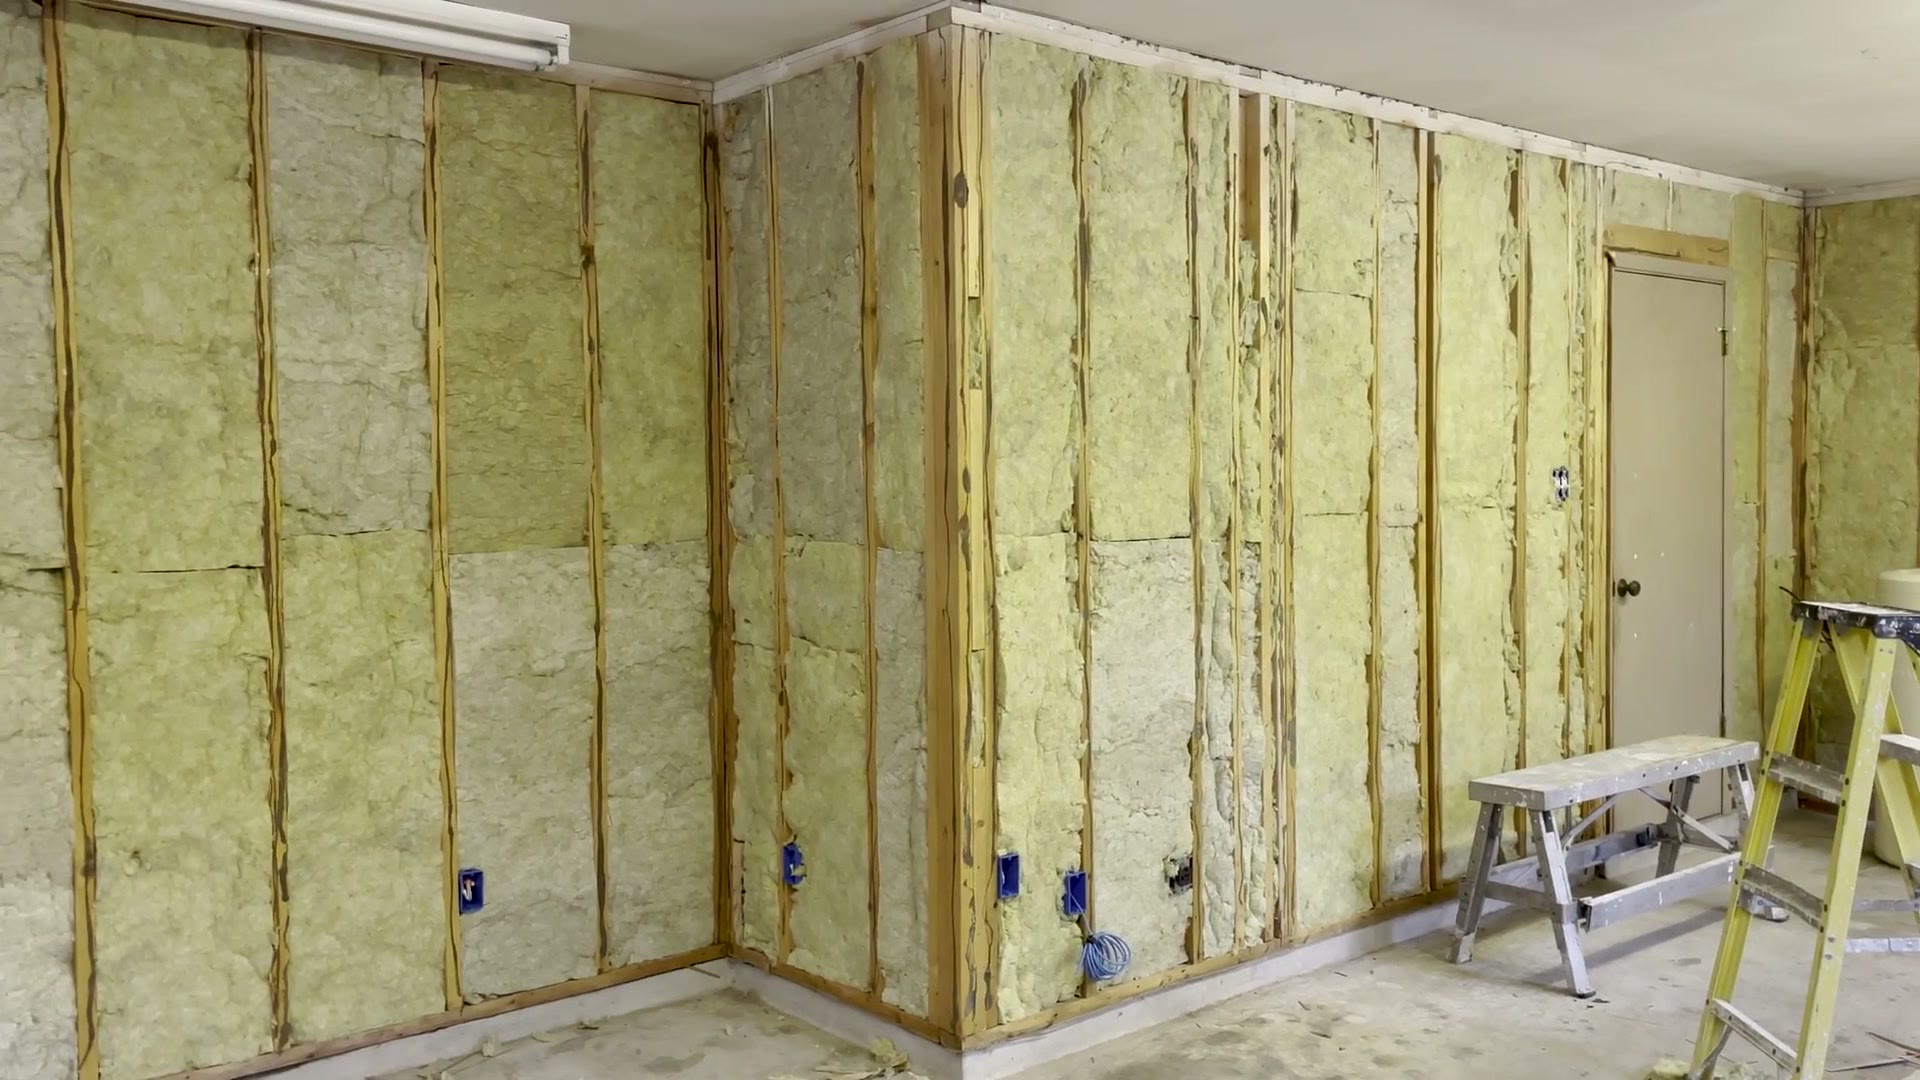
Then insulation, and thankfully we were able to get Rockwool. If you have done any home building you know Rockwool is really good for soundproofing, and the result is that this room is not bothered by the street or cars at all.
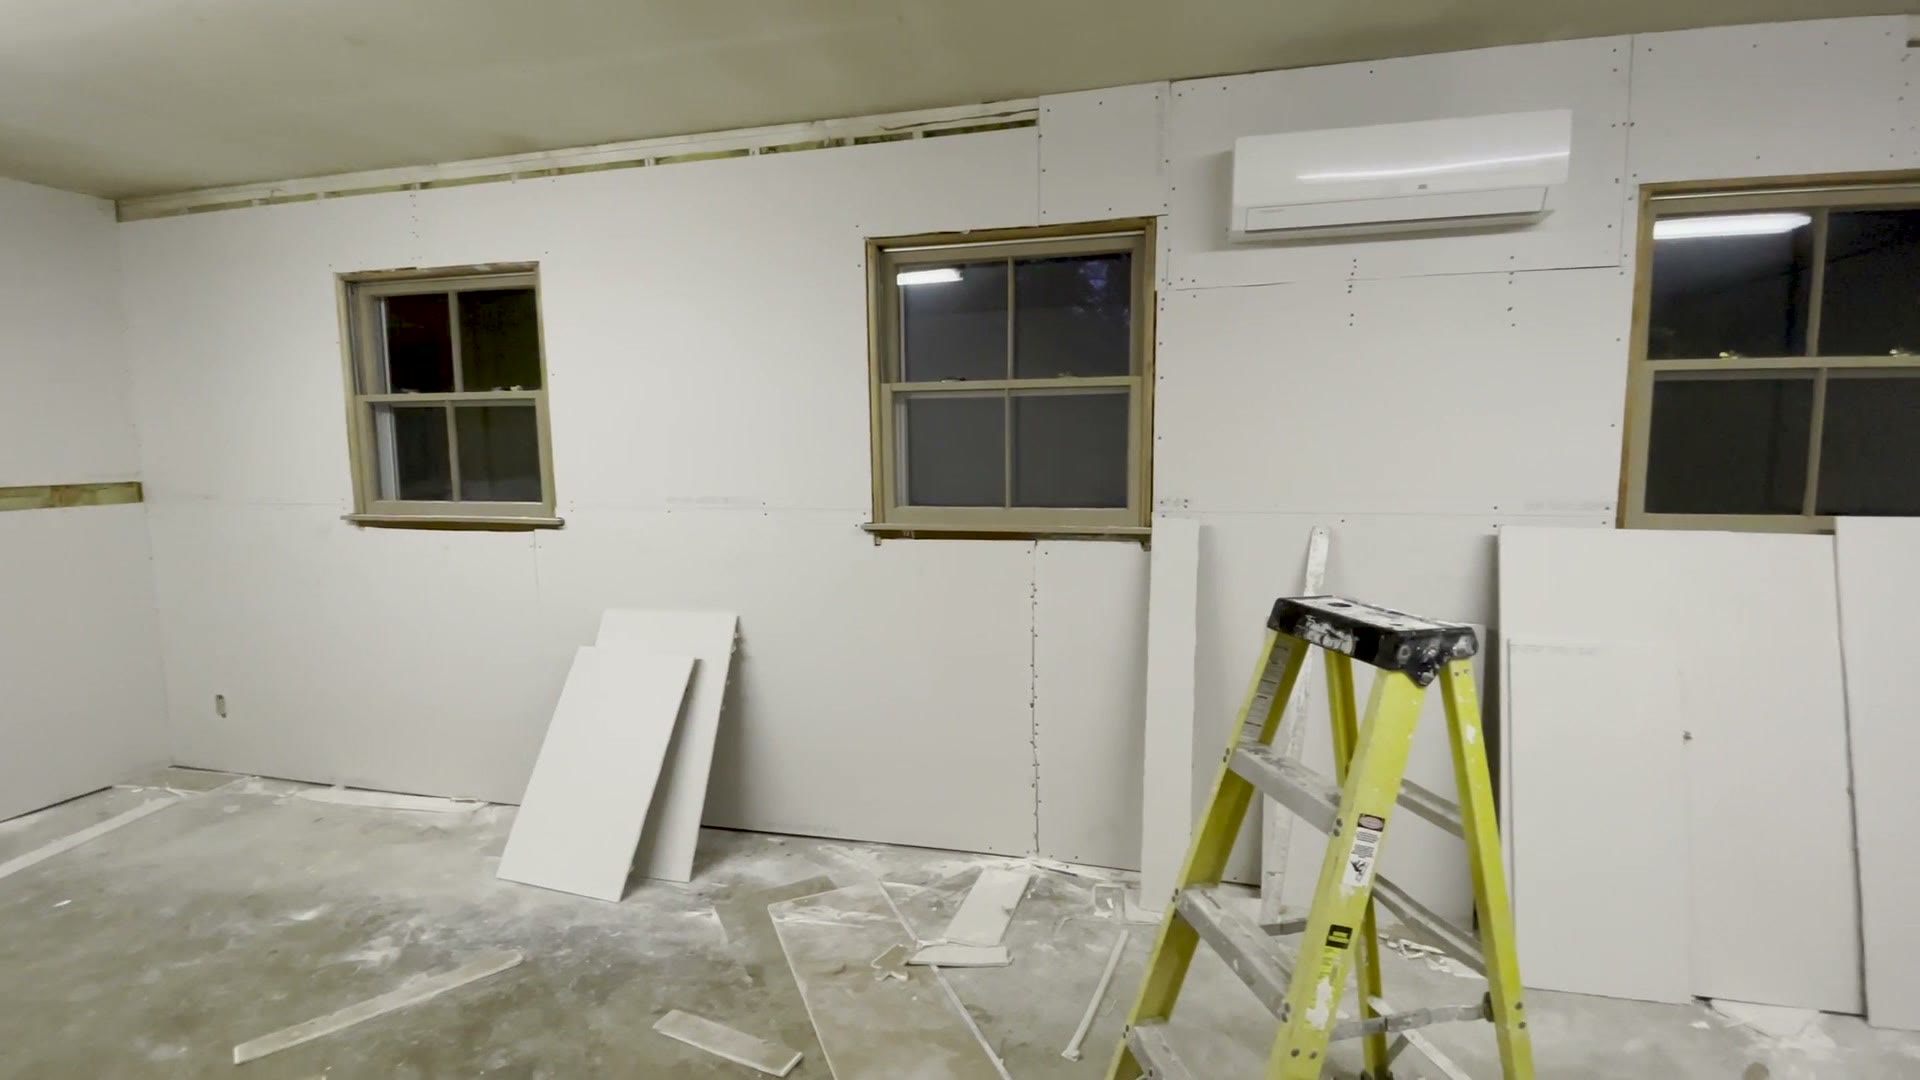
I also put in a mini split AC unit to keep the room cool, because this space is not on the main house air conditioning. It is on right now. Can you hear it? No. It is fantastic.
Little side note for you if you are ever thinking about building out a YouTube space in a shed or a garage: get a mini split. Super quiet, super efficient, I do not even hear it, and I can record with it running. No sweat. Huge fan.
Then new drywall, and re-texturing all of the drywall including the ceiling to cover up the imperfections. At that point the room was a blank slate and I could do whatever I wanted with it.
Sound Treatment For BAD Echo & Reverb
Which led straight into the next problem. The sound.
I think it sounds fantastic in here now. It did not always. Concrete floors, bare walls, and only an eight foot ceiling. This room had tons of echo.
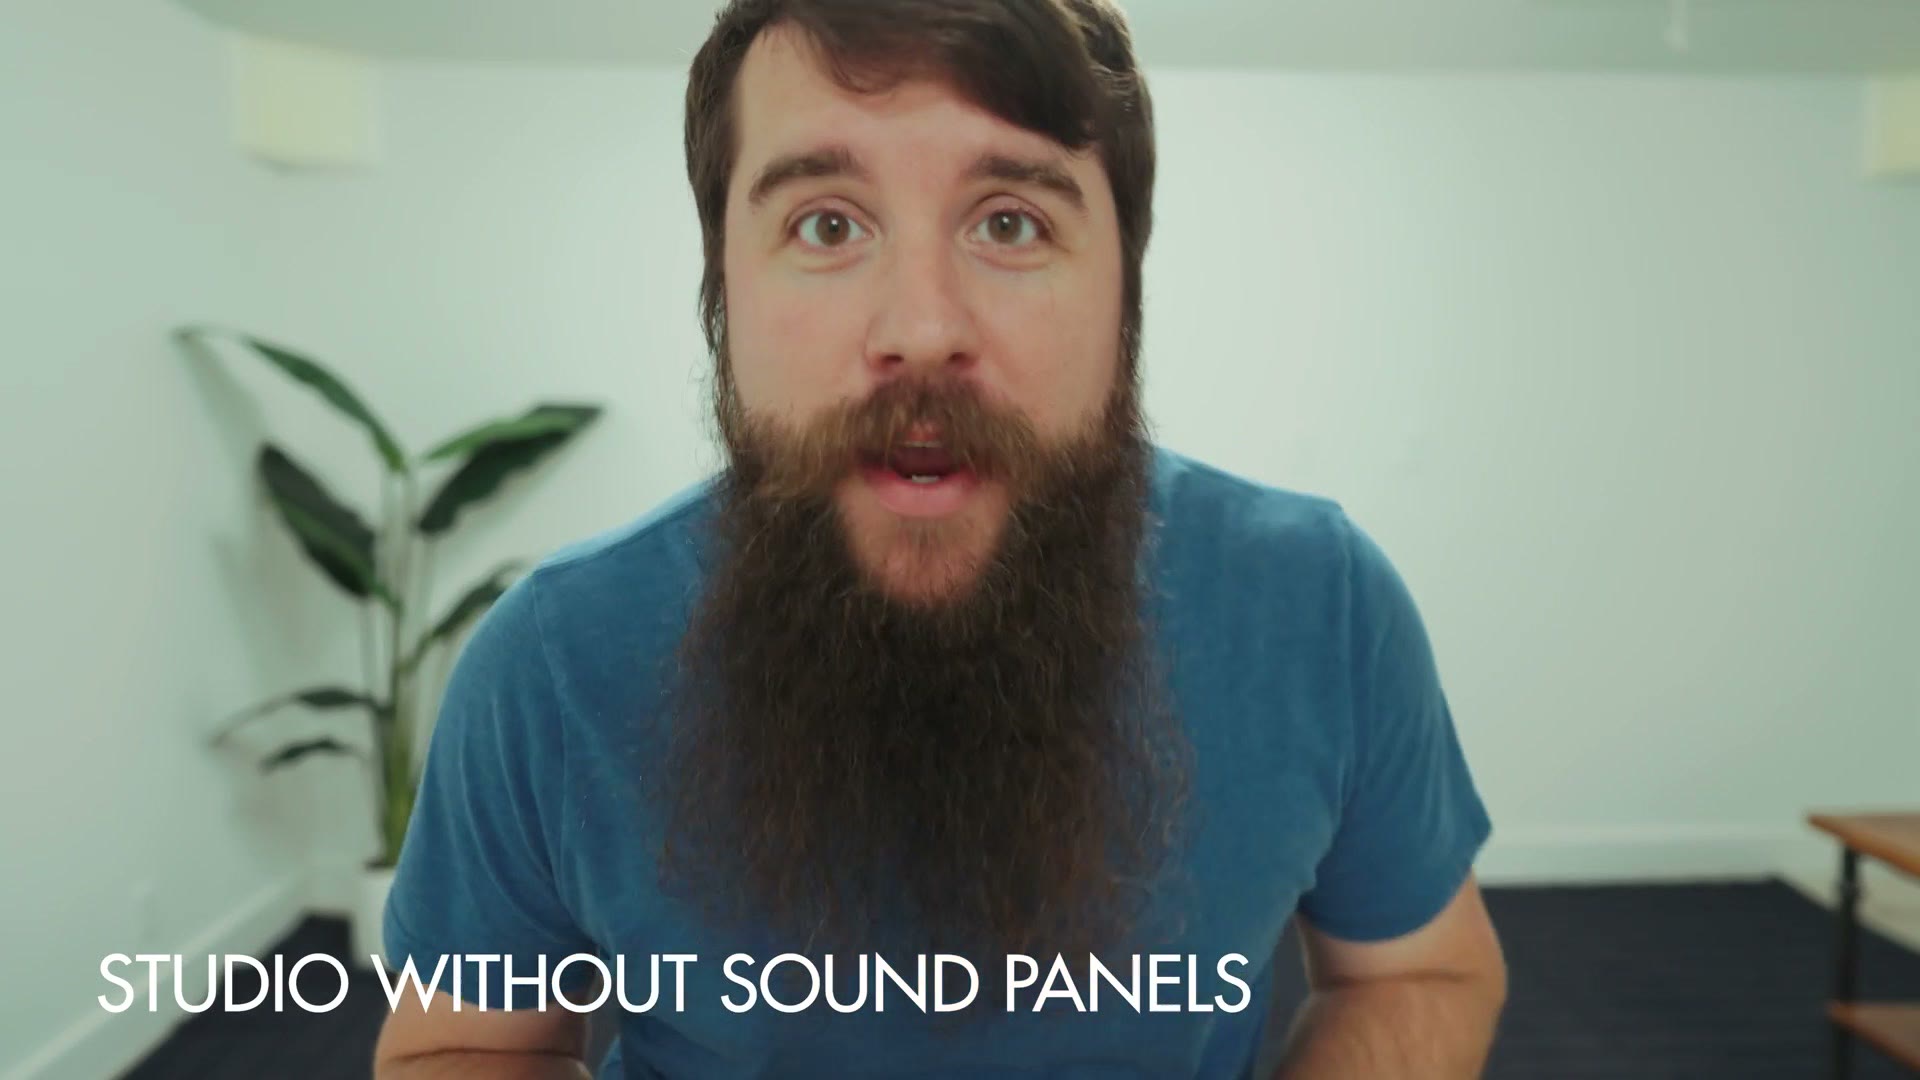
It was bad enough that I put up the sound blankets I had used in the master bedroom, and because the ceilings were so low and there was no carpet, there was still a crazy amount of reverb. Blankets were not going to fix this. And I wanted a lighter aesthetic in here anyway, so covering the walls in sound blankets was never going to be the look.
So I went with a crapload of acoustic panels instead. Heads up: you can't buy GIK acoustic panels on Amazon, so this link goes to an equivalent, the Acoustimac DMD panel. I believe there are 26 of them in this room, and they helped enormously.

Thin panels versus thick panels
Worth talking about for a second, because I got this wrong first.
I originally thought I could buy little square sound panels like this one. And hey, they do absorb some sound. But not a ton. They are a band aid. They are okay. If you have a room this size with this much reverb, you have to go more advanced than that.
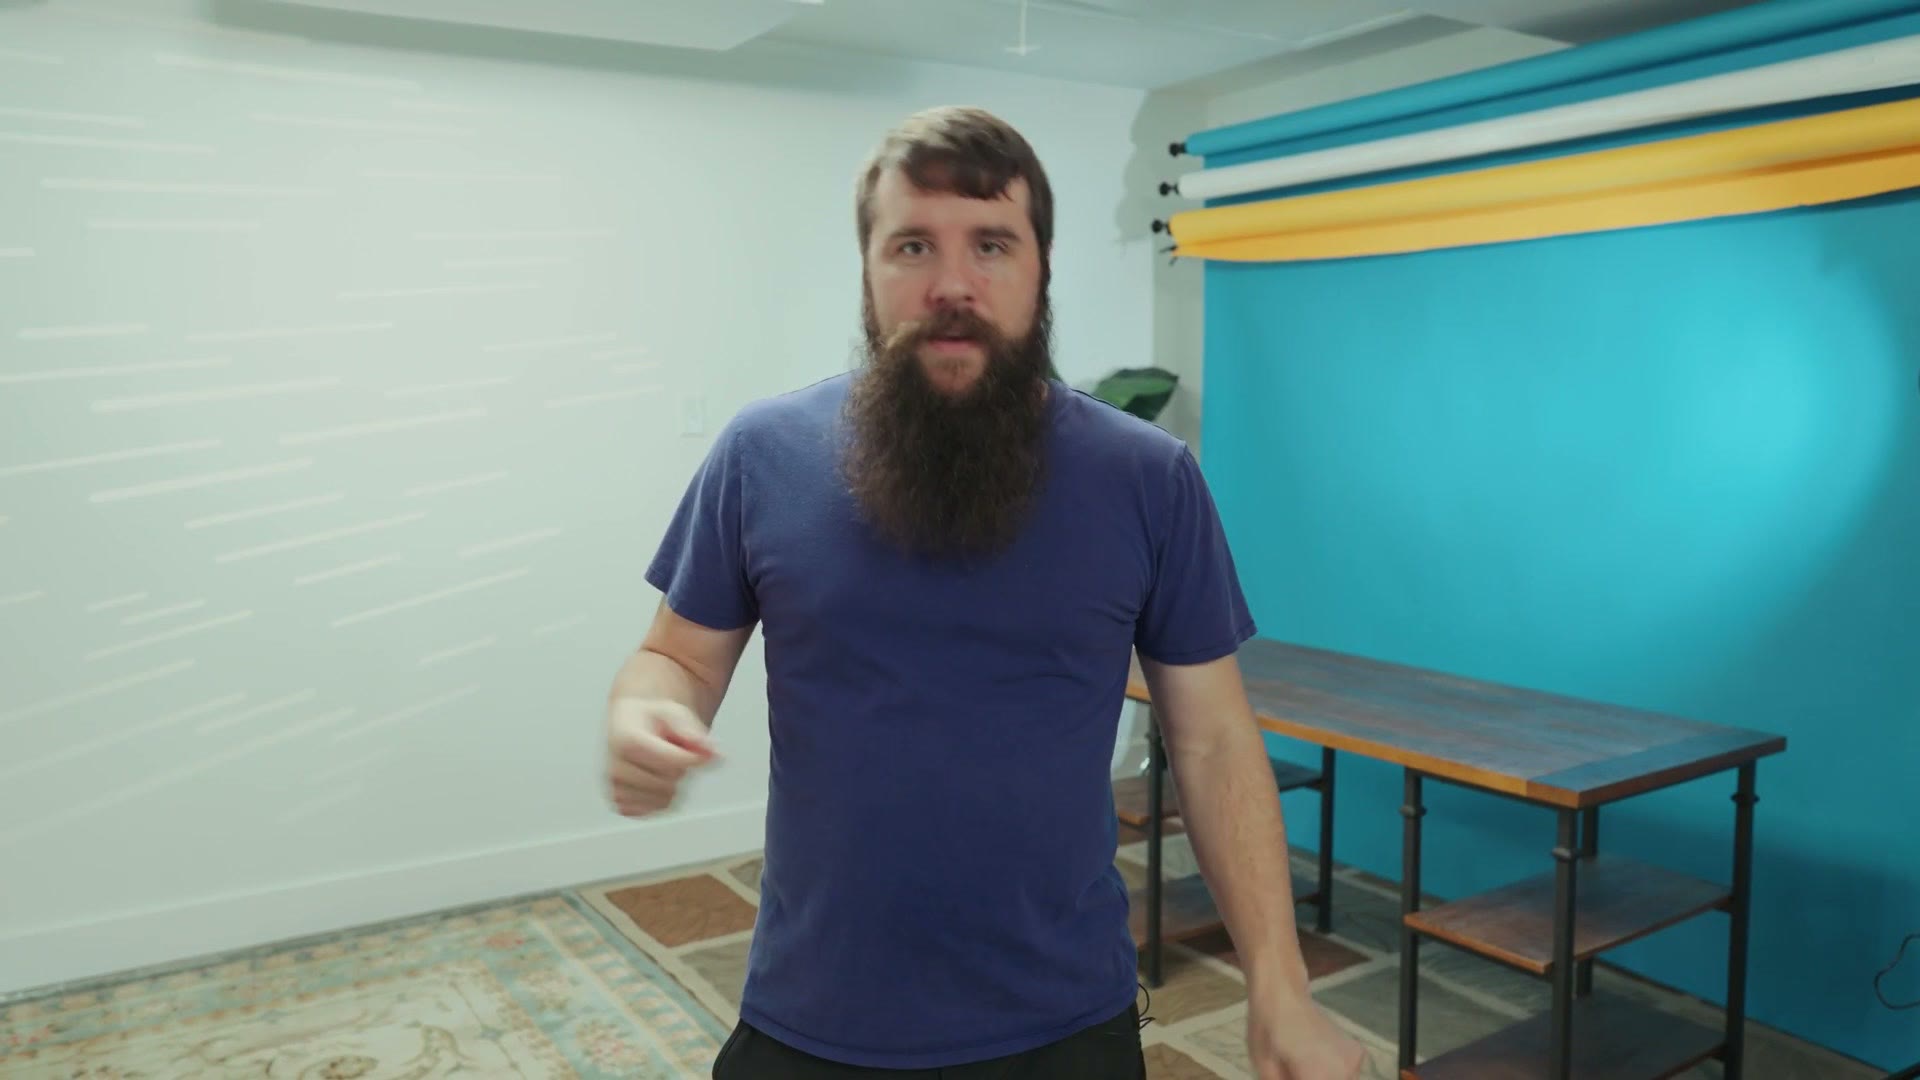
So I went thicker. Hold a thin one up and talk into it and you hear a little reduction. Hold the thick one up and talk into it and it just kills the sound and the reverb. I love it.
The extra thickness gets you noticeably better absorption, and the ones I picked are close enough in color to the walls that they disappear, which mattered to me because I wanted a very white aesthetic in here. Put enough of them up in your room and you will hear a huge difference. I am very, very happy with them.
Rugs and curtains, which do more than you would think
I also put down all of these rugs, many of which were donated by family or friends. My mom found one in a dumpster and I said perfect. They are all over the place, but I think it looks cool and it has character, and I can always swap them out later for bigger ones or different colors.
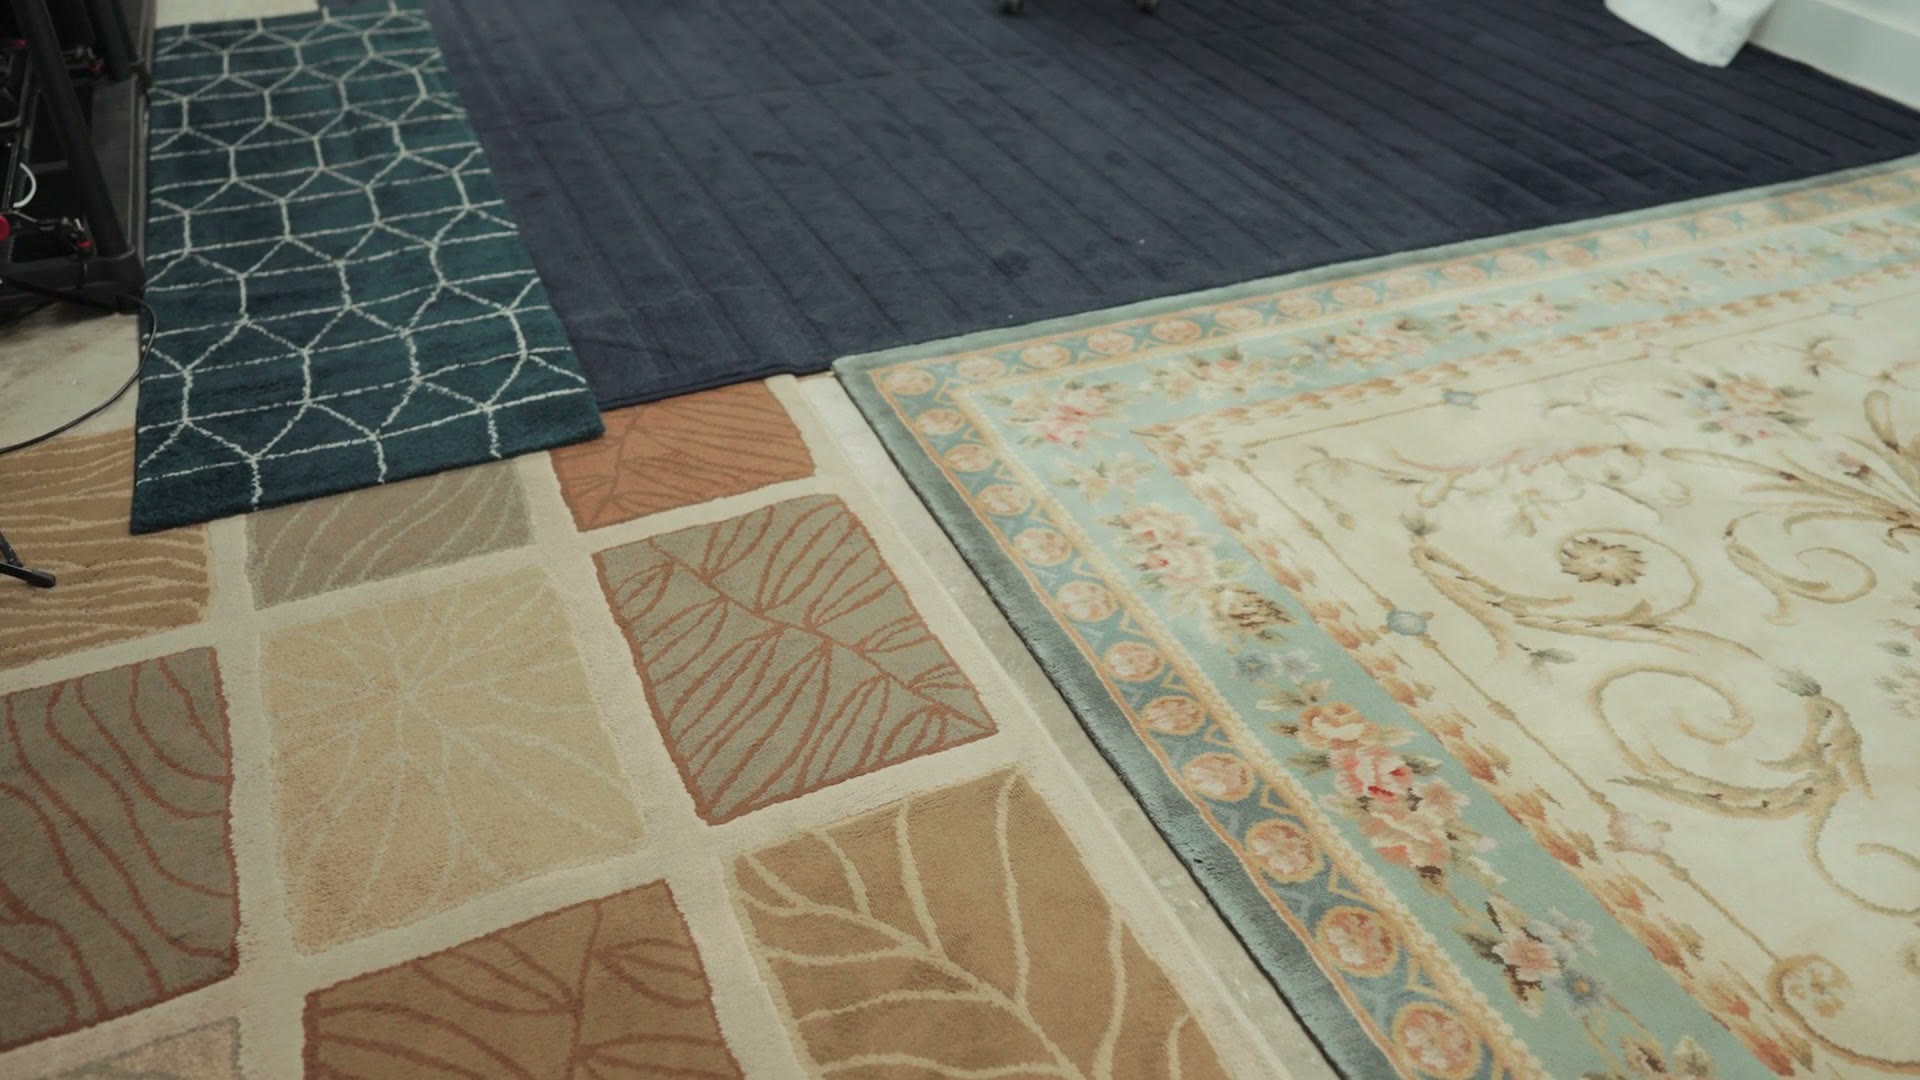
Right now they are doing their job, killing a lot of the echo off that concrete, and I am happy about it.
Last piece: even with all the panels up I was still getting echo and slap. So I invested in floor to ceiling curtains for every window, and those really killed a lot more of it.

These came from Target, I believe. Lots of Target stuff in here. You cannot go wrong buying cheap stuff from Target. And these are room darkening, so between the window shade and the curtain on top of it, I can black this place out completely.
Which is genuinely useful, because it means I can shoot on purely artificial light and a video I film at night looks identical to one I film at noon. I do have the option of opening up four windows and letting natural light in, but I am usually recording after my kid has gone to sleep, so covering everything up and controlling the light myself works better.
Lighting & Background
Speaking of light. Before, there were fluorescent tubes up there, which are not the prettiest thing in the world.

I wanted something with a clean light color, so we put up these instead. I am using them for this walkthrough because we are talking about the room, but normally they are off and I am lighting with actual studio lights.
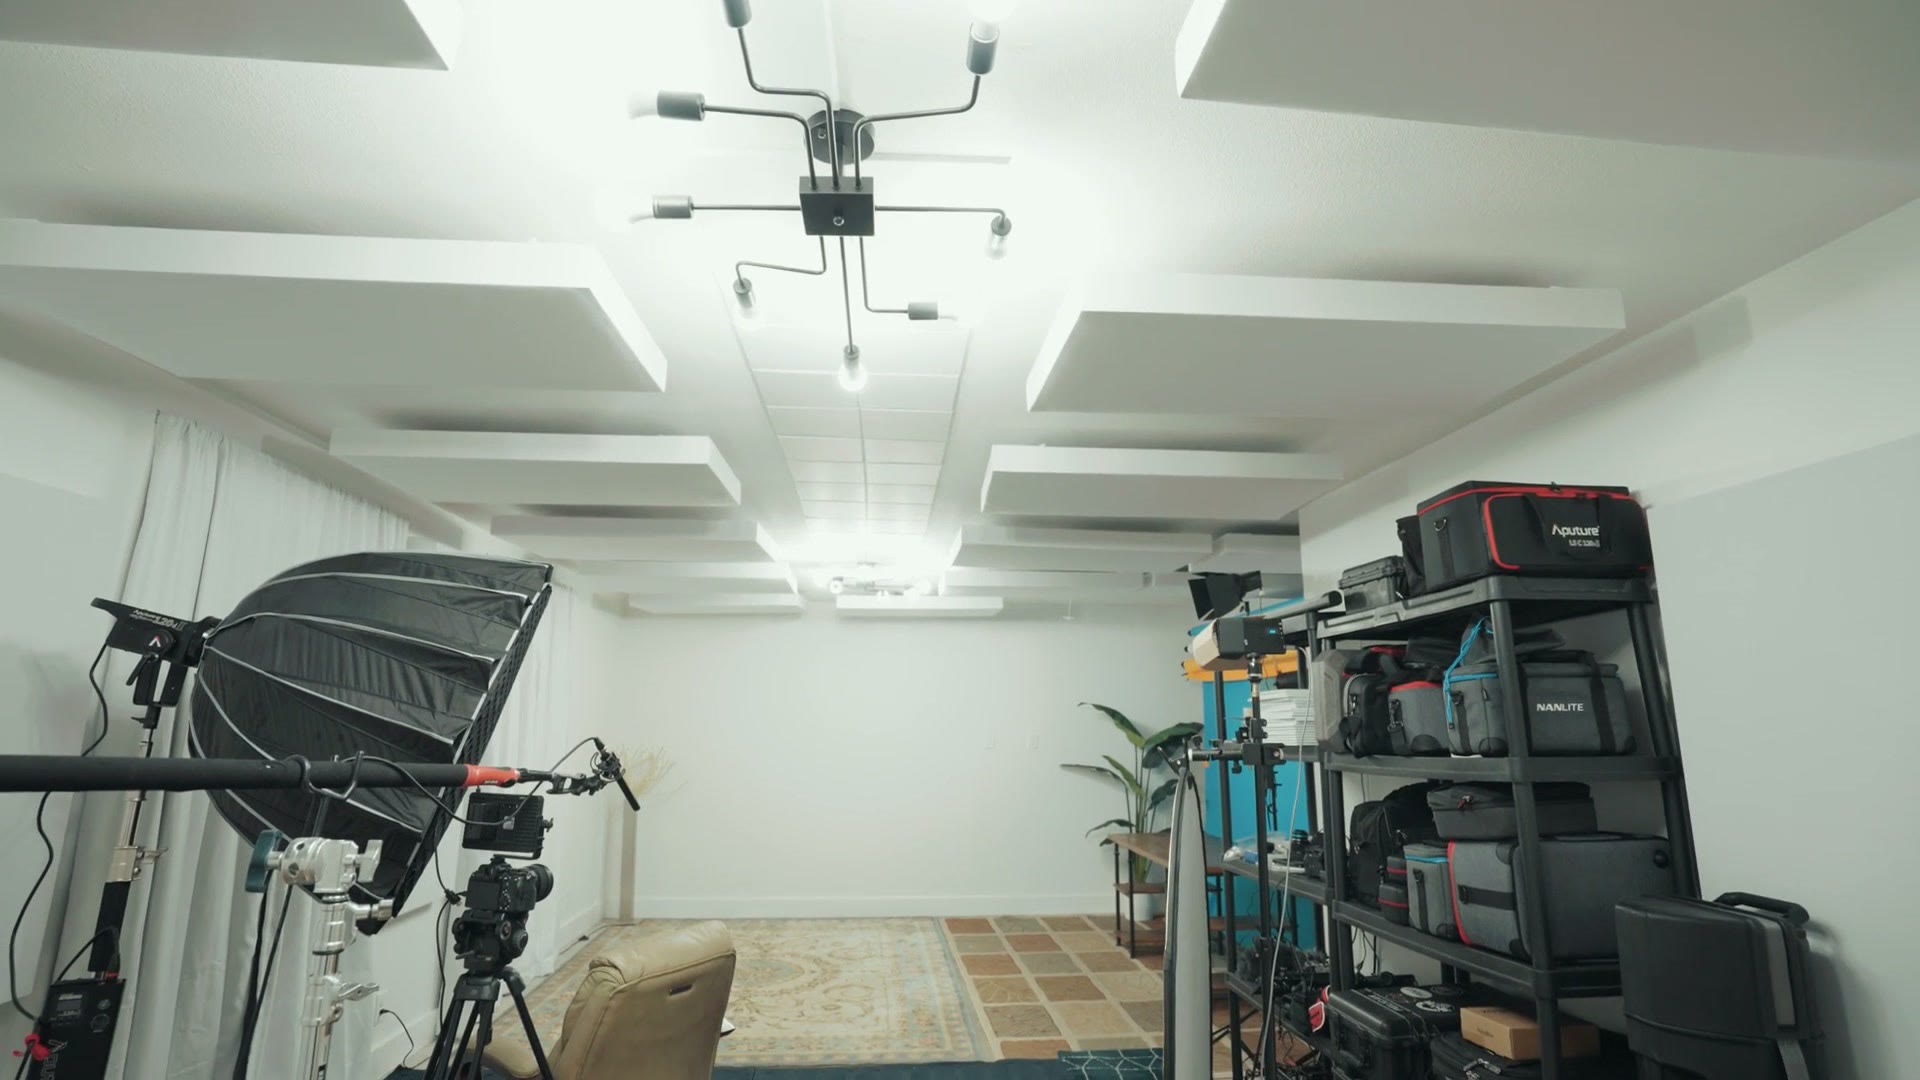
Now that you know how the room got built, let’s talk about how it is set up.
First thing you should notice: the old Medusa lamp. Why would we not have the iconic lamp that has been in all of my videos? It has got to be here. Love it, love it, love it, love it.

Over here is my old desk, the one I used to edit on in the office. That has been replaced by a standing desk, and there is a whole video touring that setup (written up here) if you want it. So this desk lives in here now as a place to put products or whatever else I am talking about on camera.
Next thing you are going to notice is the paper backdrops. I always wanted paper backdrops and never had a big enough space for them. Finally do. So we have blue, we have orange, we have white.

And I kind of want more. I kind of want a green screen green. There are so many things I could go crazy with here. But we are starting with three, and I really love how they look, especially when you throw a light across one.
Also, there is a plant. To be clear, the plant is fake. From Target. Because there is no natural light coming in here. Rachel is now informing me that I could invest in grow bulbs that would actually let a real plant photosynthesize in here, but I am not trying to grow things. I just wanted the cool background thing.

Why I Love DEPTH
One of the main reasons I wanted this room was its length.
Come with me down this way and there is storage for everything, which is never really going to be on camera. If it is, no big deal, but it is not exactly aesthetically pleasing. Just tons and tons of bags and cases, a charging shelf, sliders, tripods, monopods, and every other accessory I own.
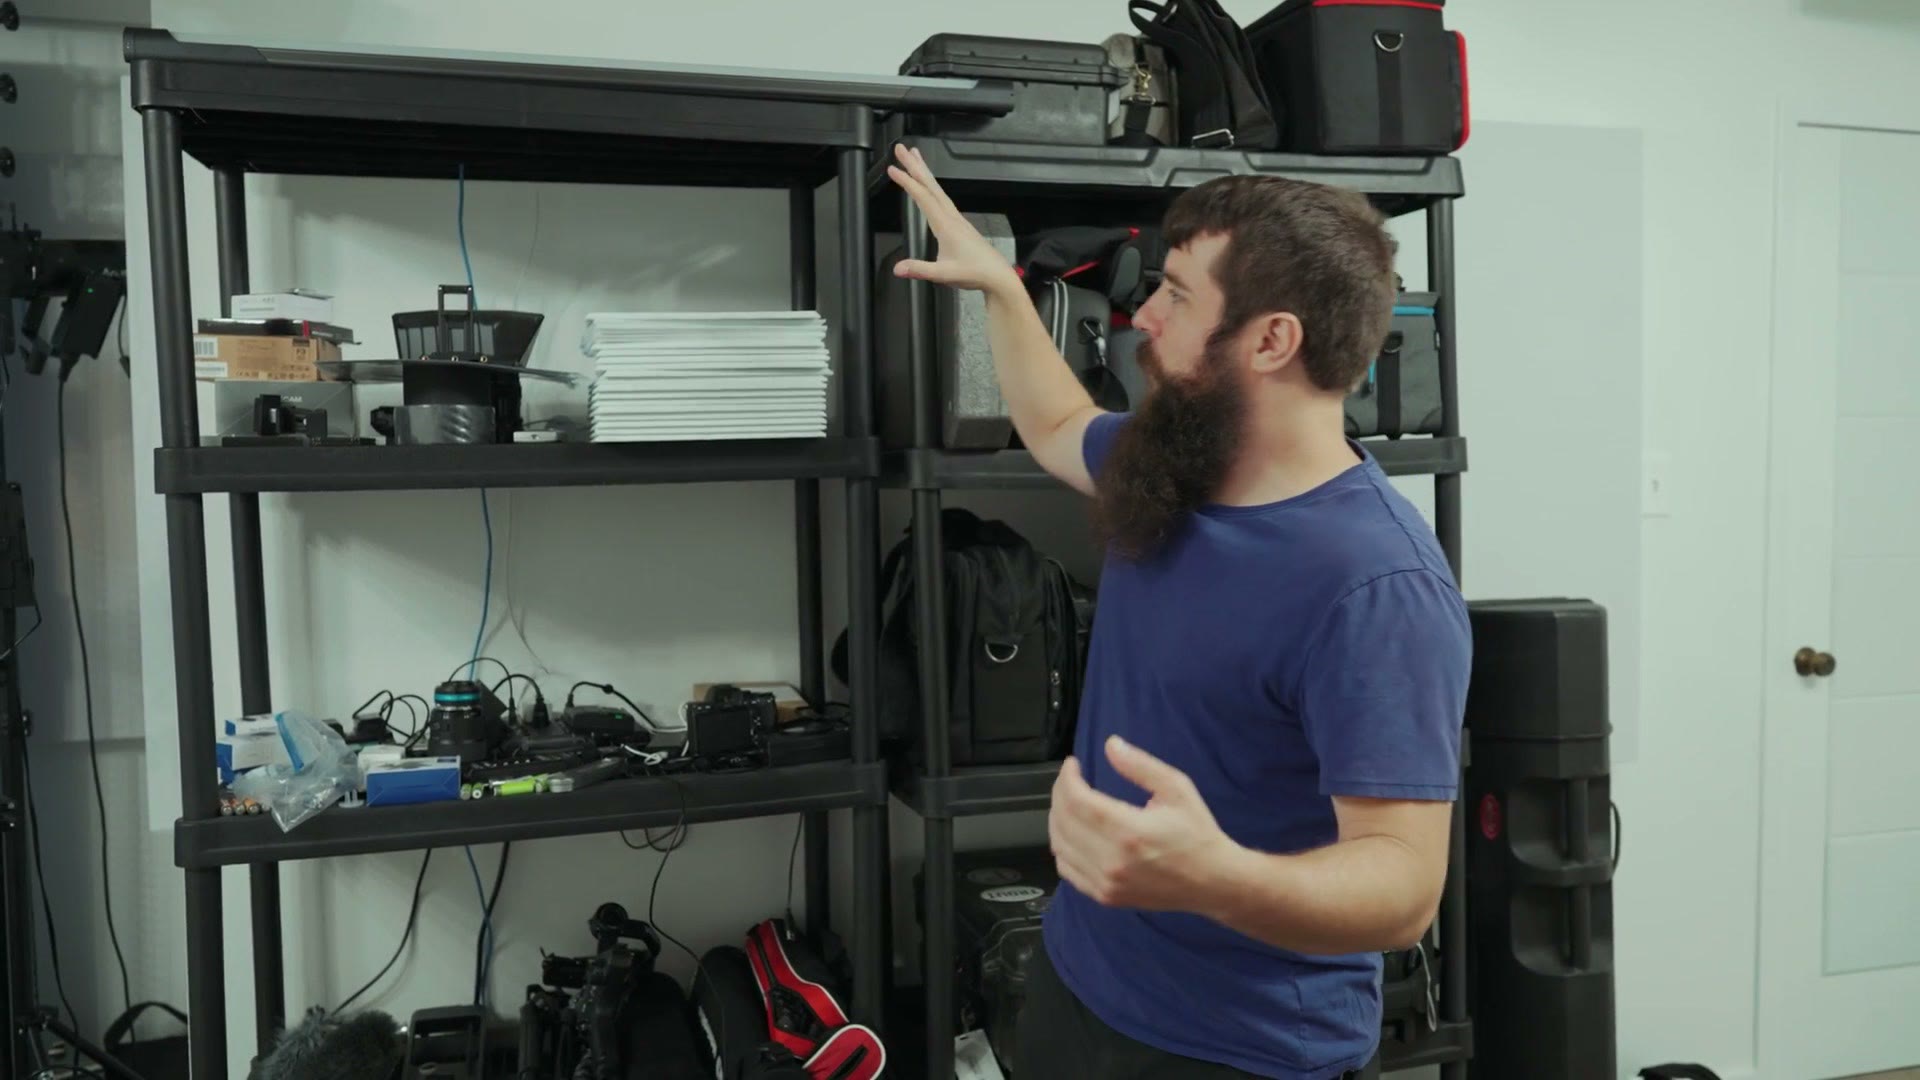
And then it keeps going. There is more room past that. There are more sound panels back here, because I am usually talking in this direction and I wanted that sound absorbed rather than reflected back at me.
The rugs get significantly more eclectic at this end, by the way. Here we have rooster rugs. Chicken rugs. I just needed rugs for the floor, okay? Let’s not worry about it. These might get replaced eventually, but hey, they are absorbing sound right now, and that is character. Character.
Which leads into the filming area. All of this is a filming area, but you know what I mean, the part where I am usually sitting on camera.
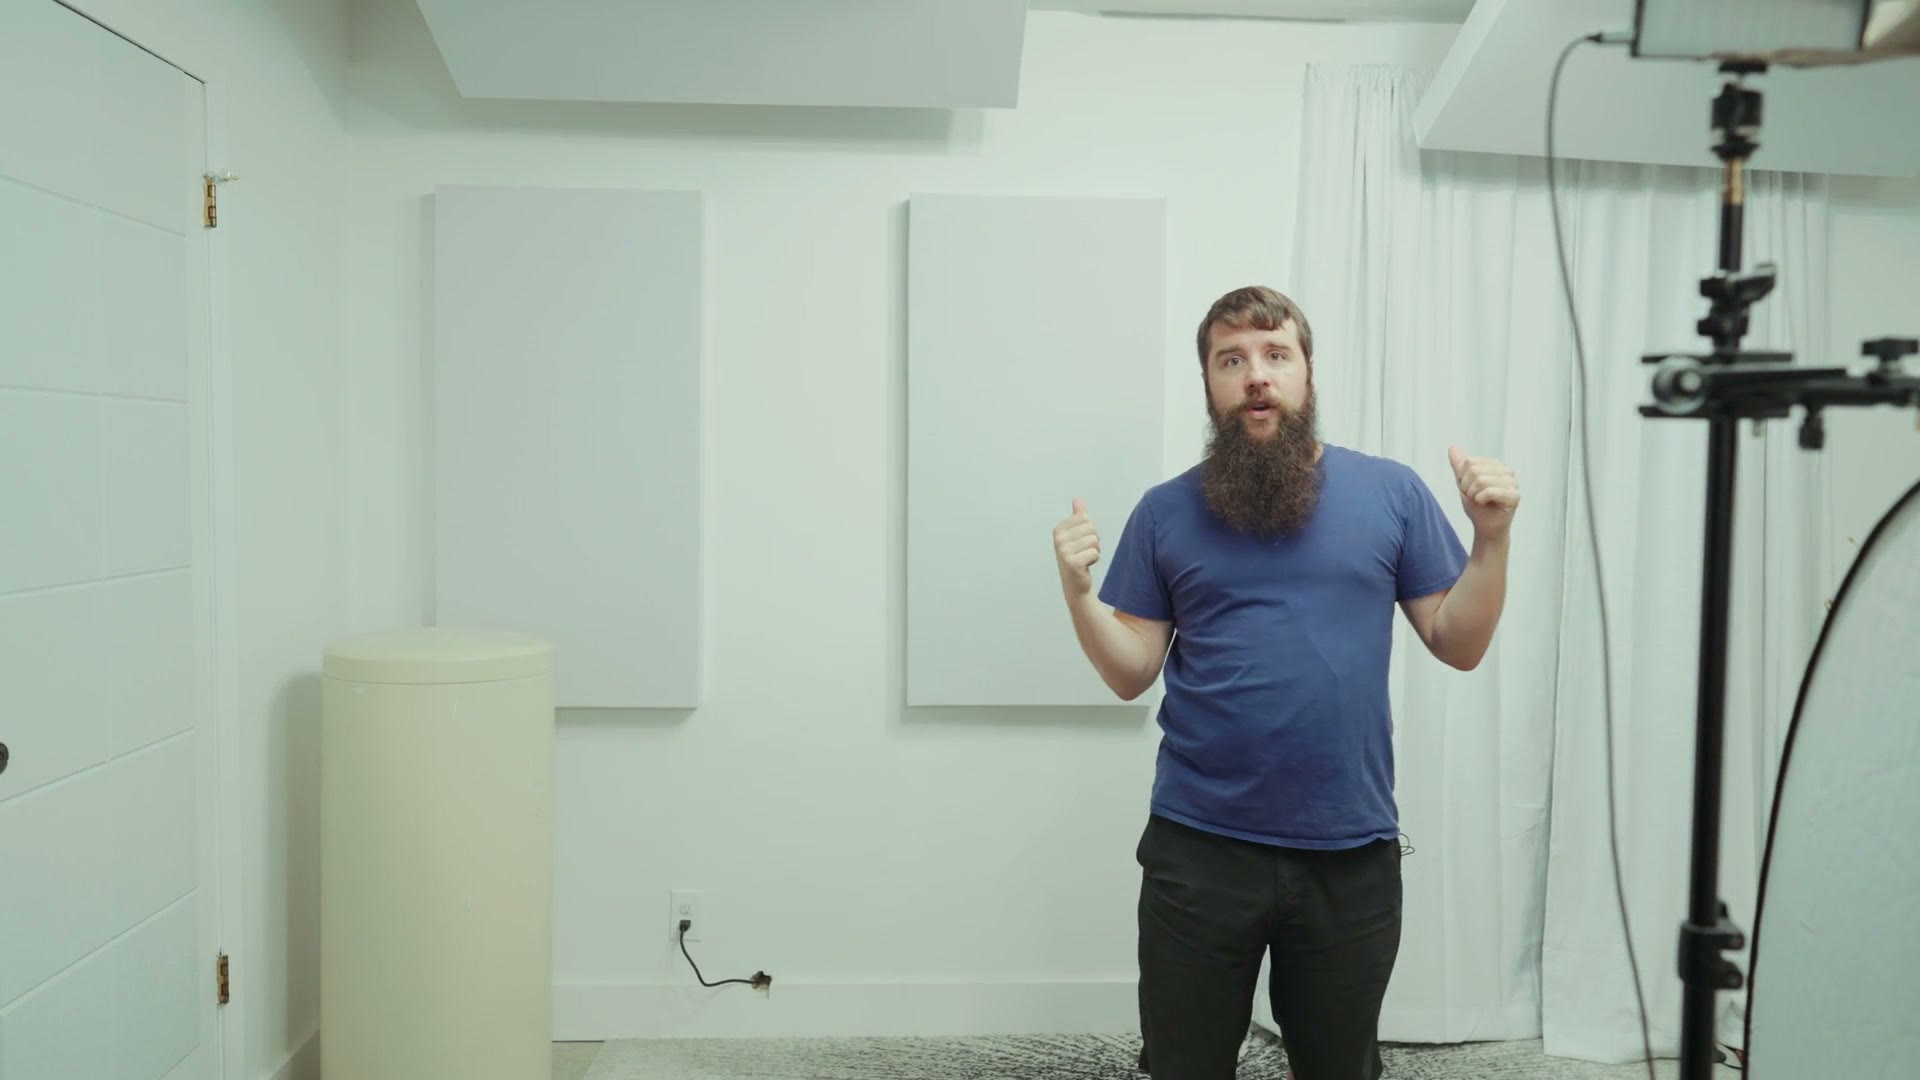
Look at the depth of this room. It is crazy. I love it. This was the main thing I saw the second I walked into this house and into this room. I love this depth, because I have so much space to add layers behind me.
I say that having not really set up any layers yet. But hey, a studio is a work in progress. This is version 1.0 of Studio 4.0.
Video & Audio Gear
C-stand holding a boom arm holding a microphone. And the boom arm is actually a painter’s pole I bought at Home Depot in 2009, still going strong 13 years later. To be clear you can buy a cheap boom pole on Amazon these days, but back then there were not many cheap boom poles, so I had to get creative.
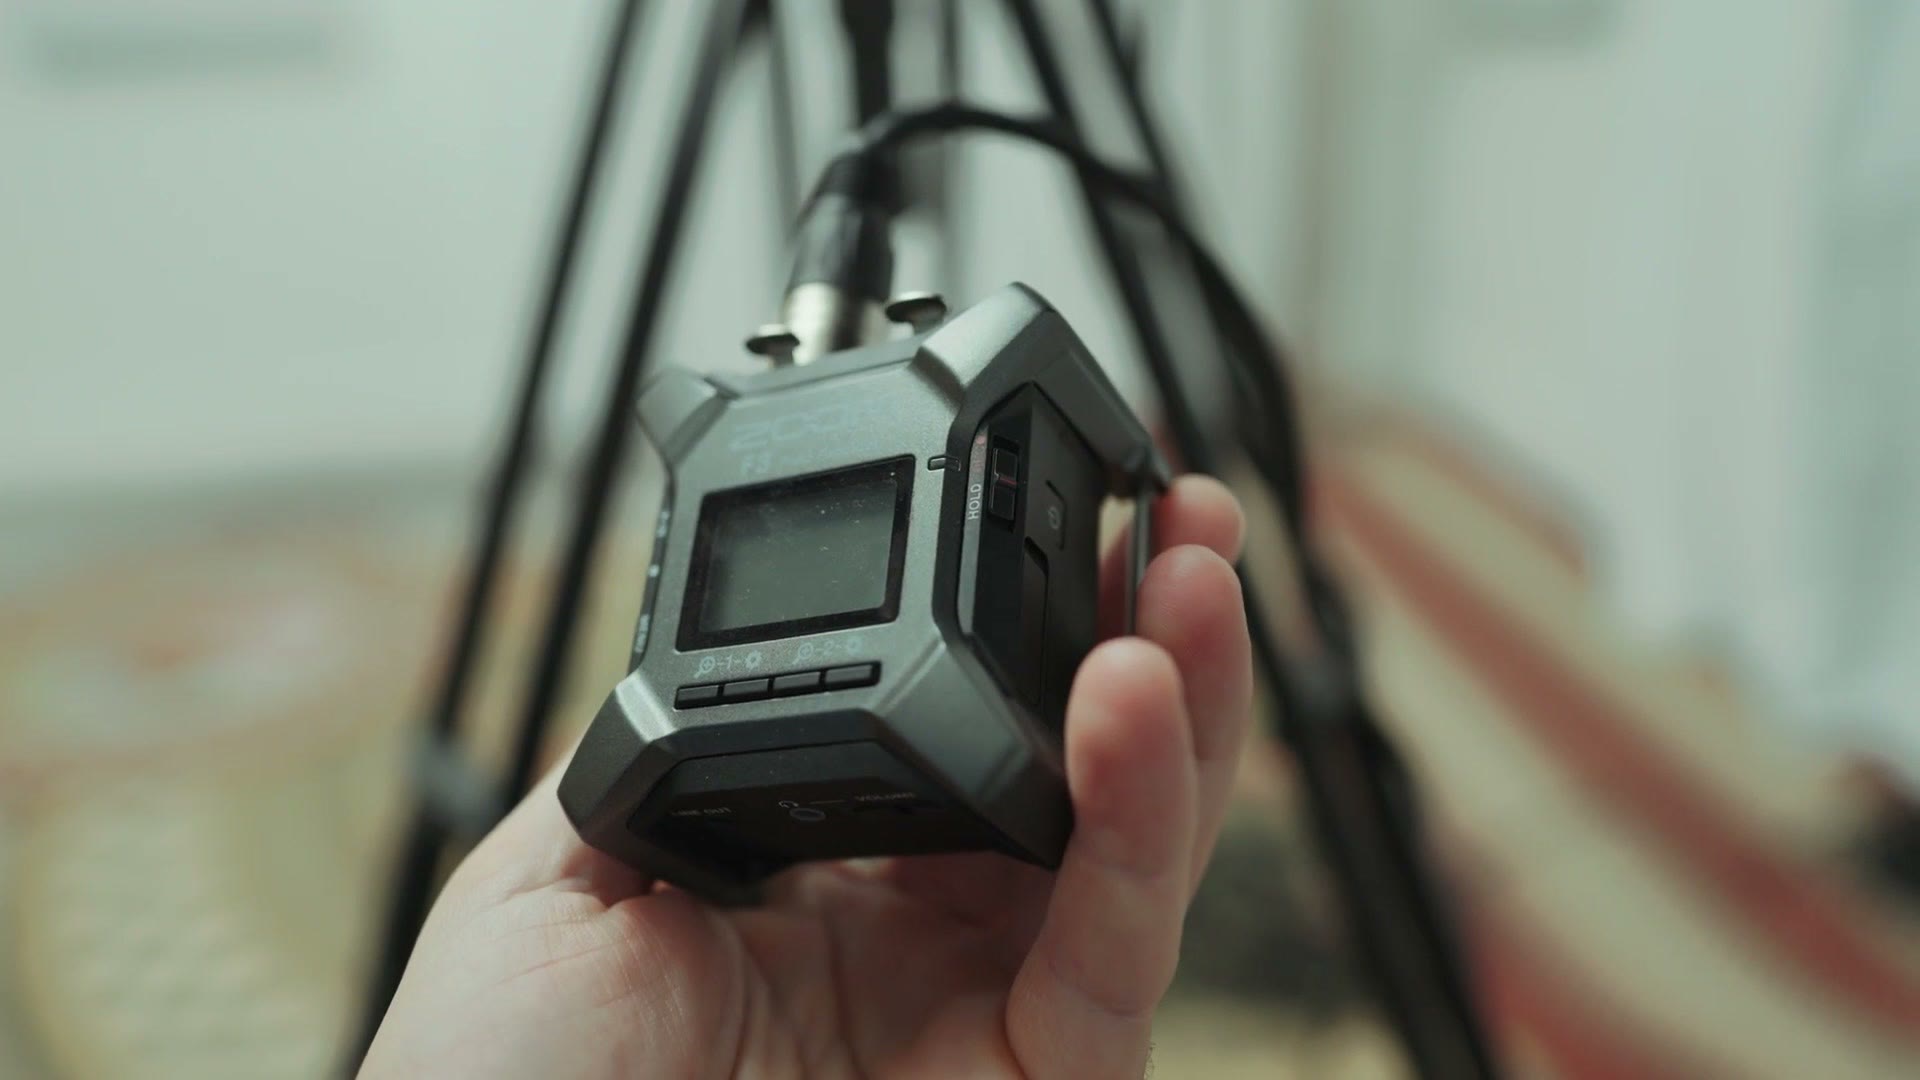
On the audio side:
- Deity S-Mic 2. Heads up: this link goes to the newer Deity S-Mic 3. Super clean, super crisp. I love how this microphone sounds.
- Zoom F3, running off that mic over XLR. For YouTube recording, you turn it on, press record, and you know you are getting good 32 bit float audio. I love it for that. Do not get me wrong, I still love my Tascam recorder, but that is more for weddings where I need more advanced inputs. For YouTube, having this thing ready to go at any moment is really, really magical.
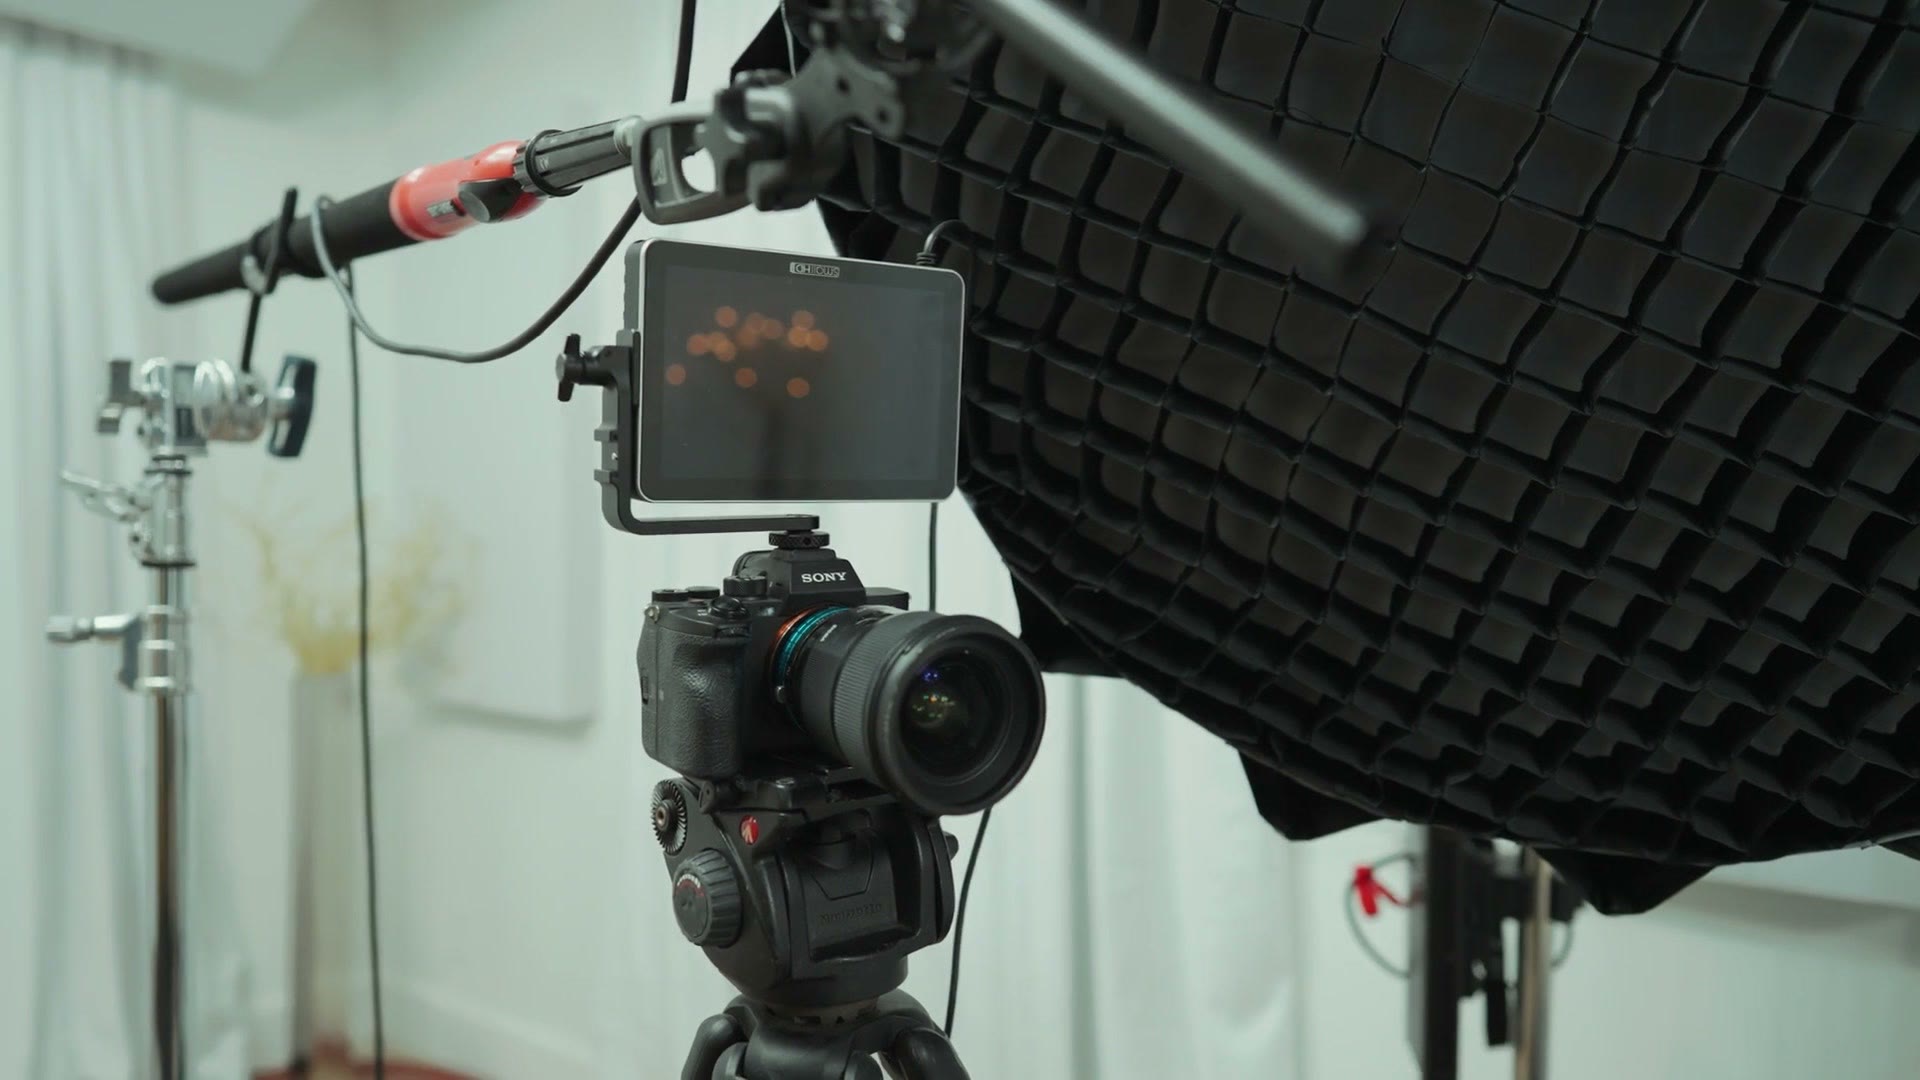
On the video side, I am shooting on the Sony a7S III, which, one, is a fantastic camera and I absolutely love it. Normally it has a 24mm f/1.4 on the front, which is great when I want to get really bokeh-licious with the background. Right now it actually has a 16-35 on it, because the 24mm is what we are using to film this video.

My key is an Aputure 120d in a big softbox. Heads up: the Aputure 120d link goes to the newer Aputure LS 300x. Heads up: the Aputure 120d softbox link goes to the newer Aputure Light Dome Mini III. Workhorse light, absolutely love it. Will I get the 300 or the 600? Total overkill, I know, but it could be a lot of fun in a room this size. I would love to do a book light setup of some sort eventually. For now this works well.
Also in the mix: a Manfrotto tripod, also from 2010 and still great. A SmallHD Focus 7 monitor so I can see myself, which I do not think they make anymore, unfortunately. Heads up: this link goes to the newer SmallHD Indie 7. And a gold reflector on the far side, picking up a bit of the key and bouncing it back to fill the other side of my face.
More Lighting
There is a small RGB LED panel over here, currently set to white, with a custom cardboard flag I made so it is not hitting my face and is only spilling into the background. That one came from the previous studio setup and I just carried it in here.

My whole thinking for this space was a lighter, airier feel. If I had to name someone I was loosely trying to emulate, it would be MKBHD, with those very white, bright studio setups and more vibrant colors and lighting. That is roughly what I wanted, because I have never once had the option before. Studio 1.0 was gross brown rental walls. Studio 2.0 was more gross brown rental walls. Studio 3.0 was the green my wife picked, and she is filming me right now, so I cannot tell you whether I loved them or not because she is standing right there and she will kill me. They were okay. I wanted lighter. Here I can make it as light as I want.
So, the rest of the lights:
- A Nanlite Forza 60B, which is bi-color, though I am not using it for the bi-color. It is throwing a little cool color onto the paper backdrop.
- A Nanlite Forza 60, the brighter non bi-color version, mounted up high acting as a hair light. Heads up: this link goes to the newer Nanlite Forza 60B II.

Then the Aputure 60x, which, whenever it is not out being a wedding spotlight, wow does it make a fantastic background light. I have it paired with the Spotlight Mini Zoom, which is a mass. It makes the whole thing look like a bazooka. I absolutely love it.

I clipped a color gel to the front of it, which I am planning on actually cutting to size at some point and just have not gotten around to, because I literally set this up recently and have filmed in it about three times. We are still dialing things in. I have a lot of other colors, but I like the orange. And the spotlight takes drop in gobos, so right now I have a fine wavy line pattern in there. In the previous setup I had lightning bolts coming out of it. Now we have this.
One more light, hiding up here: a Soonwell RGB tube light, which is pretty darn awesome and can do an absurd number of colors. Heads up: you can't buy the Soonwell RGB tube light on Amazon, so this link goes to an equivalent, the Nanlite PavoTube II 15C. I have to confess I am currently using it as white. Sorry about that. It plugs in up top and adds a little more fill to the room.

Why I LOVE This Space
Let me turn off the overheads so you can see how it actually looks.
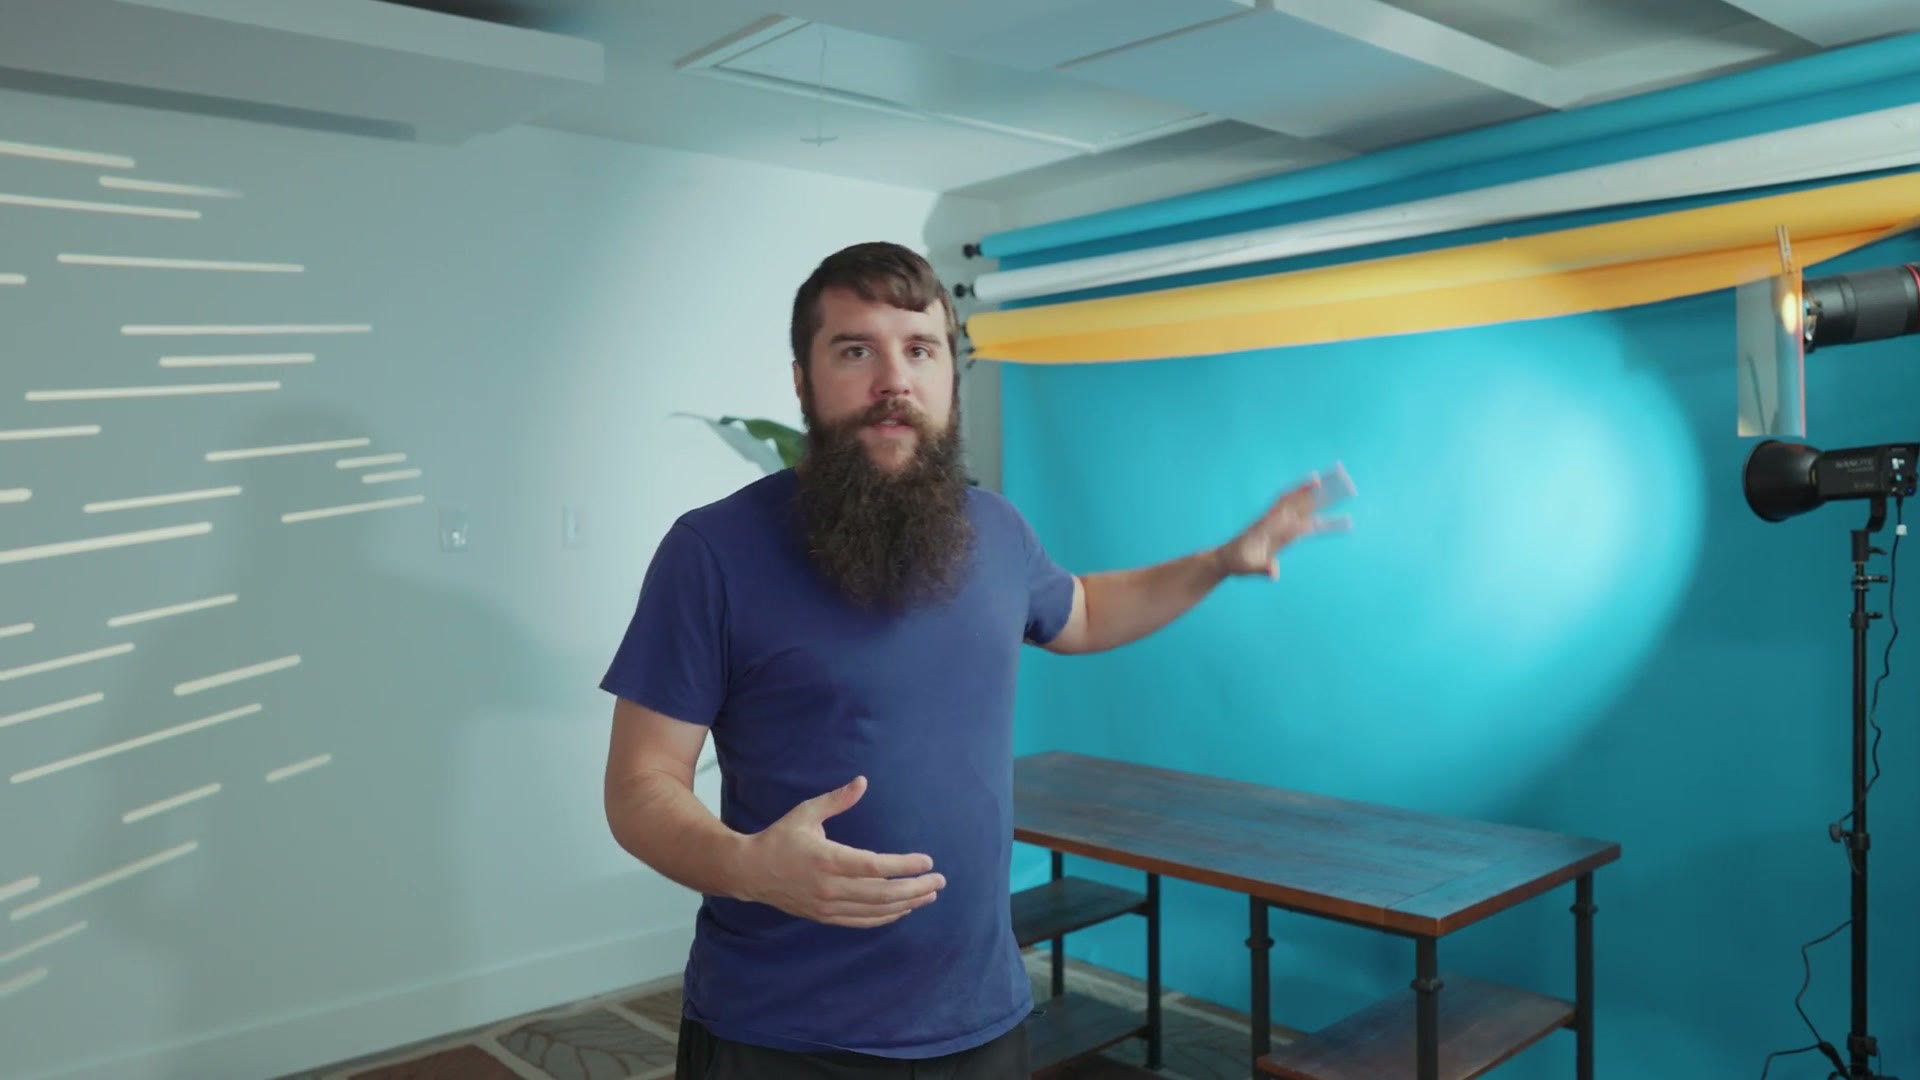
Darker in here now, key light off to the side rather than blasting straight at me. And what is nice is that I finally have a space where I can have the color pop I want along with the white backdrop I want, and all of it is still customizable. This is one setup. I can move the paper backdrop over there. I can move the plant out of the way. I can change the color of that background light entirely, or remove it.
Eventually I would love to have everything on wheels. All the C-stands on wheels, the desk on wheels, and then I can just push the whole room around into whatever shape a particular video needs. A genuinely modular space.
So that is whoismatt Studio 4.0. I am so excited to have something this usable and this versatile. I do not entirely know what I am going to do with it yet. There are a lot of options. But it is a blank canvas with good acoustics, and honestly that is all you can ever really hope for. Anything above that is gravy.
If you have any questions about any of this, leave me a comment and I would love to answer it. And go check out my standing desk tour as well.
A couple of other things:
- My color presets, which is what this video was graded with.
- My full gear list, and my filmmaking courses.
Thanks so much for reading, and have a great day!