
The thing that separates a wedding film that feels cinematic from one that feels like a recording is almost never the camera. It is the sound. And more specifically it is wedding film sound design, which is the layer most wedding filmmakers skip entirely, built by stacking a few simple audio elements on top of each other until the moment feels like you are standing in it.
I have been filming weddings for over 15 years now, which means I have edited a lot of audio. What follows is exactly how I build the sound for a couple’s exit from the reception, start to finish. I am using the exit because it is one of the richest audio moments of the whole day, but everything here works on any part of a wedding you want to add sound design to.
Why Sound Matters More Than Your Visuals
There are three separate things going on in the audio of a wedding film, and they do three different jobs.
- The audio of people speaking is how the story of the day actually gets told.
- The music you choose dictates how the audience feels while they watch.
- Sound design is the third one, and it is the one nobody talks about. It is what draws an audience in and keeps them engaged.
That third one is what sets a film apart, and it is not limited to weddings. Corporate work, commercial work, anything you want people to actually sit through, good sound design is the difference.
Start With The Music
Music comes first, before you go hunting for a single sound effect. For a reception exit I want something that sounds celebratory without overwhelming the moment, and I lean heavily on ambient tracks here, because ambient music leaves room. A track that is already busy and full gives you nowhere to put the sound design you are about to build on top of it.
That is the part people get backwards. You are not picking a song and calling the audio done. You are picking a foundation. If you want to go deeper on picking the right track in the first place, I wrote up how to choose the perfect music for your wedding films, and if you are cutting between multiple songs in one film, here is how to smoothly transition between songs without it sounding like a hard cut.
Your Camera Audio Is Already Layer One
Before you go anywhere to look for extra audio elements, check the audio you already recorded on the day. This is the step almost everyone skips.
You do not need a high quality microphone on top of your camera. You do not need mics placed around the exit. In my experience the audio recorded by your camera’s own microphone is very often good enough to use as a layer of ambient sound, and the best part is it is already synced to your picture. All you do is unmute it and listen.
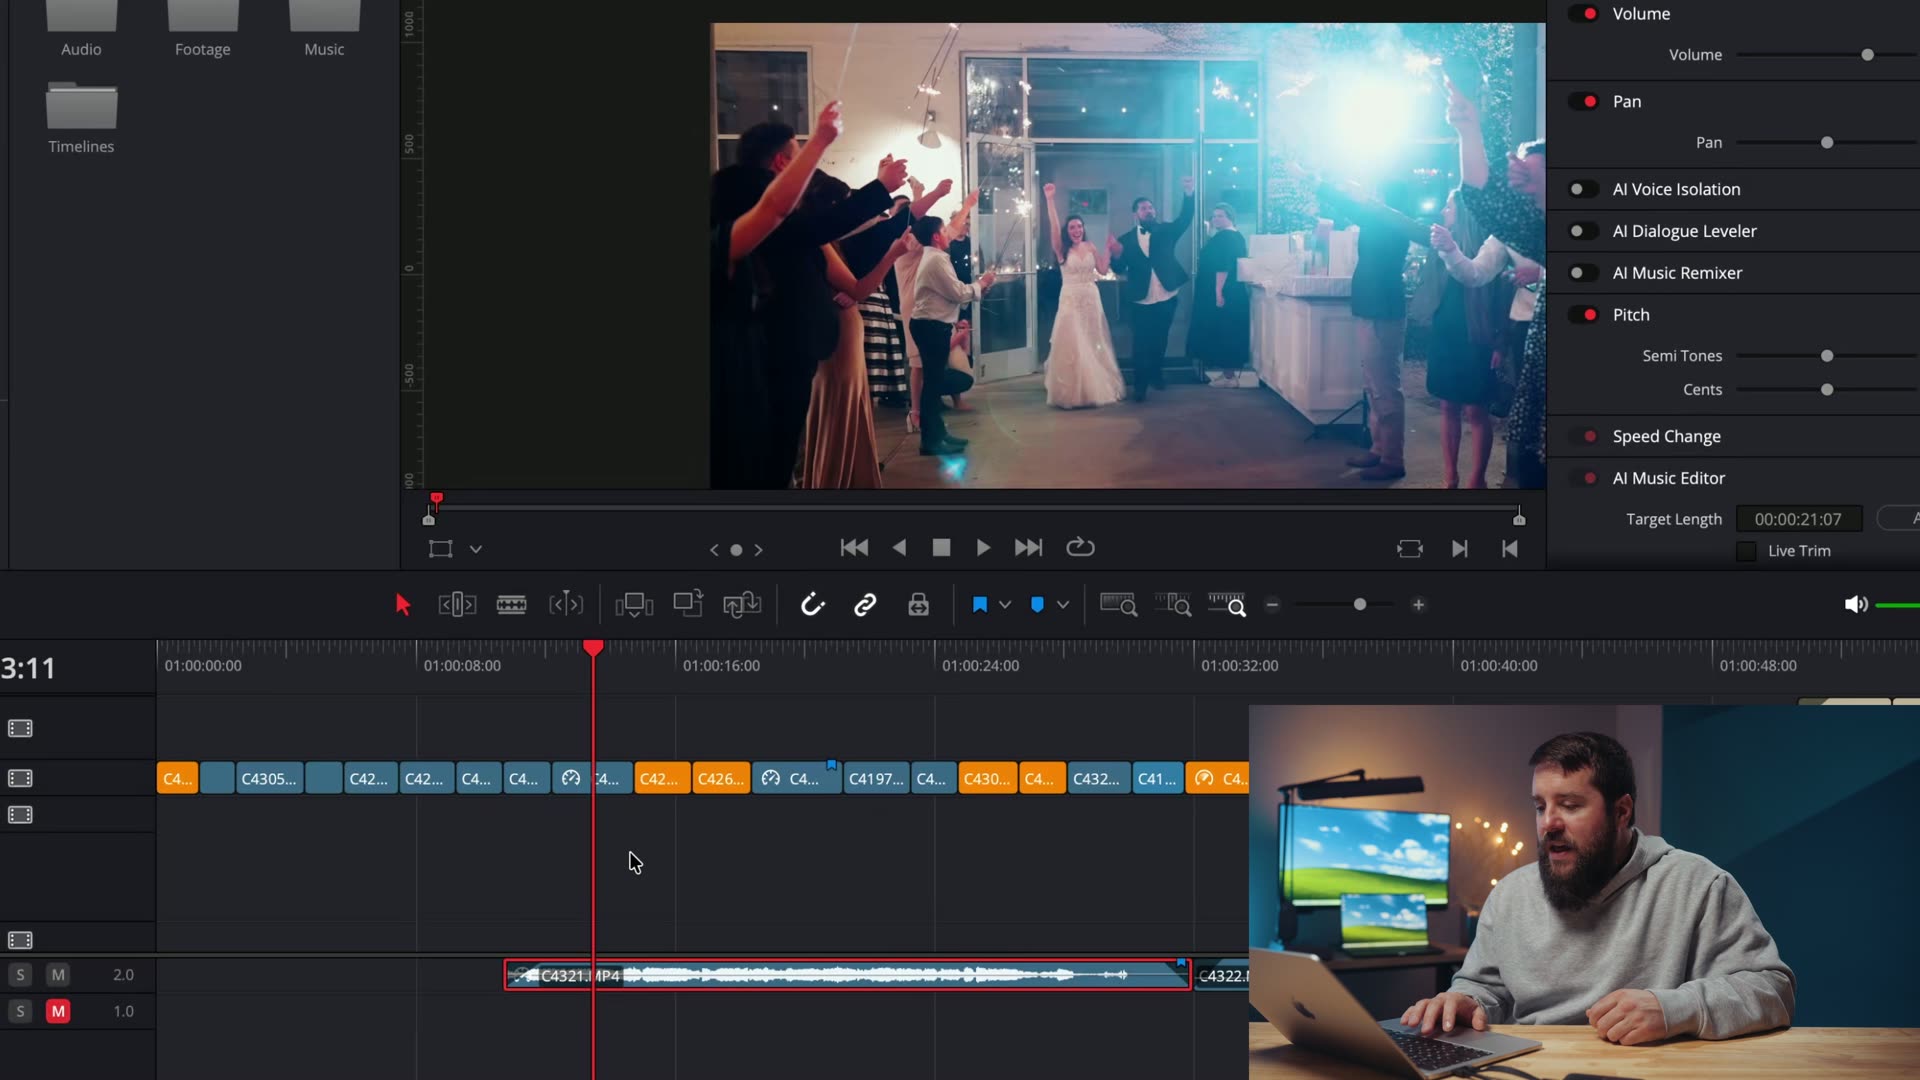
On a wedding exit that camera audio is usually a big wall of people cheering, and that works extremely well as your base layer. If you want to improve what you are capturing in the first place, I have a full breakdown of all the audio gear you need to film a wedding, and if you do want something better sitting on the camera itself, here is the best on-camera microphone I have ever used.
What If Your On-Camera Audio Is Too Loud, Too Quiet, Or Ruined?
Sometimes it will not work, and you have options. If the audio is too loud or too quiet, check what your other cameras recorded. Or, and this is the one that surprises people, go grab a different part of the audio entirely.
It does not have to be the exact moment they are walking. It does not need to be perfectly synced. It does not matter. This is movie magic, that is the whole job. You can pull cheering from thirty seconds earlier and nobody will ever know.
You can go further than that. You do not even have to use audio from the wedding you are currently editing. If you have good crowd audio from a different wedding, use it. Better yet, save it. Building your own sound library out of audio from weddings you have already filmed is a hack I have used plenty of times, and it costs you nothing but the discipline to keep the files.
Here is why that matters. I had a wedding a few years ago where the exit looked perfect on camera. Sparklers, great lighting, everyone cheering. Then I got into the edit and found a very drunk guest yelling something extremely inappropriate directly into the microphone for the length of the entire exit. It ruined the audio. And you cannot reshoot a wedding exit.
The fix was to layer in crowd cheering sound effects over the top of it. The couple watched their film and never knew the original audio was unusable. You would honestly be surprised how often something like this happens, which is the real argument for having a sound library you can reach for.
How To Layer In Crowd Sound Effects
Your on-camera audio is the first layer of sound effects. It is never going to be the whole mix.
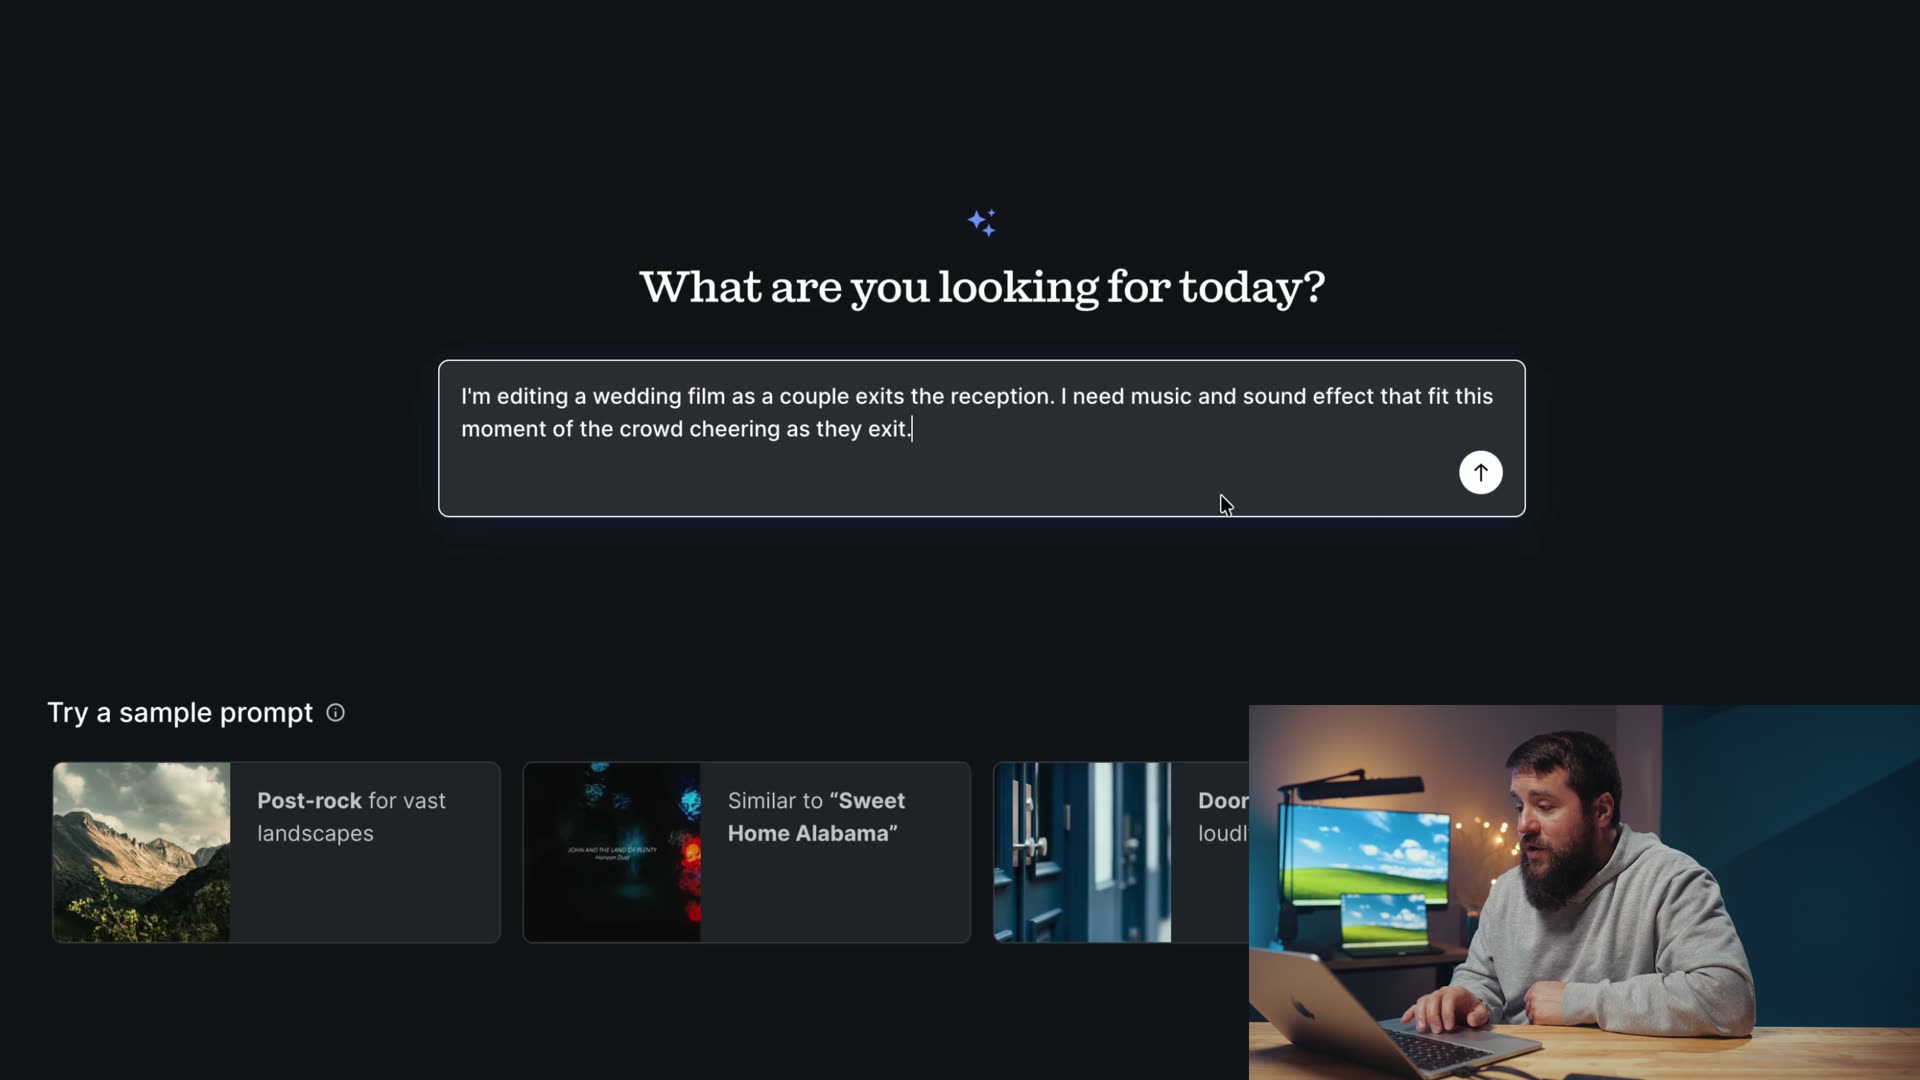
For this edit I went into Epidemic Sound‘s effects library using their Assistant tool, which lets you skip keyword searching and just type a sentence describing what you are doing. So instead of searching “crowd cheer,” I told it I was editing a wedding film as a couple exits the reception and that I needed music and sound effects that fit the crowd cheering as they leave.
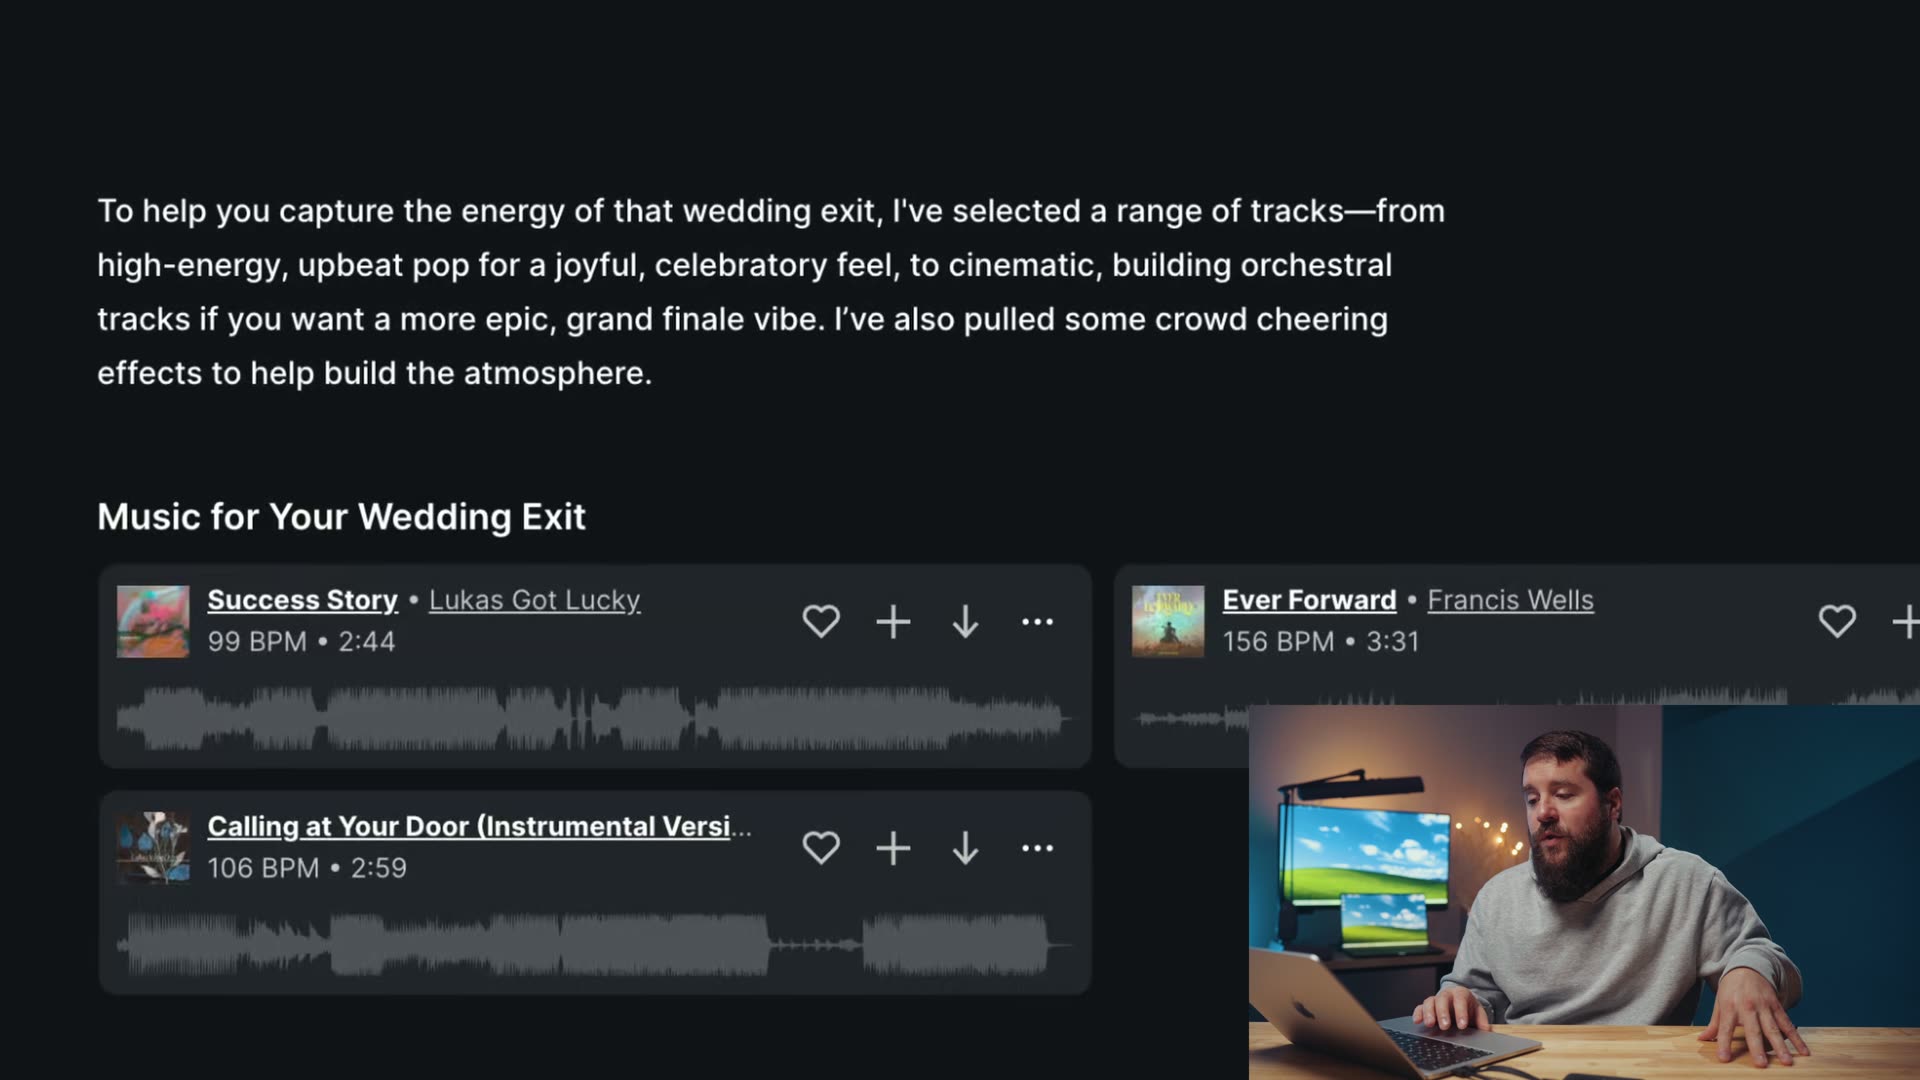
It came back with a range of tracks, from high energy upbeat pop through to cinematic building orchestral, plus a set of crowd cheering effects for atmosphere.
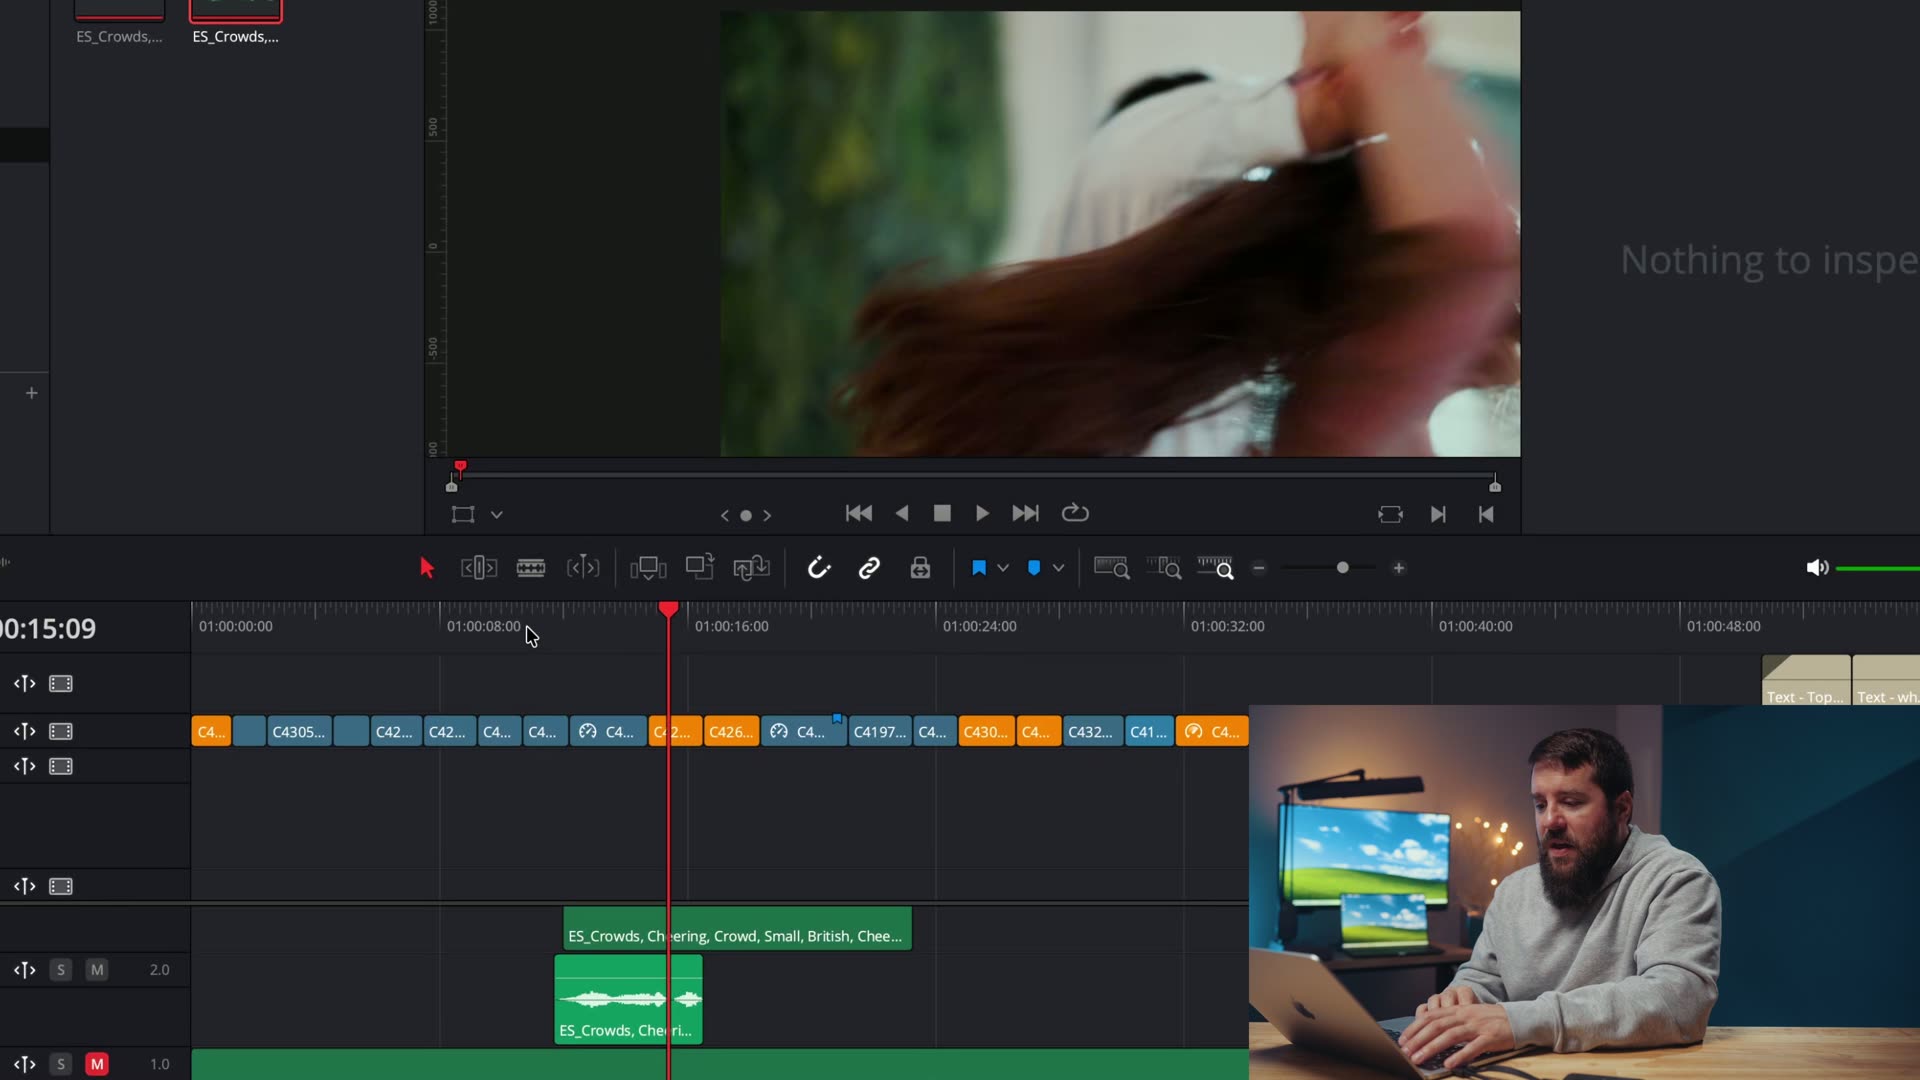
Two practical notes from actually picking through them. Watch the length. The first cheering effect I liked was just under four seconds, which is not enough to cover an exit. The eleven second version was the usable one. And watch how big the crowd sounds. When I asked for something more intense, it handed me stadium and large football crowds, and that is far too big for a wedding. A stadium does not sound like eighty people on a sidewalk. There was some clapping in there I liked that could have sat subtly in the background, but the wall of stadium noise would have been immediately wrong.
Add The One Loud Person In The Crowd
This is the detail that sells it. If you want to genuinely enhance the dynamic and energy of a crowd, remember that there is always one extra loud person. It is crazy Uncle Larry, yelling at a noticeably higher volume than everyone around him.
So I went back and asked for a person yelling happily. The first result sounded a bit like Mario. The second one worked, except for the tail end of it, and it turned out to be a woman, so crazy Uncle Larry became crazy Aunt Martha. Honestly Martha worked better.
The key is where you place her. I nestled her into a spot where the other effects were a little quieter, so she pokes out of the mix instead of fighting it. That is the whole trick with layering. You have the on-camera mic as layer one, a fuller crowd on top of it, and then one loud individual sitting slightly proud of the rest. That is what makes it read as real people instead of a sound effect.
Do Not Forget The Car
The couple in this film drove off in a 5.0 Mustang. I am more of a Japanese import guy myself, but it is a V8, and a V8 gives you a rumble worth using.
The on-camera audio of the car was honestly not bad. But I wanted that throaty V8 sound, so I asked for a car exhaust sound with a V8 for a couple driving off. The first option was right. The second sounded like a V6, which tells you it is worth listening to more than one.
Dropped in underneath the existing audio, it adds depth, makes the engine sound bigger, and pulls you into the moment a bit more. The whole thing took about thirty seconds to find and place.
Do A Final Pass On Your Levels
This is the step you cannot skip. Once all the effects and the music are in, go back through the entire thing and listen to it from the top. Check the volume of every element. Make sure crazy Aunt Martha is not too loud. Make sure the music is not swallowing everything underneath it.
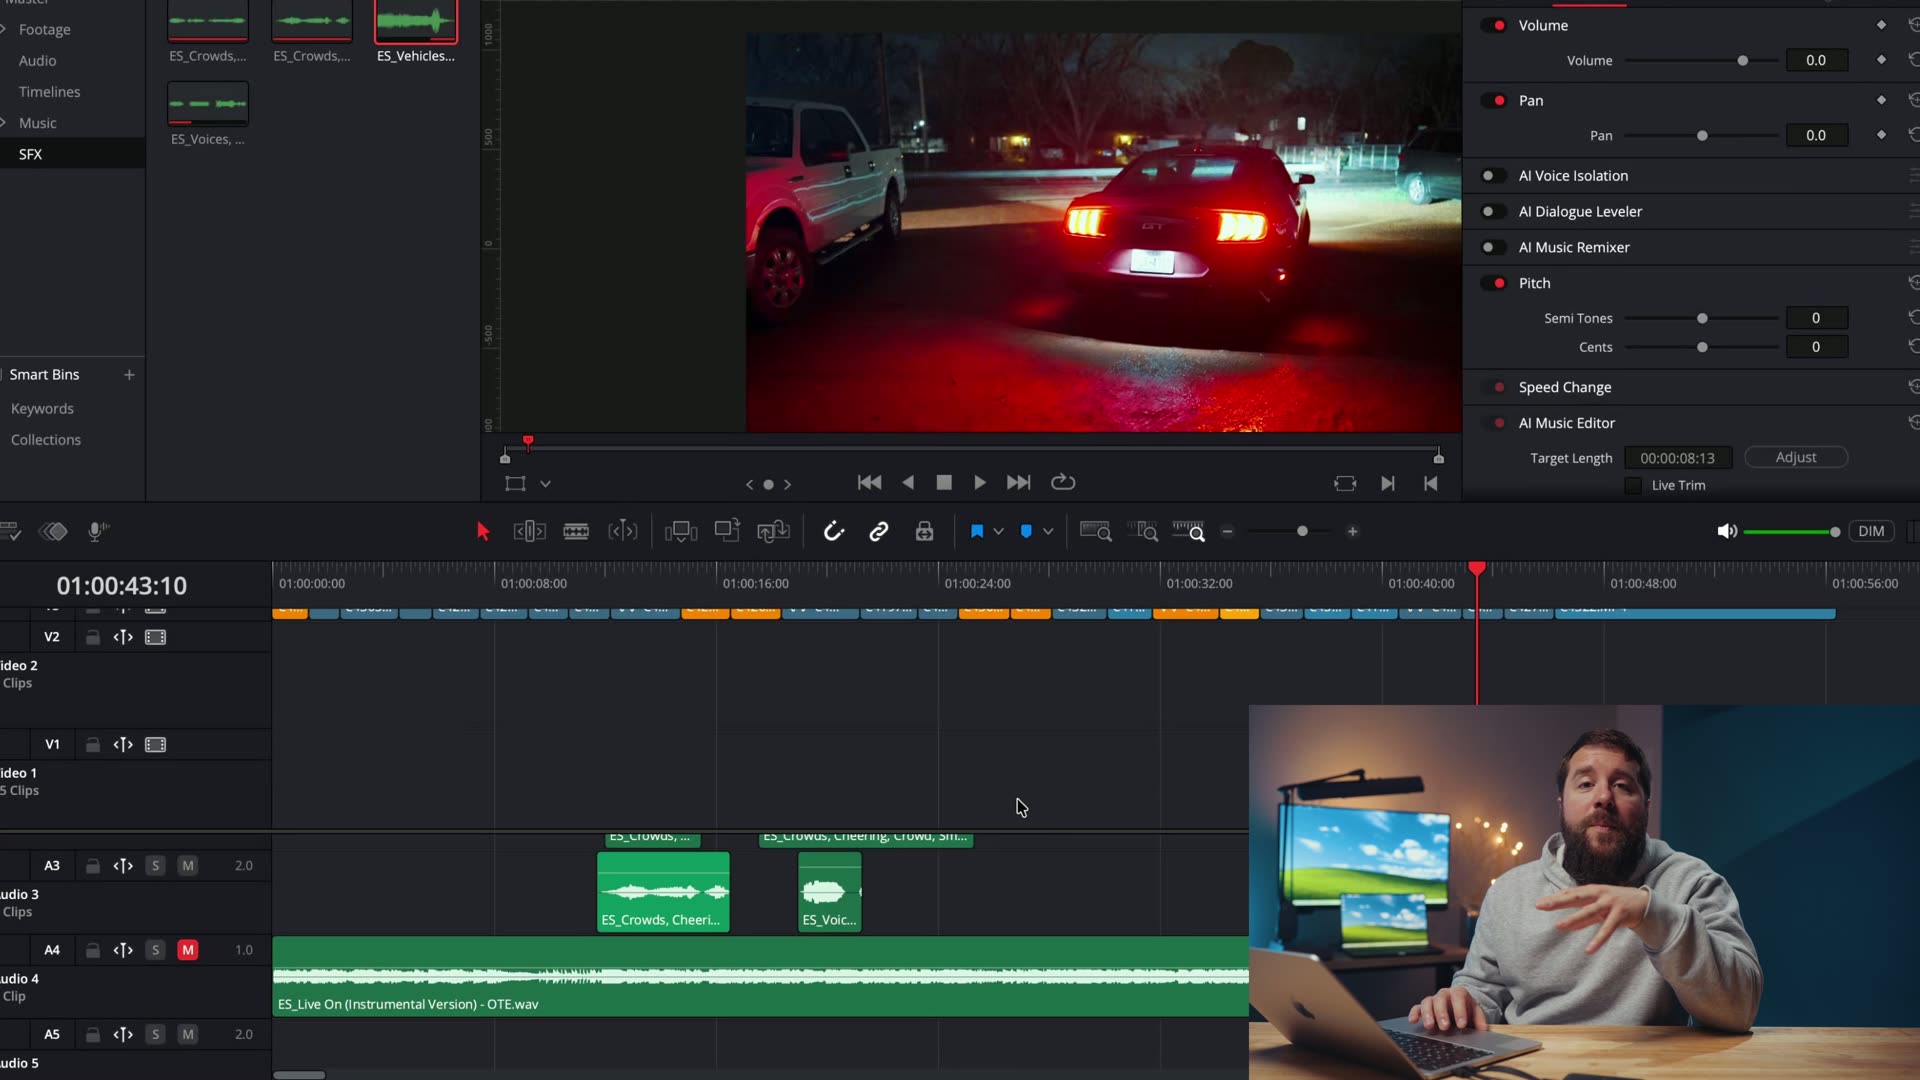
There are two failure modes here and they pull in opposite directions:
- Music too loud and your audience cannot hear the sound effects at all, so the work you just did is invisible.
- Sound effects too loud and it becomes distracting and obvious that you added them, which is worse than not adding them.
In my experience, setting your music around negative 15 to negative 20 decibels and your sound effects around negative 5 gets you most of the way to a balance that works. Treat those as a starting point and trust your ears from there.
Wedding Film Sound Design, The Short Version
Start with the music. Unmute the audio your camera already recorded and use it as your base layer. Add crowd sound effects on top of it. Add one loud individual so the crowd sounds like people. Add whatever the scene physically has in it, like a car. Then balance the whole thing.
Do that and you will be surprised how much more immersive your wedding films feel, without buying a single new piece of gear.
Every crowd effect, the one loud guest, and the car in this edit came out of Epidemic Sound, which is where I license the music and sound effects for my films. If you want to try it, the code MWM50 gets you 50% off your first two months at checkout, and that offer runs until September 30th.
If you want more of how I approach the edit itself, I put together my Edit Videos Like A Pro guide, which covers the biggest rules I follow as an editor. You can read it in about two minutes and I think it will make you better at this.