
Today I’m going to show you how to take a clip with slow rolling flicker bands moving up through it and turn it into something significantly better looking and genuinely usable.
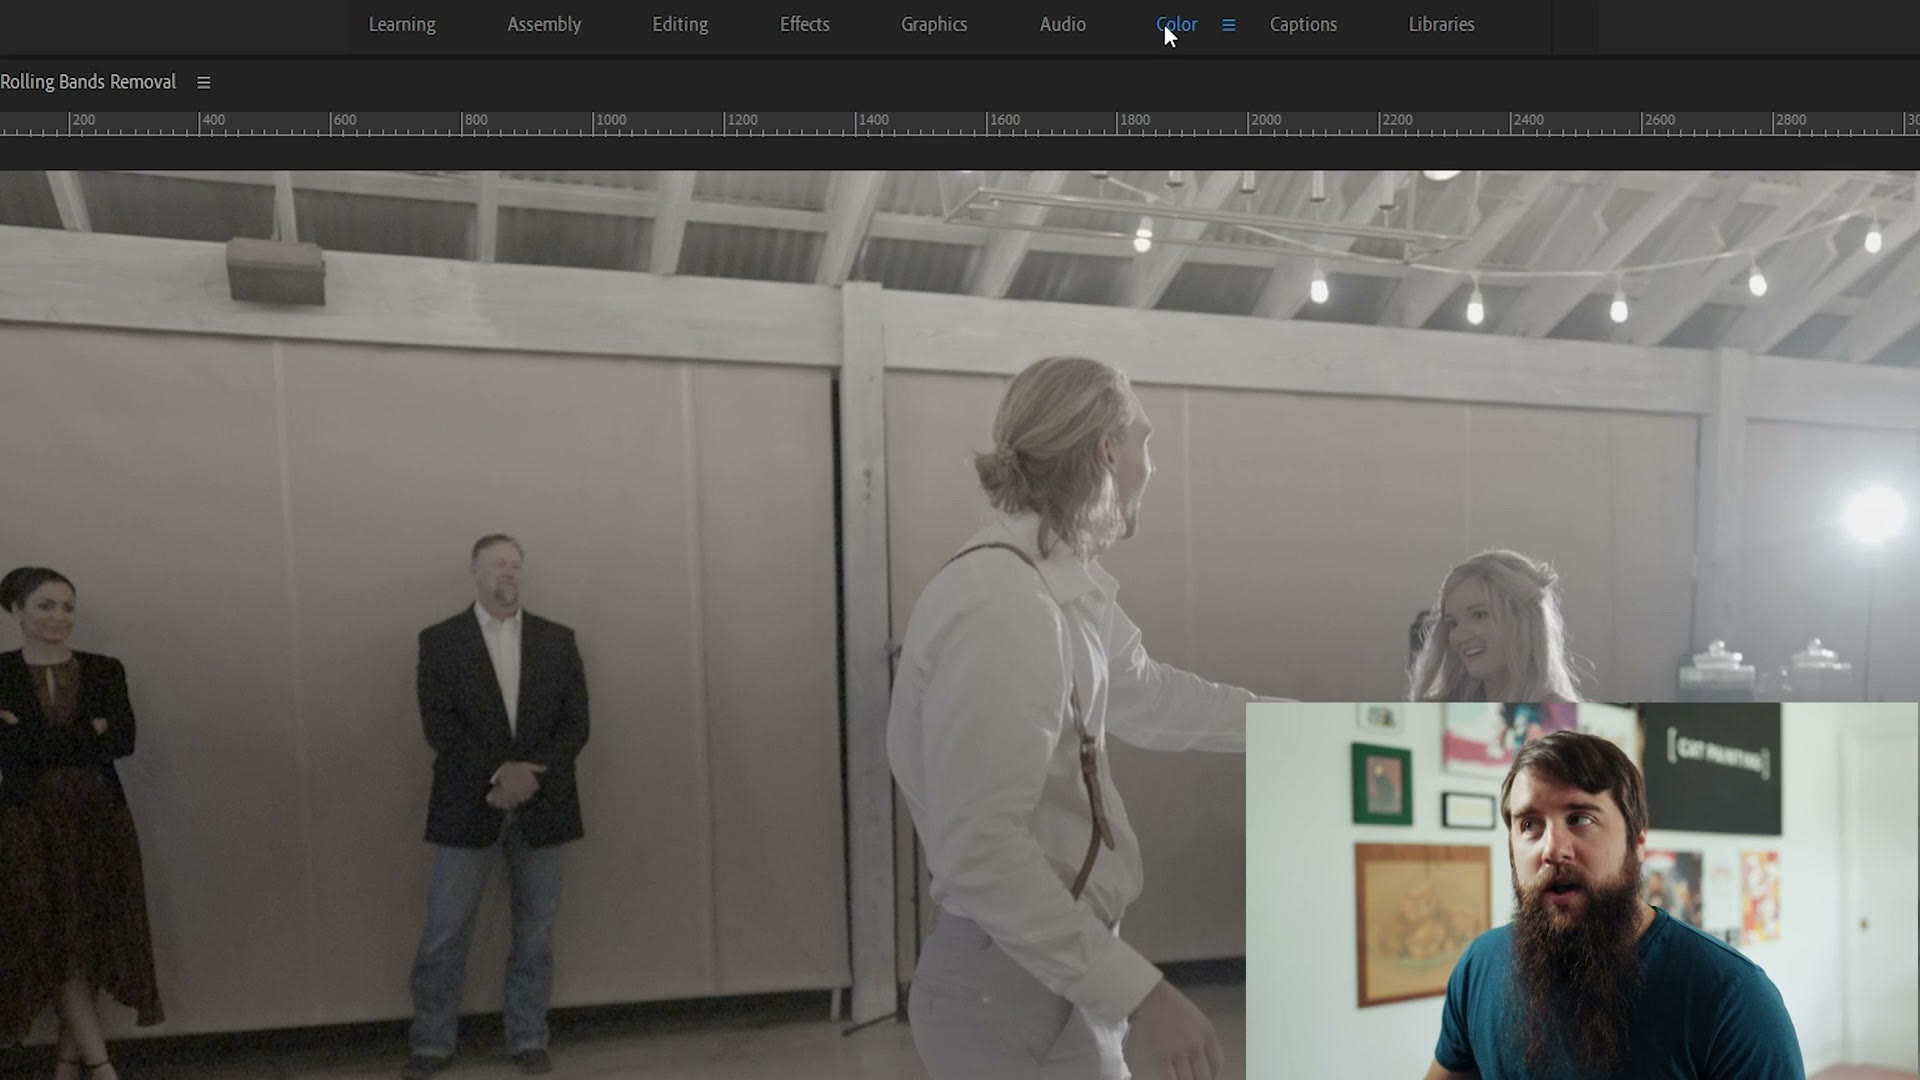
And to save you time, I’ve made a preset you can use with minimal tweaking that helps remove these bands automatically. You can download it for free right here.
Step 1 – Color Grade Your Footage
Open Premiere with the clip you want to fix. The first thing to know is that this footage was shot in S-Log3 on my a7S III, so it looks very flat and desaturated. We need to grade it first, so we can actually see how dark and contrasty the flicker band is.
Make sure you’re in the Color workspace up top, then go to the Lumetri Color panel. With the clip selected, all the tools become available. Go to the Creative tab and apply a LUT. Since this was shot in S-Log3, I’m using my own S-Log3 preset, and you get a lot of color and contrast back instantly.
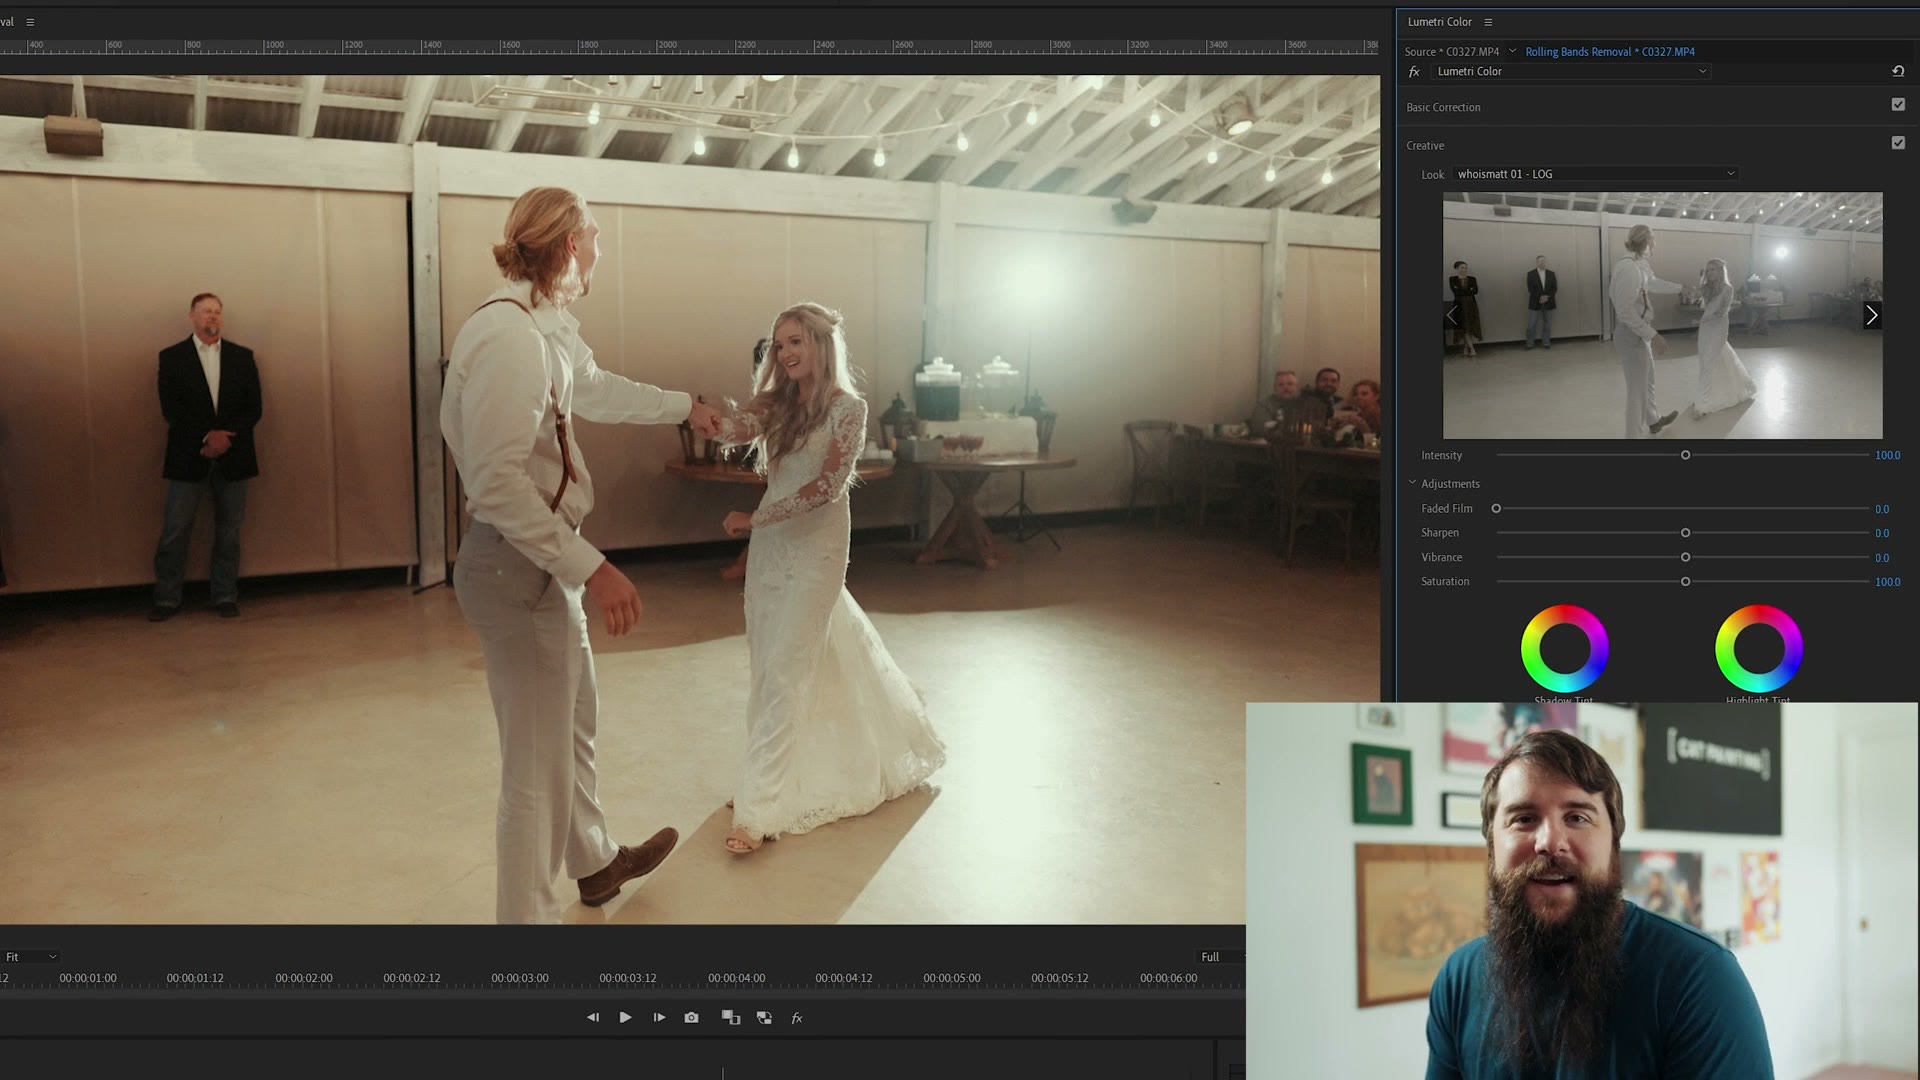
Play it back and you can see the rolling band slowly moving upward. I was shooting at 120 frames per second, and clearly these lights did not like being filmed at 120, which is what gave us that lovely band.
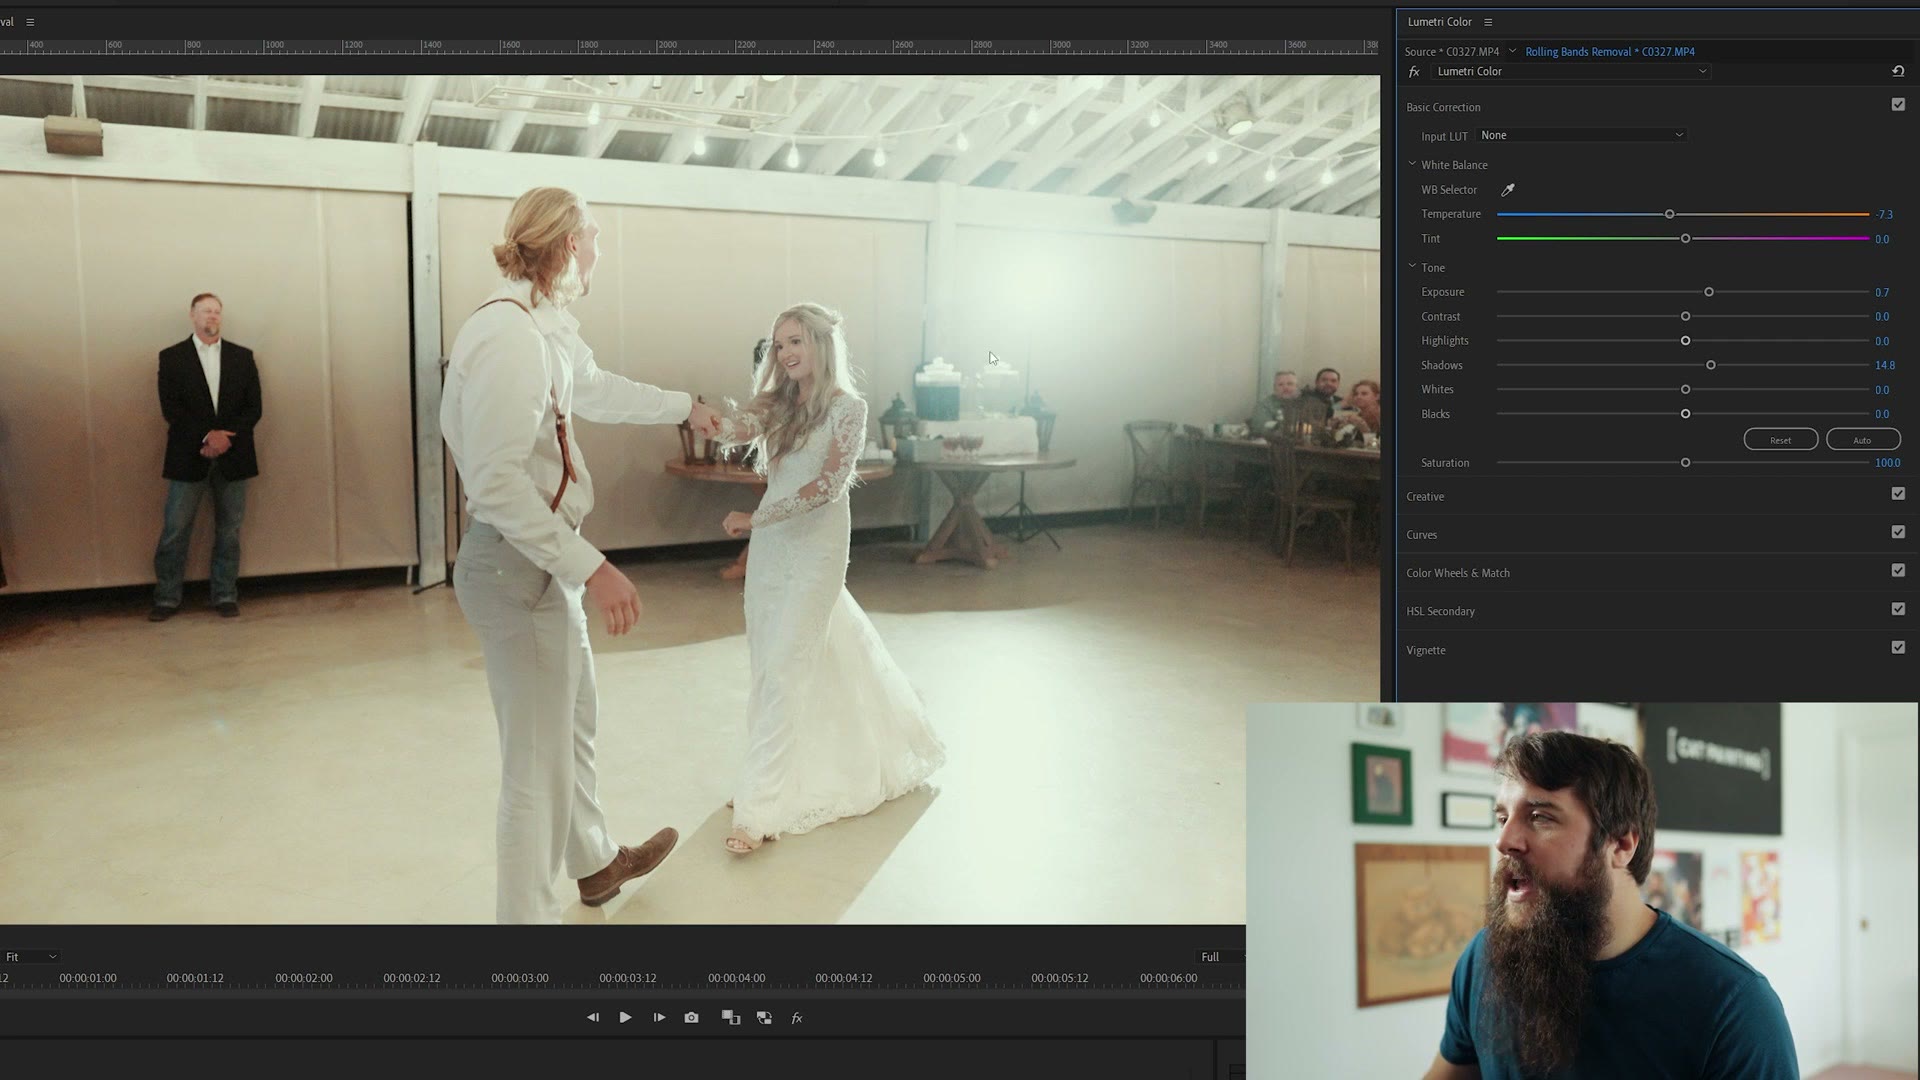
I want to make some small tweaks while I’m in here. These lights were very warm, so let’s take the temperature down to about -7 to cool the image off. Then a little brighter, and you can already see that starting to reduce the band a bit. Boost the shadows slightly, which I think is fine because they’re already backlit and washed out a little. Boost the whites ever so slightly. That looks pretty good.
Step 2 – THE FIX!
We’ve helped a bit already, but this clip clearly needs work. Here’s where the actual fix comes in.
Go back to the Lumetri Color panel and select Add Lumetri Color Effect, which, as the name implies, adds a second Lumetri effect on top of the first. Then we’re going to mask out exactly where the flicker band is.
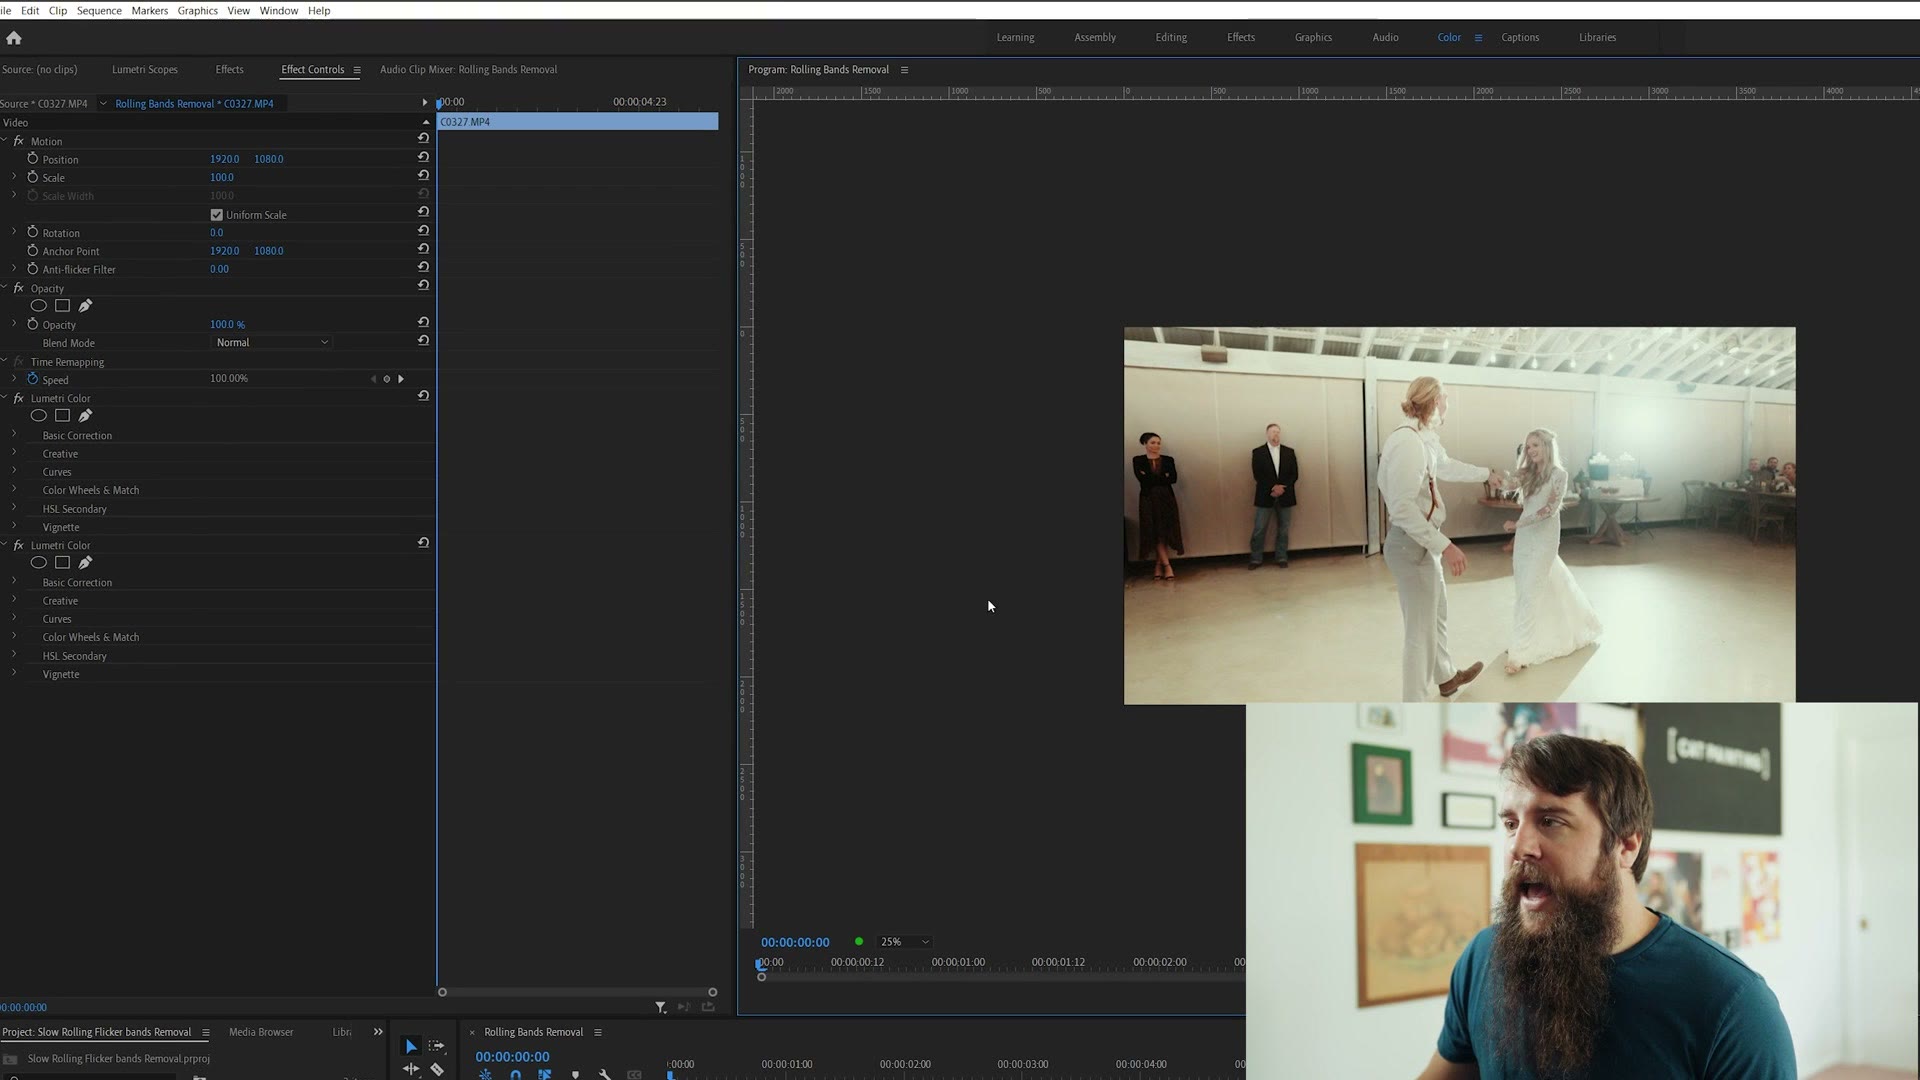
Change the fit of the image to 25% so you can see around the edges of the clip.
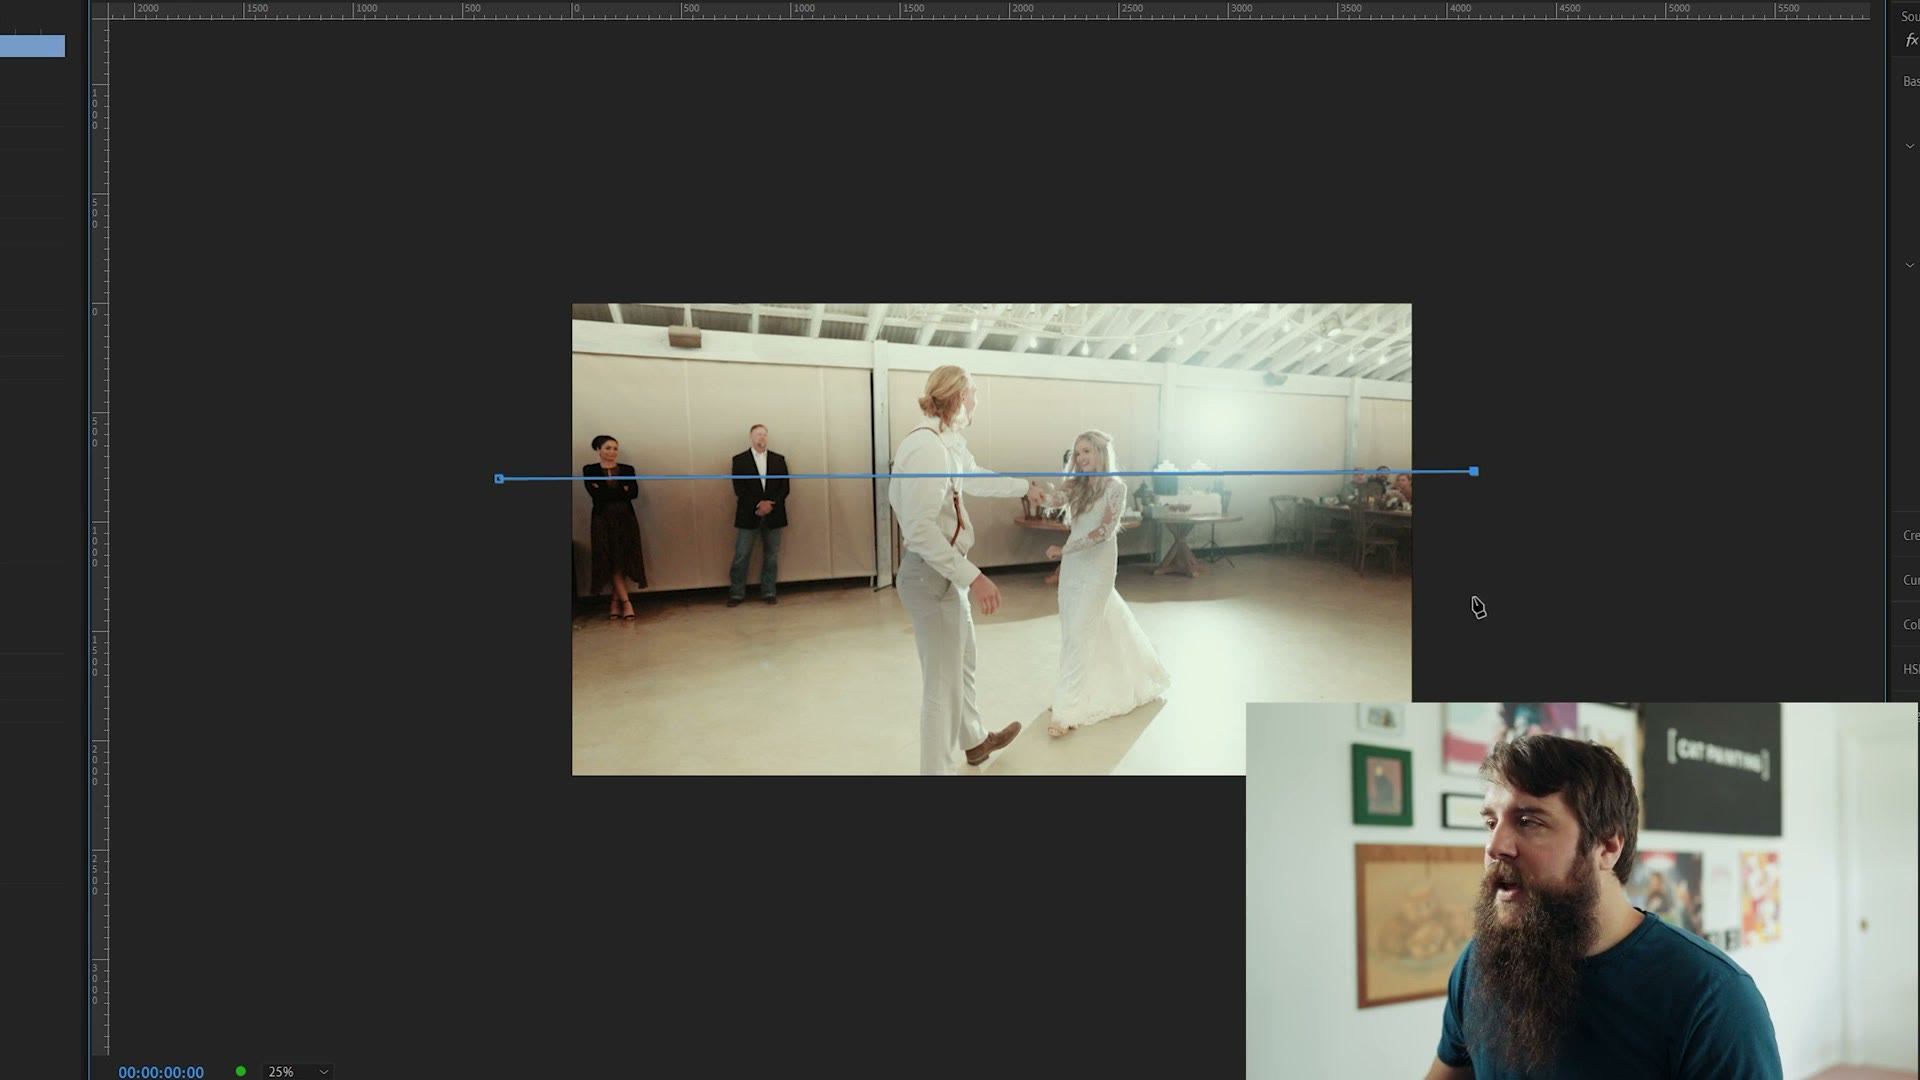
Then on that second effect, select the free draw bezier pin tool and click the four corners around where the band is happening. Make sure you’re at the very start of your clip whenever you do this. Click once, once, once, once, and you’ve got a nice box around the flicker band.
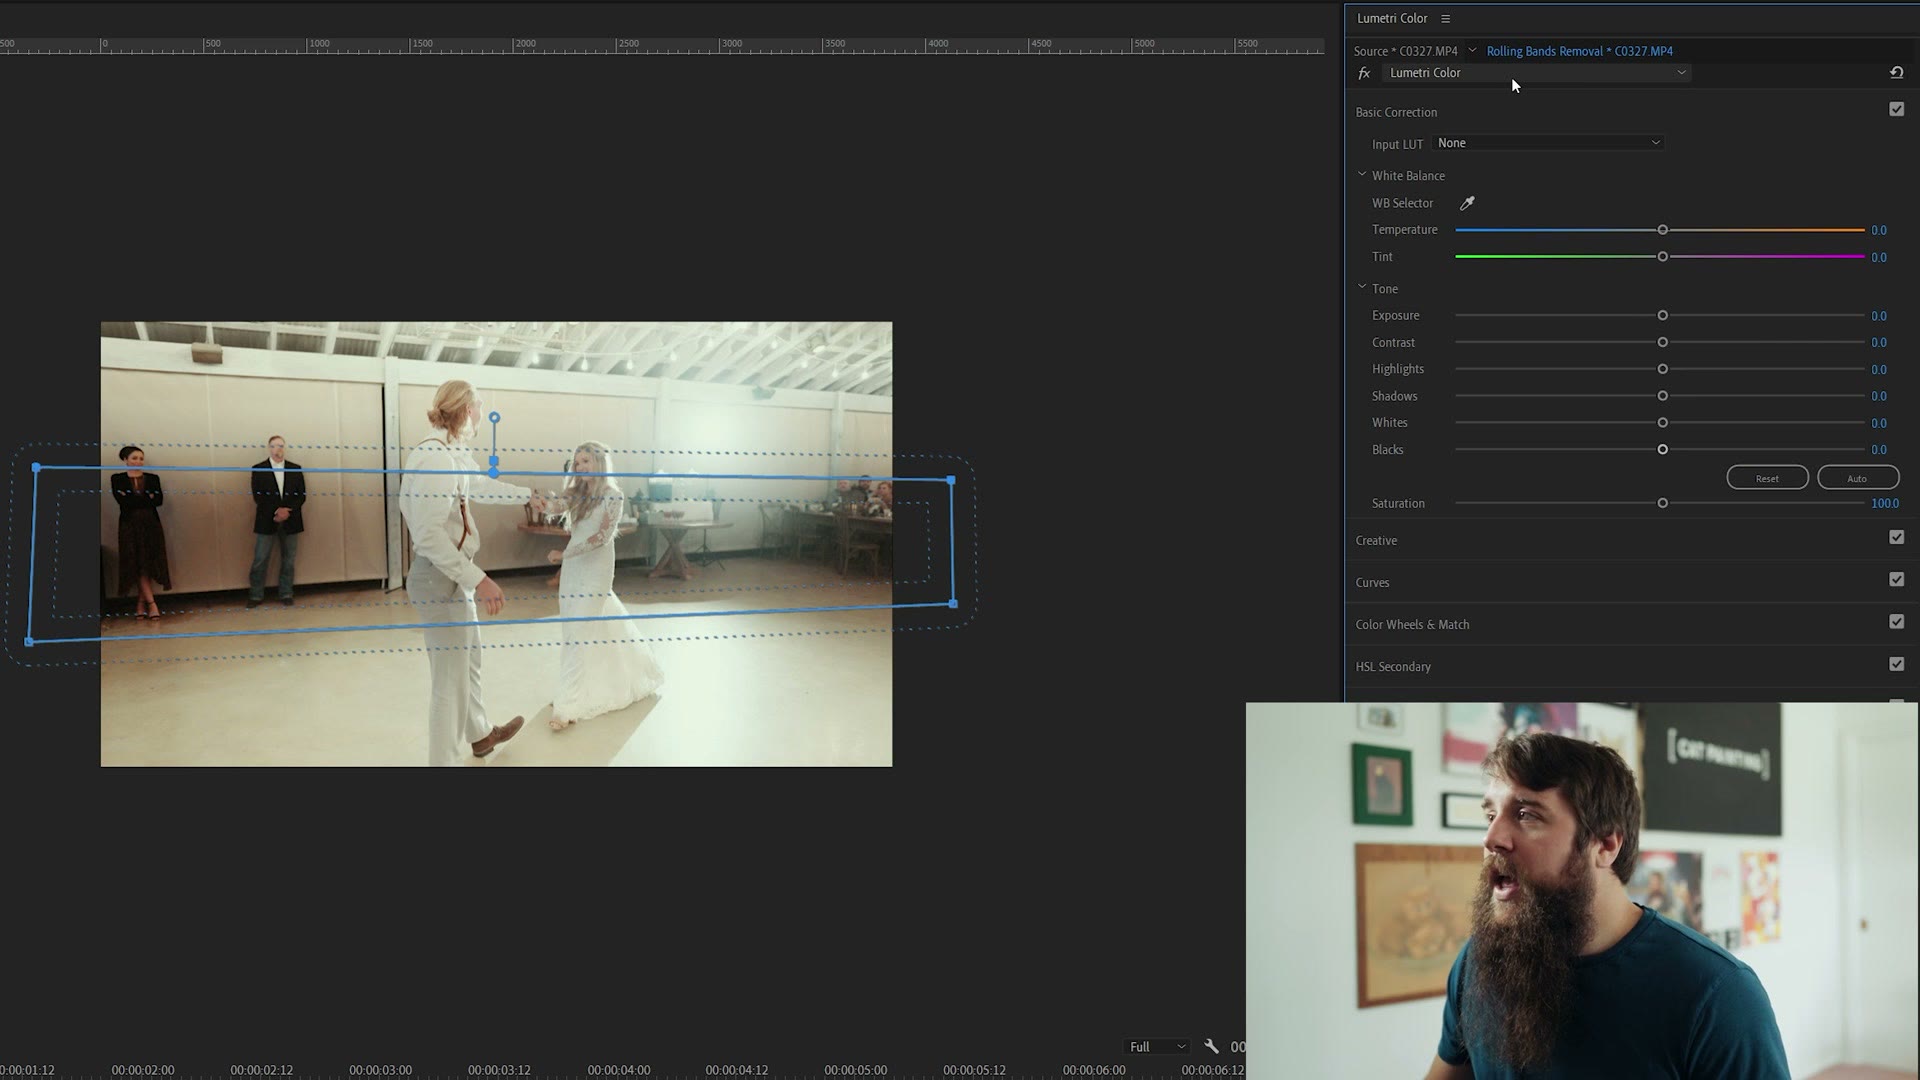
Don’t worry if it isn’t super precise. Just try to get the edges roughly in the middle of where the band is fading out. Then go down to Mask Feather and bring it up until the feathering covers where the band fades. Nudge the box up or down until it looks right.
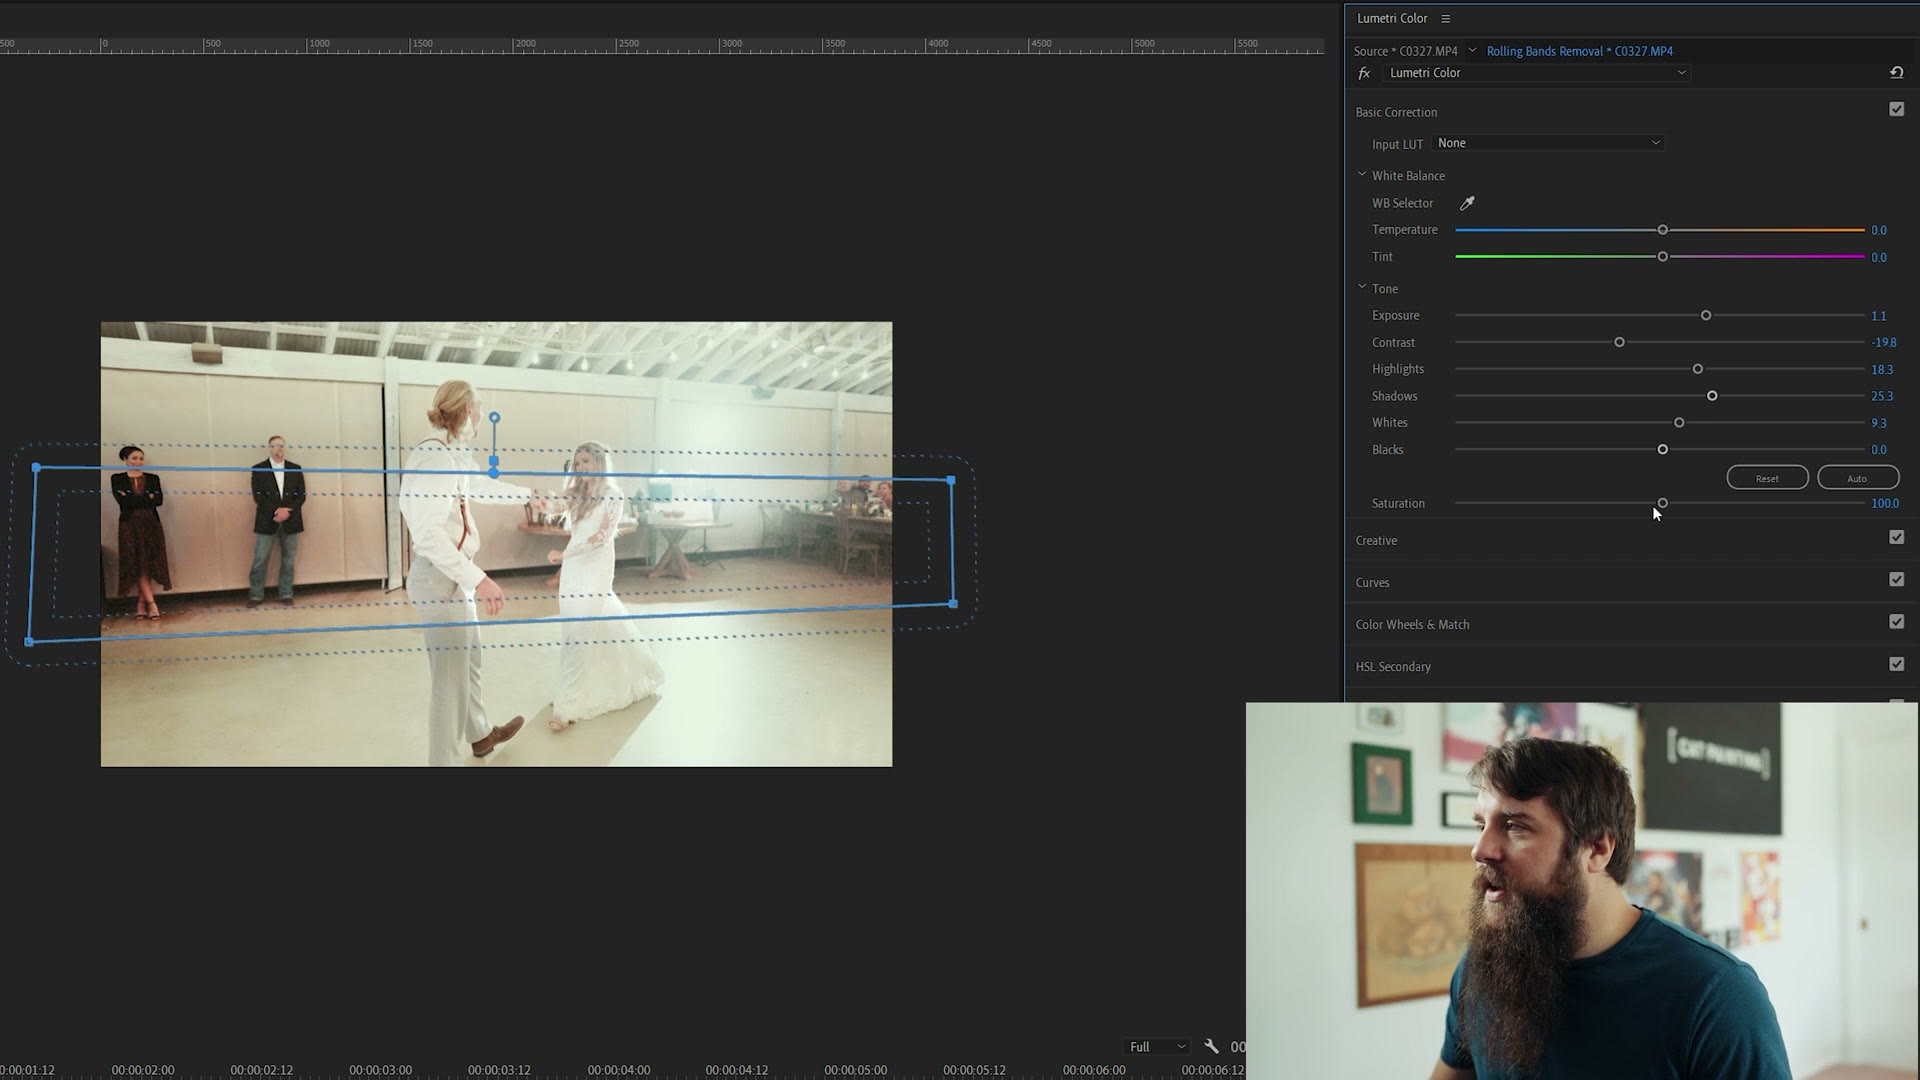
Now notice that under Basic Correction all the settings are at zero. That’s because we’re editing the second Lumetri effect, not the first one we already changed. So make sure the second effect is selected, and let’s start offsetting the darkness the band is causing.
Bring up the exposure first. Look at that, we’re removing a lot of it already. I’d take that fairly high, around 1.2. Then drop the contrast a bit, because there’s so much contrast being added by the band that removing some helps. Boost the highlights a little, because I’m looking at the bride’s dress and trying to match how dark it is inside the band against how light it is below it.
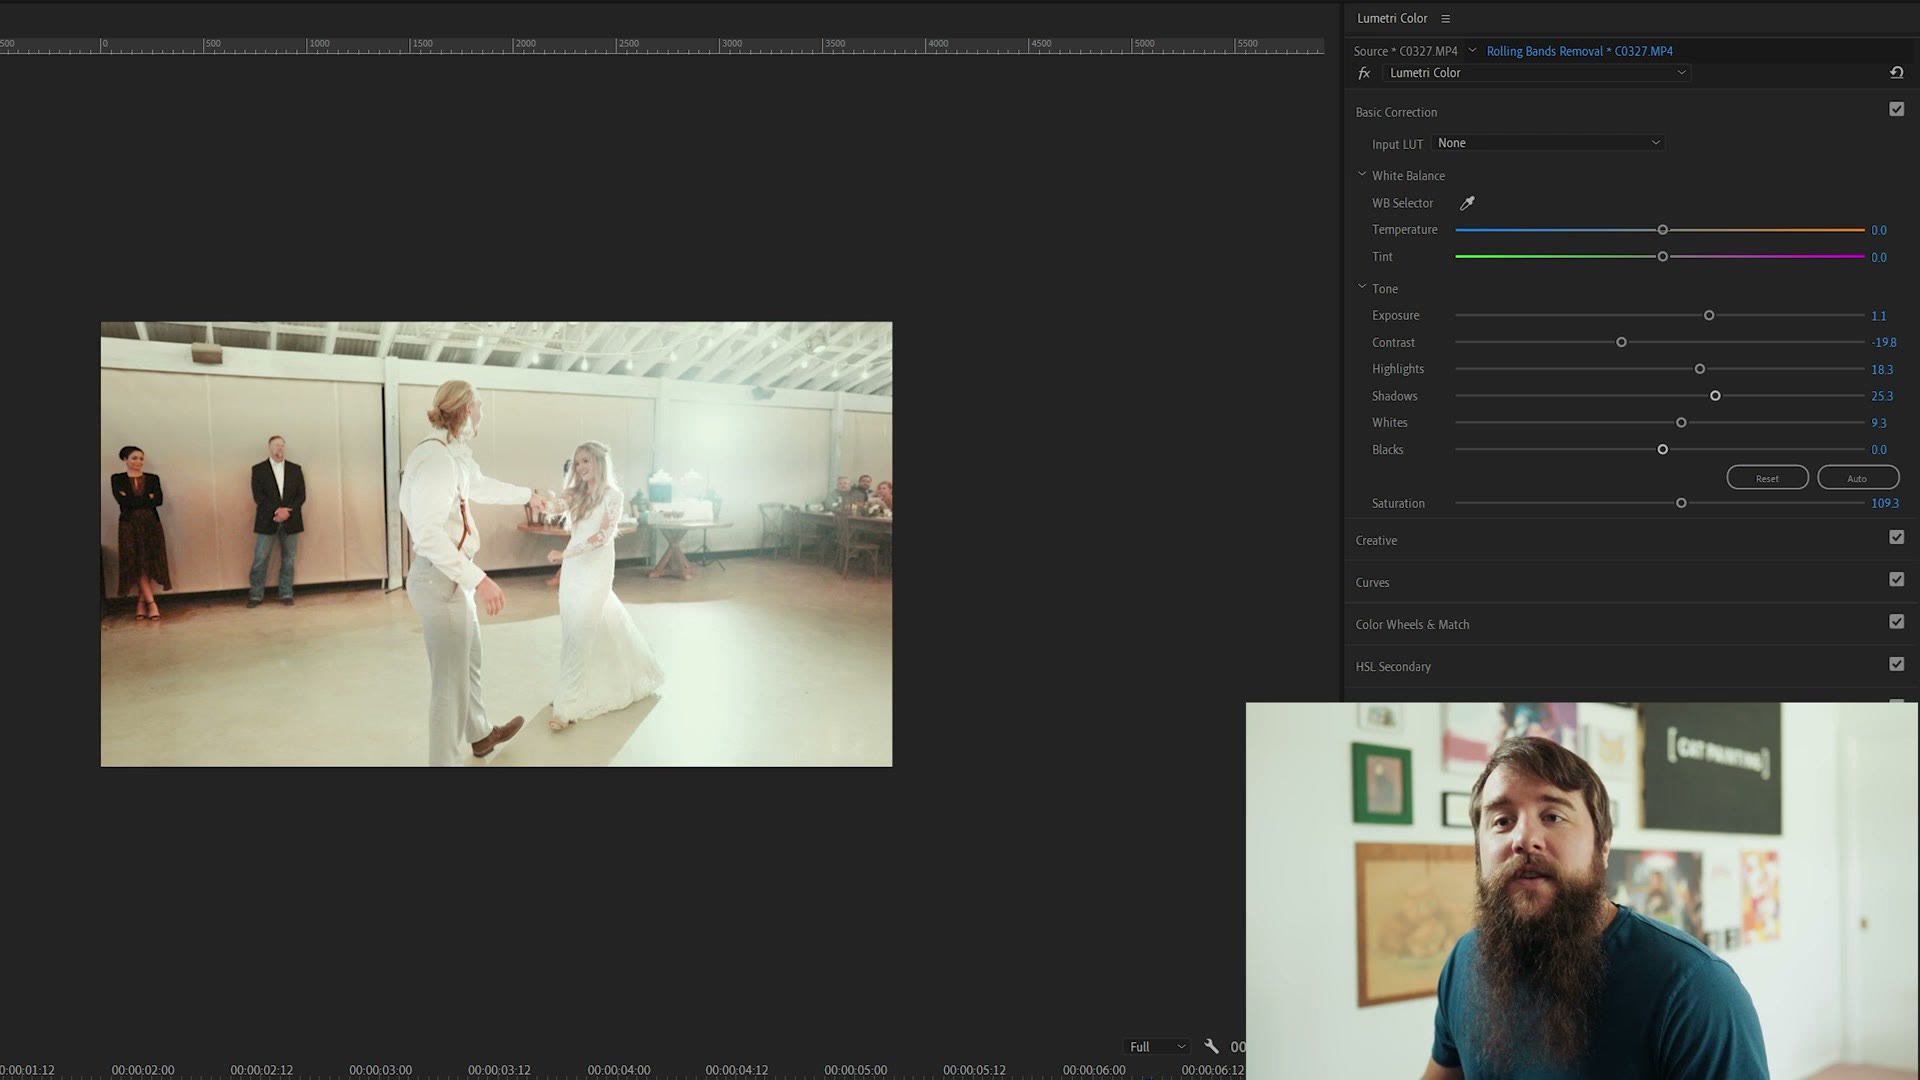
Then boost the shadows a little, the whites slightly, and because it’s washing out in there, push saturation up to about 110.
Editing in something else? I covered How To Quickly & Easily Remove Flicker In DaVinci Resolve and How To Remove Flicker From ANY Video (Guaranteed Fix!) too.
Click away and, where’s that band? I don’t see it at all. Pretty cool, right? Let’s hit play.
Okay, wait a second, the band is back. What just happened?
Last step. We need to animate the mask so it follows the band as it rolls upward.
Go back to Lumetri Color, select the mask, and click the little stopwatch that says Mask Path. Make sure you’re on the first frame of the clip whenever you do this. Then go to the very end of the clip, the very last frame, and press the left arrow once so you’re on the last visible frame. You’ll see the band is now up at the top, because it’s moved.
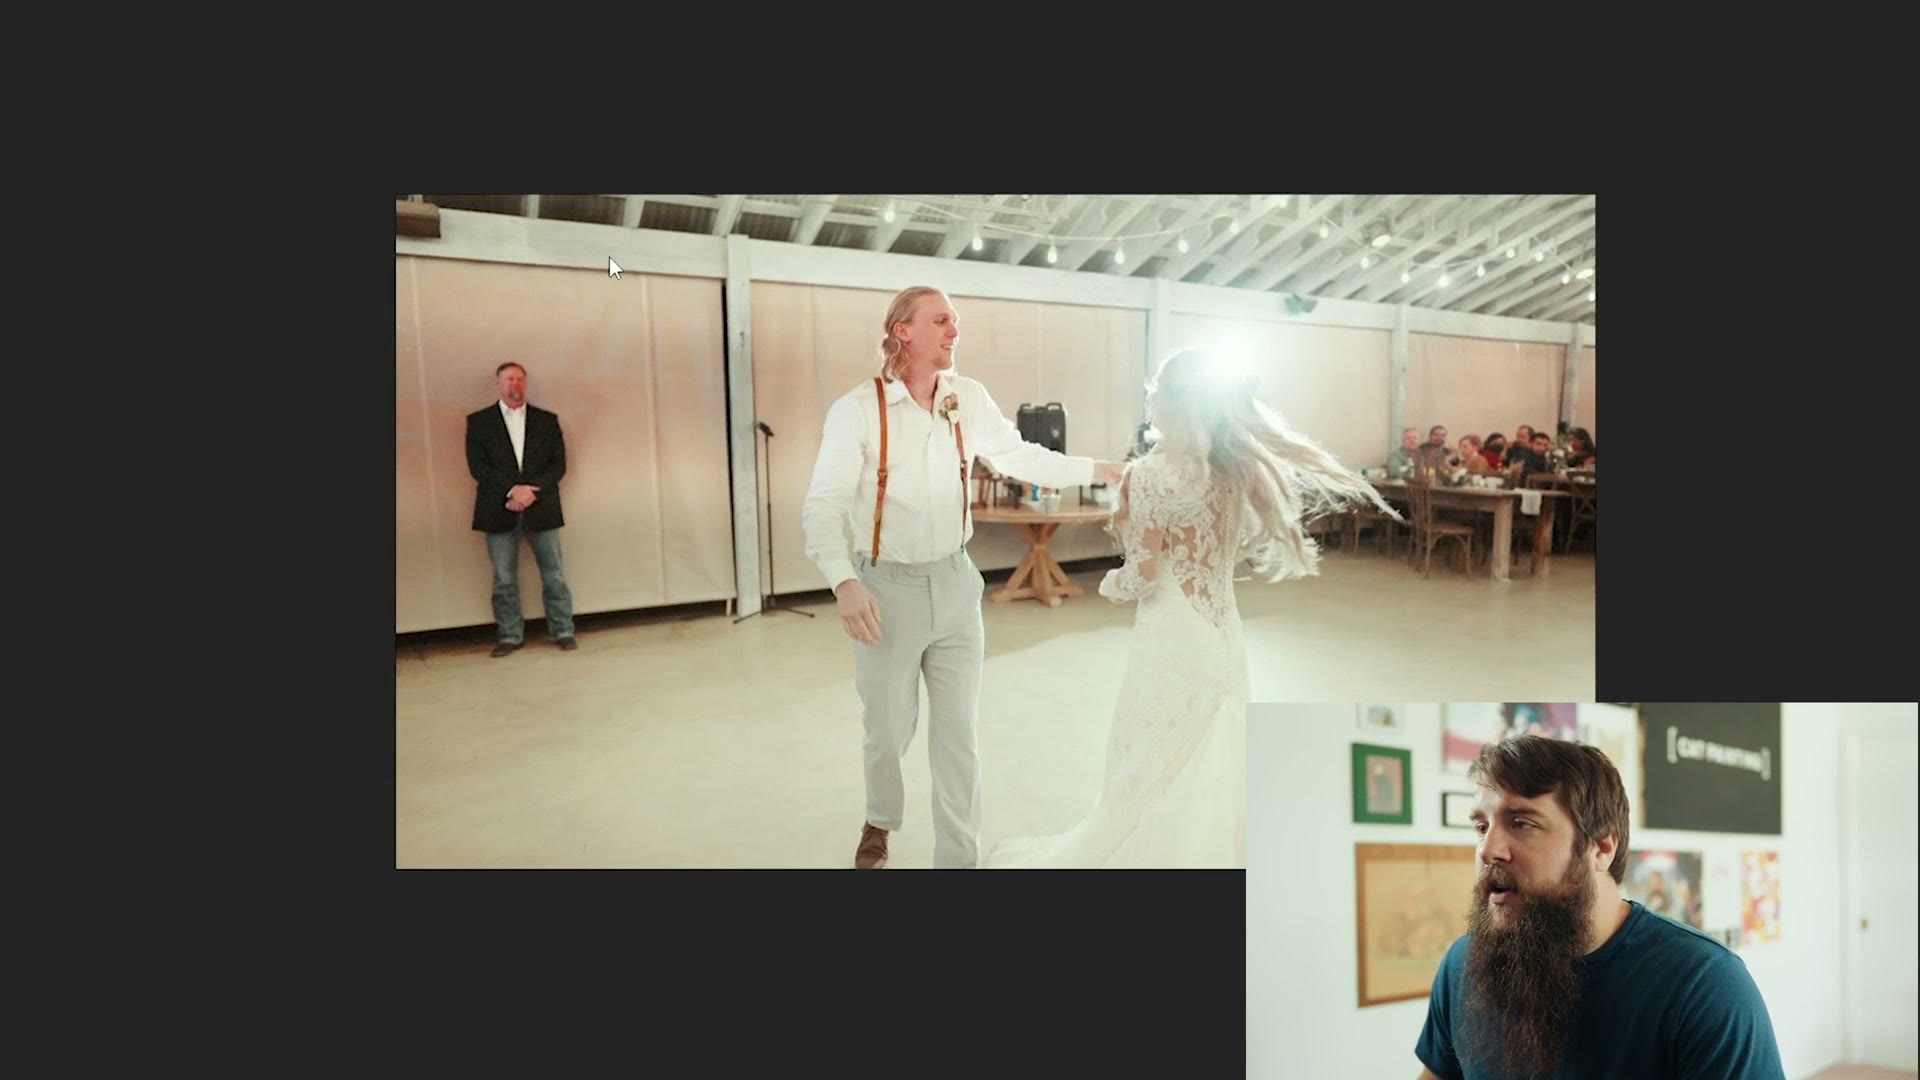
Select the mask, hover until the cursor turns into a hand, then click and drag it upward until it covers the band again. Now you have a keyframe at the start and a keyframe at the end. Go back to the beginning and press play.
There is still a bit of flicker visible, and you can see it’s a little darker over on one side. If you really wanted to fine tune it, you could add a secondary mask just over that part, brighten it a bit more and animate that too. But for a clip that’s only on screen for about a second in the finished video, I don’t think anyone is going to notice. And comparing the before, with all that gross rolling flicker, to the after? Dang. That’s quite an improvement.
Download My Flicker Fix Preset
If you haven’t grabbed my preset for fixing these rolling flicker bands, you can still get it for free right here and save yourself a ton of time.
This one is specifically about slow rolling bands. If you’ve got faster flicker, the kind you get from cheap LED uplighting on a dance floor, I’ve written up a separate guide to removing flicker from any video.

The color presets I used to grade this footage are at whoismatt.com/luts, and if you film weddings, come join us in the Learn Wedding Filmmaking Facebook group.
Thanks so much for reading, and have a great day!