
My name is Matt Johnson, and today I want to share with you how to quickly and easily film with the S-Log3 picture profile in your Sony FX30.
To save you time and make this picture profile super easy to film with, I created a set of video presets called WhoisMatt LUTs that are made specifically to work with S-Log3. I have tested these presets extensively with the FX30 and they look fantastic.
S-Log3 Picture Profile Setup
Getting started, grab your FX30 and navigate to the Log Shooting menu. The first thing you should do is make sure your camera is set to Flexible ISO, and then for the color gamut set it to S-Gamut3.Cine/S-Log3.
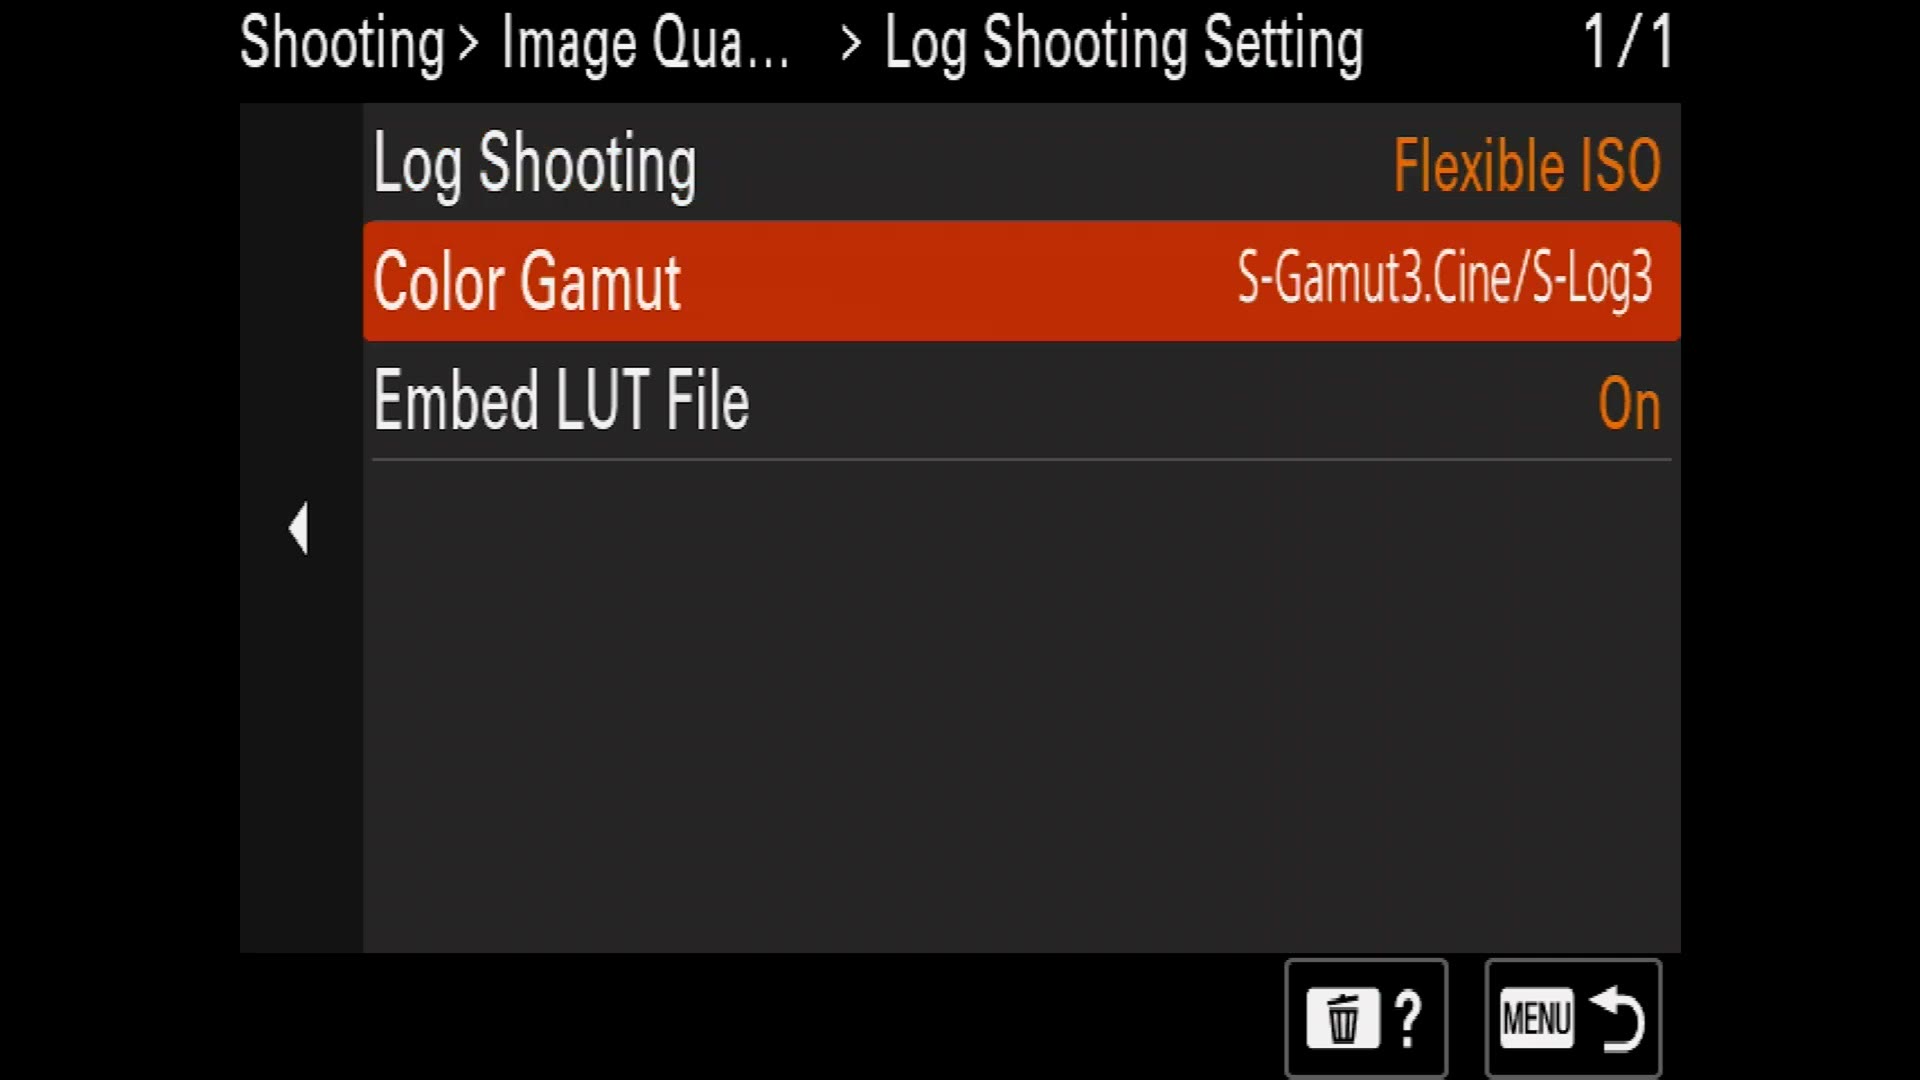
Alternatively, if you are filming in Cine EI mode the settings are going to be different, but good news, I have made a tutorial all about Cine EI mode, so if you want to use that instead, or if you are totally confused and you do not know what that is, here is my Cine EI explainer. Anyways, this tutorial is mostly going to focus on using Flexible ISO mode with the FX30, but a lot of what I am going to talk about applies to Cine EI mode as well, so watch both of these videos.
Exposing S-Log3 Properly On The FX30
Next let’s talk exposure. If you want the best possible image quality out of the FX30 with minimal noise, you need to make sure you are exposing properly whenever you film in S-Log3. So how do you expose properly? Well, just like the a7S III, FX3, a1 and so on, you actually want to overexpose your footage a bit whenever you are filming. Heads up: this link goes to the newer Sony a1 II. Then whenever you color grade, you will bring that footage exposure back down as you add contrast and saturation, which will greatly minimize any noise in your footage.
Going back to your camera now, looking at the bottom of the screen you are going to see your shutter speed, your lens aperture, and the letters MM with a number next to them. With a traditional camera profile you would want your camera’s metering, which is that number next to MM, to read 0.0, which means the image it is recording is not over or underexposed. If your camera says negative 1.0, it means it is one stop underexposed. If it reads plus 1.0, that means it is one stop overexposed.
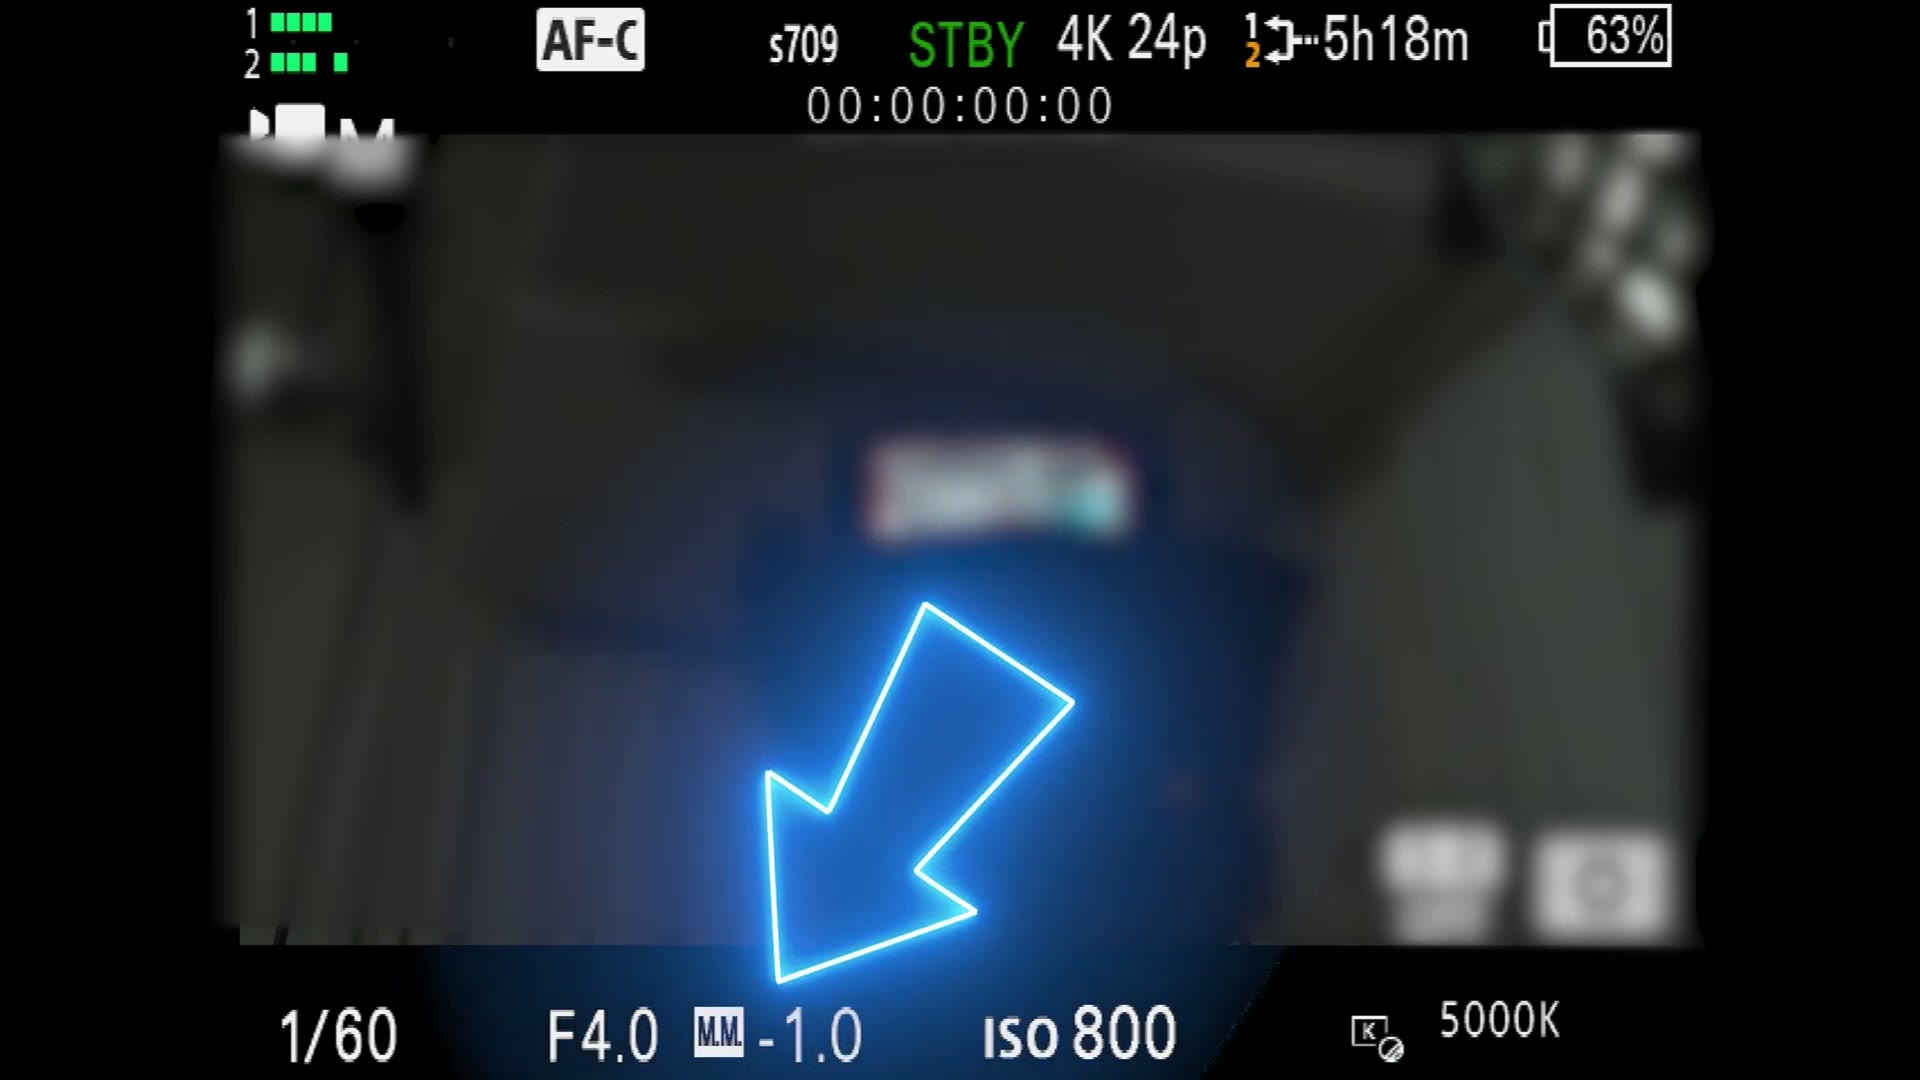
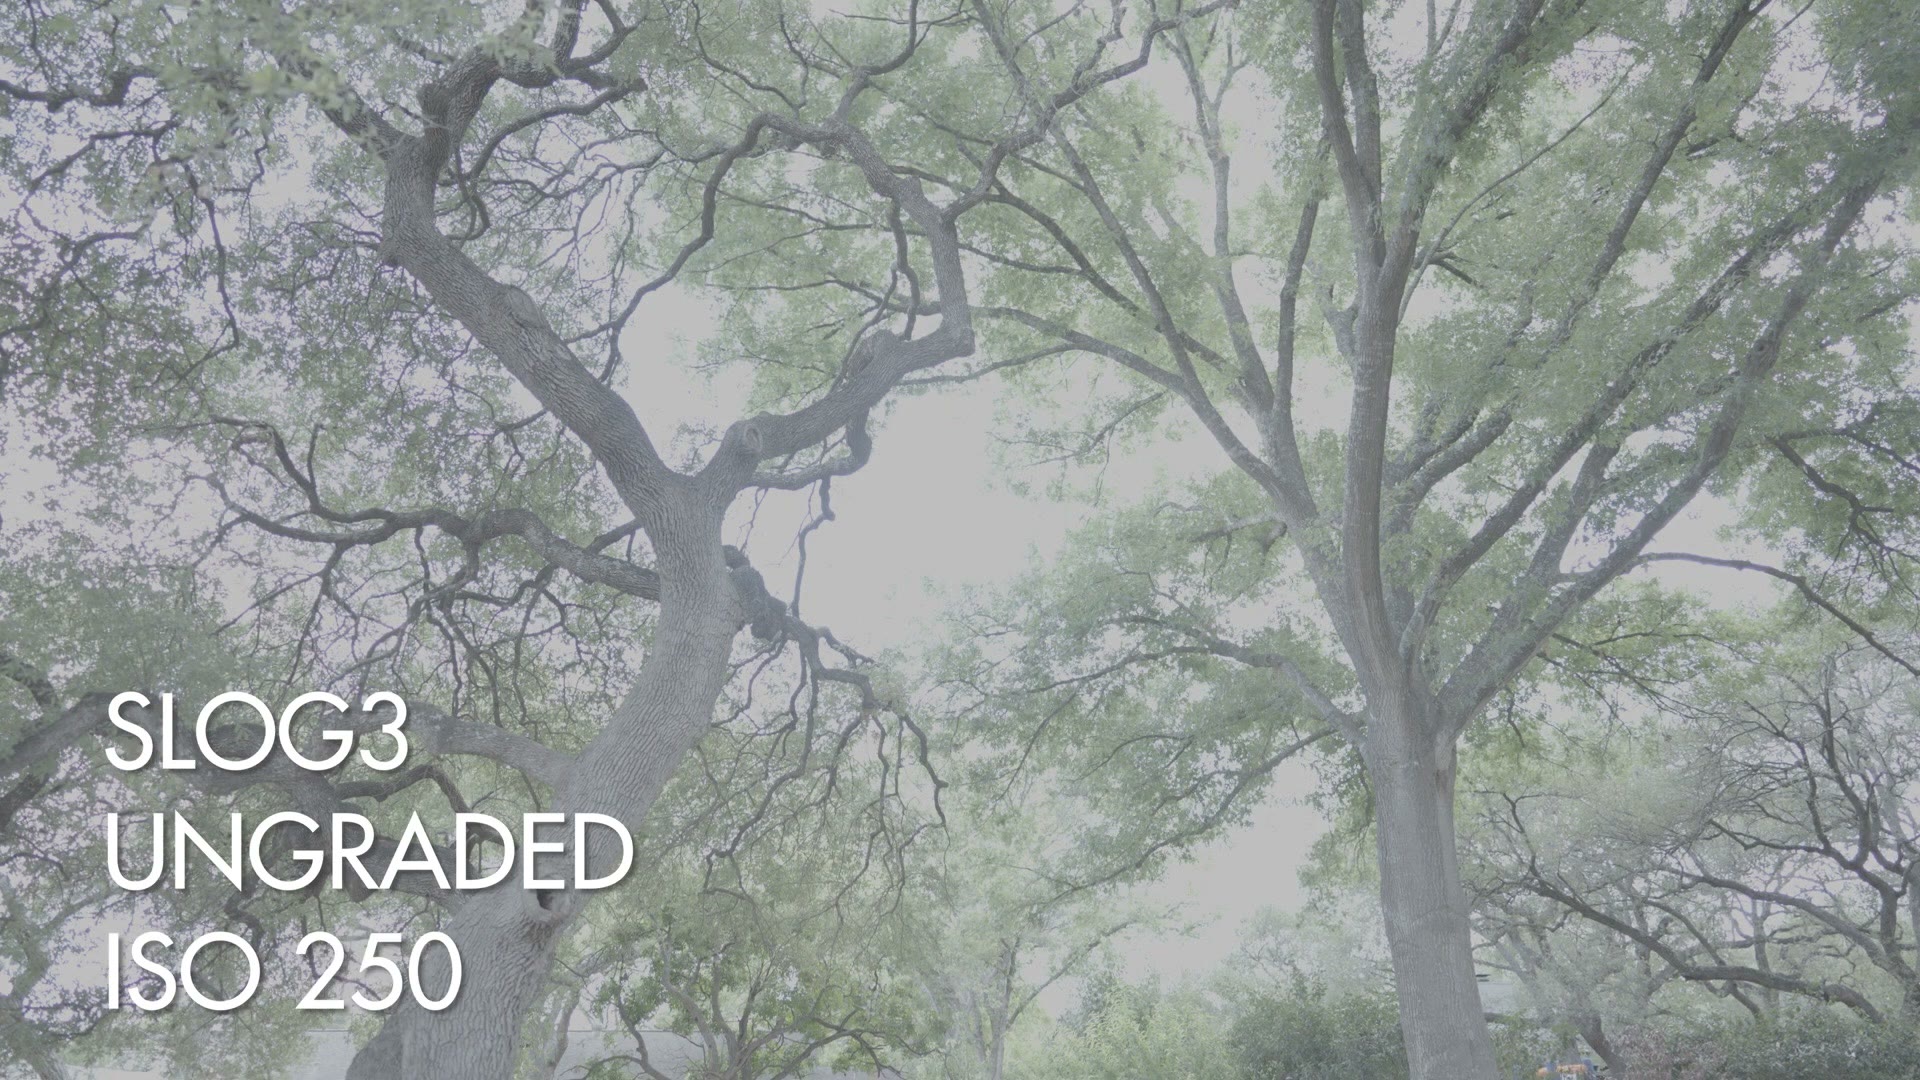
But remember, we are shooting in S-Log3, and you need to overexpose it to make sure it is recording at the right exposure levels, so you are actually going to want your camera’s metering to read between 1.7 and 2.0 stops over. That is going to look bright, but I promise you this is how your camera will look its best. Also be careful, because whenever I say you can go up to 2.0 stops over, you are going to want to make sure that the 2.0 is not blinking. If it is blinking, that means you are over 2.0 stops, and that is a bad thing, because it is too bright.
Zebra Setup
To help you out with exposure and make sure you are not overexposing your footage, I would also highly recommend using zebras. Not like the animal, like the effect in your camera. Enabling zebras on your FX30 will tell you if your footage is overexposed by putting these nice black and white lines that kind of look like zebra stripes on the overexposed parts of your image.
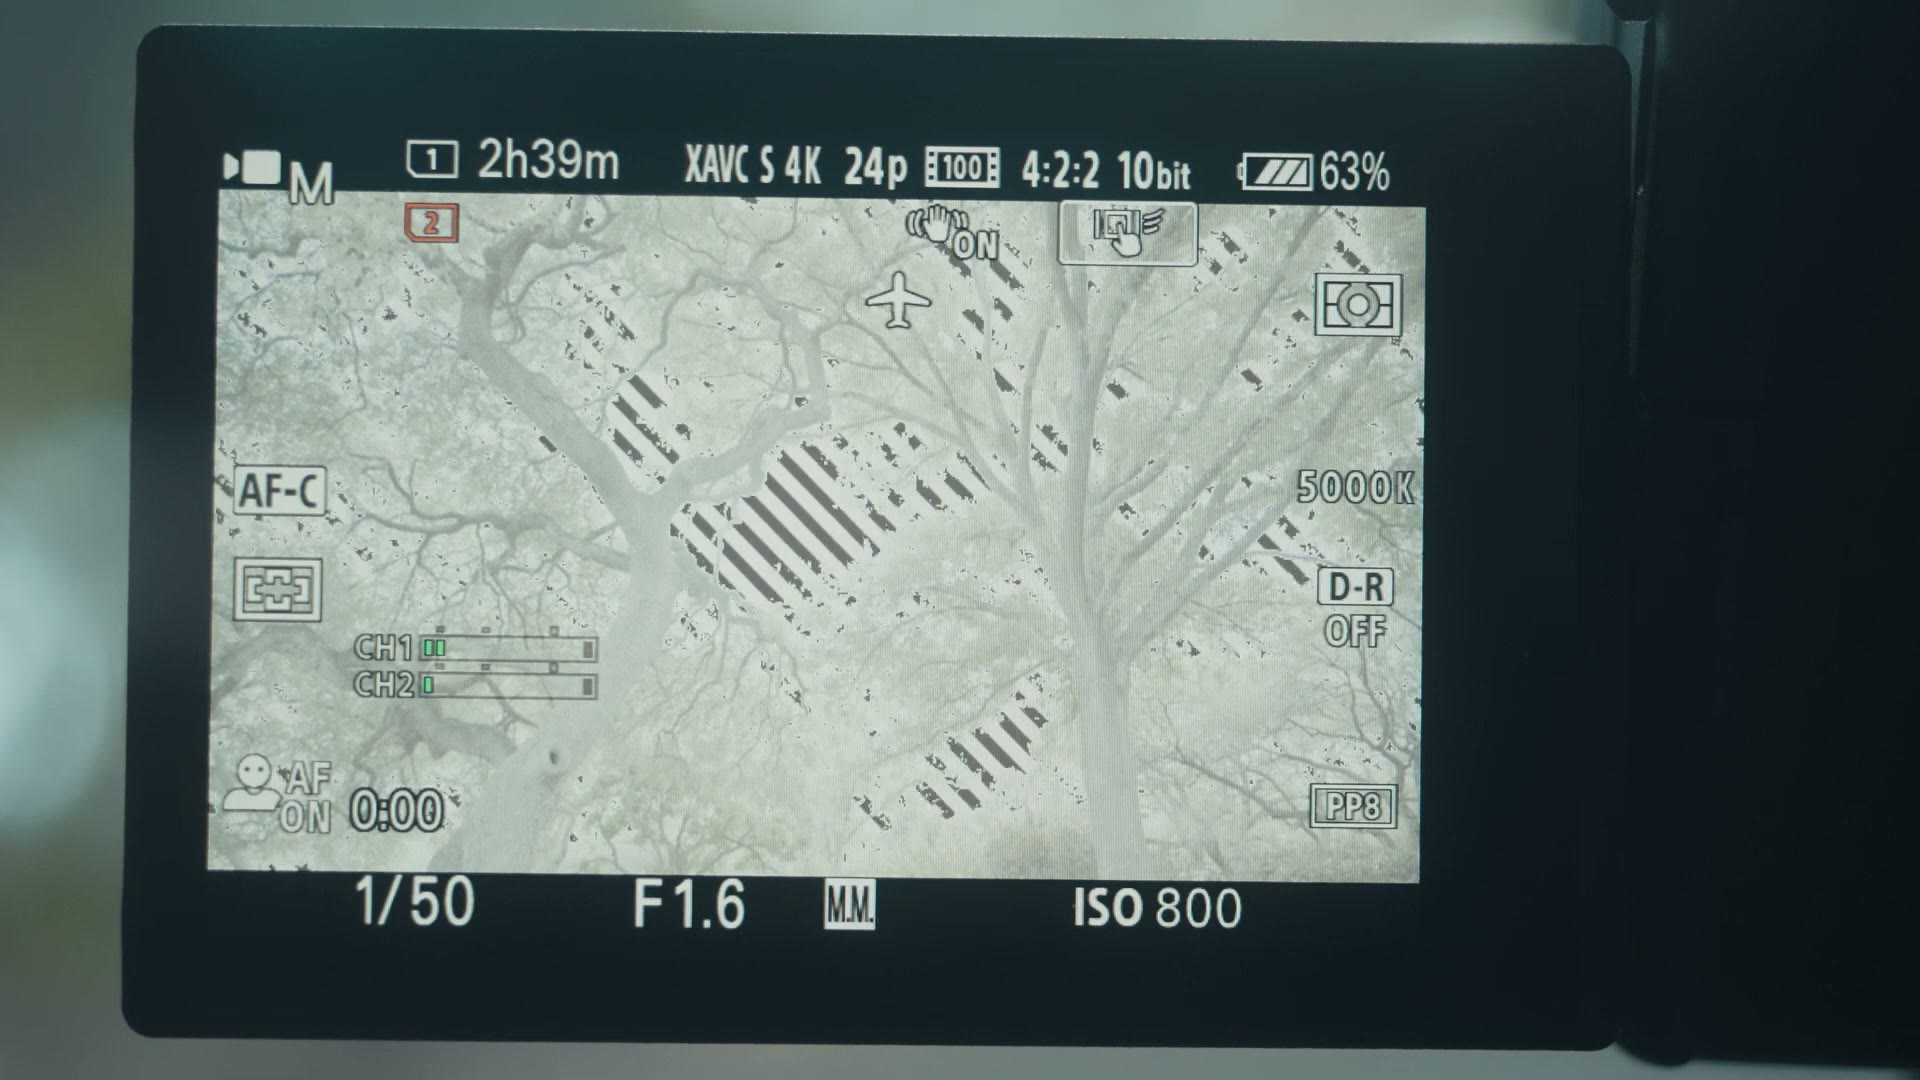
You will need to calibrate these zebra stripes to work properly with your S-Log3 footage though. Incidentally, if you have watched my FX30 setup video and downloaded my FX30 settings preset, you should already have your zebras set up for S-Log3.
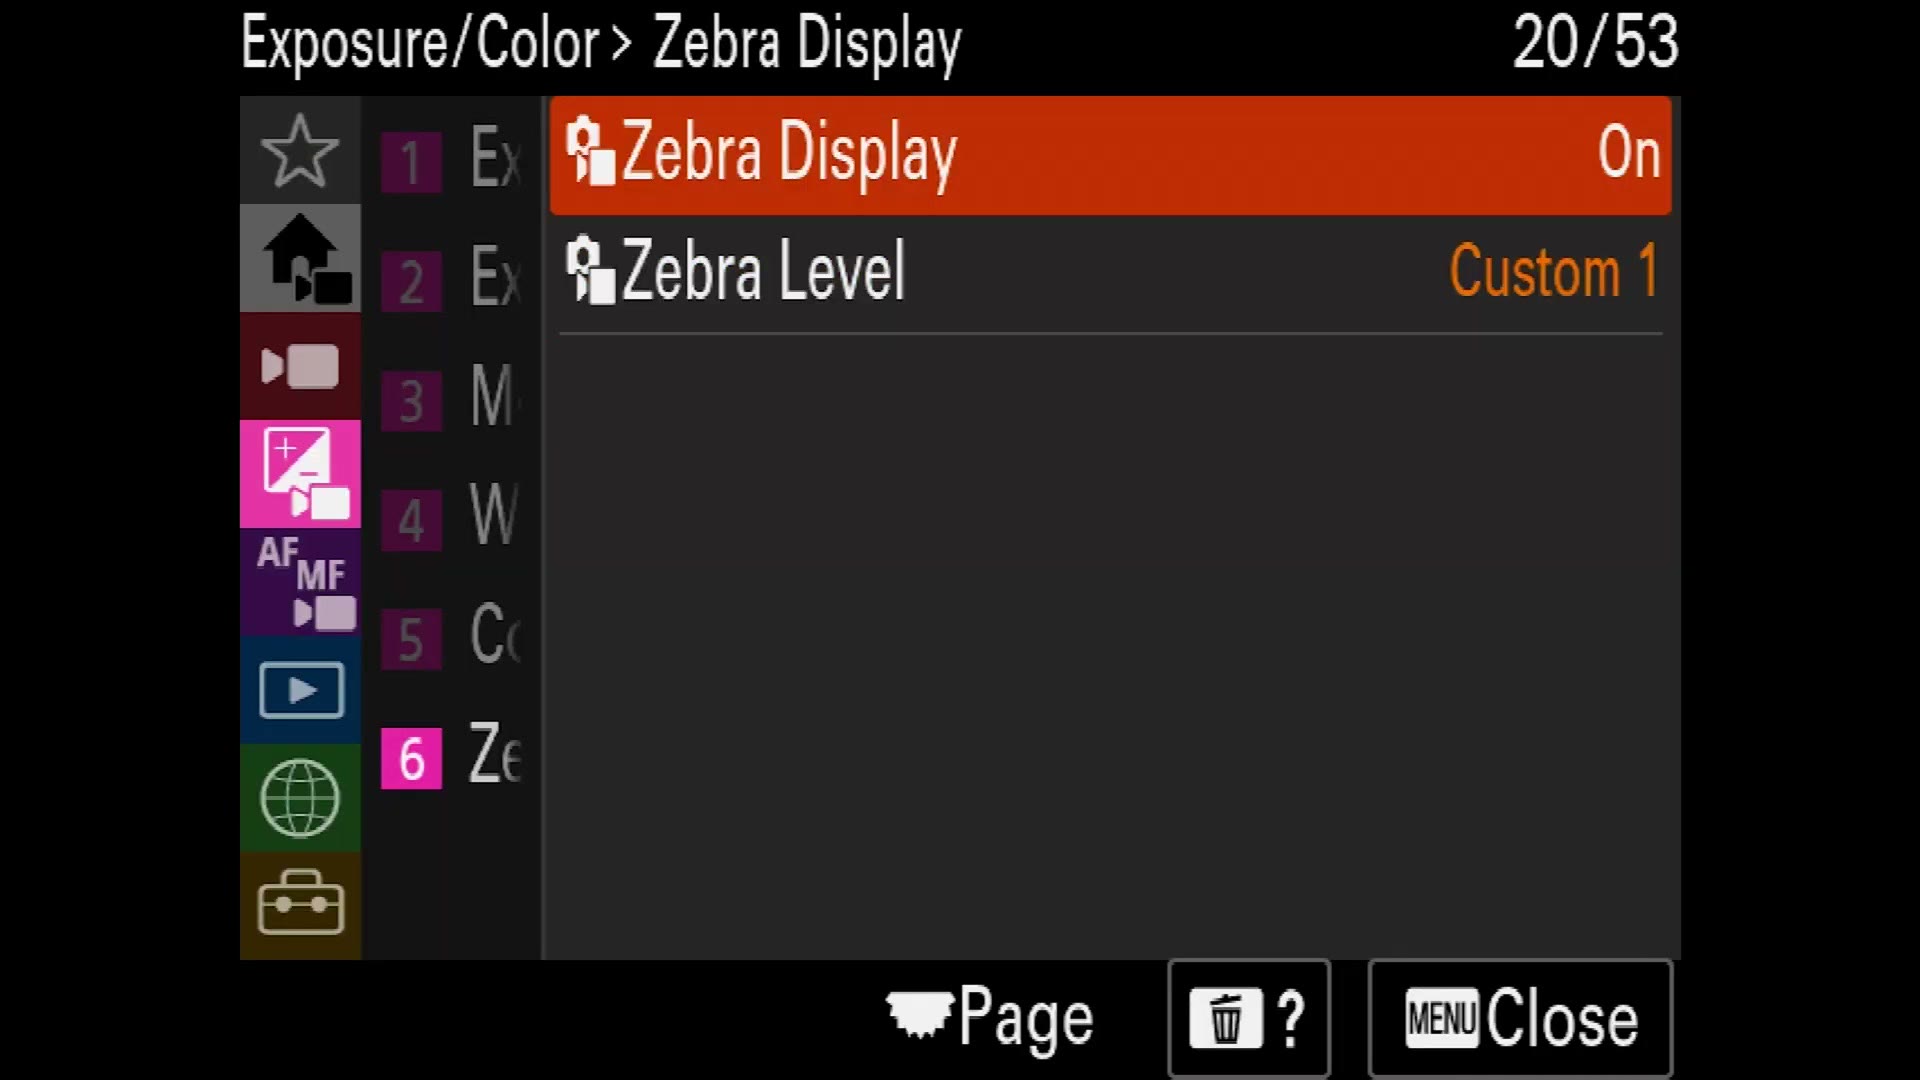
In case you have not downloaded those settings, here is how to set up your zebras properly. Go into your camera’s menu, go to Exposure/Color, then Zebra Display, and for Zebra Level go down to C1 so you can set a custom zebra level. Press right and select Lower Limit, then press right again and change the number to 94+.
Next, make sure Zebra Display in the menu is turned on, and as you start to bring up the exposure of your camera, either by changing your aperture or your ISO, you are going to notice zebra lines appearing on the overexposed parts of your footage. Because you set your zebra level to 94+, that number is the maximum brightness S-Log3 footage can handle before it clips the highlights and cannot recover them.
So as you are filming, I would first look at your metering and make sure it is between those 1.7 and 2.0 stops over, and then I would look for any zebras to appear on your screen. If they show up, then I would consider what you are filming. If you are filming a person standing in front of a sunset and you have the super bright sun and clouds behind them, you are probably going to see some zebras in the background, and that is okay. But if you are seeing zebras on the person’s face or skin, that means your footage is definitely too bright and your exposure needs to be darker.
Keep in mind though that the camera’s metering is not that smart. It is not the best at telling whether it is looking at a bright light or a person, which means you may be filming someone and the metering is telling you they are 2.0 stops overexposed, but in reality there is a bright light behind them that the metering is picking up instead of the person, and that person is actually underexposed. So to help your metering out and make sure it is accurate, one trick I use is to move closer to someone I am filming, stand say a few feet away from them, and then check my metering to see what brightness the camera says their skin tones are. If their skin tones are between one and two stops over, then I know they are exposed properly, and I can move back to my filming position and film them.
I would also highly recommend filming some test shots with people lit by different light sources. As you gain experience with watching your metering and your zebras and then color grading that footage to see how it looks, you are going to get a great idea of how the camera is exposing and what looks good.
ISO Setup For The FX30
You have got your metering set up and your zebras, so the last thing we need to talk about is ISO. If you turn your ISO up your footage gets brighter, and if you turn it down it gets darker, but there are two very important things to keep in mind whenever it comes to your ISO and S-Log3, and these two things are specific to the Sony FX30.
While you’re here, take a look at Sony FX30 Review For Wedding Filmmakers – BEST Budget Videography Camera and How To Fix Noisy SLOG3 Footage.
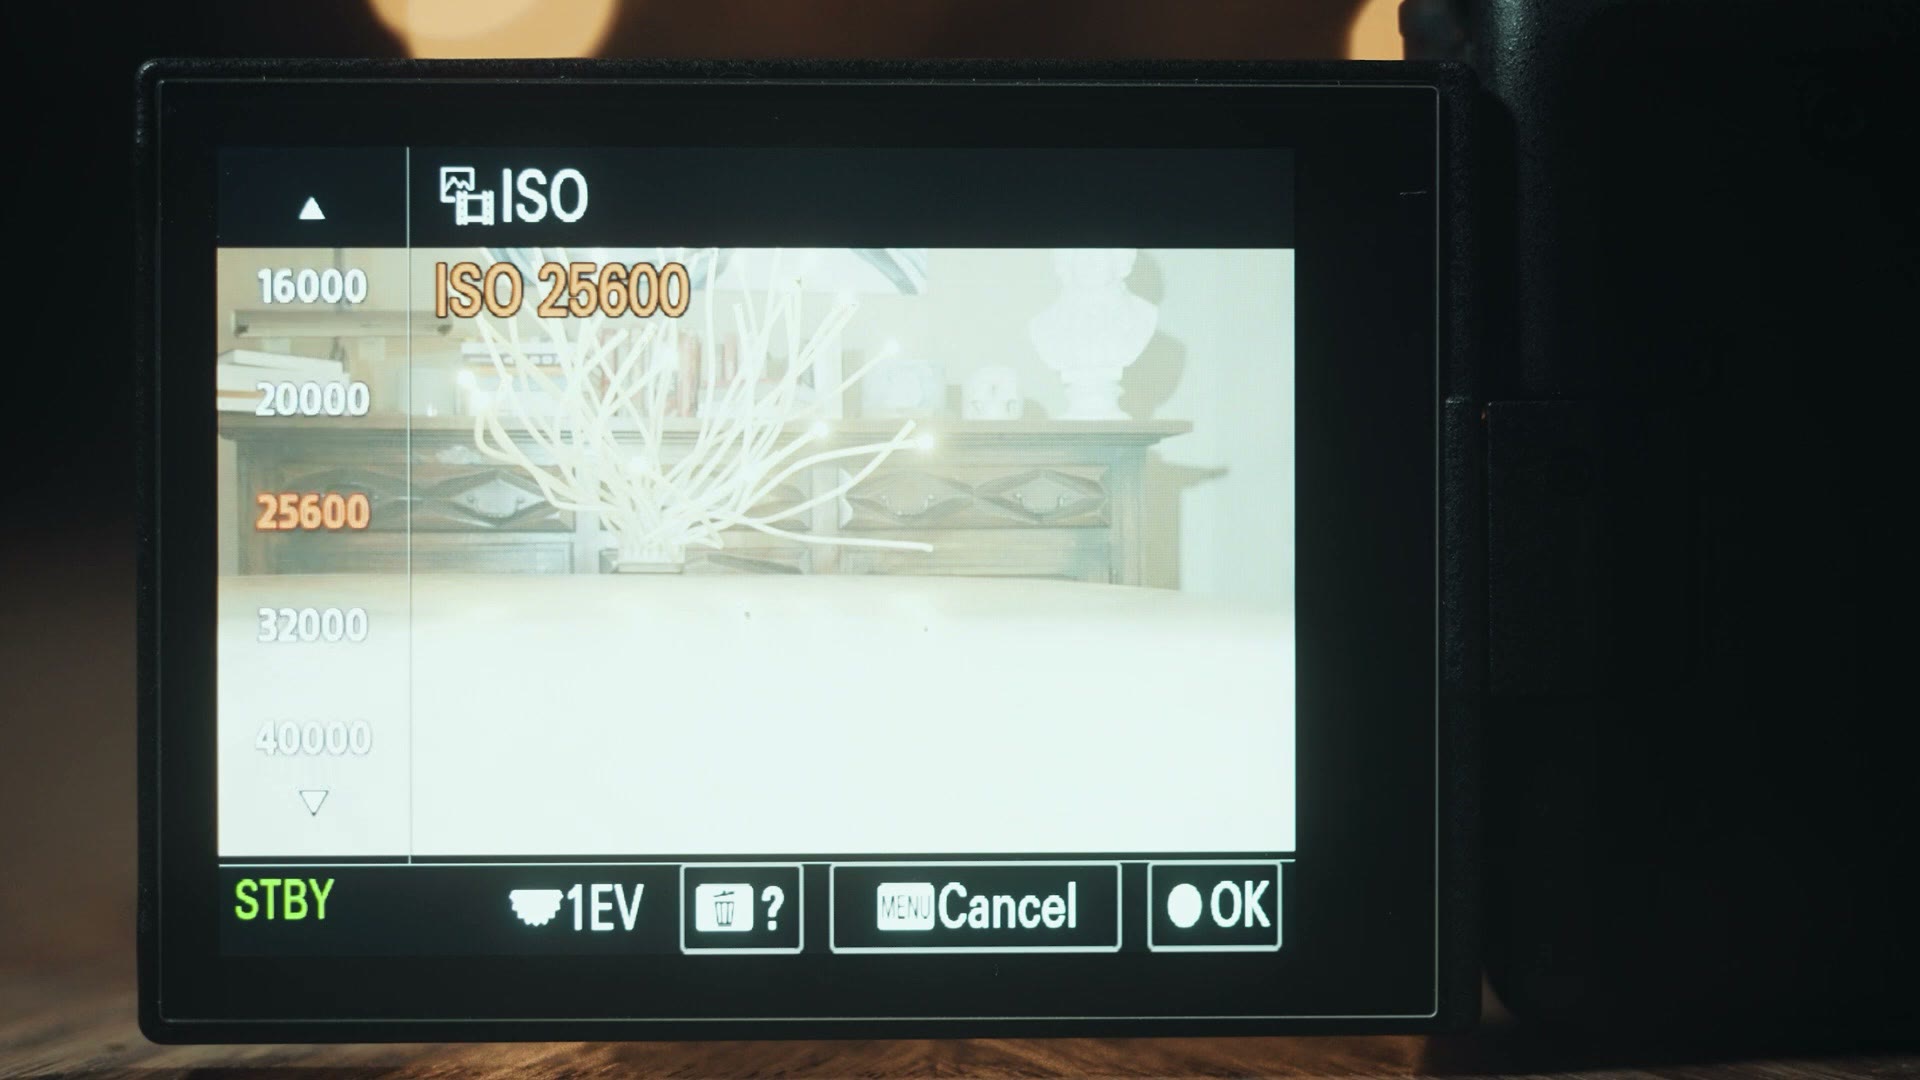
Looking at the ISO menu of your FX30, you will see you can actually set your ISO all the way down to 200, but all of these ISOs from 200 to 640 have lines at the top and bottom of the numbers, and whenever you get to ISO 800 those lines go away.
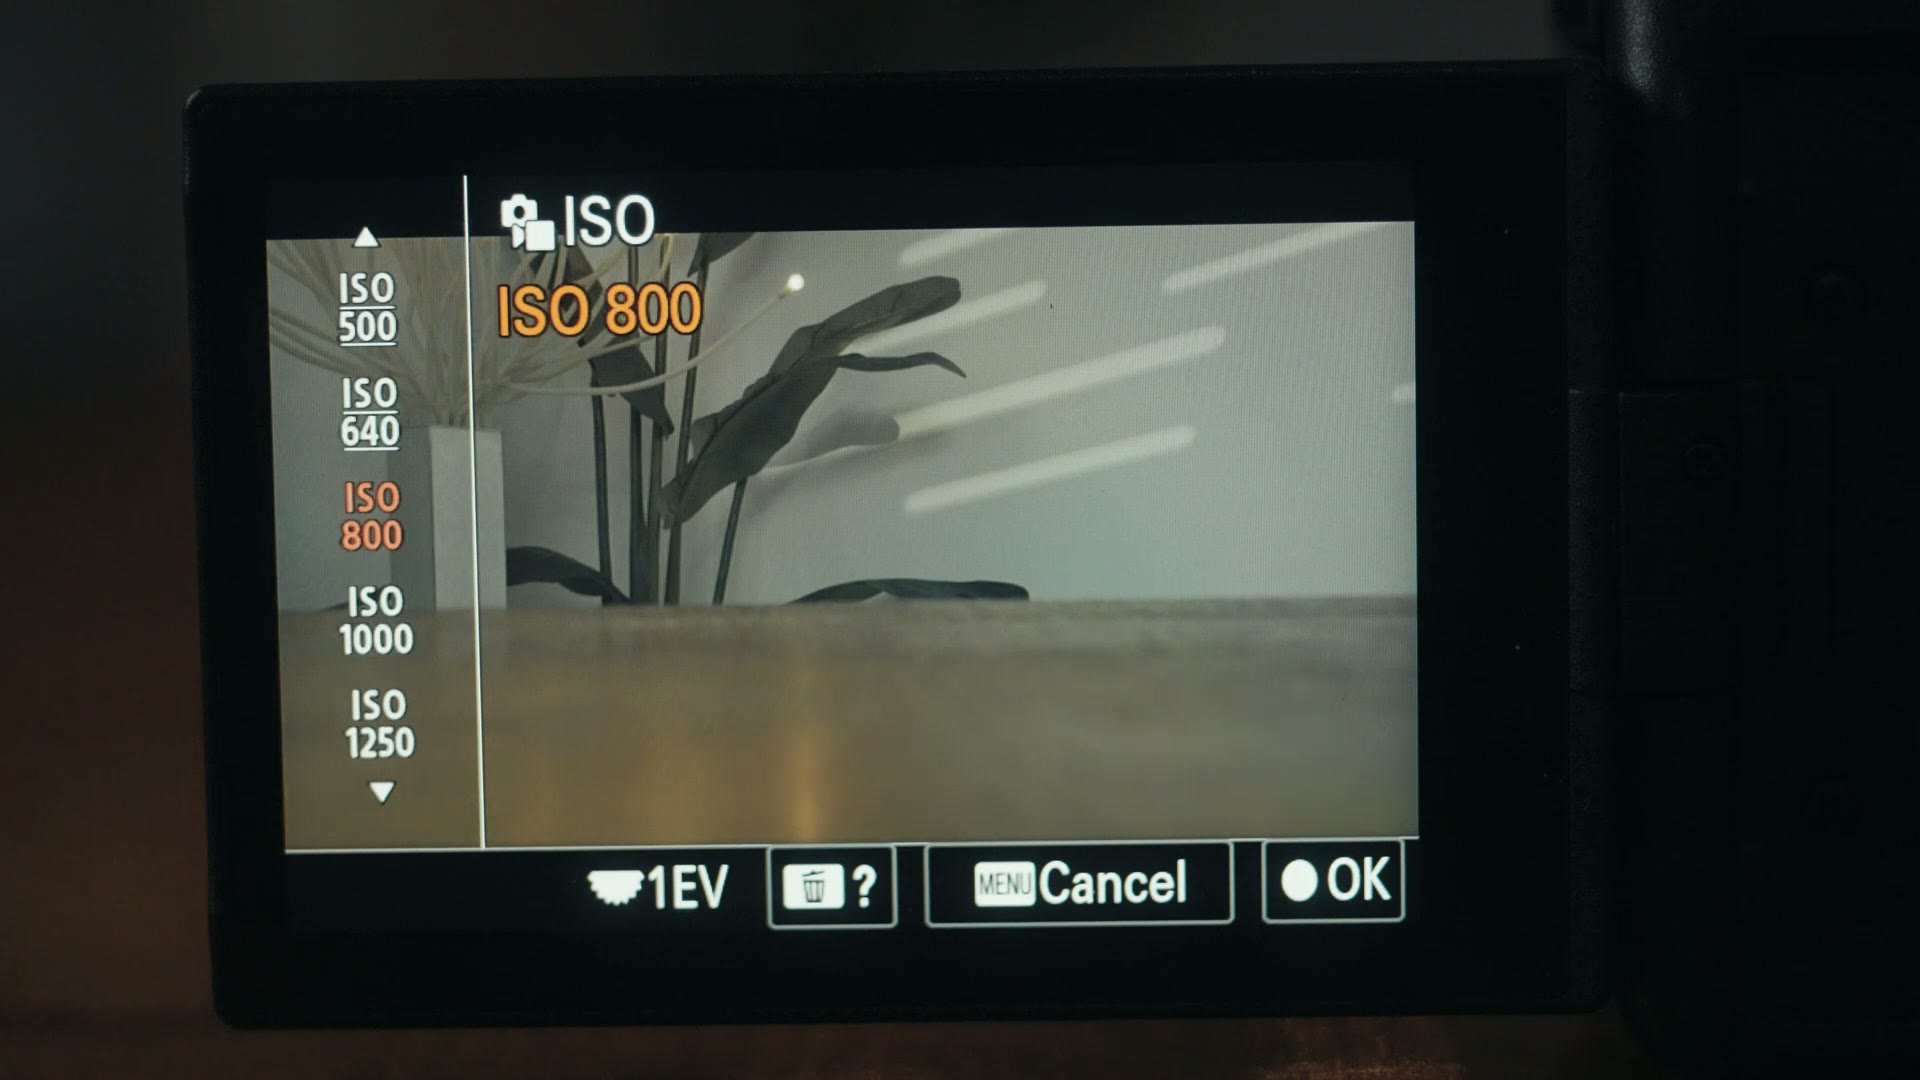
This is because in S-Log3 the recommended base ISO is 800 on the FX30. ISO 800 is the lowest ISO Sony recommends if you want to maximize the dynamic range of the camera. As I just showed you though, you can go lower if you want to, all the way down to 200, but you are going to have a big issue once you go below 800. The issue is that if you drop your ISO below the base ISO of 800, the camera is going to start to electronically clip the highlights of your footage at a lower level, which means you are going to lose dynamic range, which is really the whole point of filming in S-Log3.
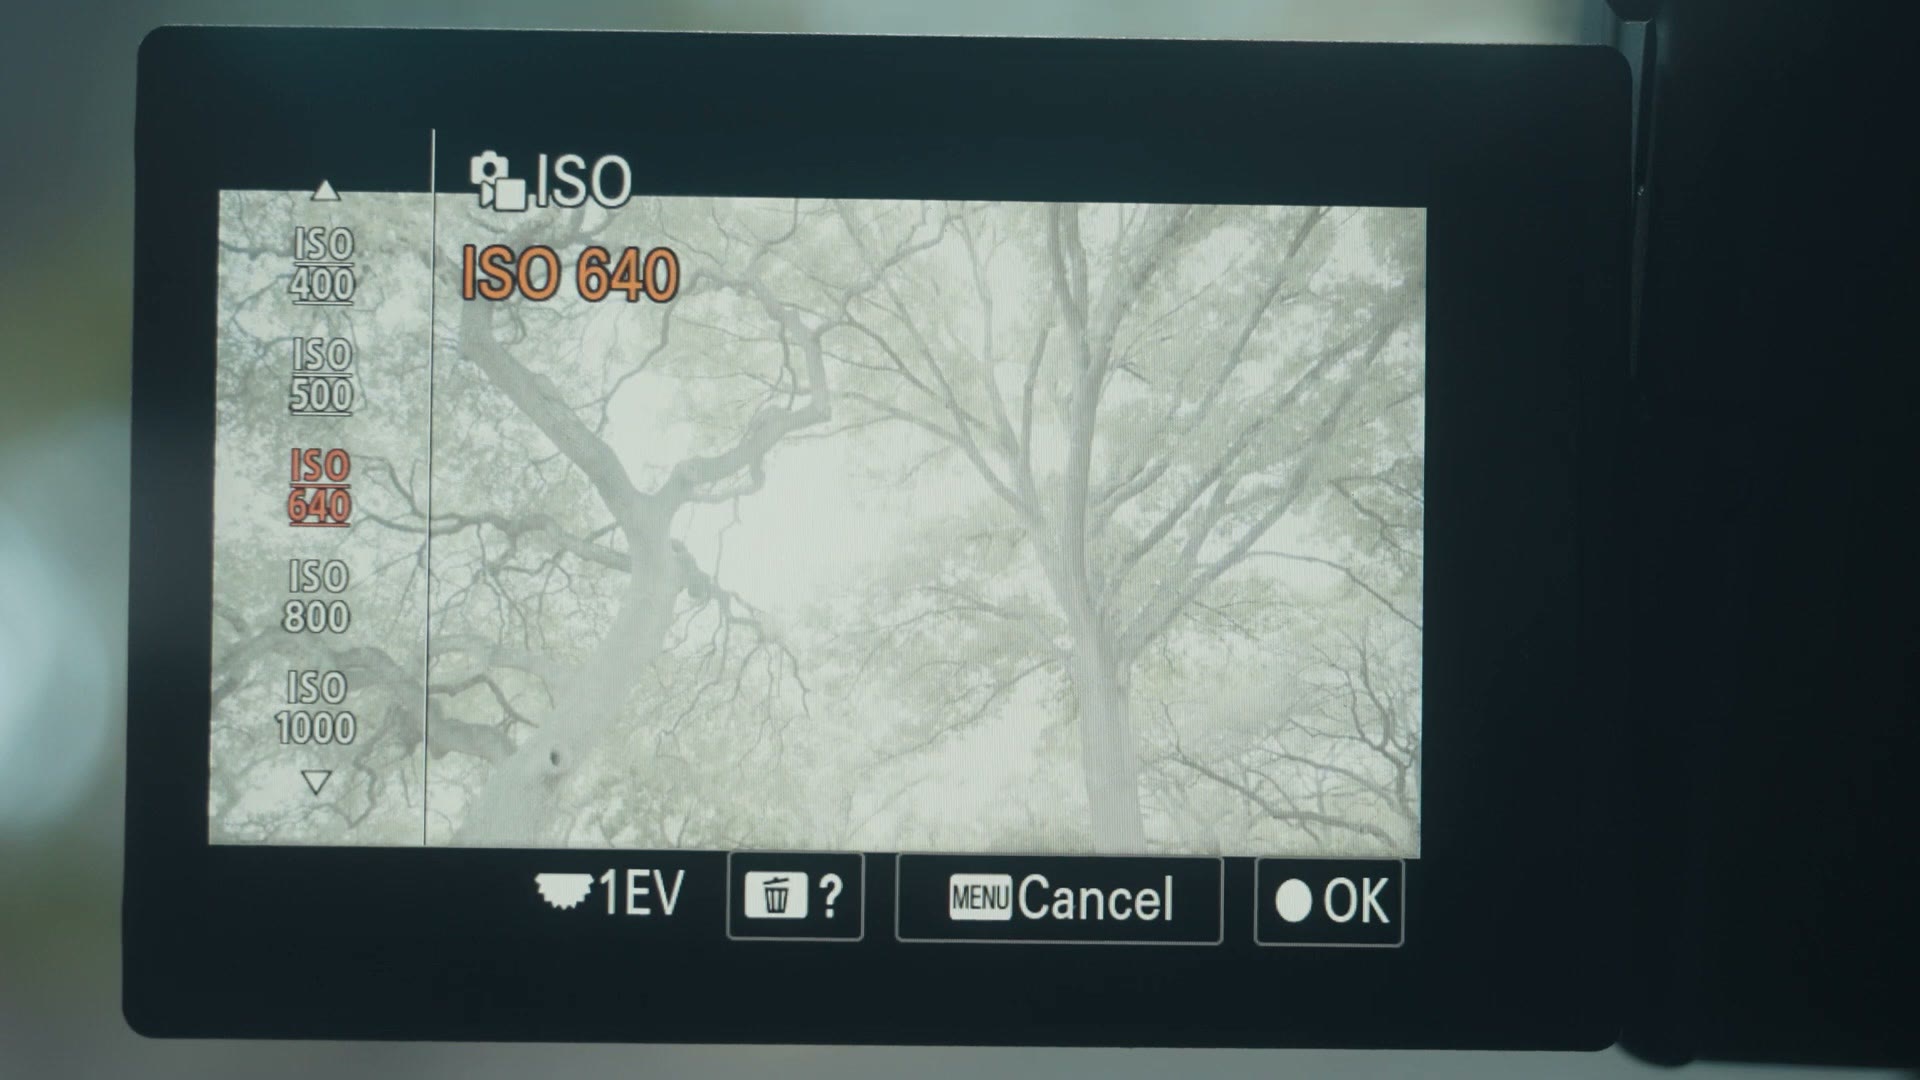
So as a rule, I would never recommend dropping your ISO below your camera’s base ISO if you can help it. Adjust your aperture and your shutter speed, and consider investing in an ND filter, before dropping that ISO below 800. Got it?
Okay, we have covered minimum ISO, but we are not quite done talking about ISOs yet, because we need to talk about low light performance with the FX30 whenever you film in S-Log3, and specifically the ISOs I would be careful to avoid. The FX30, like other Sony cameras, has what is known as a dual base ISO. This means there are two ISOs where the camera will look its best and give you the absolute maximum dynamic range it is capable of. This dual base ISO will change depending on the picture profile you are filming with, but in the case of S-Log3 those ISOs are 800 and 2500.
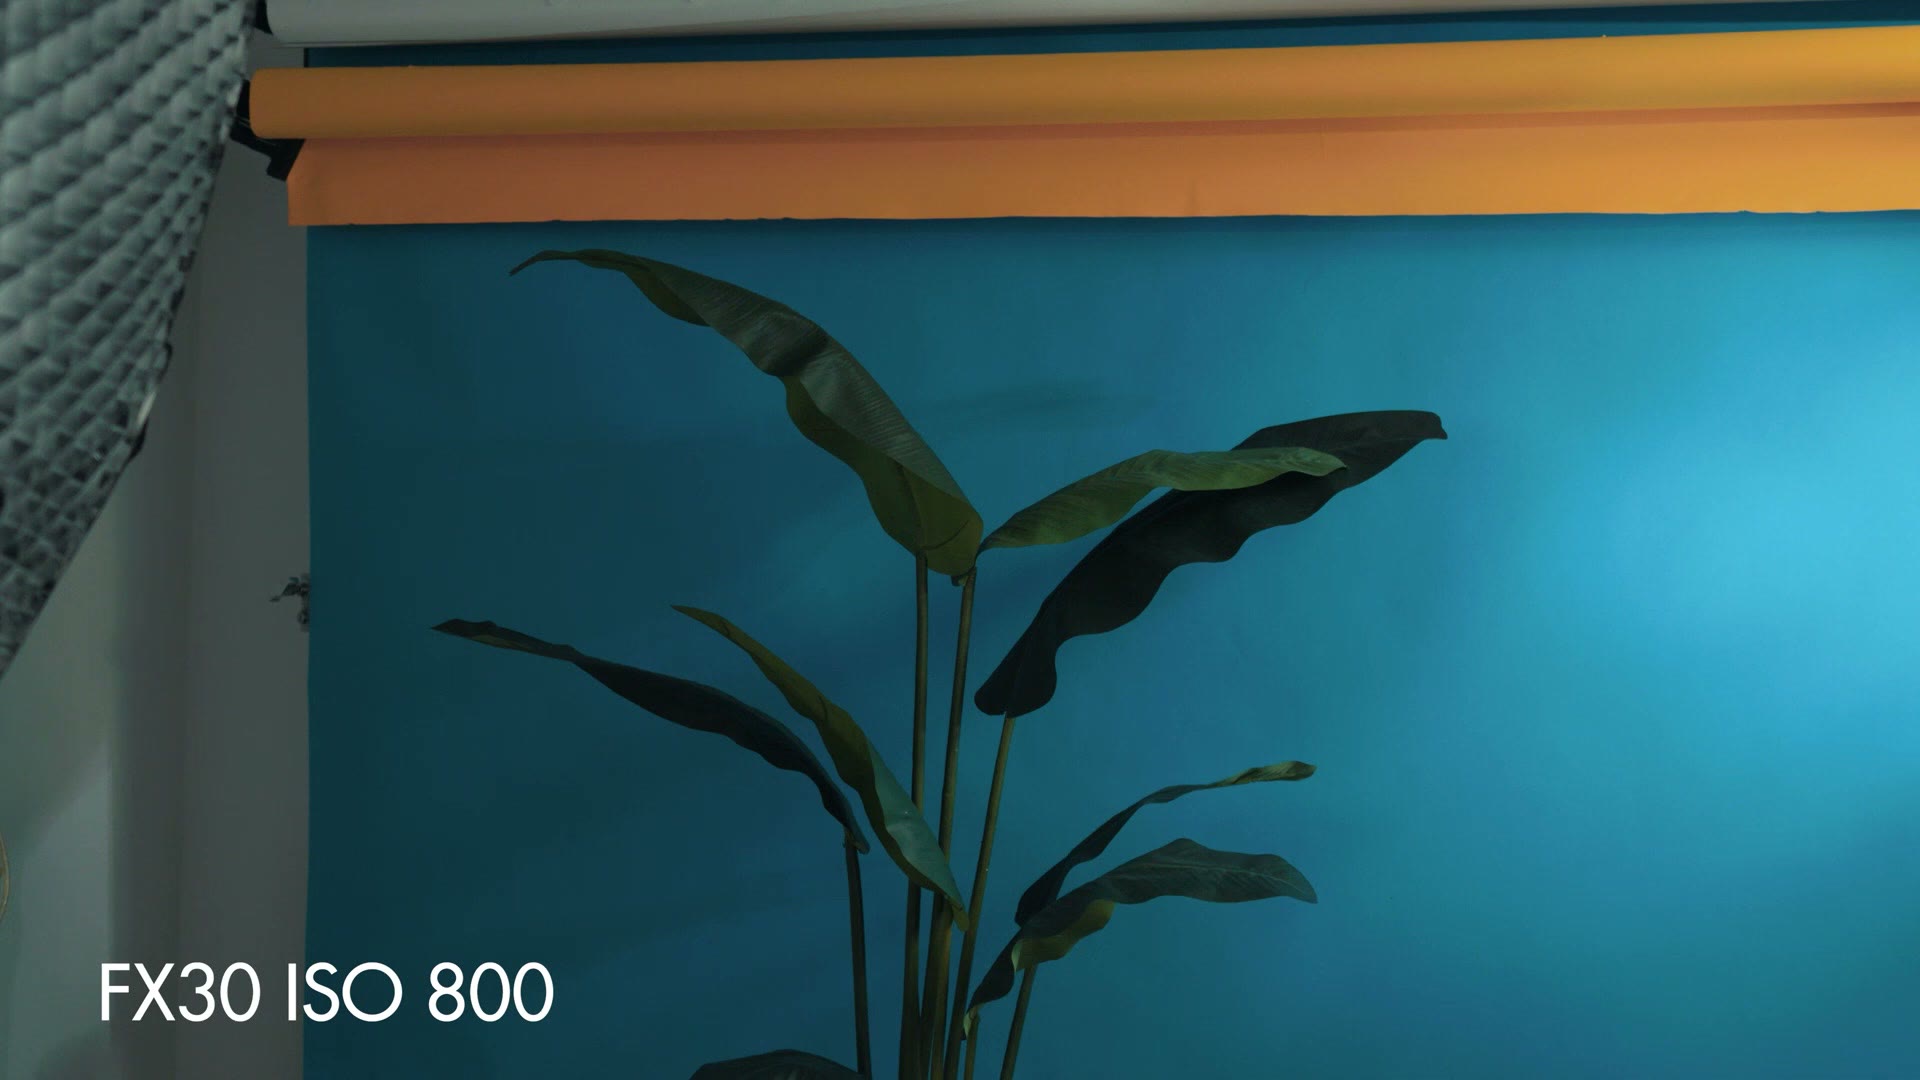
We have already discussed ISO 800, but ISO 2500 is also super important, because this is another ISO where your video will look its best and cleanest with minimal noise.
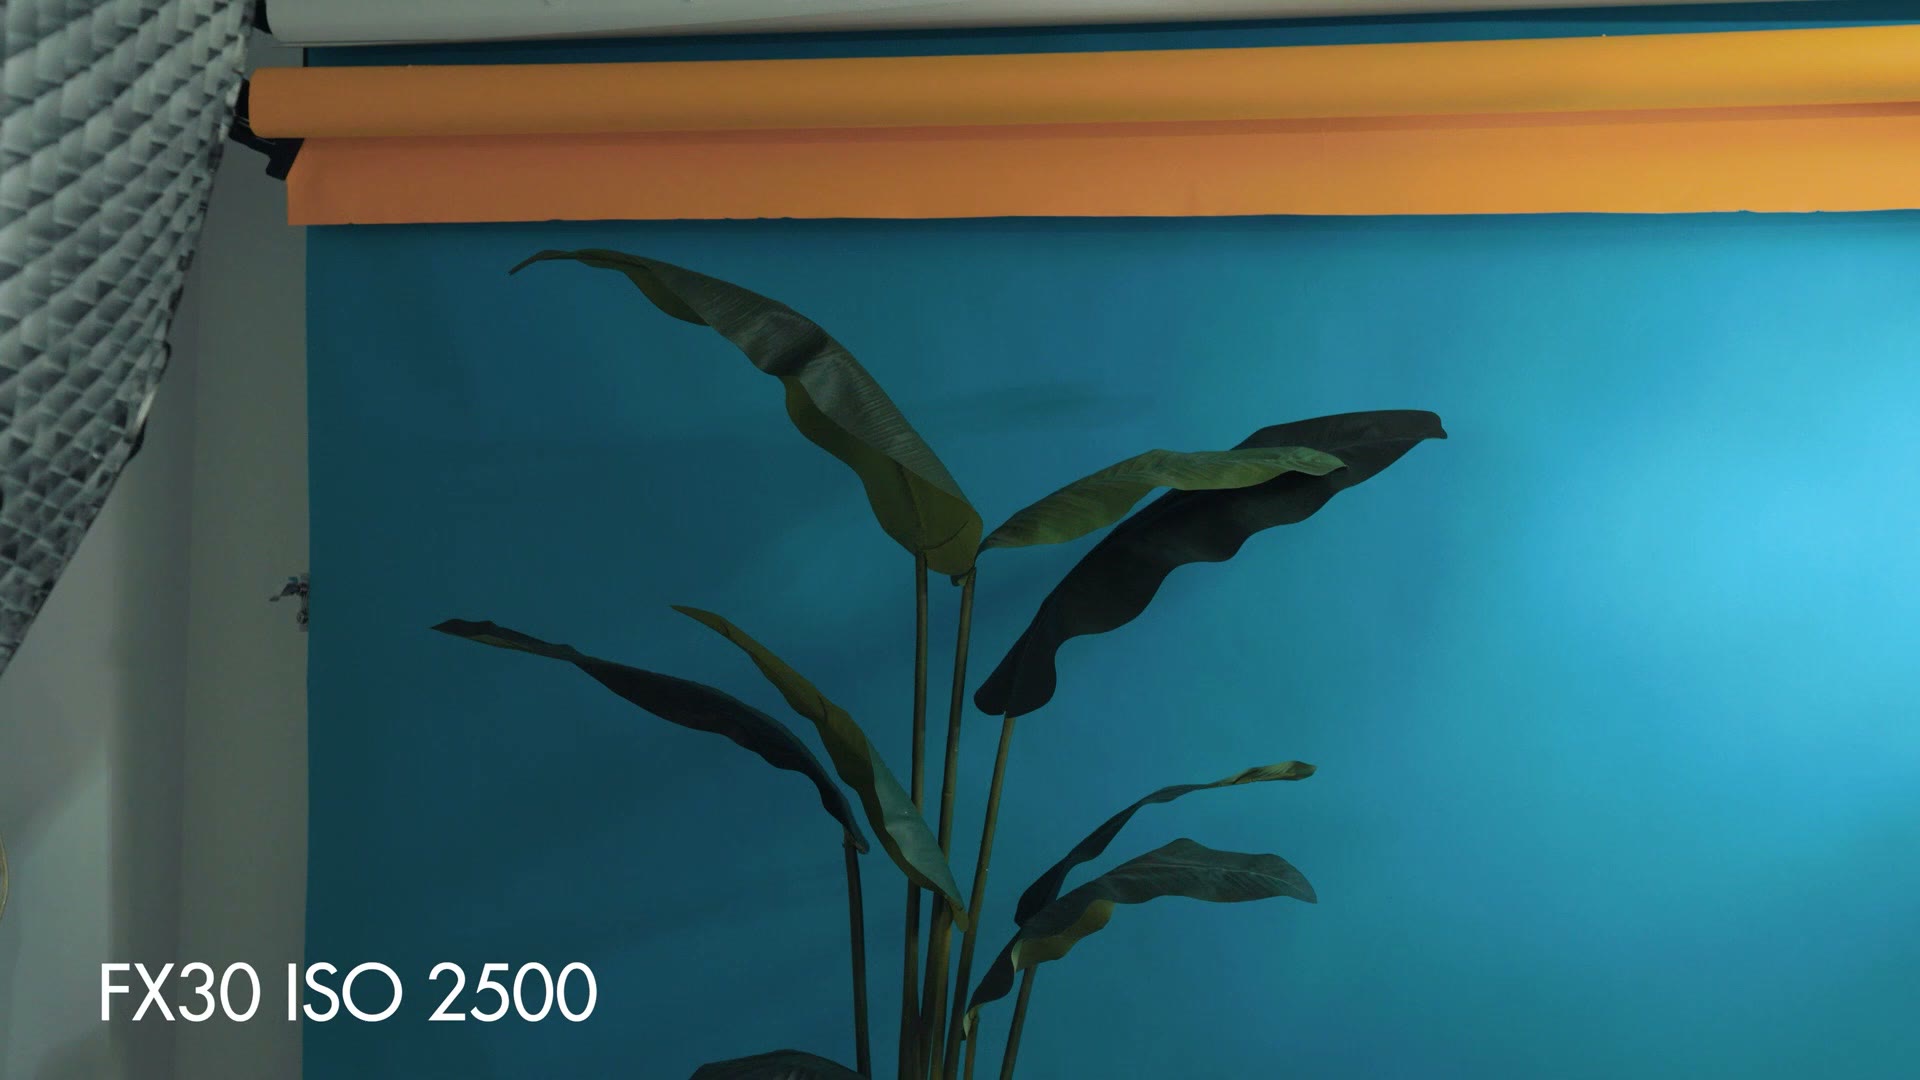
So as a final rule of thumb, I would recommend either filming at ISO 800, or if you are in a low light situation, bumping your ISO up to 2500 to guarantee you have the cleanest footage. Of course, if you need to go higher you can, just keep in mind that 800 and 2500 are the sweet spots for noise free footage with this camera.
Get My Color Presets For The FX30
And that is how you film in S-Log3 quickly and easily with your Sony FX30. Remember, my Cine EI tutorial and my S-Log3 color presets, which I have tuned to work perfectly with footage from the FX30, are both linked here, and if you combine those presets with these settings, hold onto your beard, because your footage is going to look awesome.
Here is my full Sony FX30 setup guide as well, and if you want to talk shop with other wedding filmmakers, come join my Learn Wedding Filmmaking Facebook group. You can also see my favorite wedding filmmaking gear here.
Thanks so much for reading, and have a great day!