
The new iPhone 15 Pro can now film Apple Log video in ProRes 422, and I’m going to show you how to easily film in it, covering all of the settings you need to know as well as some really powerful tips that are going to guarantee your footage looks its absolute best.
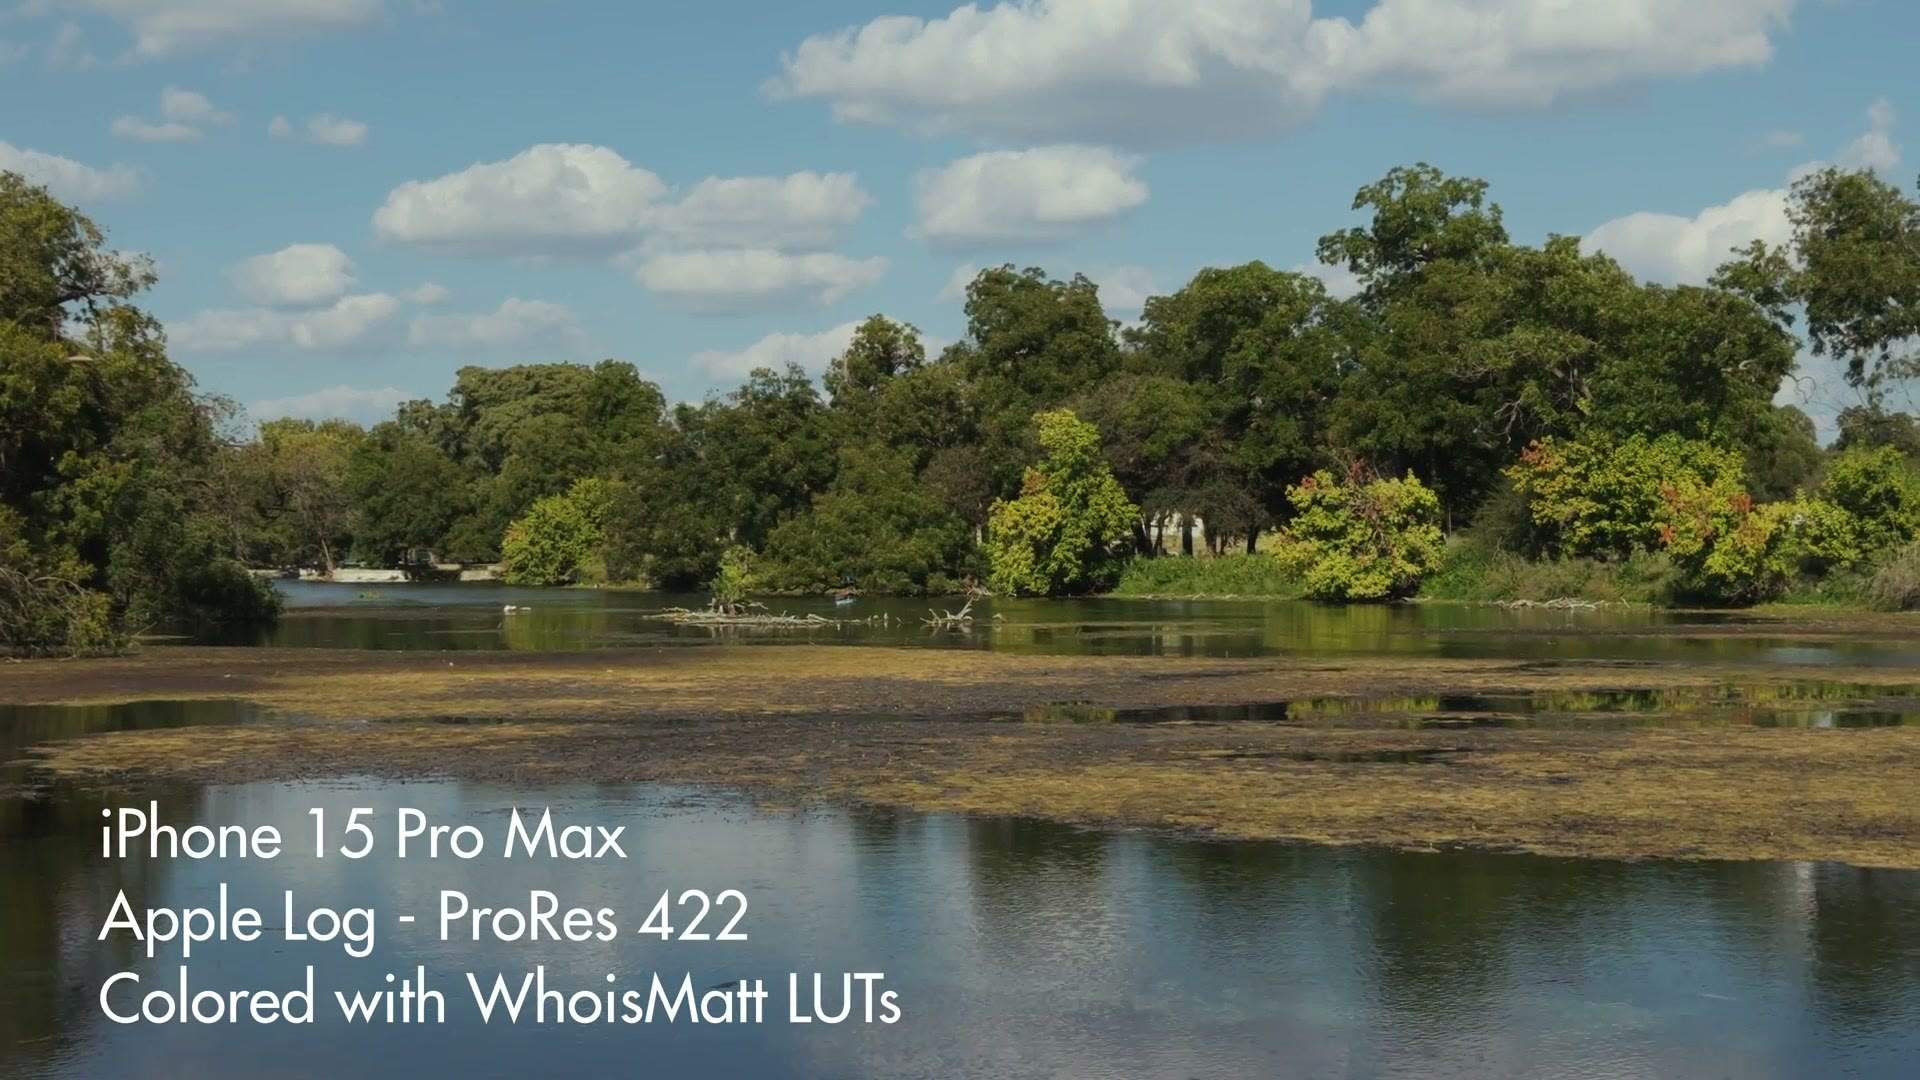
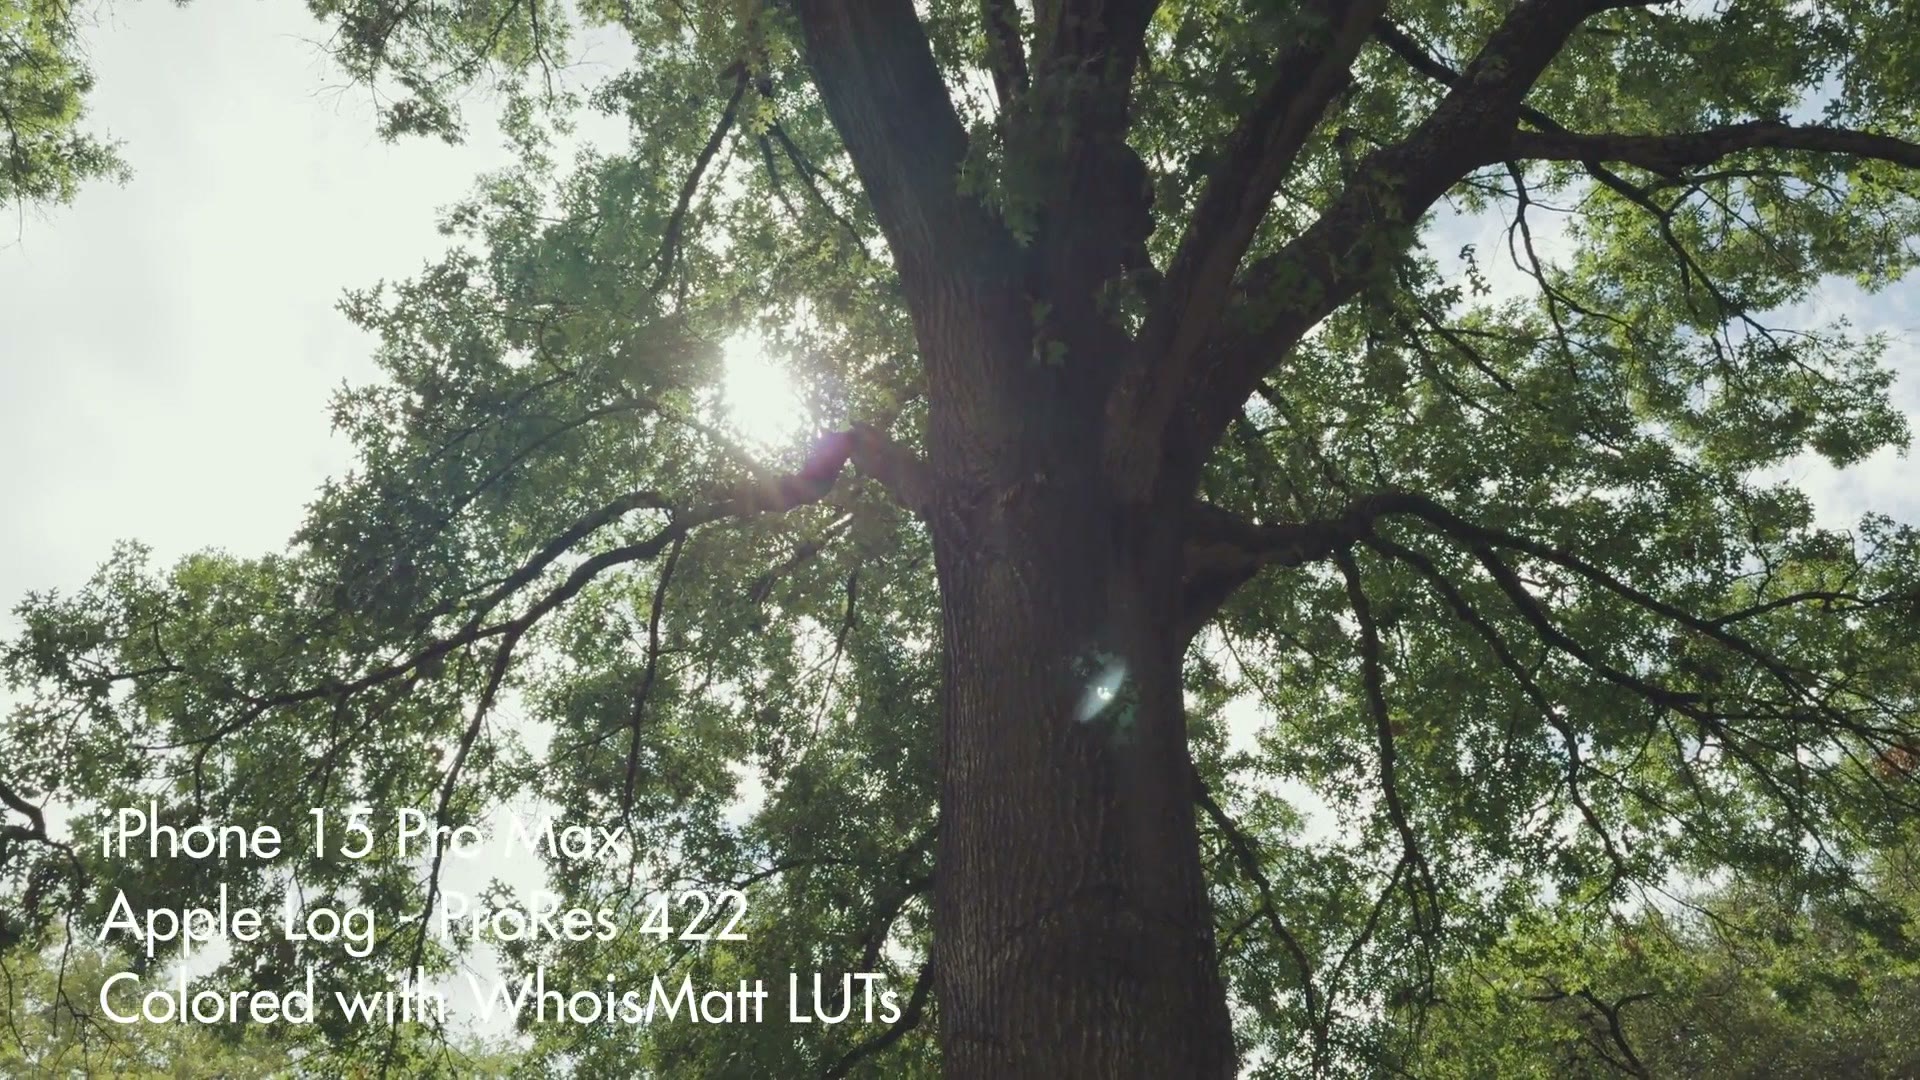
Also, because I’m all about saving you time, I’ve put together a set of video presets called WhoisMatt LUTs. I’ve tested these with Apple Log footage filmed on the iPhone 15 Pro and Pro Max and they look fantastic. They also work with pretty much any other camera that uses a log profile, so if you want consistent, beautiful, true to life colors in your films no matter what you shoot on, check them out.
One thing to know up front: this tutorial is focused solely on the native iPhone camera app. In my last video about iPhone log I had a lot of comments asking about the new Blackmagic Camera app, because that one lets you film in log while also giving you a ton of extra camera controls, and it’s free. But here I’m sticking with the stock app, because maybe you don’t want that extreme level of options and control.
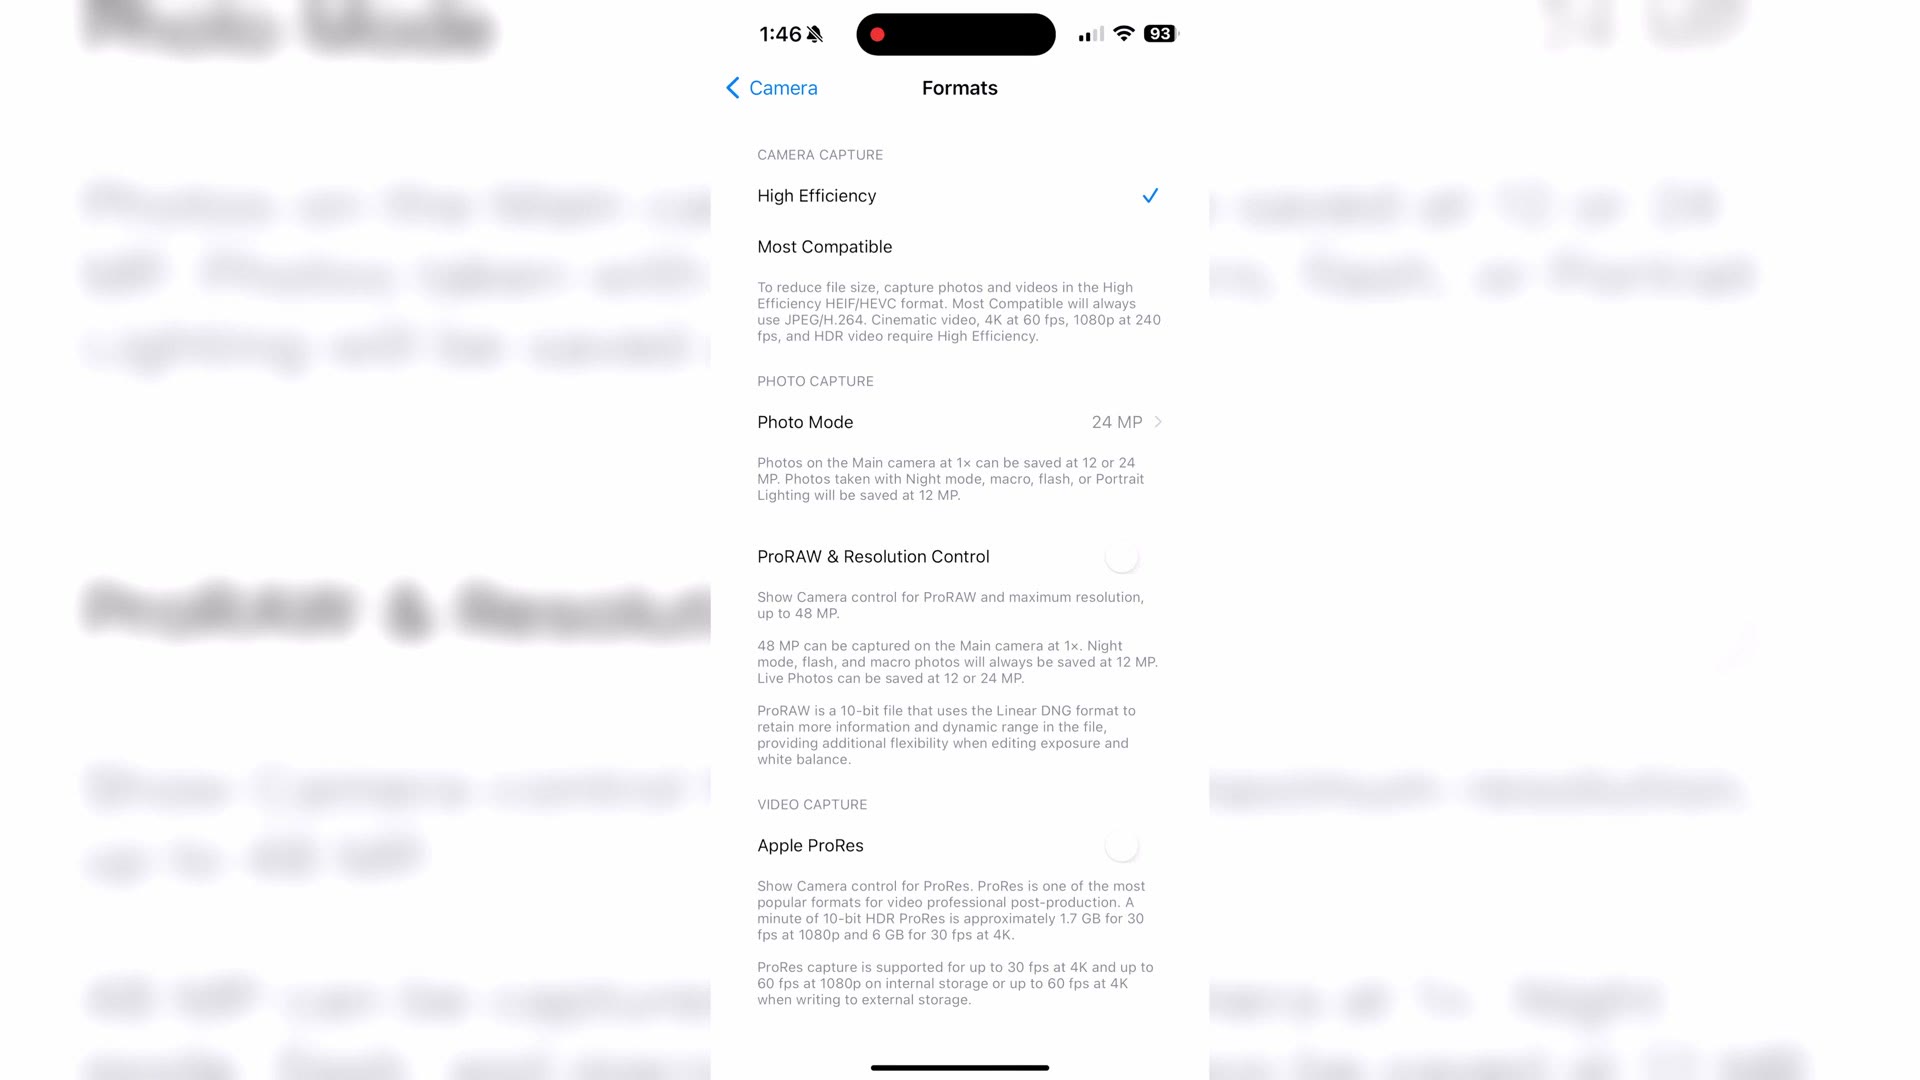
Enable ProRes And Apple Log
To film in this new log picture profile on your iPhone 15 Pro, open the Settings app, go to Camera, then Formats, scroll down and enable Apple ProRes under video capture.
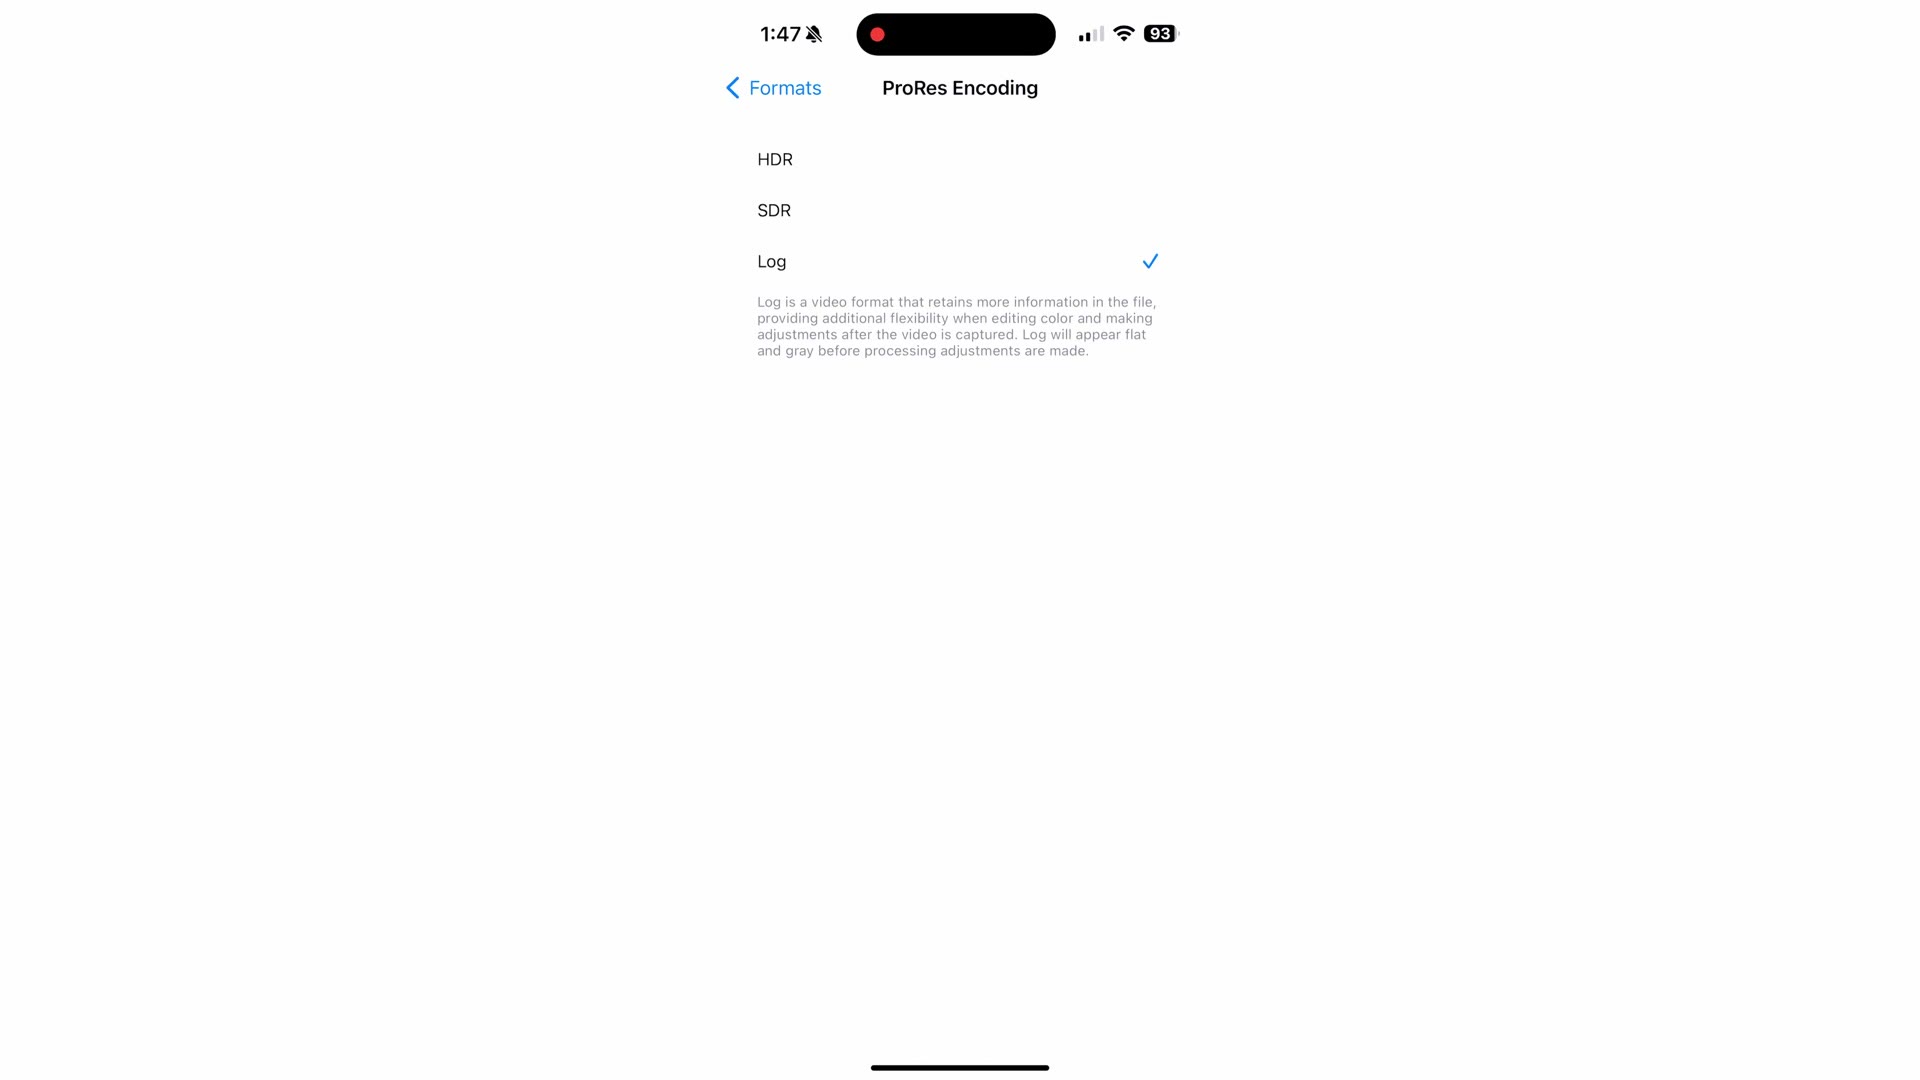
Then for ProRes Encoding, change this to Log.
Lock Your White Balance
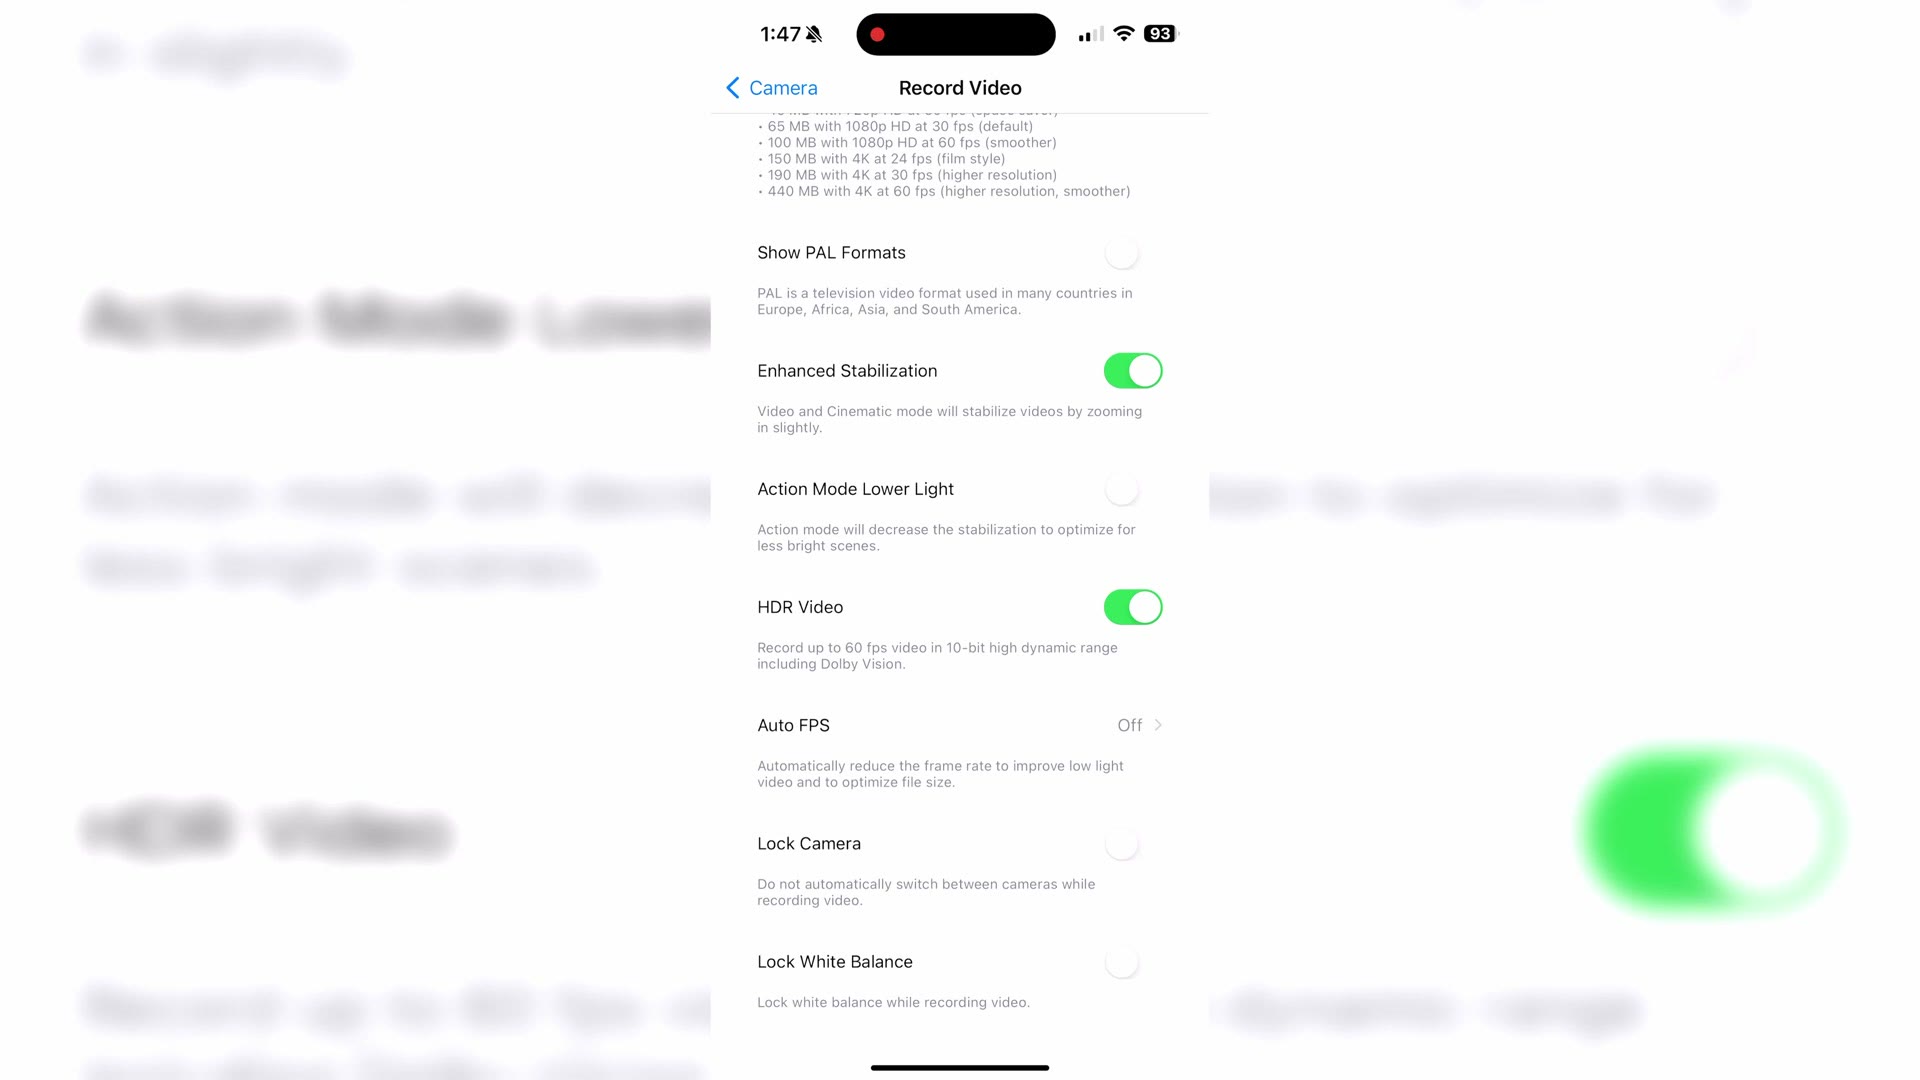
To make things easier on yourself, go to the Record Video setting at the top, then enable Lock White Balance at the bottom. This keeps your phone from adjusting white balance mid recording, and it will make color grading your videos much easier.
Go back out to your camera app and in the top left you’ll see a new option for ProRes Log, which by default has a line through it. Tap it and you enable ProRes Log, and your camera preview is immediately going to look flat and washed out.
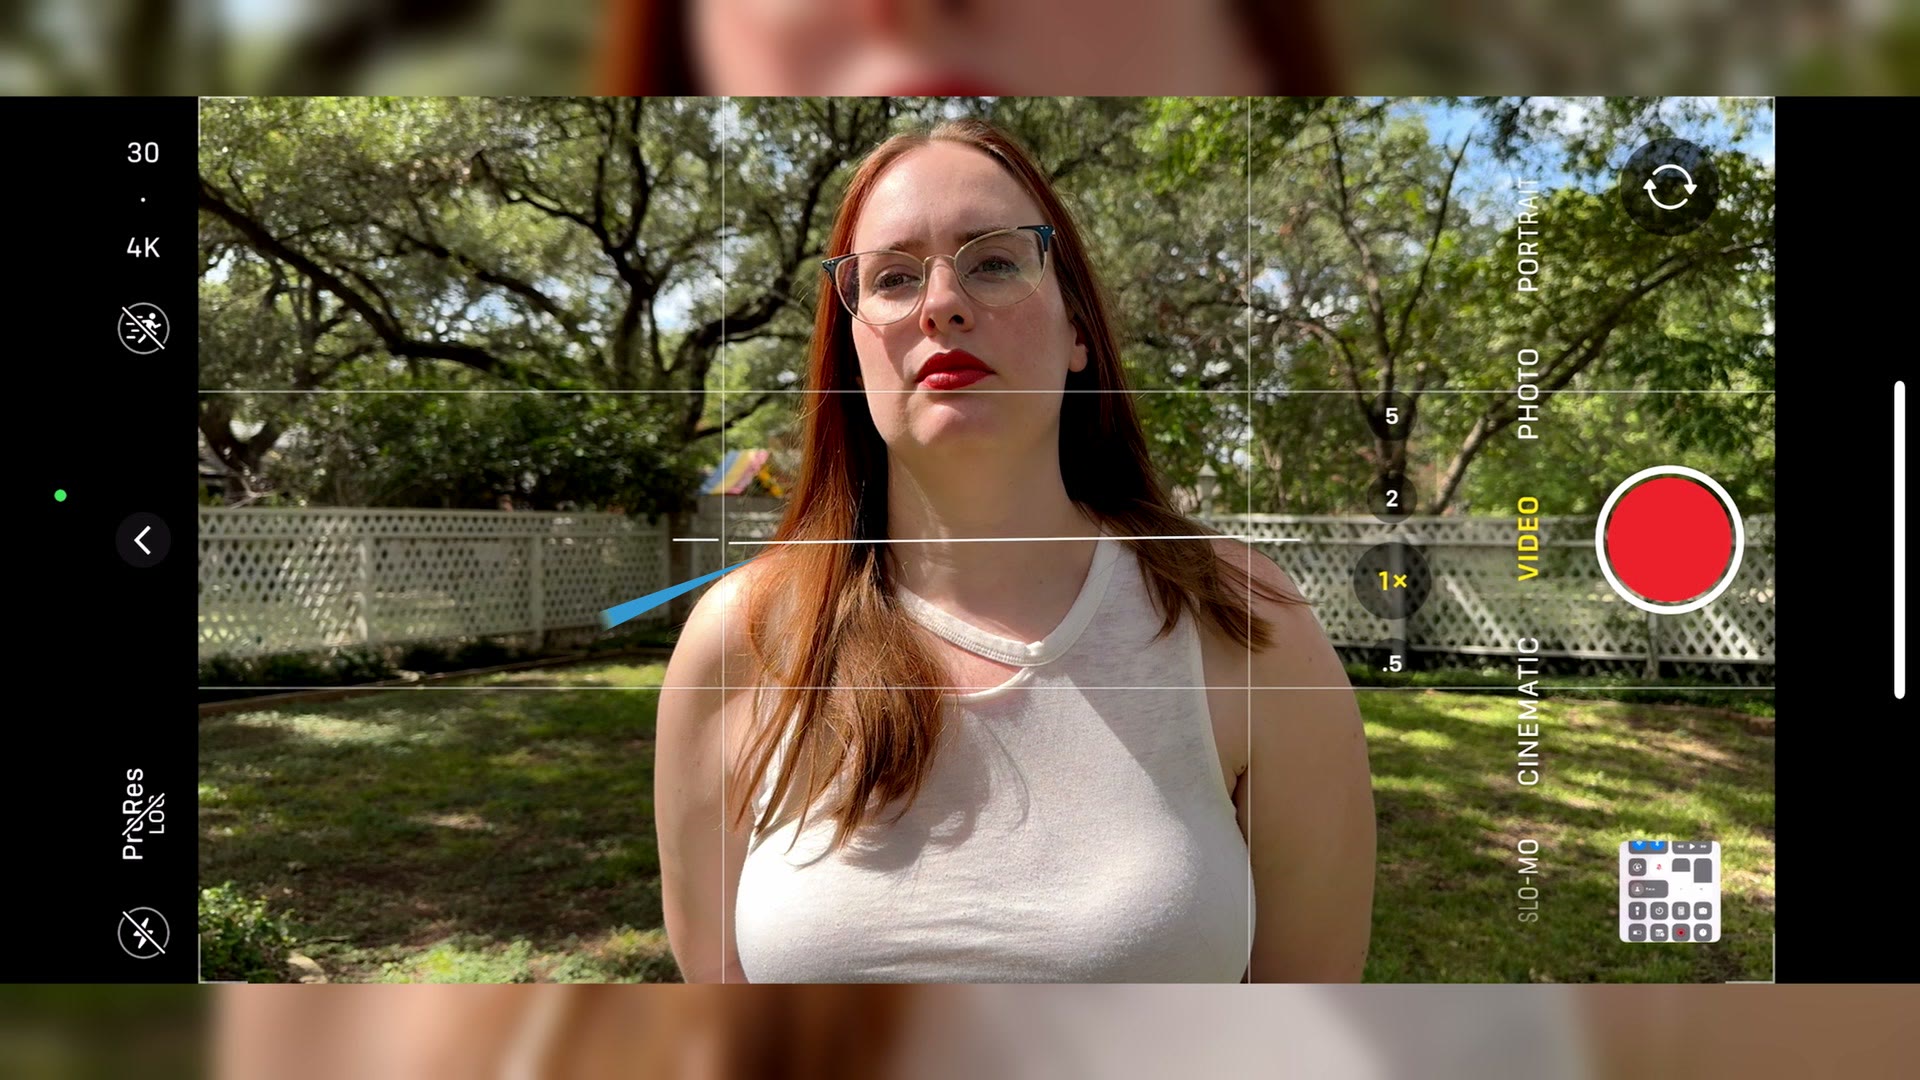
Congratulations, your phone is now filming in Apple’s log picture profile, and you could press record right now and start rolling. But if you want that footage to look its best, keep reading.
Apple Log Is DIFFERENT Than Other Log Profiles
Let’s talk exposure, because Apple Log is a little different from other log profiles you may have used.
In the past I have never recommended underexposing a log profile. If you filmed in something like Sony’s S-Log3, for example, I’ve recommended filming almost two stops overexposed. But Apple Log is different, and in my experience it’s actually going to be best for you to underexpose it by about one stop.
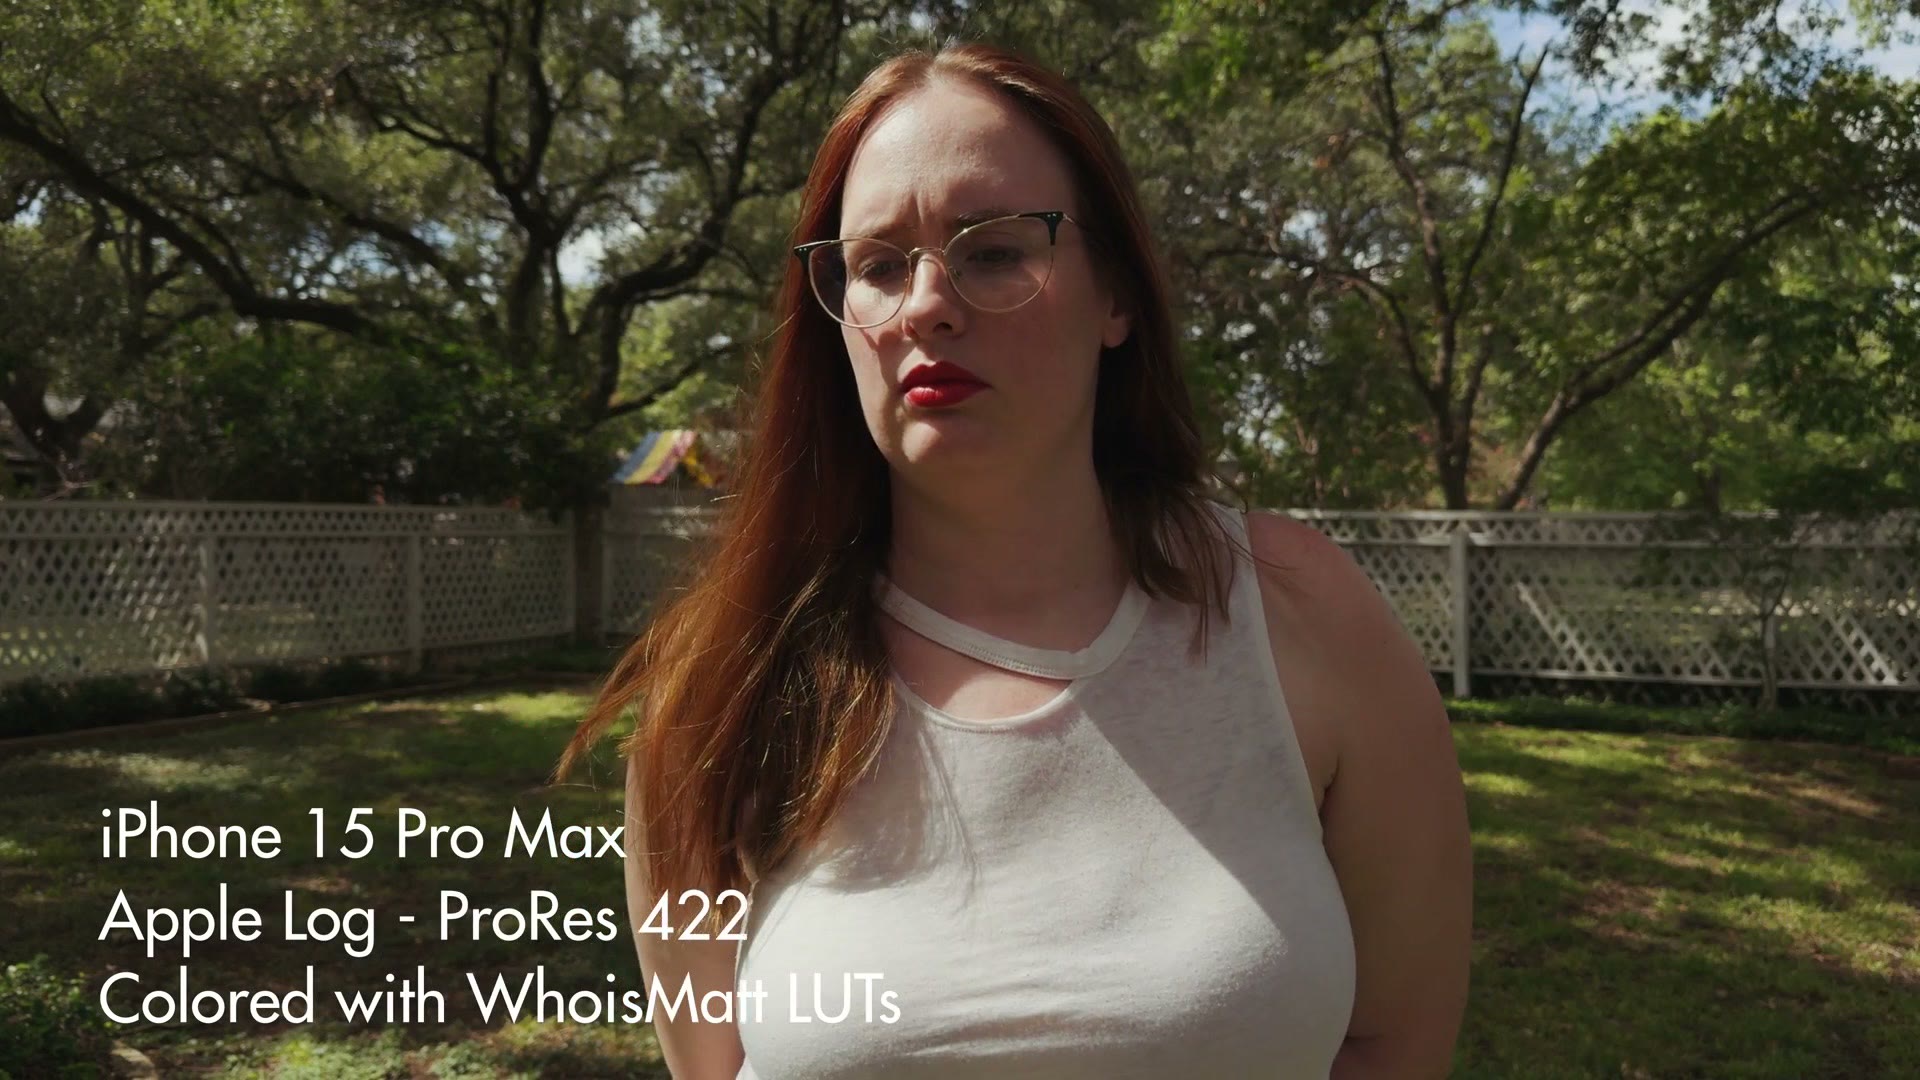
Why, you ask? It all comes down to noise.
Even though the video quality of the iPhone 15 with ProRes 422 is significantly better than anything we’ve had in a phone before, even the best codec on the planet cannot compensate for this phone still having a quite small camera sensor, which means there’s a greater chance of noise whenever it tries to raise the ISO at all.
And then whenever you consider that Apple’s native camera app usually prefers to expose images really brightly by default, it starts to make sense why I recommend underexposing, because you want your ISO as low as possible.
With older iPhones I’ve lost count of how many times I wanted to film something and had to lower the exposure before I pressed record, because the iPhone was just too bright. And that’s a trend the iPhone 15 continues, making things a bit too bright and elevating the shadows a bit too much by default, in my opinion.
How To Expose Apple Log (My 2-Step System)
To dial in your exposure correctly, here’s my very simple two step system that makes sure your footage is exposed properly every single time.
Step one. Tap and hold on the subject you’re filming. If you’re filming a person, tap and hold on their face. A tree, tap and hold on the tree. You get what I’m saying.
Speaking of which, How To EASILY Film In Panasonic’s V-LOG Photo Style is worth a look too.
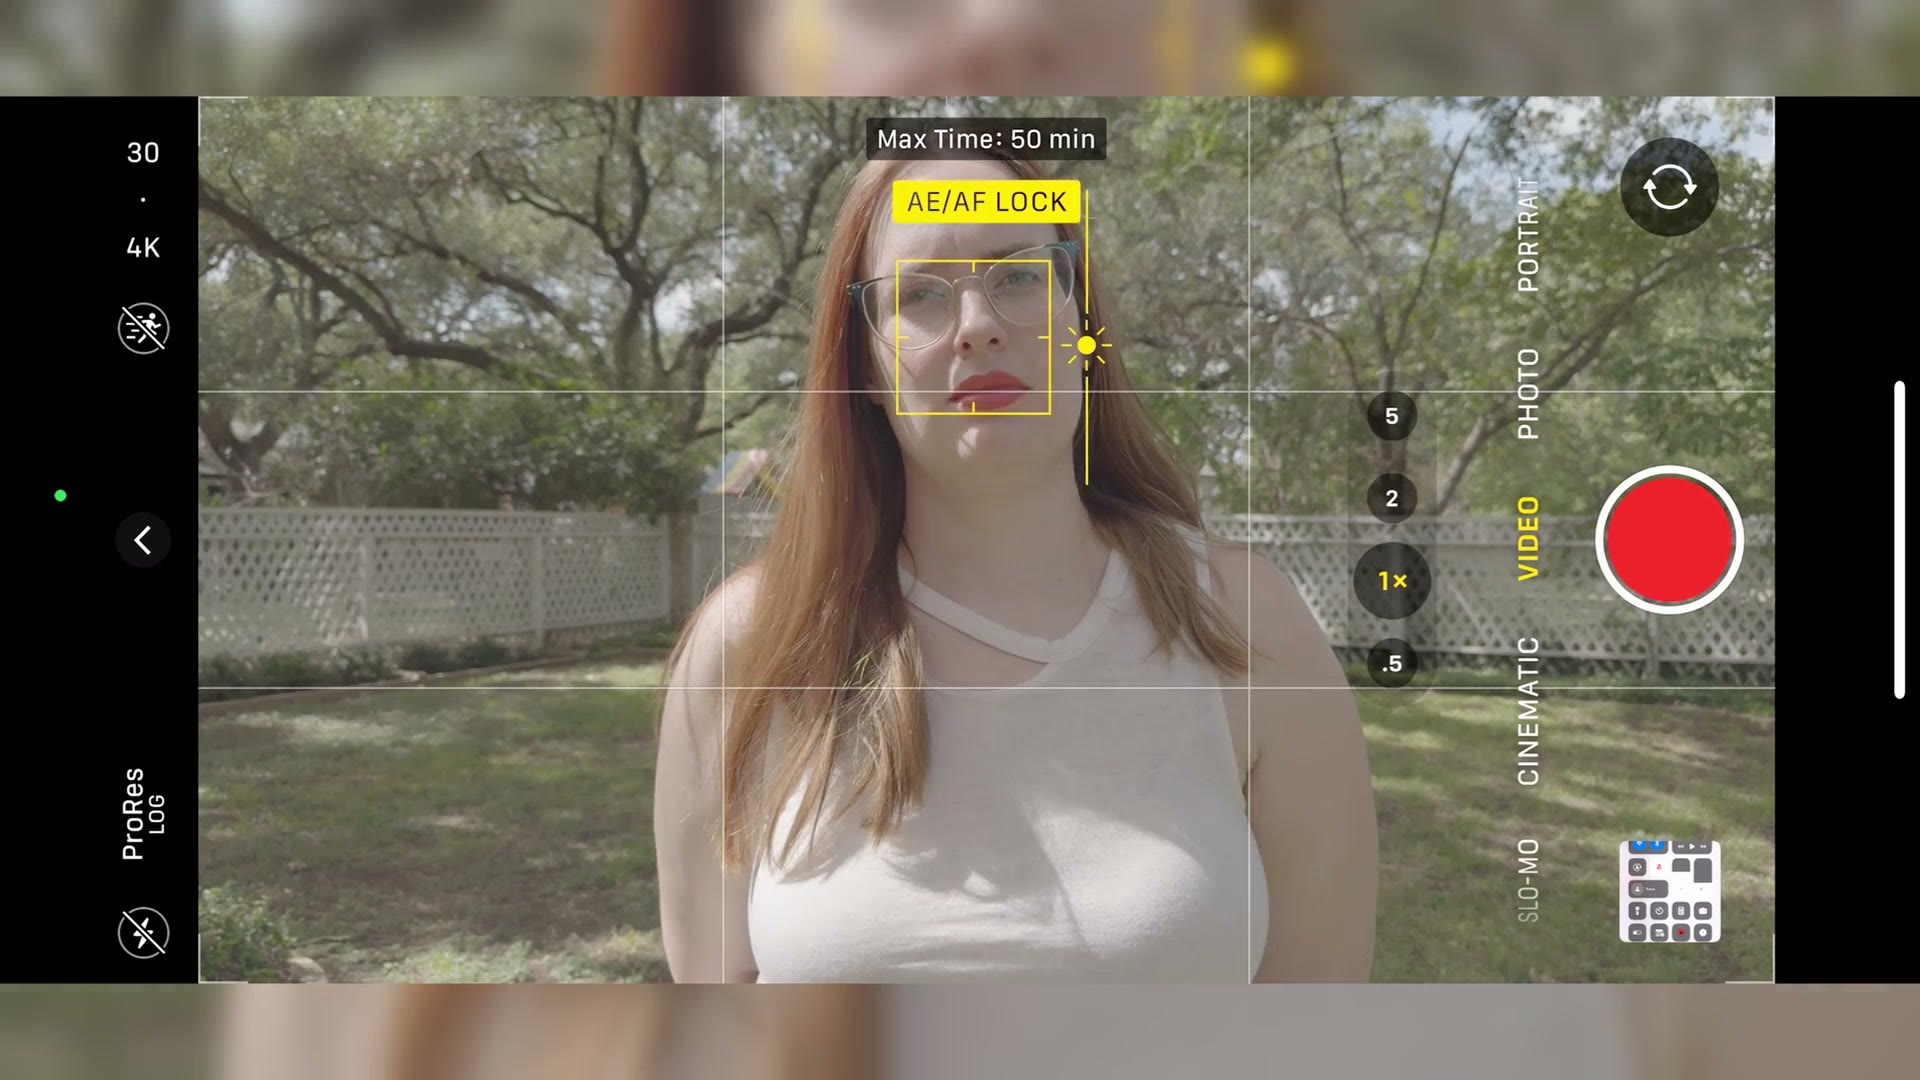
By tapping on your subject, you’re telling the iPhone you want it to focus there and adjust exposure so your subject is properly exposed. And by holding after you tap, you’re telling it to lock both the focus and the exposure.
The reason you want to lock exposure is that it makes color correcting and grading dramatically easier, because all of your footage is locked to the same exposure level. If you don’t lock it, then as you move your camera around and film other things, if what you’re filming gets darker or brighter your camera adjusts, and that makes grading a huge pain because you’re constantly changing contrast and brightness to compensate in post. This just sucks. I’ve done it before. Trust me, it sucks.
Step two. Once your exposure and focus are locked, remember that your iPhone is going to be getting really close to overexposing, because that’s what it likes to do. So now you want to underexpose it slightly, which helps save the highlights, reduces noise, and overall makes the footage a bit easier to grade.
If you’ve filmed with an iPhone before you’re probably thinking, this is easy Matt, I just stick my finger on the screen and drag up or down. Well, no, not in this case. We’re going to be a bit more scientific about it, because remember, I want you about one stop under, and that’s really hard to guess by dragging.
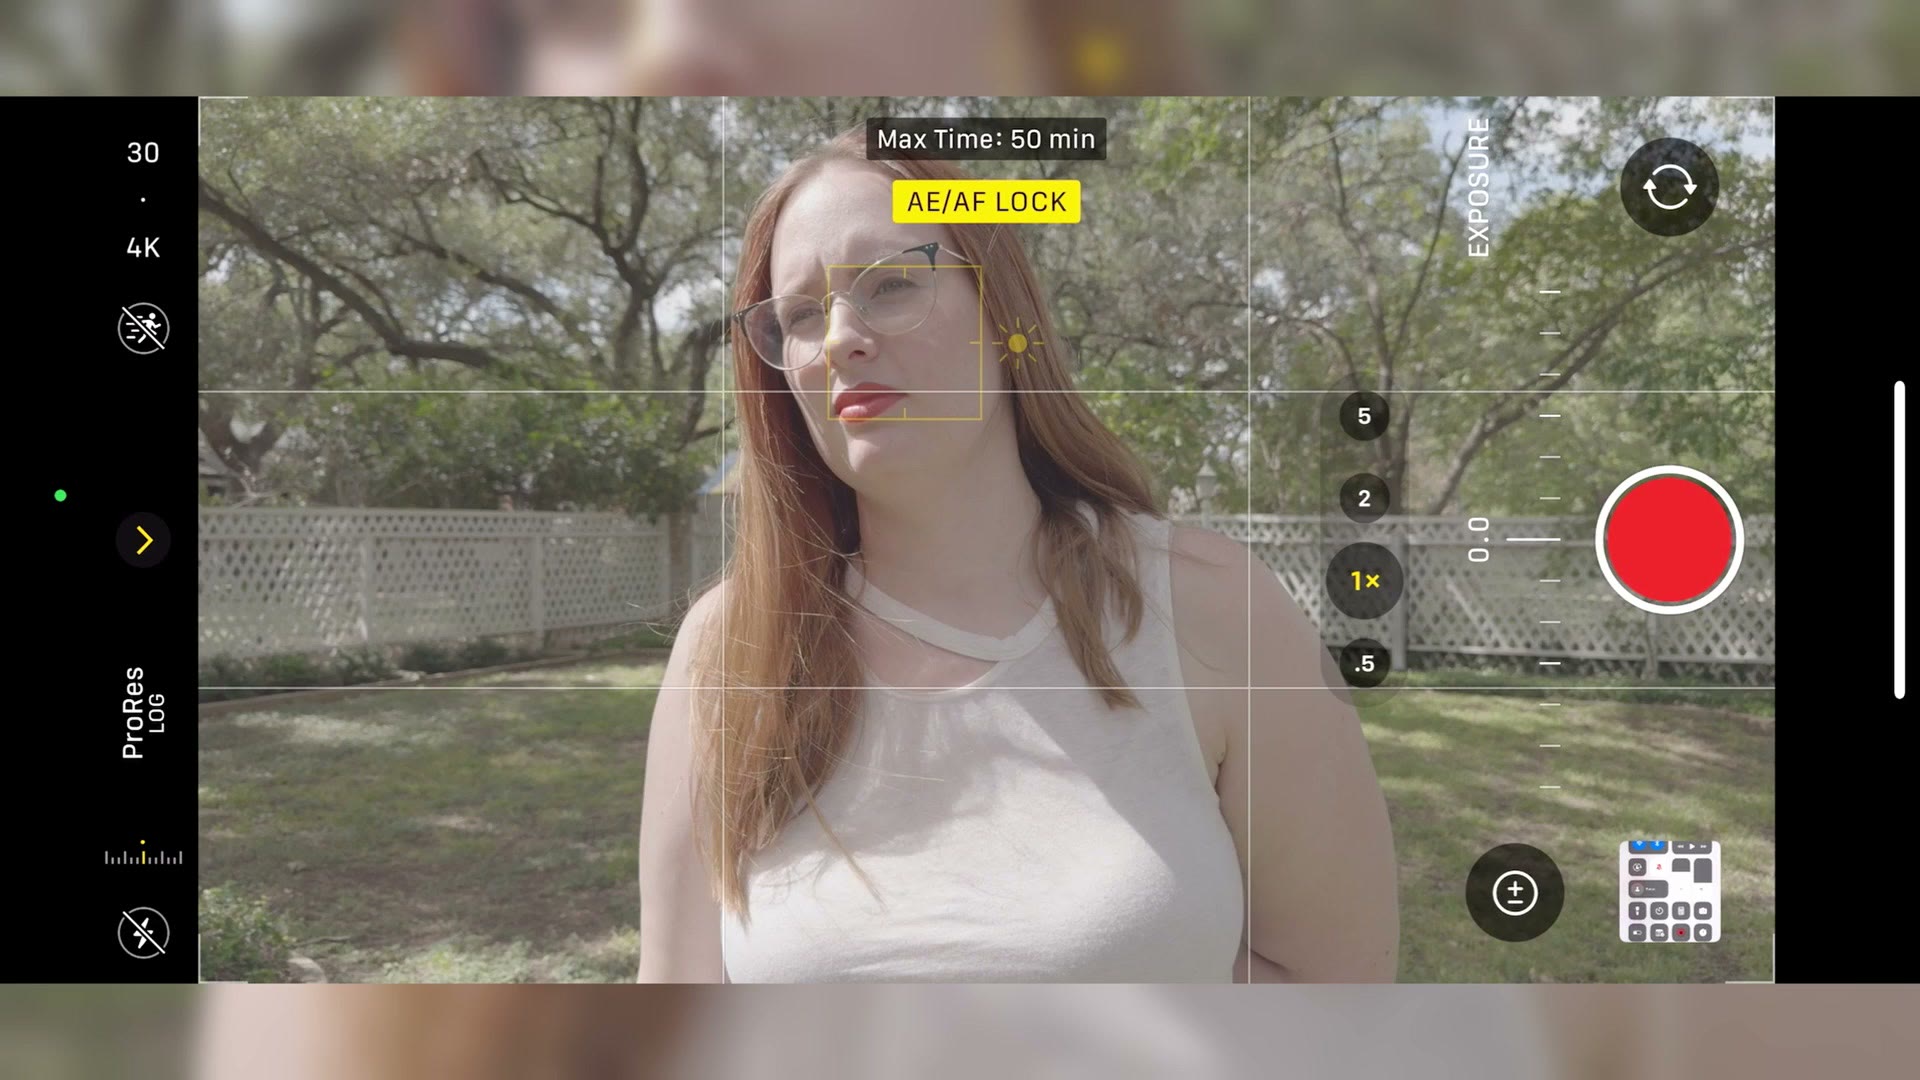
Instead, tap the arrow at the top of your phone if you’re holding it vertically, then tap the circle with the plus and minus icon on it. That gives you very fine tuned exposure control. Then tap and drag your finger to lower the exposure until it says -1.0, and your phone’s exposure is now locked one stop under, which should look great.
Now all you have to do is press record.
Get My Color Presets For Apple Log
And that is how you easily film in Apple ProRes Log with your iPhone using the native camera app.
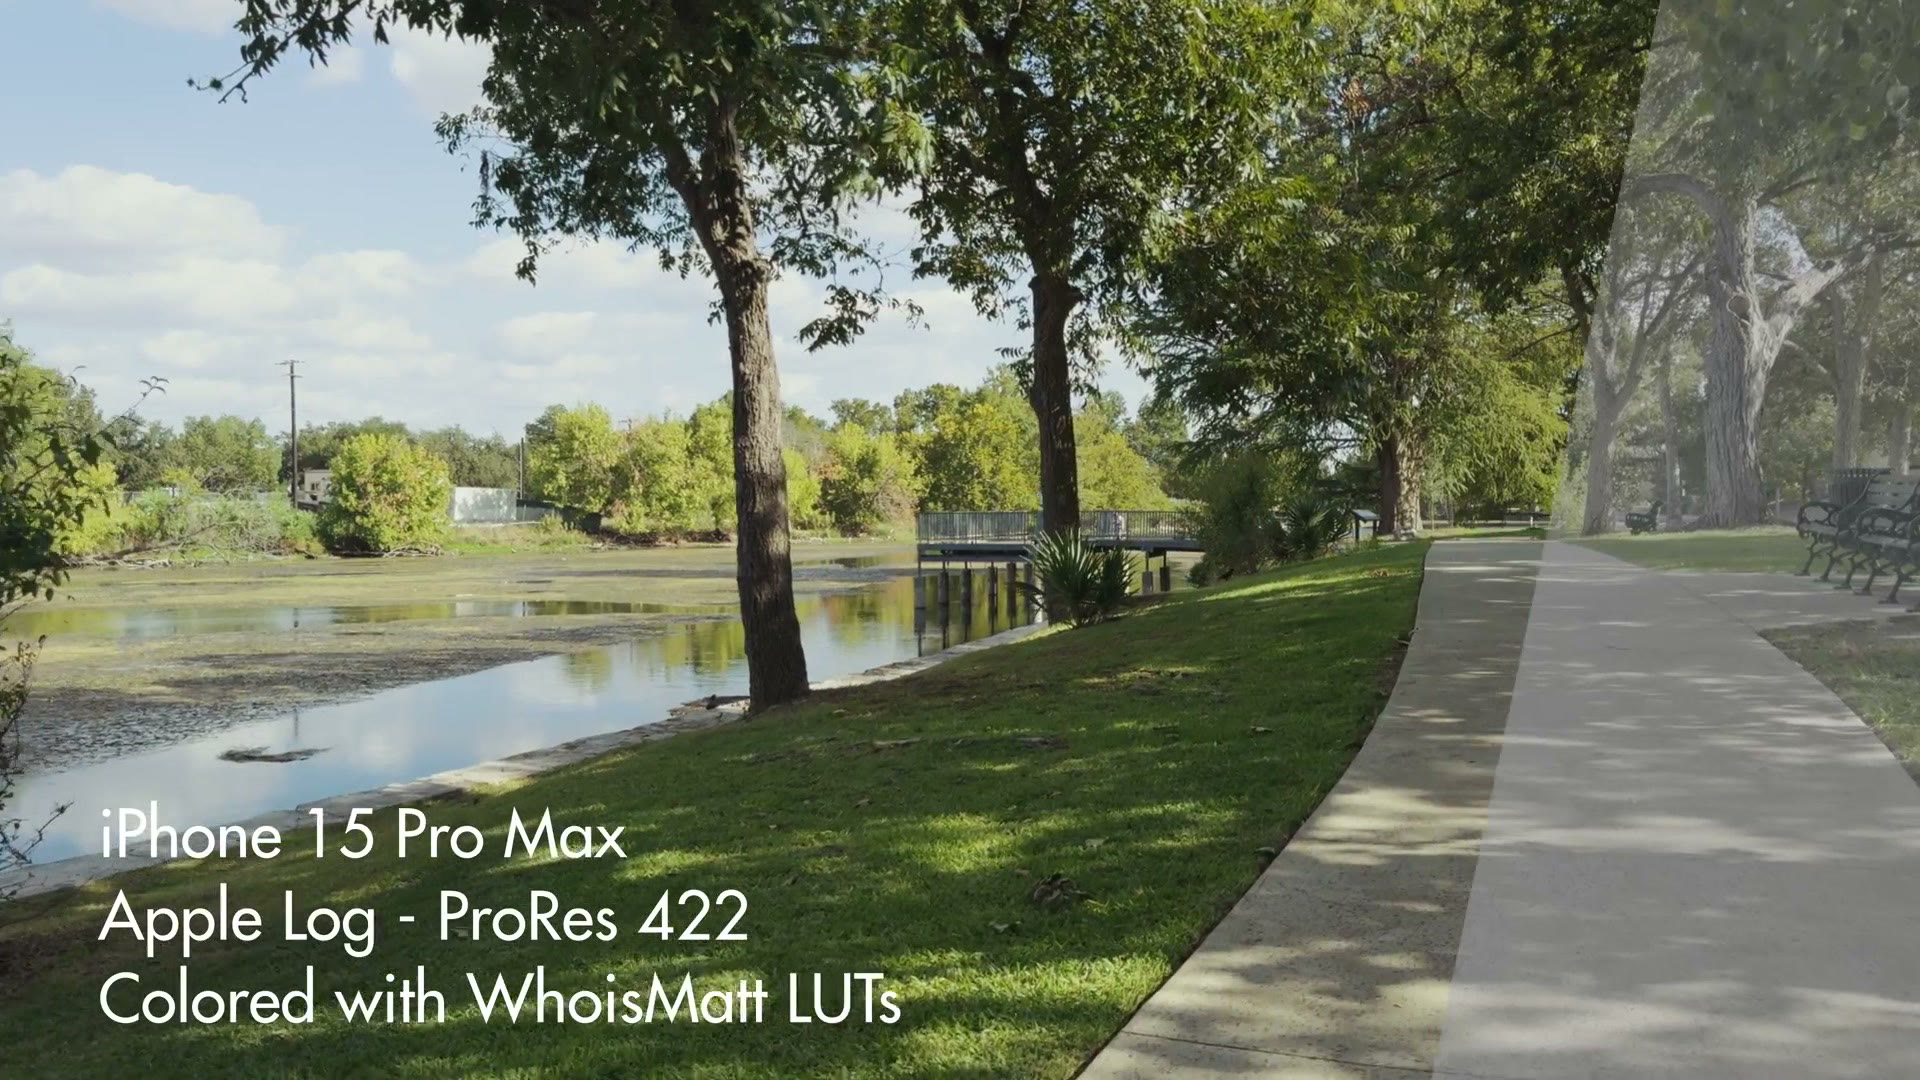
Don’t forget that my color presets, which work great with Apple Log, are right here.
And because I want to help you out even more with your filmmaking, I’ve put together a free guide called Edit Videos Like A Pro, which shows you some of my biggest editing tips that took me years to learn.
Thanks so much for reading, and have a great day!