
If you’re editing a video in DaVinci Resolve that you filmed with mixed frame rates, where some clips are 24fps, some are 30, some are 60 or 120, and you want to edit them quickly, this is going to save you a ton of time.
Instead of bringing your clips down to the timeline one at a time, right clicking on one, going to Change Clip Speed, changing the speed to 40 percent, hitting Change, and going through all of those steps to make each one slow motion…
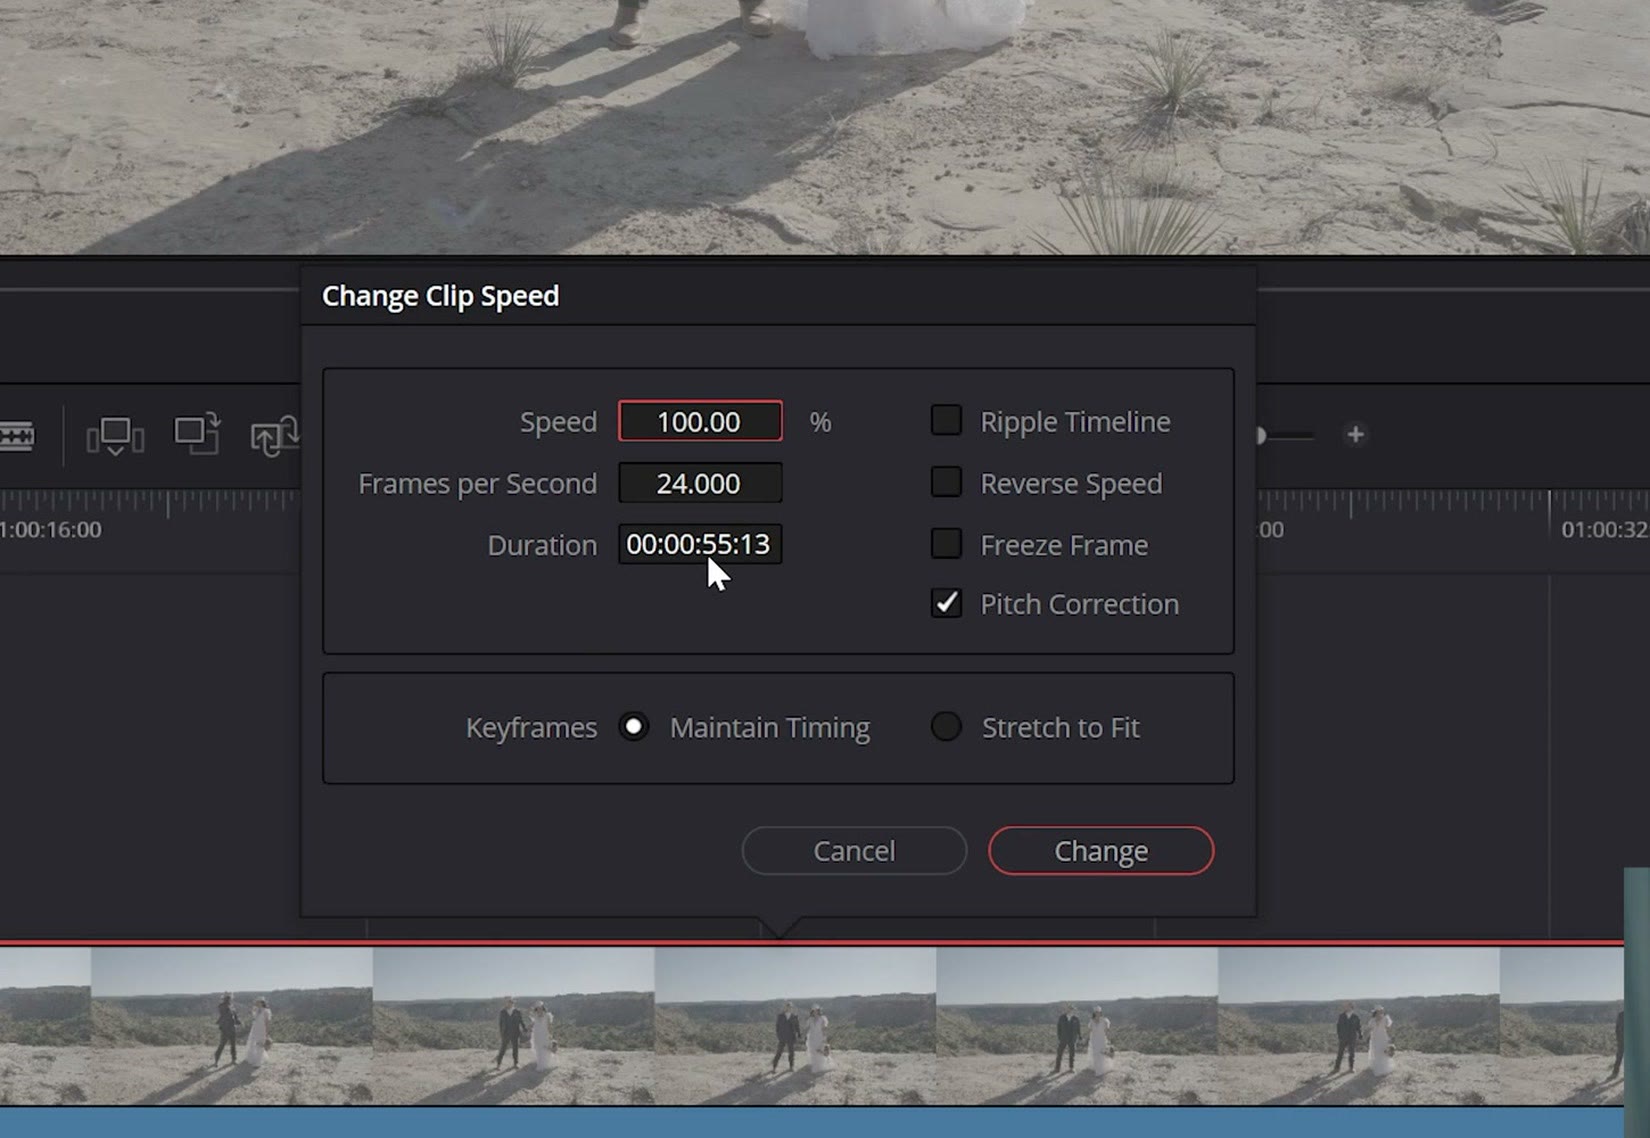
…I’m going to show you how to make all of your clips slow motion in just a few clicks. And the good news is that this works in both the free and the paid Studio version of DaVinci Resolve, so whichever one you’re using, it’s going to work for you. The After Effects version of this is much older, but turning 50p and 60p footage into slow motion there works on the same principle.
A Word From My Sponsor
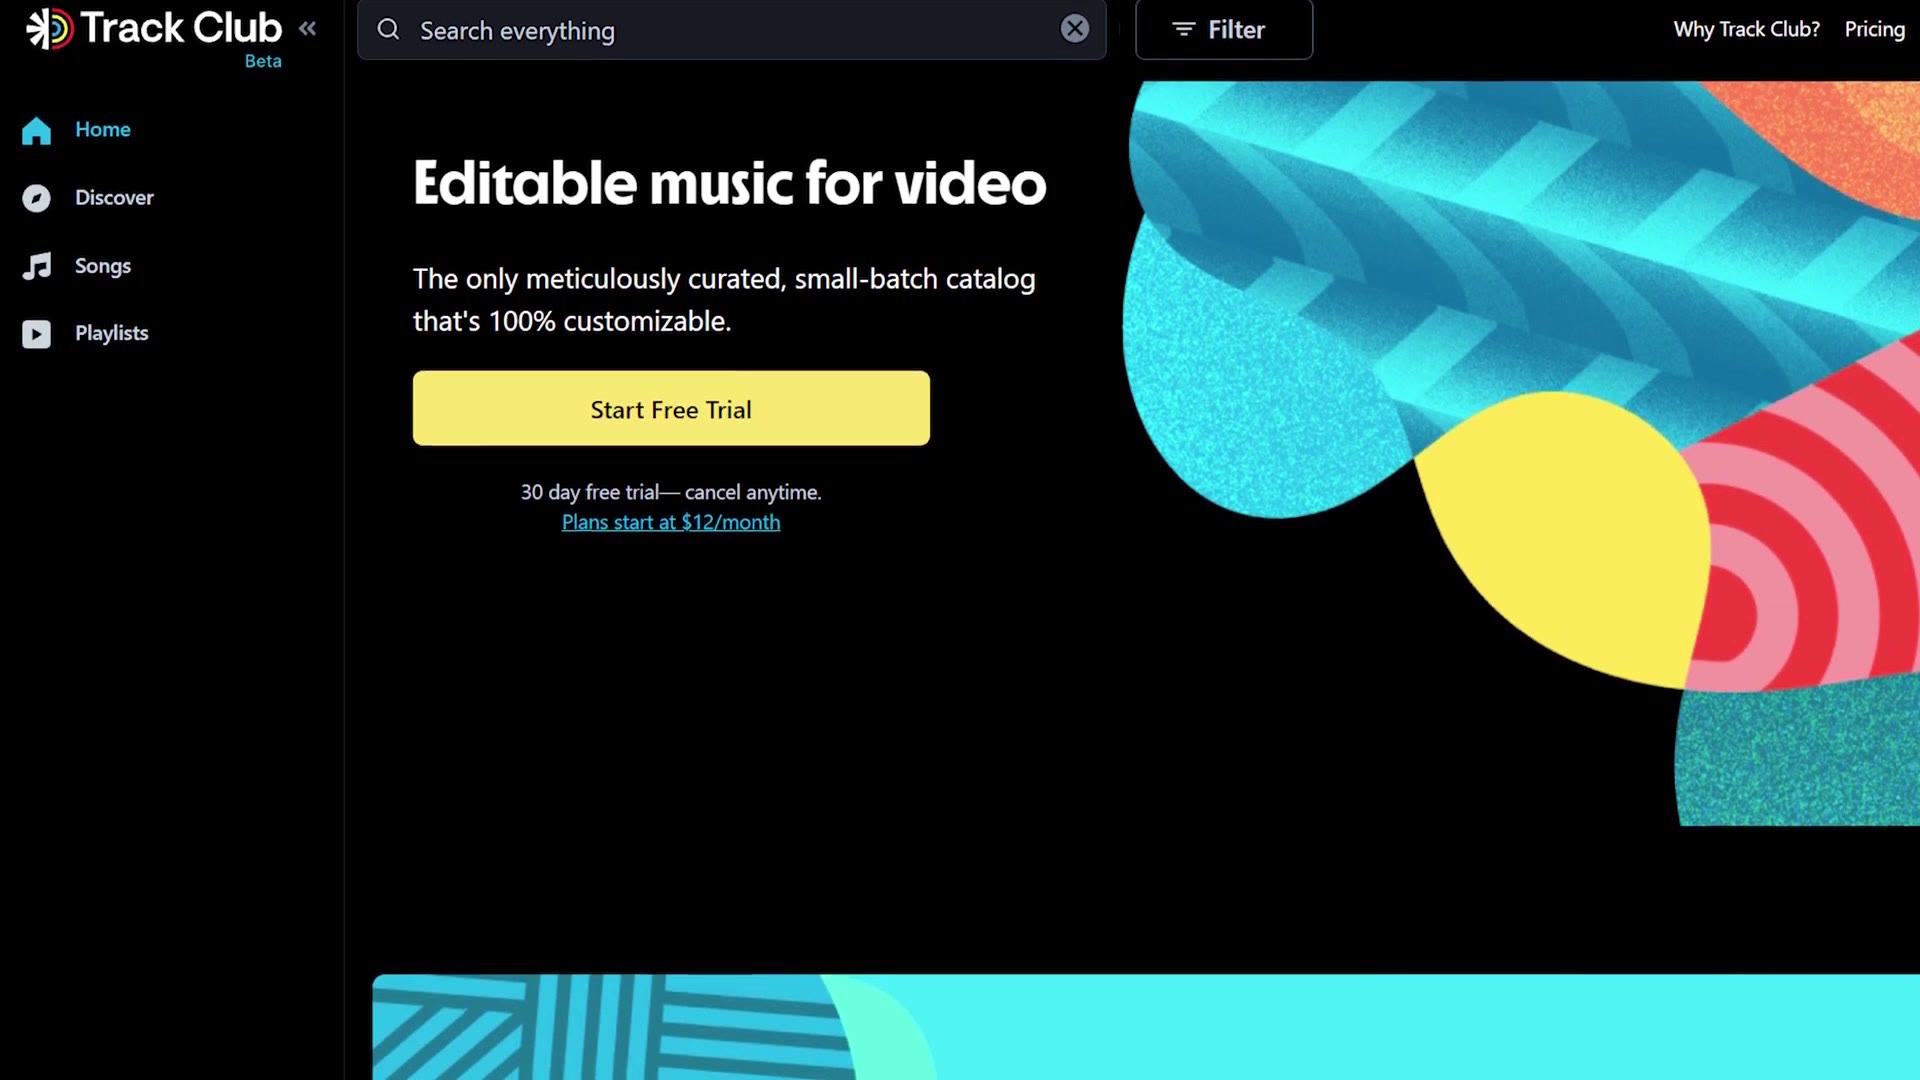
This one has a sponsor, and it’s my friends at Track Club. If you’re a filmmaker who’s been looking for unique and creative songs you can customize to perfectly fit your videos, you’ve got to check them out.
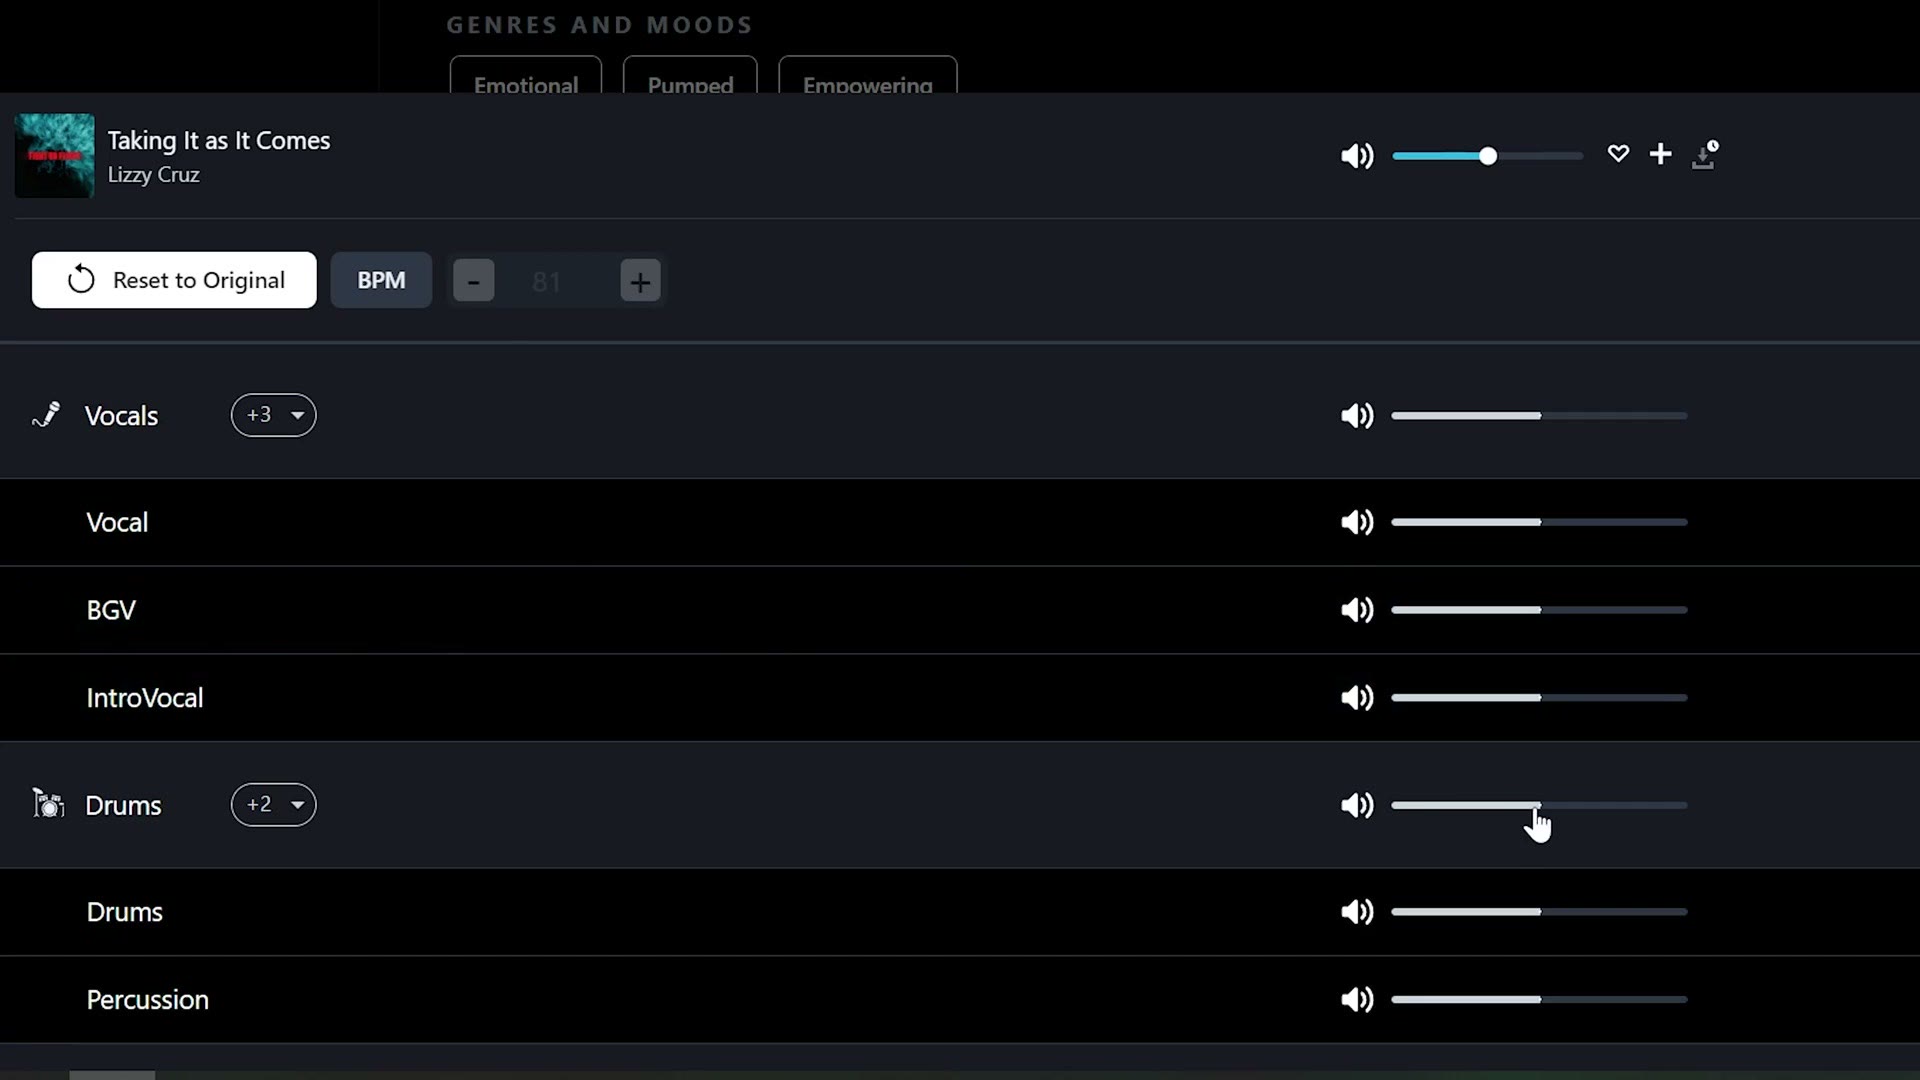
What do I mean by customize? Here’s where it gets really cool. Track Club is the only music licensing site out there with a tool called Mix Lab that lets you remix any song in their library, removing instruments, changing volumes, letting you get the exact sound you need for your video. It’s revolutionary.
Timeline Setup
The first thing to do is create a new timeline, by going to File, New Timeline, or by pressing Ctrl+N on PC or Cmd+N on Mac. With this timeline you’re going to tell Resolve what frame rate you want to use.
Name it something like “frame rate demo,” then uncheck the Use Project Settings box, go to the Format tab, and set the Timeline Frame Rate.
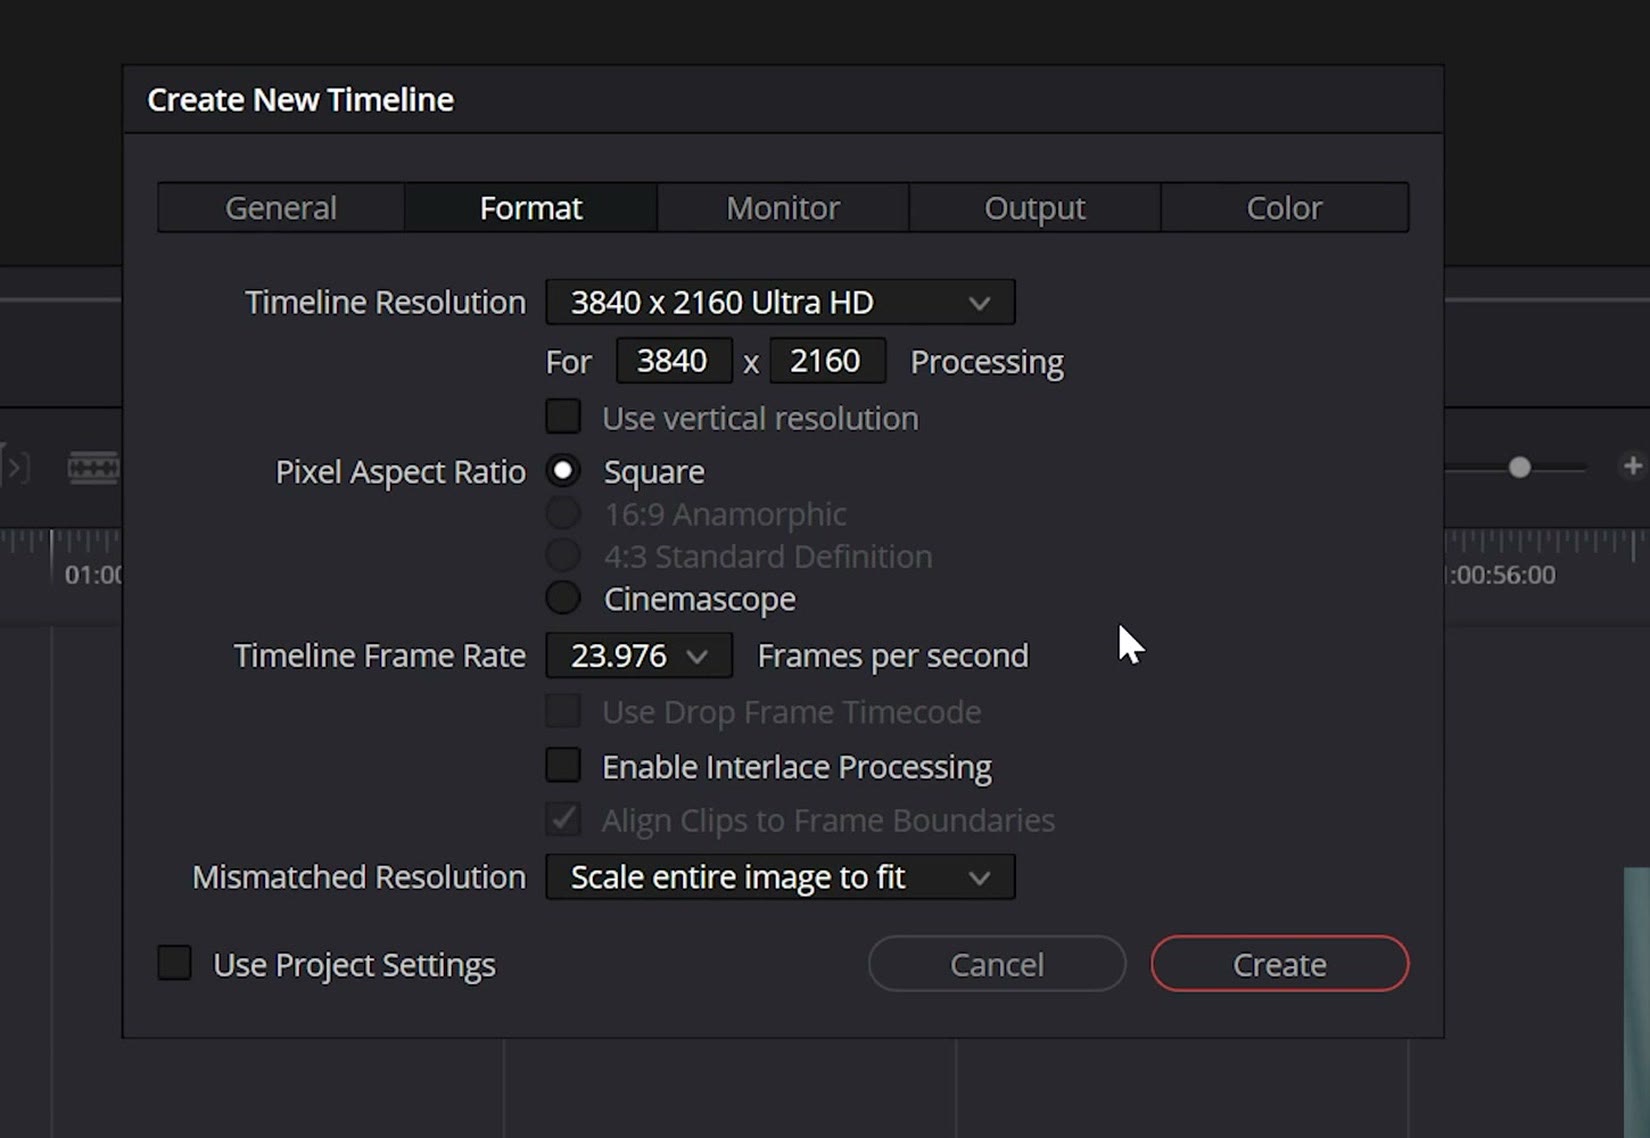
This is very important. I recommend setting your timeline frame rate to 23.976 frames per second, also known as 24p, because that’s the most common frame rate in Hollywood and it’s really the minimum speed you want your video playing back at.
That said, if you want to edit and export at 30 frames per second because that’s what the client wants, or that’s how you need things to look, that’s fine. Just create a timeline at 29.97fps, also known as 30p. Then hit Create.
Import Your Footage
Next, import all of the footage you filmed. In my case I have three clips from a wedding and they’re a total mix of frame rates, so if I switch to the list view and look at the FPS column, one is 23.976, one is 29.97, and the other is 59.94. We’re all over the place.
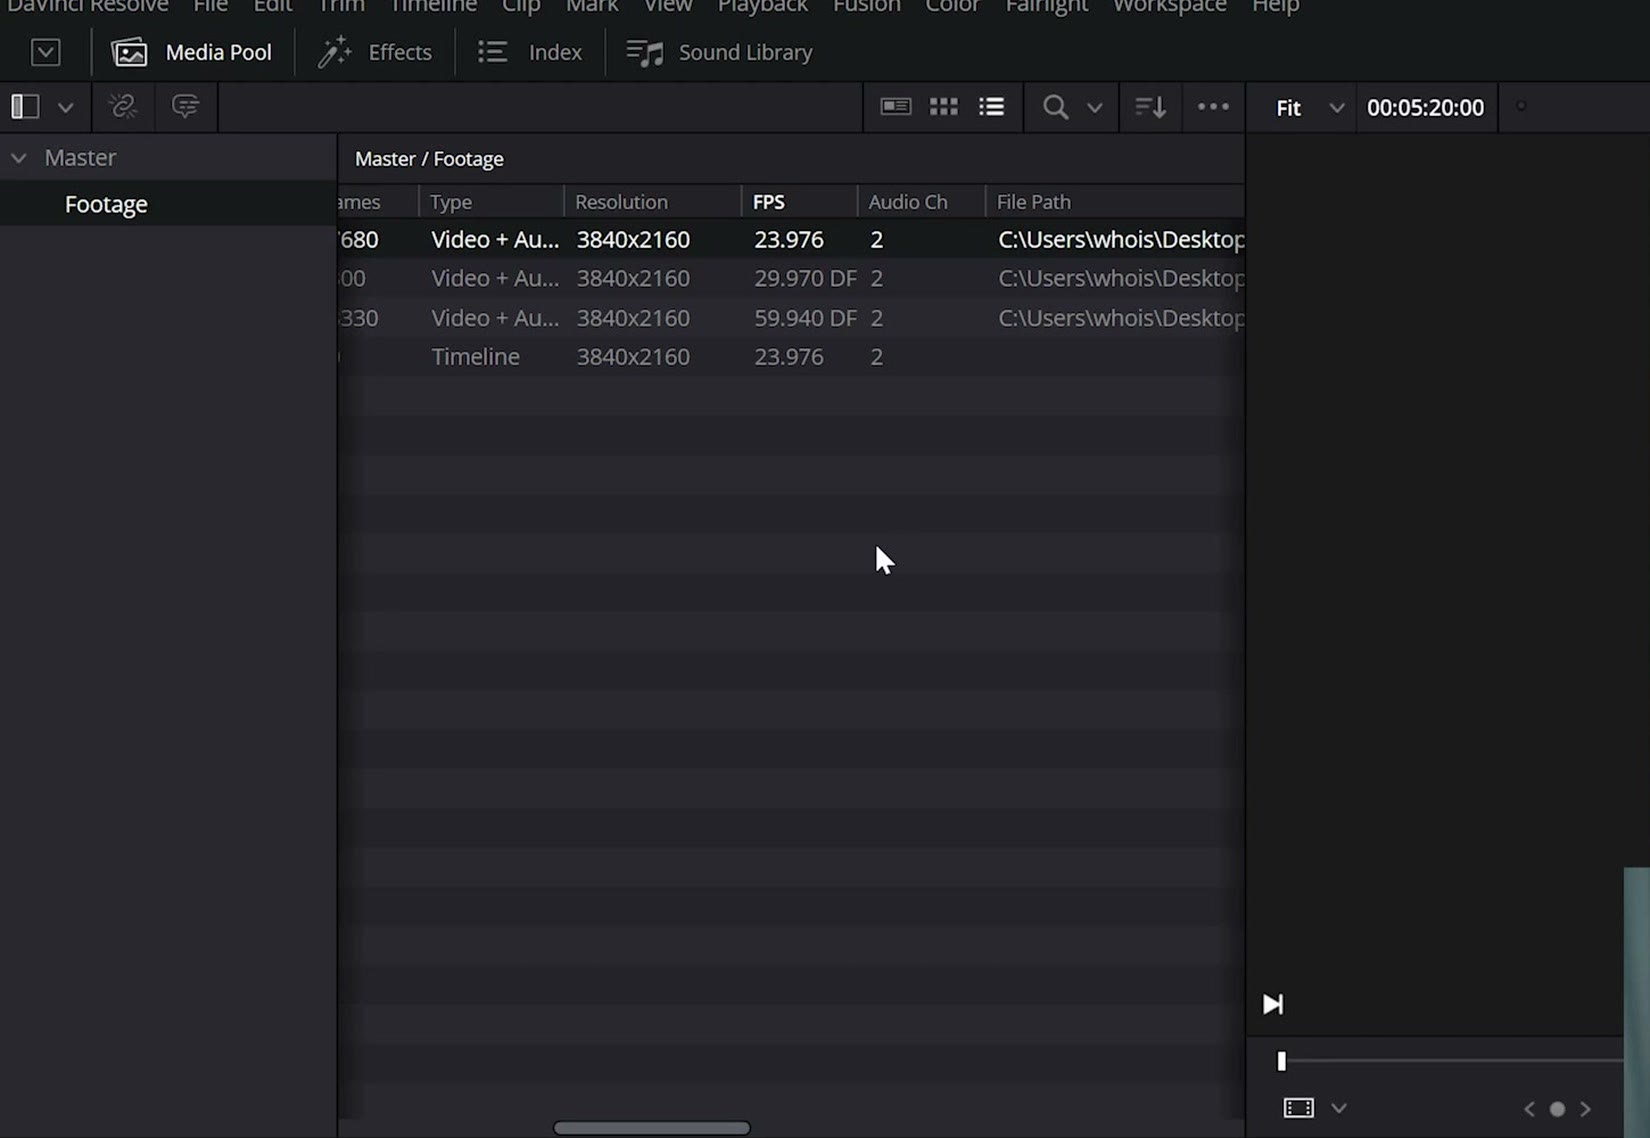
I didn’t film anything at 120 or 240 here, but just know that what I’m showing you works for any frame rate, including those higher ones.
I also have a clip that’s already at 24fps, and that clip doesn’t need to be made slow motion because it’s already as slow as it can go. But the great thing about this technique is that it makes all of your footage slow motion except for anything already at 24fps. So you don’t need to worry about separating your 24fps clips out from your 30 and 60fps clips. Just throw them all into a bin whenever you import.
The Technique
Now for the magic. Go to the media pool and select all of your clips. Click the first one, hold Shift, and click the last, or click and drag if you have room.
If your footage is spread across different bins, say for different cameras, that’s fine. Select everything in one bin, do the technique, then select the footage in the next bin and do it again. Just know you ideally want to apply this to all of your clips.
With your clips selected, right click and go to Clip Attributes, which opens the Clip Attributes window. Under Video Frame Rate you’re going to see a number, probably 23.976, even though the clips you selected are all different frame rates. It may say something different, because you’ve selected everything and it isn’t going to show you every frame rate at once.
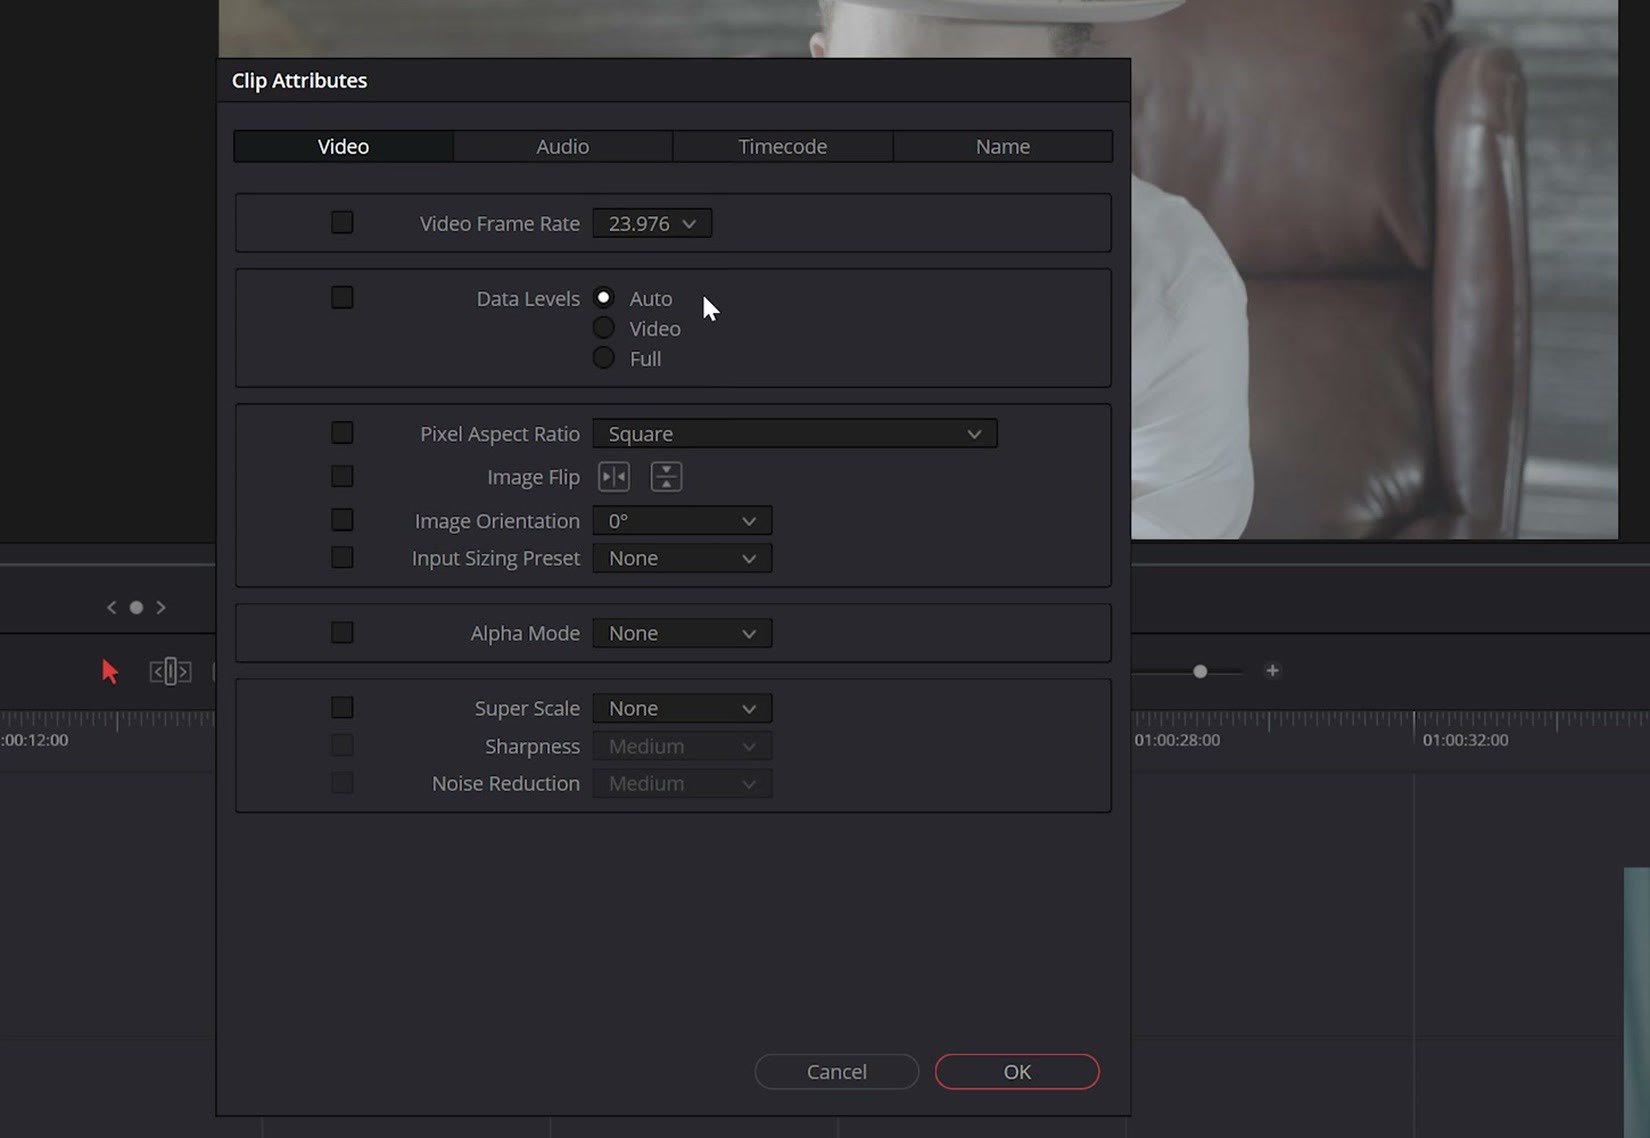
Regardless, select 23.976. And this part is important: tick the checkbox next to it, which is what tells Resolve that yes, you want all of these clips set to this frame rate. Then click OK.
It looks like nothing changed, but if you look back at the FPS column, all of those clips are now at 23.976.
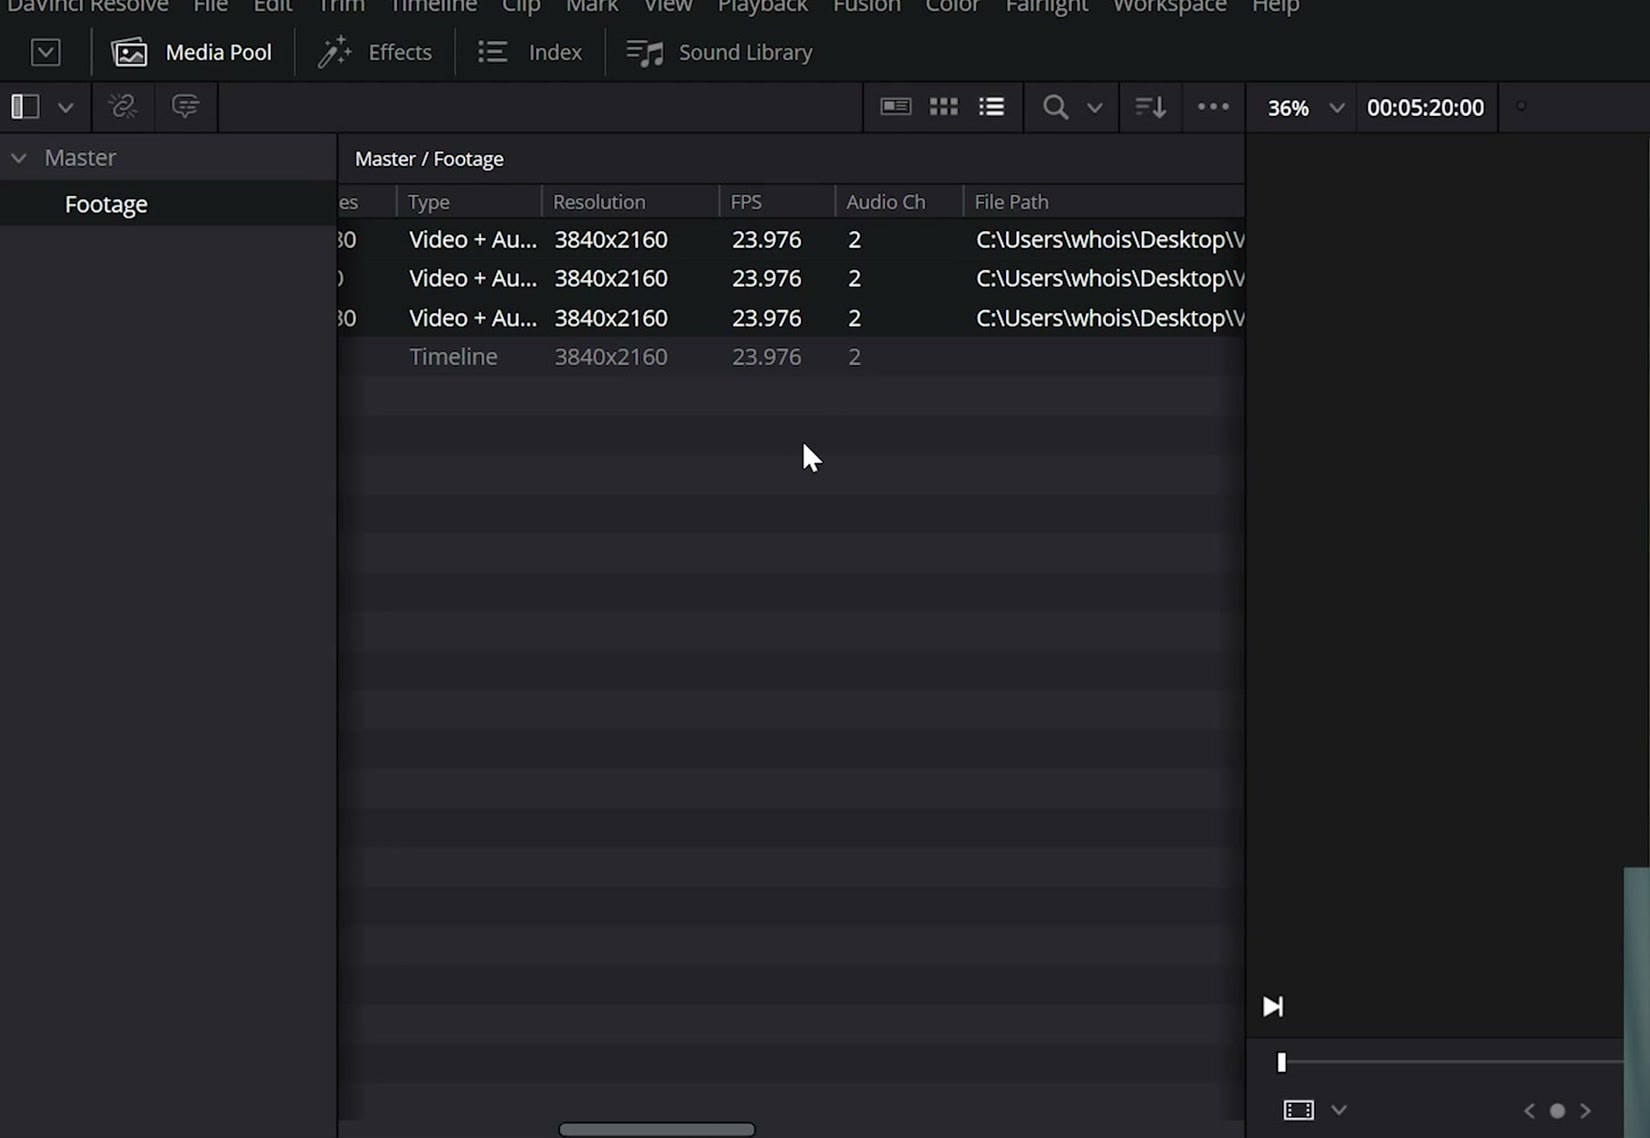
Now click and drag all of them down to your timeline and they’re all playing in slow motion, except for the one that was already 24. The shot that was 30 is just slightly slower. The one that was 60 is properly slow. Look at that. So smooth, so buttery, in one click.
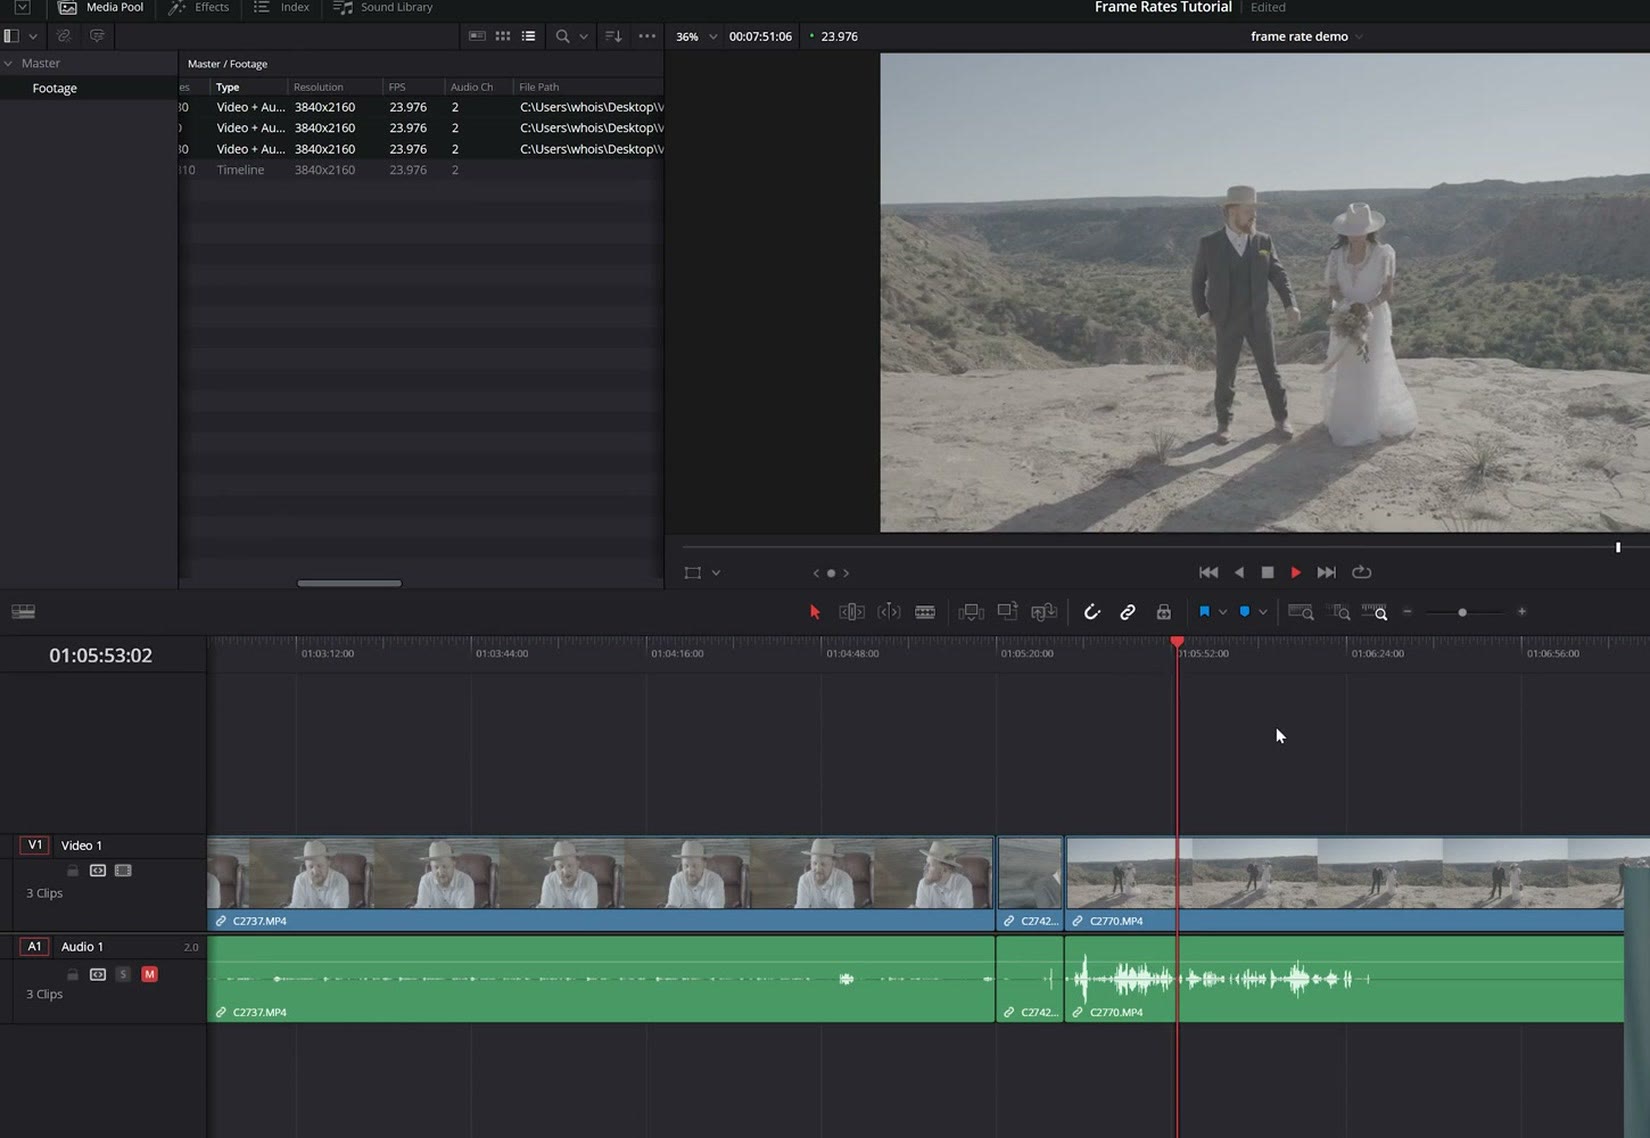
This is one of the first steps I take when editing any of my videos, because it saves me from making every single individual clip slow motion, and it’s going to save you a ton of time.
A Warning If You Make Proxies
There is one caveat I want you to be aware of. Whenever you make your footage slow motion this way, Resolve can get a bit confused whenever it comes time to make proxies.
So if you make proxies, or you’re interested in making proxies, which makes the whole editing process in Resolve even smoother, I’d highly recommend reading my proxies tutorial for DaVinci Resolve, which explains this issue and the workaround for it.
More Help Editing
Because I want to help you edit quickly, I’ve put together a course called Wedding Film Framework for DaVinci Resolve, which shows you how to very quickly and easily edit wedding films in Resolve. If you’re a wedding filmmaker who’s been considering learning Resolve, or you already use it but want a faster way of doing things, I’d highly recommend checking it out.
And I’m giving you more things for free, so here’s my Edit Videos Like A Pro guide, which shows you some of the most important things it took me years to learn as a video editor. It’s completely free.
Thanks so much for reading, and have a great day!