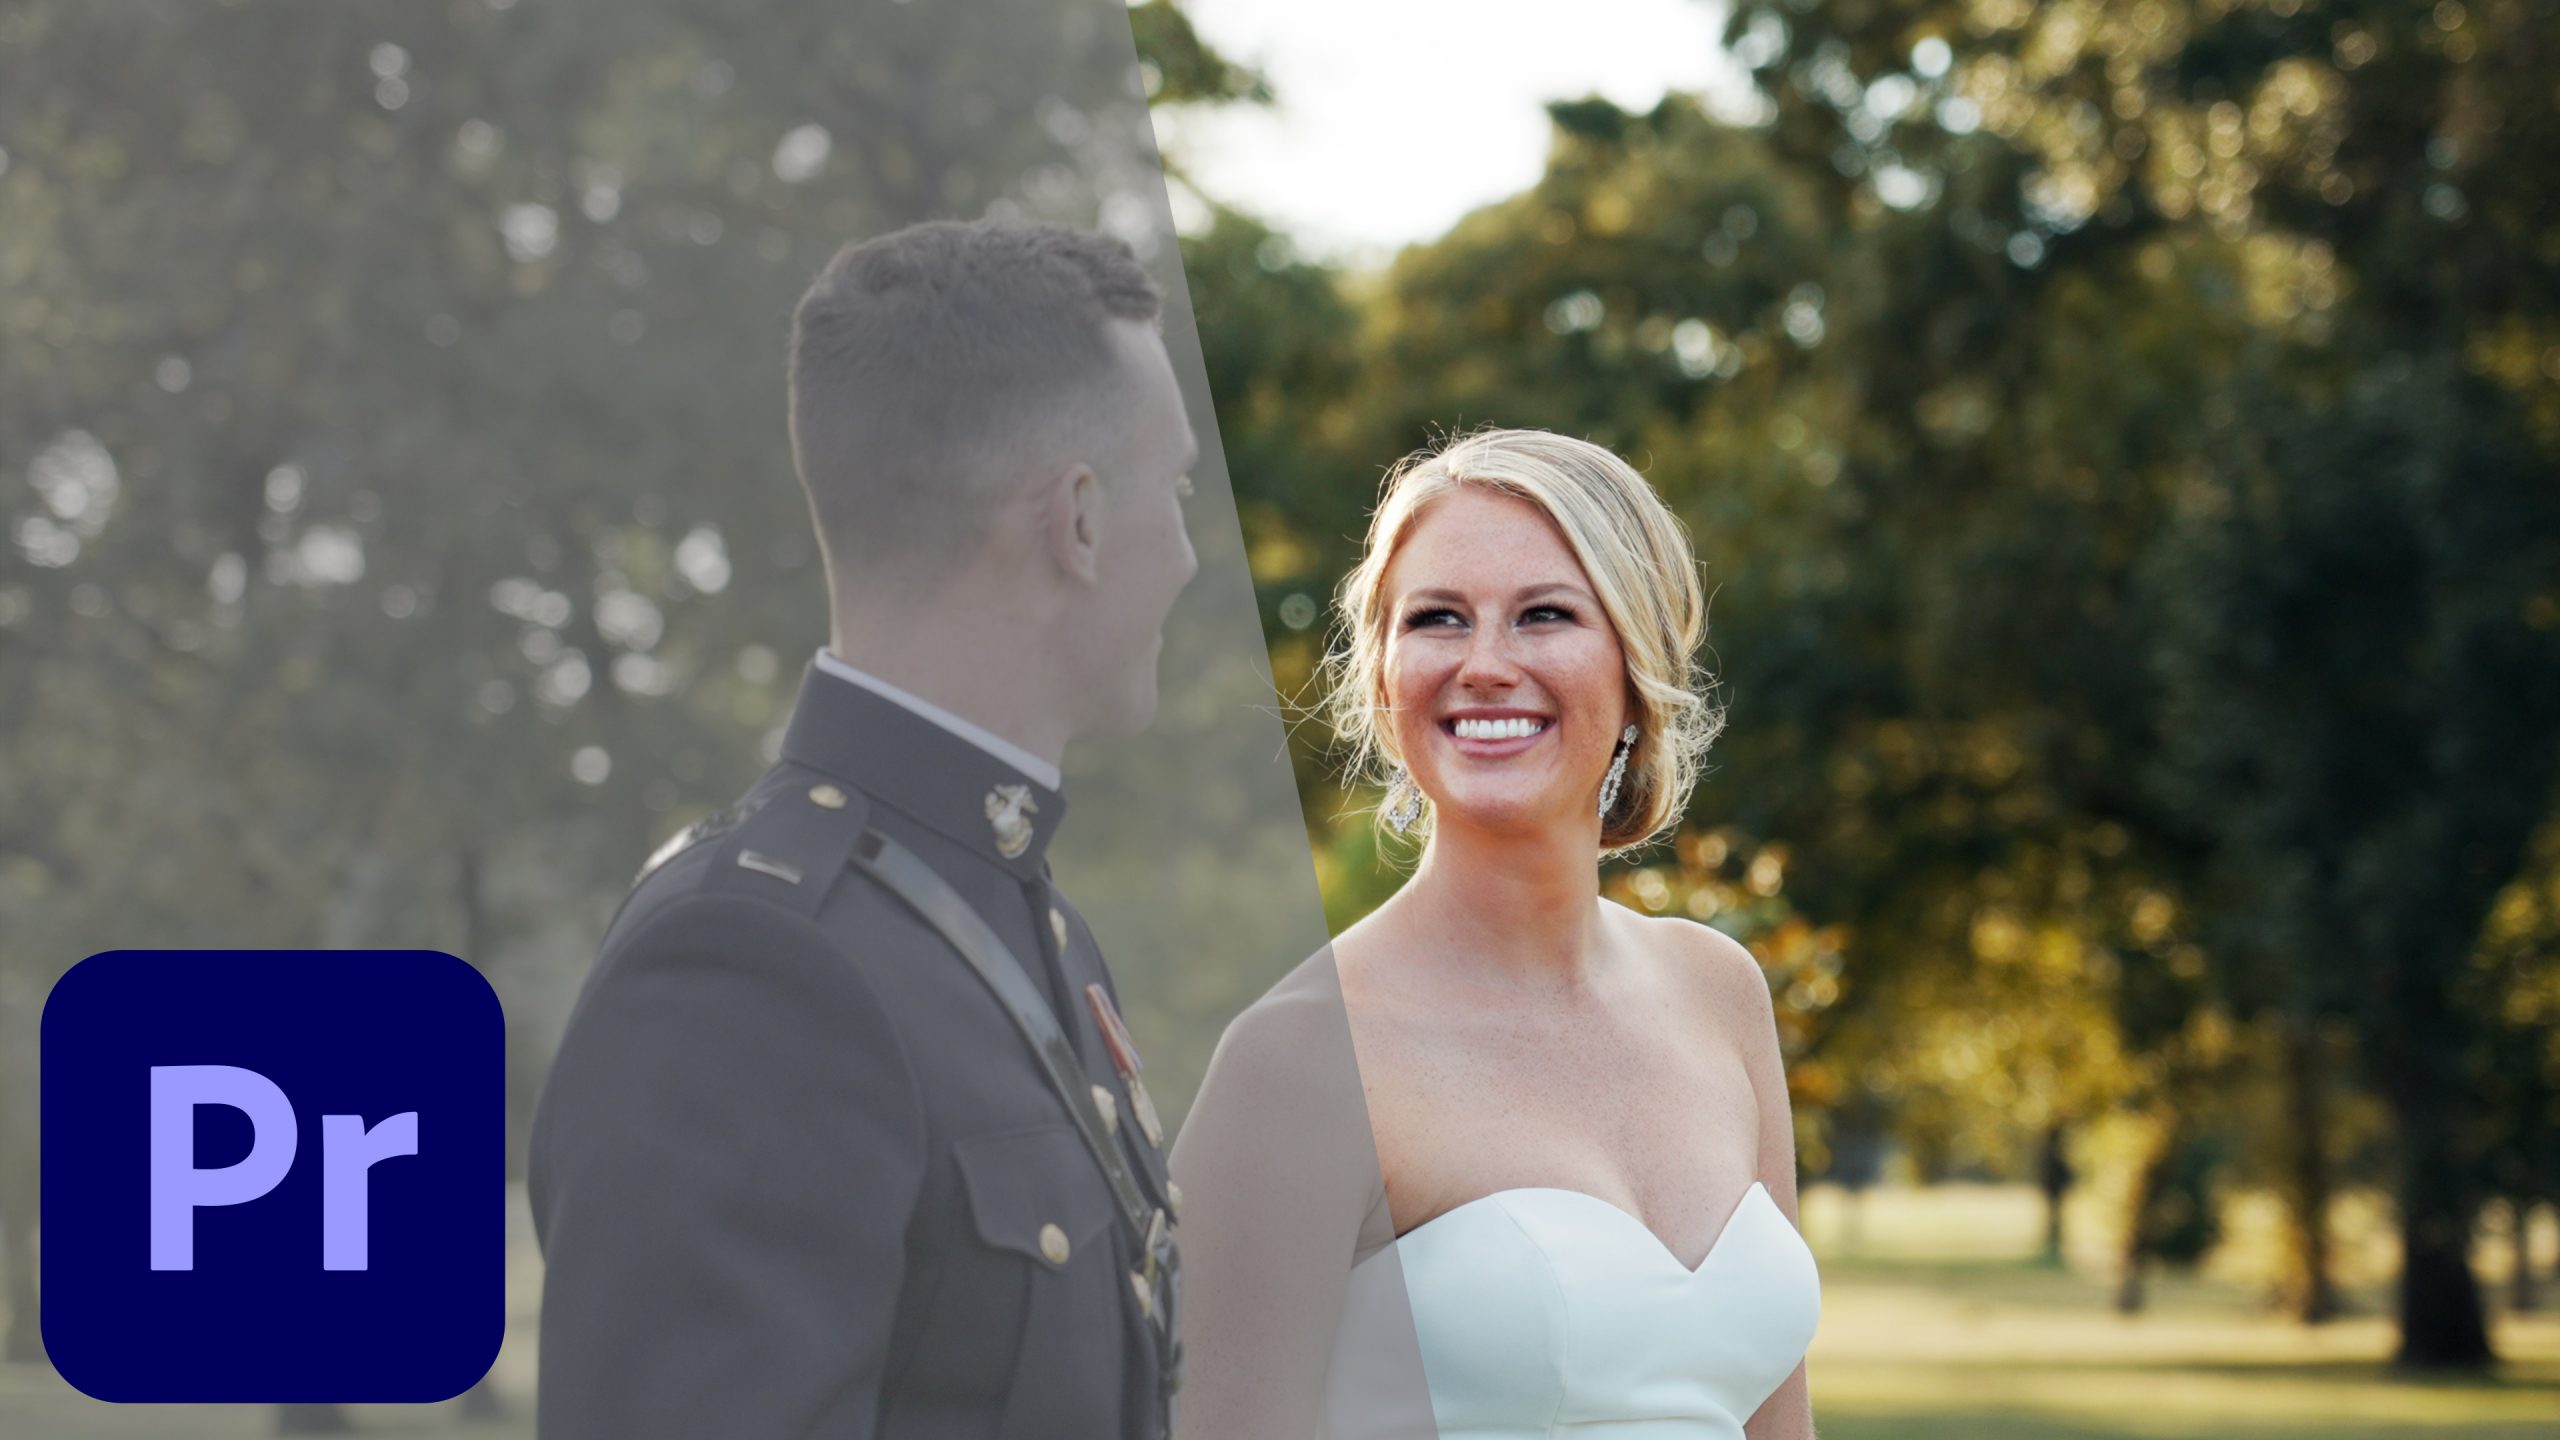
How to use LUTs to color grade Sony a7S III, FX3, & A1 LOG Footage in Premiere Pro

Save time color grading with my LUTs

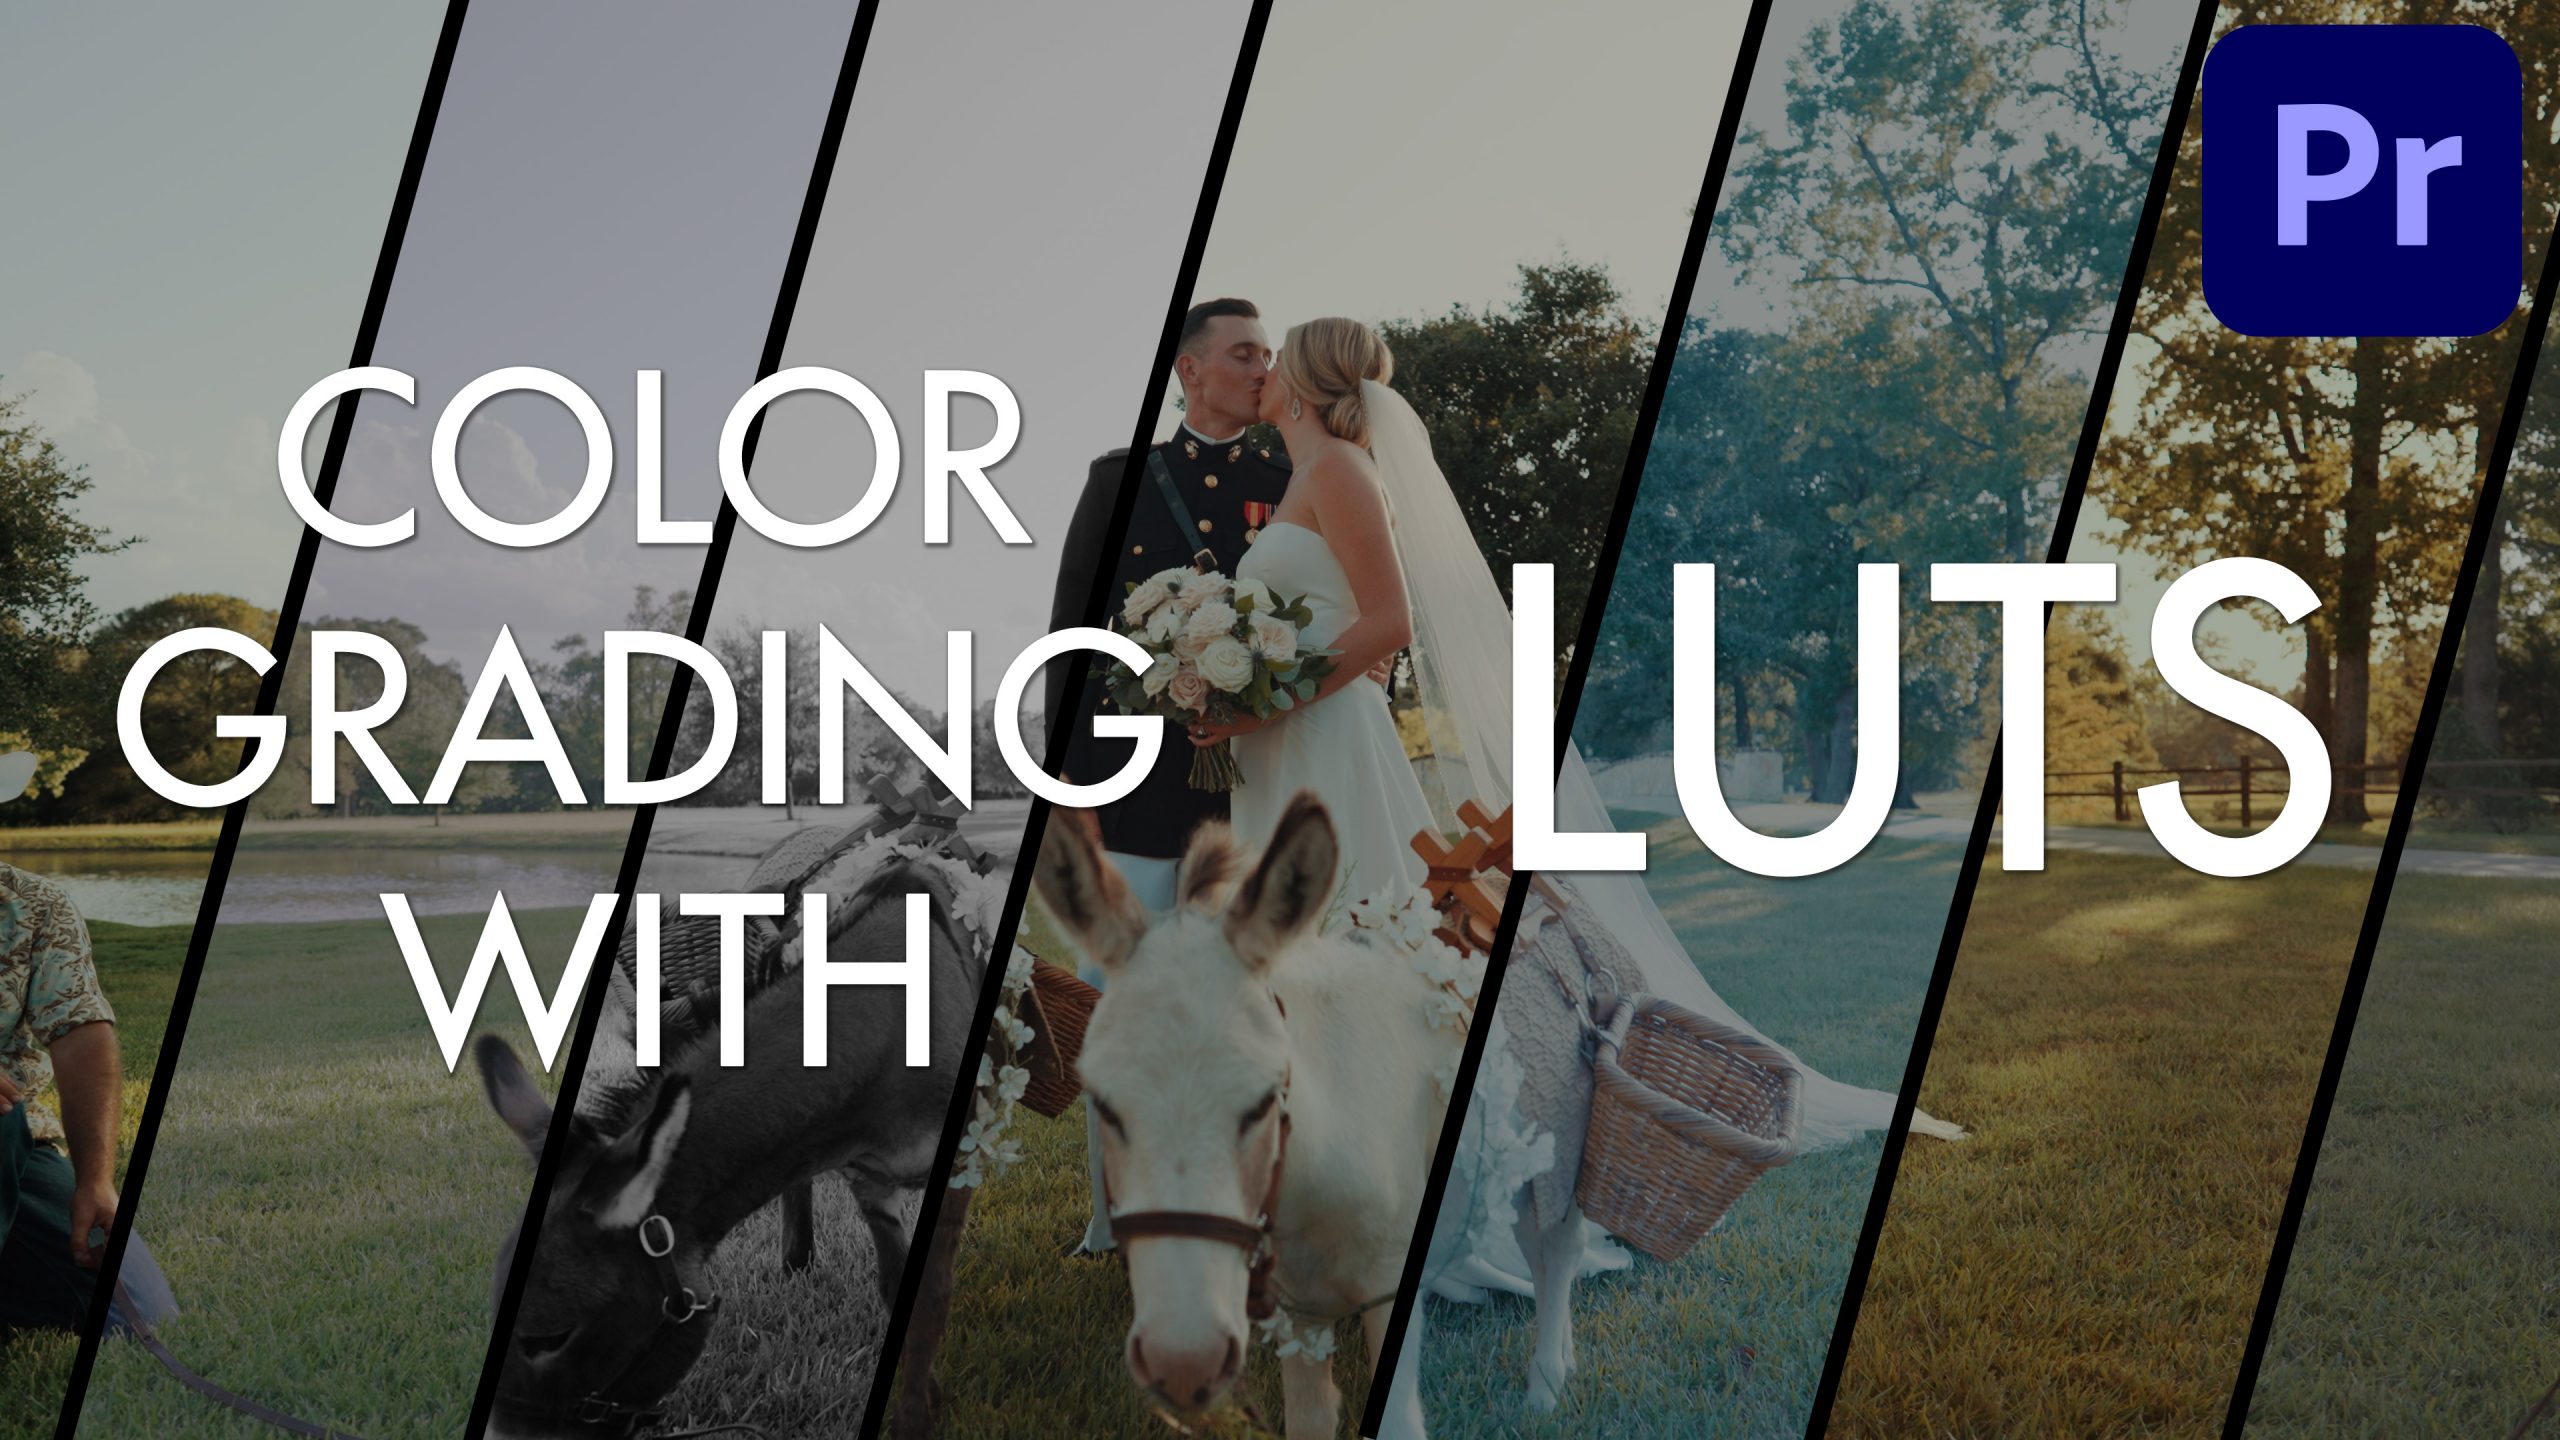
Here’s how to use Look Up Tables (LUTs) to quickly color grade your videos in Premiere Pro and make them look awesome!

What is a LUT? In the simplest terms, a LUT is a preset file that contains color, contrast, brightness, and saturation information in the .cube format. LUTs are used for a lot of reasons, including simulating film stock looks, emulating camera colors, or even color calibration. What we will be using them for today though, is to provide a starting point for your color grading. It can save you a lot of time, and allow you to explore new creative colors that you may not have considered before.

What is not a LUT? A LUT is NOT a one-click color grade for your film. You can’t just slap one on and render your film. LUTs often don’t take into consideration your white balance and exposure settings, so you will still need to color grade your film. With a LUT though, the amount of color grading you will have to do is probably less than you would if you were grading from scratch.

Watch my a7S III Color Grading Tutorial first

SAVE LOCATIONS FOR LUTS IN PREMIERE

Windows: C:\Program Files\Adobe\Common\LUTs\Creative

Mac: Applications Folder – Adobe Premiere Pro CC – Right-click and select “show package contents” – Lumetri – LUTs – Creative

Free trial of Premiere Pro

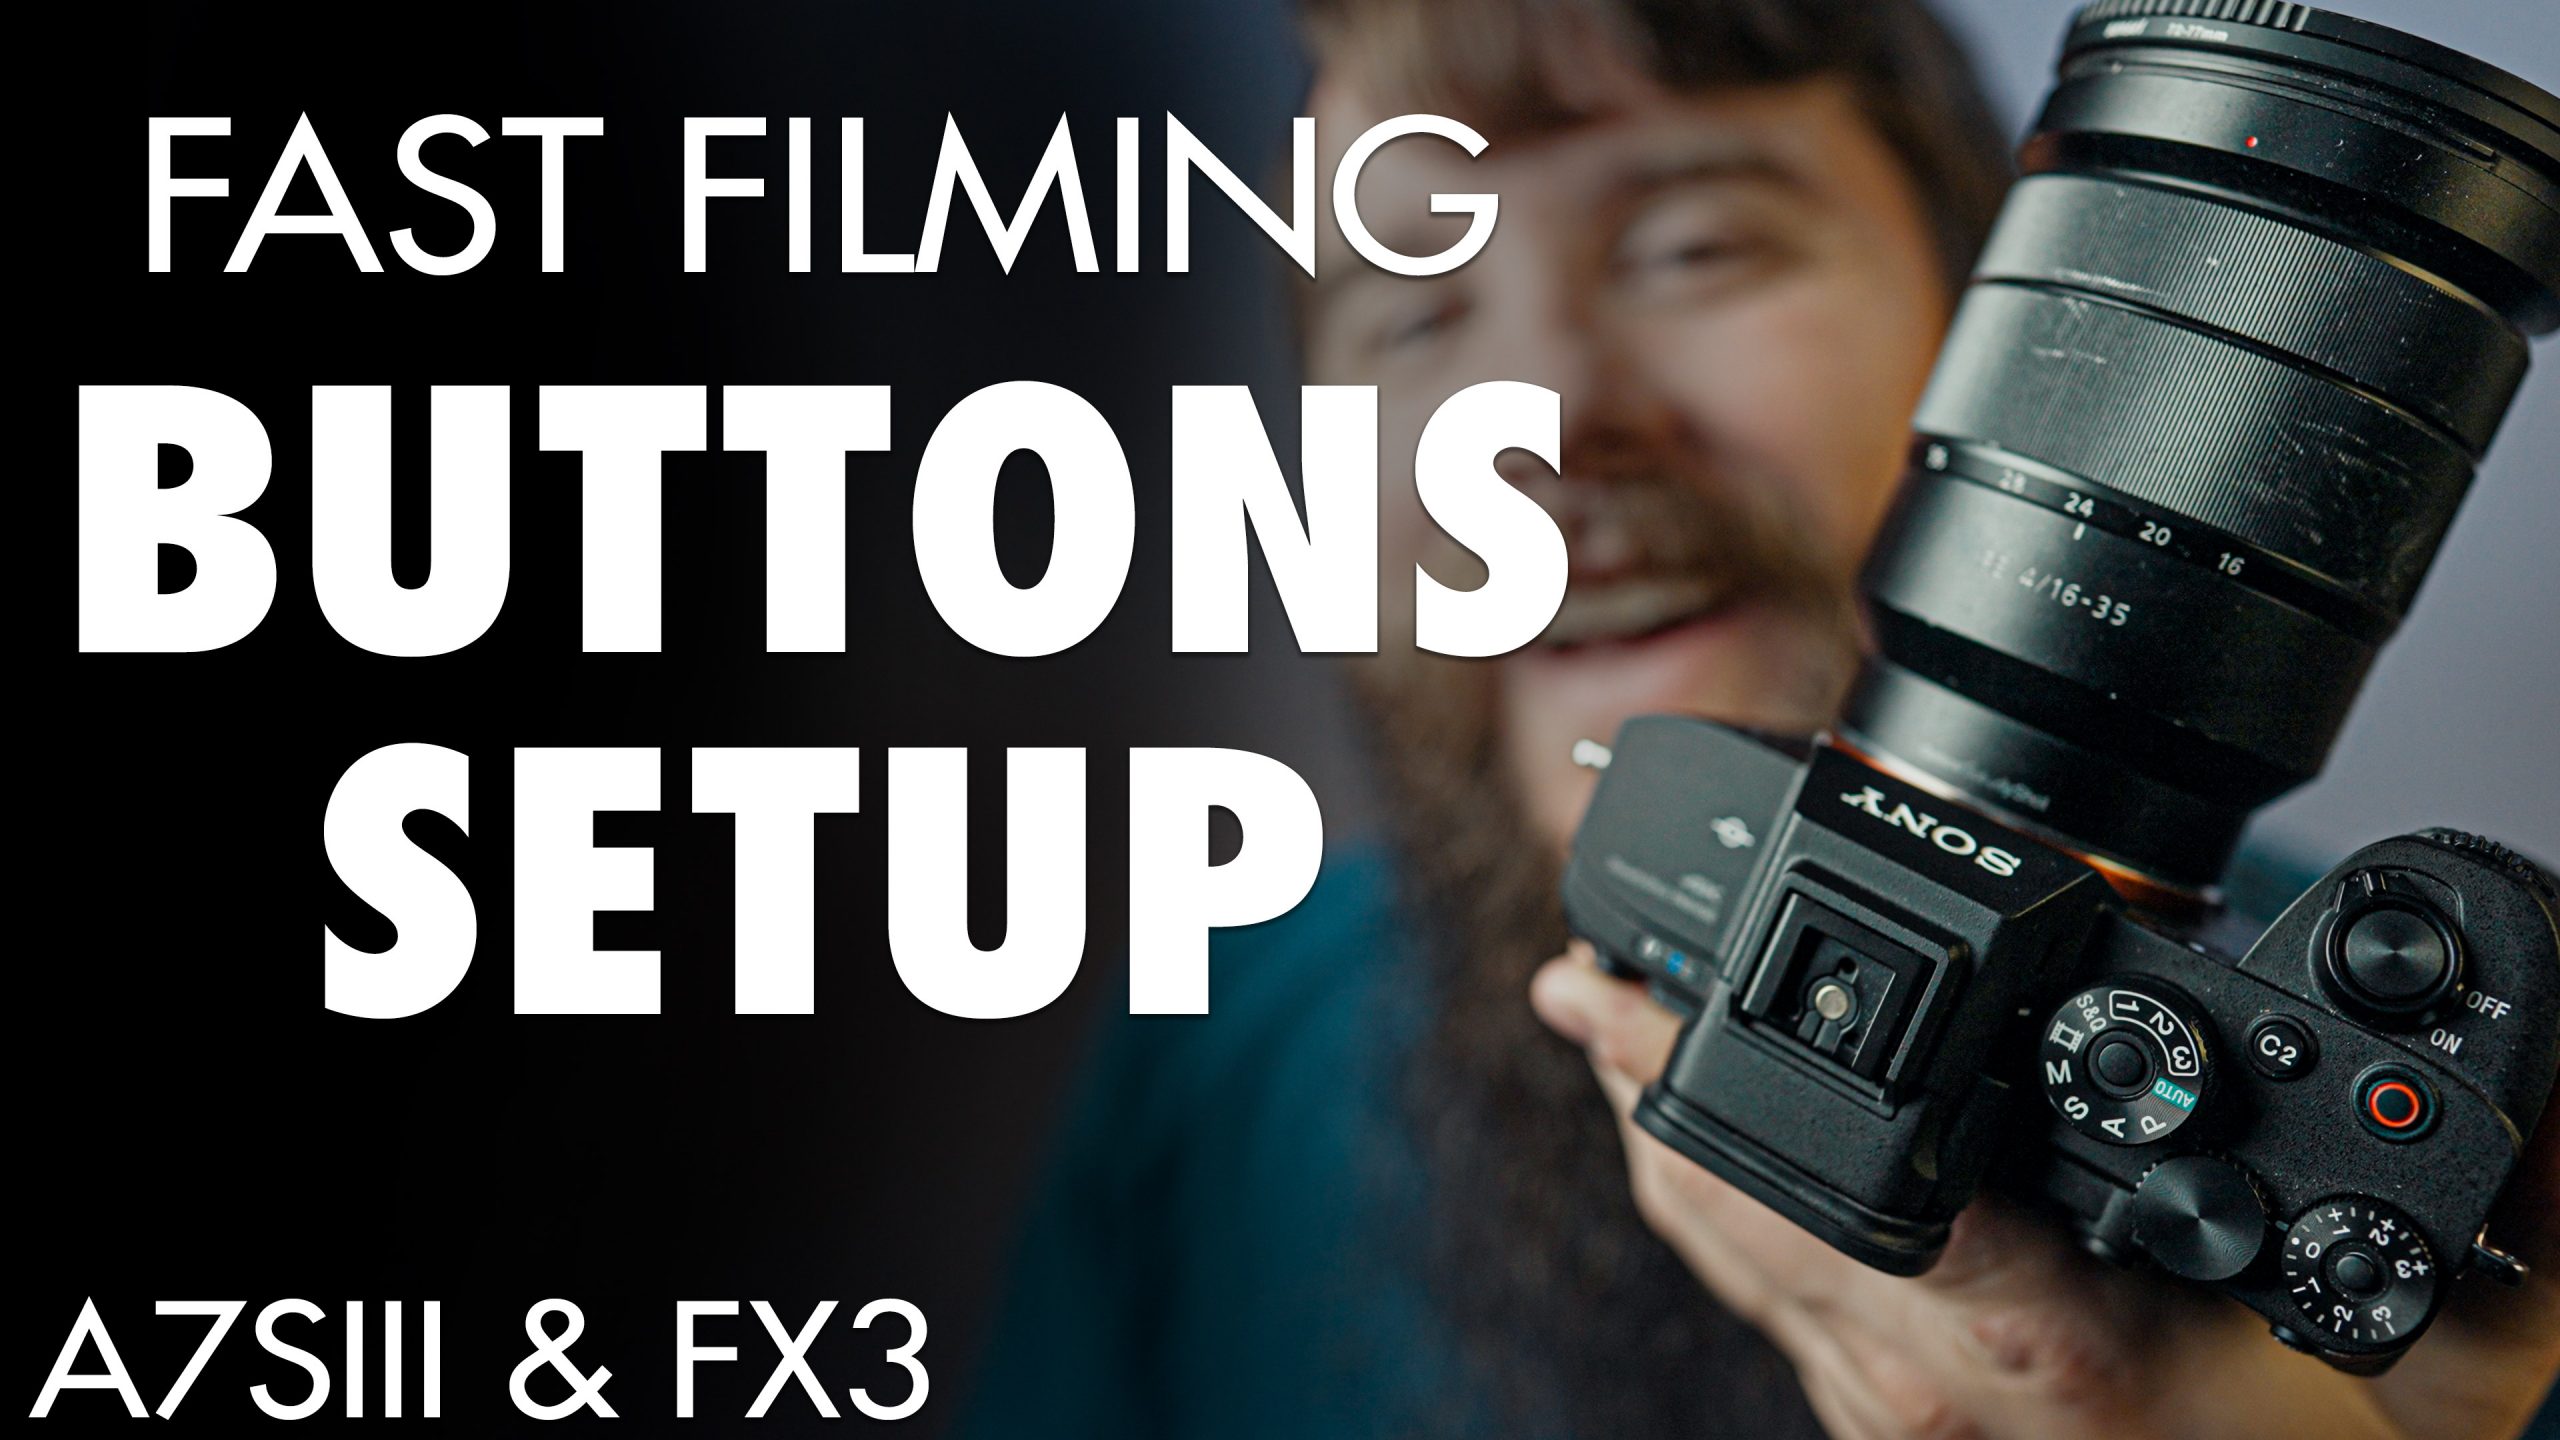
Custom Buttons Setup | Fast Filmmaking Settings For The Sony a7Siii & FX3

😍 Download my a7S III Settings Preset

Here is how to setup the custom buttons, function menu, mode dial, and custom menu for FAST filmmaking with the Sony a7S III and FX3! These “Run & Gun” settings will put everything you need at your fingertips, meaning you essentially never have to dive deep into the menus.

If you missed part one, it will show you how to setup every single menu item to film as fast as possible. Watch it here!

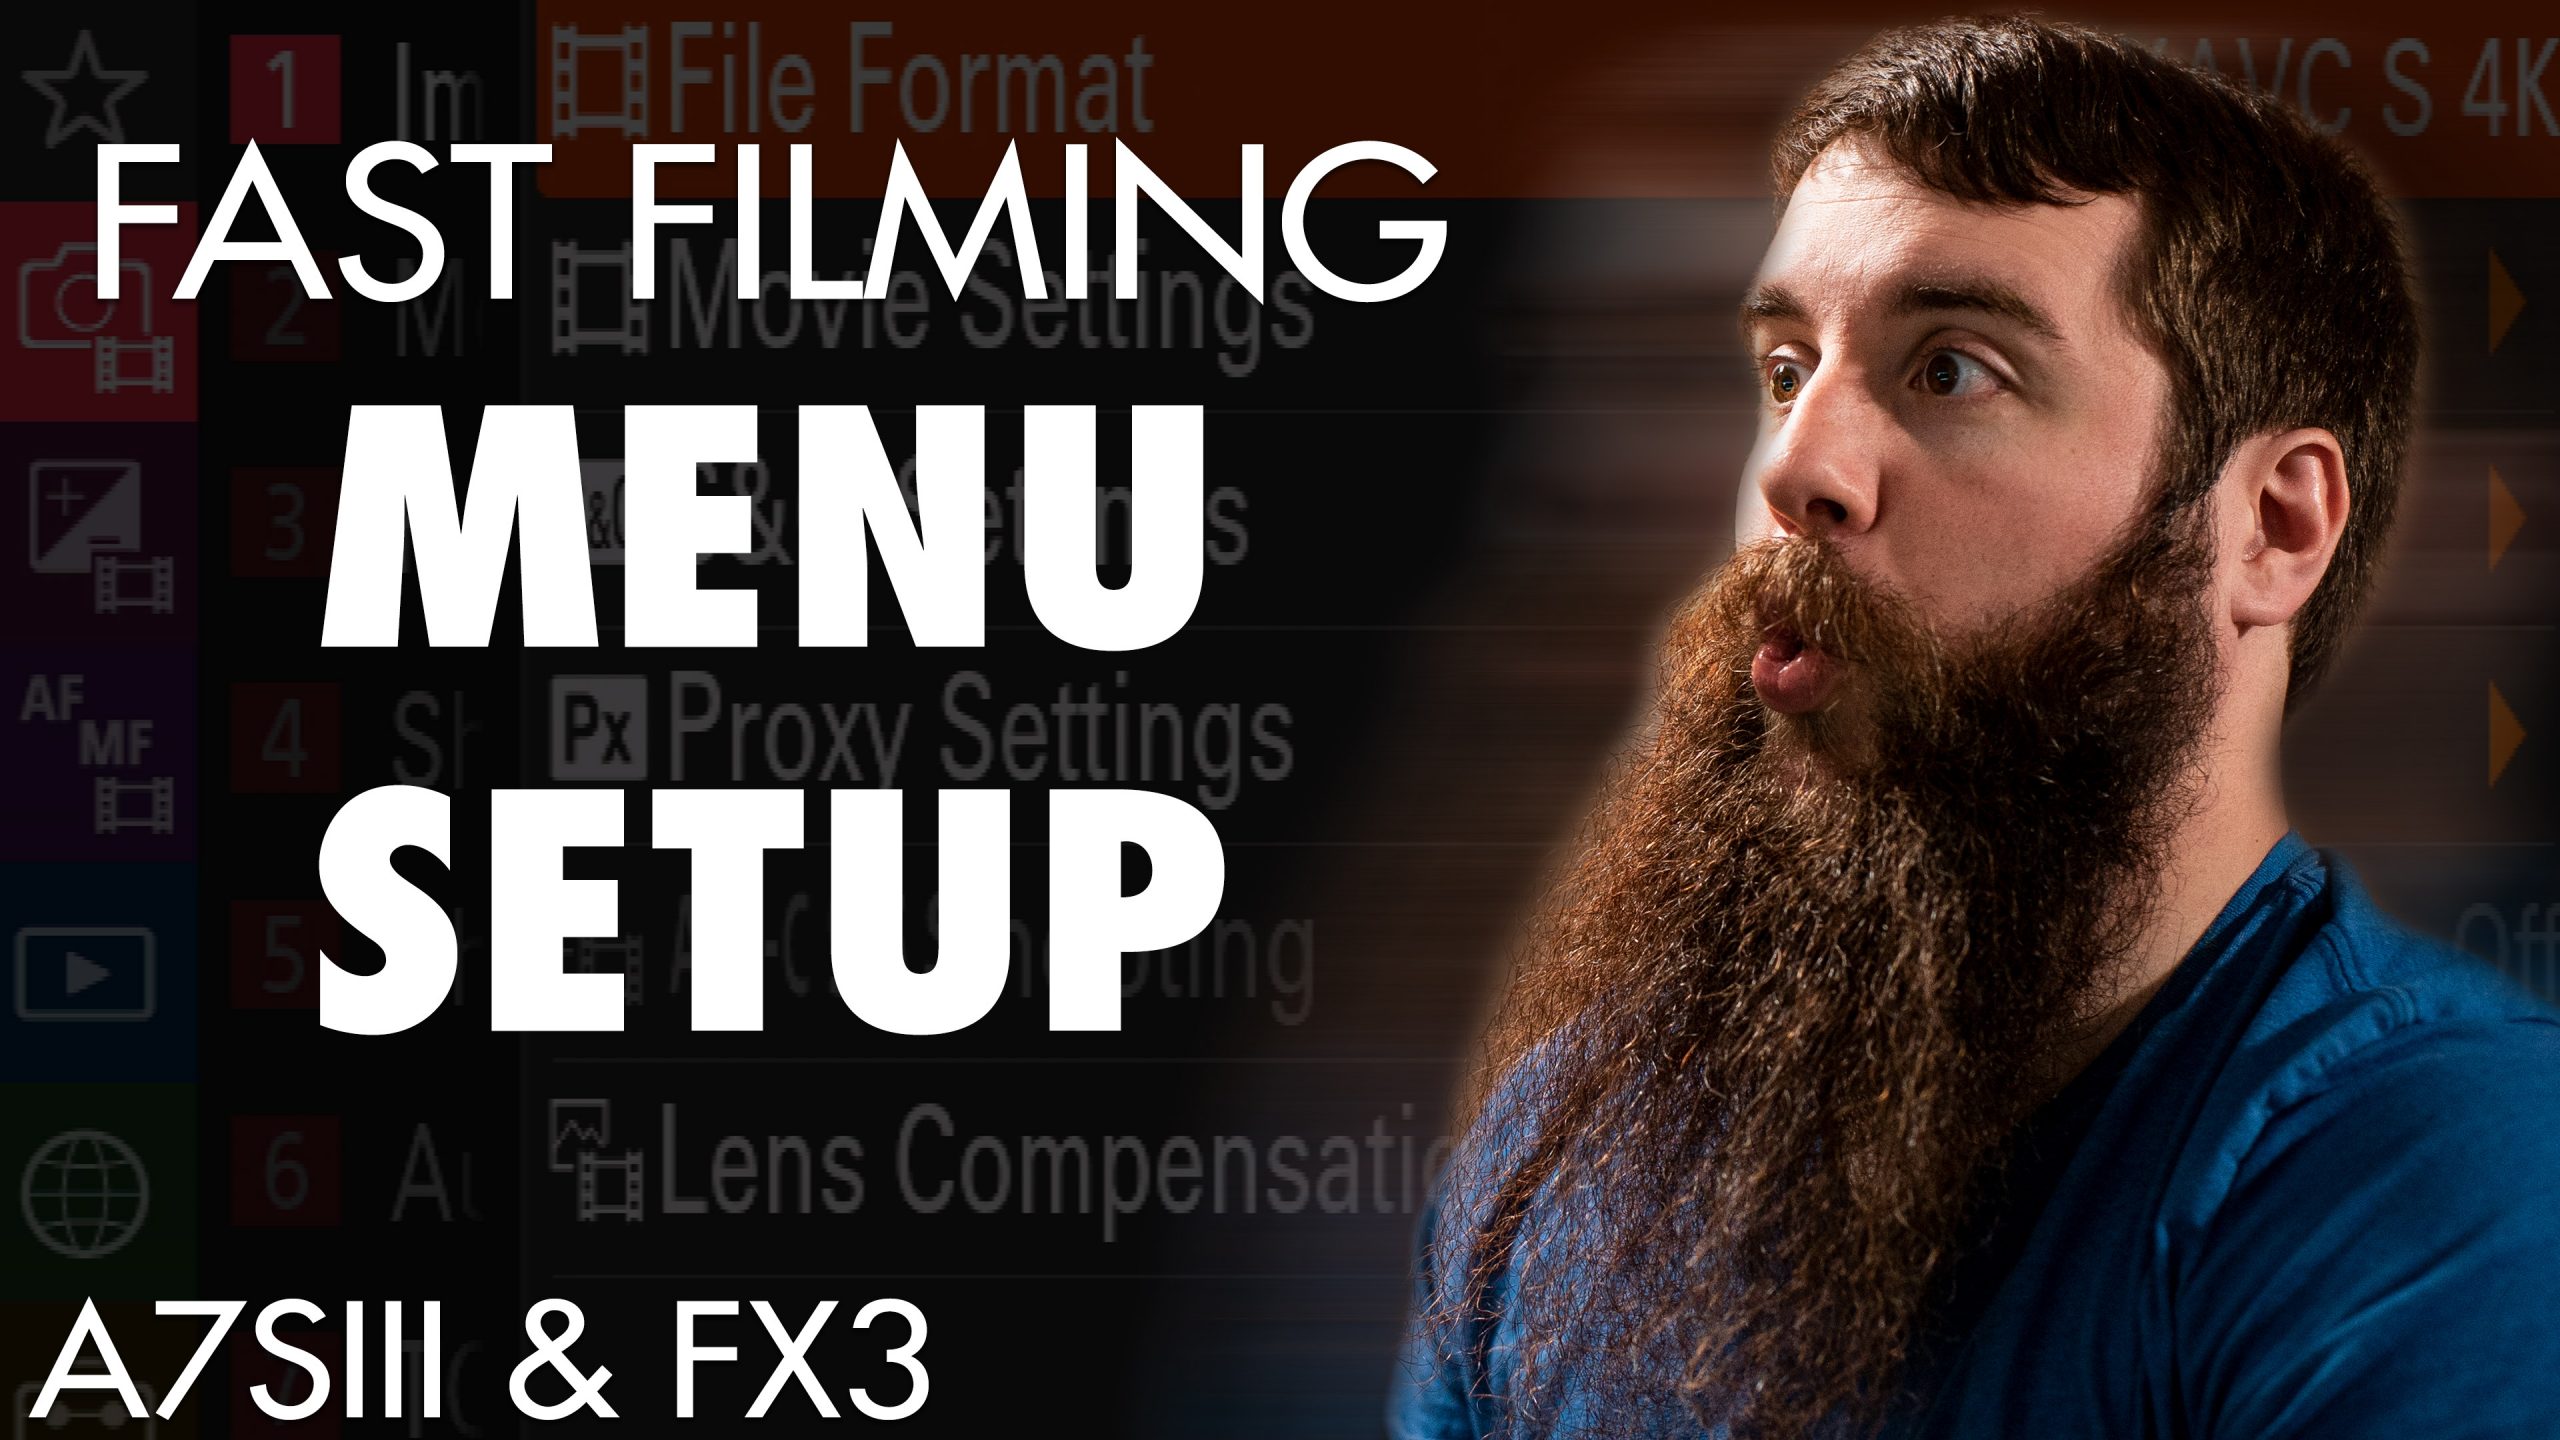
Menu Setup | Fast Filmmaking Settings For The Sony a7Siii & FX3

😍 Download my a7S III Settings Preset

Here is how I have my Sony a7S III menus setup for filming weddings and other events in the “Run & Gun” style of filmmaking. Meaning: quick setup times, near-instantaneous changing of frame rates and resolution, & rapid dialing in of settings like white balance, aperture, and ISO. And because the Sony FX3 has the same menu, this video applies to it as well!

This will be a two-part series because I don’t want to just tell you what settings I use; I also want to tell you why I chose them. This video dives deep into the menus and tells you how to access what you need and ignore what you don’t.

Part two will show you how to set up the camera’s custom menu, buttons, function menu, and mode dial, which will keep you from essentially NEVER needing to dive into the menus ever again! You’ll be able to change all your settings with one or two button presses, which is ideal for fast filmmaking. Watch Part 2!