
Five minutes, thirty minutes, an hour long documentary edit? Every wedding filmmaker gives a different answer. Here is how I worked out my own, and the moment in 2012 that changed what I offer.
Continue reading
Five minutes, thirty minutes, an hour long documentary edit? Every wedding filmmaker gives a different answer. Here is how I worked out my own, and the moment in 2012 that changed what I offer.
Continue reading
I took a 360 camera to a wedding to find out whether it earns a place in the bag or is still a gimmick. It is brilliant for behind the scenes and it falls apart in the dark.
Continue reading
Your grade looks right in the preview window and washed out the moment you export it. On Mac the fix is a free LUT from Adobe. On PC it is one dropdown in the NVIDIA Control Panel.
Continue reading
This is Allyson and Mark’s wedding trailer from April 2019, with the camera, lens, and settings burned into the corner of every shot so you can see exactly what was used to get each one.
And here’s the thing I want you to notice before anything else, because whenever people ask me what they need to buy to make films like this, the honest answer is usually “less than you think.” Every single frame of this film came off one camera body. One. Plus a little 360 action camera for the last shot, which I’ll get to, because that one’s fun.
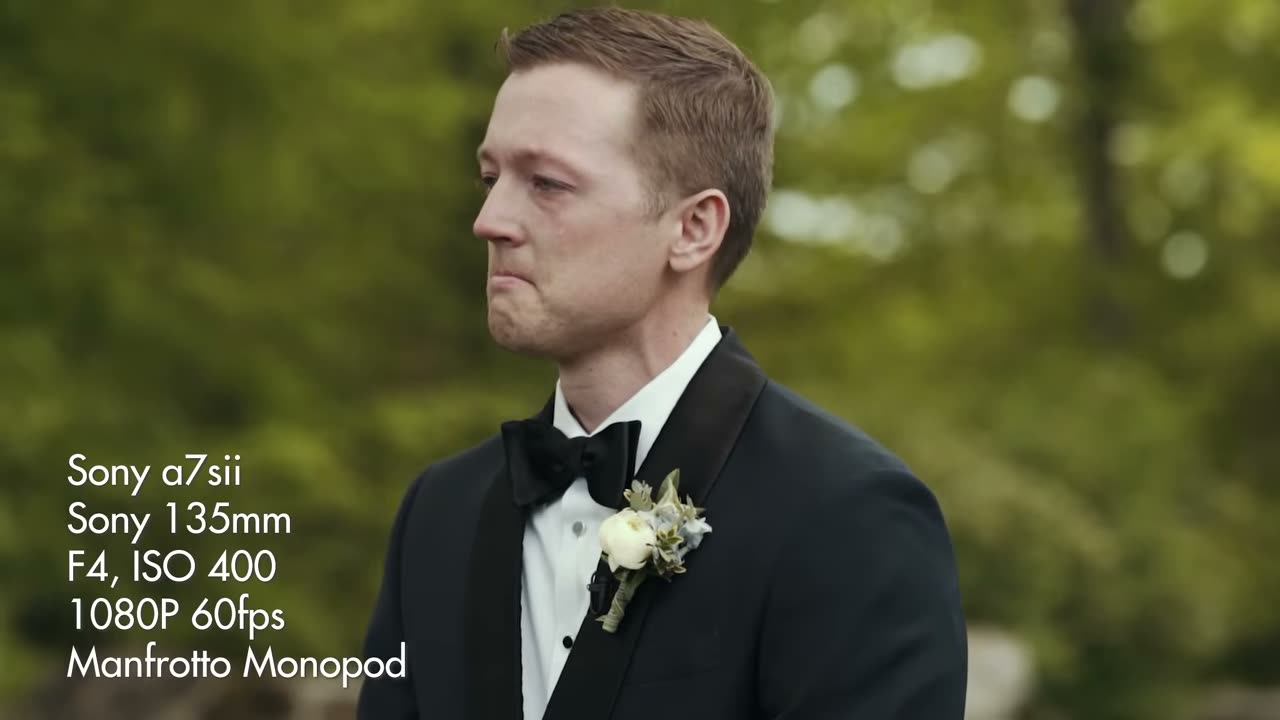
Same as always, the long lens does the emotional work, sitting between F2 and F4 and living on a monopod. Whenever a groom is standing there trying to hold himself together before he sees his bride, you want to be far enough away that he forgets you exist, and 135mm buys you that distance.
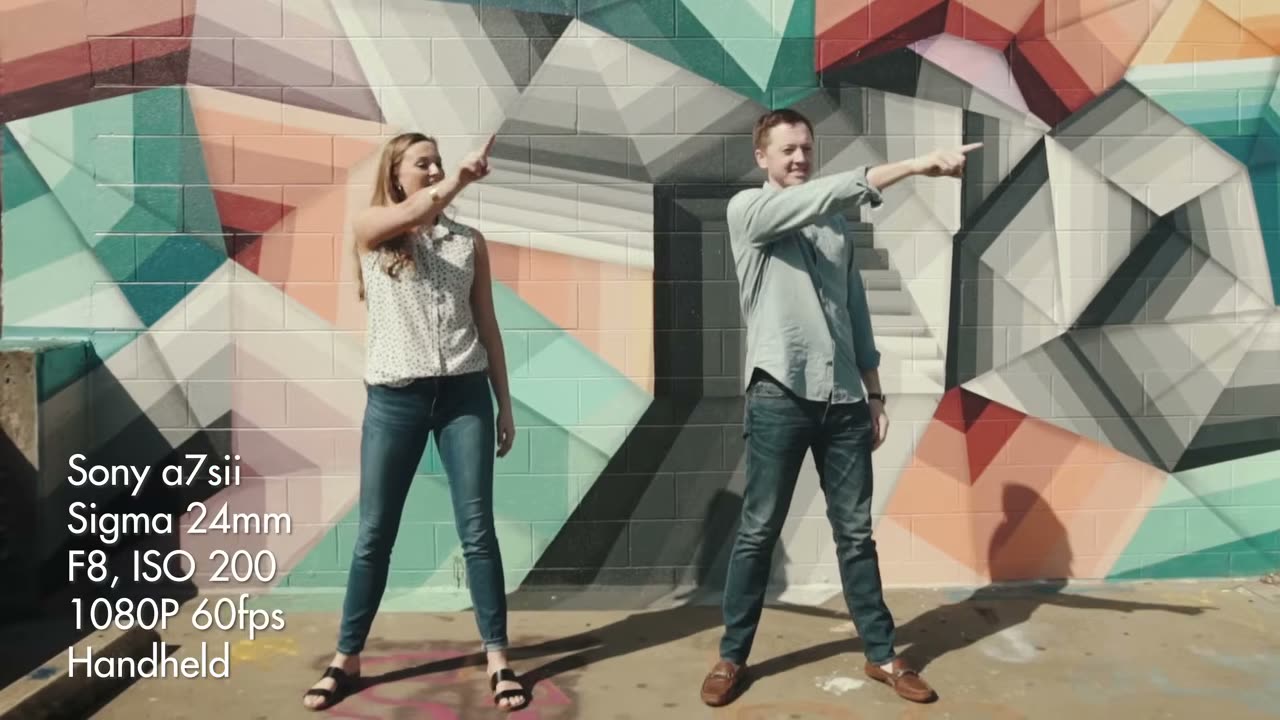
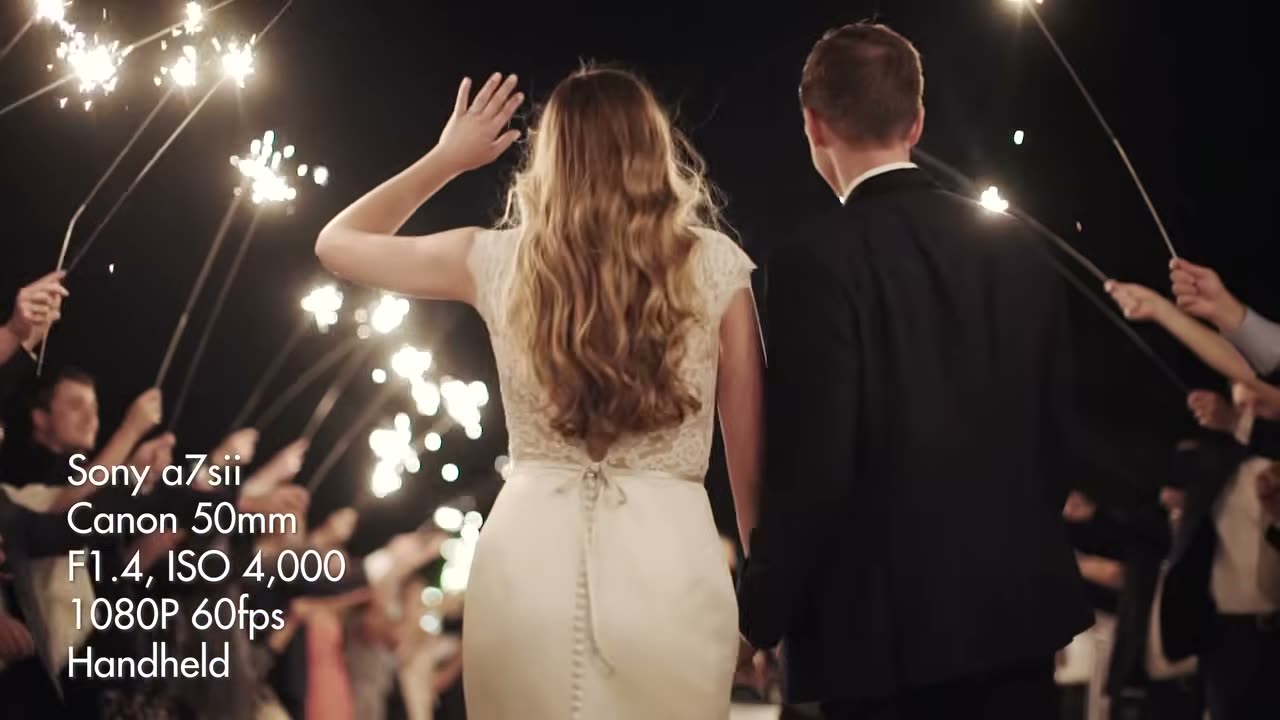
Every walking shot, every orbit around the couple, every push down the aisle is the 24mm on the Crane 2. Outdoors in daylight it’s stopped down to F8 at ISO 200 so focus takes care of itself while you’re busy walking backwards. Inside for the first dance it opens to F4 and the ISO climbs to 4,000, and by the sparkler exit it’s wide open at F1.4 at ISO 5,000.
That ISO range, 200 in the afternoon to 5,000 after dark, on a camera from 2015, is the entire argument for the a7S II. It just did not care about darkness.
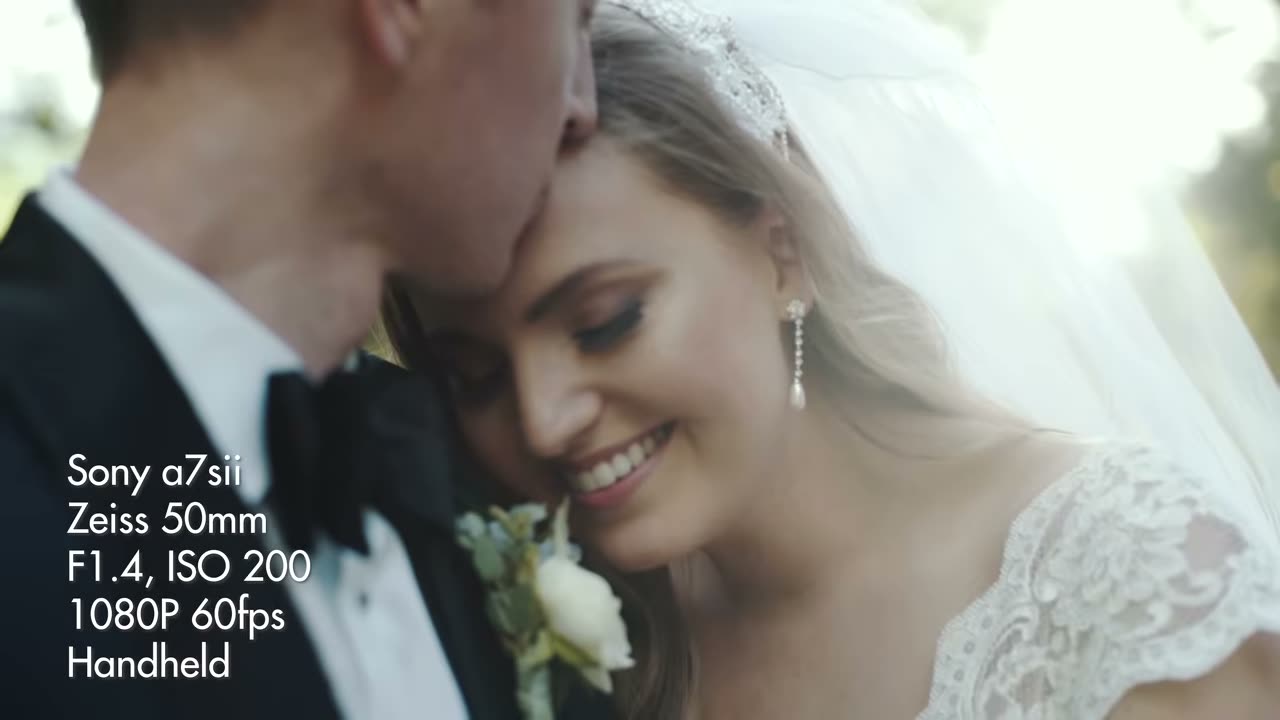
Two different 50mms show up in this film, a Zeiss and a Canon, both at F1.4, both handheld. That’s the lens for whenever you’re close enough that a monopod would be in the way and slow enough that you don’t need a gimbal.
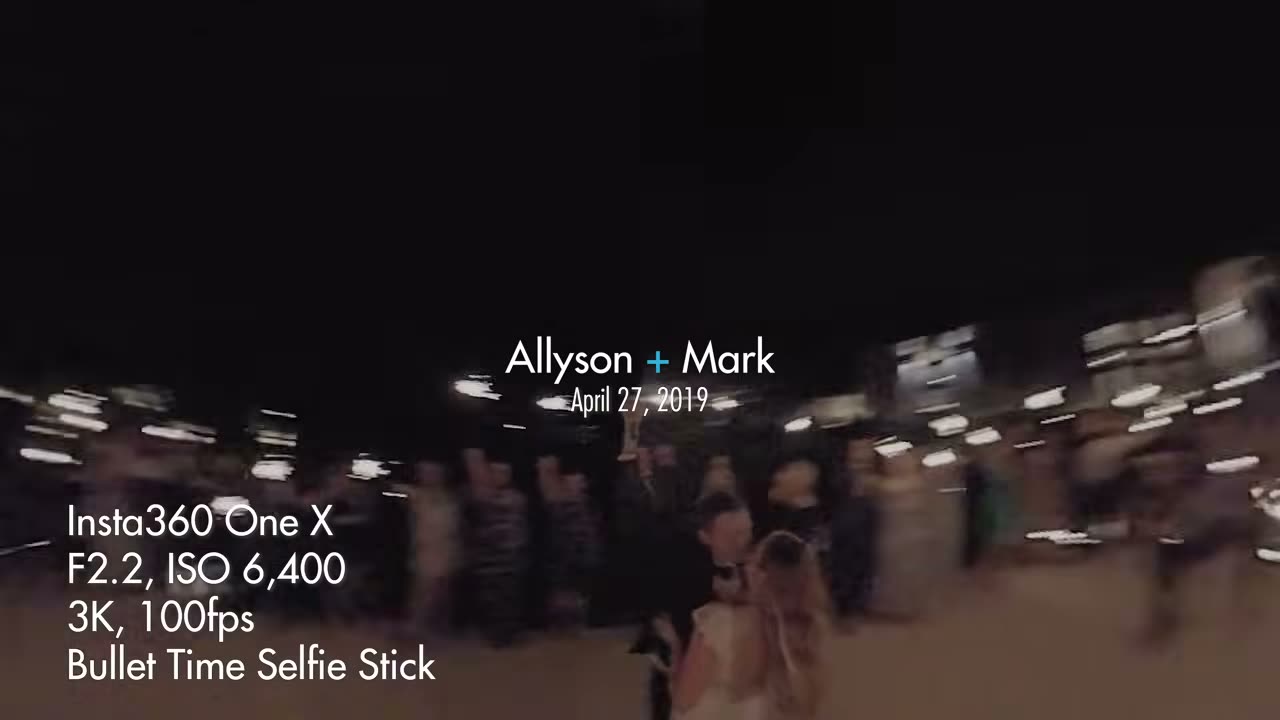
That spinning shot at the end, the one that whips around the couple in the middle of the dance floor, is not the a7S II at all. That’s an Insta360 One X on the end of a bullet time selfie stick, shooting 3K at 100fps at ISO 6,400.
You physically swing the camera around your head on a string. That’s the entire technique. The 360 footage means you reframe afterwards in the app and the stick edits itself out, so what you’re left with looks like a camera orbiting the couple at head height in a crowded room, which is a shot that would otherwise need a crane and a very patient dance floor.
It cost a fraction of any lens in this bag and it gets more comments than anything else in the film. Not everything has to be expensive to be worth having!
You’ll notice almost the whole film is 1080p at 60fps, and only a couple of the very still, very quiet close-ups are 4K 24fps.
Shooting 60 gives you room to slow a shot down in the edit and still have it look smooth, and on a wedding trailer that flexibility is worth more than the extra resolution almost every time. A shot of a groom breathing before he turns around doesn’t need to be slowed down, so it gets 4K. A shot of a couple walking through sparklers absolutely does.
If you want the same rundown on a different wedding, I did one for Allison and Seth’s trailer as well, and that one was shot on two bodies instead of one, so it’s a useful comparison.

You hit Queue in Premiere Pro, expecting your export to hand off to Media Encoder like it always does, and instead Premiere tells you “Adobe Media Encoder is not installed” — which is a heck of a thing to read whenever you are looking at the Media Encoder icon sitting right there on your taskbar. It’s installed! You can see it! Once it is handing off properly, you can also have Media Encoder notify your phone when the render finishes.
Nine times out of ten this is a version mismatch, and it takes about thirty seconds to fix. Here’s that fix first, and then the other causes if the quick one doesn’t do it for you.
Premiere Pro and Media Encoder have to be running the same version number to talk to each other. Whenever they drift apart, usually because one of them updated and the other didn’t, Premiere goes looking for a matching Media Encoder, doesn’t find one, and reports it as not installed. The message is misleading. What it really means is “not installed at the version I need.”
So open the Creative Cloud desktop app, look at Premiere Pro and Media Encoder in your installed apps list, and check the version numbers against each other. If either one is offering an update, take it, and update both so they land on the same version. Restart Premiere afterwards.
That’s it. That’s the whole thing for most people, and it’s why I made the video in the first place — I had a bunch of you emailing me about this exact error.
Then it’s one of a few other things, roughly in the order I’d check them.
Worth ruling out, and it’s not as silly as it sounds. Media Encoder is a separate app from Premiere in Creative Cloud, and it’s entirely possible to have Premiere installed without it, especially if somebody set the machine up for you or you cherry-picked what to install to save drive space. Open Creative Cloud, go to your apps, and confirm Media Encoder is listed under Installed and not under available-to-install.
Premiere looks for Media Encoder where Adobe expects it to be. Whenever you’ve moved the install to another drive, or installed to a custom path to keep your C drive free, that handoff can break even though the program runs perfectly well when you open it yourself. If that’s you, reinstalling Media Encoder to the default location is the fix.
This happens, and it’s the annoying one because everything looks right. If you’ve matched versions, confirmed it’s installed, and it’s in the normal place, the reliable repair is to uninstall both, restart the computer, then install Premiere Pro first and let it pull Media Encoder in with it. Installing in that order matters, and it’s what finally clears it for people who have been going in circles.
Genuine question, and I want to save you time here. If you’re queueing to Media Encoder purely out of habit, and you’re not batching a stack of exports or trying to keep editing while something renders, you can just hit Export in Premiere instead of Queue and be done. Premiere renders it itself and never involves Media Encoder at all.
Where Media Encoder genuinely earns its place is batching several sequences at once, and letting you carry on working while it chews through them in the background. If that’s what you’re after, it’s worth fixing properly. If you just want the one file out the door tonight, export straight from Premiere and deal with this another day.
While you’re thinking about exports, I have a full breakdown of the settings I actually use: the best 4K export settings in Premiere Pro.

Seven months of editing 4K wedding films on the road with the XPS 15 9570: the screen, the CPU that cut a 94 minute export to under seven, the warranty nobody talks about, and the one spec I would not buy again.
Continue reading