
I’m going to show you the best settings for the Zoom F3 so you can record fantastic sounding audio, and we’re going to do it in about six minutes. My name is Matt Johnson, so let’s get right into it.
Batteries And A Memory Card
First you’re going to want to put batteries in your Zoom F3, and specifically I recommend you use lithium batteries, because these are going to give you significantly better life than alkaline or rechargeable batteries.
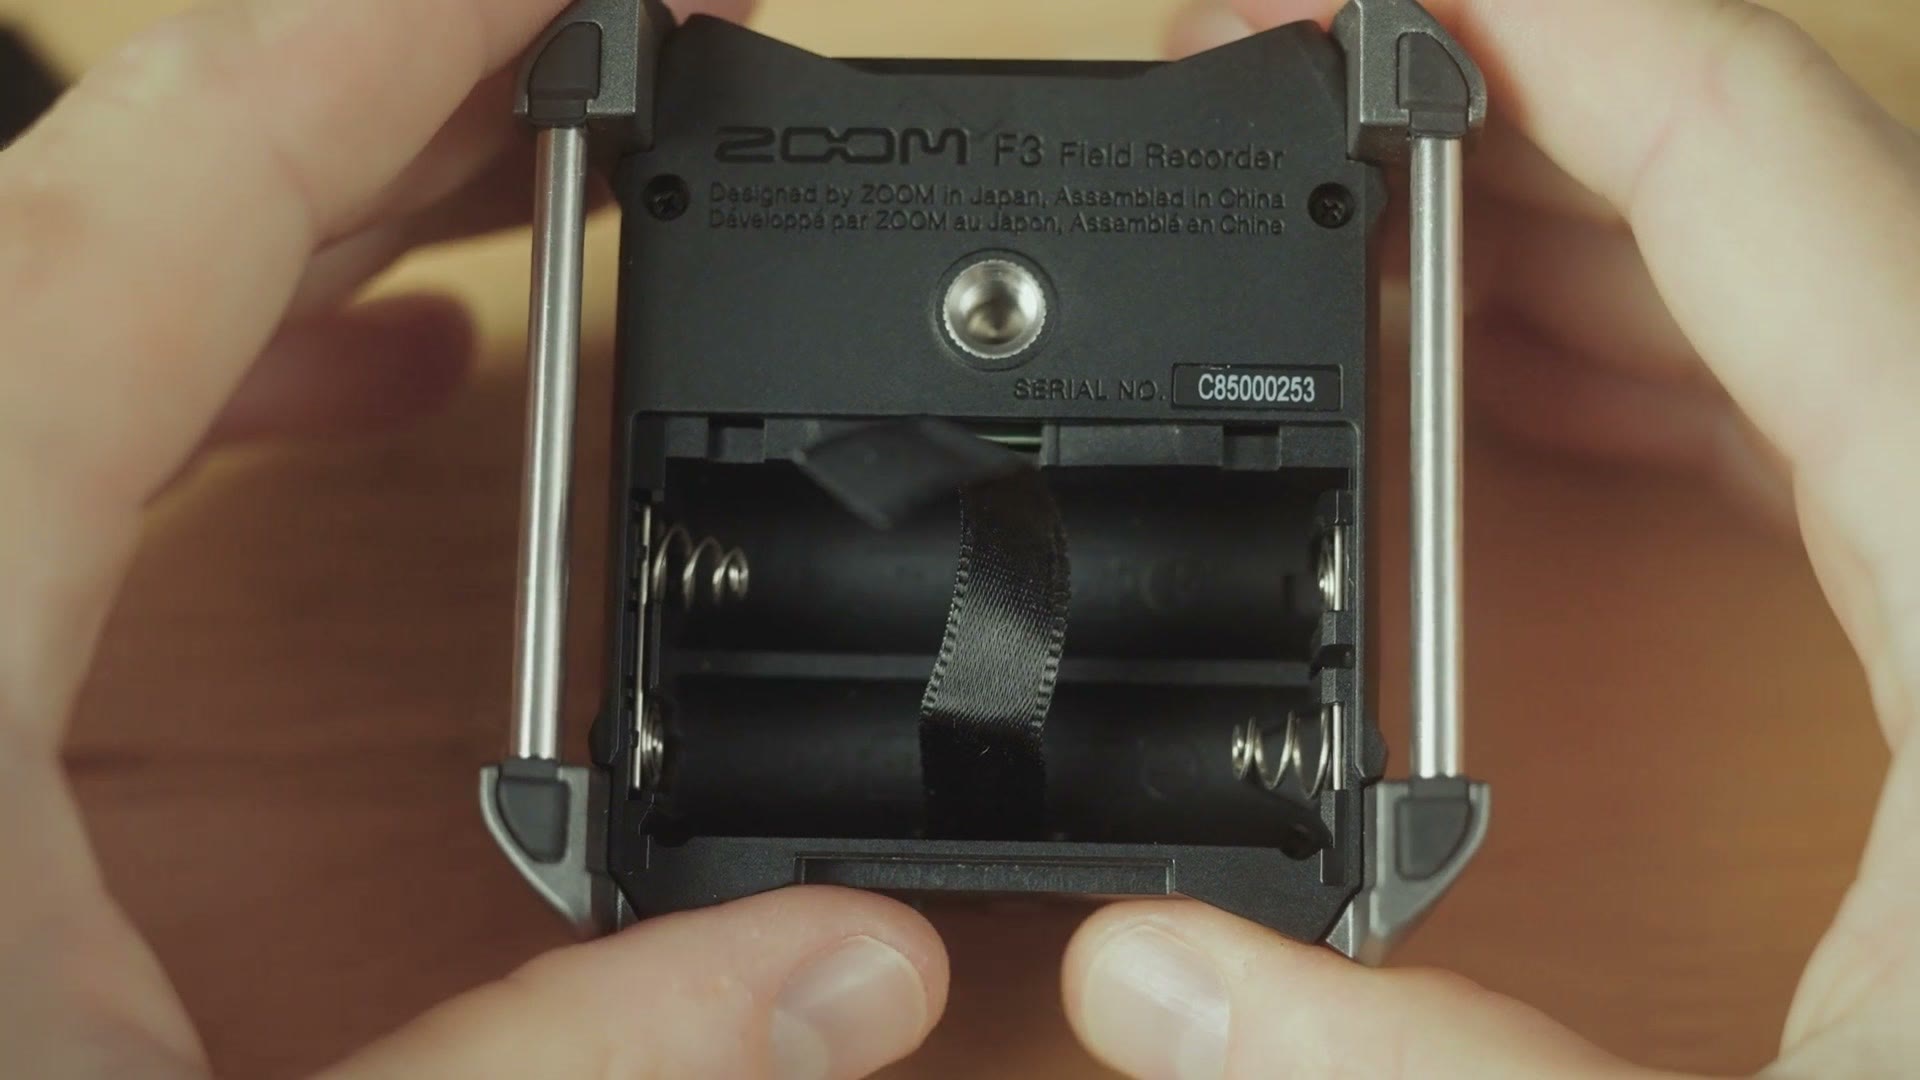
You’re also going to want to put a memory card in the recorder. The F3 can handle memory cards up to one terabyte in size.
Language, Time And Date
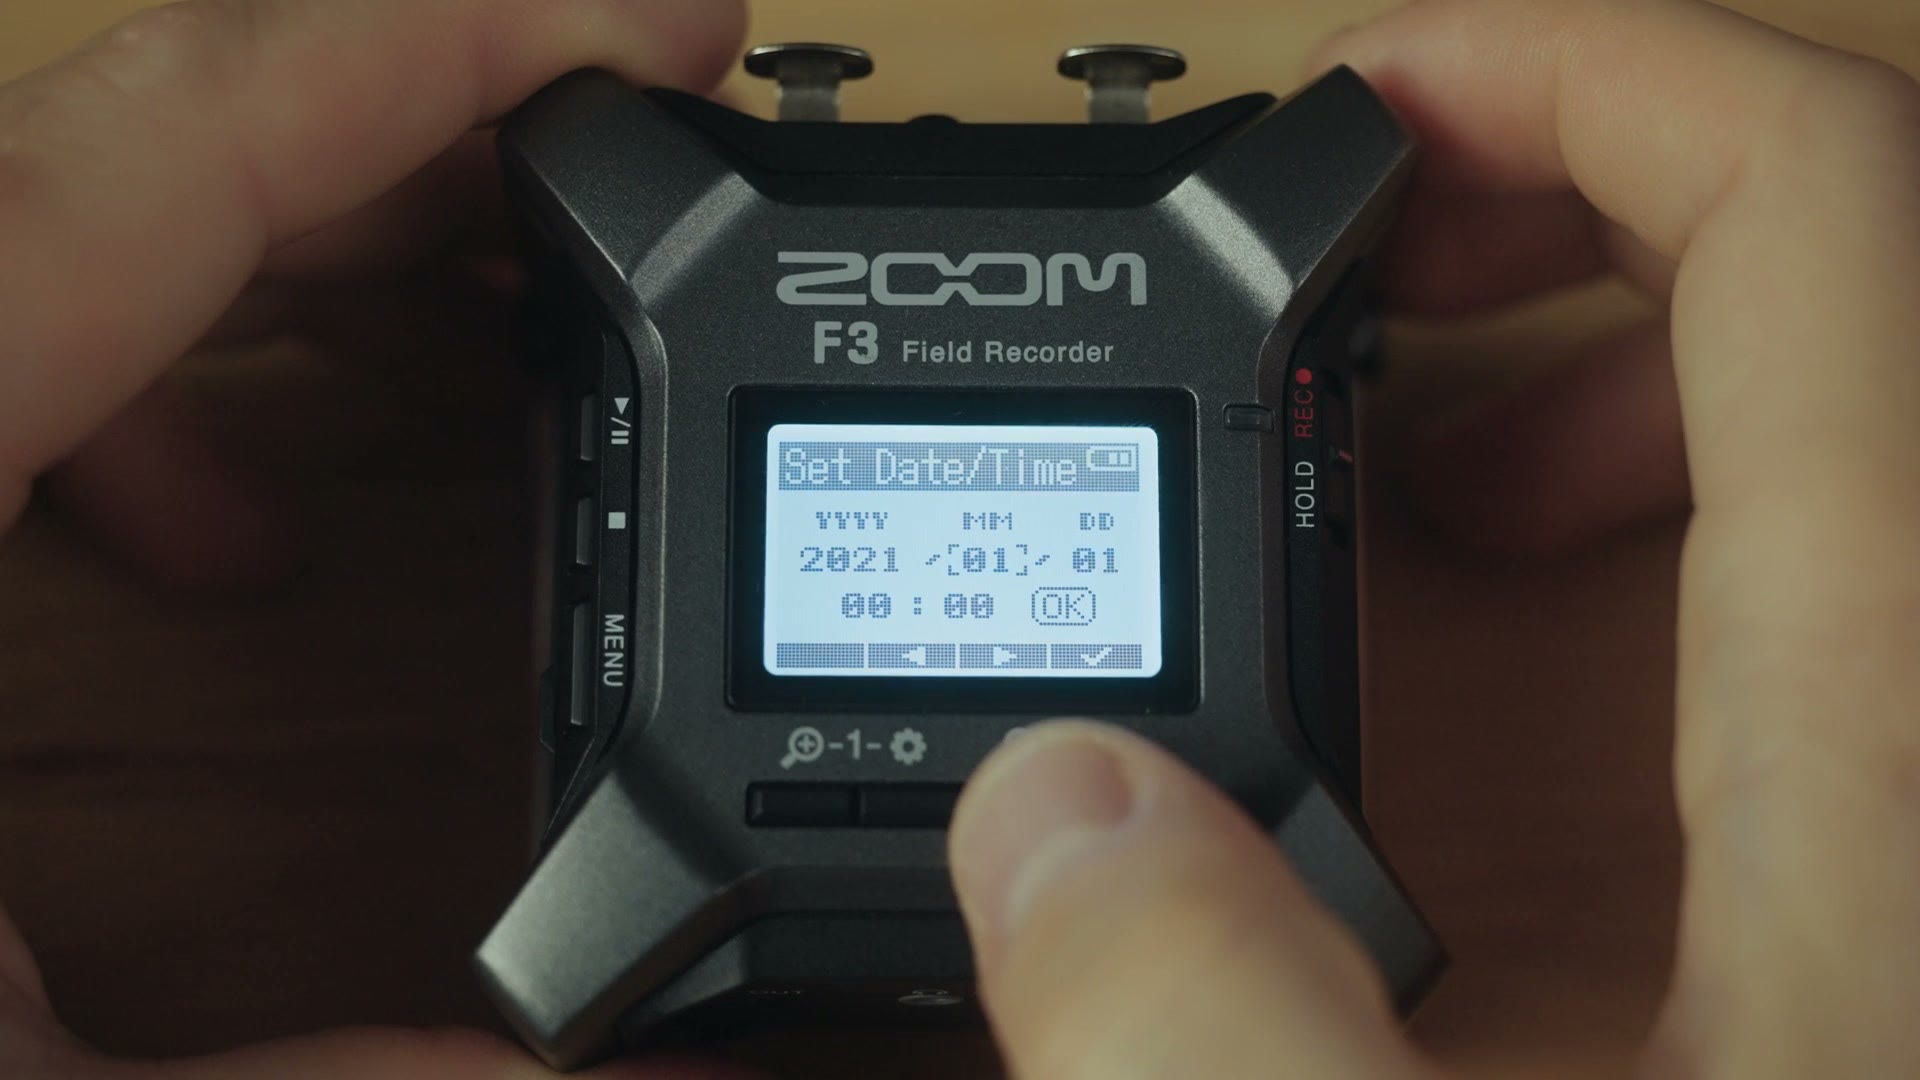
Next, power on the F3 and select the language you want to use as well as the time, that way the recorder will tell you the time accurately whenever you’re looking at your recorded audio files. This is very important. Do not skip this step.
Format The Card And Set Your Battery Type
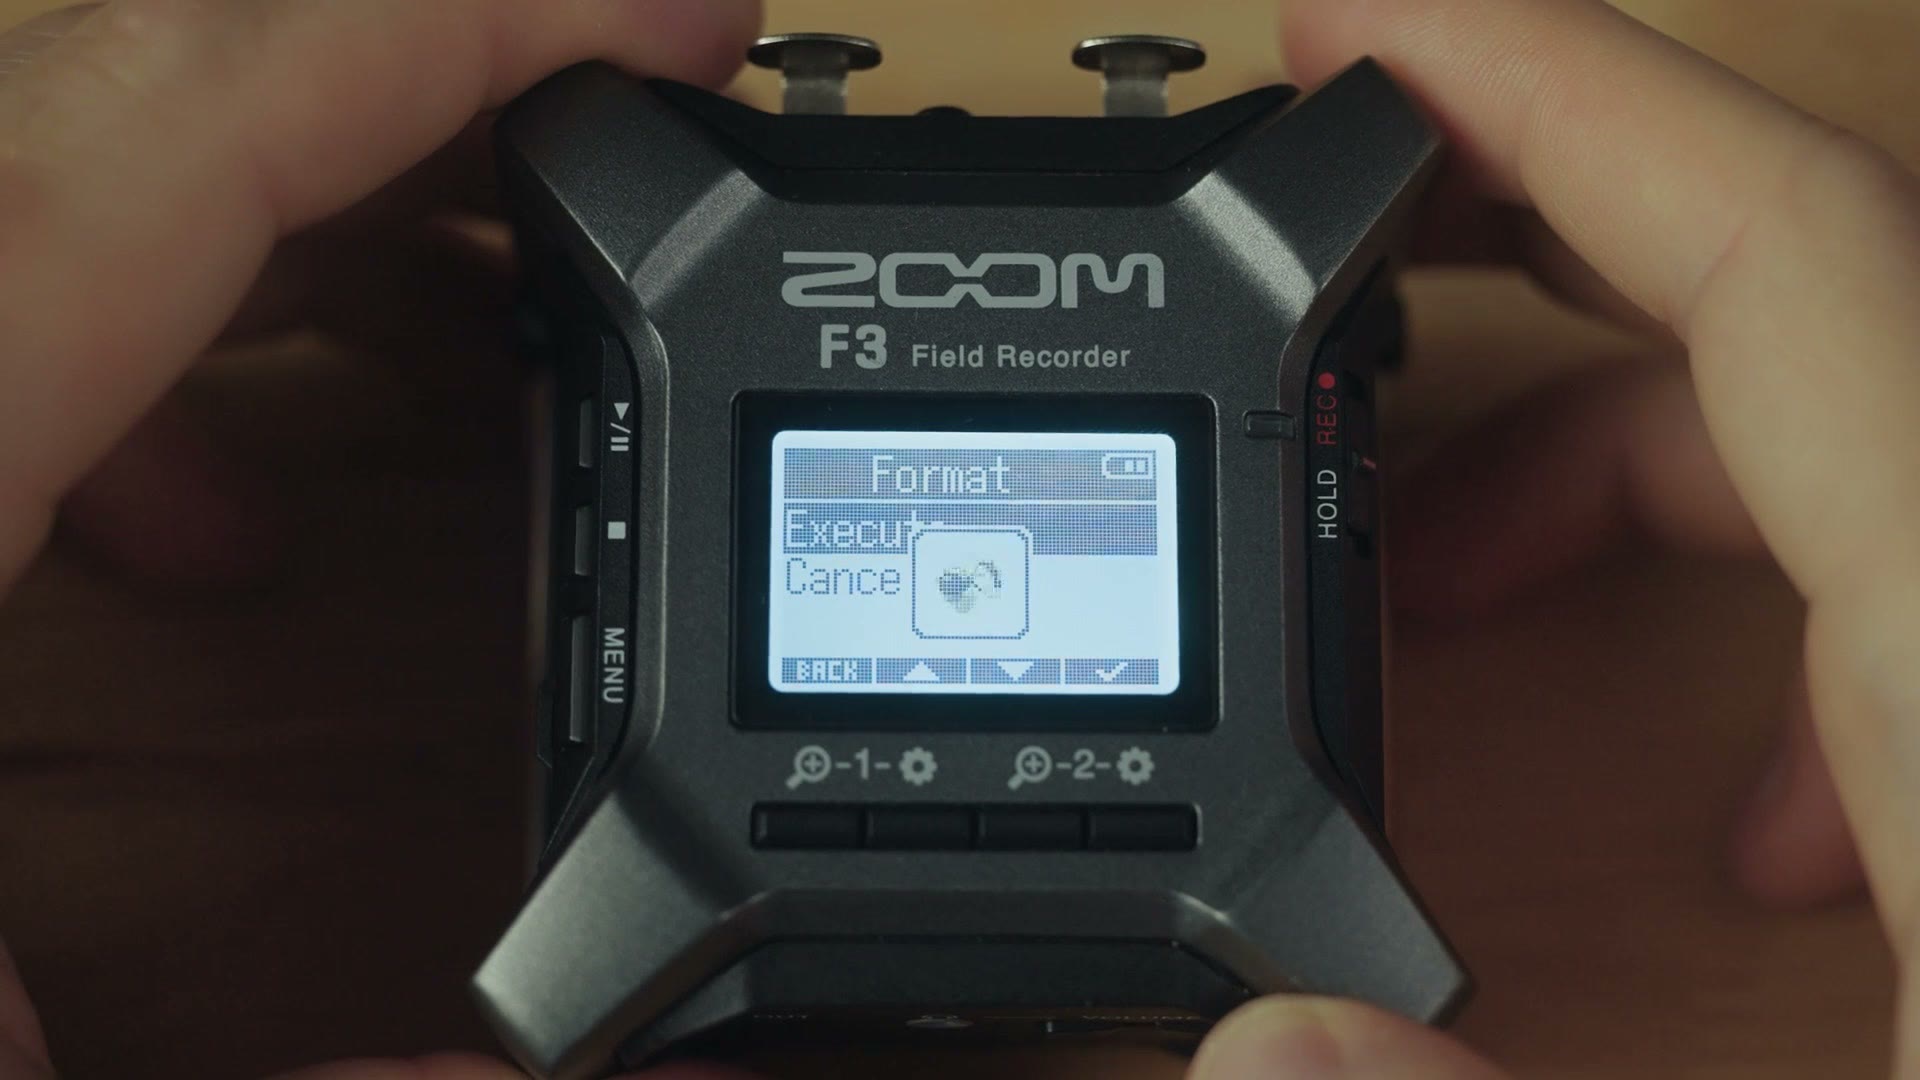
After that, let’s dive into the menu. Go to System, then SD Card, and format the memory card so that all the files are deleted and the card is ready to be used in the recorder.
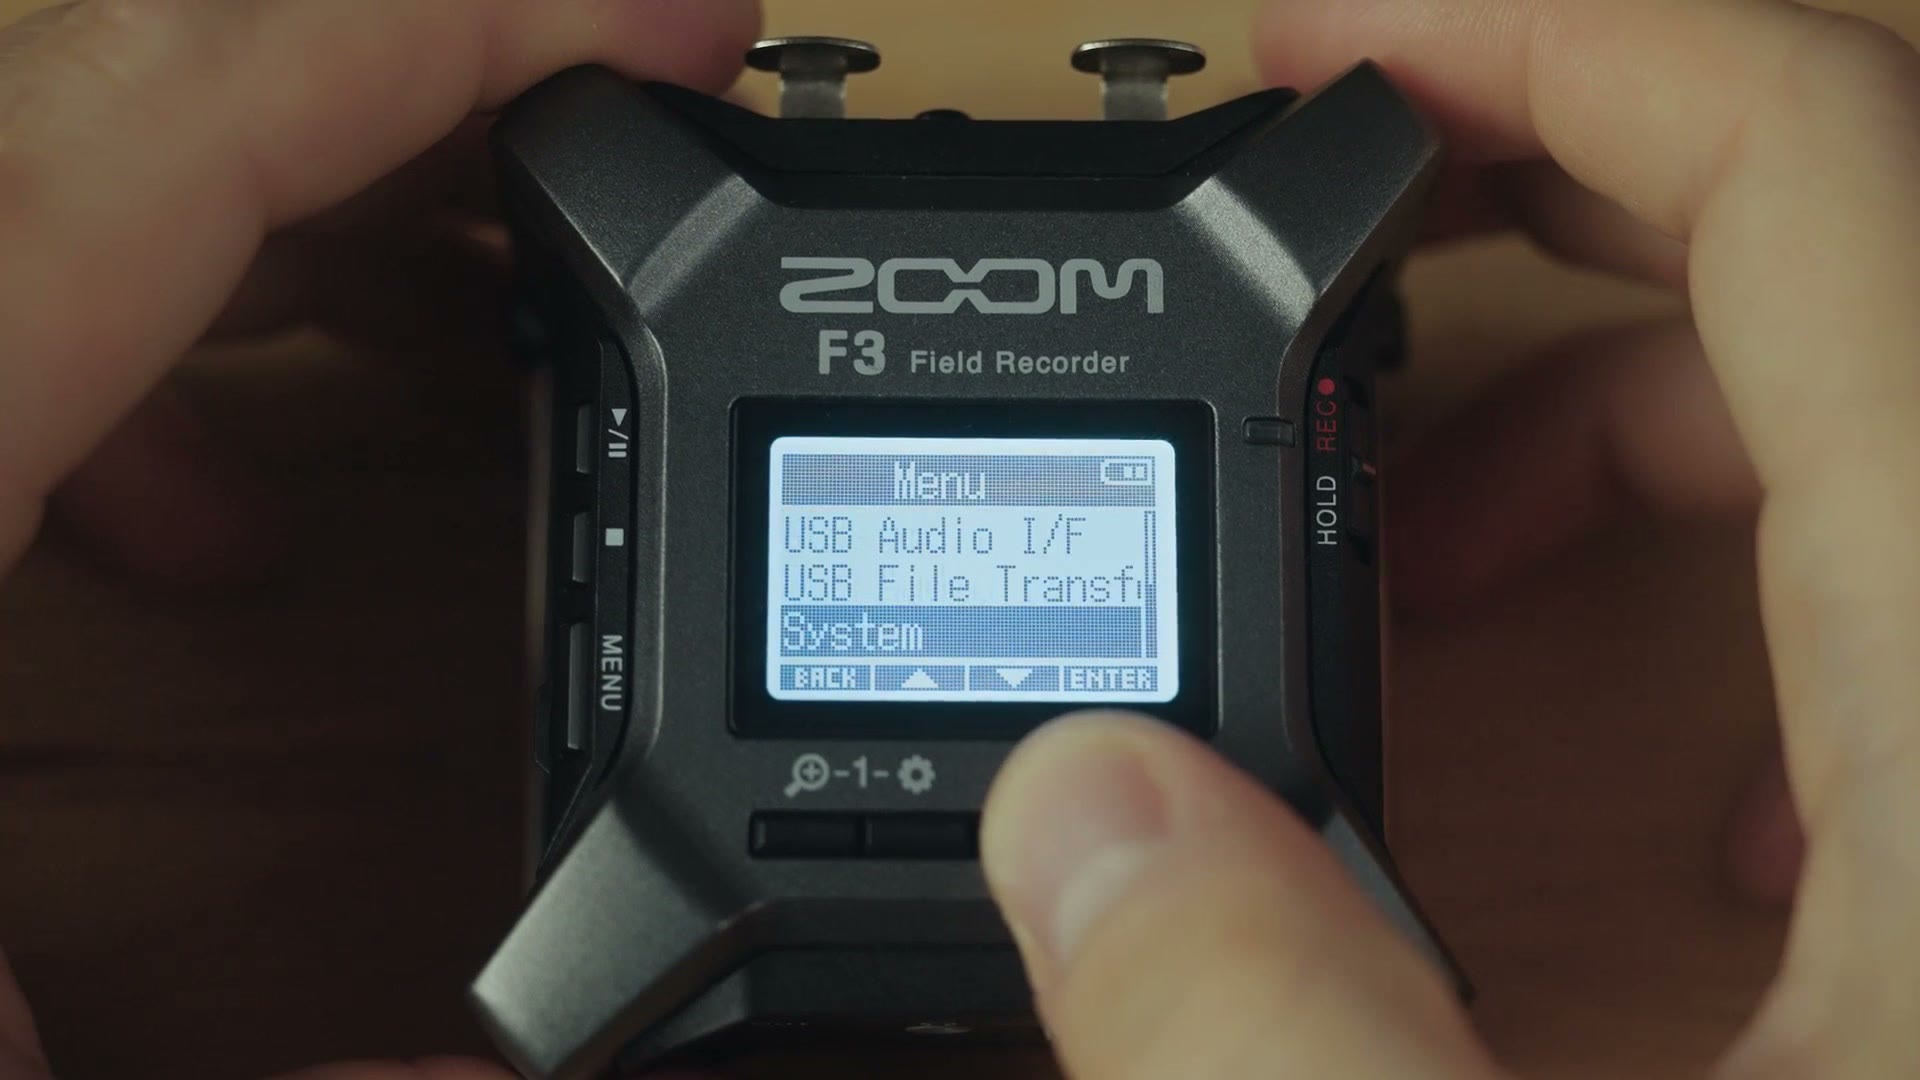
Back out one menu level and go to Power, then Battery Type, and you’re going to want to set that to Lithium if you’re using lithium batteries like I recommended. Alternatively you can select Ni-MH for rechargeables or Alkaline.
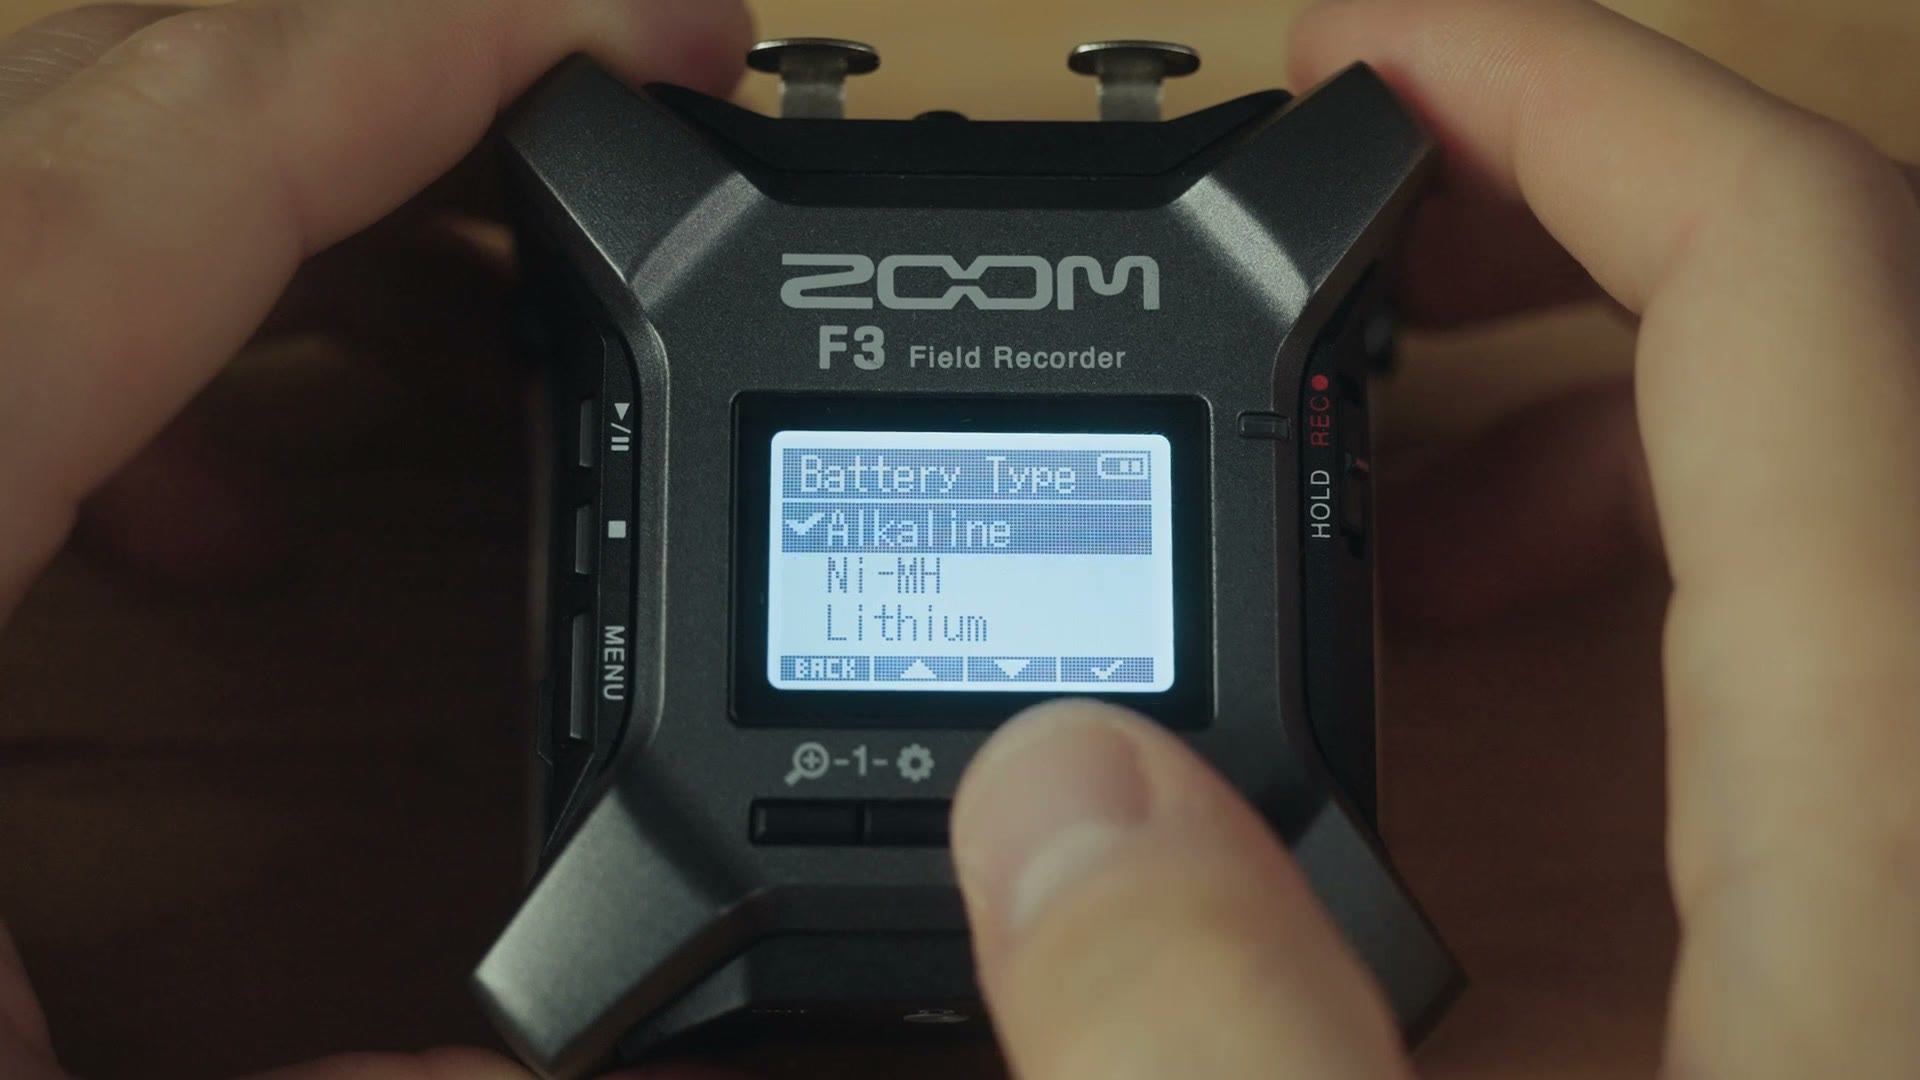
Make sure you set this properly, otherwise the recorder will not accurately tell you how much battery life is remaining, and you’ll be in trouble.
Turn On Your Input
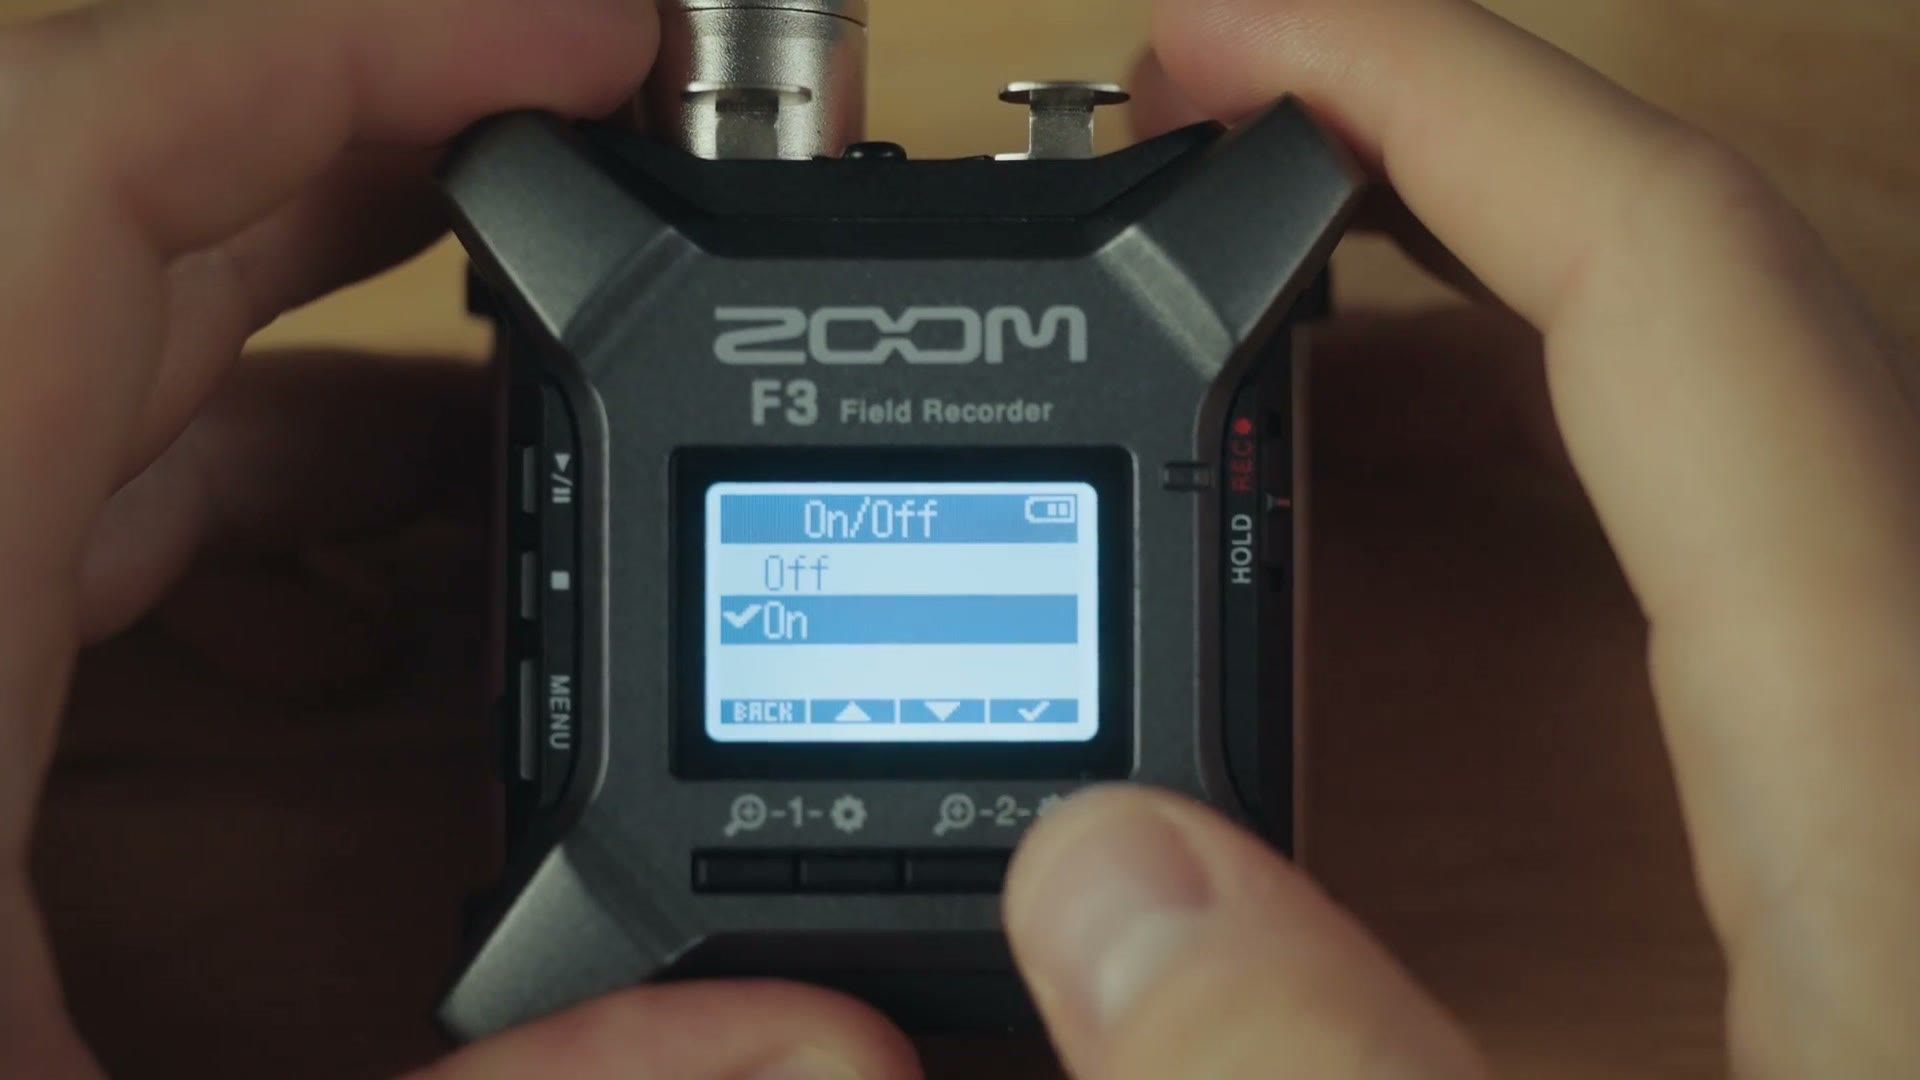
Backing out of that menu now and connecting an XLR cable to the recorder. In my case I’m going to connect it to the left input, and then we need to enable that audio input by pressing the settings gear button underneath it, setting Input 1 to On, and pressing the checkbox.
The Source Setting, Which Is The Important One
Next, move down to the Source setting, and this is arguably the most important setting on this recorder. You are going to need to select whether you’re recording from something that requires mic or line level input, and whether that input requires phantom power.
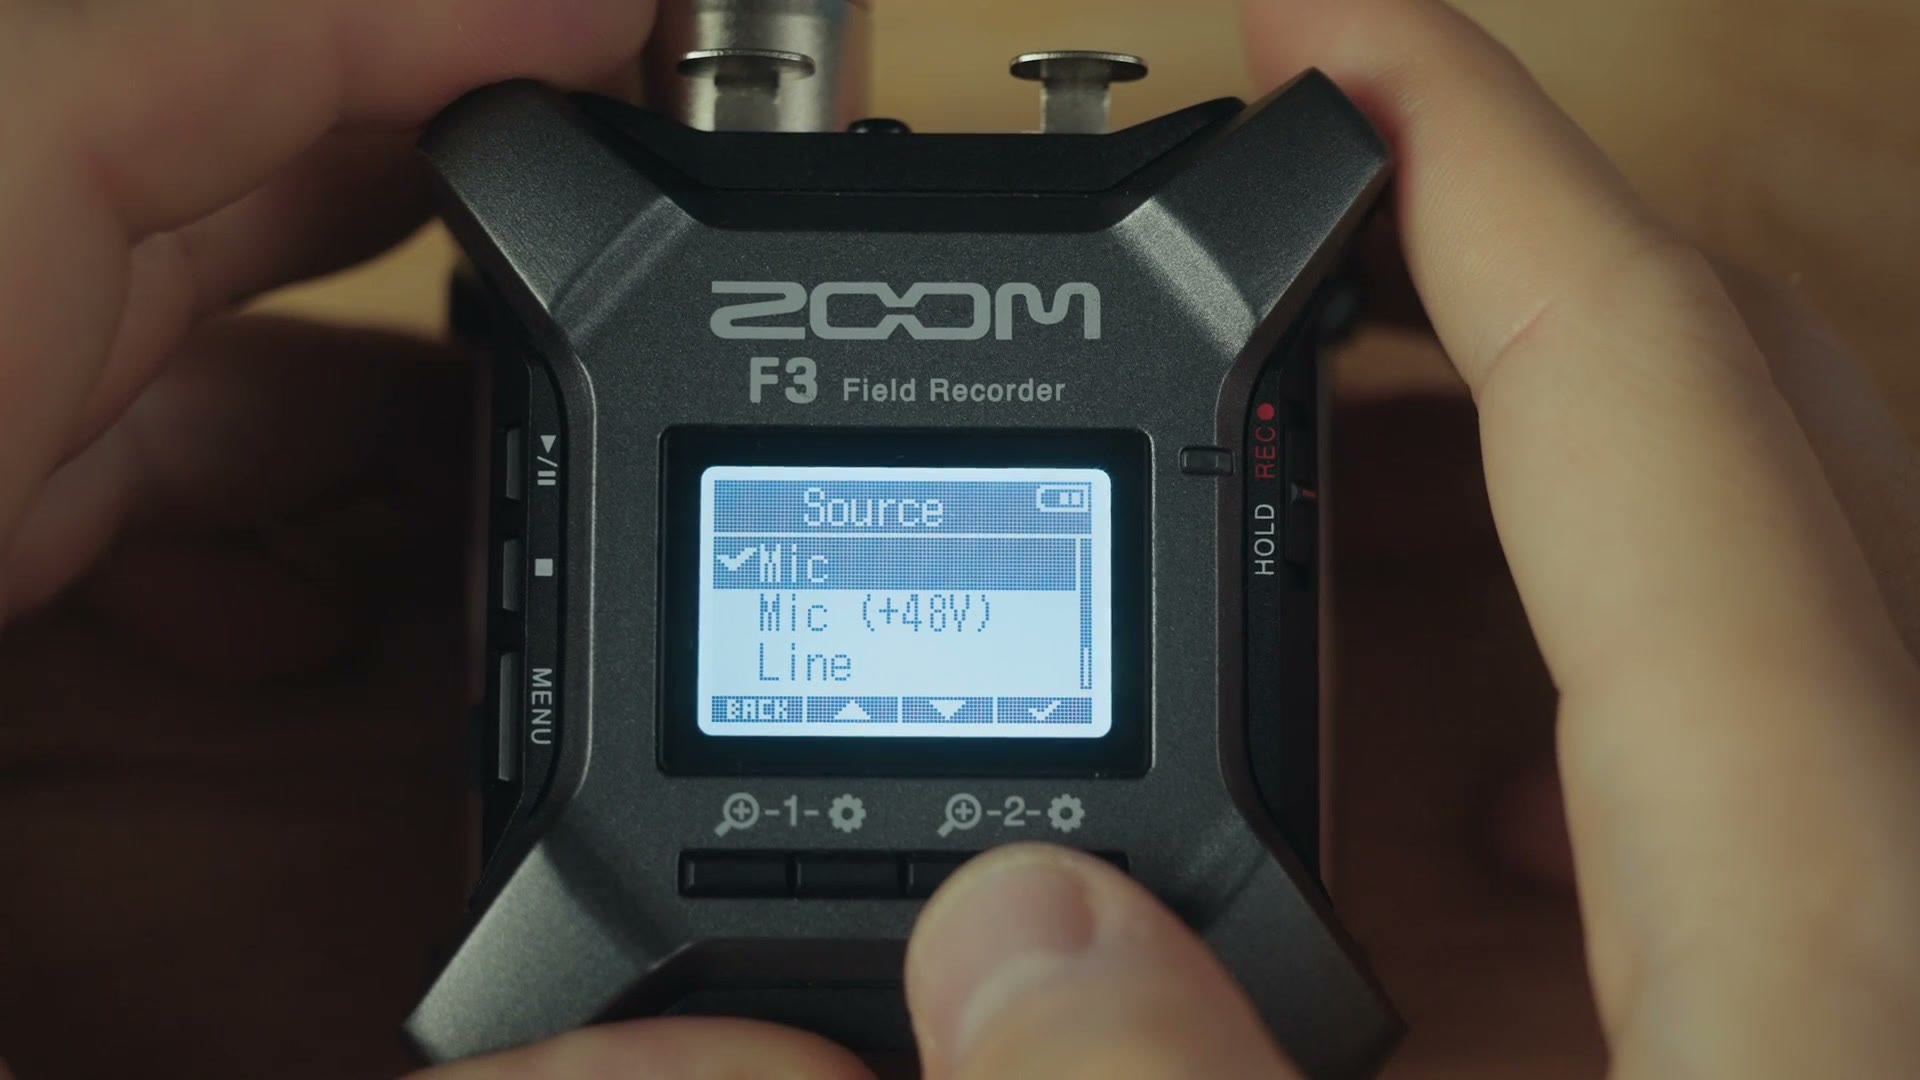
If you’re confused by what all of that means, here’s a simple way to think about it.
If you are plugging into a soundboard, say to record audio at a wedding or a conference, you are most likely going to want to choose Mic, and not Mic (+48V), because that 48V setting enables phantom power, and enabling phantom power on a device that does not need it could damage the equipment. And that would be bad. Side note, V stands for volts, so 48 volts is what we’re talking about here.
Alternatively, if you’re plugging into the back of a speaker, because maybe the soundboard doesn’t have an output but you find one on the back of a speaker you can use, you’re most likely going to want to select Line. Audio coming into the recorder at line level is usually much louder, and by telling the F3 that it’s connected to audio at line level, the recorder will adjust the gain lower to compensate and make sure your audio isn’t too loud. And again, just like with Mic (+48V), there’s a Line (+48V) option as well, and you aren’t going to want to select that one either if you’re plugging into the back of a speaker.
When You Actually Want Phantom Power
Which leads to you probably wondering when the heck you should use those +48V phantom power options. Well, you should use phantom power whenever you’re plugging a microphone directly into your Zoom F3. So for example, if you were using a shotgun microphone and you’re connecting it via an XLR cable into the F3, the odds are that your microphone is going to require power, also known as phantom power. In that case you’re going to want to select mic level with phantom power.
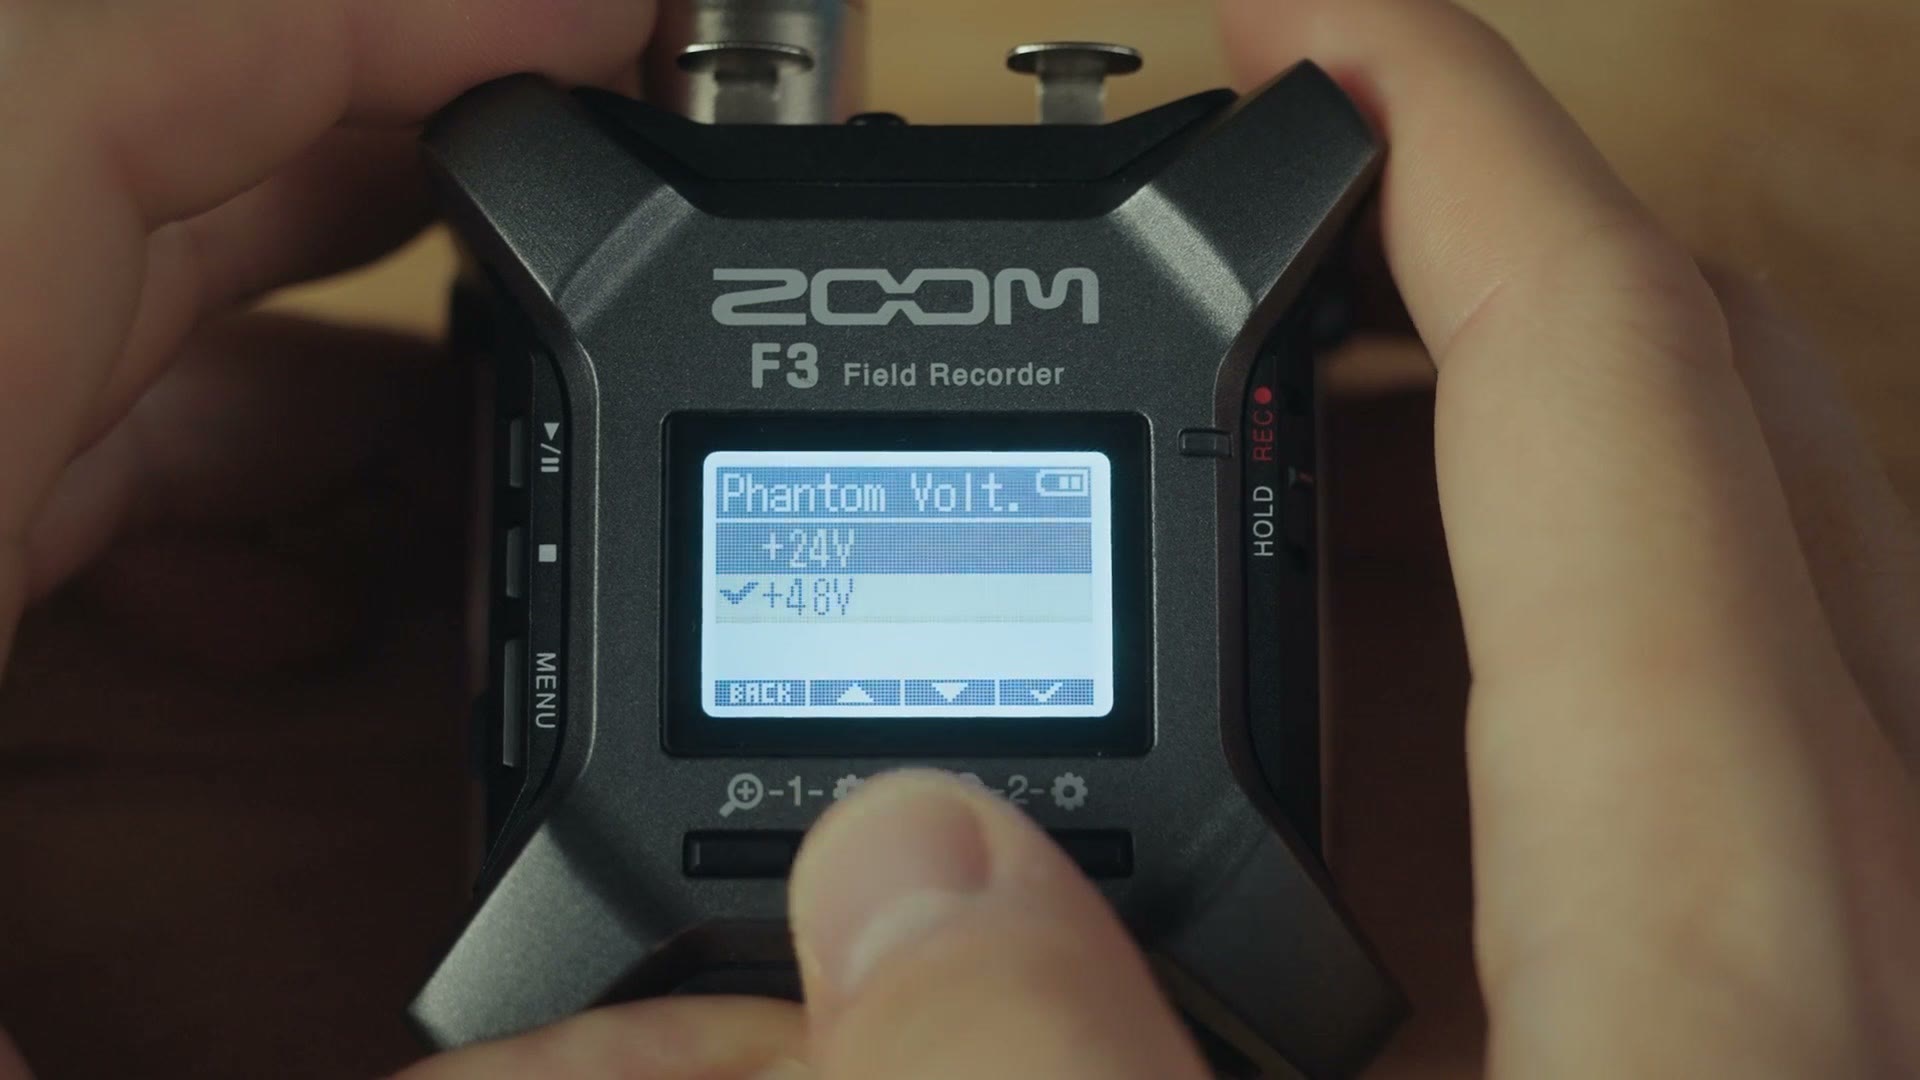
Most microphones are going to require 48 volts of phantom power at mic level, so by default you should be good to go just selecting Mic (+48V). But if your microphone is really loud, try the Line (+48V) option, or if your mic requires only 24 volts of phantom power, which some do depending on the microphone, you can back out and select the Phantom Volt. menu and change that to +24V if you need to.
There Is No Gain To Set
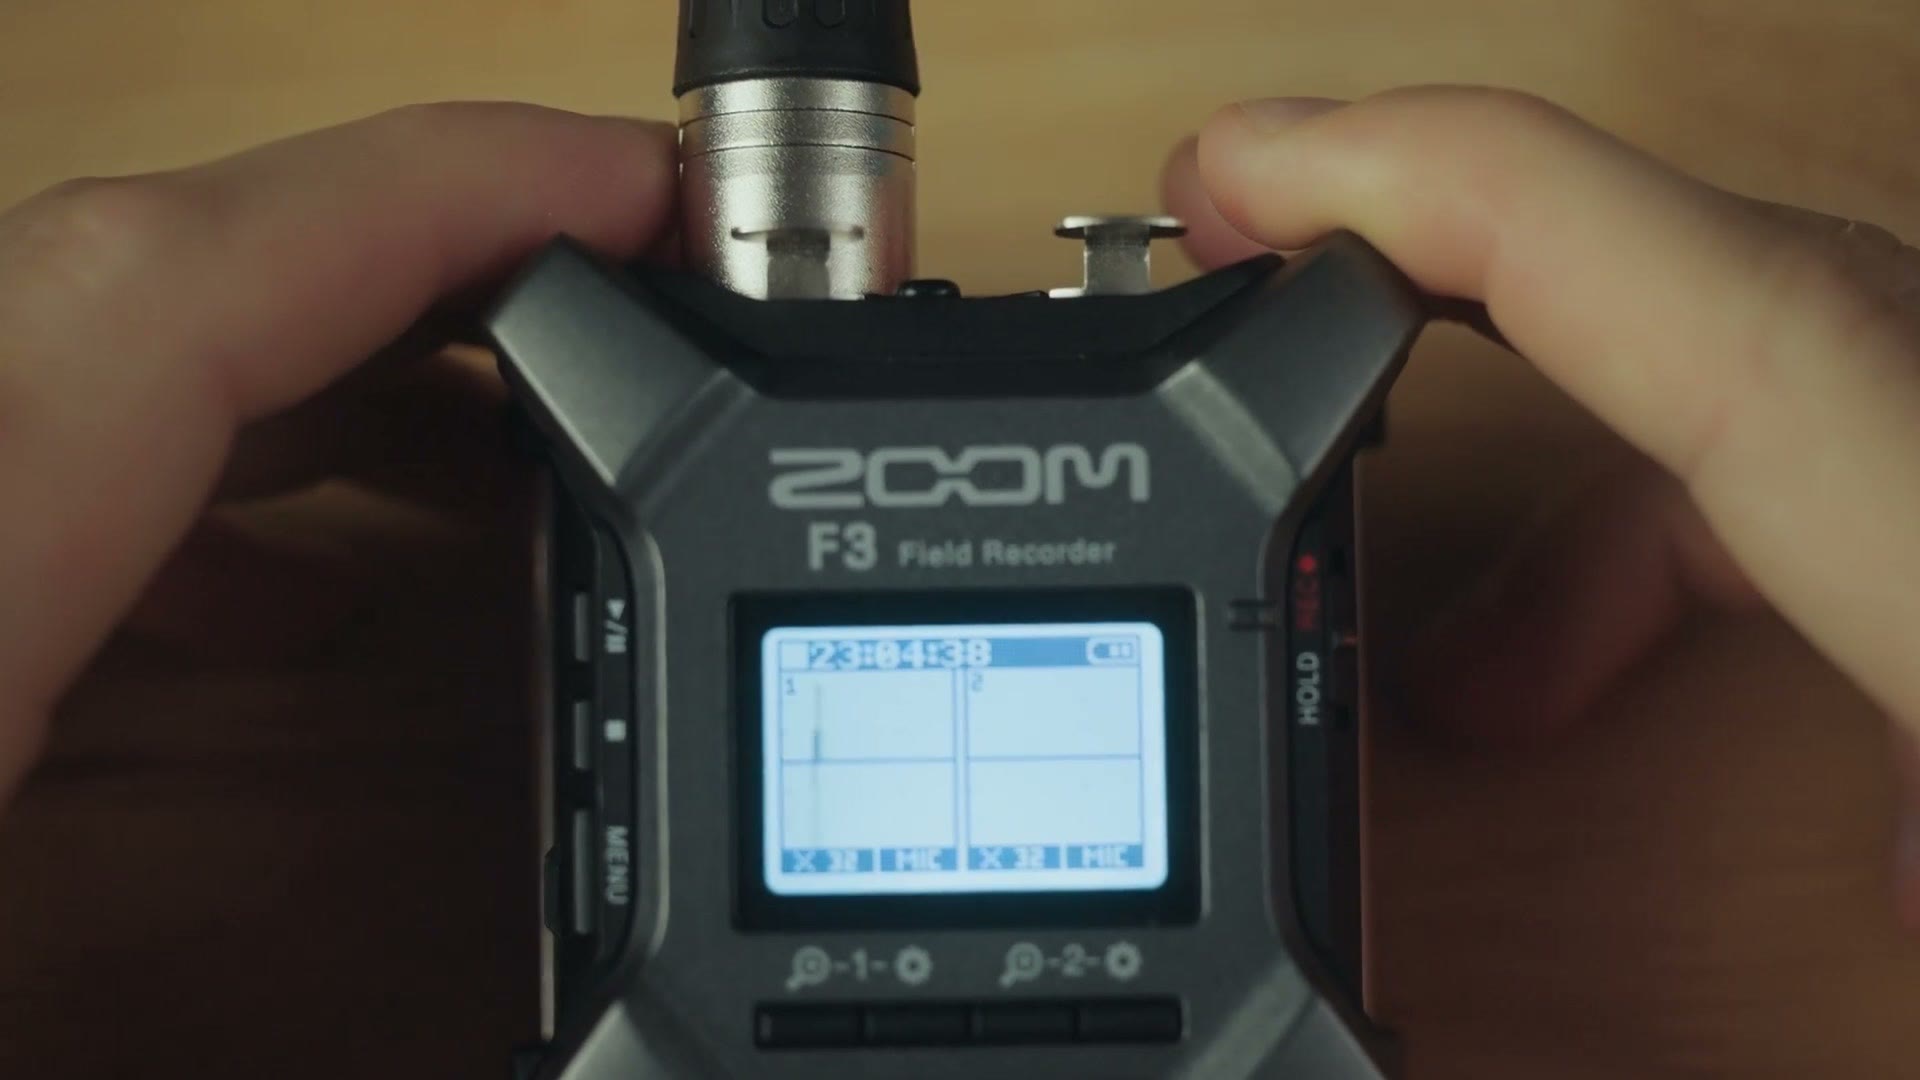
Phantom power out of the way, let’s go back out to the main F3 screen. What I want you to notice here is that whenever I begin speaking, you’re going to see a waveform preview on the screen. This is a visual way for the F3 to tell you it’s picking up audio.
Speaking of which, Zoom F3 – Easy To Use & Powerful Audio Recorder For Wedding Filmmaking (Review) and Zoom F3 vs Tascam X8 – Which is best for Wedding Filmmakers? are worth a look too.
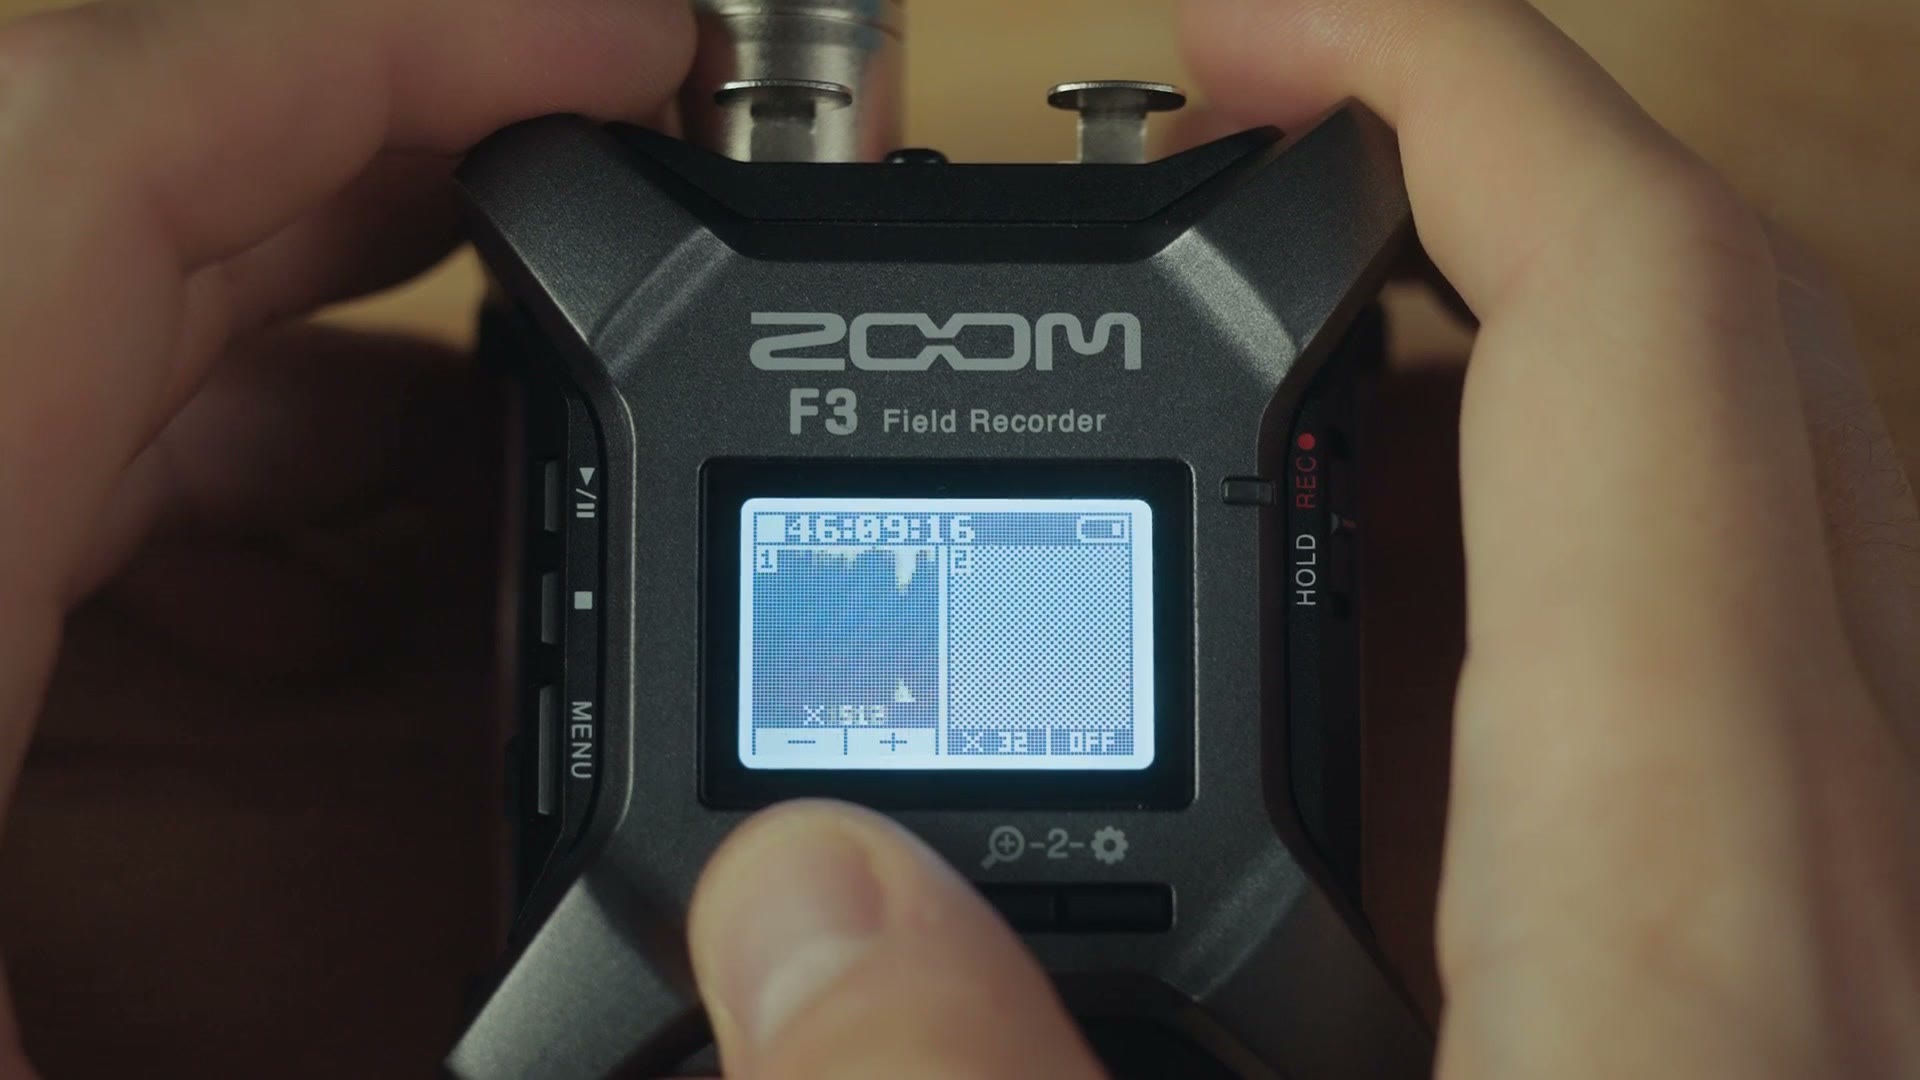
Here’s where things get crazy, because with other audio recorders you would need to adjust the gain level your microphone is recording at to make sure the audio isn’t too loud or too quiet. But because the F3 is recording in 32-bit float, you do not actually need to do this. The recorder handles all of that automatically. You can just press record and you’re good to go.
Zooming The Waveform
To be clear, you can change how large the waveforms appear by pressing the plus magnifying glass icon to zoom in, or the minus magnifying glass icon to zoom out.
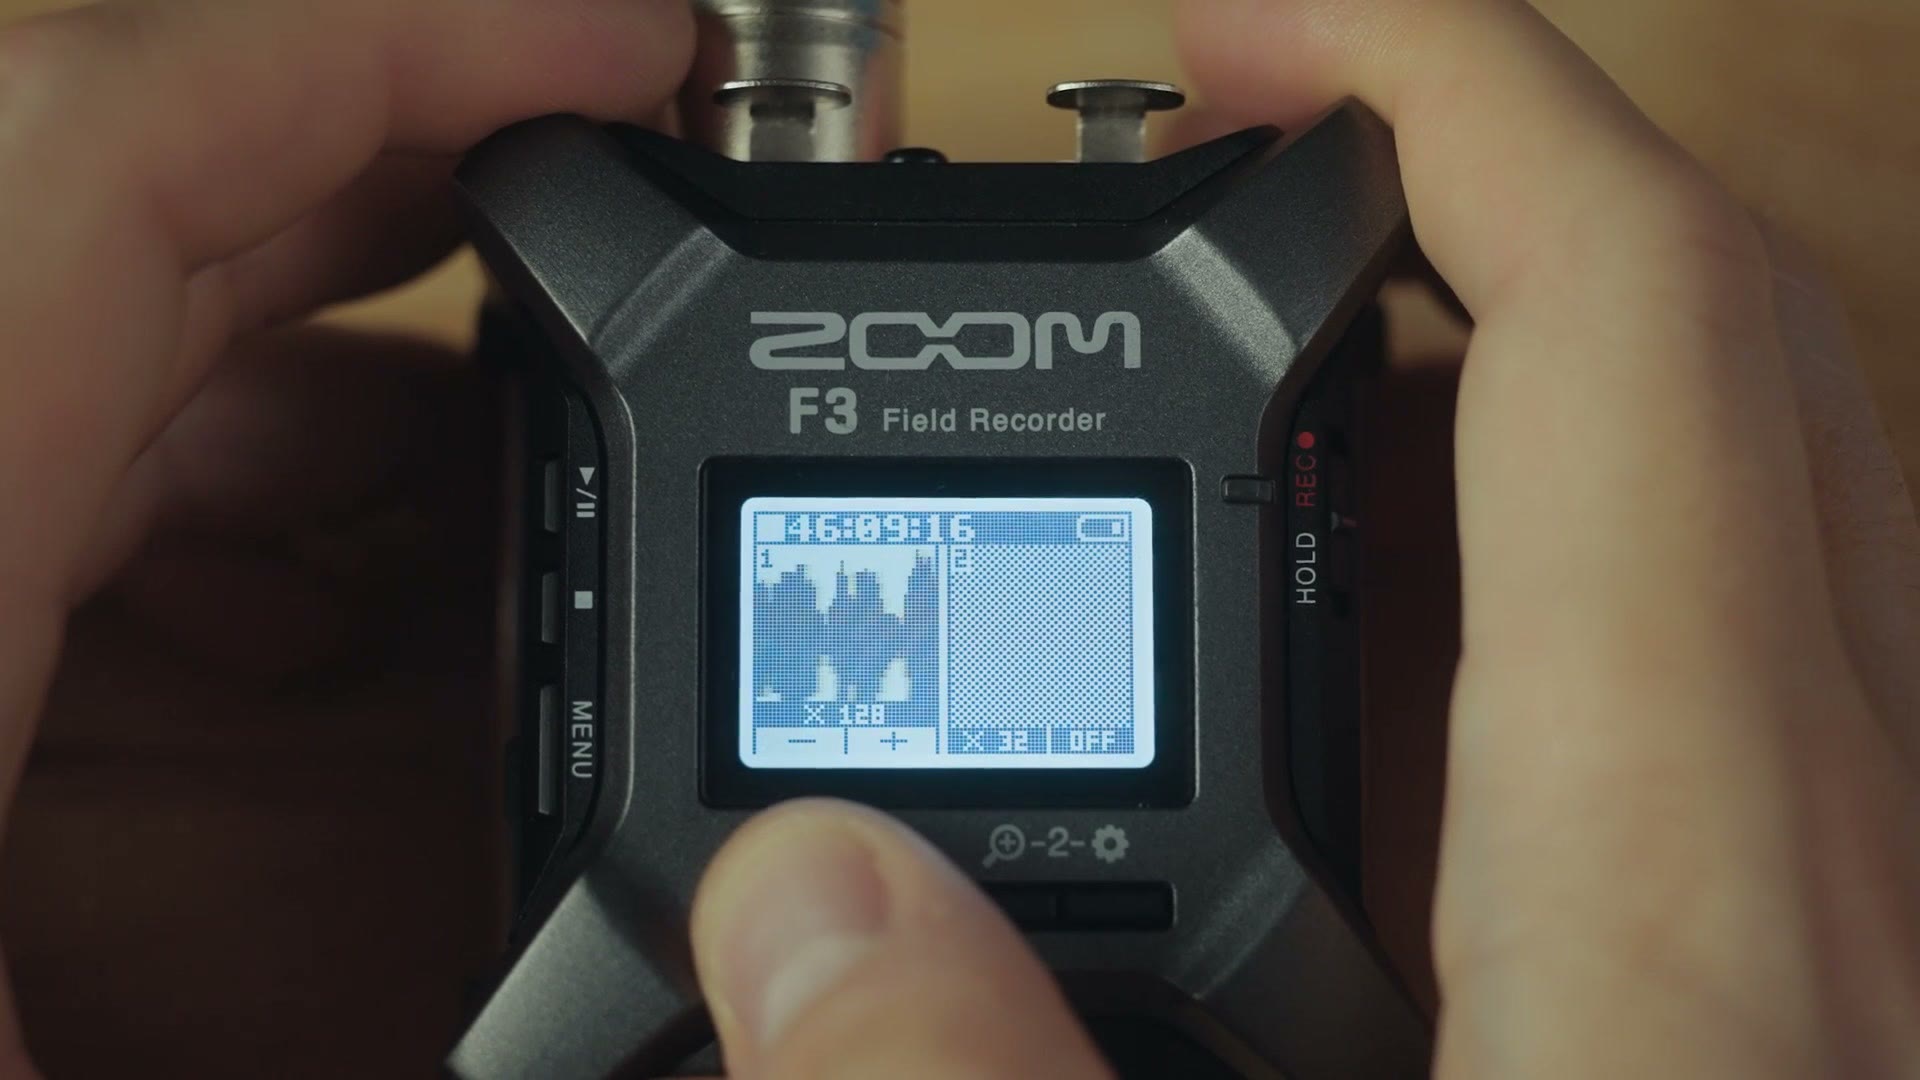
But this is not going to change the gain level of the audio that gets recorded internally into the F3, because that gain is handled automatically. That said, if you are plugging a cable into the line output of the F3, zooming in and out with those magnifying glasses will change the gain of the audio coming out of that port.
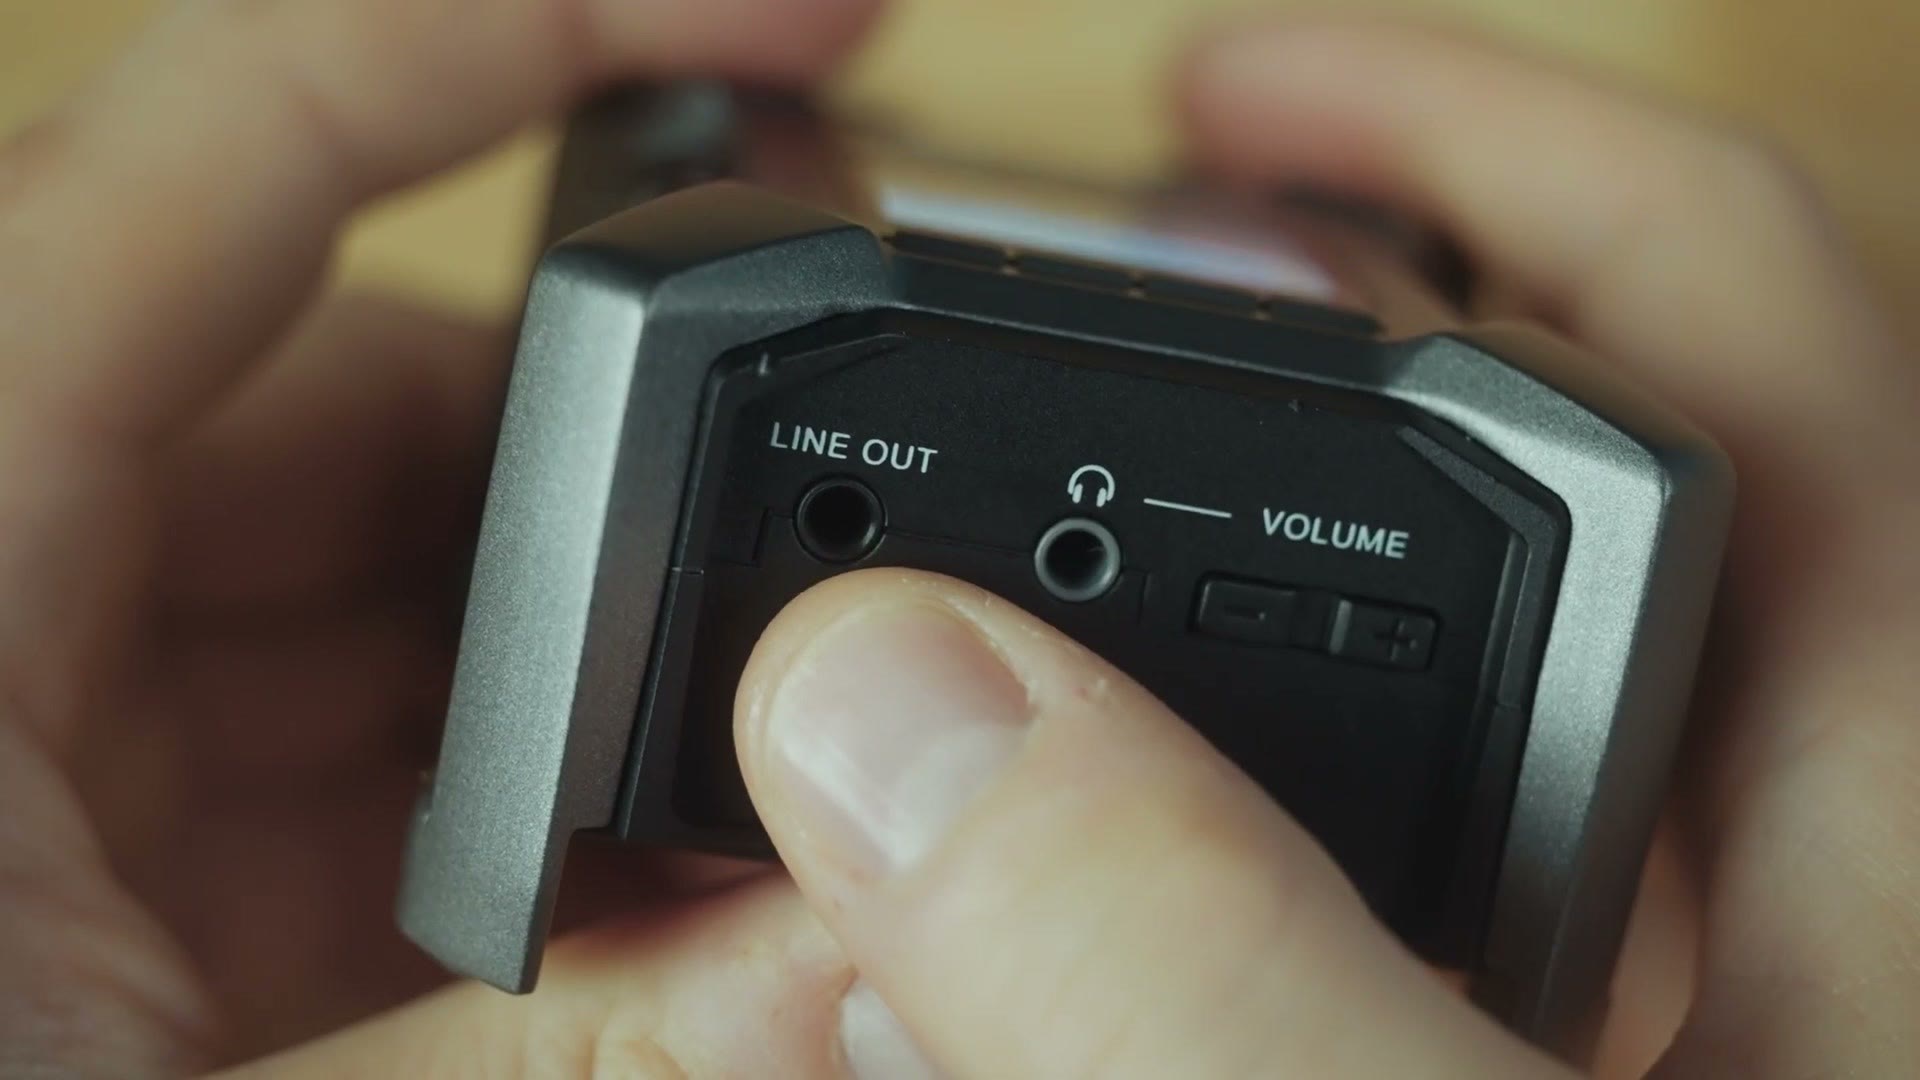
Then you can press record by sliding up the record slider, and know that you’re recording very high quality audio with your Zoom F3. Now that you have all these settings dialed in, the F3 is an extremely easy recorder to use, and it will most likely only require you to plug in an audio cable and press record to start getting great audio.
Where To Get The Zoom F3
- Buy the Zoom F3 at Amazon
- Buy the Zoom F3 at B&H
- Buy the lithium batteries I recommend for it at Amazon
Speaking of easy to use, I’ve put together an easy to use gear guide that shows you all of the gear I recommend for filmmaking. If you want to see the audio recorders I recommend alongside the Zoom F3, the cables I recommend, adapters and all of it, I highly recommend downloading it. The guide is completely free and I know it will be helpful to you.
Thanks To Musicbed
Look, music is arguably the most important part of any wedding film edit. Music is the driver of the emotion in a wedding film, and it brings weight to all of the spoken audio and the visuals. Musicbed is the platform I’ve trusted to find creativity inspiring, high quality songs for my videos for over a decade, and with the largest collection of highly curated music, that means you’re always going to have new songs from new artists to choose from.
It may sound crazy, but you’re not going to find the one perfect song to use in your film on Musicbed. You’re going to find five of them, and then the hardest part is going to be deciding which one you want to use, because they’re all so good. It’s a good problem to have.
So no matter whether you’re looking for a soft ambient track to lay under footage of a bride putting on her wedding dress, an epic orchestral number as they walk down the aisle, or a powerful electronic song for a wild reception, Musicbed has the range and the depth of music you’ve been looking for. You can make the switch today and see how it can elevate the quality of your films with a 14 day free trial.
Thanks so much for reading, and have a great day!