
Today I’m going to share with you the best settings for the Tascam DR-10L Pro audio recorder to record high quality audio of people speaking.
To save you time, I’ve also created a PDF cheat sheet that lists all of the settings as well as what they do, so you can reference it later. You can download the DR-10L Pro cheat sheet for free.
And here’s the recorder itself, if you don’t have one yet:
- Tascam DR-10L Pro at B&H, Amazon, Adorama and Sweetwater
- Bluetooth adapter for the DR-10L Pro at B&H
- SD cards I recommend for the DR-10L Pro
- Batteries I recommend for the DR-10L Pro
Sponsor: Big Sale At MotionVFX

If you’ve been looking for plugins for Final Cut, DaVinci Resolve or Premiere Pro, MotionVFX has everything you need to take your videos to the next level. For the holidays they’re running a sale called Black Weeks, where you get 30% off any of their products with the coupon code 30BLACK. Each week of the sale they pick four select plugins you can get for 50% off, and if you spend at least $100 you get their mRoutine plugin for free.
With that, turn on your recorder and hit the menu button.
Recording Level
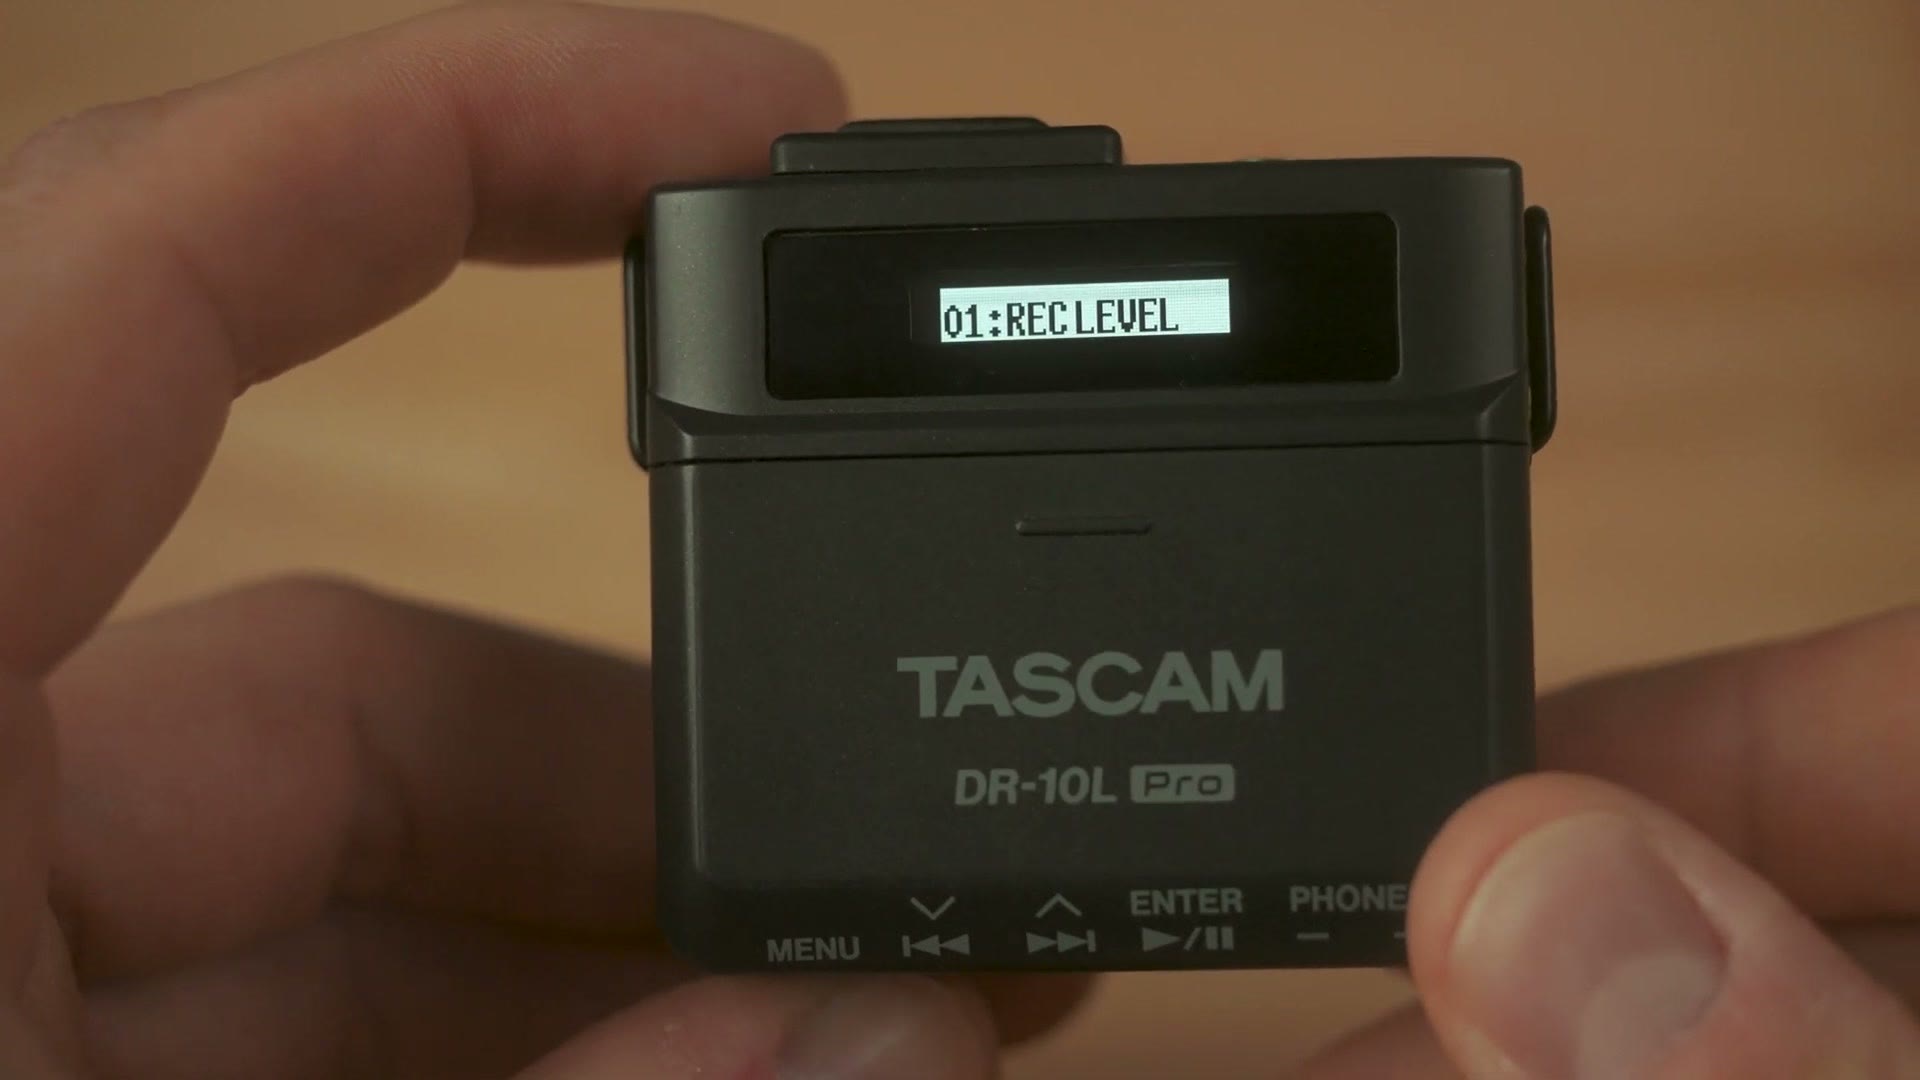
This is where you set your gain, for how loudly the recorder will be recording.
In the past with the original DR-10L, this setting was very important, because you do not want your recorder to peak, since it was essentially impossible to recover peaked audio and you could end up with ruined audio of somebody speaking loudly into the microphone.
Thankfully, because the DR-10L Pro can record 32-bit float audio, this is far less of an issue, because even if the audio is very loud you can bring the levels down without them peaking in your editing software.
Because of that, I recommend setting your recording level to HIGH-MID, which is almost the loudest setting the recorder can do, but not quite. That should give you audio that sounds great while still being easy to tweak if the person wearing the recorder is a bit too loud or a bit too quiet.
Low Cut
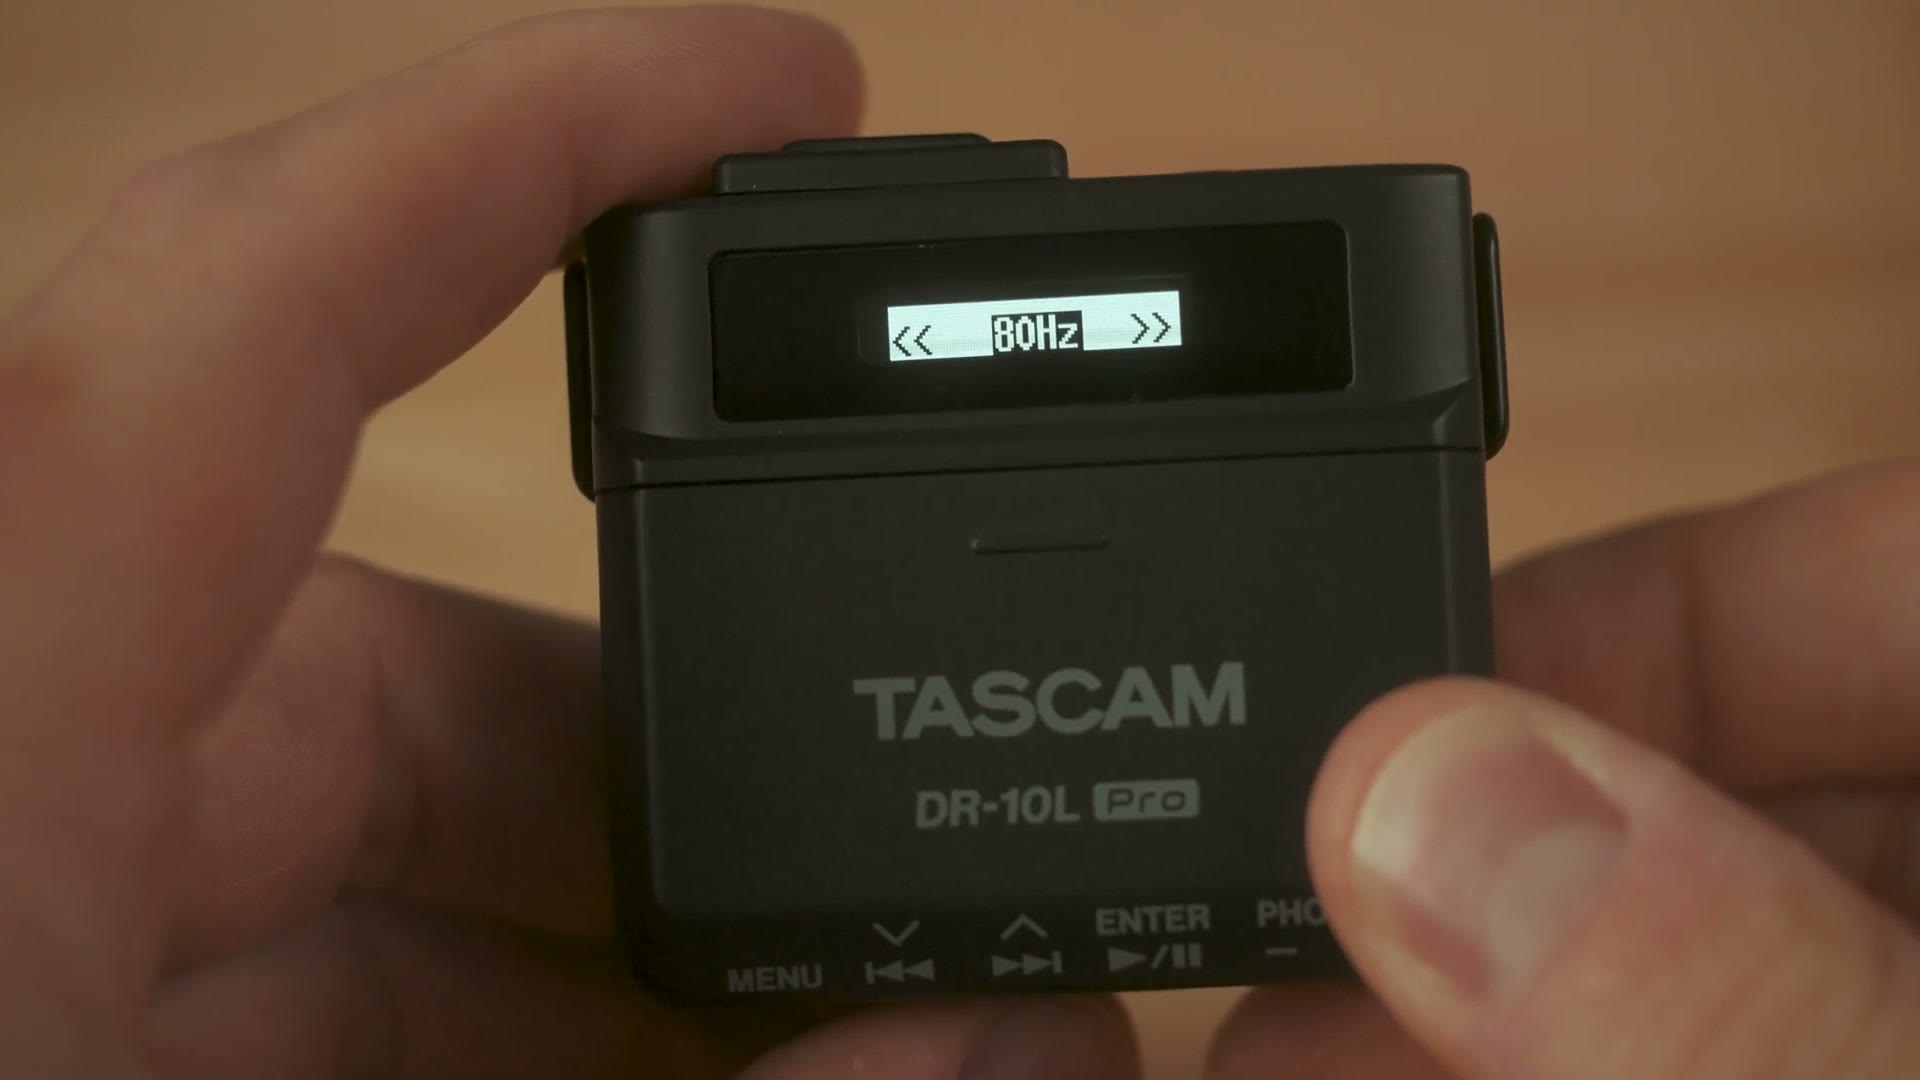
Menu 2 gives you options like 40Hz, 80Hz, 120Hz and 220Hz. If you enable this, it essentially causes the recorder not to record certain deeper pitched frequencies.
If you have a deeper voice you may be thinking, no, that’s going to cut out some of my audio. It’s not like that. Low cut is useful if you’re recording on a very windy day and you want the recorder to remove some of that super low, deep wind rumble.
Personally though, I find you can achieve the same effect with tools in your editing software, so I do not recommend having low cut enabled. Keep it off.
Limiter
Menu 3 is the limiter, and this is a setting that used to be more useful before the advent of 32-bit float recording, because a limiter helps prevent your audio from peaking.
But because the DR-10L Pro records 32-bit float, even if your audio does peak you can lower the gain in your editing software and recover what clipped. So my recommendation is to keep this off.
Auto Level
Menu 4 is auto level. In the past, with the previous DR-10L, I recommended having this enabled, because it would keep your audio pushing toward around negative three decibels all the time, which made sure things were loud enough.
That said, because this one records 32-bit float and you can lower it if it’s too loud or bring it up if it’s too quiet without affecting quality, I recommend keeping auto level disabled.
Phase
Next is phase, which is a new setting on the DR-10L Pro, and it’s going to be very useful if you’re using a microphone other than the stock lav mic that comes with the recorder. Certain microphones and cables can sound better if they’re inverted, but that depends completely on the mic you’re using.
So if you’re just using the default stock mic that came with the DR-10L Pro, leave this set to default.
File Format
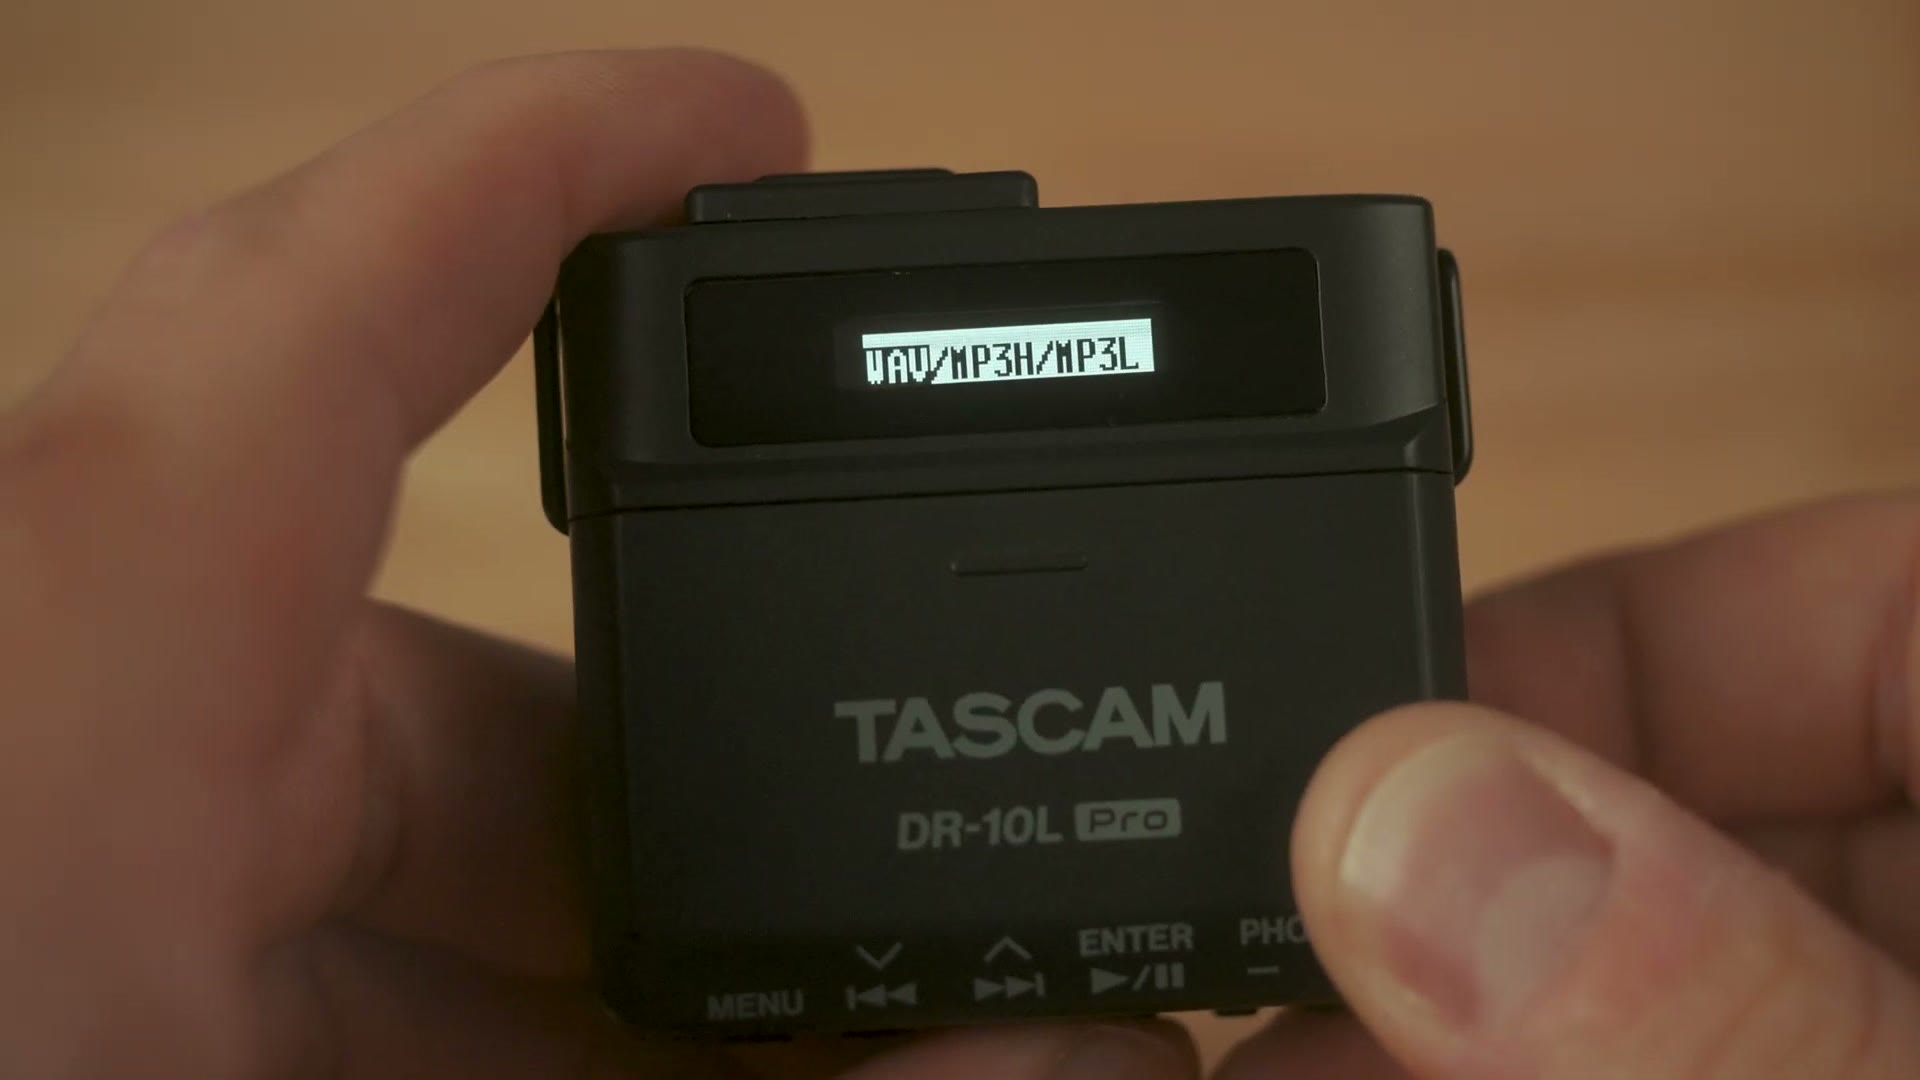
The DR-10L Pro gives you a few options here, including WAV, MP3 H and MP3 L. MP3 H stands for MP3 high bitrate, at 192 kilobits per second, while MP3 L is low bitrate at 128 kilobits per second. WAV is the highest quality audio you can record.
Every single time you record, I would recommend leaving this set to WAV.
File Type
For file type you have the option of either mono or poly, with mono being a mono recording and poly being a stereo format.
What’s important to remember is that even setting this recorder to poly, the same data is still going to be recorded to both the right and left channels. So it’s not true stereo as you may think of it with other recorders. This is really only going to make a difference in how your editing software handles the file. Personally I’ve always left mine set to mono and it works great.
Recording Format
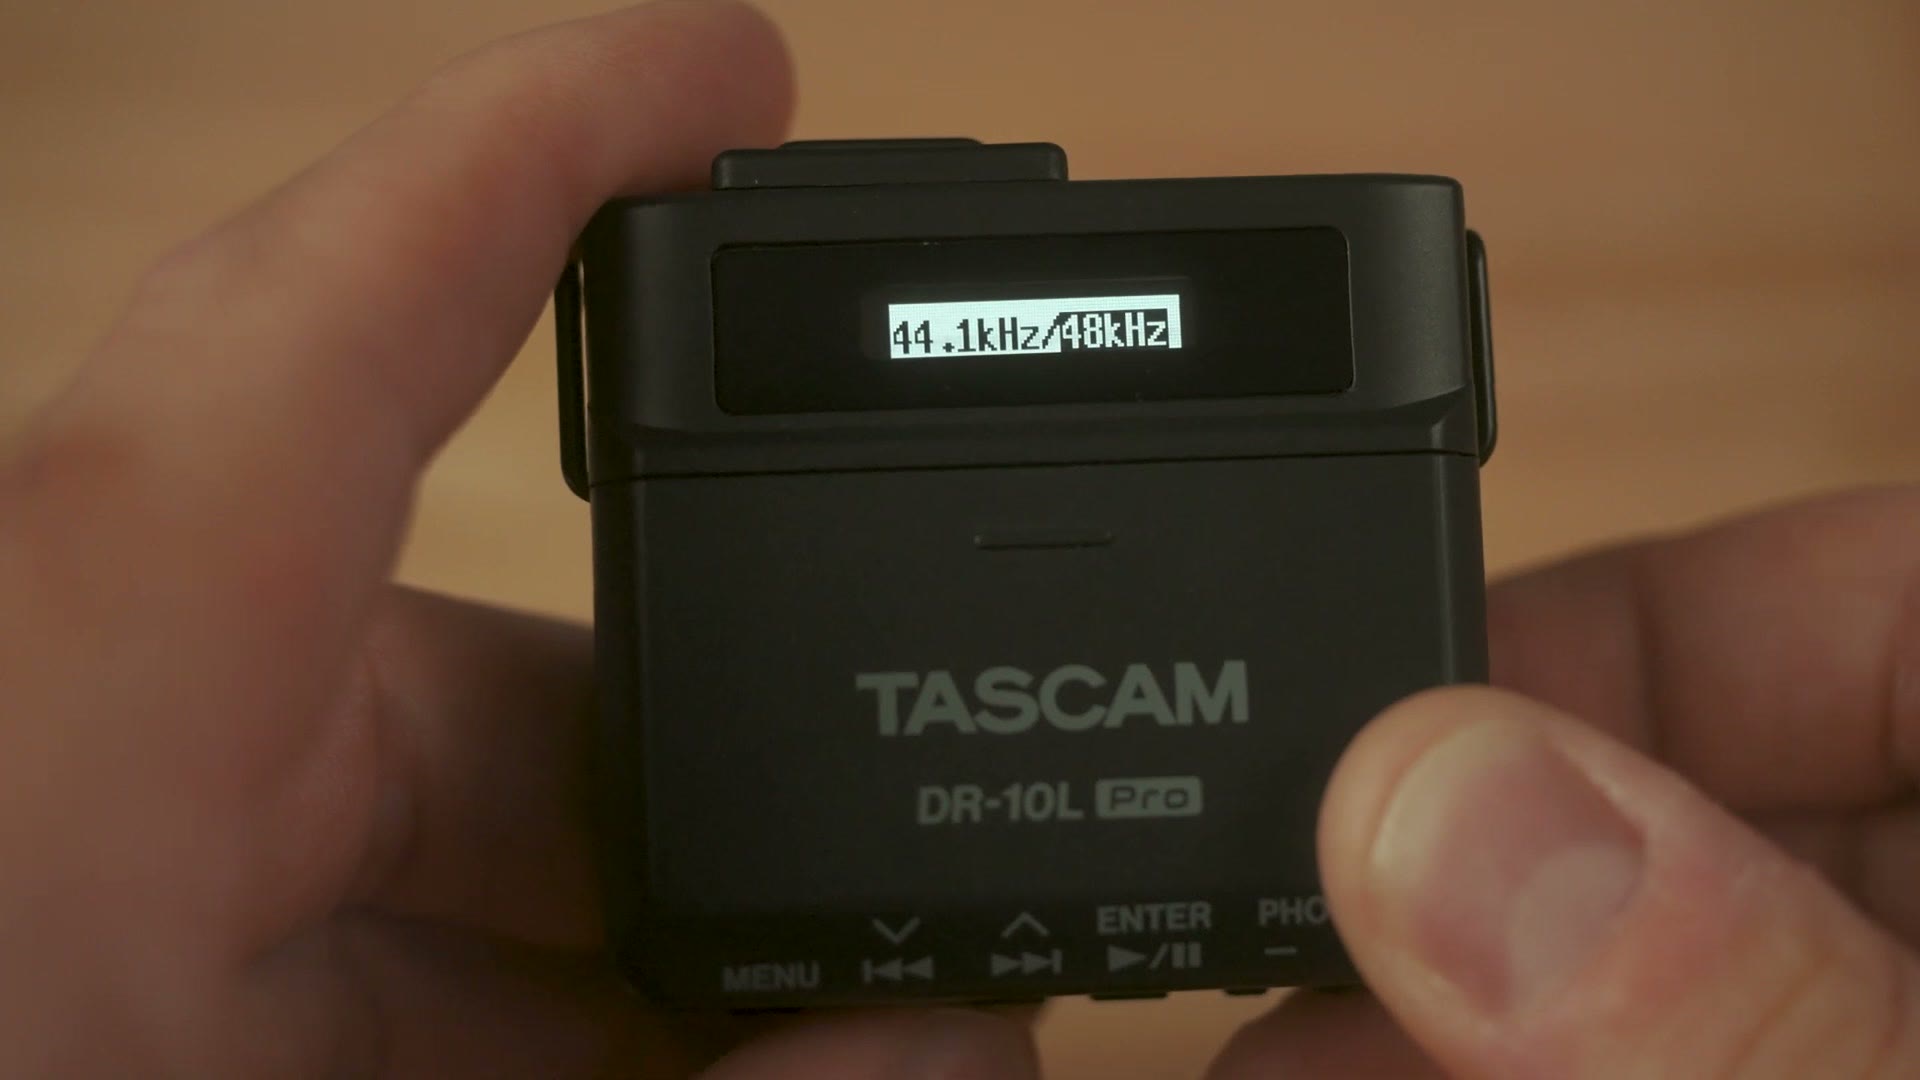
Here you have either 44.1kHz or 48kHz. I recommend leaving this set to 48kHz, because that matches up better with most cameras’ scratch audio and helps prevent audio drift whenever you sync your recorder to your camera.
Next is bit depth, and this one is incredibly important. You want this always set to 32-bit float. Even though the recorder gives you the option of 16 or 24 bit, selecting 32-bit float gives you dramatically more flexibility in post. Completely worth it.
Time Mark
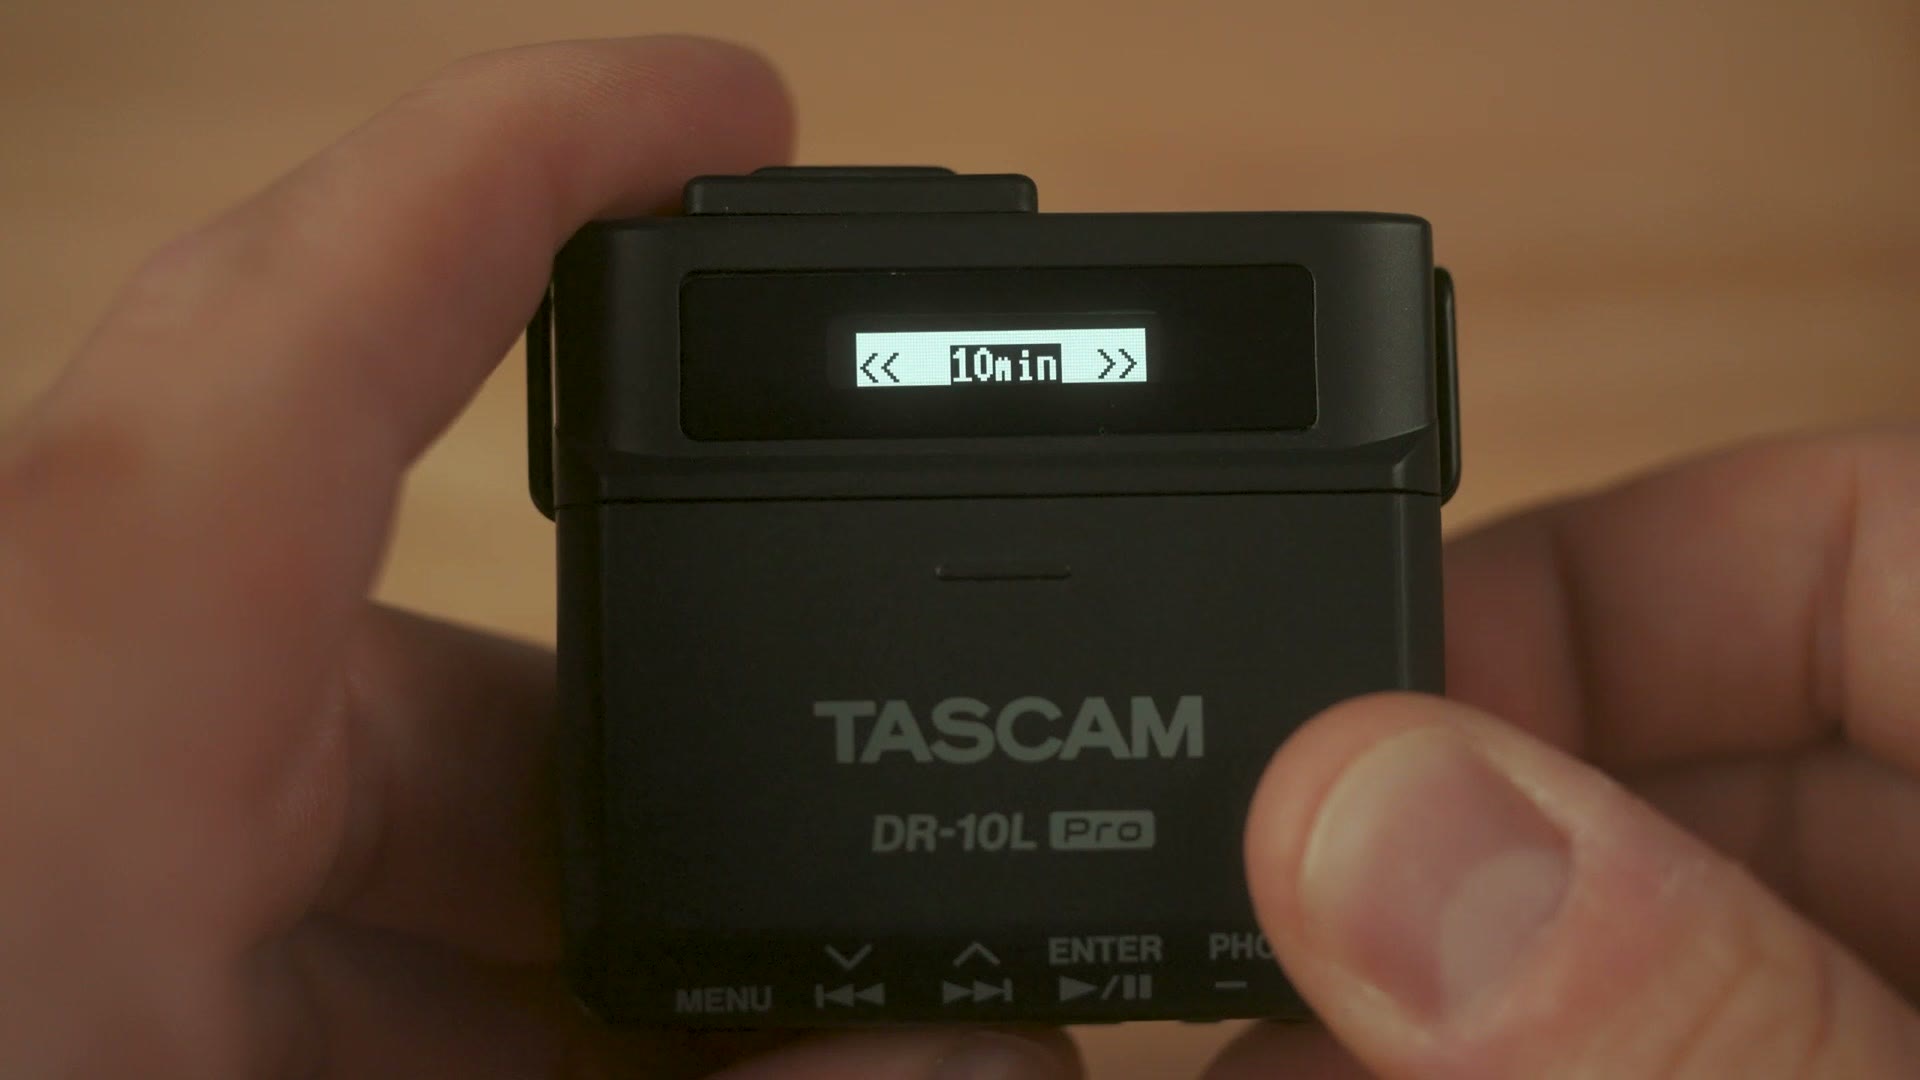
Menu 10 is time mark, a setting that puts little markers in your audio editing software at set times. You can set these to appear every 5, 10, 15, 30 or 60 minutes.
Peak Mark
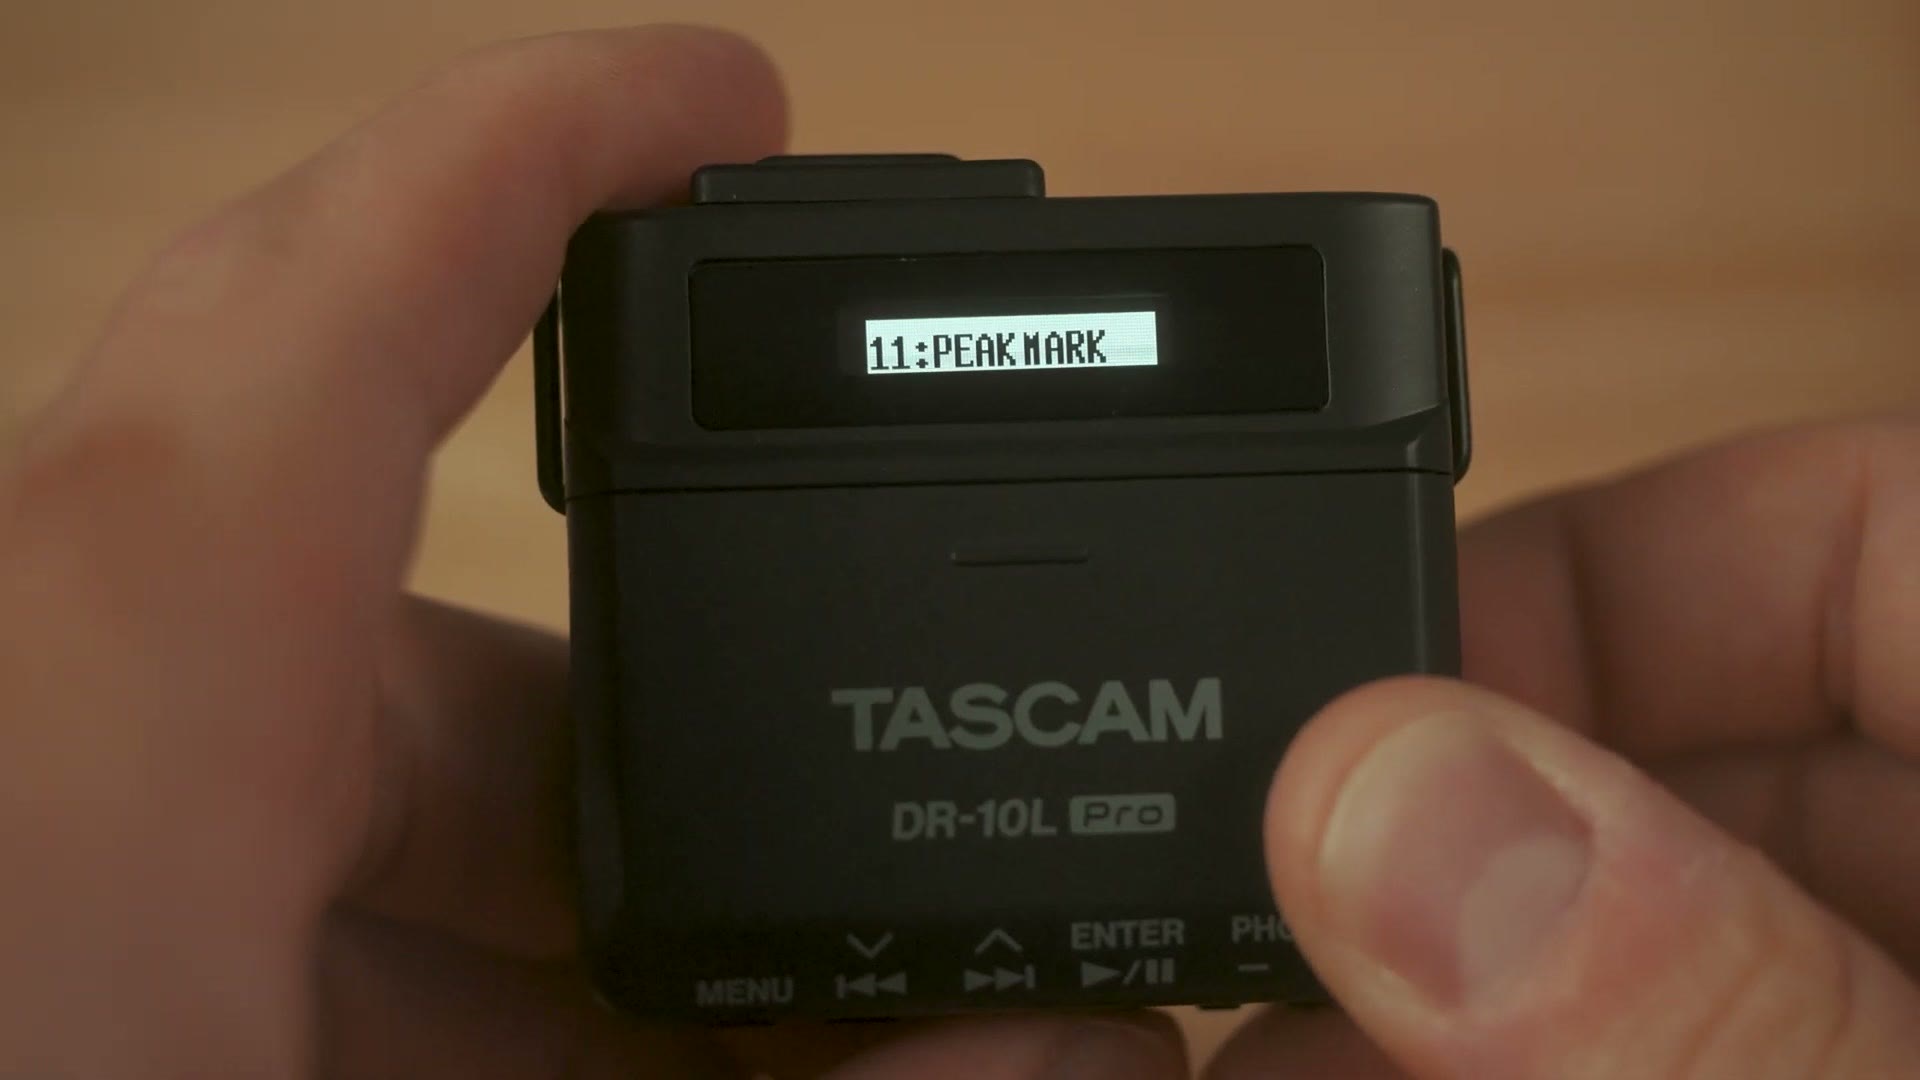
Menu 11 is peak mark, which adds markers when the audio peaks.
To be clear about both of these, they are not audible markers. They are not going to affect the audio in your video in any way, they only make markers appear in your audio editing software. And I say audio editing software deliberately, because in my testing I could only make them show up in Adobe Audition. I could not get them to appear in Premiere Pro or DaVinci Resolve, though that may be because I need to change a setting somewhere, I’m not sure. Just know that at the very least, if you edit your audio in Audition, these can be nice to turn on.
File Name
Menu 12 is file name, and this one is very useful, because you can have the file name be text, the date, or the unit name of the recorder. Menus 13 and 14 then give you control over the text and the unit name.
So for example, if you have a recorder you always put on the groom at a wedding, you could name that unit “groom,” and whenever it comes time to copy your files they will always have the word groom on them, which makes it very easy to sync and edit.
Text
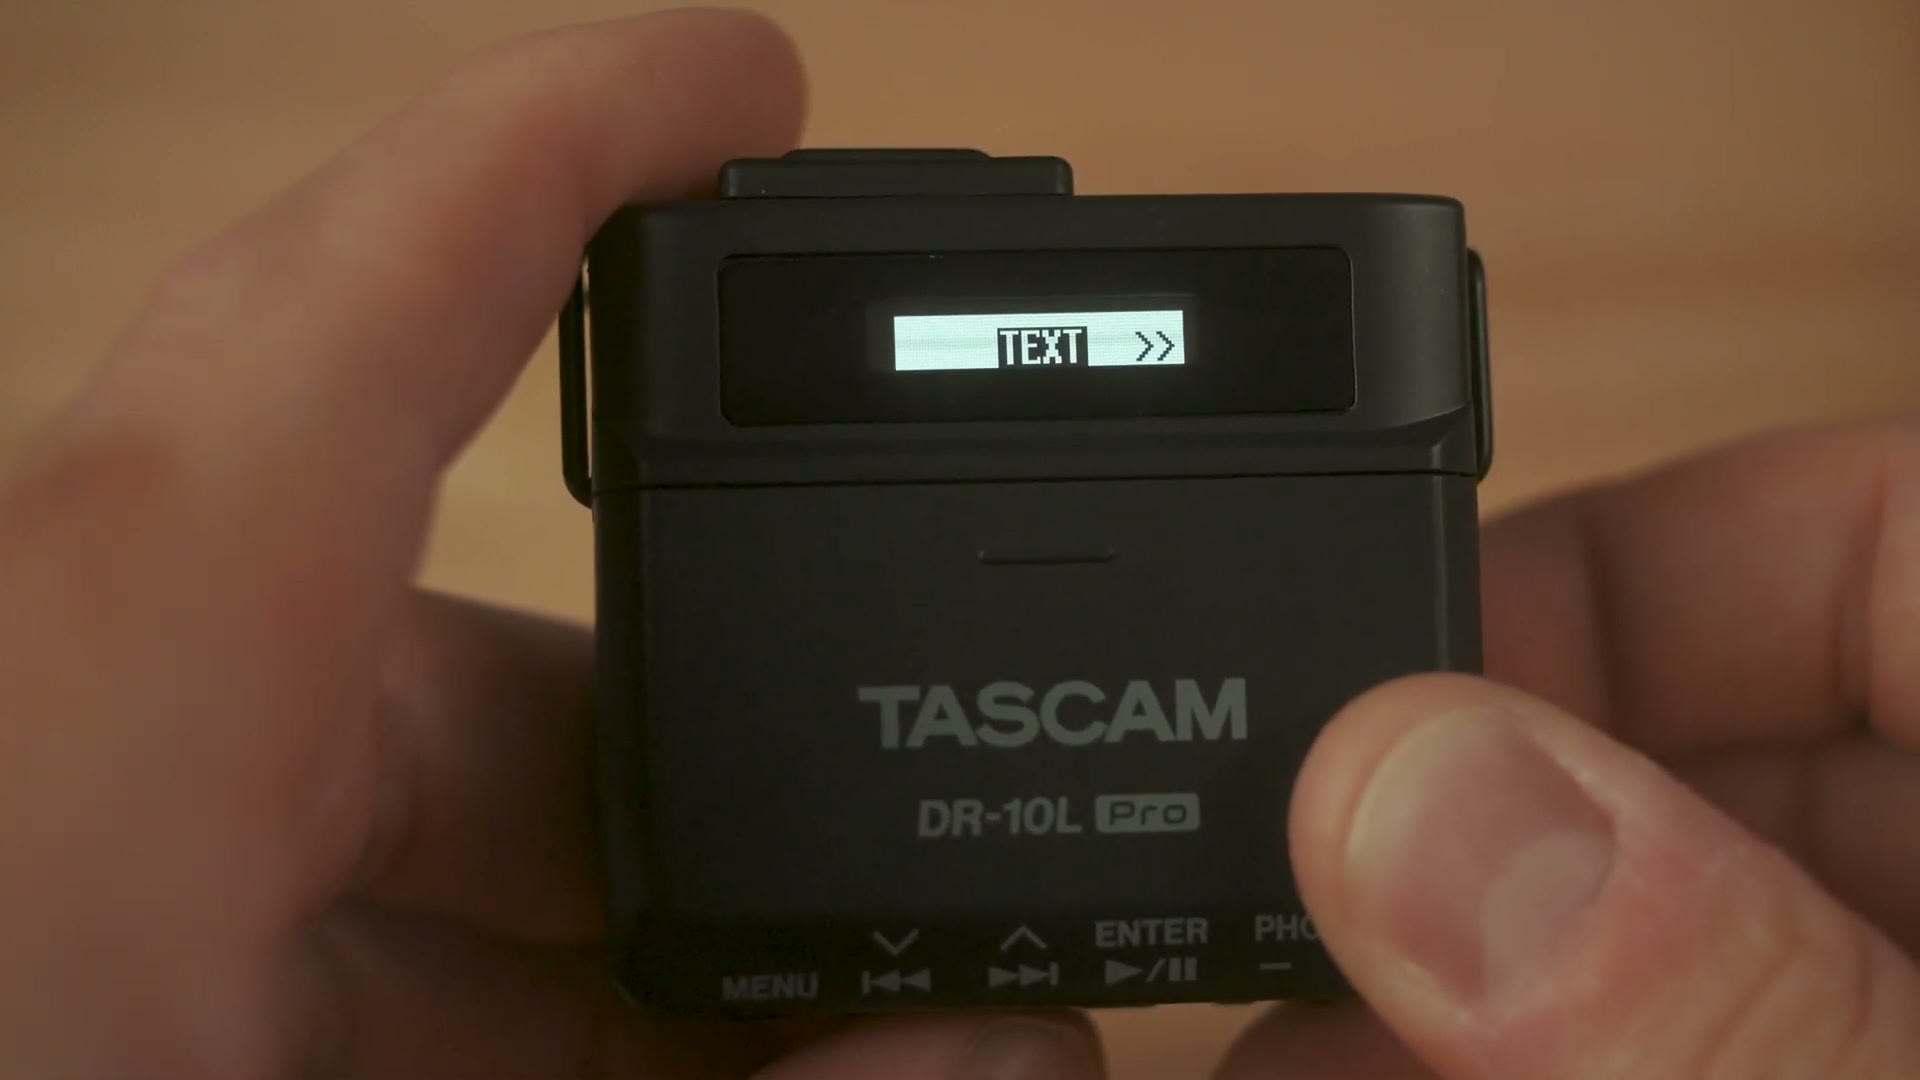
Menu 13 lets you call the text whatever you want, and that appears in the file name too. So if you wanted to get very specific and put a person’s name in there, you could.
If you don’t want to customize any of it, in menu 12 I’d just leave it set to date, which titles the file with the date it was recorded. Very useful, because as long as you know the date you filmed something, you should be able to find the file.
Here’s a power user tip. If you want to name your files faster, you can use the DR-10L Pro Bluetooth app, as long as you have the Bluetooth adapter connected into the top of the recorder. Instead of using that tiny screen to select letters one at a time, you can type them very quickly on your phone.
Power Save
Menu 15 is power save, and turning this on sets the recorder to shut off after approximately 10 minutes if it isn’t recording, to save battery.
I personally leave this off, because any time I have the recorder on it’s usually because I’m about to record. But if you’re someone who turns your recorder on and off and often forgets to turn it off, feel free to enable it.
Here’s another power user tip. If you want to start a recording very quickly, you do not need to hold the power button to turn it on and then push up to record. You can just hold the power button up toward record and the recorder will turn on and begin recording immediately, which saves you a few precious seconds.
File Number
Menu 16 is file number, where you can append a number to the beginning of your file. I usually don’t mess with this, but it’s there if you want it.
Backlight
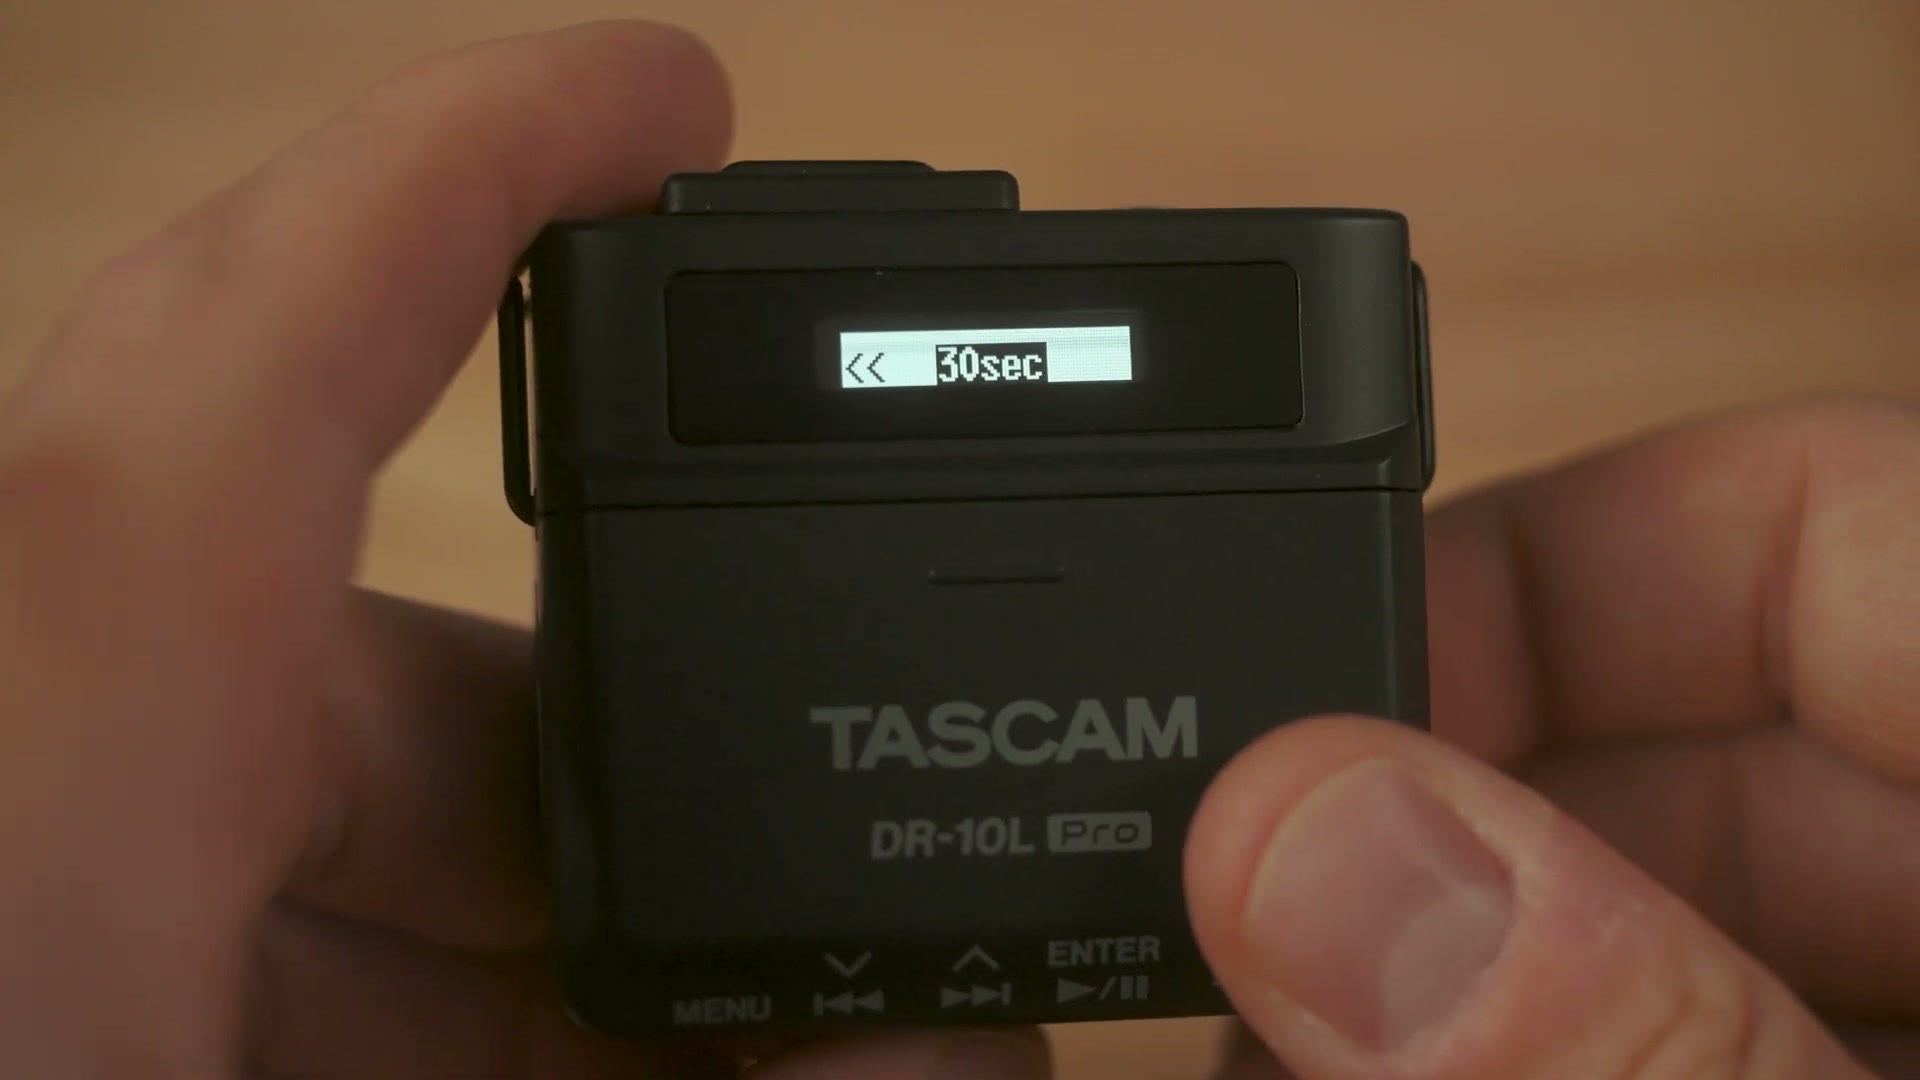
Menu 17 is backlight, where you set how long the screen stays lit after you press a button. You get 5 seconds, 30 seconds, or always. I recommend 5 seconds, because the screen dims faster and that saves you just a bit more battery.
Format SD
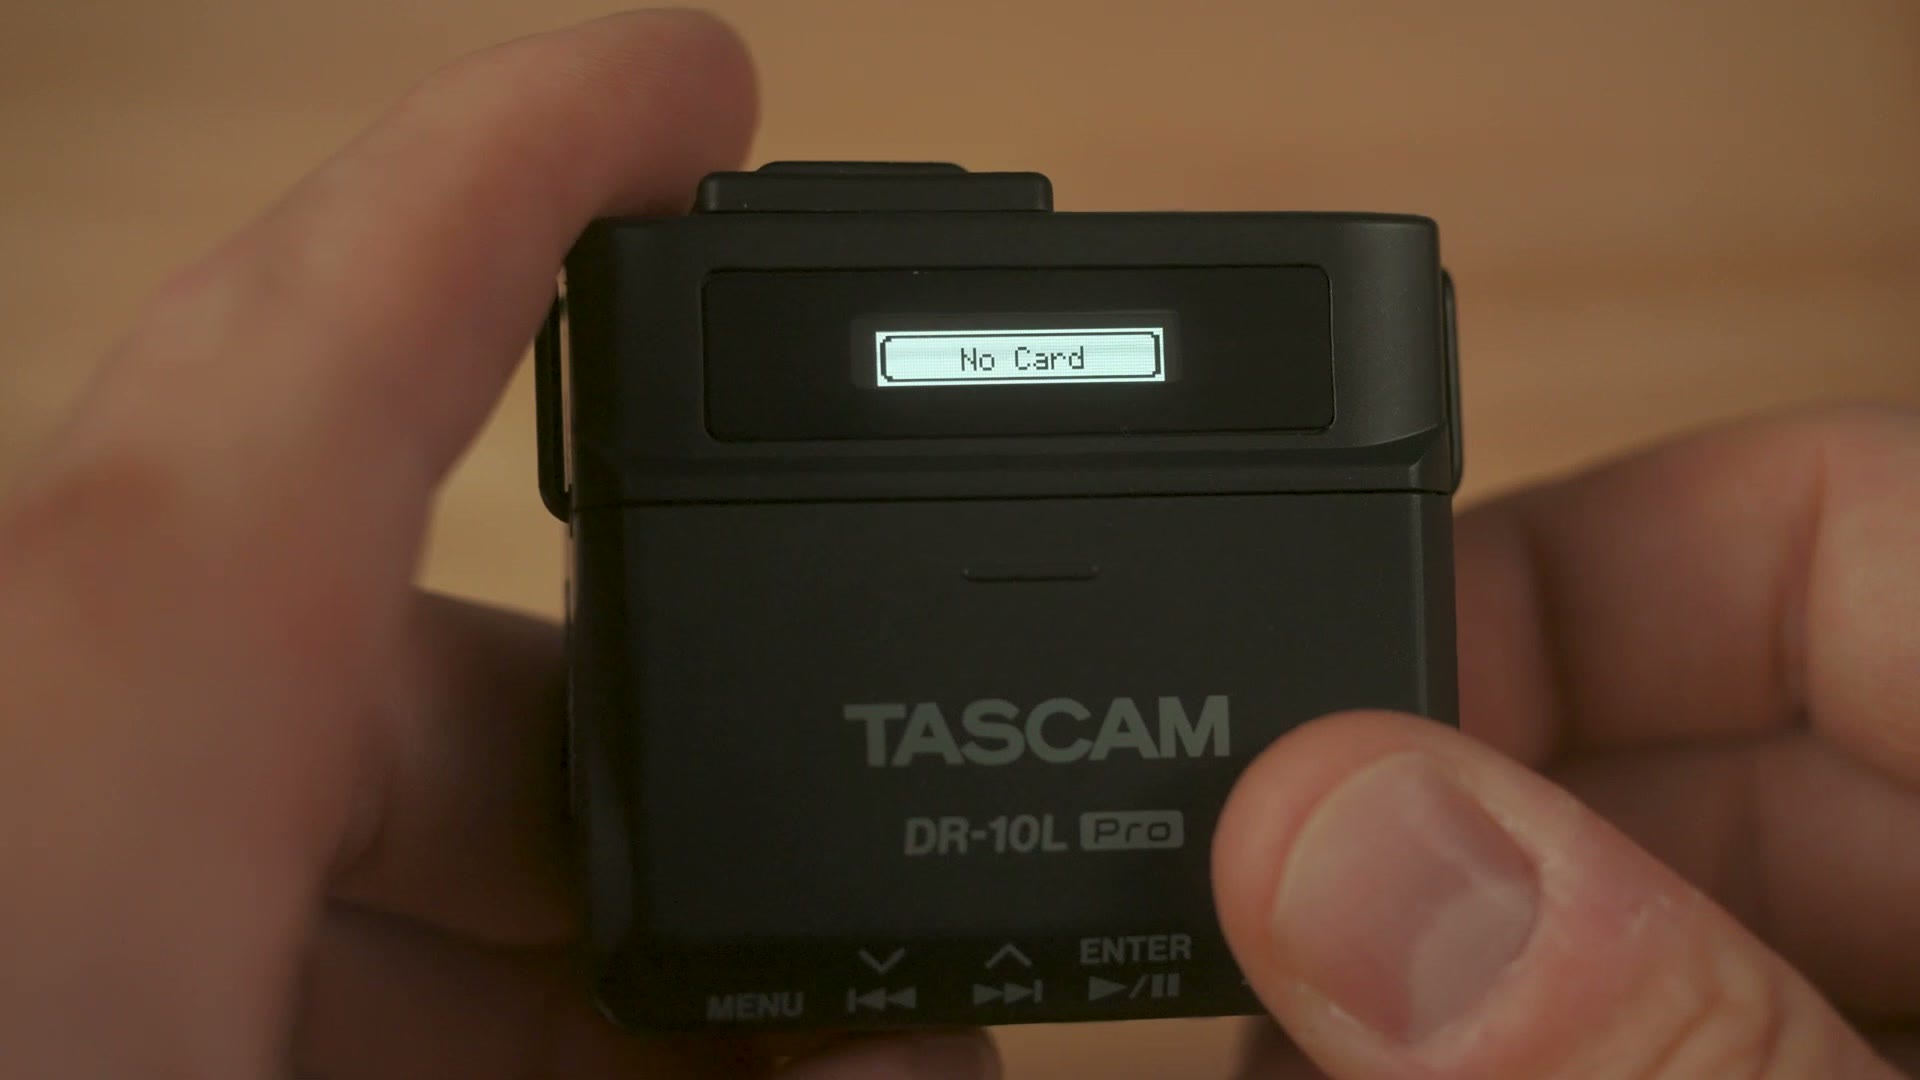
Menu 18 is very important, because this is how you format your memory card in the recorder. I always recommend formatting your card in the recorder, because that guarantees the file structure is set up properly. Of course, make sure you’ve copied all your files off first, because formatting permanently deletes them.
Tascam gives you two options here, quick or erase. 99% of the time you’re going to be fine with quick format, which is much quicker, as the name implies. I would only select erase if you had very sensitive audio you wanted to guarantee was not recoverable afterwards. In my experience you can sometimes recover files that were quick formatted, whereas erase takes longer and helps guarantee they’re truly gone.
Speaking of which, Tascam DR-10L PRO Review – The Recorder You Need! is worth a look too.
Battery Type
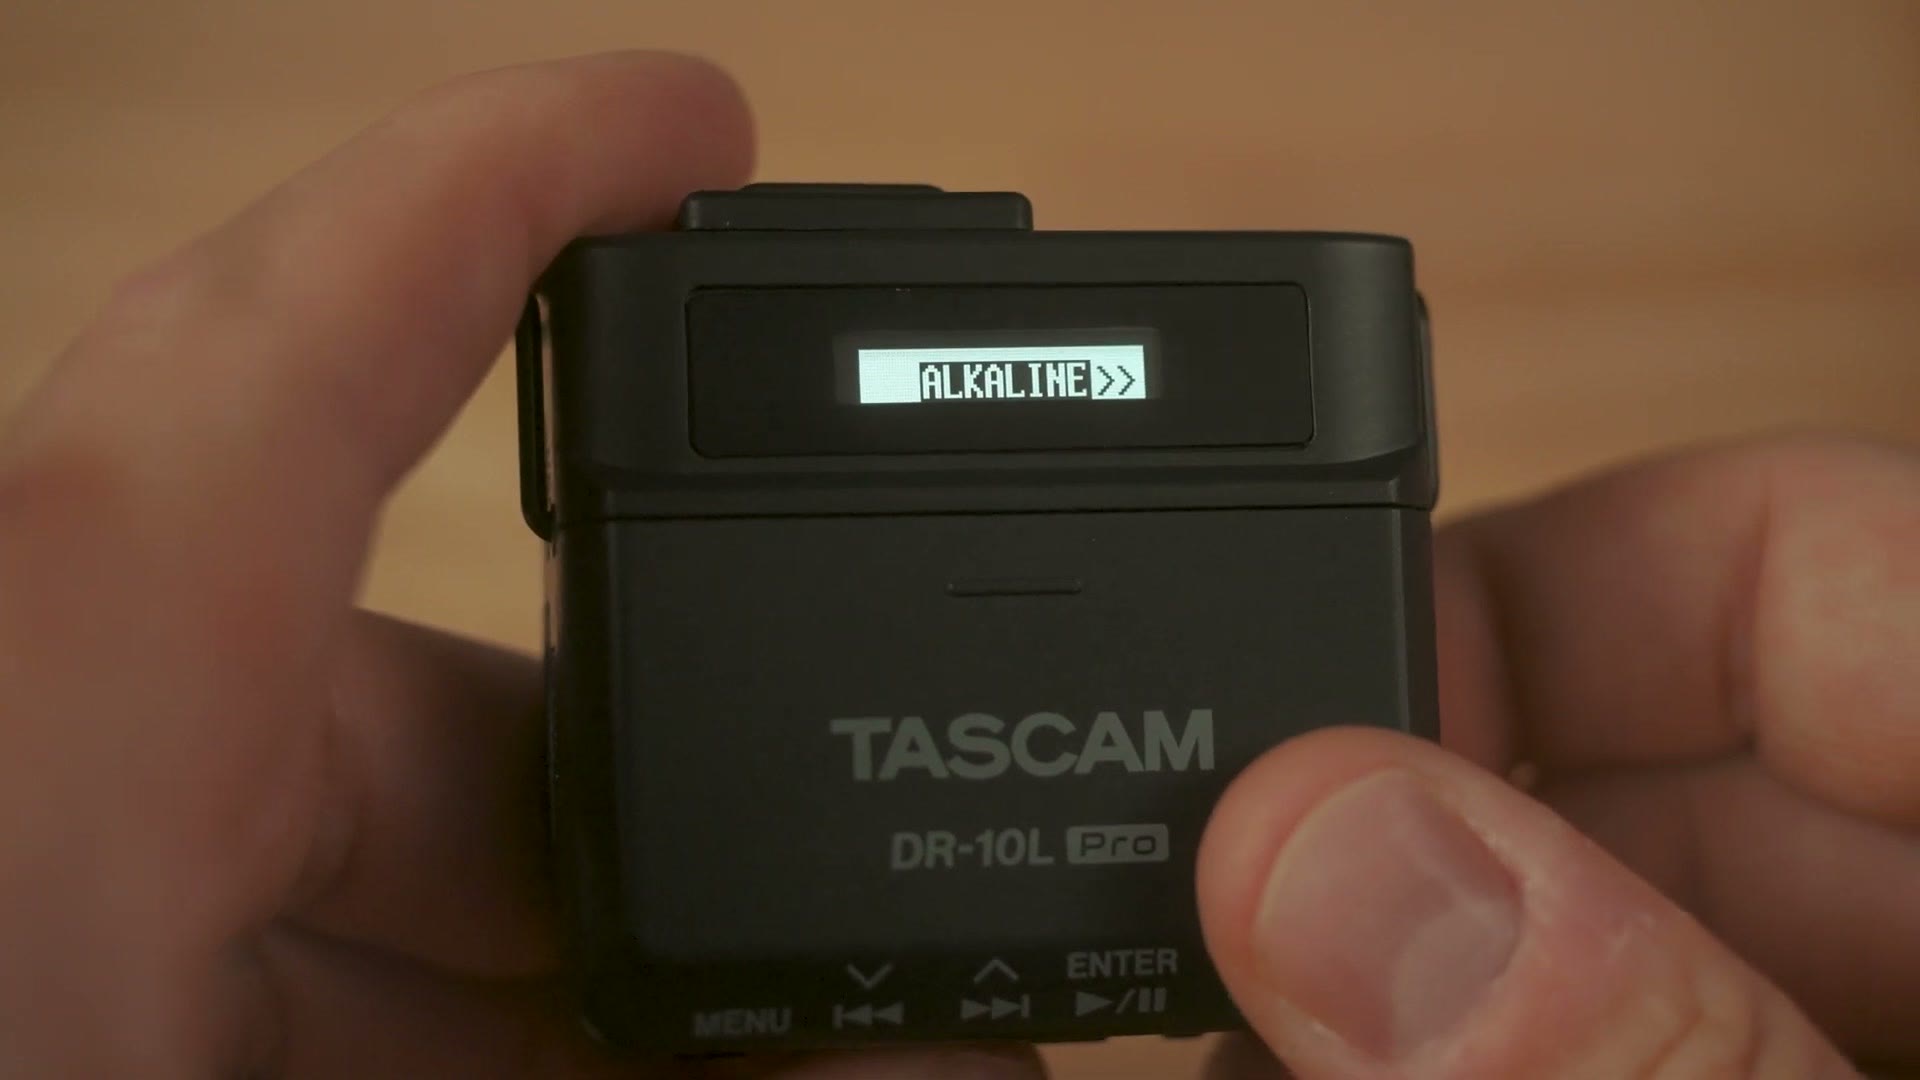
Menu 19 is where you set what type of battery your recorder is using. You have alkaline, Ni-MH or lithium. I always recommend lithium batteries with the DR-10L Pro, because they’ll give you dramatically longer life, up to double that of rechargeables. So if you want your recordings to last through even the longest wedding day, use lithium.
Date And Time
Menu 20 is where you set the date and time. You should have already done this whenever you first turned the recorder on, but if you didn’t, or your settings got changed, or it’s daylight savings time, this is the menu.
System Initialize
Menu 21 is System Init, which stands for system initialize, which is another way of saying completely reset this recorder back to its default settings.
So if your recorder ever starts acting squirrely, or you changed a setting and can’t remember which one, just go to menu 21, reset it, and then come back through this post and set everything correctly again.
Version Info
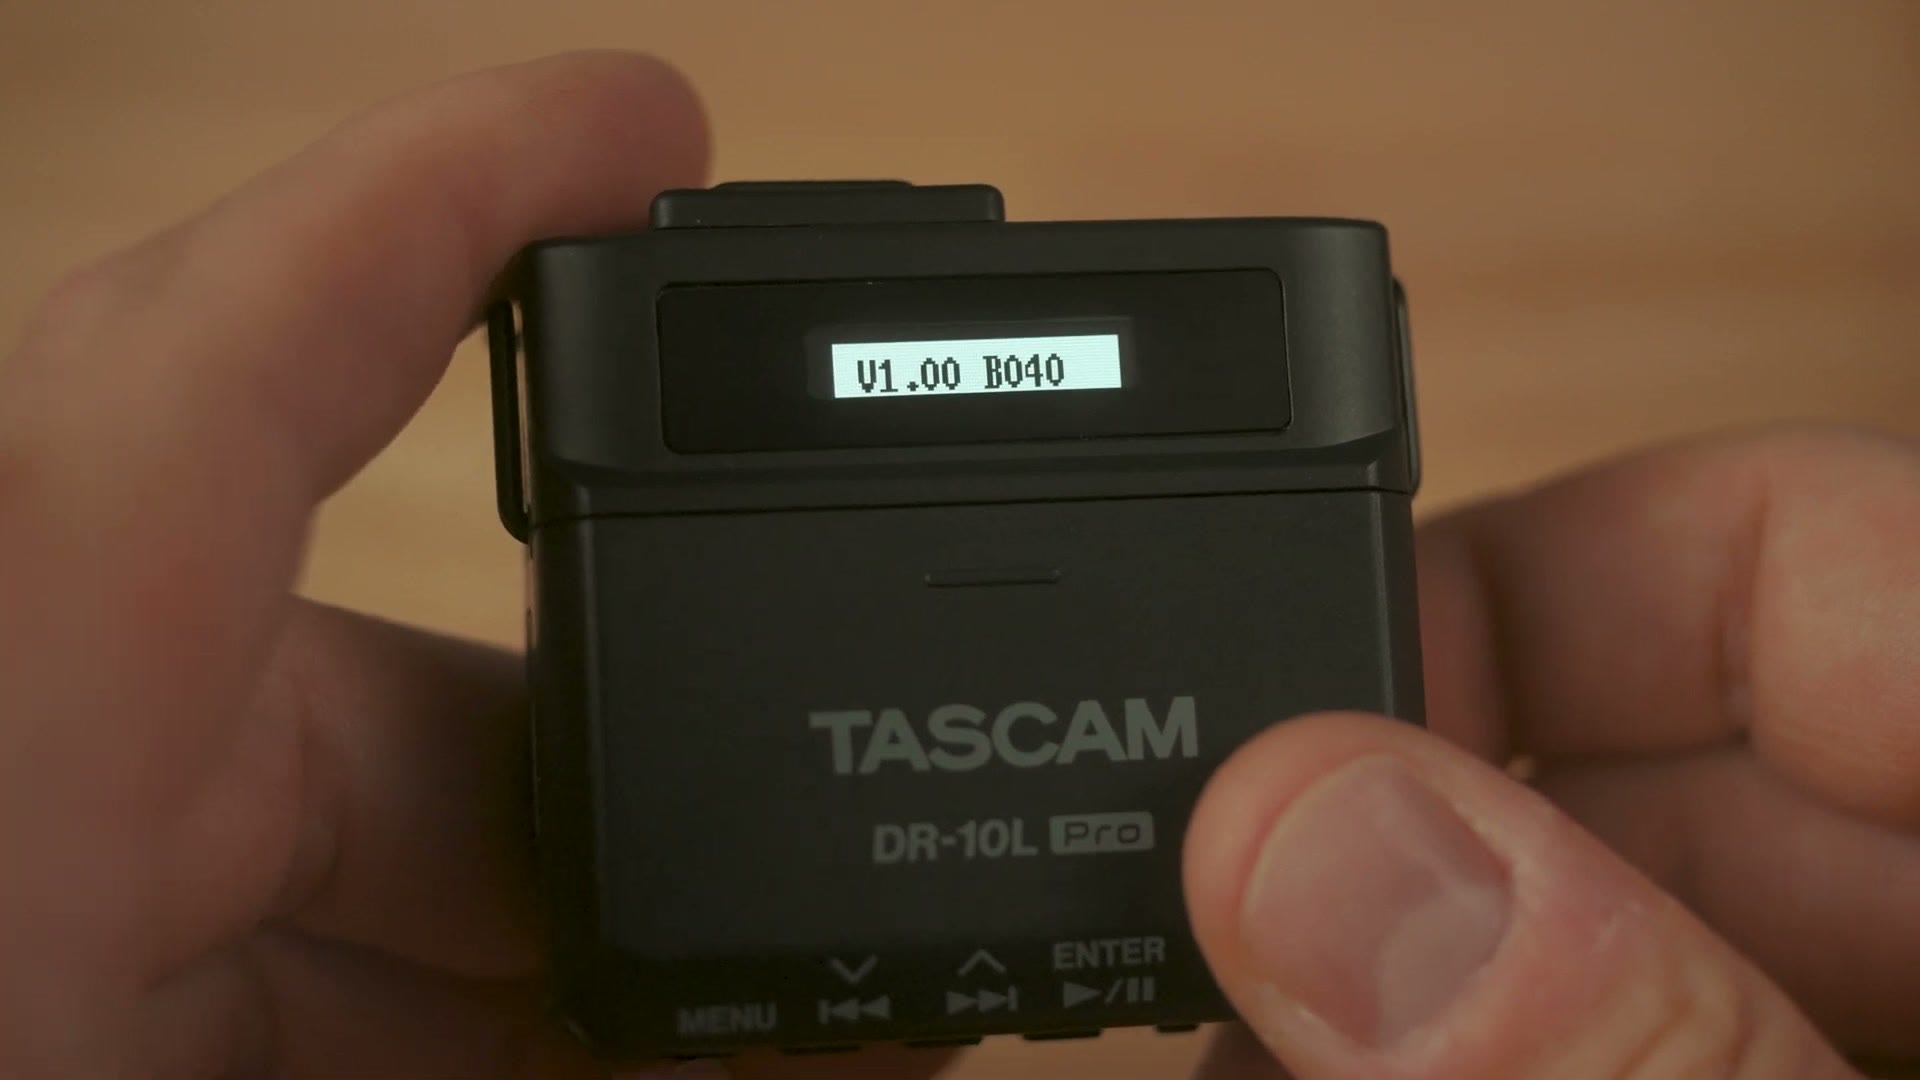
Menu 22 tells you which firmware version your recorder has. Tascam does not super often release updates for their audio recorders, but if they ever do, I’ll probably make a video about it, and this is where you check.
Bluetooth Adapter Firmware Version
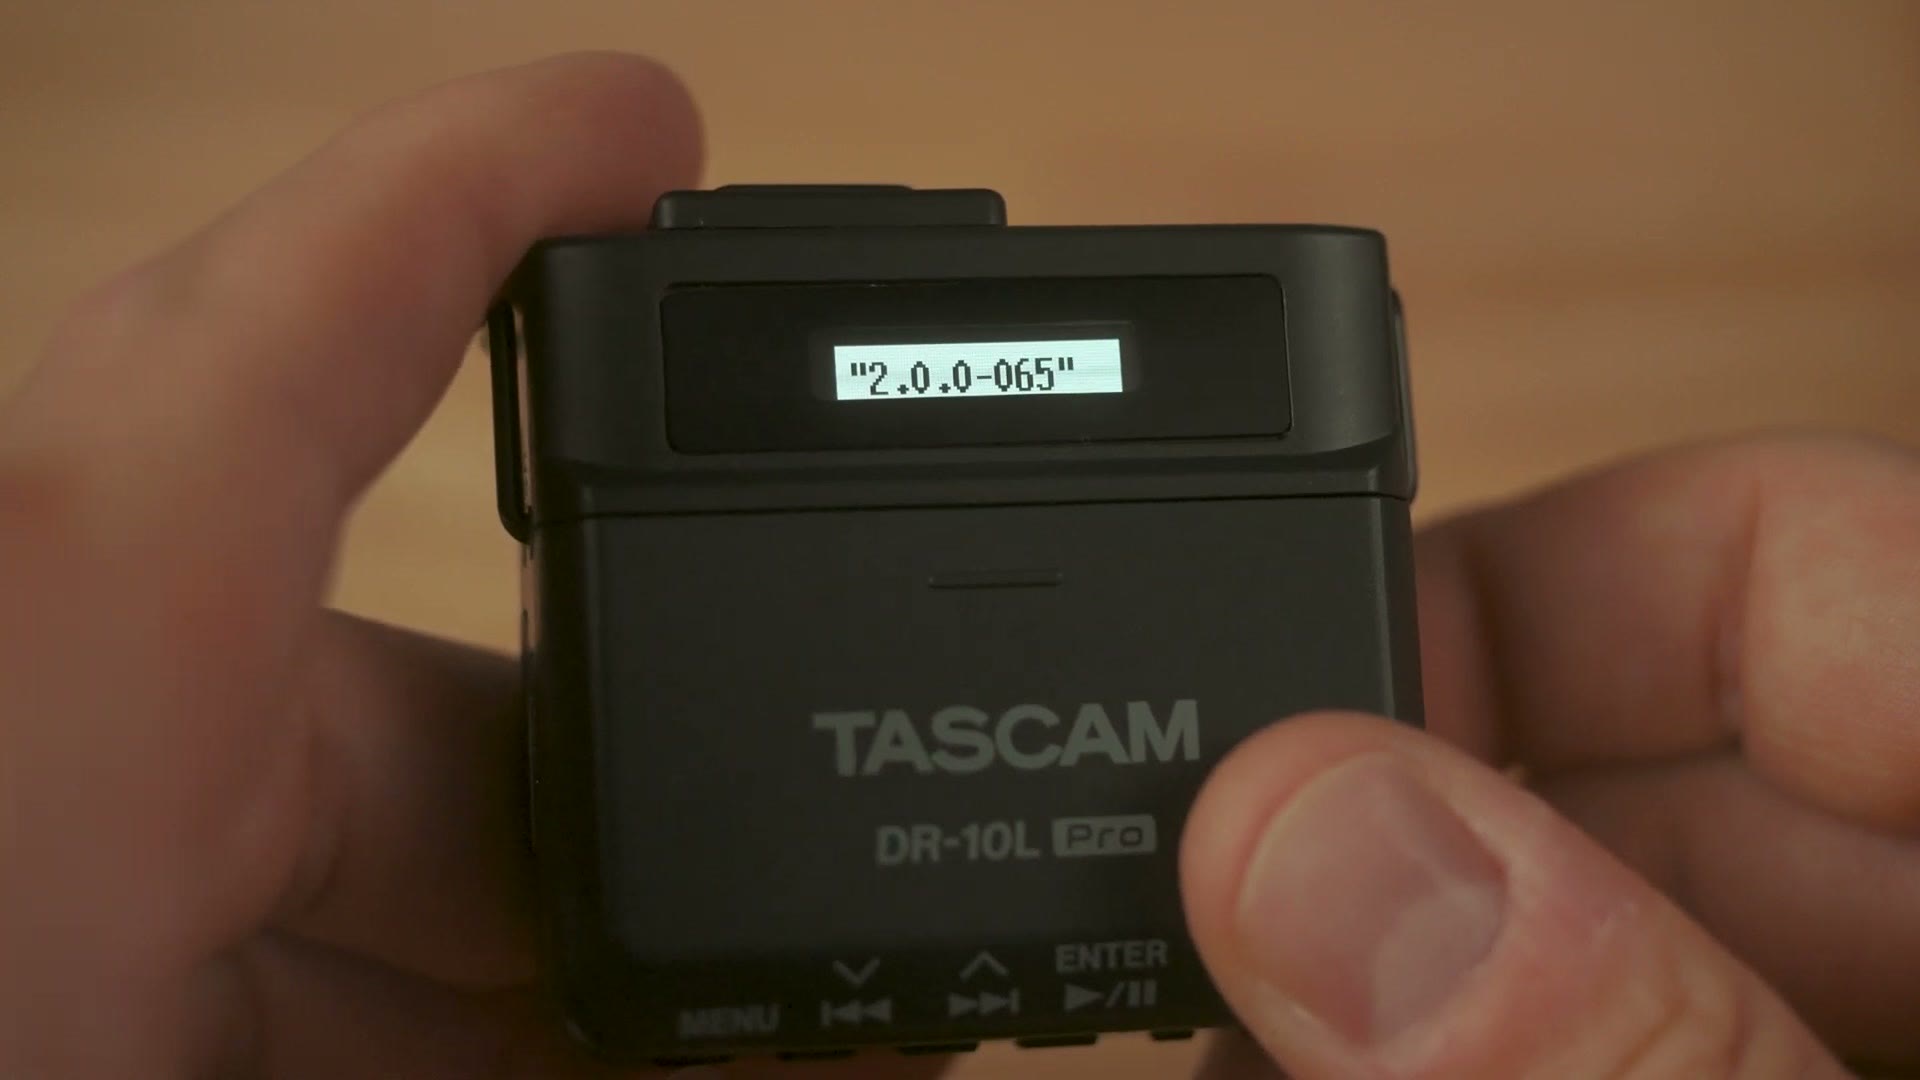
Menu 23 is where you check the firmware version of the Bluetooth adapter you’ve connected to your DR-10L Pro. If you don’t have one, you insert it into the port at the top.
Here’s the catch though. Even if you have a Bluetooth adapter inserted, when you go to menu 23 it may tell you there isn’t one connected, or that it’s not available. If that happens, it’s because you need to first enable your Bluetooth adapter in the recorder, which we’ll get to in a moment.
Card Reader
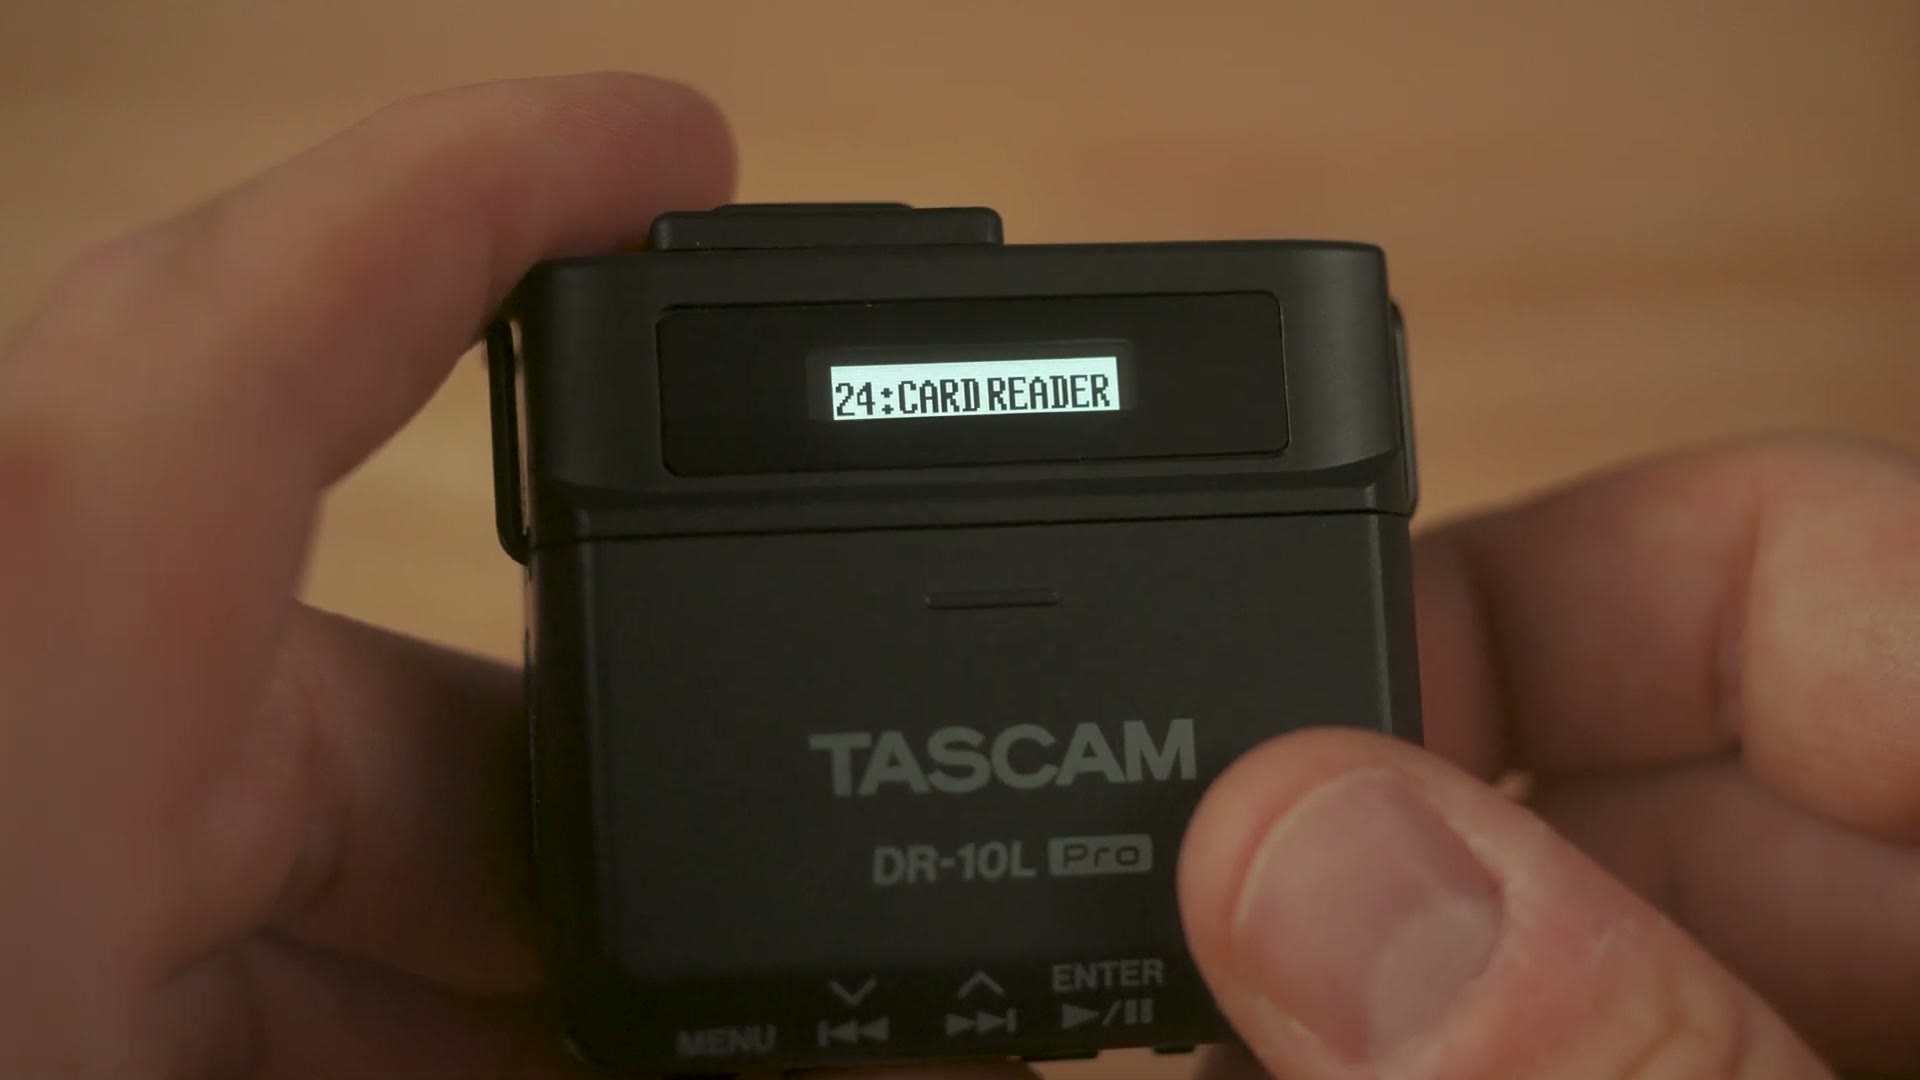
Menu 24 lets you use your DR-10L Pro as a memory card reader you plug into your computer, so you can copy your audio files without removing the card.
Keep in mind though that even though the connection is USB-C, it’s only USB 2.0 speeds, so this may not be as fast as taking the card out and putting it into a real card reader. I would bet money on that, actually. So I’d only use the recorder as a card reader if you don’t have a microSD reader handy.
Bluetooth Controls
Menu 25 is Bluetooth, and I’m going to preface this by reminding you that you need the Bluetooth adapter inserted or you won’t be able to select any of it.
With the adapter in, you have the choice of off, remote, or timecode. The first thing to know is that when you enable remote or timecode, you can then go back to menu 23 and it will finally tell you your adapter’s firmware version.
Remote enables wireless control of your DR-10L Pro using the phone app. As long as you have the app installed and Bluetooth set to remote, you can connect wirelessly to up to five DR-10L Pros, tell at a glance whether each one is recording, start and stop recordings, and view your waveforms. Unfortunately you cannot monitor the audio wirelessly over Bluetooth, but at least you can tell whether it’s rolling, which is a nice feature to have.
Timecode instead enables timecode syncing of your recorder over Bluetooth, if you have a compatible Atomos timecode device. Unfortunately this recorder only works with Atomos timecode devices over Bluetooth, but hey, it’s better than nothing.
Timecode Forget
Menu 26 is TC Forget, which stands for timecode forget. If you’re using this recorder and you want to unpair it for timecode syncing, this is the option.
Bluetooth ID
Menu 27 is BT ID, which stands for Bluetooth ID. This is useful if you’re connecting to multiple DR-10L Pro recorders using the app, because you can check here to confirm which recorder you’re actually connecting to and controlling.
File Delete
Menu 28 is file delete, where you can delete individual audio files off the recorder.
I never recommend doing this. I only ever recommend formatting the card to delete everything. Call me paranoid, but I’ve read horror stories about filmmakers deleting files from their cameras and audio recorders and then having the memory cards corrupt. So I don’t play around with deleting individual files. Copy everything off, then format using menu 18.
Download My DR-10L Pro Cheat Sheet
And that’s how you set up your Tascam DR-10L Pro. Remember that my cheat sheet for the DR-10L Pro settings is completely free, and it lists every setting we just went through so you can reference it later and save yourself some time.
Thanks so much for reading, and have a great day!