
Chris and Rachel got married in downtown Dallas on a cold, rainy day, 501 days after a first date that both of them knew about by the end of the night.
Continue reading
Chris and Rachel got married in downtown Dallas on a cold, rainy day, 501 days after a first date that both of them knew about by the end of the night.
Continue reading
Northern lights at 2am on no sleep, hurricane force wind, and a rental car used as a tripod windbreak. Part two of how the Iceland travel film got shot.
Continue readingWhen we first met with Melanie and Garrett, our conversation happened over a three-way Skype call. With both of them in school for their MDs, as well as planning a wedding, to say their lives were a whirlwind leading up to their marriage may be an understatement. We were incredibly excited to speak with them though, because they were our first Jewish wedding.
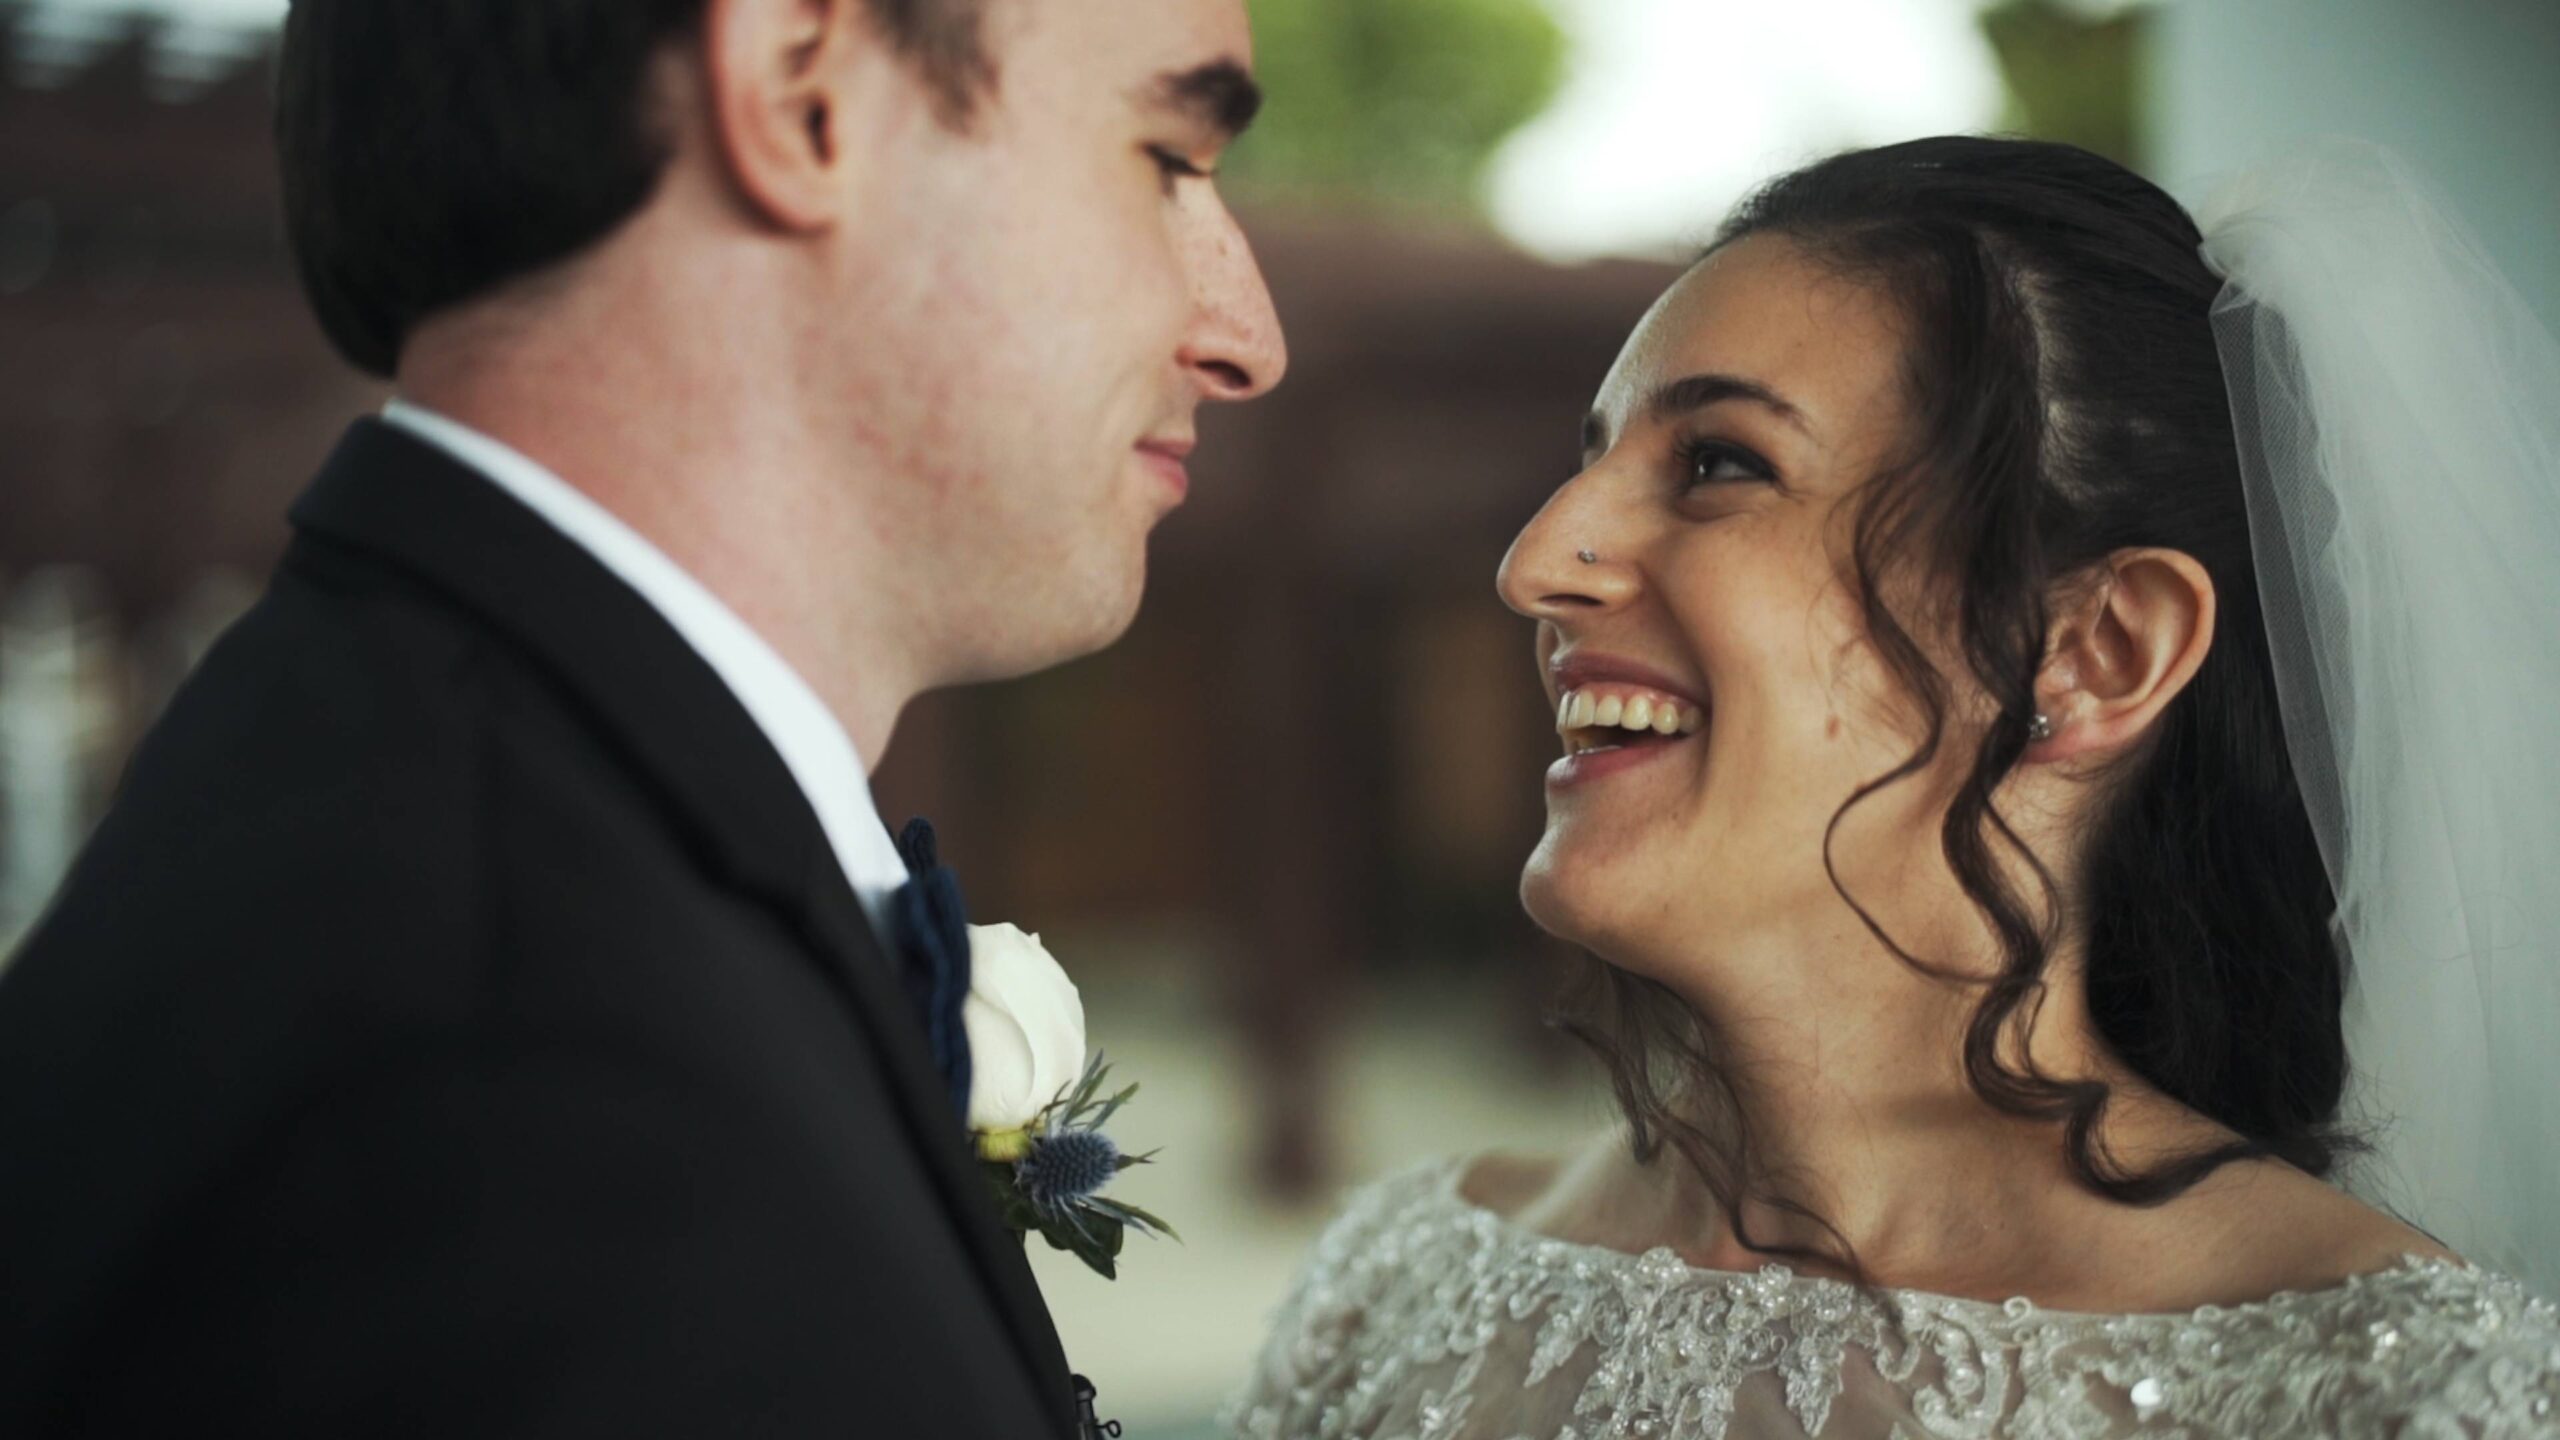
With no idea what to expect, we were educated on all facets of Jewish culture, complete with Ketubahs, Yarmulkes, and Chuppahs, and a bit of Challah bread too. As I am sure you can see from the trailer above, this film was a bit different than our other films, but we love different, and we love Melanie and Garrett.
Getting married? We would love to talk about filming your wedding!

If you’ve followed my channel for a bit, you’ve noticed how many wedding films and trailers I upload. That’s because wedding filmmaking is my full-time job. Making YouTube videos is the fun thing I do on the side because I like helping people like you, and honestly I don’t have a ton of time for it, since normally I’m out shooting or at home editing.
So I had an idea: what if I turned some of these wedding films into educational material? Not by hopping in a DeLorean and going back in time to bring a third shooter along as a BTS cameraman, but by revisiting films I love and talking through specific parts of them. A shot that worked. A choice I made in the edit. A moment where everything went sideways and we salvaged it.
This is the first of those, and it’s about Zac and Lindsey’s wedding trailer. Go watch that first, with the music and audio, then come back.
The reason I picked this trailer is that it highlights one of my favorite things about this job: we get hired for our creativity.
Unlike a lot of professions, people hire a wedding filmmaker because they like the way you film things. They like your vision, they like your drive, they saw something you made and said “I want something that looks like that.” That is an incredible position to be in. We get to make films however we want and people pay us for them. How cool is that?
Whenever I sat down to edit this one, Rachel and I talked through the biggest, most emotionally powerful moments of the day. And the one that stood out above everything else was Lindsey’s walk down the aisle.
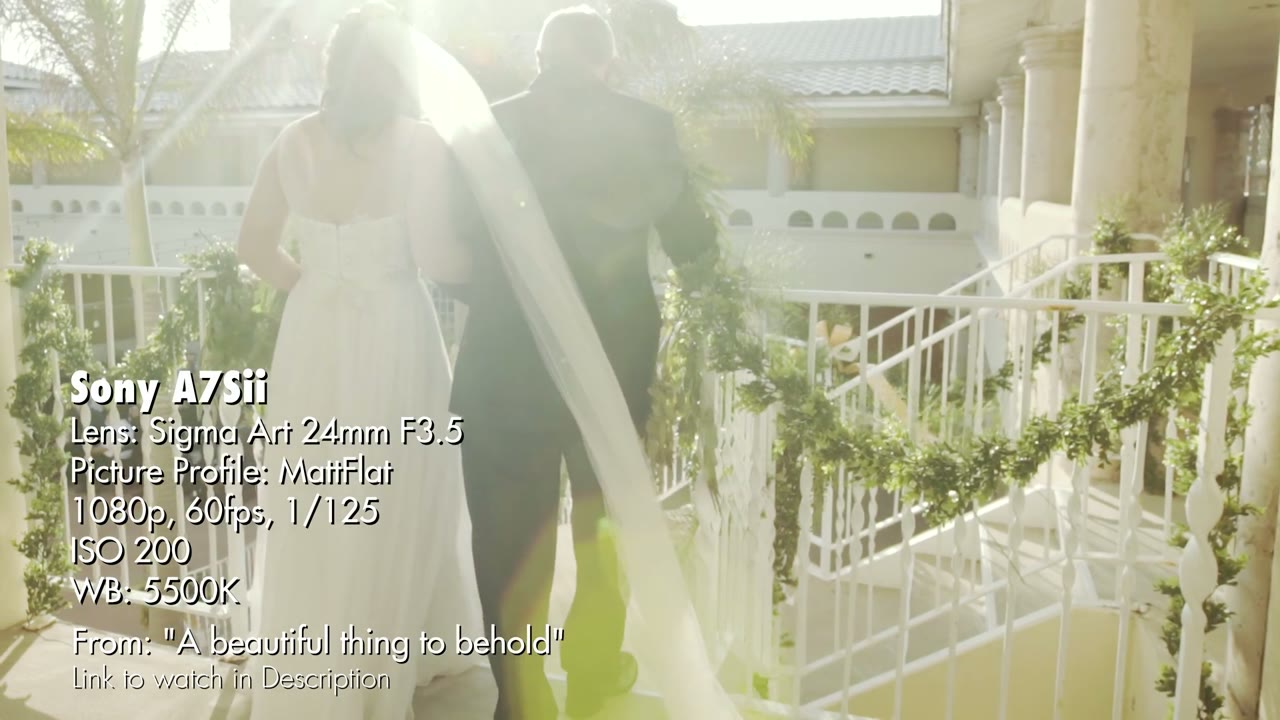
Look at what’s in that shot. Slow motion. A long staircase. Lens flares. That enormous veil. And underneath all of it, the thing that actually makes it work: they didn’t do a first look, so this is the very first time the two of them are seeing each other on the wedding day. He’s coming apart. She’s coming apart. Emotionally, that walk was the crescendo of the entire day.
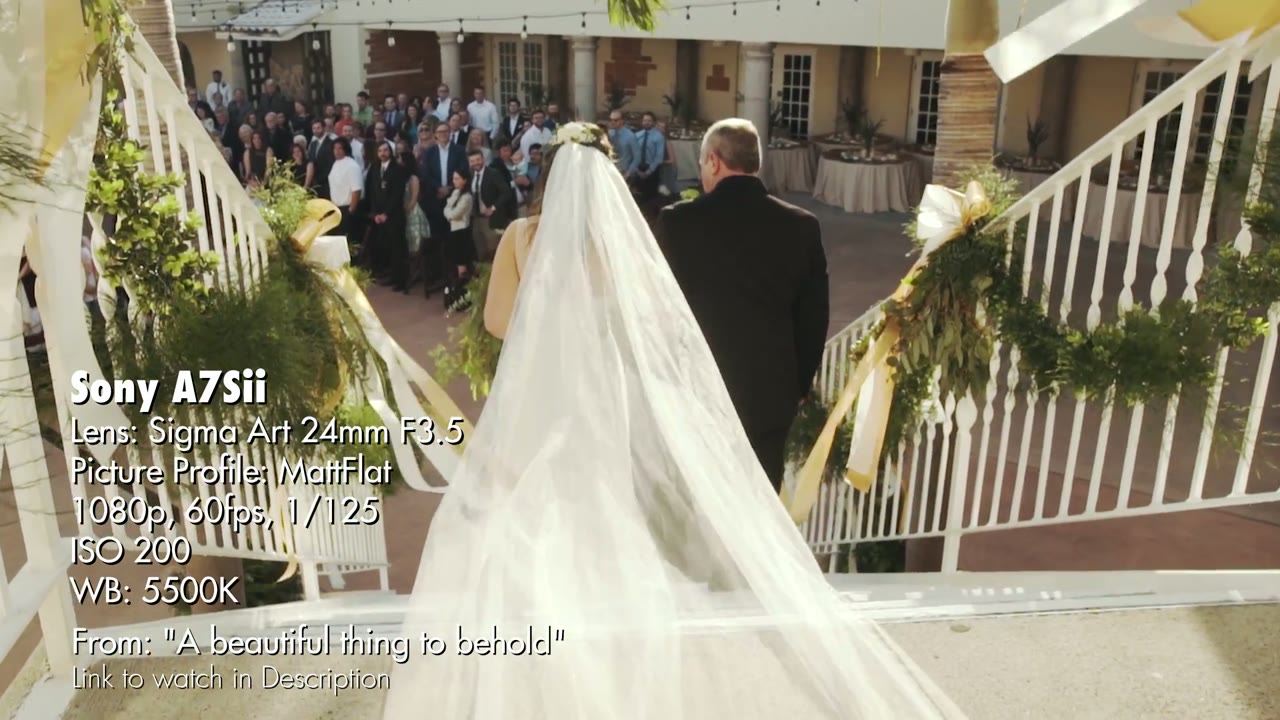
I said to Rachel, honestly, we could just make that shot be the whole trailer. Show it, put their names at the end, drop the logo, done.
And she said yes, but let’s tone that down slightly and show some other things too. She was right. She was totally right.
But then, how cool would it be if we kept cutting back to that shot throughout?
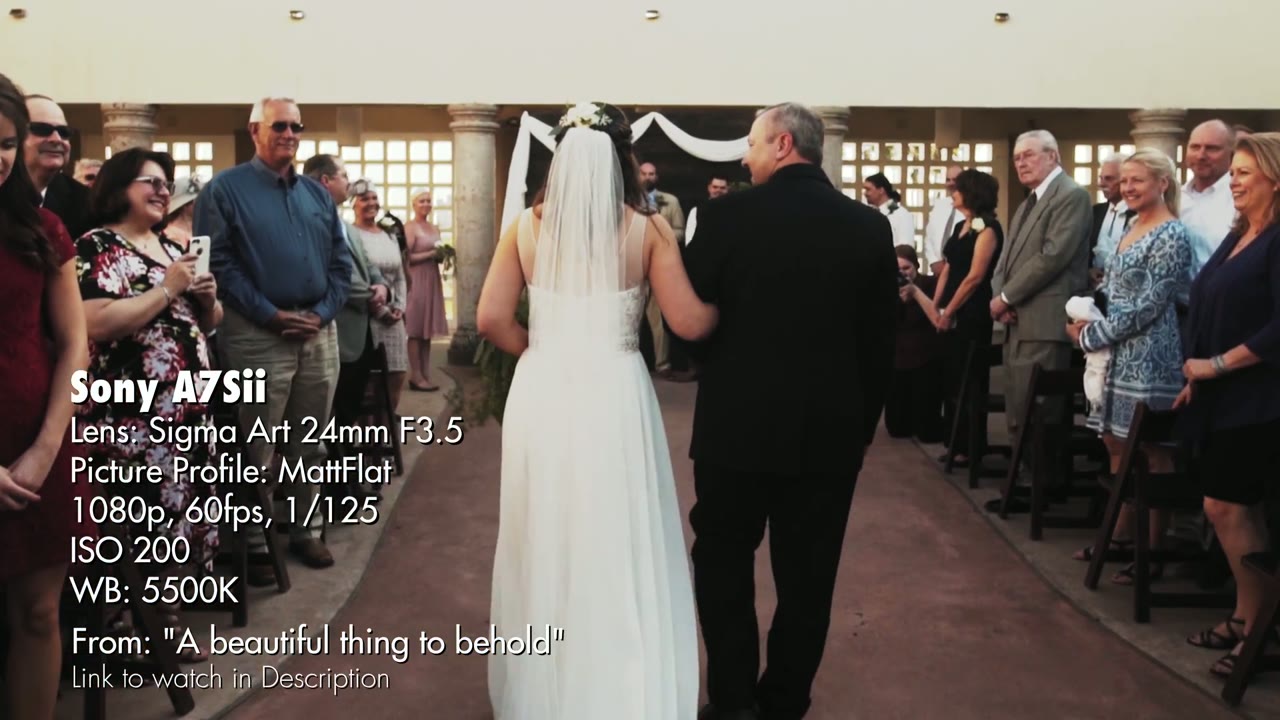
So that’s the structure. A little of the couple together, then her walking down the aisle. A little more of them together, then more of the aisle. Them dancing, and the aisle again. Their moments from across the whole day, threaded together with that one walk running through the middle of it.
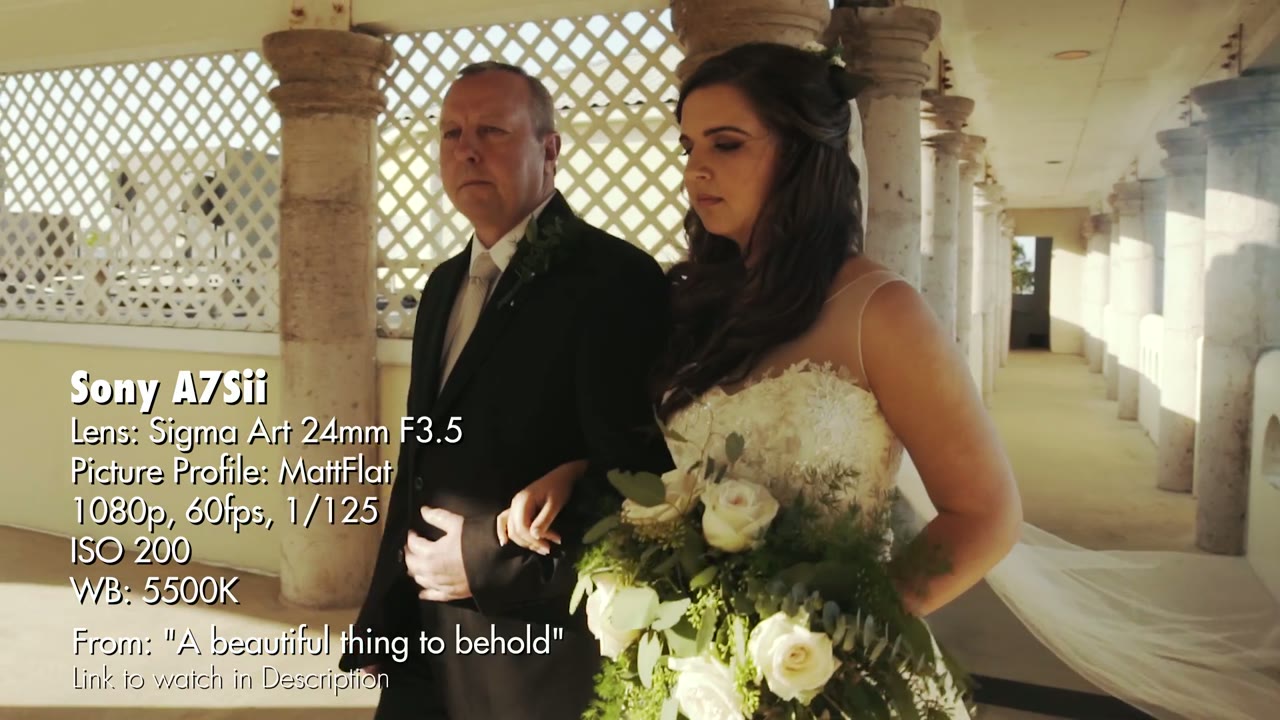
What that does is make the aisle moment the most powerful part of the film, the same way it was the most powerful part of the day. The edit isn’t just presenting the footage in order. It’s making an argument about what mattered.
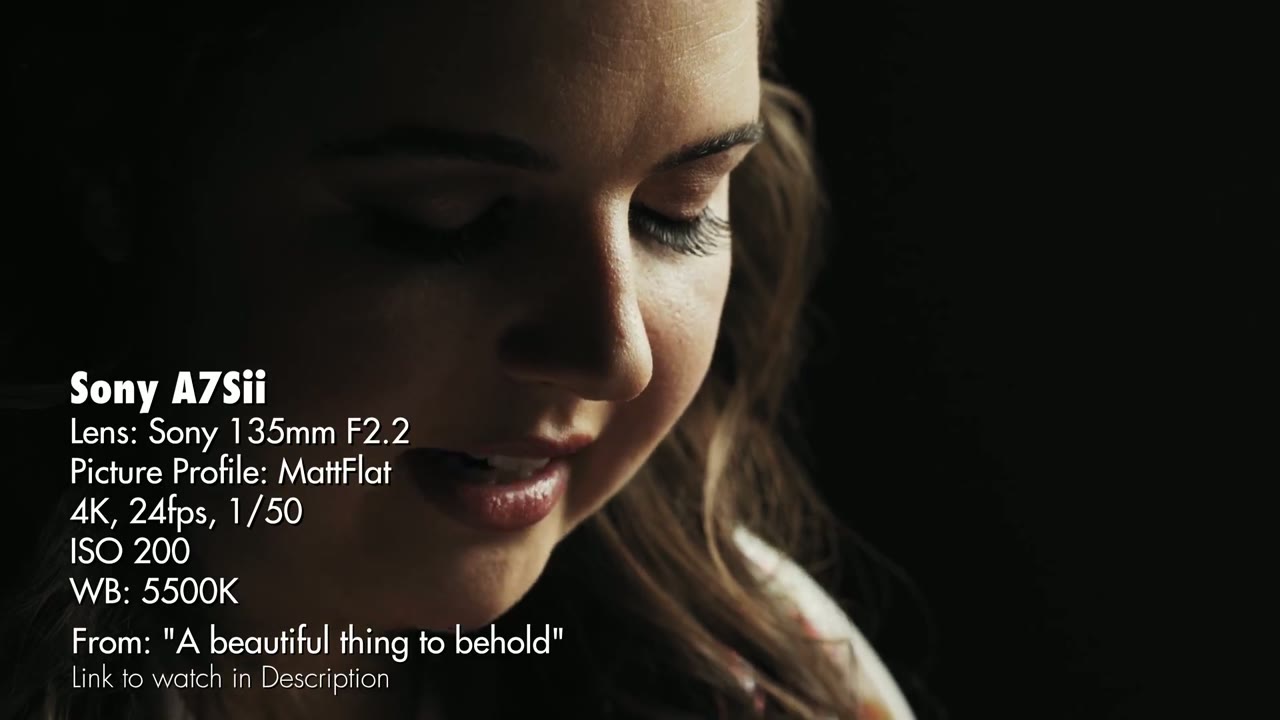
This one took me literally years to learn, and I’m glad to hand it to you for free.
Give yourself permission to only use the creative shots you actually want in your wedding films.
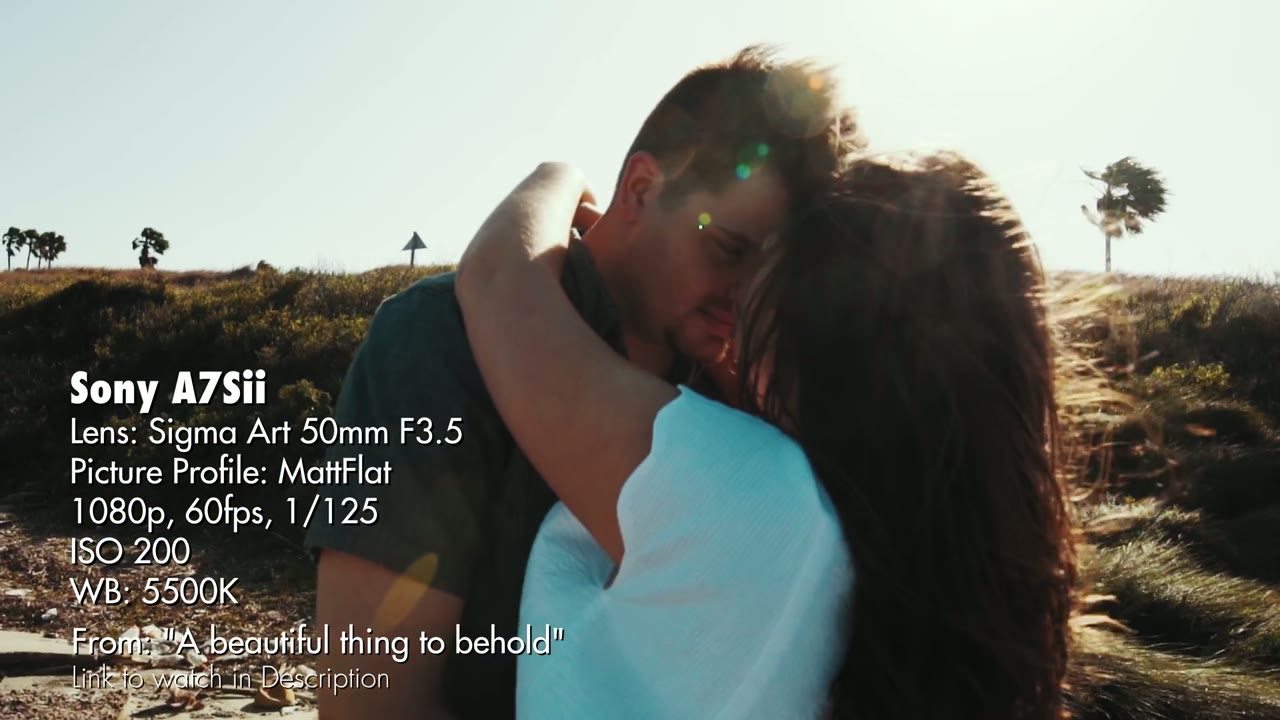
For years I put things in my films because it was the tradition to include them and I felt like I had to. The bouquet toss. The cake cutting. The ring shot. The dress hanging in the window. Honestly, most of those are a videographer tradition rather than something the bride and groom need in order to tell the best story of their day.
Watch my recent films and a lot of that is gone. What’s left is the biggest, most emotional moments of the day, because that’s what I love showing, that’s what couples book me for, and that’s the vision I’m actually following now.
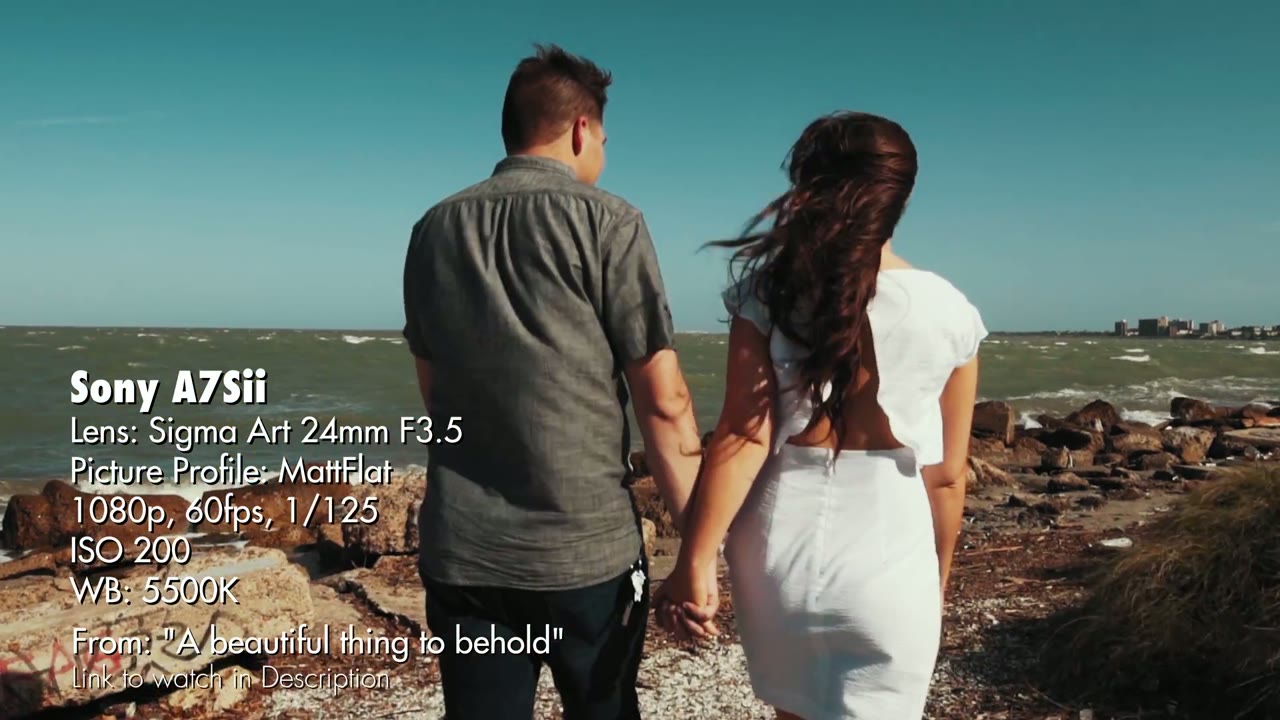
I’m not saying copy me. I’m not saying cut all of that out and make films exactly like mine. I’m saying make films that match your creative vision, and don’t feel stuck in “I have to document every single thing and show it” if you don’t want to.
Make what you want to make, and enjoy the actual joy of making things, because this is a really rare job. We get paid to make things however we want. That is not normal, and it’s one of the big reasons I love filming weddings.
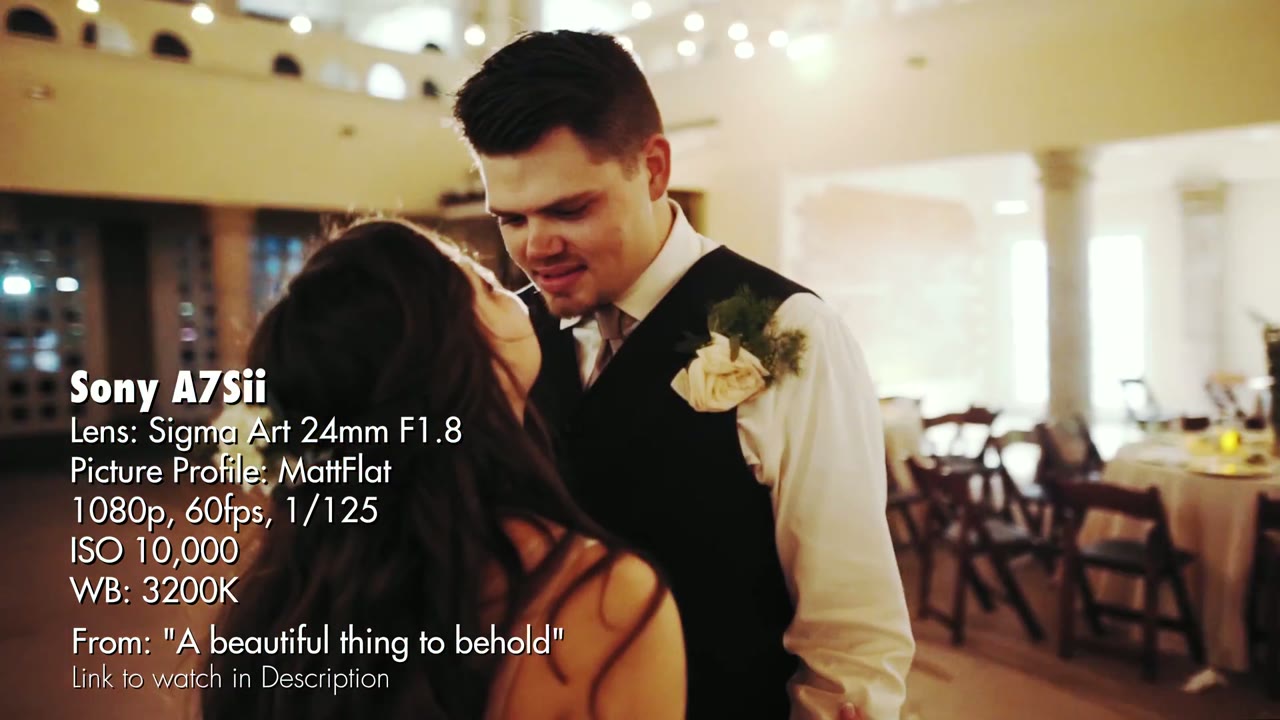
Every clip in the video carries its full settings in the corner: the Sony a7S II, the lens, the picture profile (MattFlat), the resolution and frame rate, shutter, ISO, and white balance. So if you see a look you want, you can read exactly how it was shot rather than guessing.
🎥 All of my favorite filmmaking gear is here.
Genuinely, leave me a comment and let me know, because I have ideas for a lot of the weddings I’ve shot and I’d like to do more of these. Tell me if it landed, or tell me “Matt, talk more about camera reviews, don’t do this,” and I’ll go with your feedback.
🎥 I also offer one-on-one filmmaker consulting if you want to talk through any aspect of this. And if you’d like to see more wedding films like the one above, they live at my production company, FilmStrong.

Not pretty shots, but why I took them. Reading the wind before you launch, the exact drone settings I used, and the two things I do before every take-off.
Continue reading
My wife Rachel had three roommates in college, and as of this wedding I have now filmed two of their weddings. Still holding out hope for number three, Mattie-Ruth.
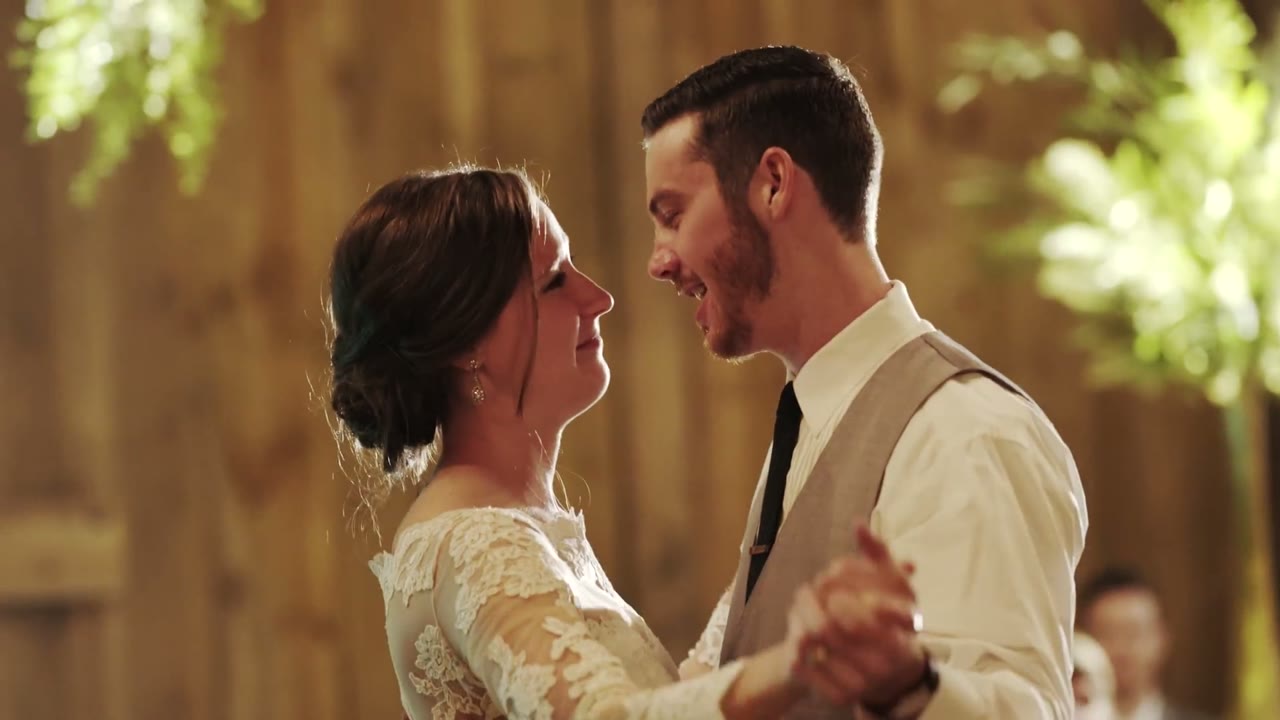
Normally whenever we film a wedding, we sit down with the couple over dinner and hear the whole story of how they met, how they fell in love, and how they decided to get married. For Lauren and Matt things were a little different, because we were already there for the entire relationship. We watched the whole thing happen. And we absolutely saw it coming, by the way.
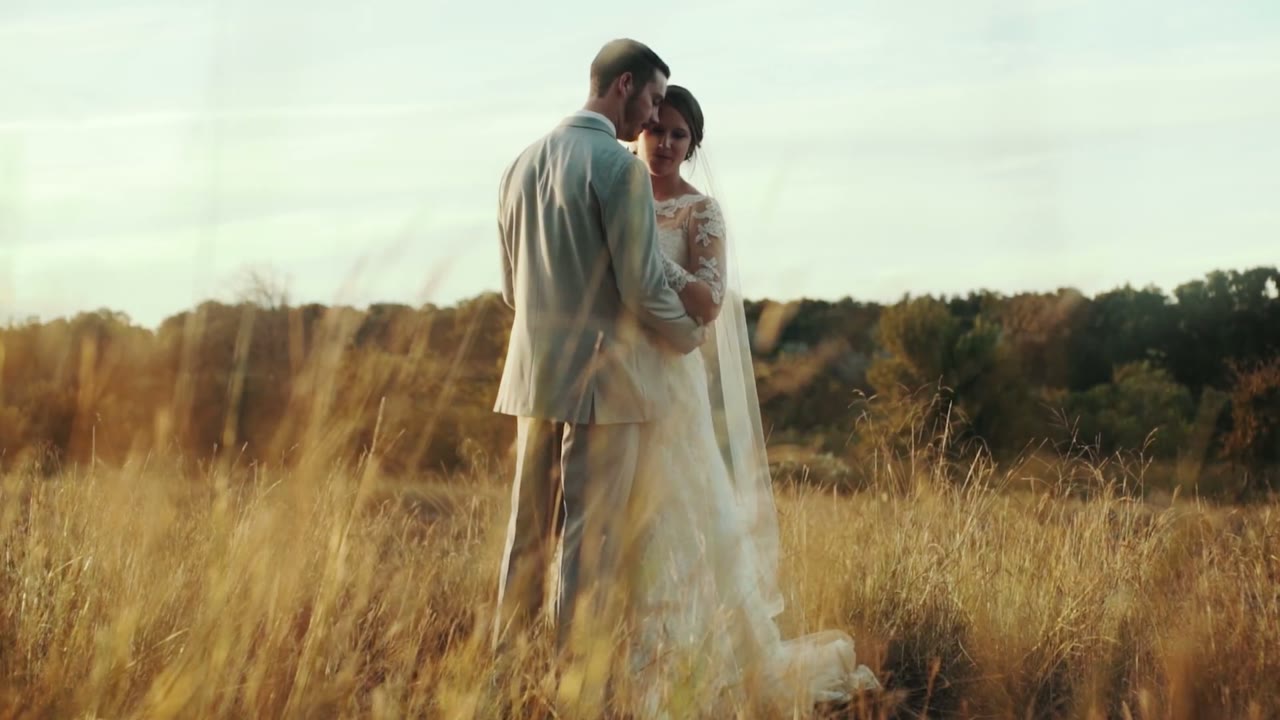
To sum it up: they wrote and performed songs together, which basically requires you to fall in love. I have citations. See Tim McGraw and Faith Hill, Johnny Cash and June Carter Cash, Sonny and Cher, Jay Z and Beyonce, and, unfortunately, Avril Lavigne and Chad Kroeger.
Getting to witness two of our good friends join their lives together, in a moment all of us had been hoping and waiting for, made their wedding day that much more special for us to film.
Johnson City sits right in the middle of the Hill Country, about an hour west of Austin, and in the fall it does this thing where everything goes gold and the light gets low and soft about two hours before it has any business doing that. Tall dry grass, live oaks, a windmill turning against a completely empty blue sky. It is a gift to a wedding filmmaker, and honestly you just try not to get in its way.
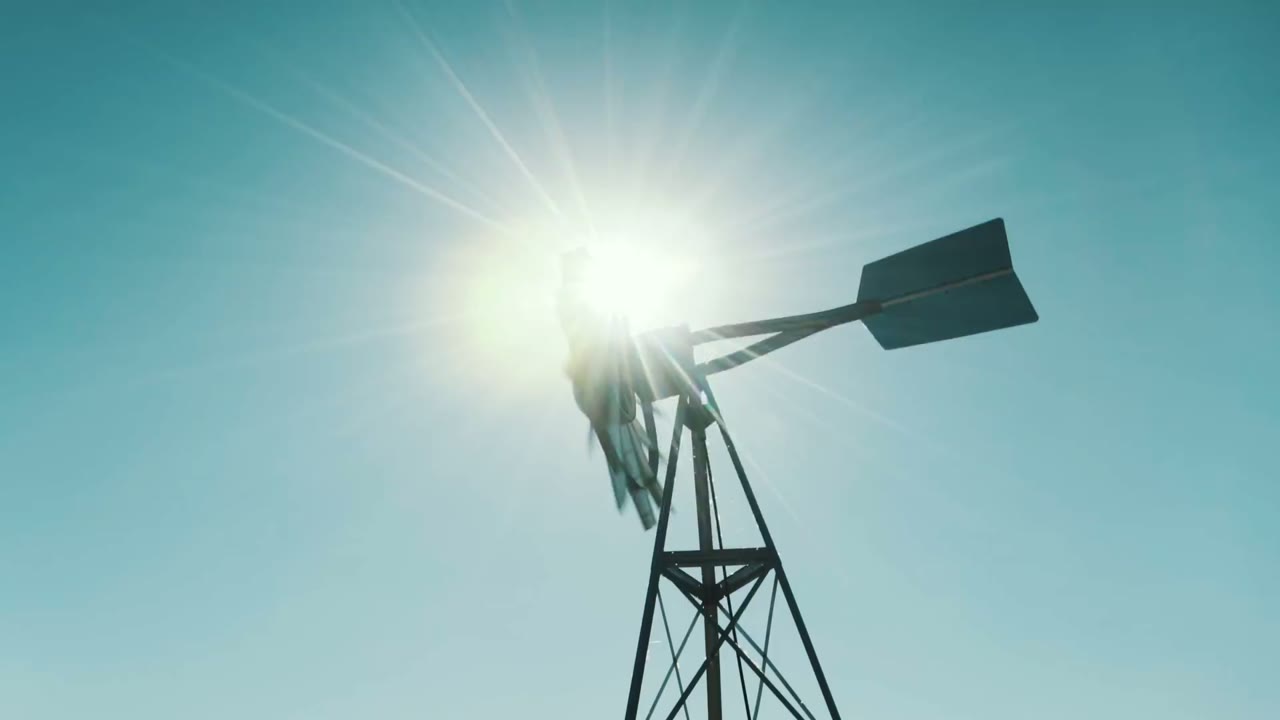
The whole day lived outside, which meant the ceremony had the hills behind it and the reception ran right into the dark, and it gave the film a natural arc without me having to build one.
Getting ready is my favorite part of a wedding day to film, and it’s the part couples most often assume isn’t worth covering. It is. It’s the only stretch of the day where nobody is performing yet. Somebody’s mom is buttoning the back of a dress she has been thinking about for a year, and her hands are doing something she will not remember doing, and that’s the shot.
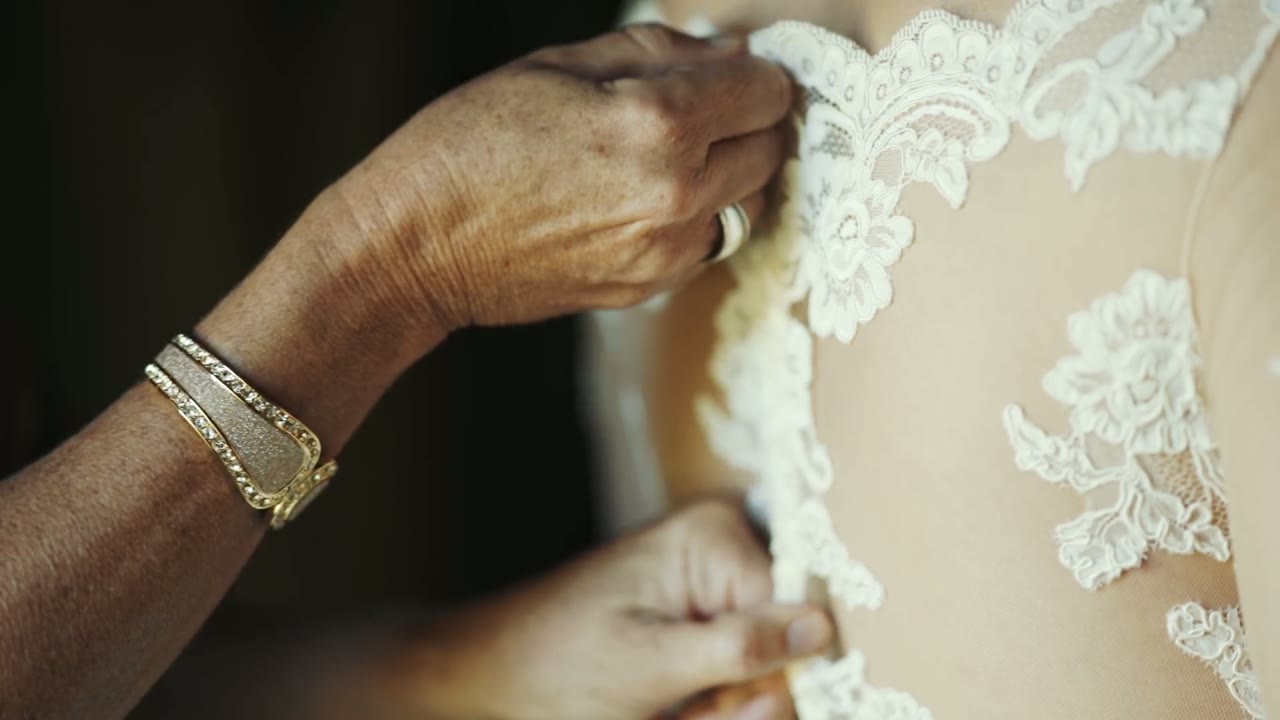
Lauren and Matt also wrote letters to each other and read them before the ceremony, which is one of the best decisions a couple can make for their film. You get their actual voices saying their actual words, and it gives the whole thing a spine to hang on instead of just pretty pictures set to music.
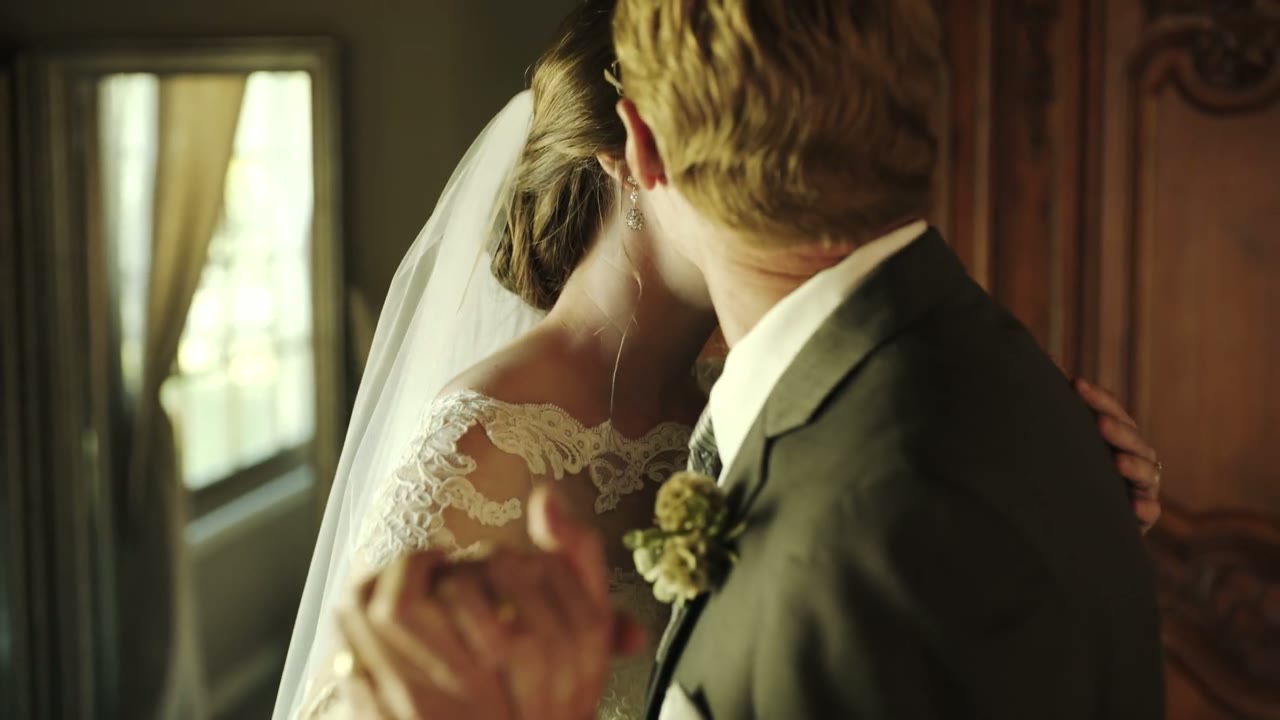
Their pastor knew them, which changes everything. He opened by telling the story of their first date in Austin, a round of putt-putt at Peter Pan Mini Golf, where Matt parked in the wrong lot and got his car towed while they were somewhere around the 18th hole. Most expensive first date ever. Worth it, clearly.
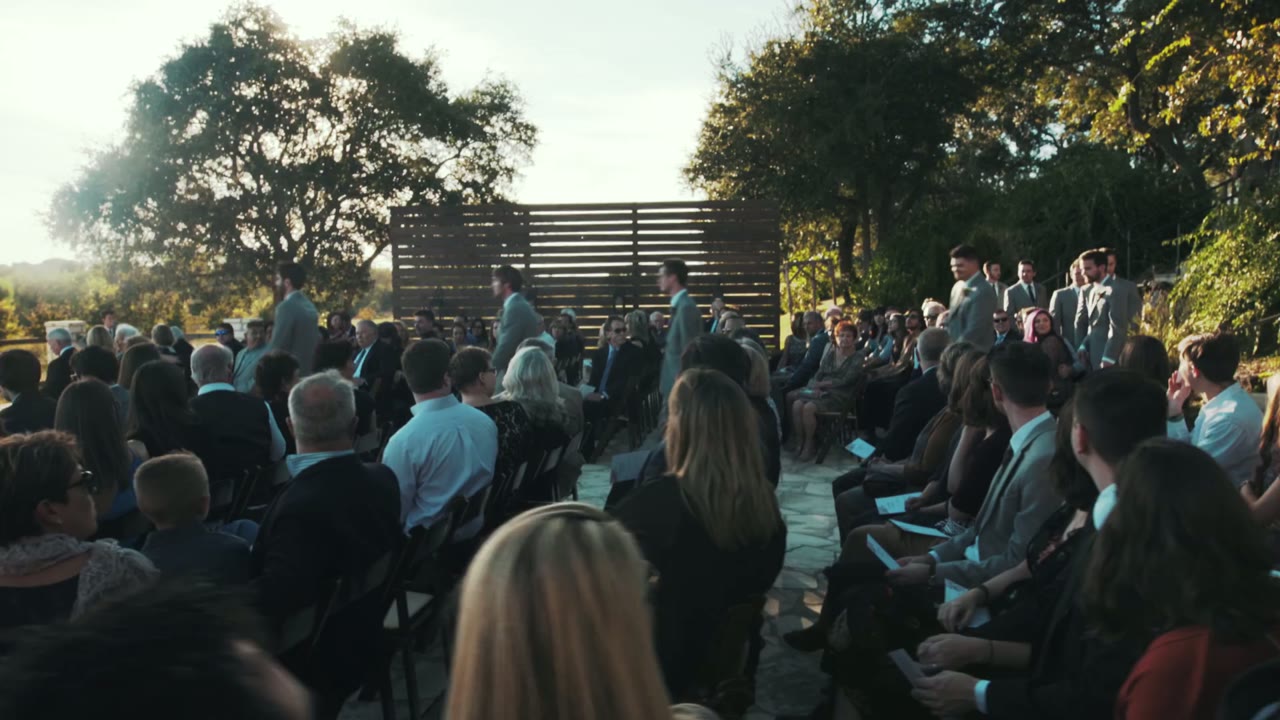
Whenever the person officiating actually knows the couple, the audio you get is better than anything you could have planned for, and a room full of people who love them laughs in the right places. You can hear it in the film.
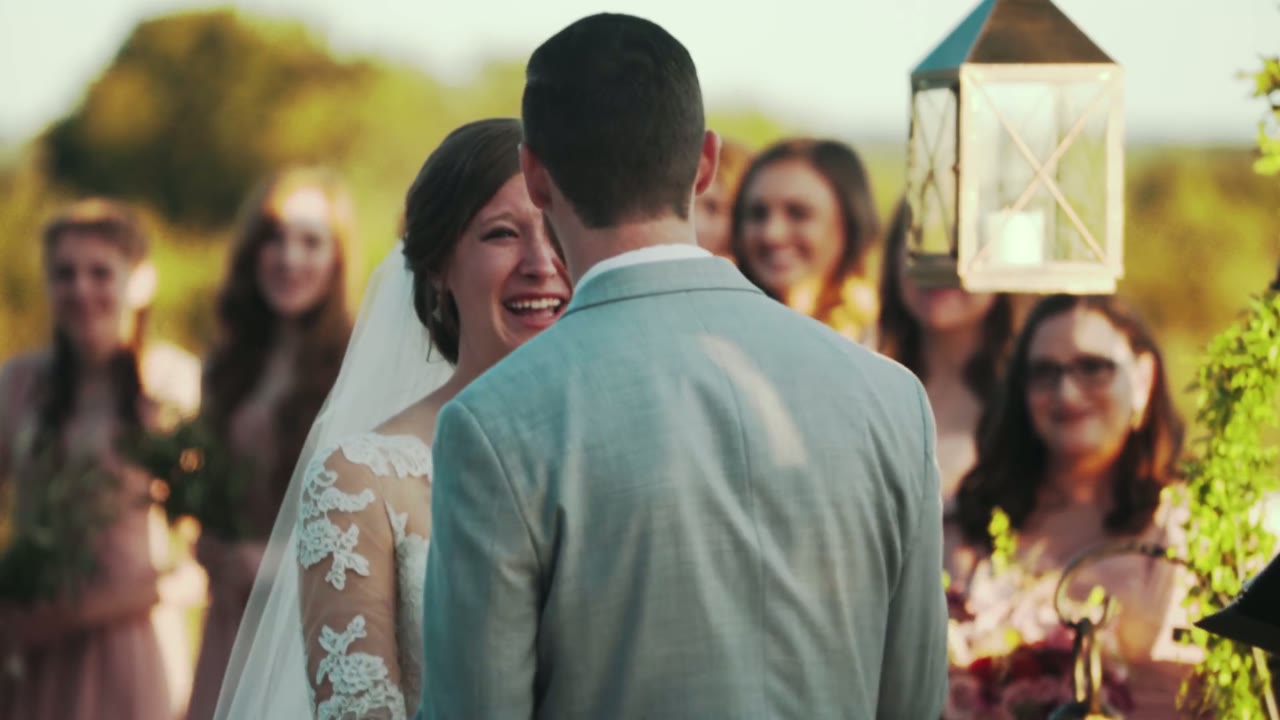
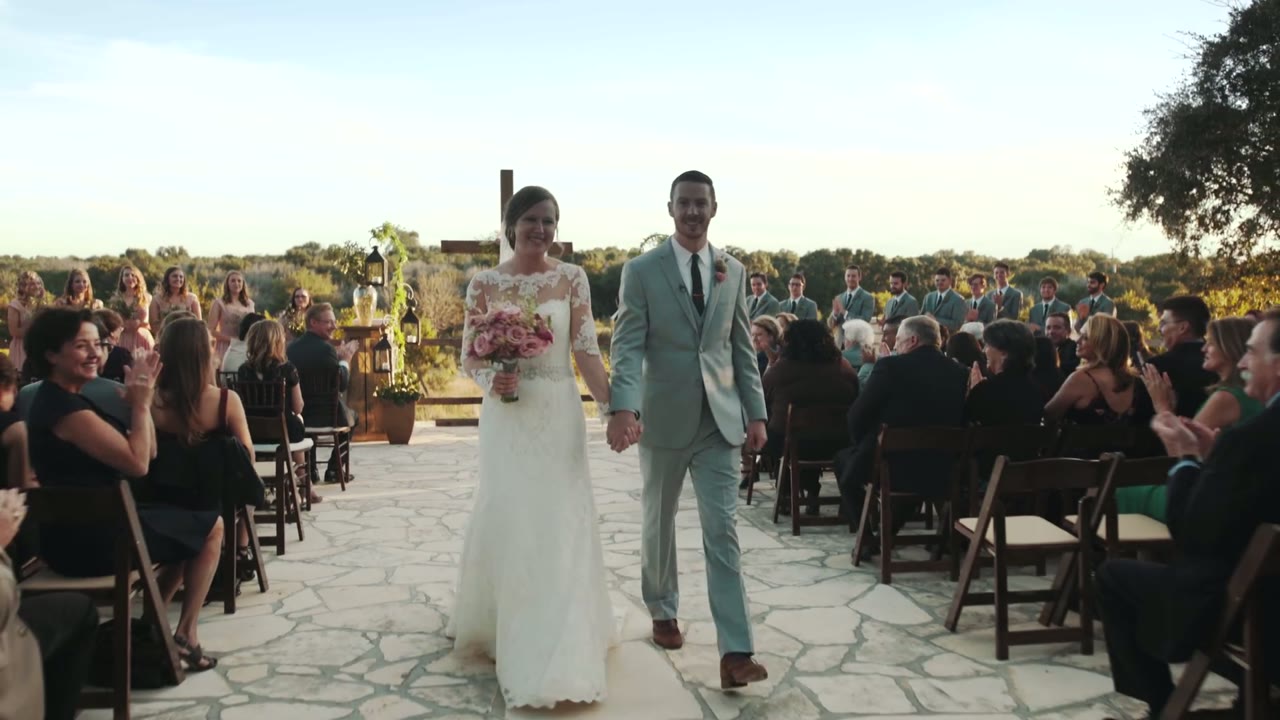
That line is from the toasts, and the second I heard it in the edit I knew it was the title of the film. It’s the whole relationship in one sentence: two people who make music together, who are better at it because the other one is in the room.
This is the argument for recording speeches properly, by the way. Put a recorder on the officiant, put one near the toasts, and get the audio clean. The single best line in almost every wedding film I’ve ever made was something somebody said out loud that day, not something I found in the footage.
📷 The full list of what I carry to a wedding lives here: my wedding filmmaking kit. A few of the pieces that did the most work on this day:
Cut in Adobe Premiere Pro and graded with my LUTs.
Even if the two of you don’t make beautiful music together, we would love to film your wedding. 🎥 Get in touch with us at FilmStrong.
And if you’re the one holding the camera: 🎬 my wedding film editing course is where I teach how a film like this gets built, ►► my free guide to booking more wedding clients is yours to download, and ✌ the Learn Wedding Filmmaking Facebook Group is where the rest of us hang out.