
Today I’m going to show you how to use your Sony camera’s in-camera proxy feature to take your footage from playing back slow and stuttering in your editor, because the files are so high quality that your computer cannot keep up with them, to playing back so smoothly that you can scrub through it like a hot knife cutting through butter.
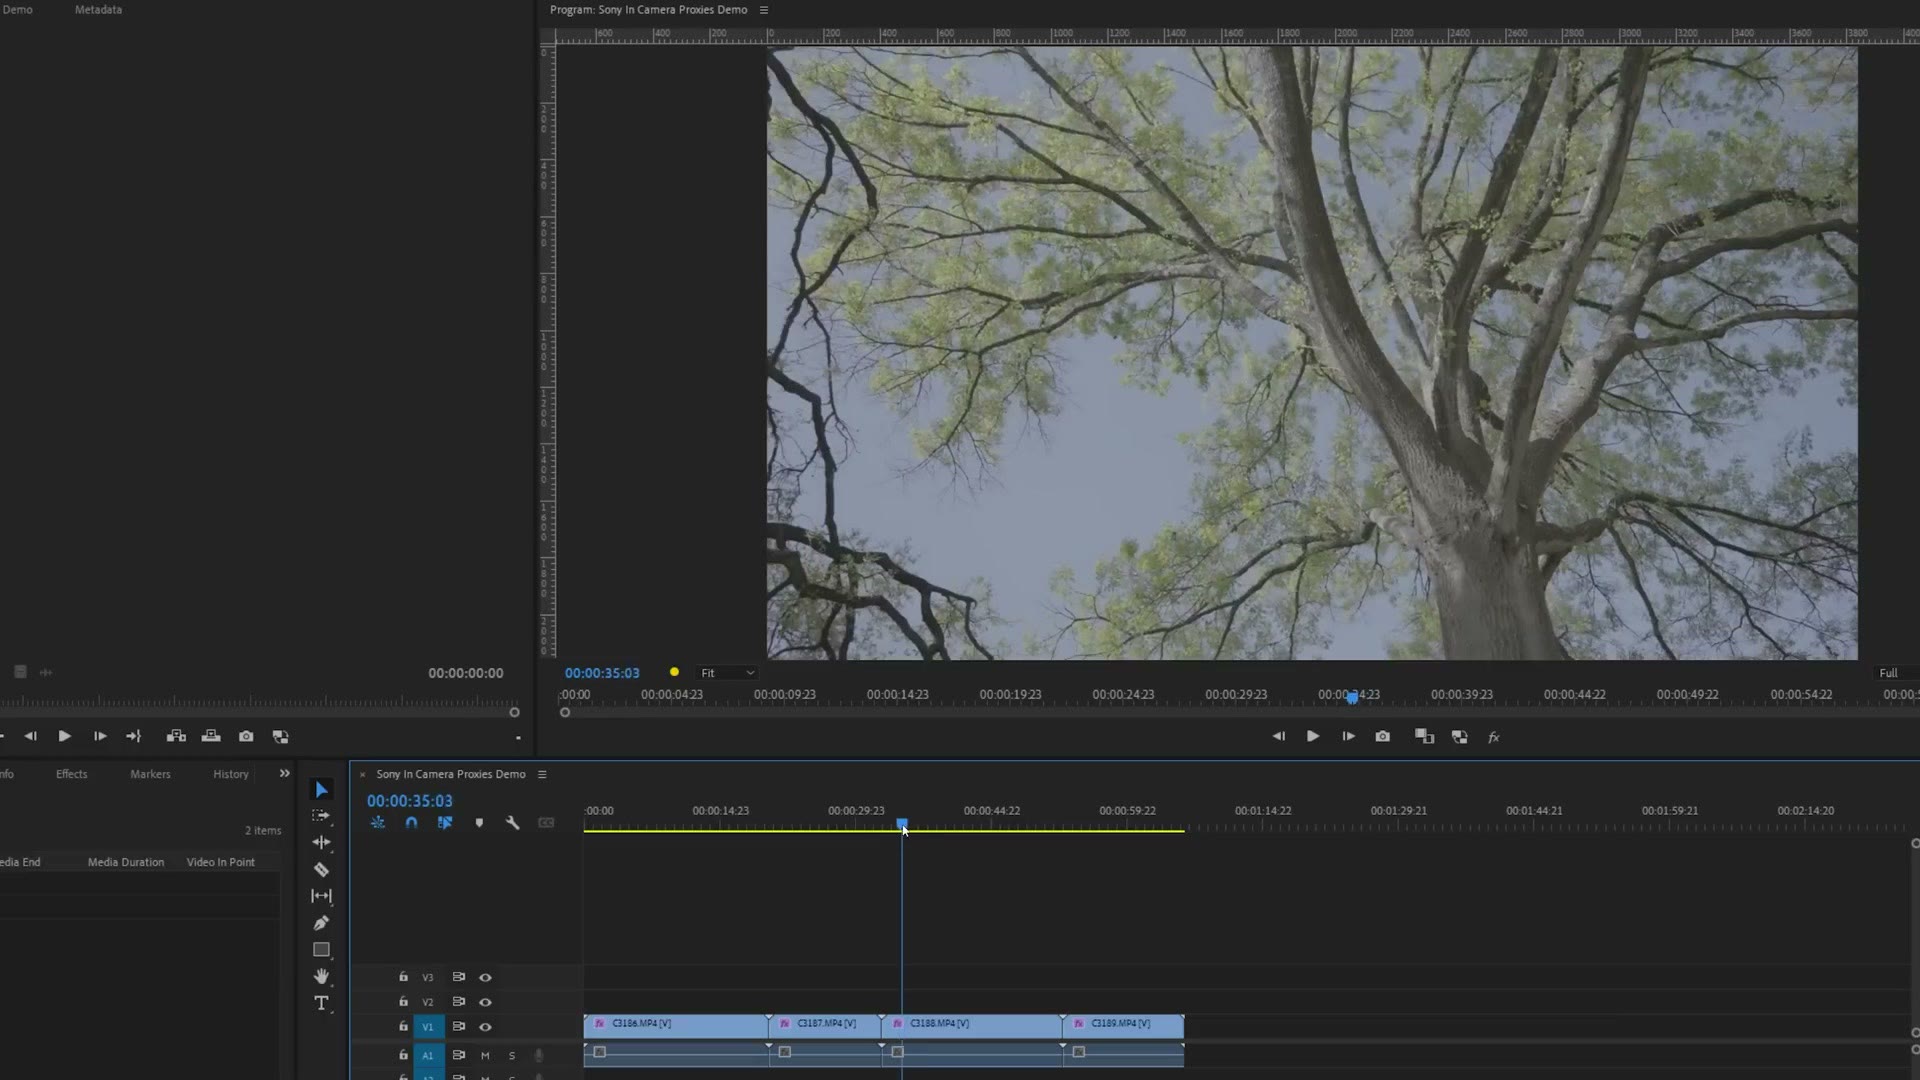
And this is a huge deal, because whenever you create your proxies in camera it means you never have to waste time creating proxies in post. Here’s how I do it.
Enable Proxies On 10-Bit Sony Cameras
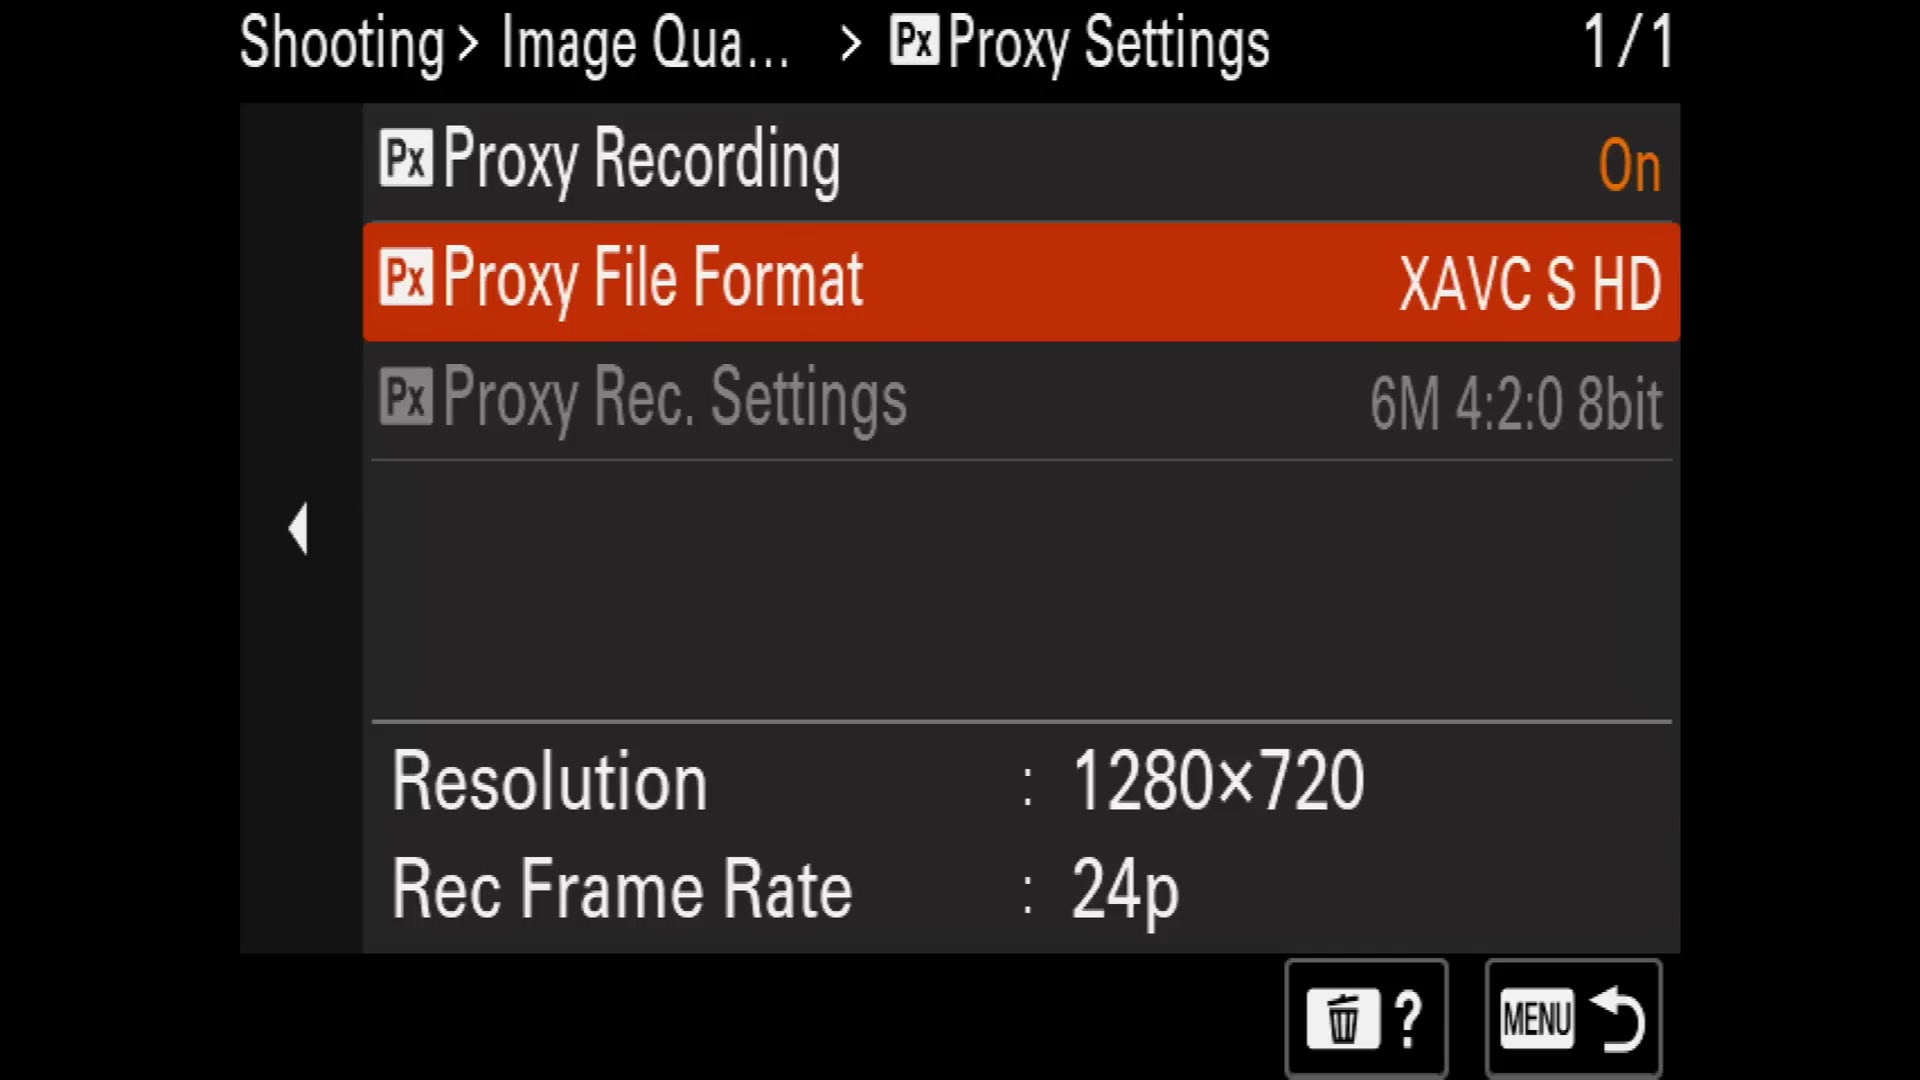
If you’re on a newer Sony camera like the a7S III, the a7 IV, the a1, or any of the newer bodies with the new menu system, you turn this on by going to the red camera menu and selecting Proxy Settings. Heads up: this link goes to the newer Sony a1 II.
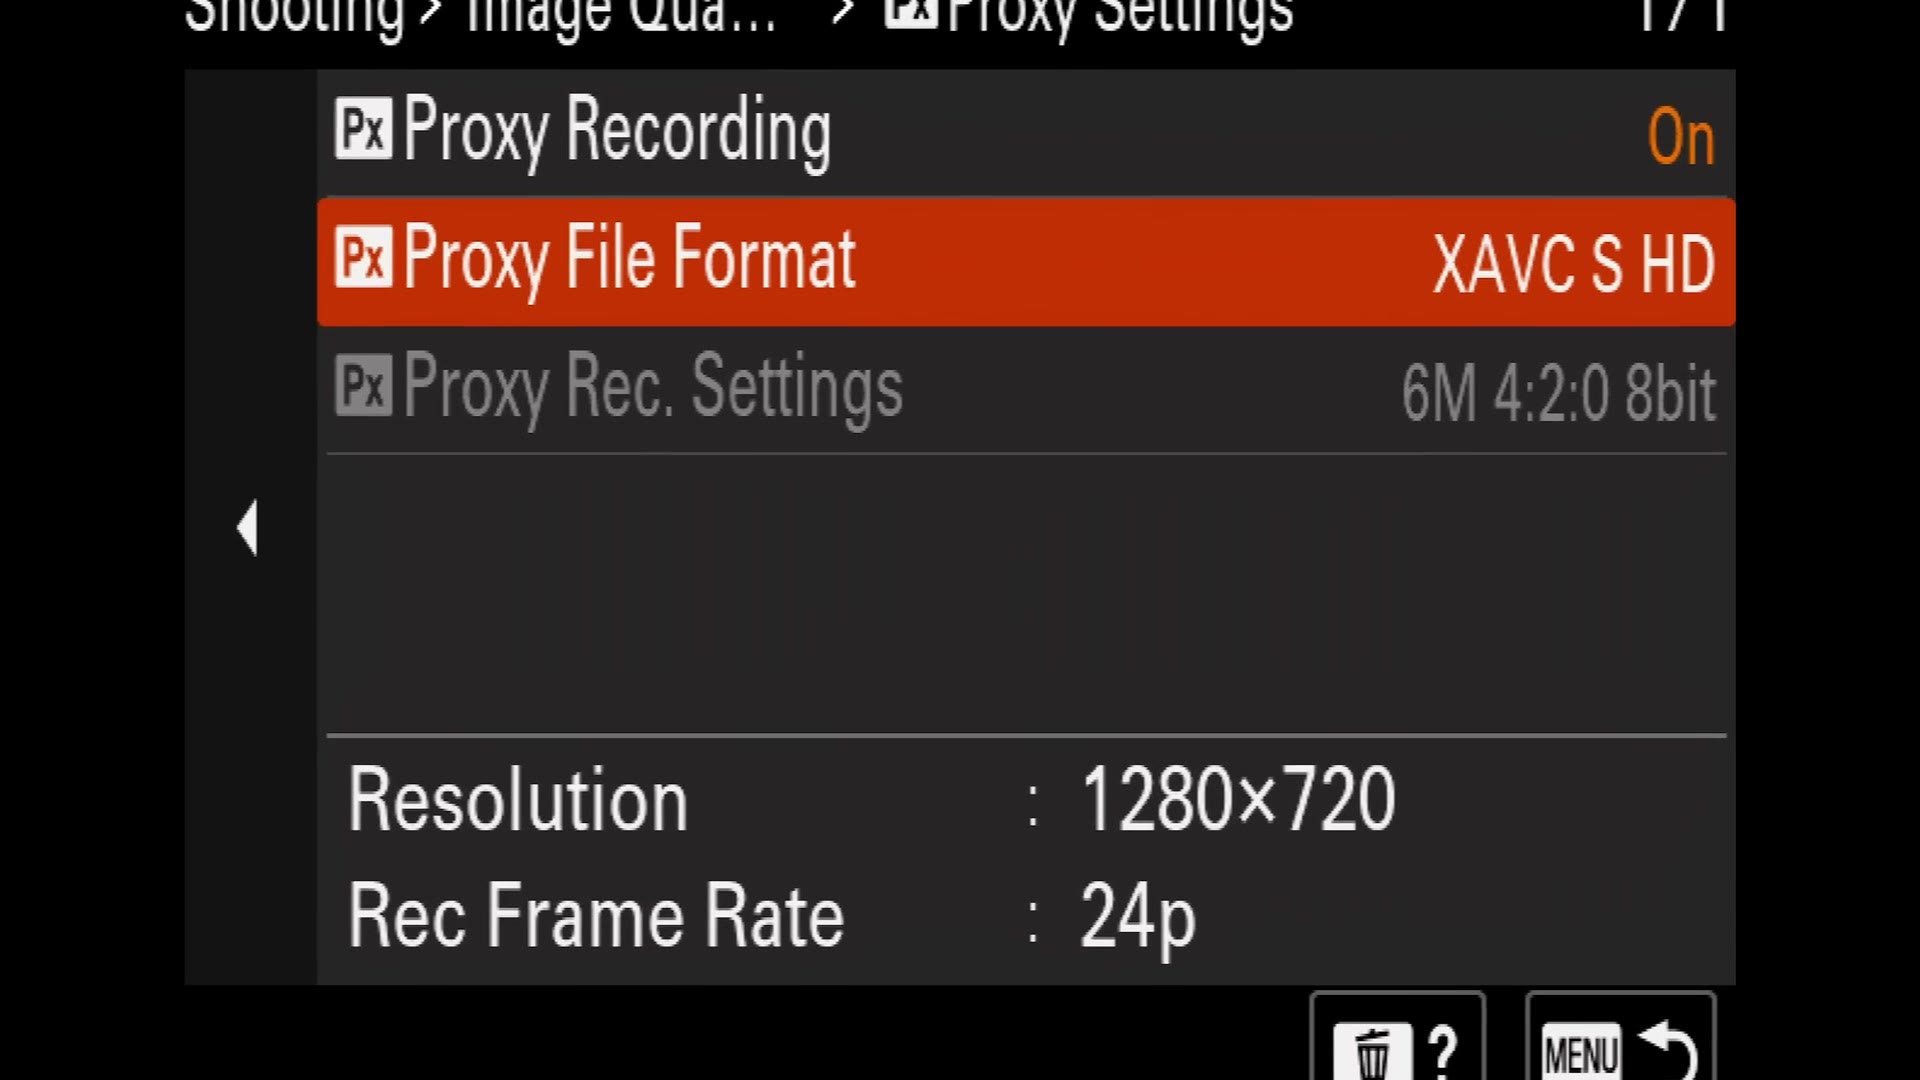
You’ll notice you have two options for Proxy File Format. XAVC S HD records your proxies at 720p, and XAVC HS HD records them at 1080p. Considering these are just proxy files that exist purely to speed up your editing, and you want them to be as fast as possible, I would not go with XAVC HS. Choose XAVC S HD instead, because that gives you the smallest resolution, file size and bitrate, which means your footage plays back as smoothly as possible whenever you’re editing.

Enable Proxies On Older 8-Bit Sony Cameras
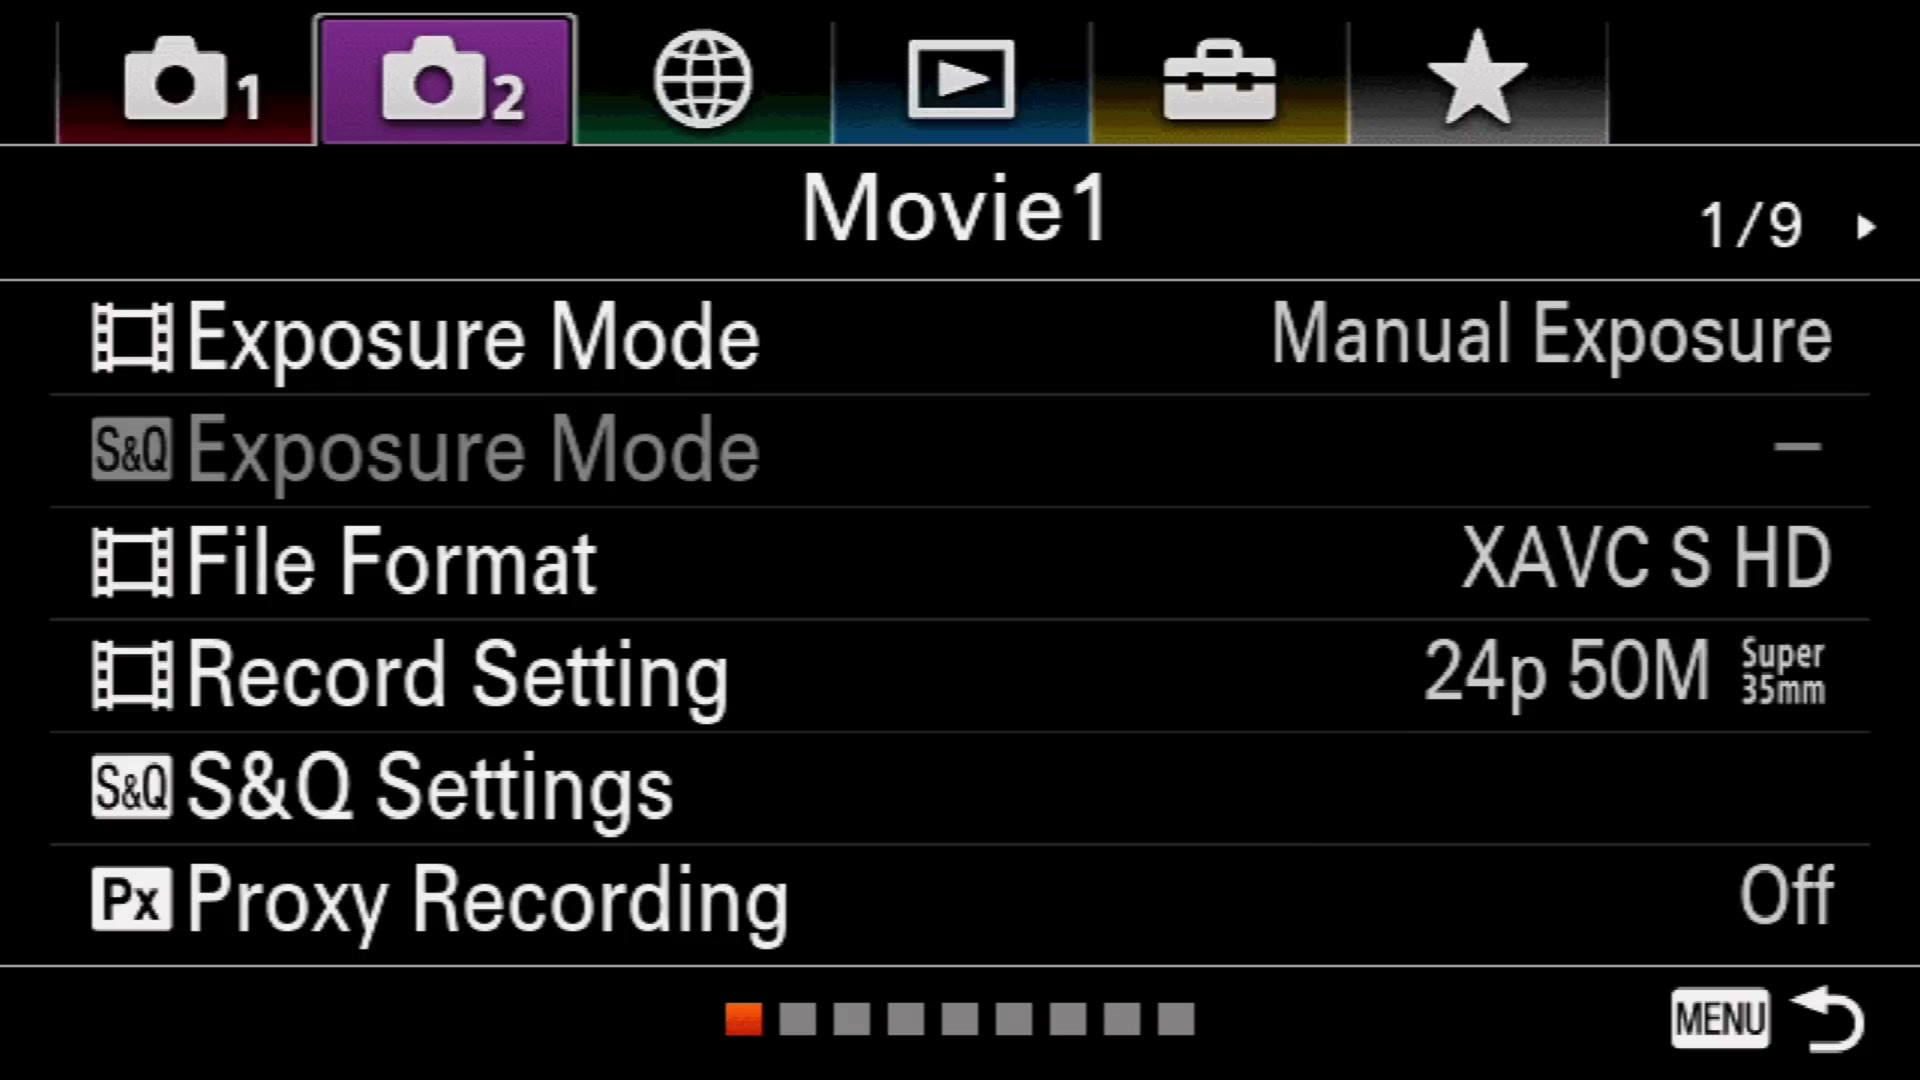
If you have an earlier Sony camera like the a7 III or the a6600 with the older style of menu, you can still use proxies. Navigate to the movie menu and turn Proxy Recording on. There are no other settings to change.
Download My Proxy Memory Cards Cheat Sheet!
Next we need to talk about which memory card you should use, and the biggest factor here is card speed, because if your card isn’t fast enough you are not going to be able to use proxies at certain frame rates at all.
To save you time, I made a mega chart of every frame rate, resolution and memory card speed I’ve tested, and put it into a PDF cheat sheet you can download for free right here if you want to figure out whether your cards will work for proxies.
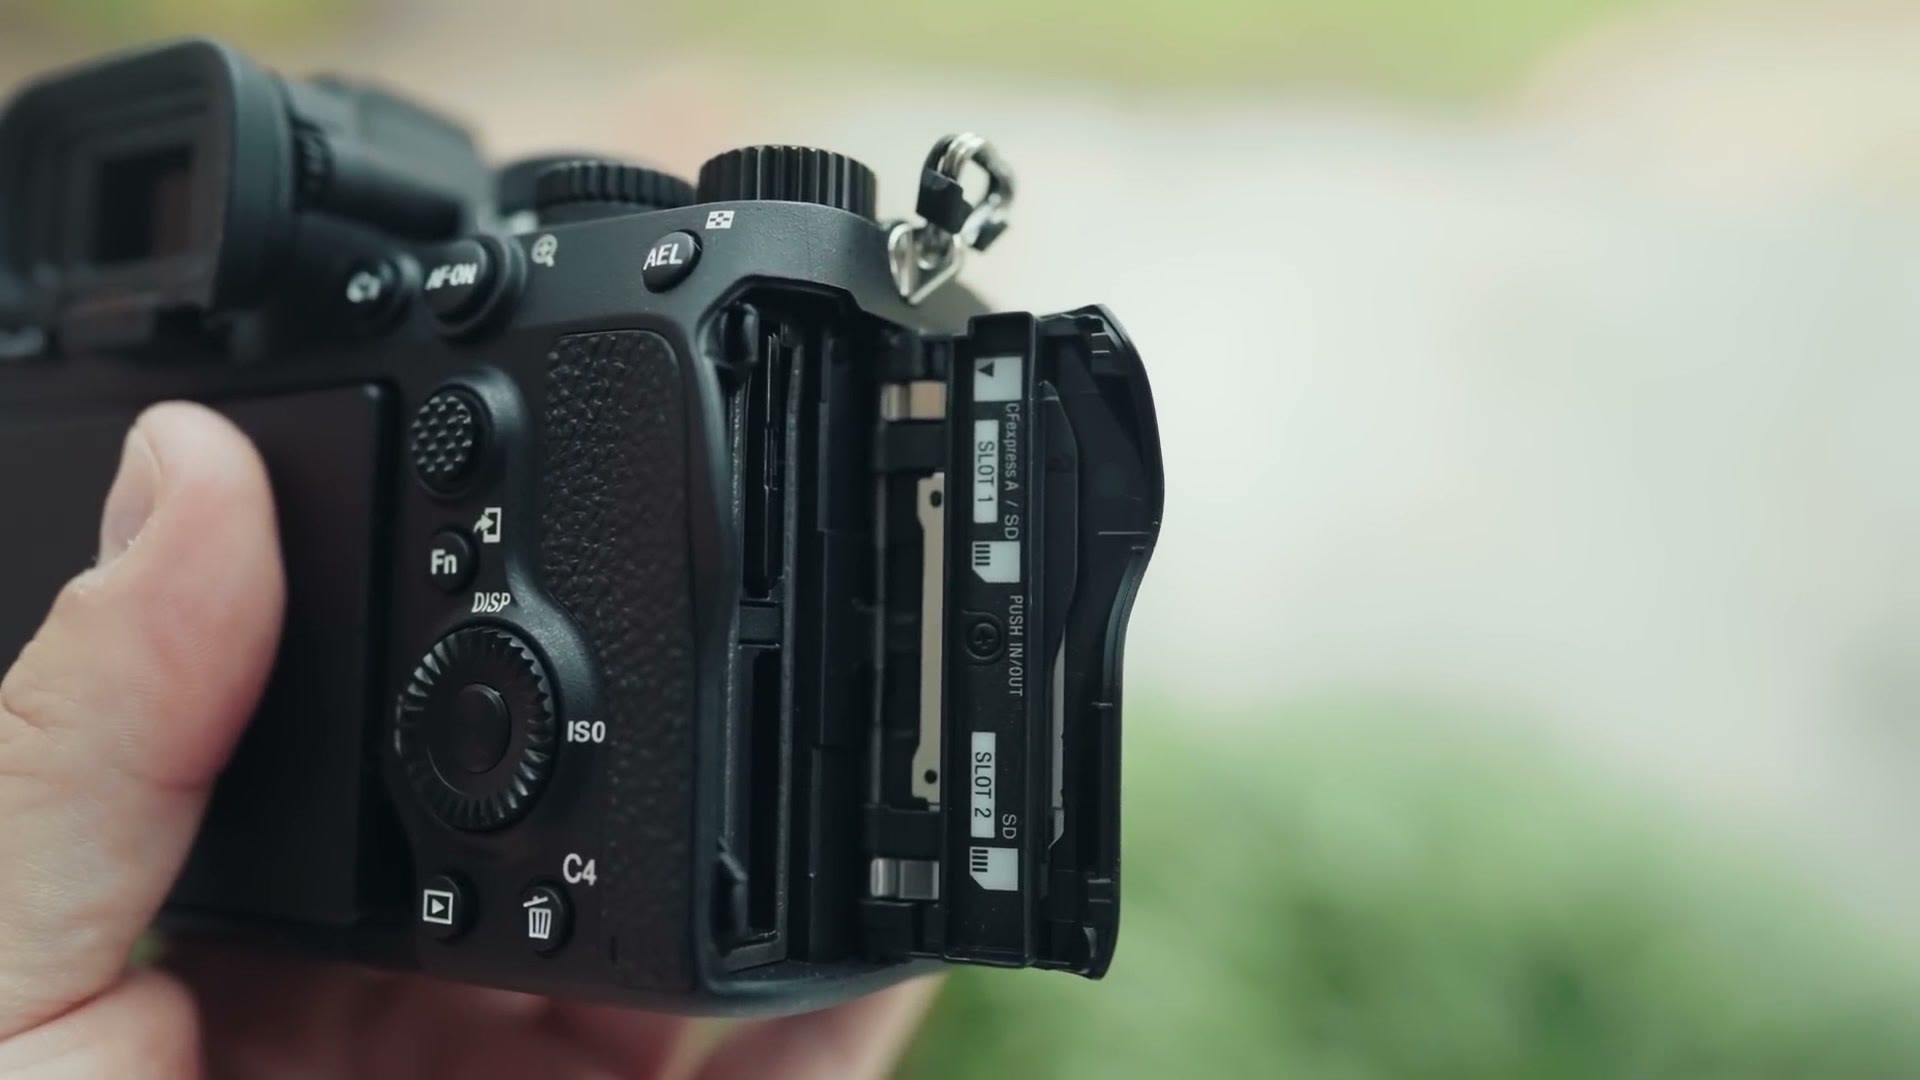
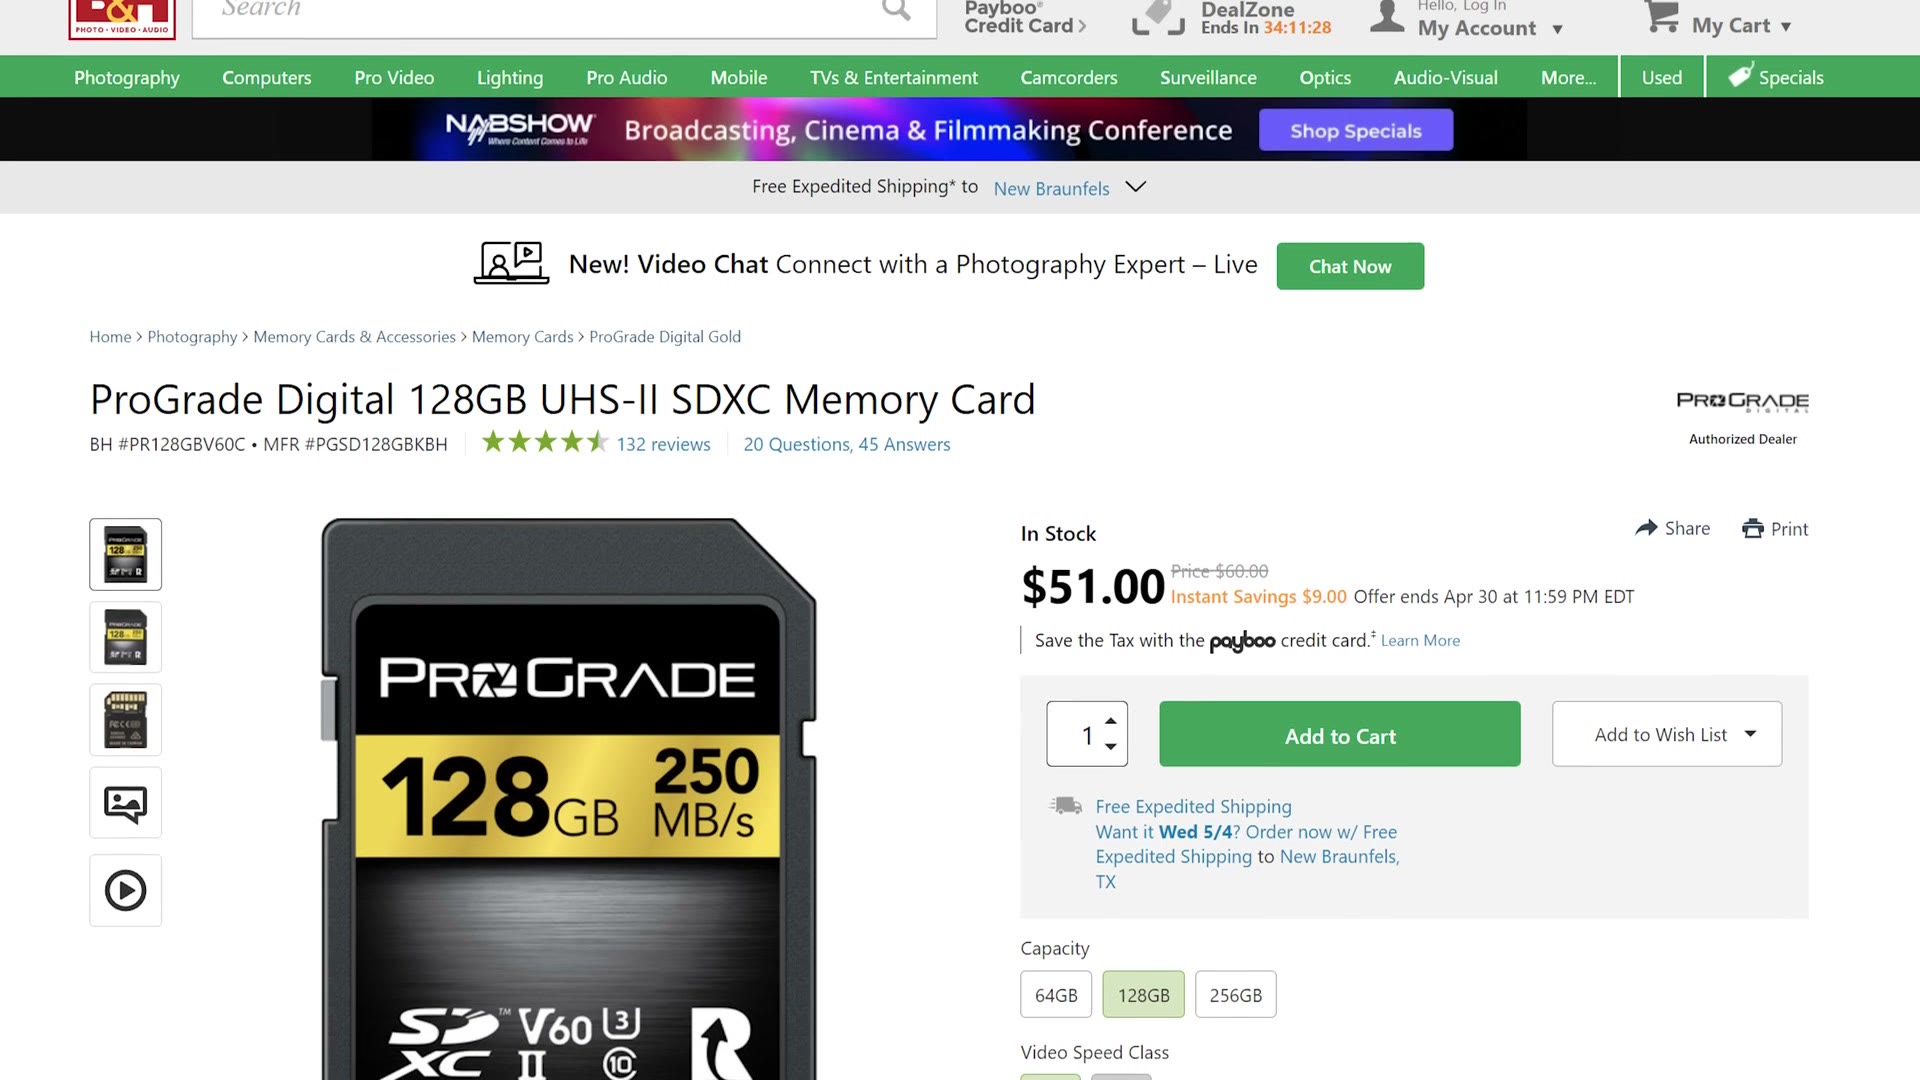
To summarize that cheat sheet though, I’d really recommend buying SD cards rated at least V60, because those are the best bang for your buck in terms of how many proxy modes they support for the price.

If you buy slower V30 cards, they’ll only support recording proxies in 4K at 24 frames per second. They will support 4K 60, but only at 8-bit, not 10-bit. And considering I know a lot of filmmakers want to record 4K 60 in 10-bit, that’s exactly why I recommend faster V60 or V90 cards.
What About 120FPS?
There’s one more limitation, and it’s sad news. It is impossible to create proxies in camera while recording at 120 frames per second, either in 4K or even in 1080p.
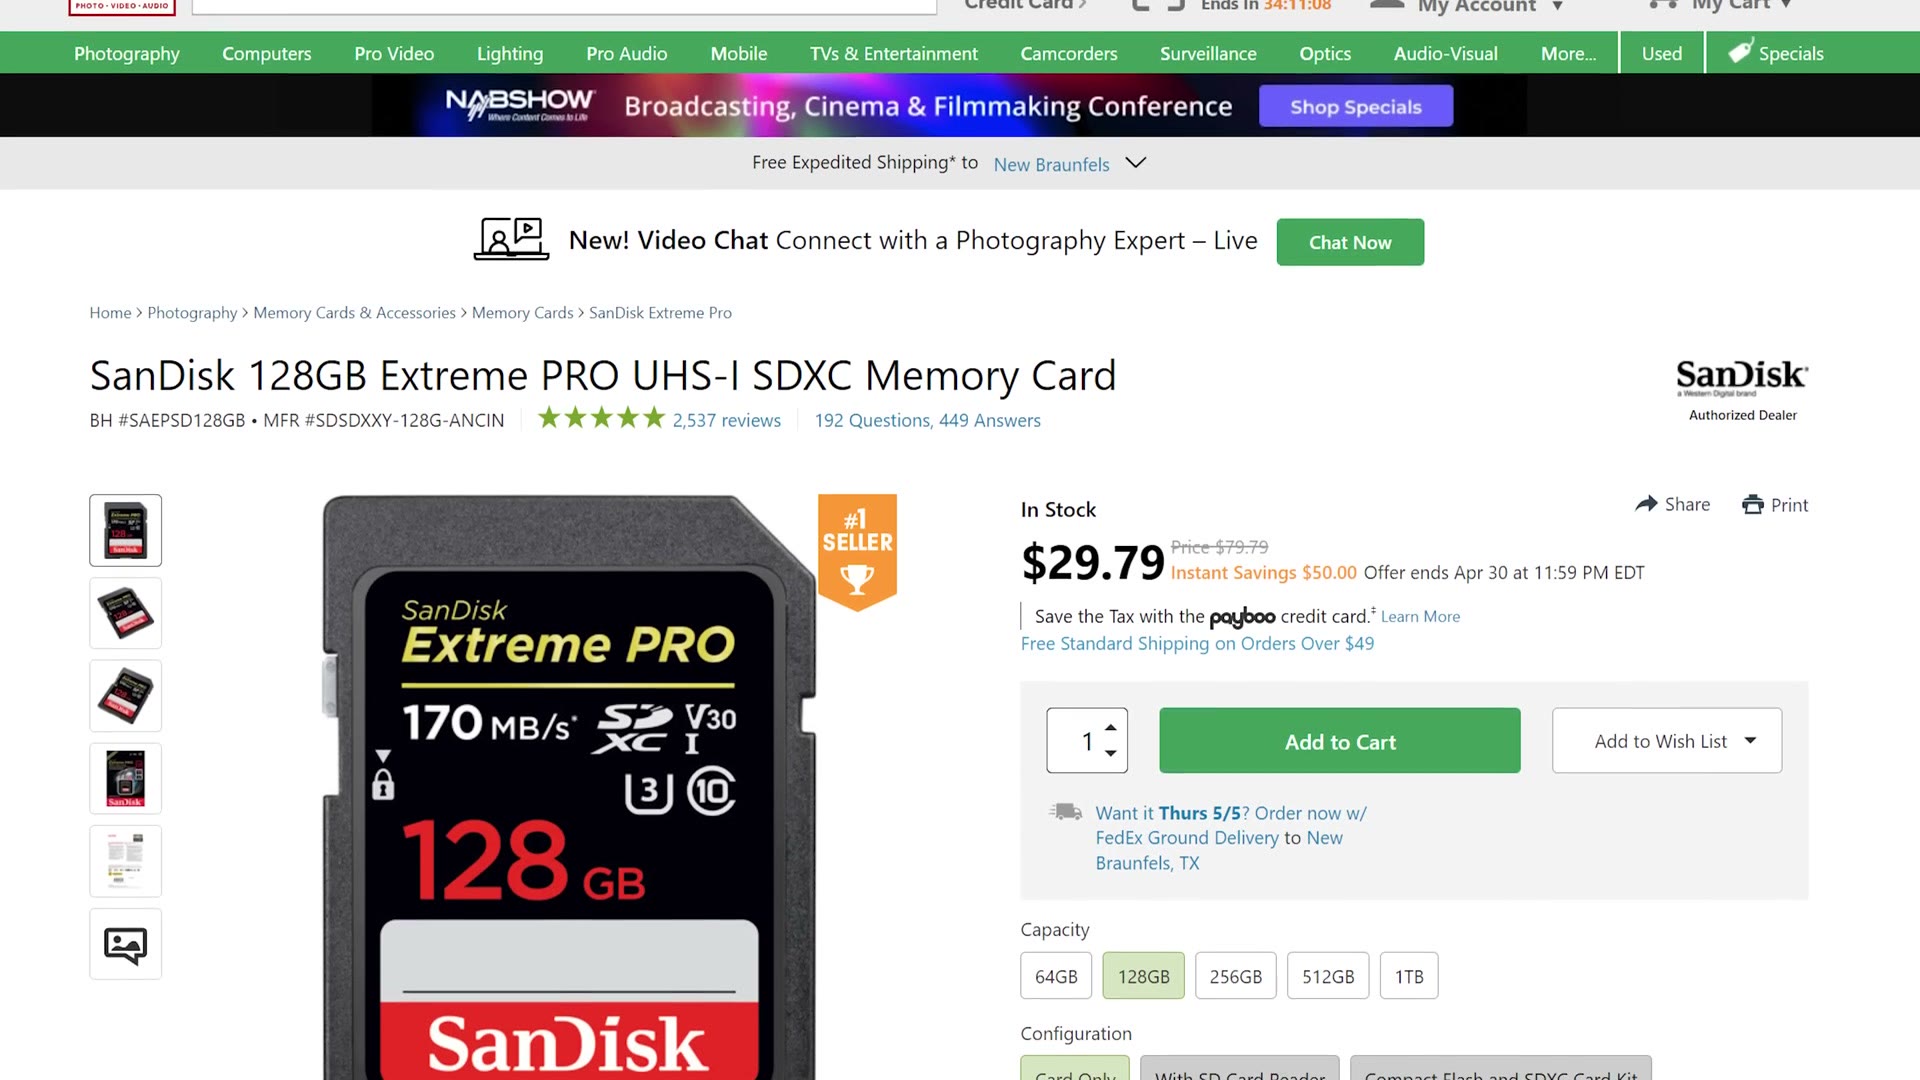
And this holds even if you buy the fastest cards your camera can take, which for the a7S III, a7 IV and a1 means CFexpress Type A. The camera still will not let you record proxies while shooting 120fps.
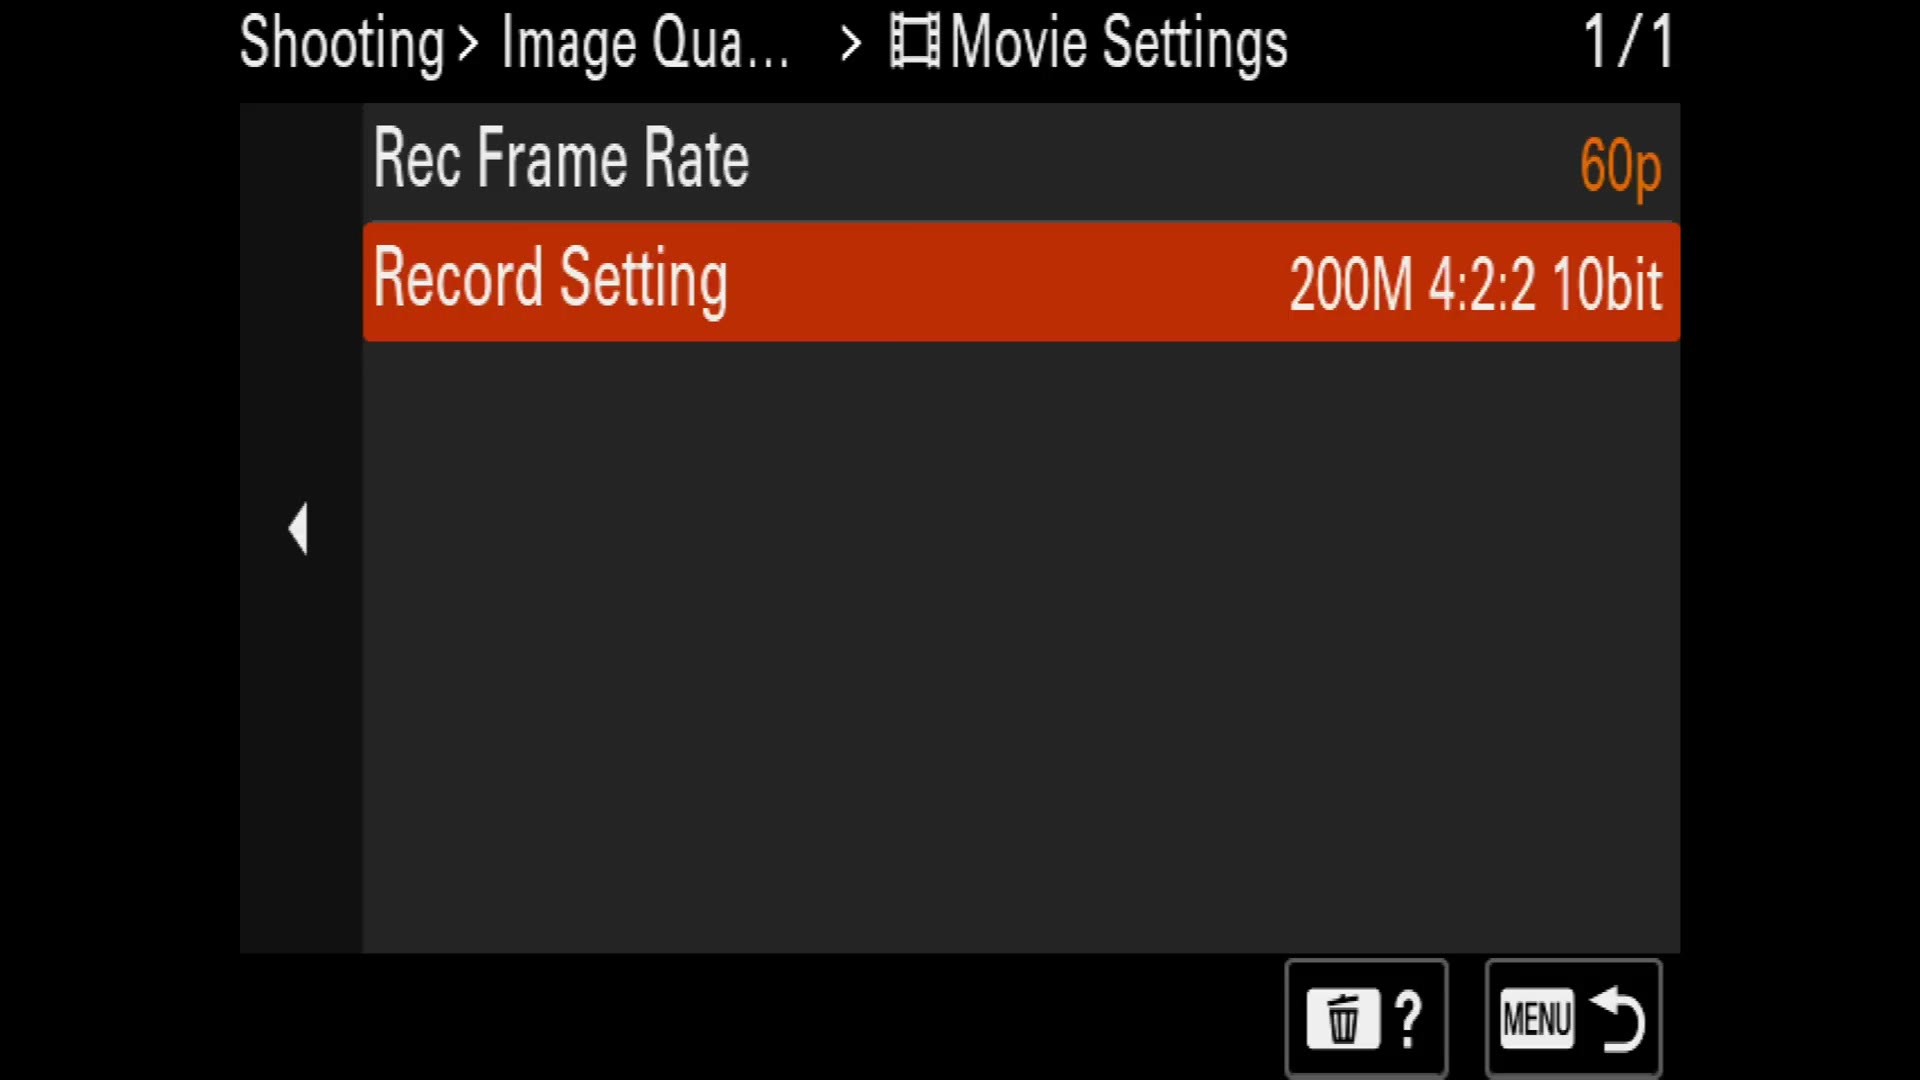
I wish it were possible, but if I had to guess, this looks like a heat issue. The camera would be recording two separate videos at 120 frames per second at the same time, and it would probably just melt. So if you’re someone who loves shooting 120, you’ll have to make your proxies in post instead, and the good news is I have a full walkthrough of how to do that in Premiere Pro.
How To Use In Camera Proxies In Premiere Pro
Now let’s talk about editing with the proxies you’ve recorded in camera.
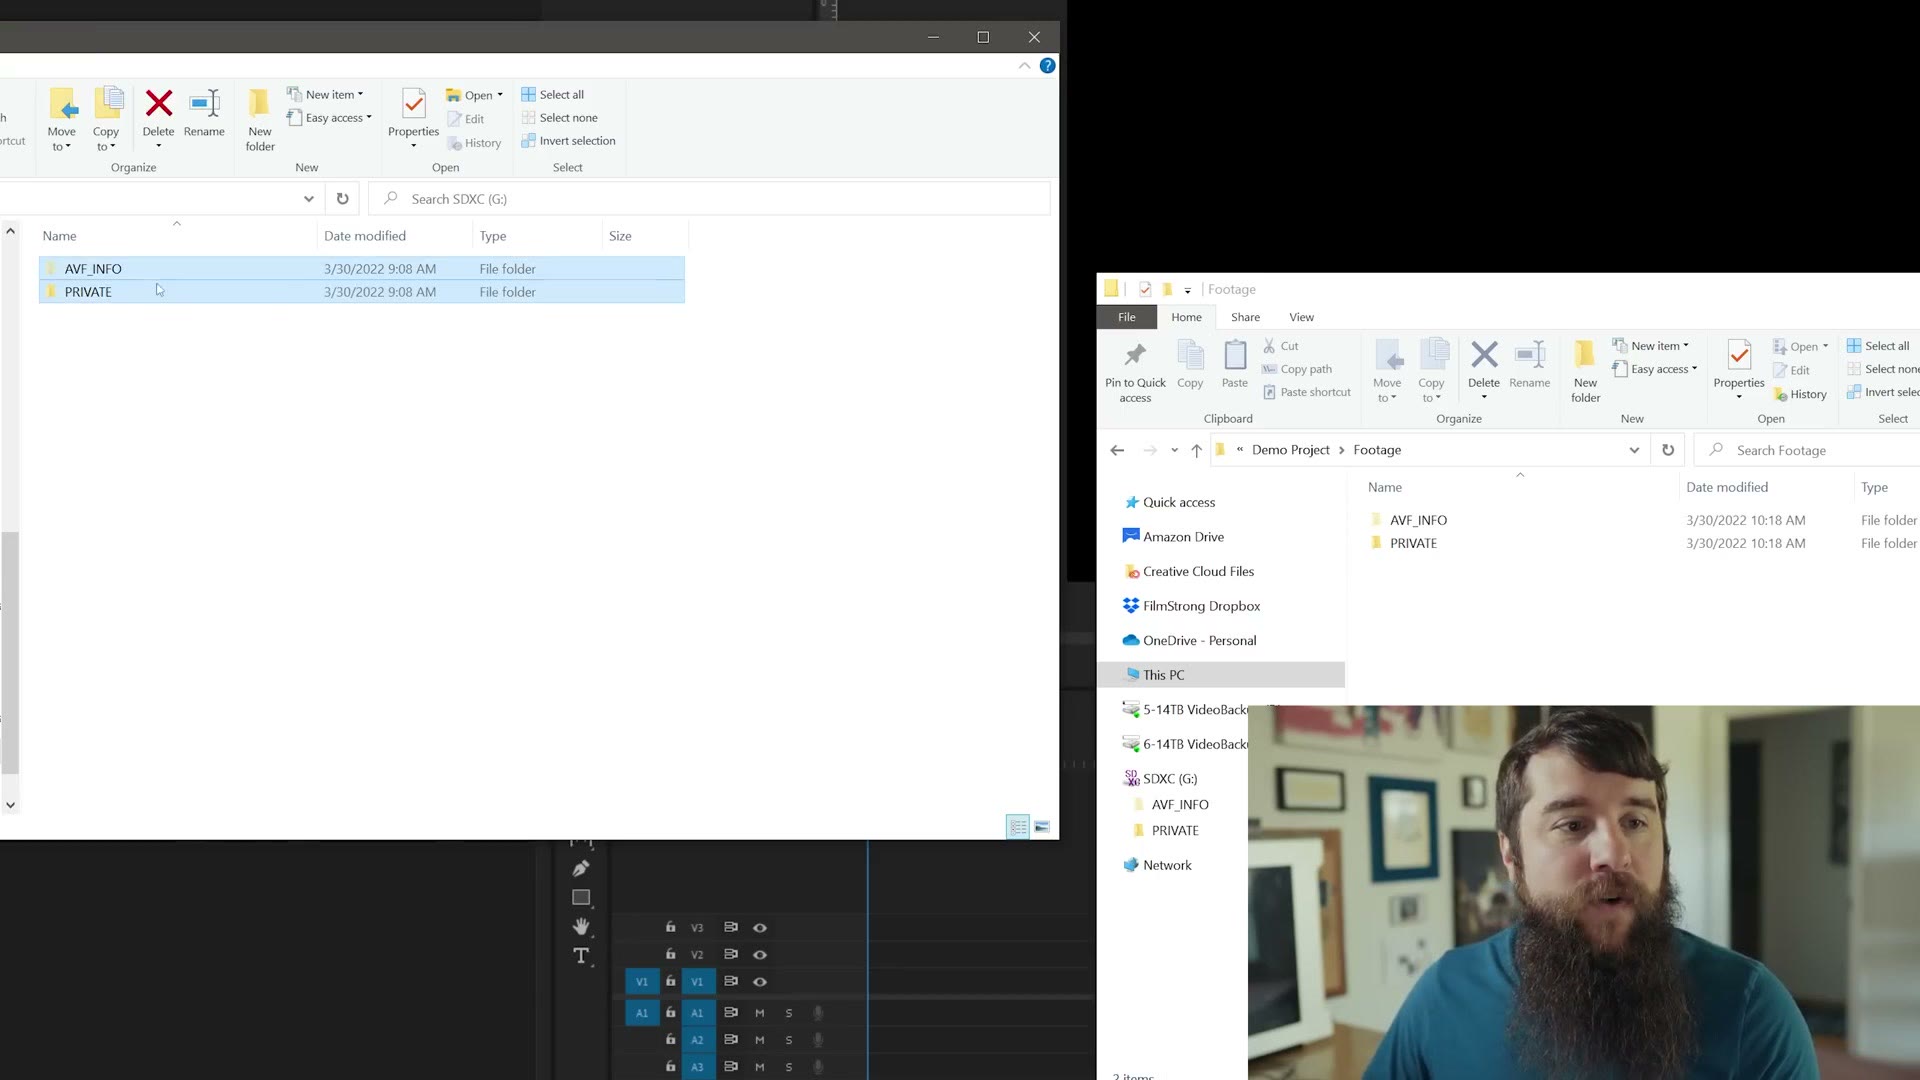
First, connect your memory card to your computer, and then make sure you copy the entire file structure off the card. If you’re somebody who normally just grabs the video files, you’re going to be upset, because your proxies will not be there. Copy everything.
Next, open Premiere Pro and import your full resolution clips. I’ve dropped some onto a timeline here for the sake of the example.
Now it’s time to go get those proxies. Head back to the folder with all of your footage, go into the M4ROOT folder, and then into the SUB folder. Look, there are more video clips in there. Those are all of your proxy files.
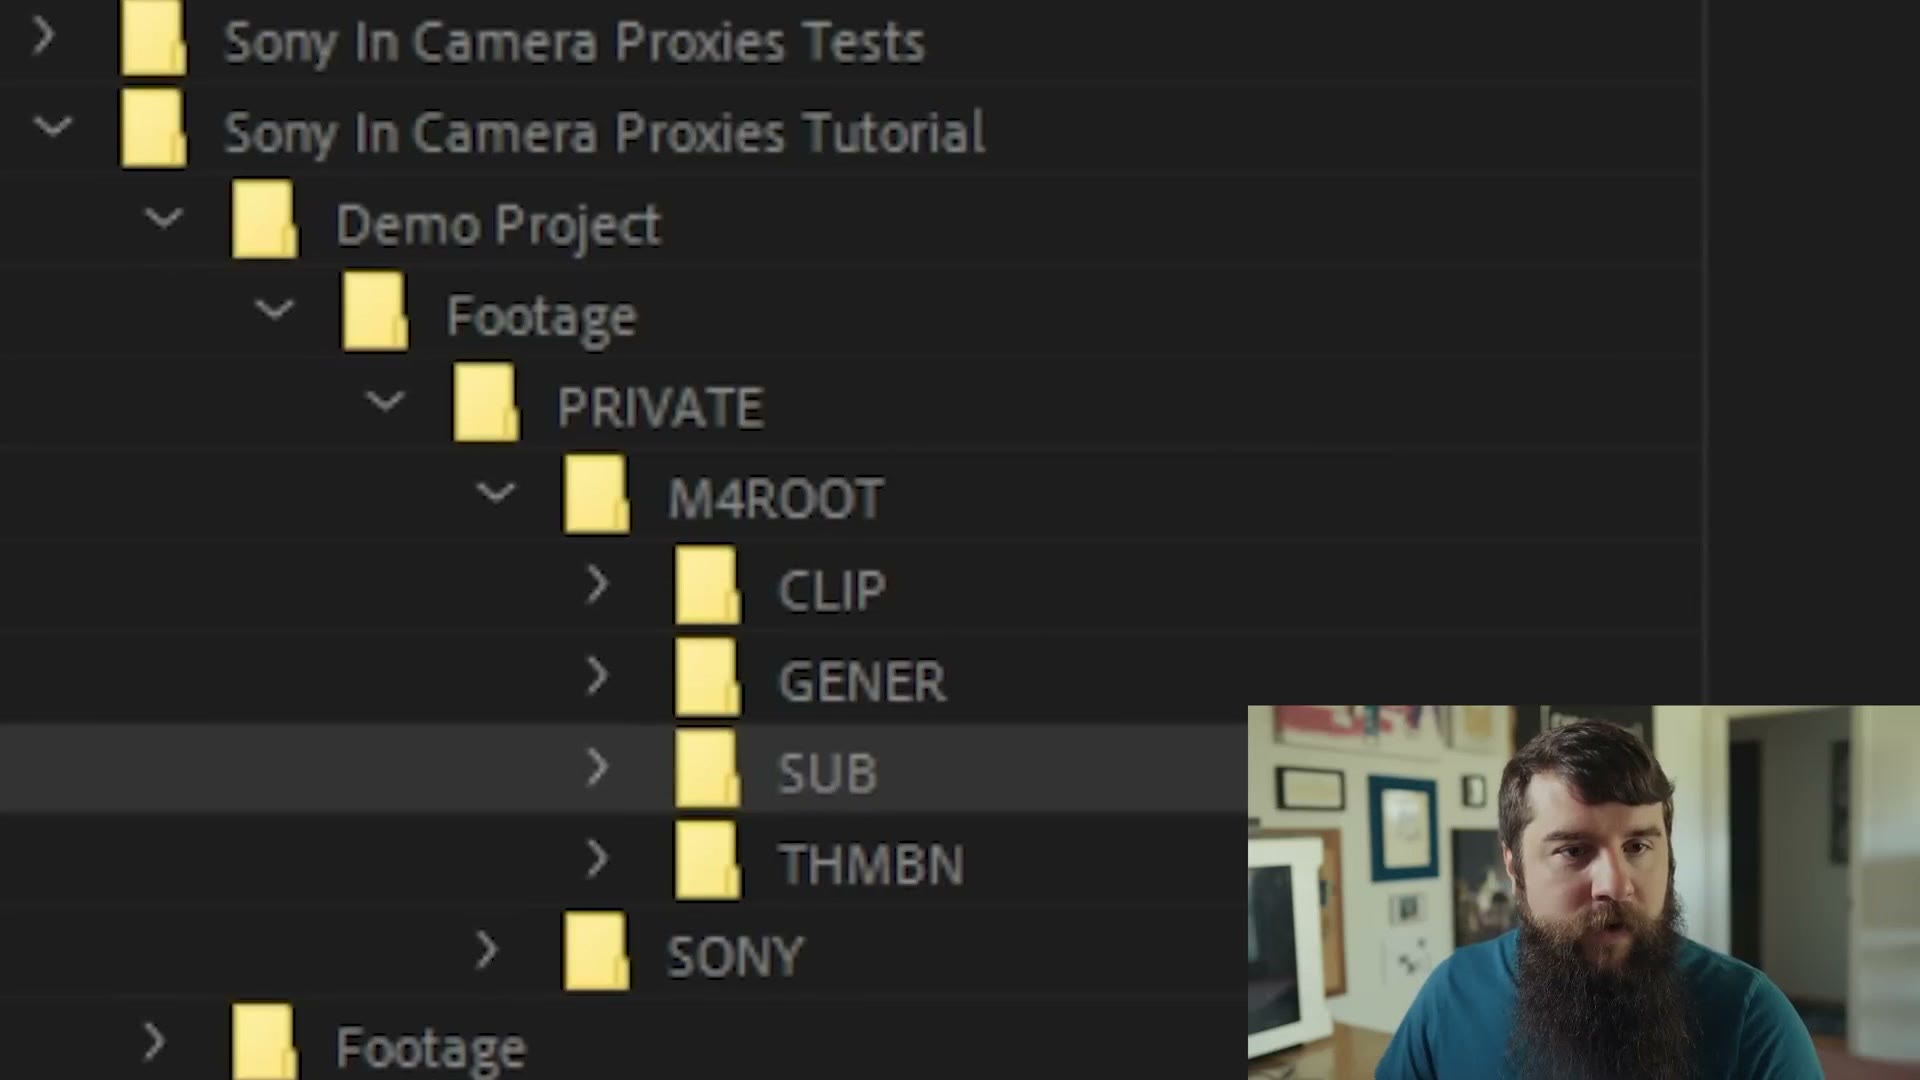
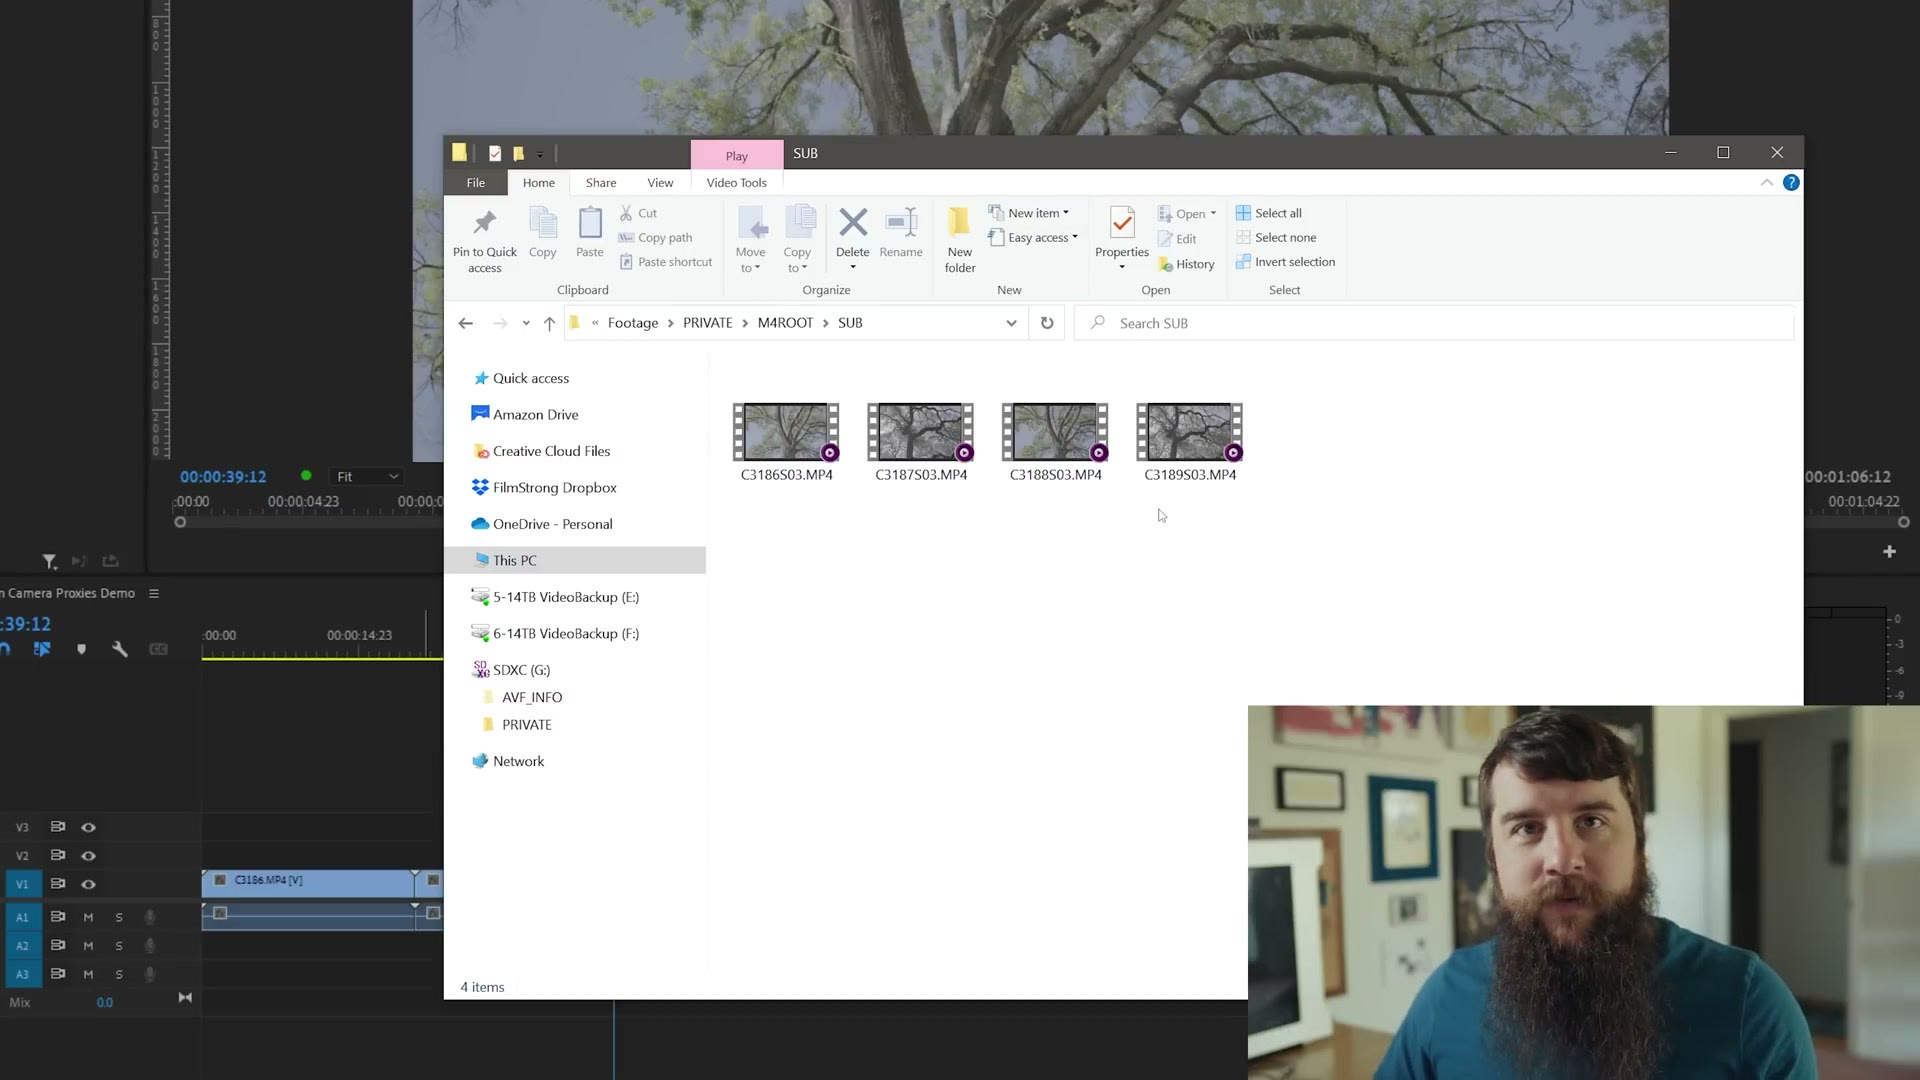
You have one more thing to do, and it’s the whole trick. You need to change the file names of those proxy clips so Premiere imports them correctly. If you skip this step you will have to manually link every single proxy file to its native file, which is a huge pain and takes forever.
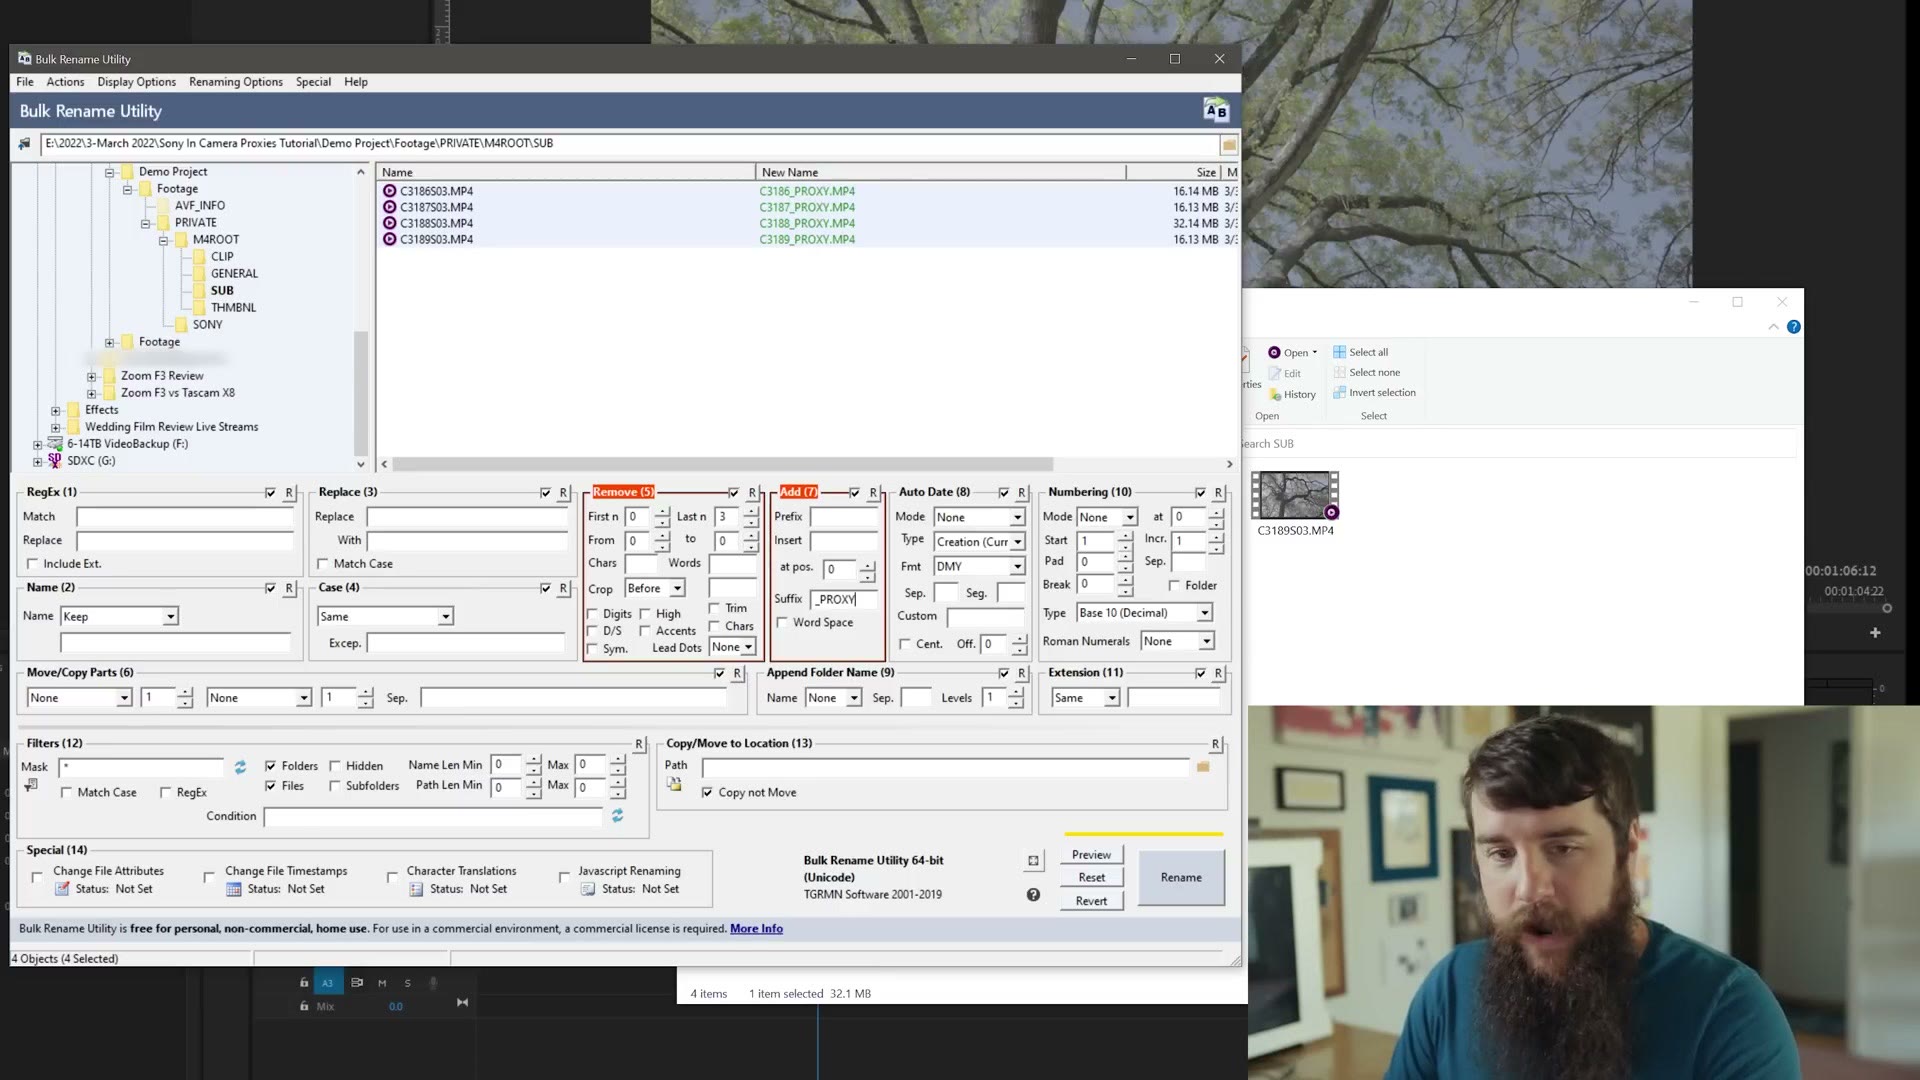
Delete the last three characters from the file name, in my case that’s 03, and replace them with _PROXY in all caps. That’s how Premiere natively handles proxies, and doing it this way guarantees they’ll work flawlessly with your full resolution files.
Of course, I only have four clips here so I could rename them quickly. But if you filmed a wedding and you have hundreds of clips, renaming them one at a time would be miserable. So if you’re on Windows I recommend a free program called Bulk Rename Utility, and if you’re on Mac, here’s an article on bulk renaming files in macOS.
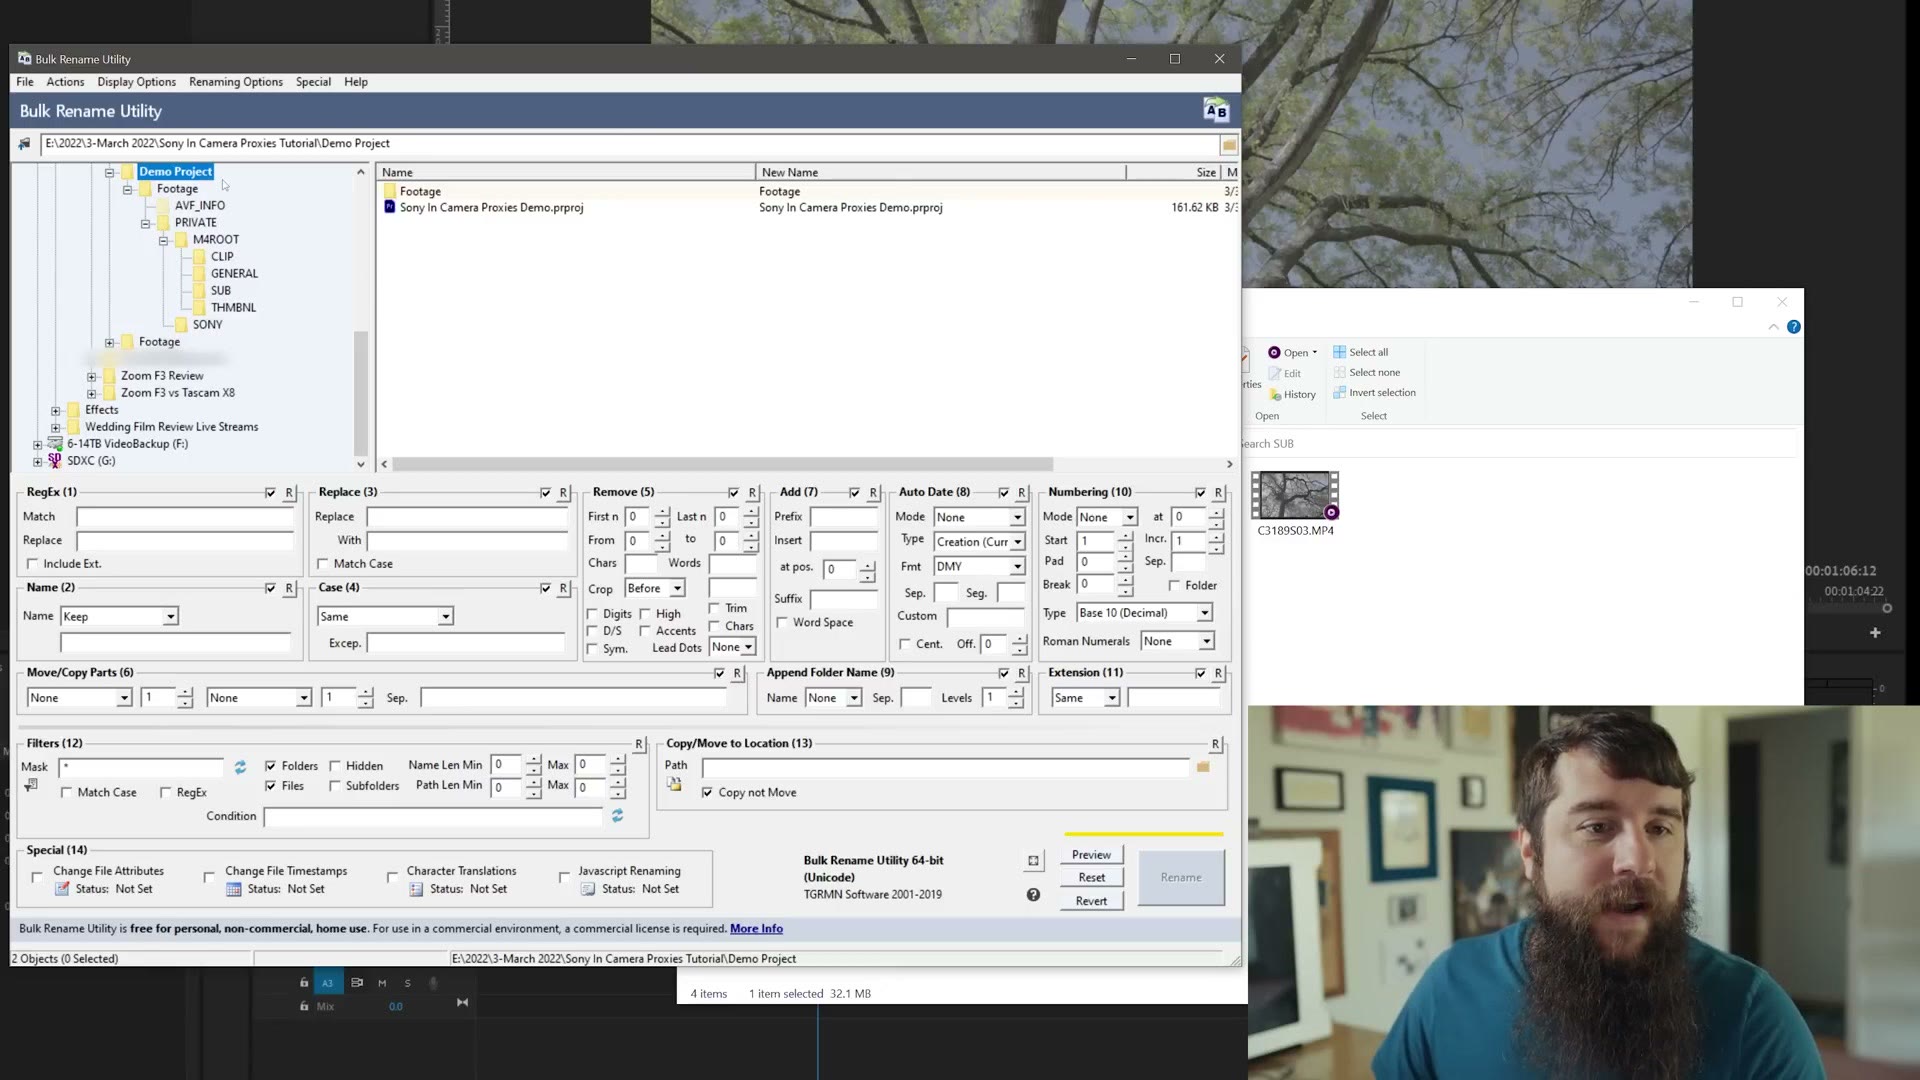
Ooh, check this out, it looks complicated. Don’t worry, it’s actually really easy.
Up on the left, navigate the folder tree down to where your proxy files live, so M4ROOT and then SUB. Press Control A to select all of the proxy files. Then go down to the Remove section and tell it to remove the last three characters, click, click, click. You’ll notice up top under New Name that the last three characters have disappeared.
I put together How to EDIT FASTER with Proxy Files in Premiere Pro (2022) as well, which covers the part I skipped over here.
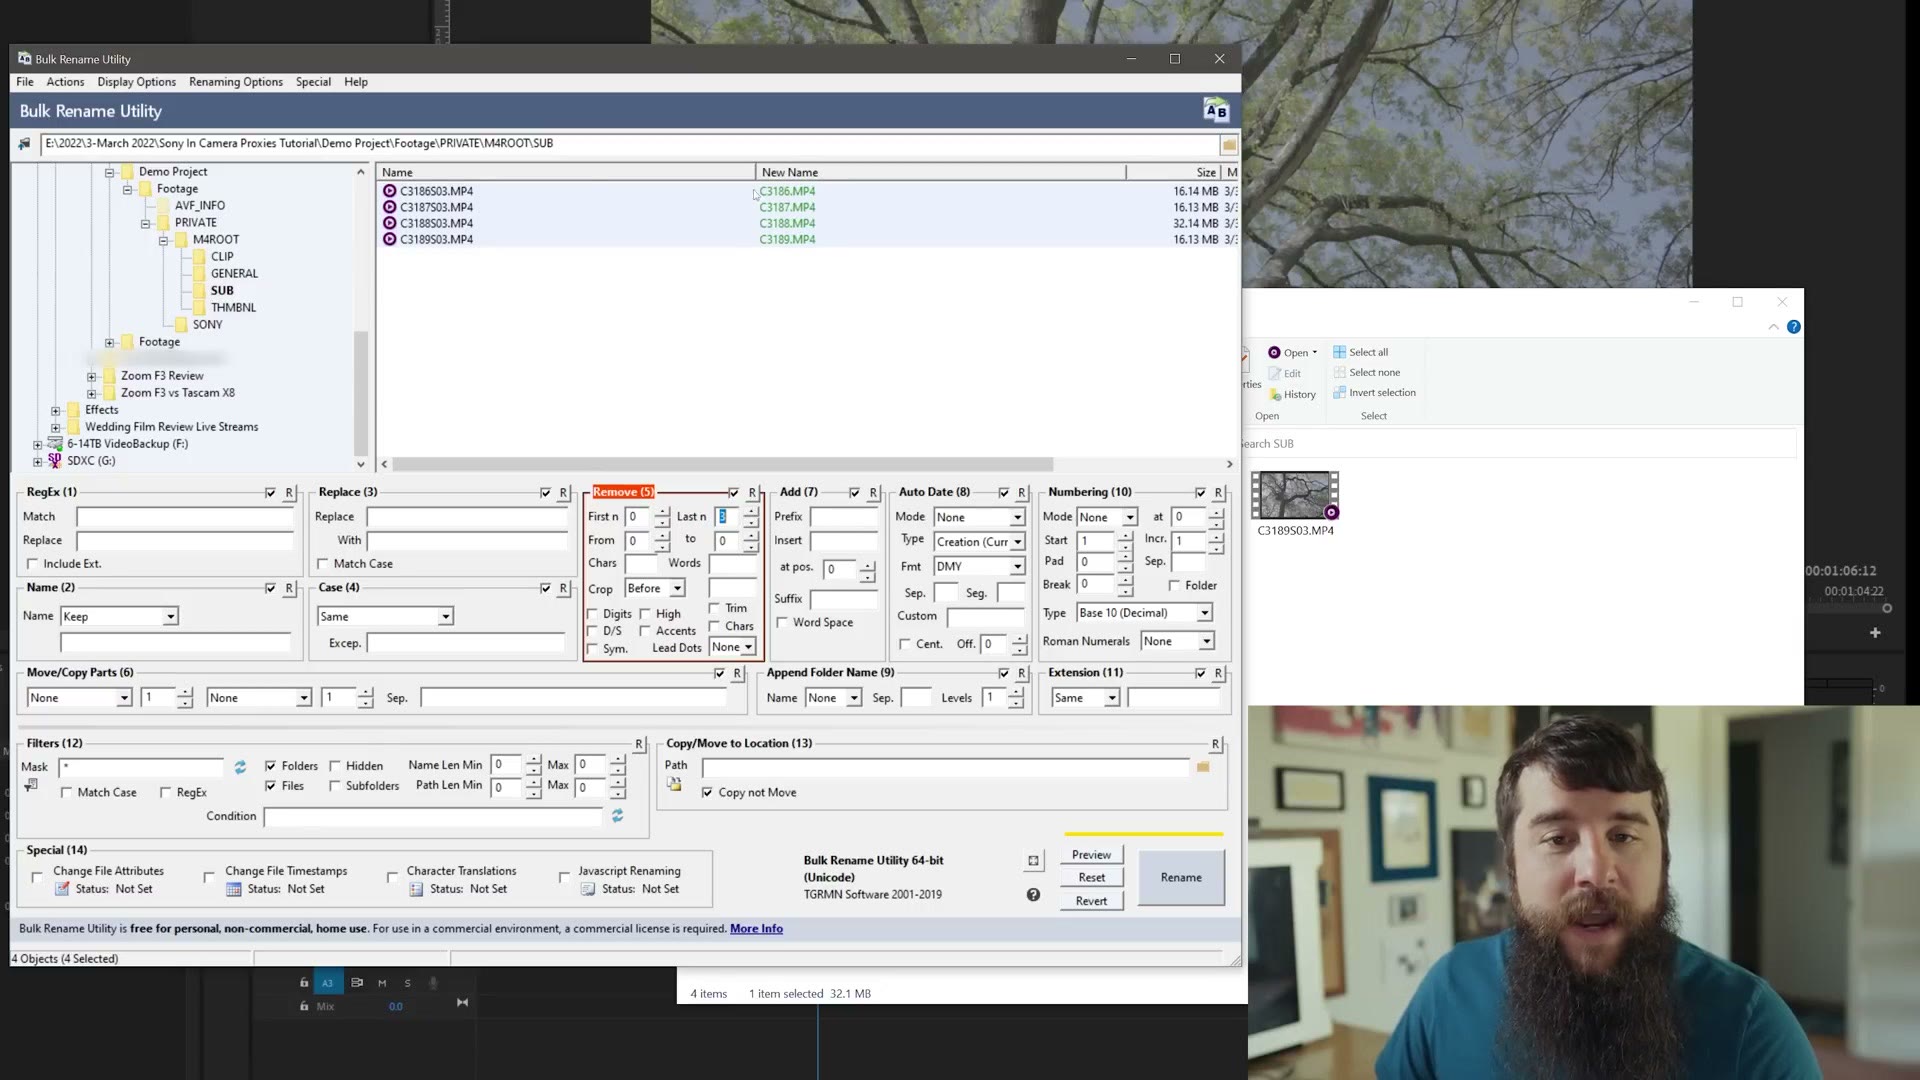
Then go over to the Add section, into Suffix, and type underscore, capital P R O X Y. You’ll see the new name preview right up top. Click Rename, it’ll ask if you’re sure, press OK, press OK again.
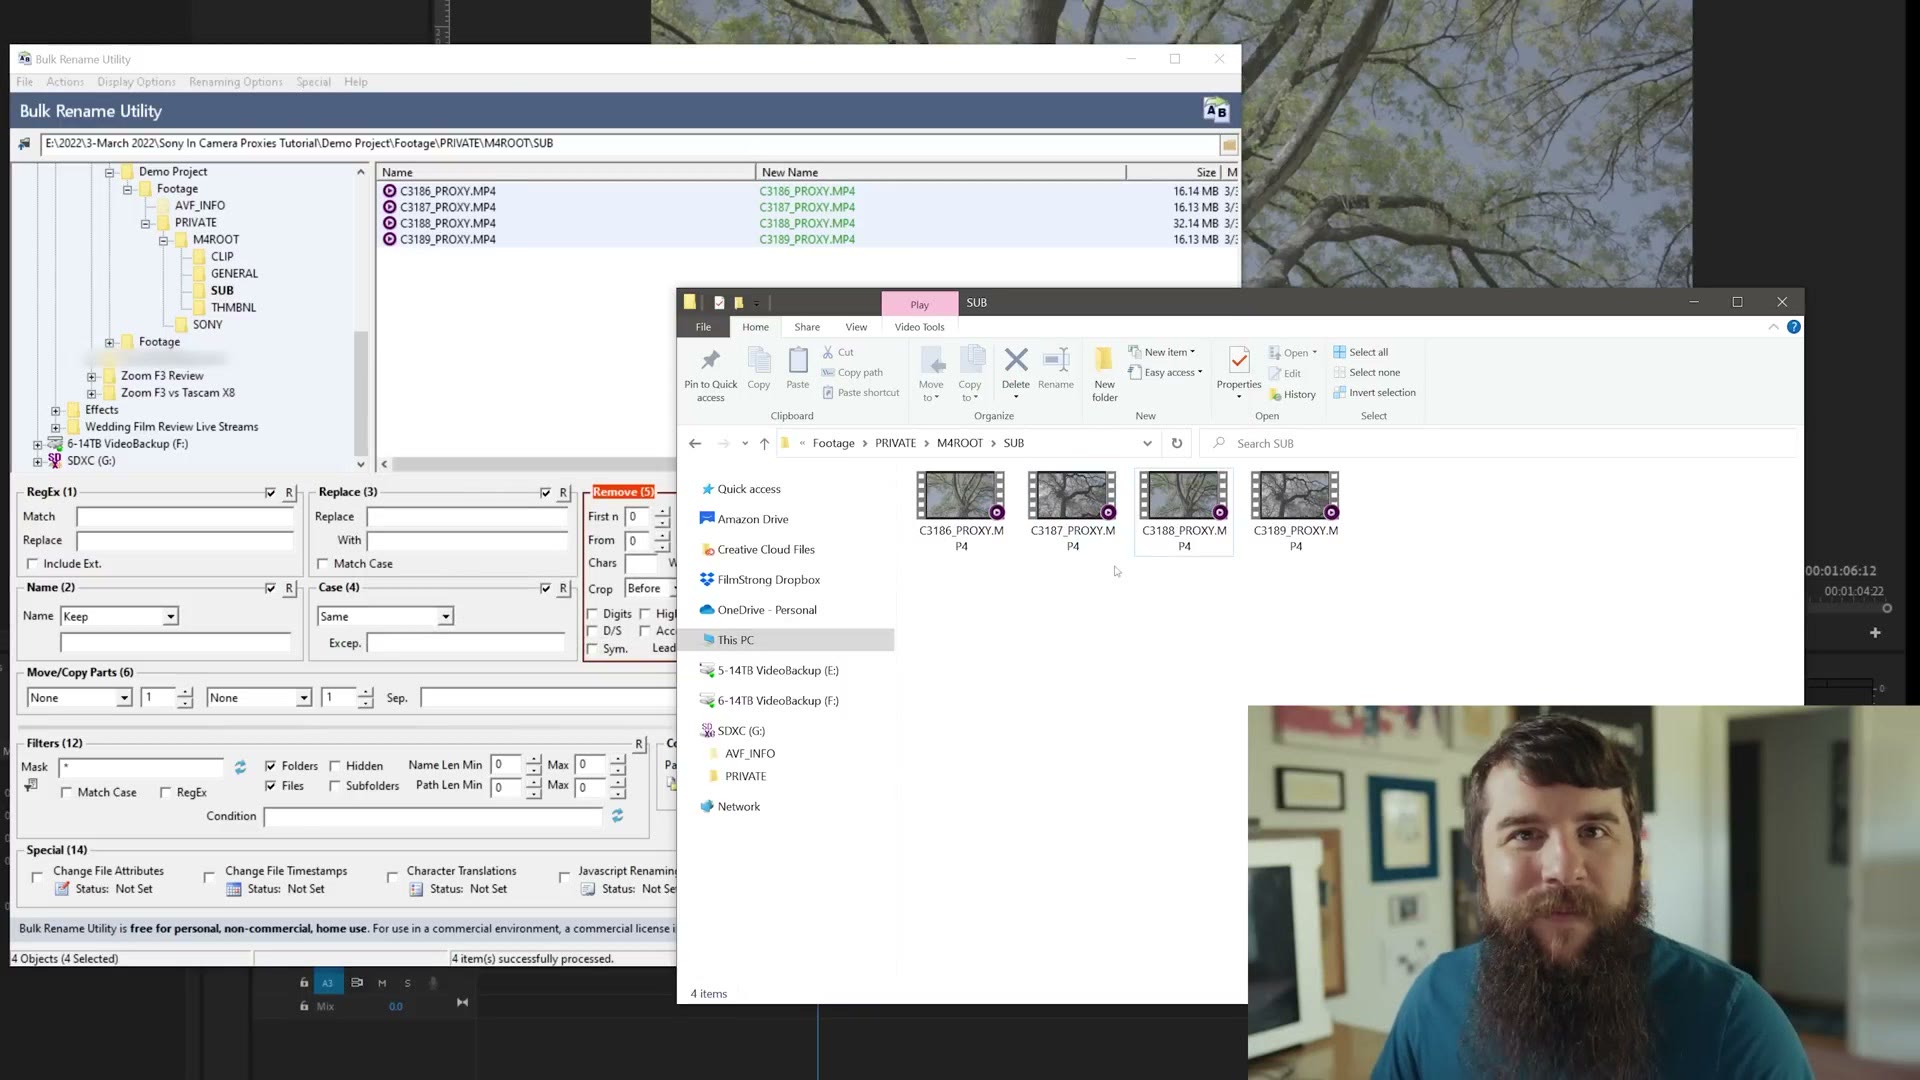
And back in the folder, look, every single file now has _PROXY on the end. This is going to save you so much time.
How To Relink Proxies AUTOMATICALLY In Premiere Pro
Lastly, go back into Premiere and over to the project panel. Click the first clip, hold shift, click the last clip so they’re all selected. Then right click on them, go to Proxy, and choose Attach Proxies.
That opens the Attach Proxy dialog box, and here’s the important bit, make sure Relink Others Automatically is selected. Click Attach.
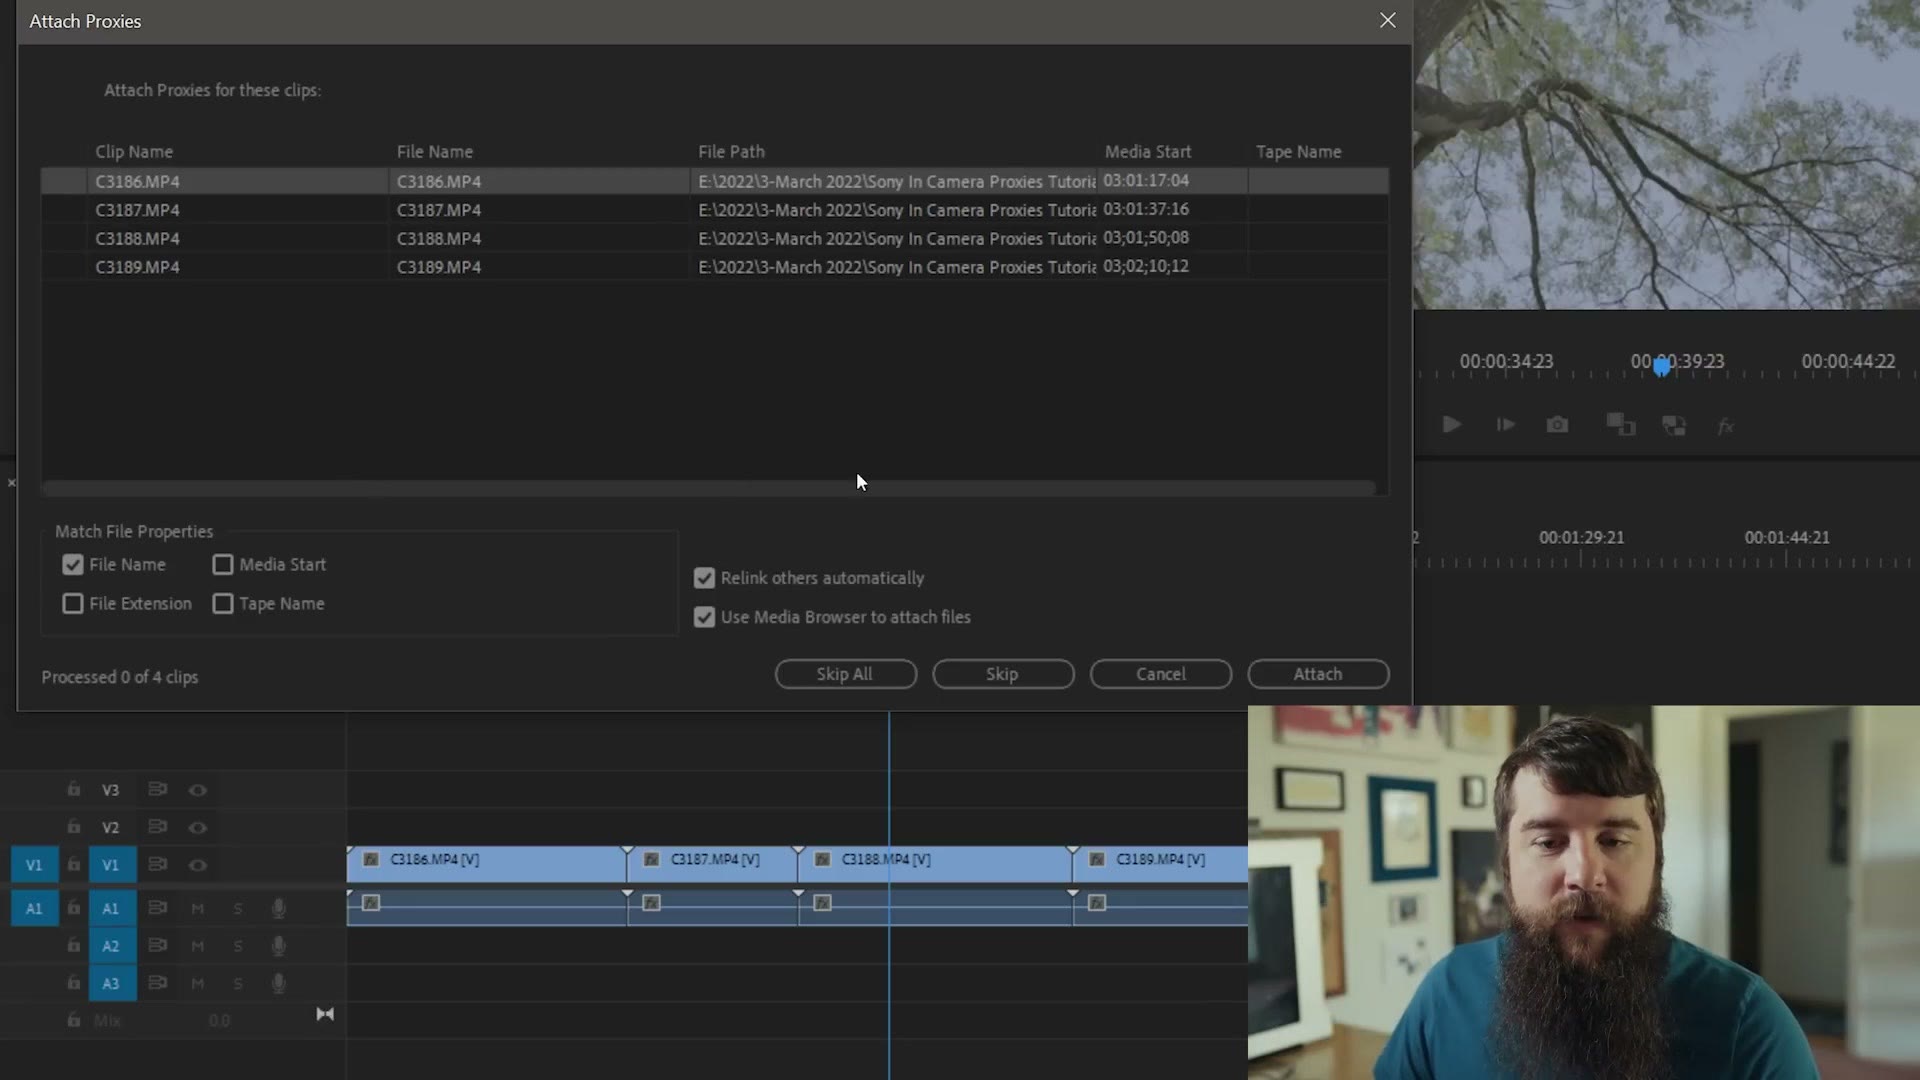
A window opens showing all your native video files, but we want the proxies, so navigate down into the SUB folder. It’ll tell you which clip it wants a proxy for, so pick that same clip name with _PROXY on the end and press OK. Premiere then automatically detects every other proxy file and attaches them all to the right native files.
Turn Proxies On And Off
You can flip your proxies on and off with the Toggle Proxies button. If you don’t see that button, hit the plus icon over on the right, find the proxies icon, and drag it down into your button bar, then press OK.
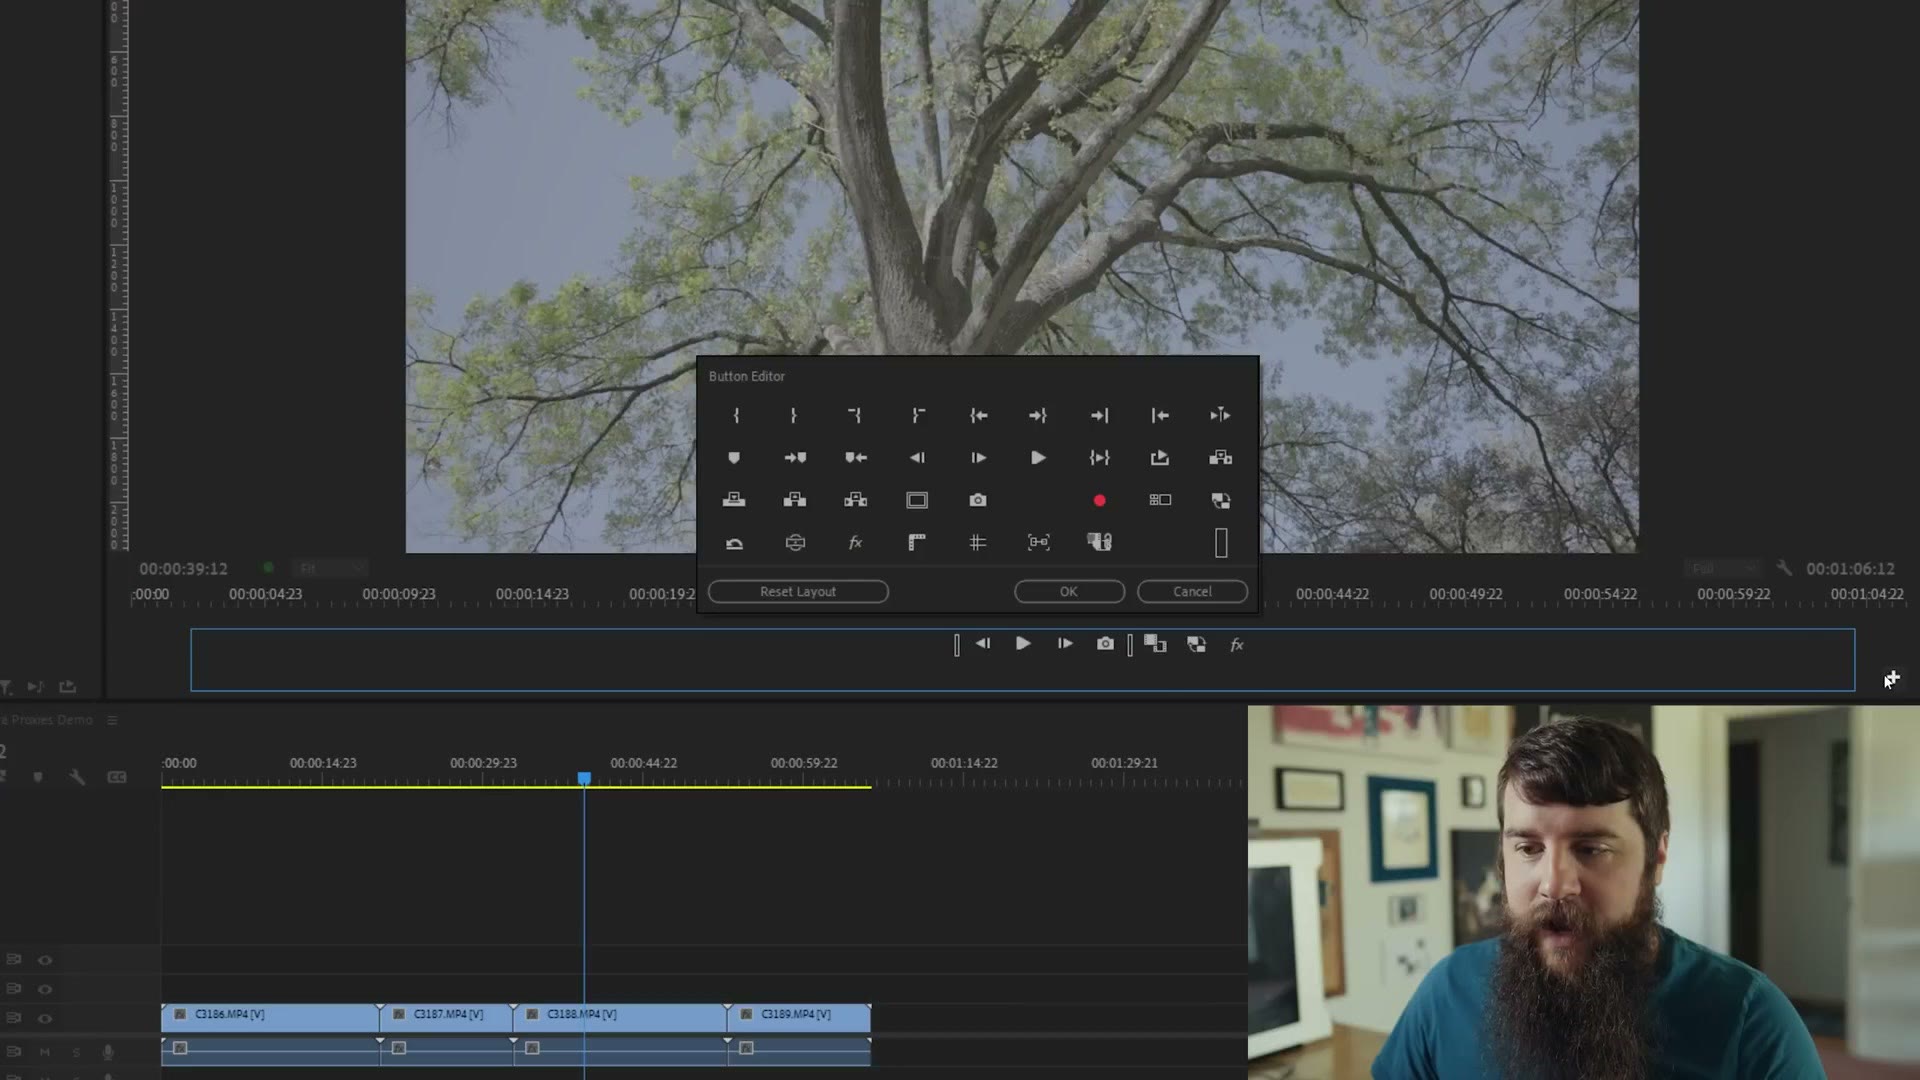
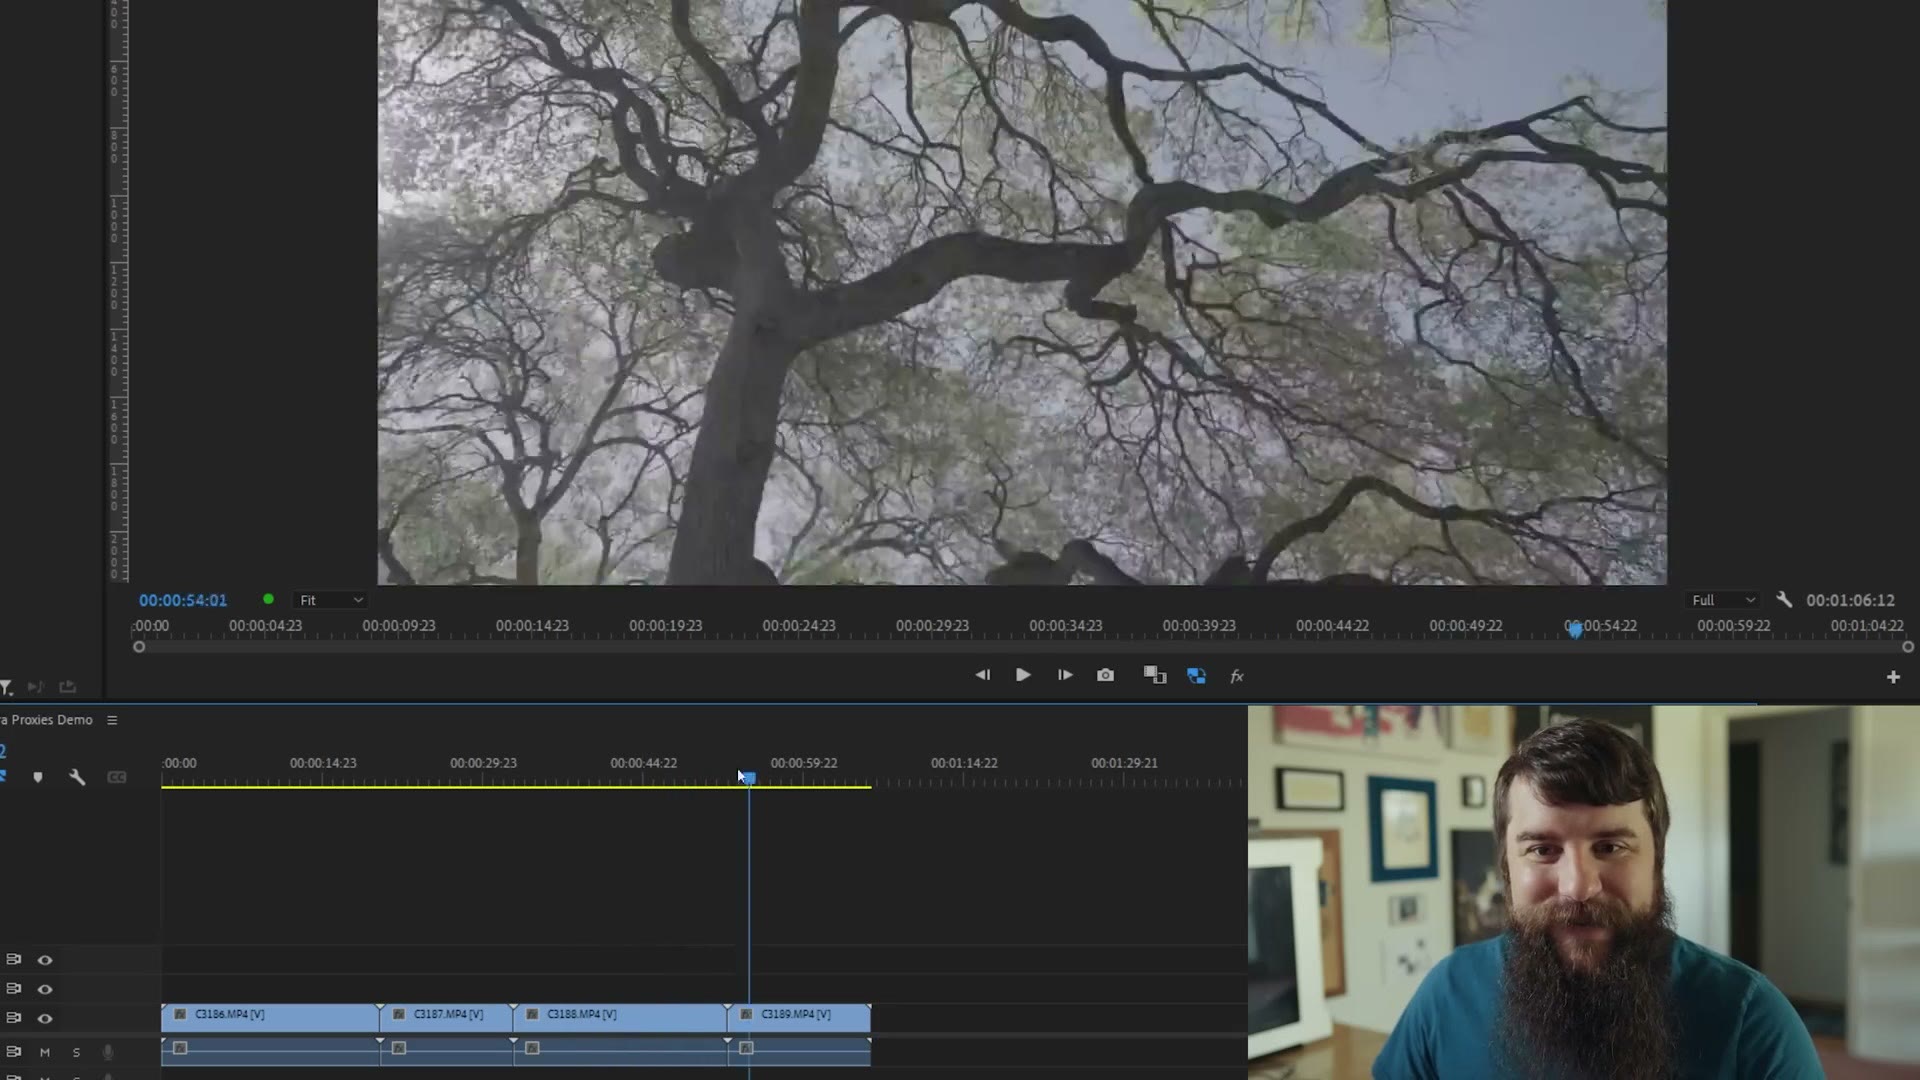
Scrub through with the native file and you can see how slow it is. Then turn the proxies on. Check it out. Look how smooth that is. You want to look at some tree footage? We’ve got tree footage. It’s so smooth. Oh my gosh, I love it.
Should You Use Proxies When Color Grading?
One thing to be aware of. Whenever you’re ready to color grade your clips, I would always recommend using the full resolution versions to do it, so turn your proxies back off before you start grading.
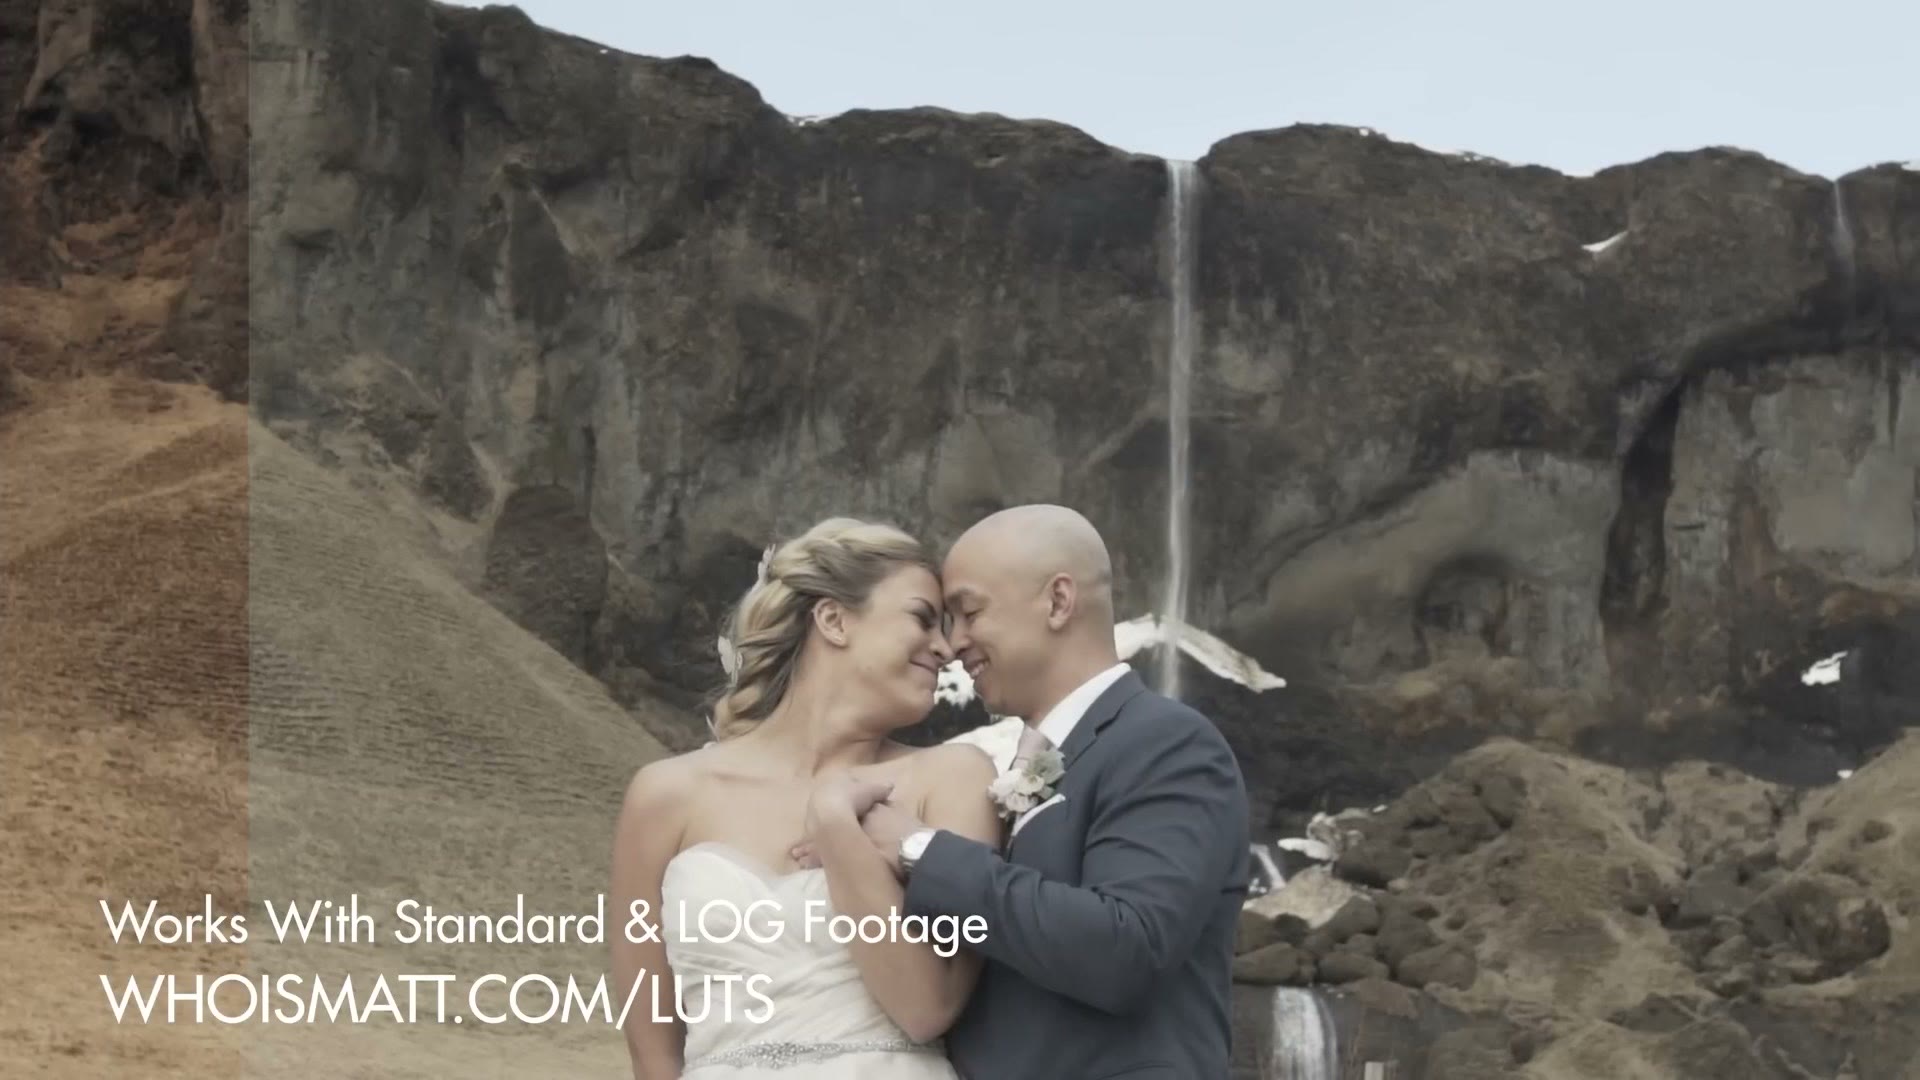
Speaking of color grading, if you want incredible colors out of your Sony footage, or out of any other camera for that matter, I’ve made a set of color presets called WhoisMatt LUTs that will get you great looking colors no matter which picture profile you shot in.
And that’s how you use in-camera proxies with your Sony camera. I really hope this saves you a ton of time whenever you’re editing. Don’t forget that the proxy memory card cheat sheet is free, if you want to make sure your cards will actually work with your camera.
Lastly, I want to help you out even more with your editing, so I’ve also made a free guide called Edit Videos Like A Pro that walks you through some of the most advanced editing techniques I’ve learned, the ones that took me years to figure out. Whether you’re just getting started or you’ve been at this a while, I’m betting there’s something in there for you, and you can download it for free right here. My full gear list is on kit.co, and I have filmmaking courses if you want to go deeper.
Thanks so much for reading, and have a great day!