
One of my most popular videos is frame rates explained, where I walk you through the video frame rates I use to film weddings and how I interpret my footage in Adobe Premiere Pro to instantly make all my clips the same frame rate. It makes video editing super easy.
But one of the most common comments I’ve received on that video is: can you still speed ramp your interpreted footage?
In other words, if you have some footage playing at normal speed, can you then have it play in slow motion without cutting the clip?
This can be confusing, because if speed ramping is about making some of your footage slow motion and some of it normal speed, how are you supposed to do that when all of your footage is already the same frame rate?
Here’s the good news. You can still speed ramp interpreted footage, and I’m about to show you how. If you haven’t read the frame rates piece, I’d start there, because this builds on it.
Modify Interpret Footage
Here’s a project where I’ve already imported some footage shot at 60 frames per second, and as you can see it’s playing back at normal speed, no slow motion.
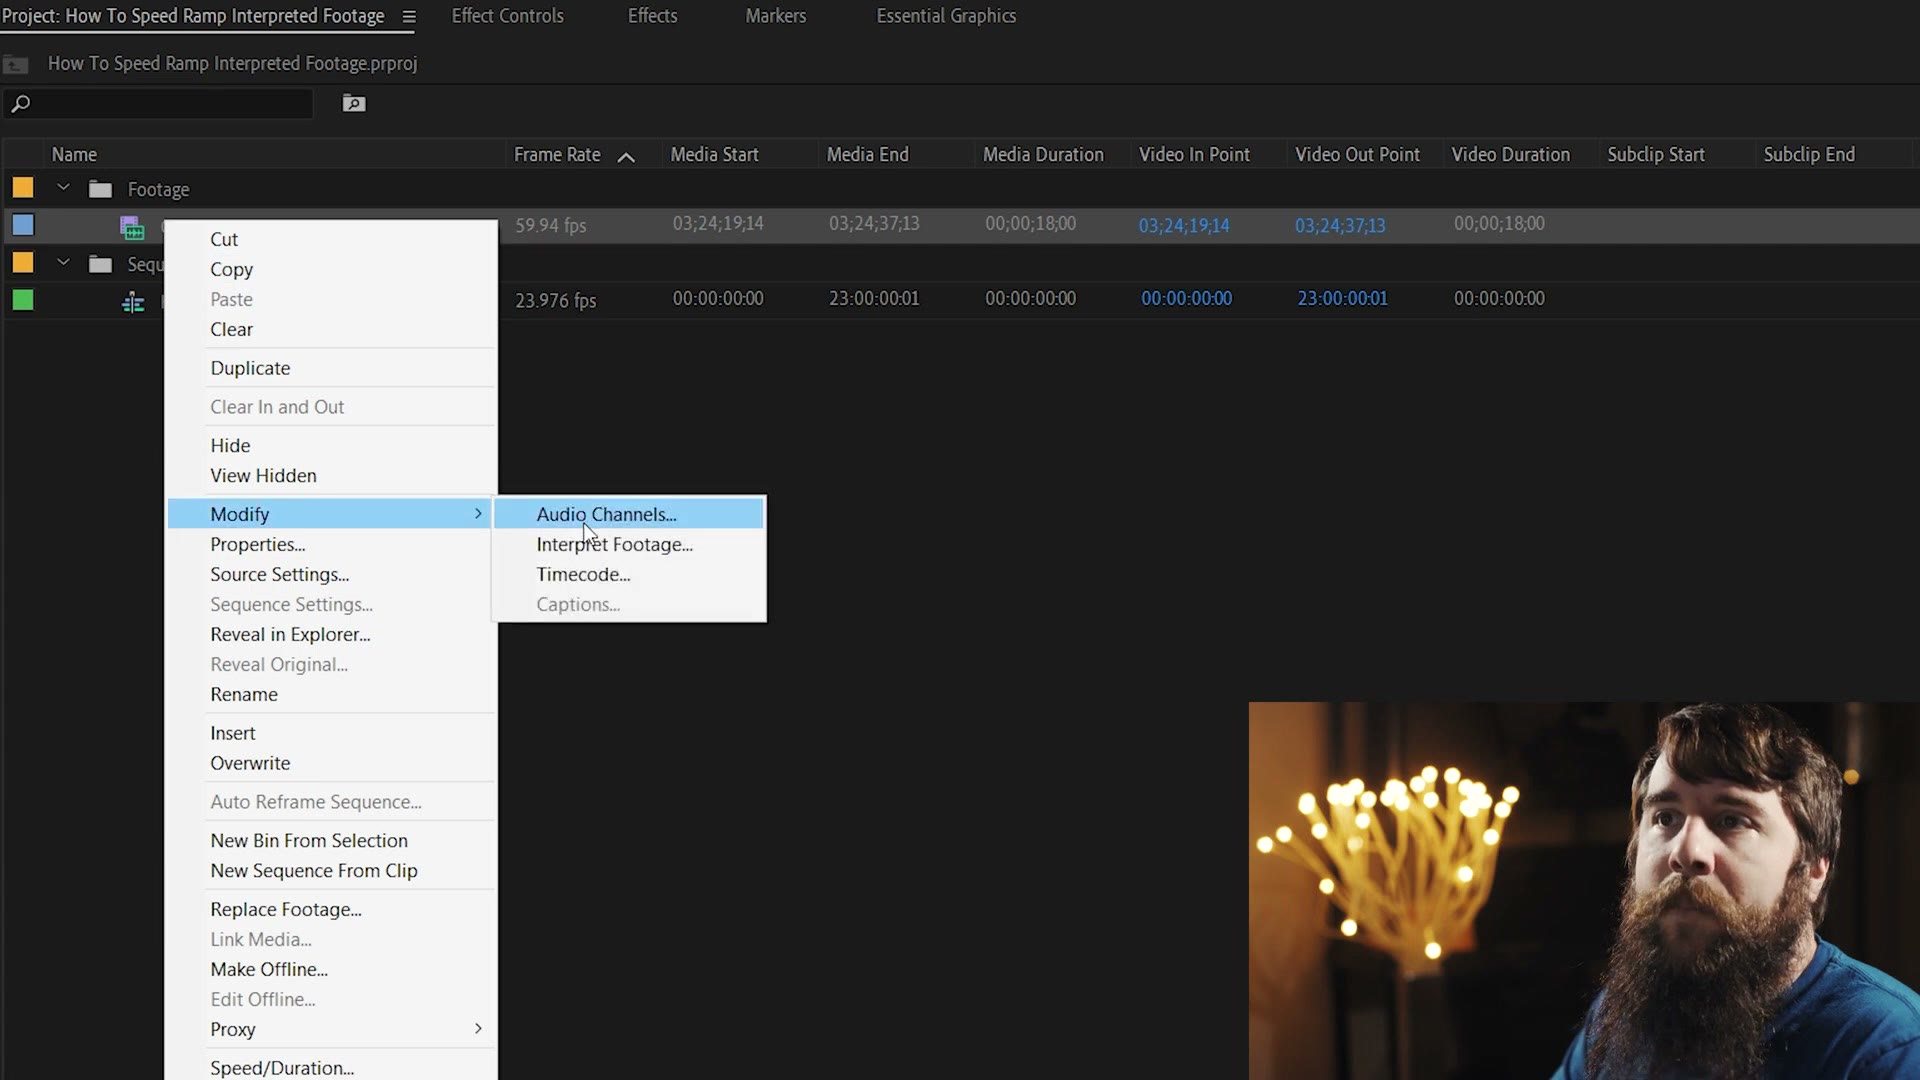
Go over to the project window, right-click on the video clip, go to Modify, then Interpret Footage.
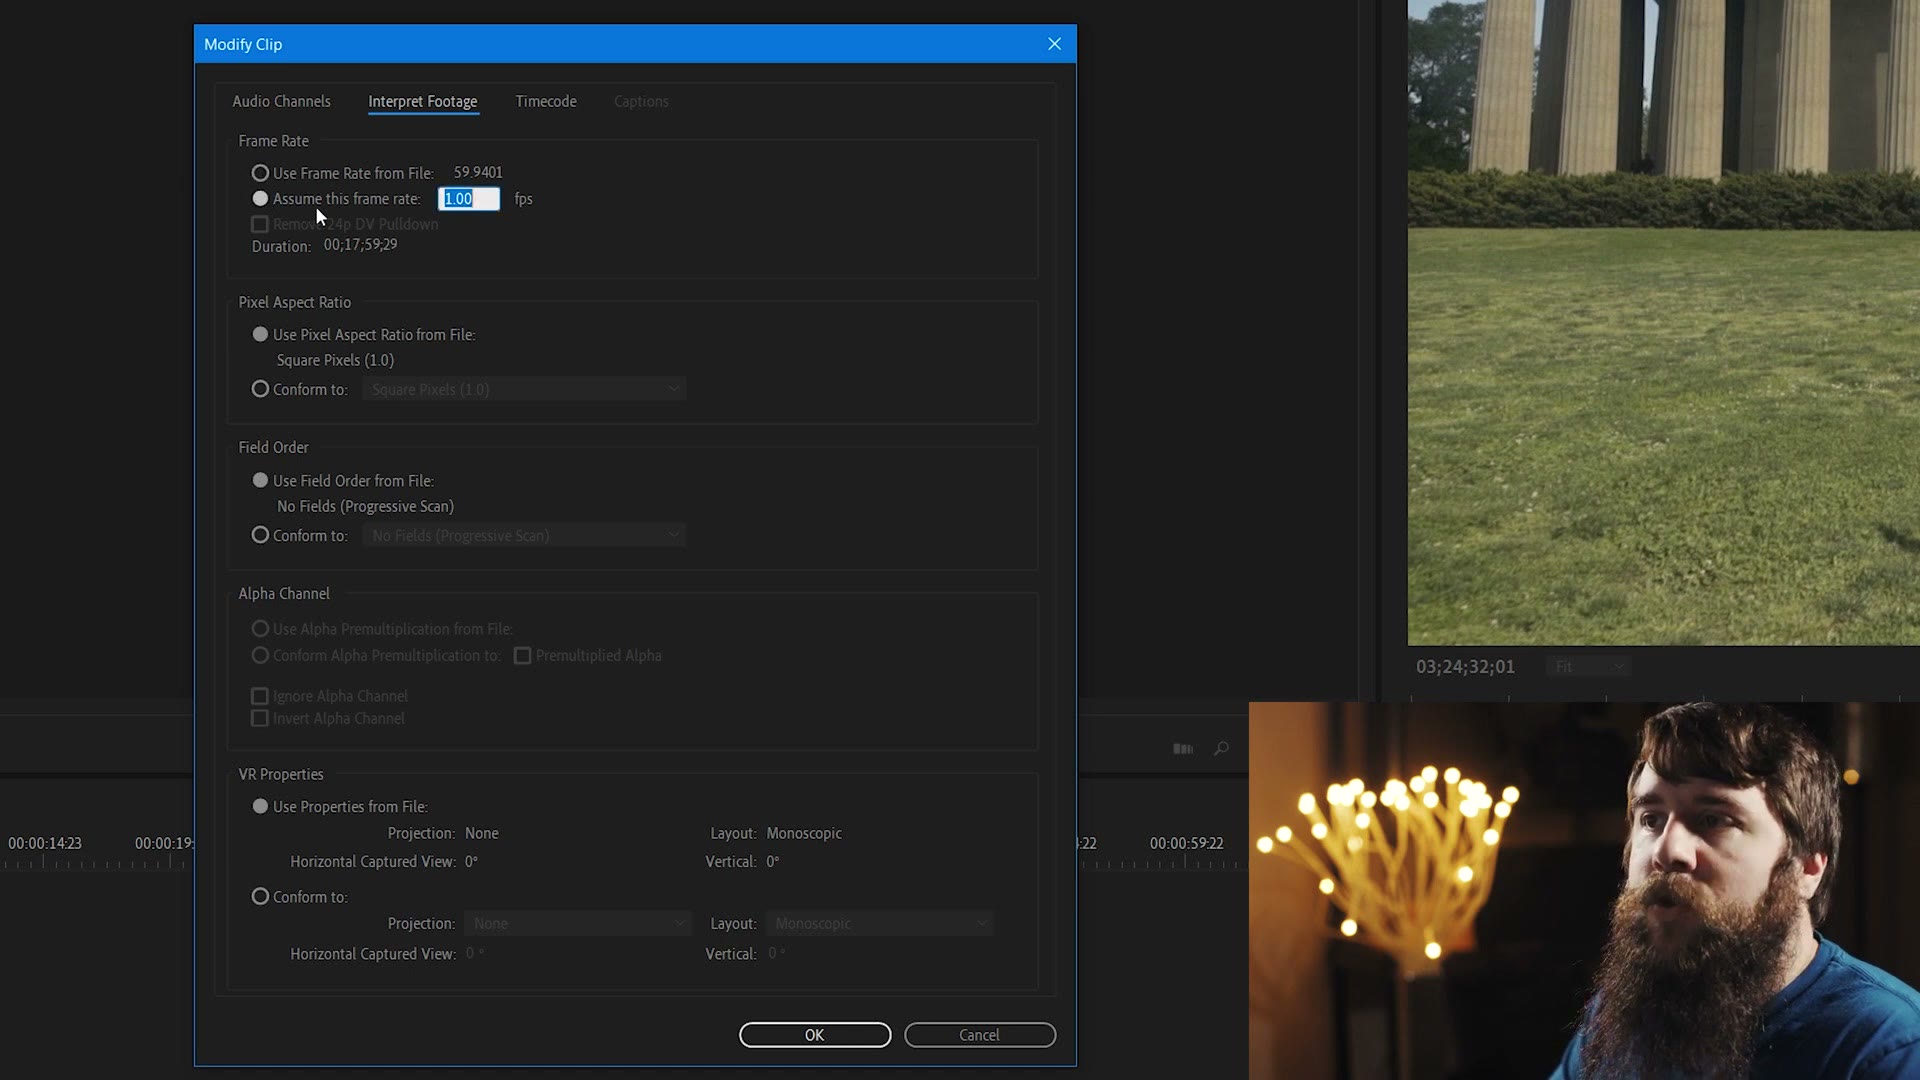
Under Frame Rate, select Assume this frame rate. The field starts at 1.00, so change it to 23.976 and click OK.
And voila, that footage is now playing back in slow motion at 23.976 frames per second.
Time Remapping
Now here comes the speed ramping part.
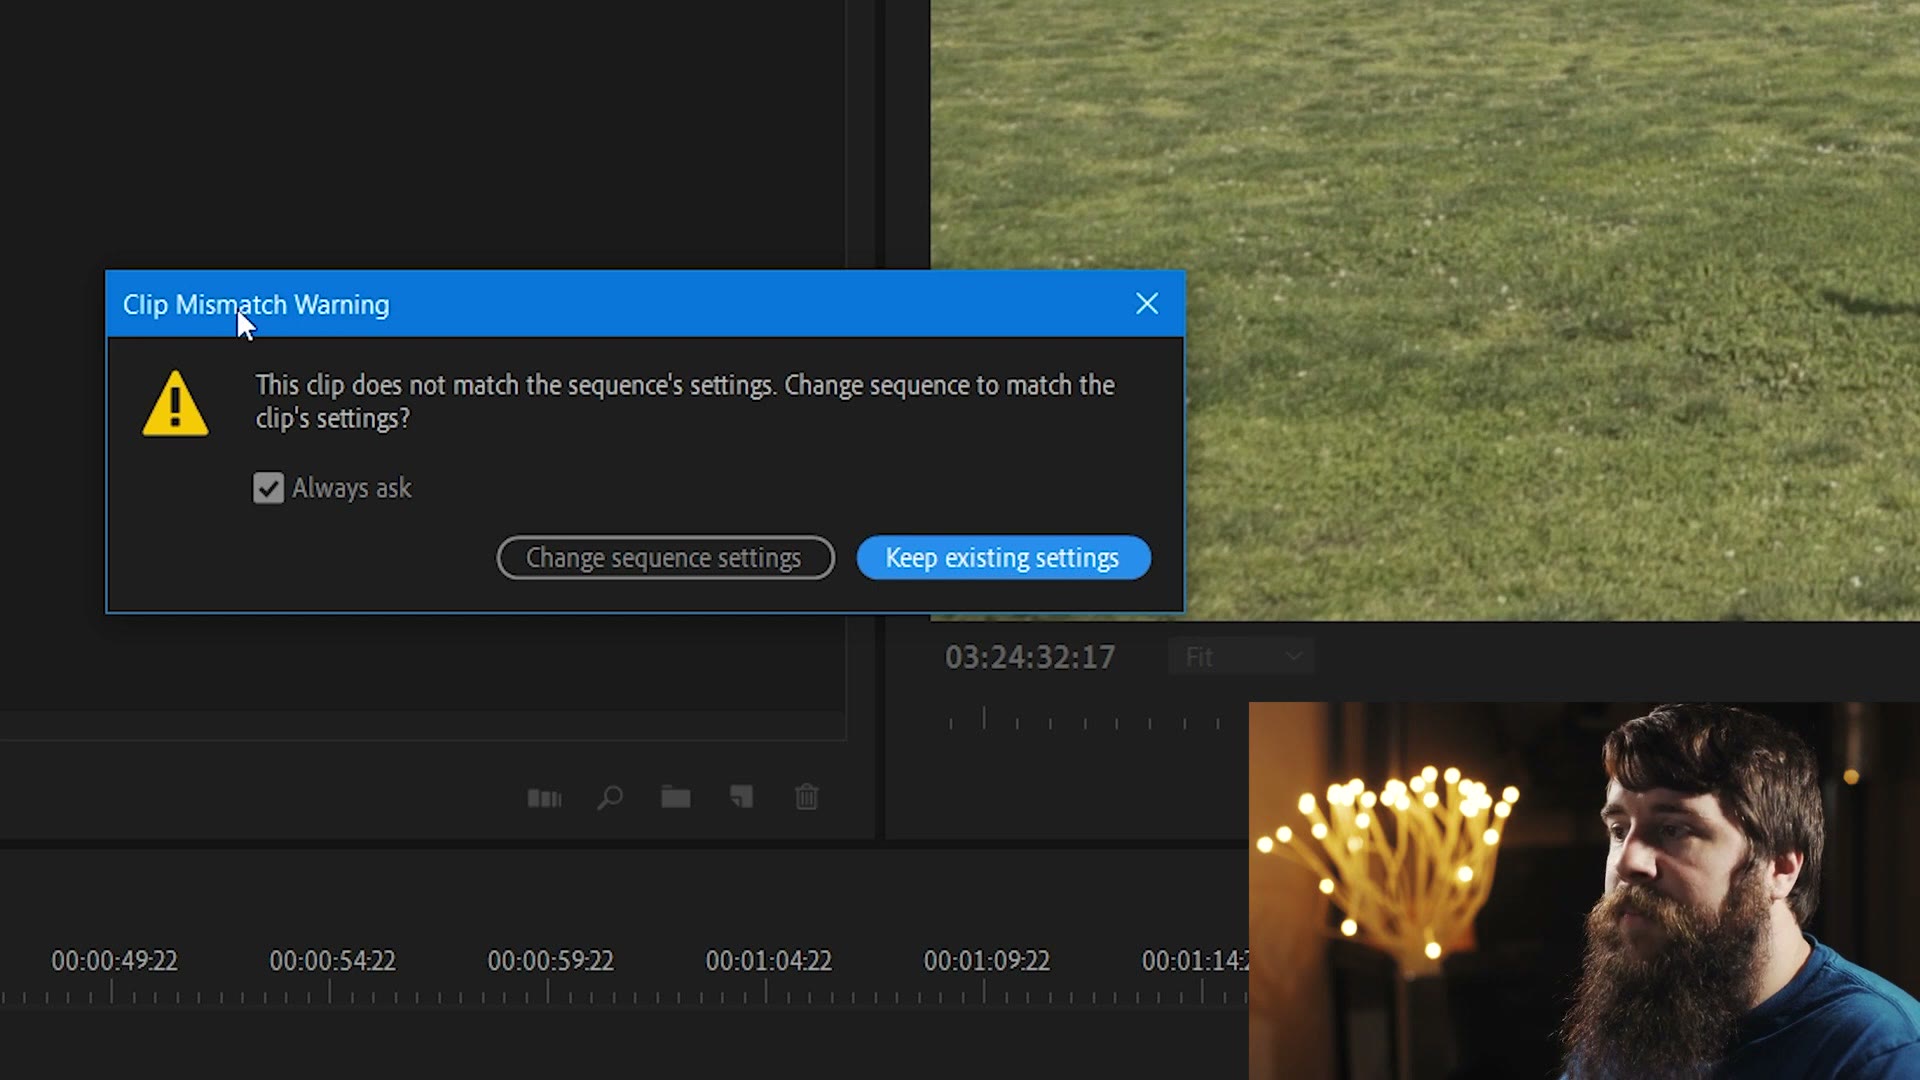
Select your footage and drag it down to your timeline. Make sure you select Keep existing settings when the clip mismatch warning pops up.
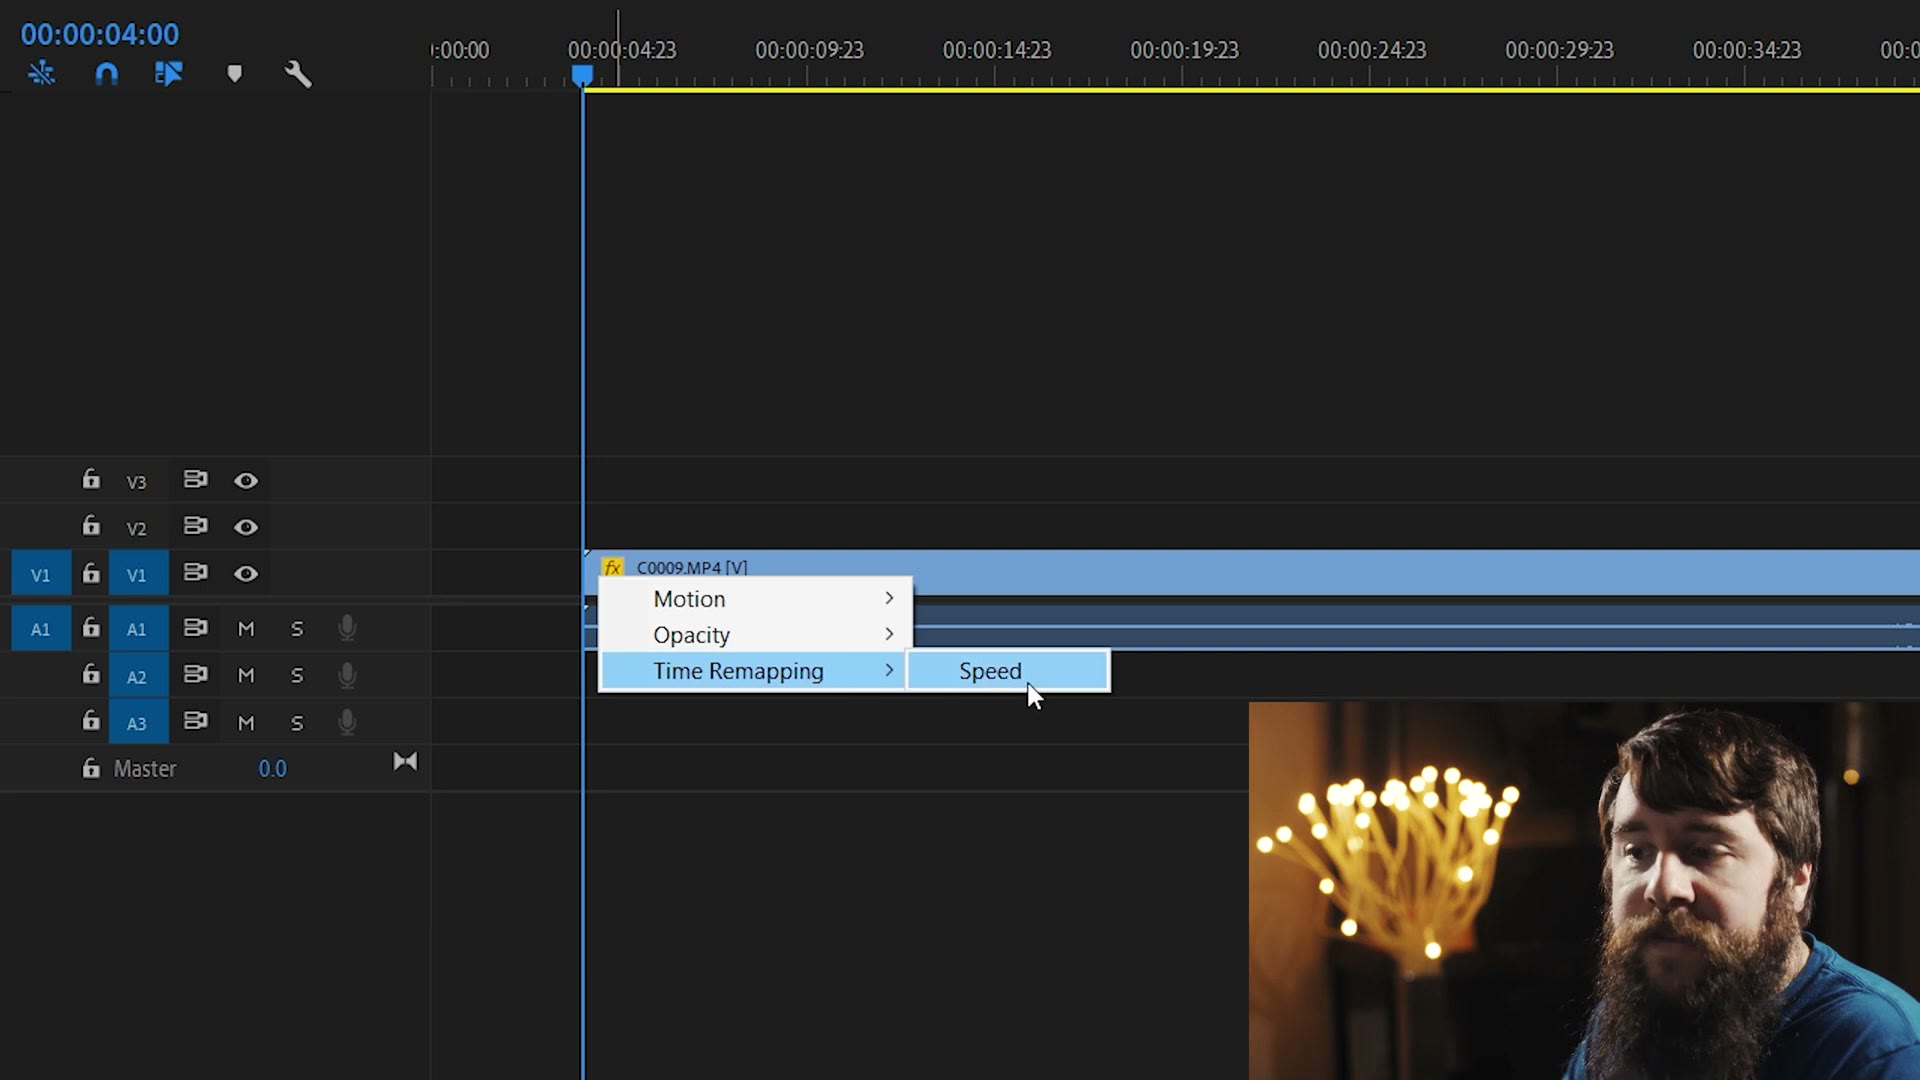
Then go down to your clip, and you’re going to see a yellow FX icon on it. Right-click on that, go down to Time Remapping, and select Speed.
Next, go to the line between V1 and V2 and drag it up nice and big, so that track is large enough to actually work in.
Now look at your clip and figure out where you want it to be in slow motion. For me, I want the part where they’re running up to each other to be normal speed, and once he starts to spin her, that’s when I want the slow motion to kick in.
So at that point, go down to the little horizontal line running through the clip, wait for your mouse to change, and then hold Ctrl on PC or Command on Mac, which turns the cursor into a plus icon, and click once.
A little blue V icon appears. That’s your speed keyframe.
Speed Ramping
Now, if you’ve speed ramped footage before, this is all going to feel very familiar. You go over here, click the line, drag it down to 40 percent, and suddenly things are in slow motion.
But wait a second. If you do that, this isn’t playing back in slow motion. This is playing back with a very low frame rate, because the clip is already in slow motion.
So what do you do?
Press Ctrl+Z, or Command+Z on a Mac, to undo that. Then go back to the previous line, the horizontal one before the vertical line running through it, click to select it, and drag it up. You’ll see the percentage start to rise, and you want to raise it to 250 percent.
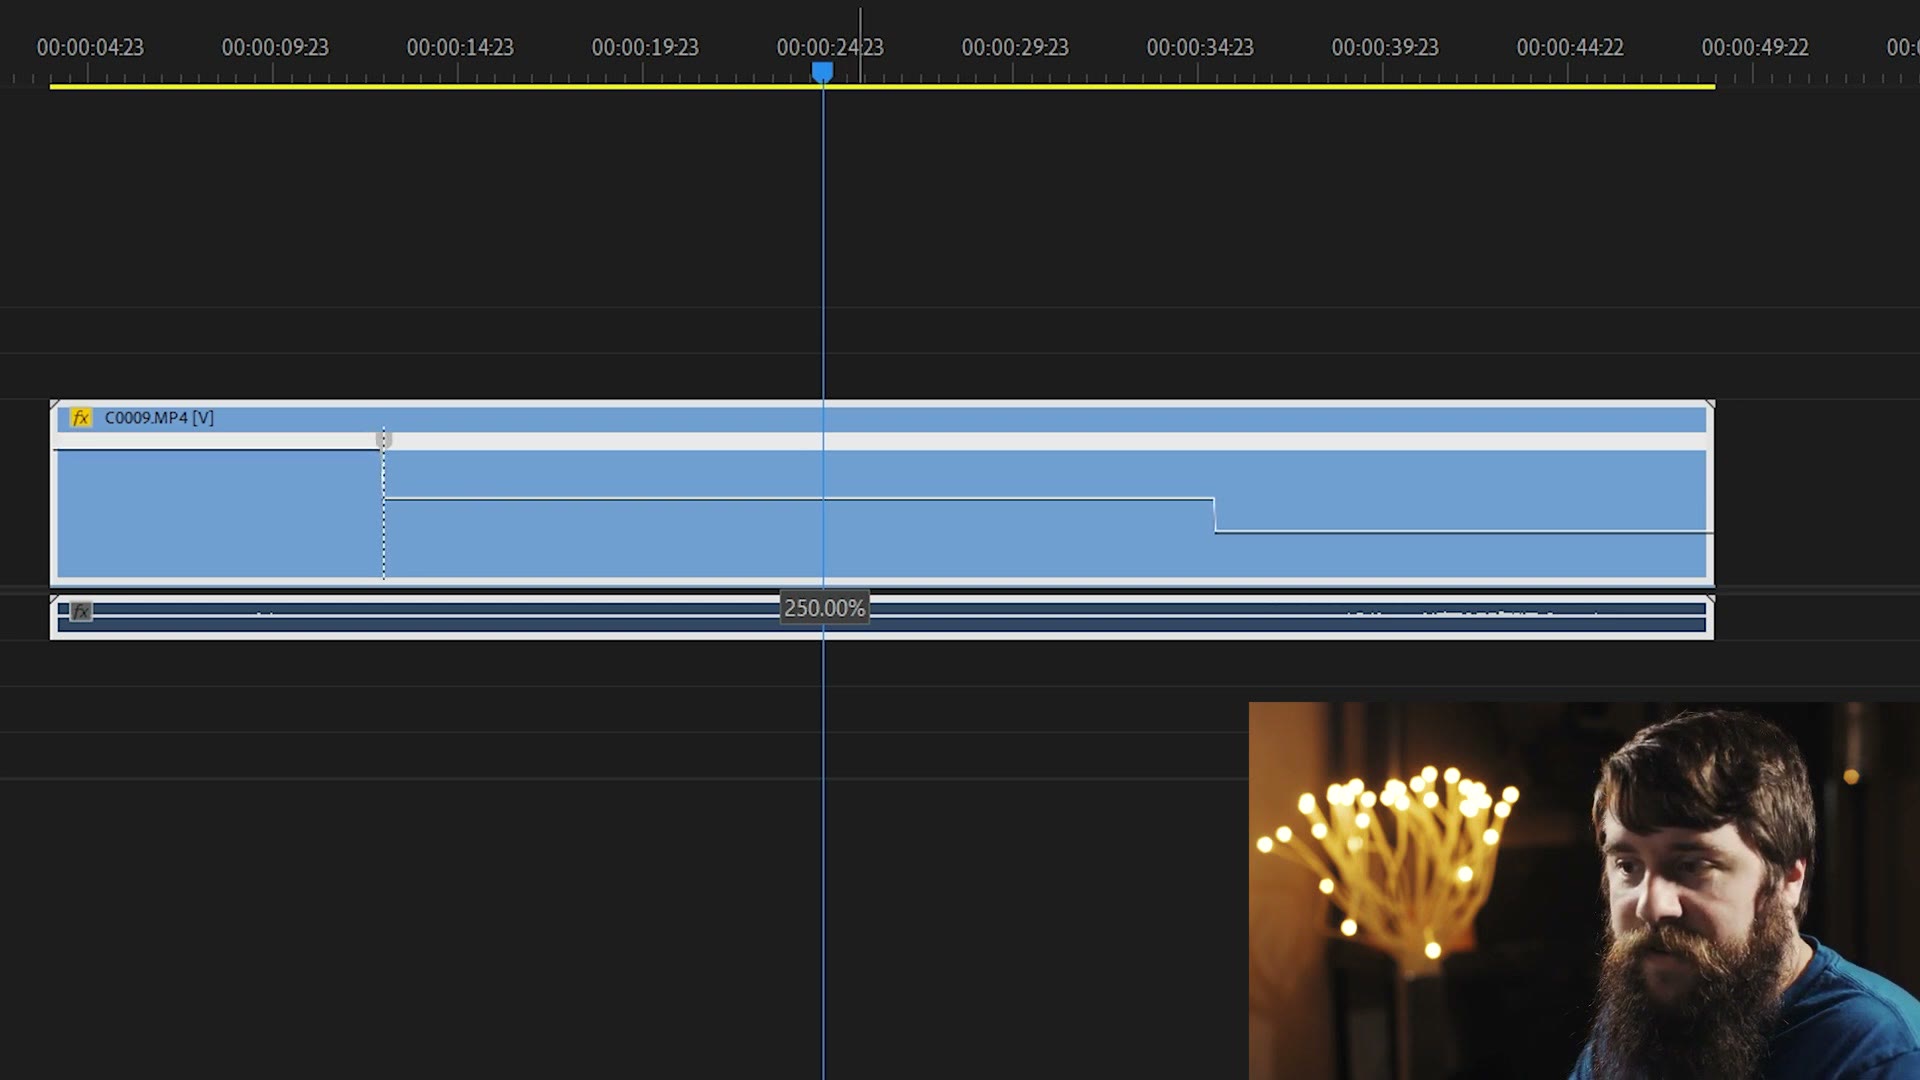
That 250 percent is what brings your footage back to normal speed. And you’ll notice that as soon as the playhead hits that line, everything goes to slow motion.
Now, that’s a very abrupt change of speed. And one of the keywords of speed ramping is the word ramp, which makes you think of a gradual change from fast to slow. So let’s do that.
Move your mouse back down to that V icon and click to select it so it turns blue. Then click the left part of the V and begin to drag it to the left. About there is good. Now you have a nice diagonal line.
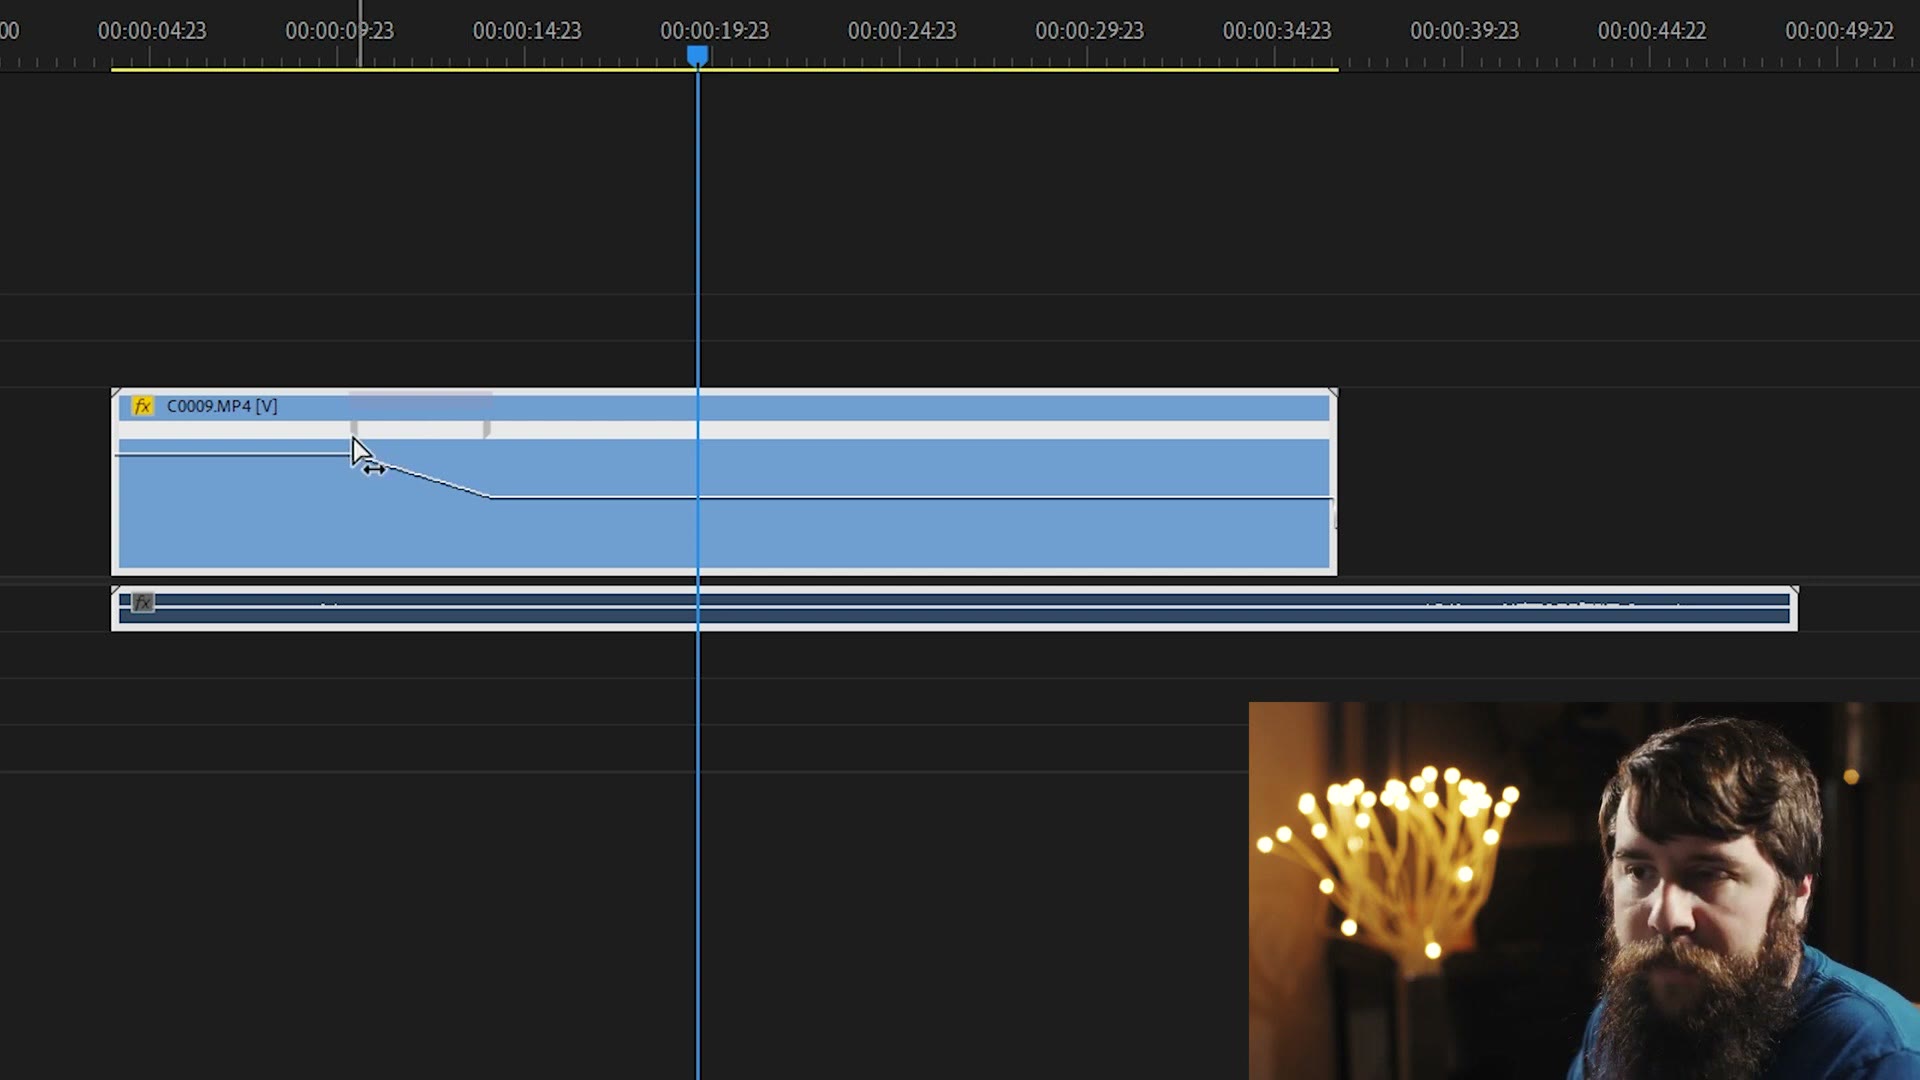
Think of those two parts of the V as the bookends for your speed ramp. The left part is where you start telling Premiere you want it to change from normal speed to slow motion. The right part is where you’re telling Premiere you want it to be fully slow motion.
Play the clip back and it’s normal speed, and then as they come together the slow motion kicks in, and by the end you’re fully in slow motion. Looks pretty good.
That’s it. You can speed ramp interpreted footage just as easily as you can uninterpreted footage, and it only takes one extra small step to do it.
Leave me a comment and let me know if you have a different way of doing this. I’m always learning new things about Premiere. If you don’t have it yet, there’s a free trial, and if you want my whole wedding editing workflow rather than one technique at a time, that’s Wedding Film Framework.
Also, if you’re a wedding videographer like me, you probably want to book more couples and film more weddings. To help you out with that I’ve created a free PDF guide with practical, actionable steps you can take right now in your business. It’s a free gift to you.