
Today I want to show you how to export high quality TikTok videos using Adobe Premiere Pro.
To save you time, if you don’t want to read me ramble through the whole tutorial, you can download my TikTok export presets completely for free and start exporting immediately. Otherwise, here’s the whole process.
Make A Vertical Sequence
I’ve already imported some footage, a time lapse, and the first thing you’re going to notice is: Matt, this time lapse is horizontal and TikTok is vertical. Yes. We’ll be modifying it to fit.
Start by creating a new sequence with Ctrl+N on PC or Cmd+N on Mac. In Sequence Presets go to Digital SLR, 1080p, DSLR 1080p24, and then click Settings at the top.
All of those settings are good. The only thing we need to change is the Frame Size: set the horizontal to 1080 and the vertical to 1920.
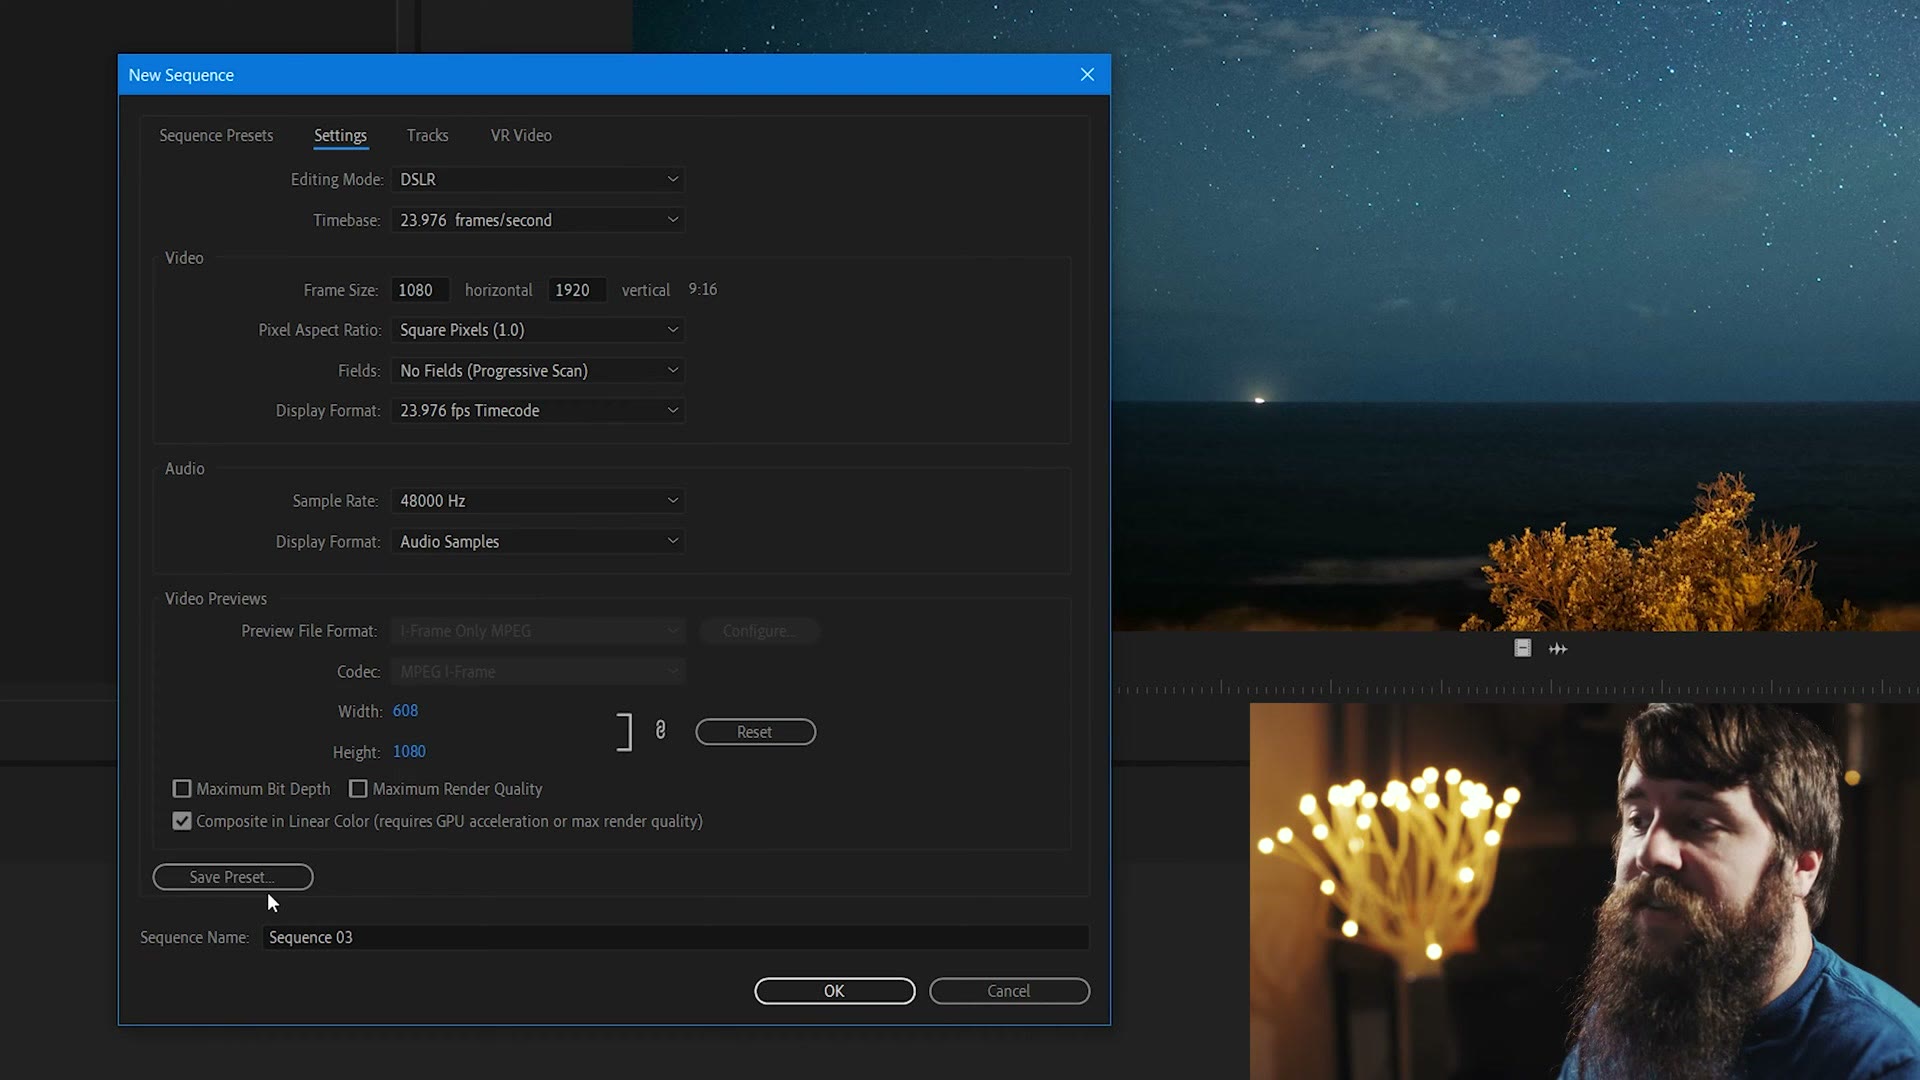
Then click Save Preset, so you never have to build this again. I call mine “TikTok 1080×1920 23.976” so I can see the resolution and the frame rate at a glance. Name your sequence and hit OK.
Reframe Your Footage
Drag your clip down to the timeline. When the Clip Mismatch Warning appears, click Keep existing settings. And look at that, suddenly we have a vertical video.
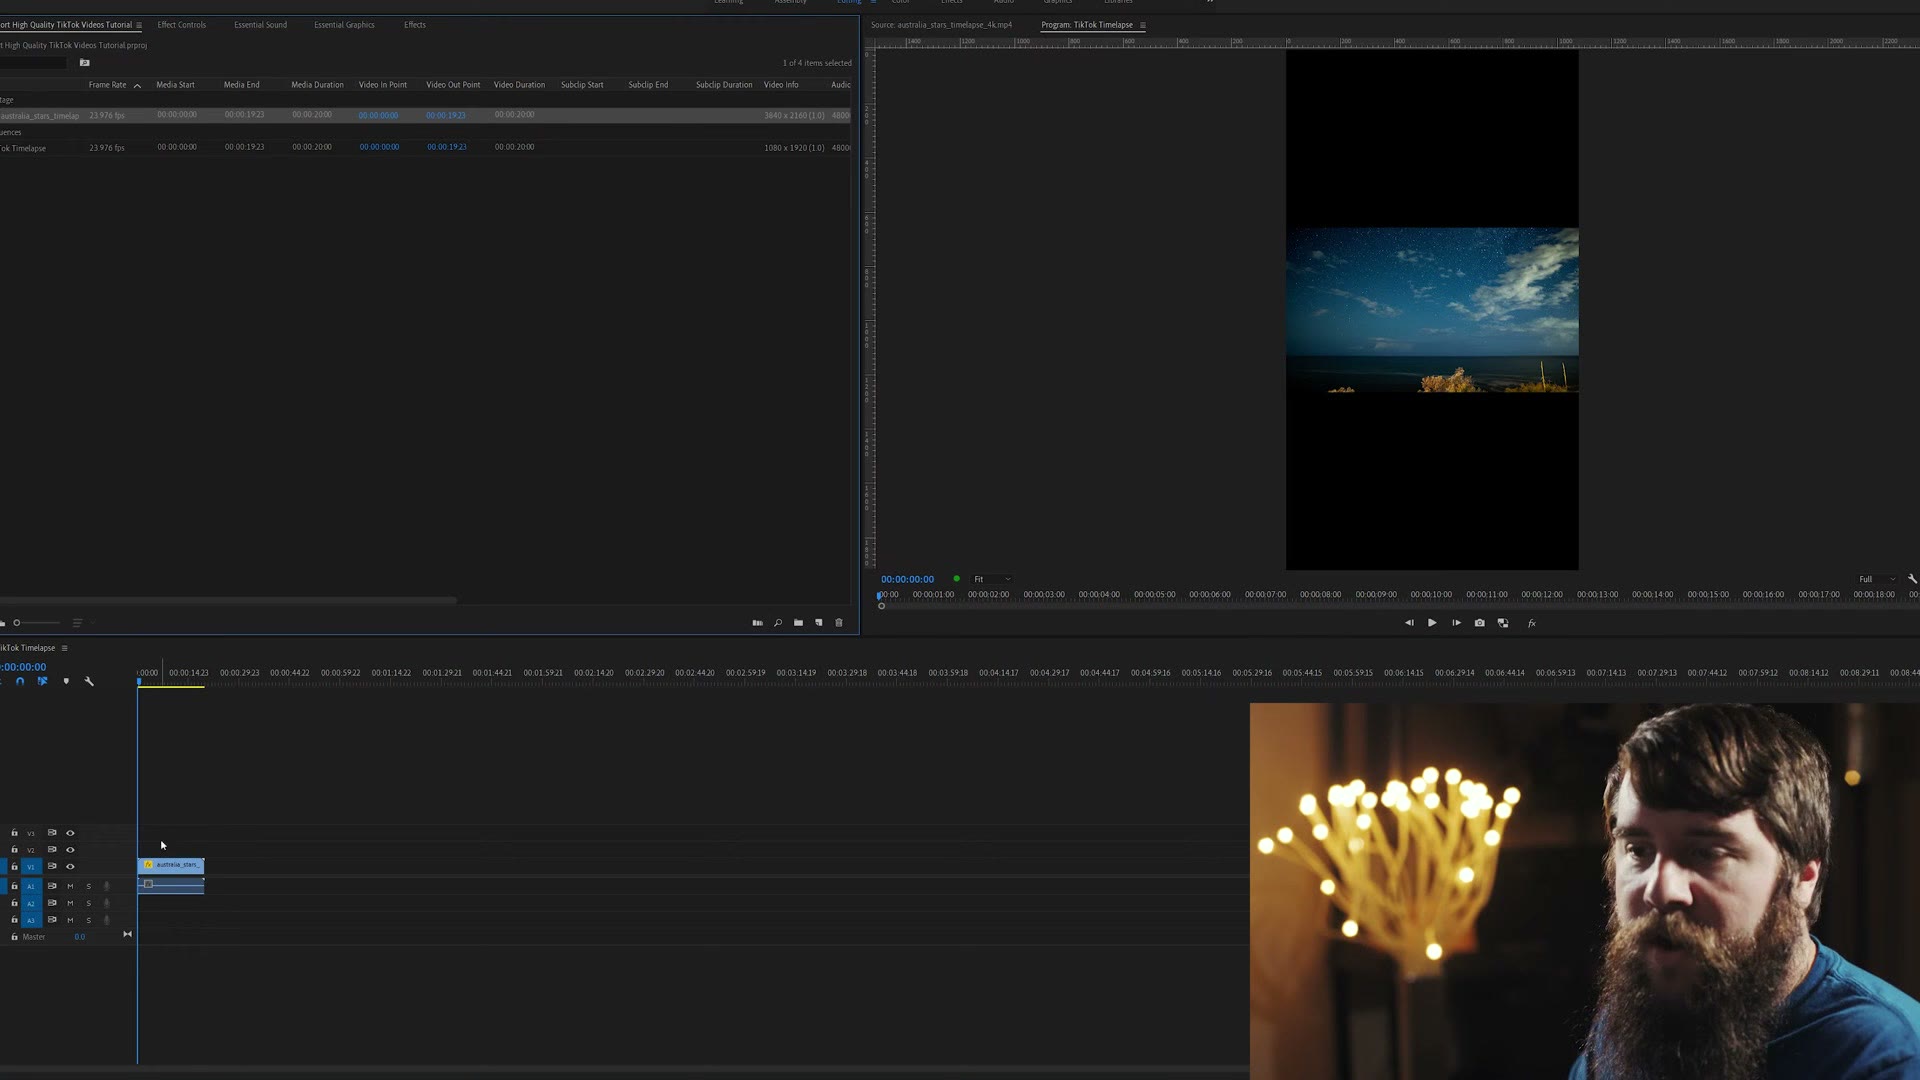
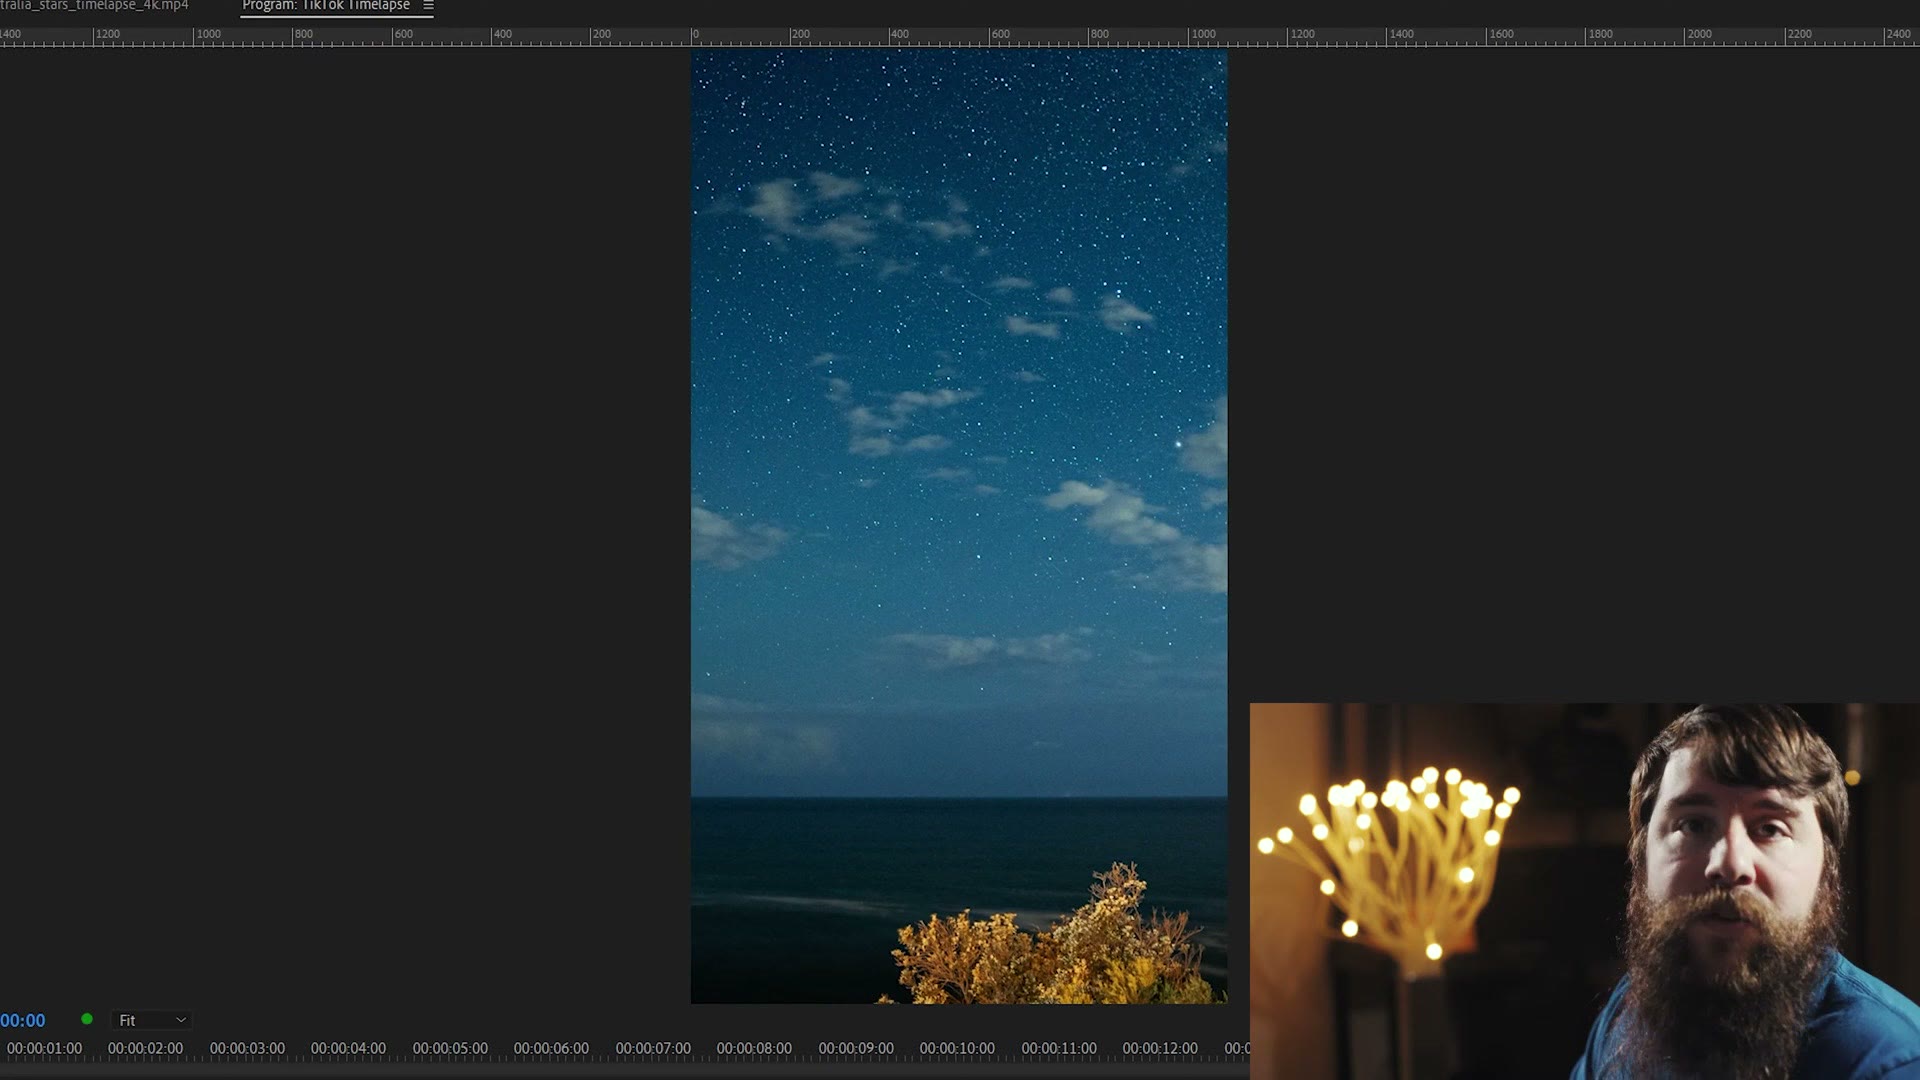
It doesn’t fit the frame yet, so click the clip, go up to the Effect Controls tab, and under Scale click and drag to the right to make the clip bigger. Your main goal here is simple: you do not want any black bars on the top or bottom.
To reframe a horizontal shot inside that vertical frame, go to Position and drag the first number left or right to pan the image.
Export Settings
Go to the start of your clip and press I to set the in point, then go to the end, or press Down to jump straight there, and press O for the out point. Then Ctrl+M on PC or Cmd+M on Mac to open the export settings.
For Format, make sure you’ve selected H.264. For Preset you could literally choose anything, because we’re about to customise all of it, but if you have it, pick Match Source, High Bitrate.
Click Output Name and choose where you’re saving the file. Put it somewhere you can find later, because you’re going to need it. Then make sure Export Video and Export Audio are both ticked.
Down in the Video tab, check that your width is 1080 and height is 1920. If it isn’t, tick the little checkbox beside them and you can change them. Frame rate should be 23.976, field order Progressive, aspect Square Pixels. And make sure Render at Maximum Depth is checked, which will give you a higher quality file.
Under Encoding Settings, Software Encoding is fine. If you have hardware encoding available it may be a little faster. Set Profile to Main and Level to 4.1.
Bitrate Settings
You can ignore everything else until you get here, because these settings are one of the most important parts of the whole process and they have a major impact on how your video looks.
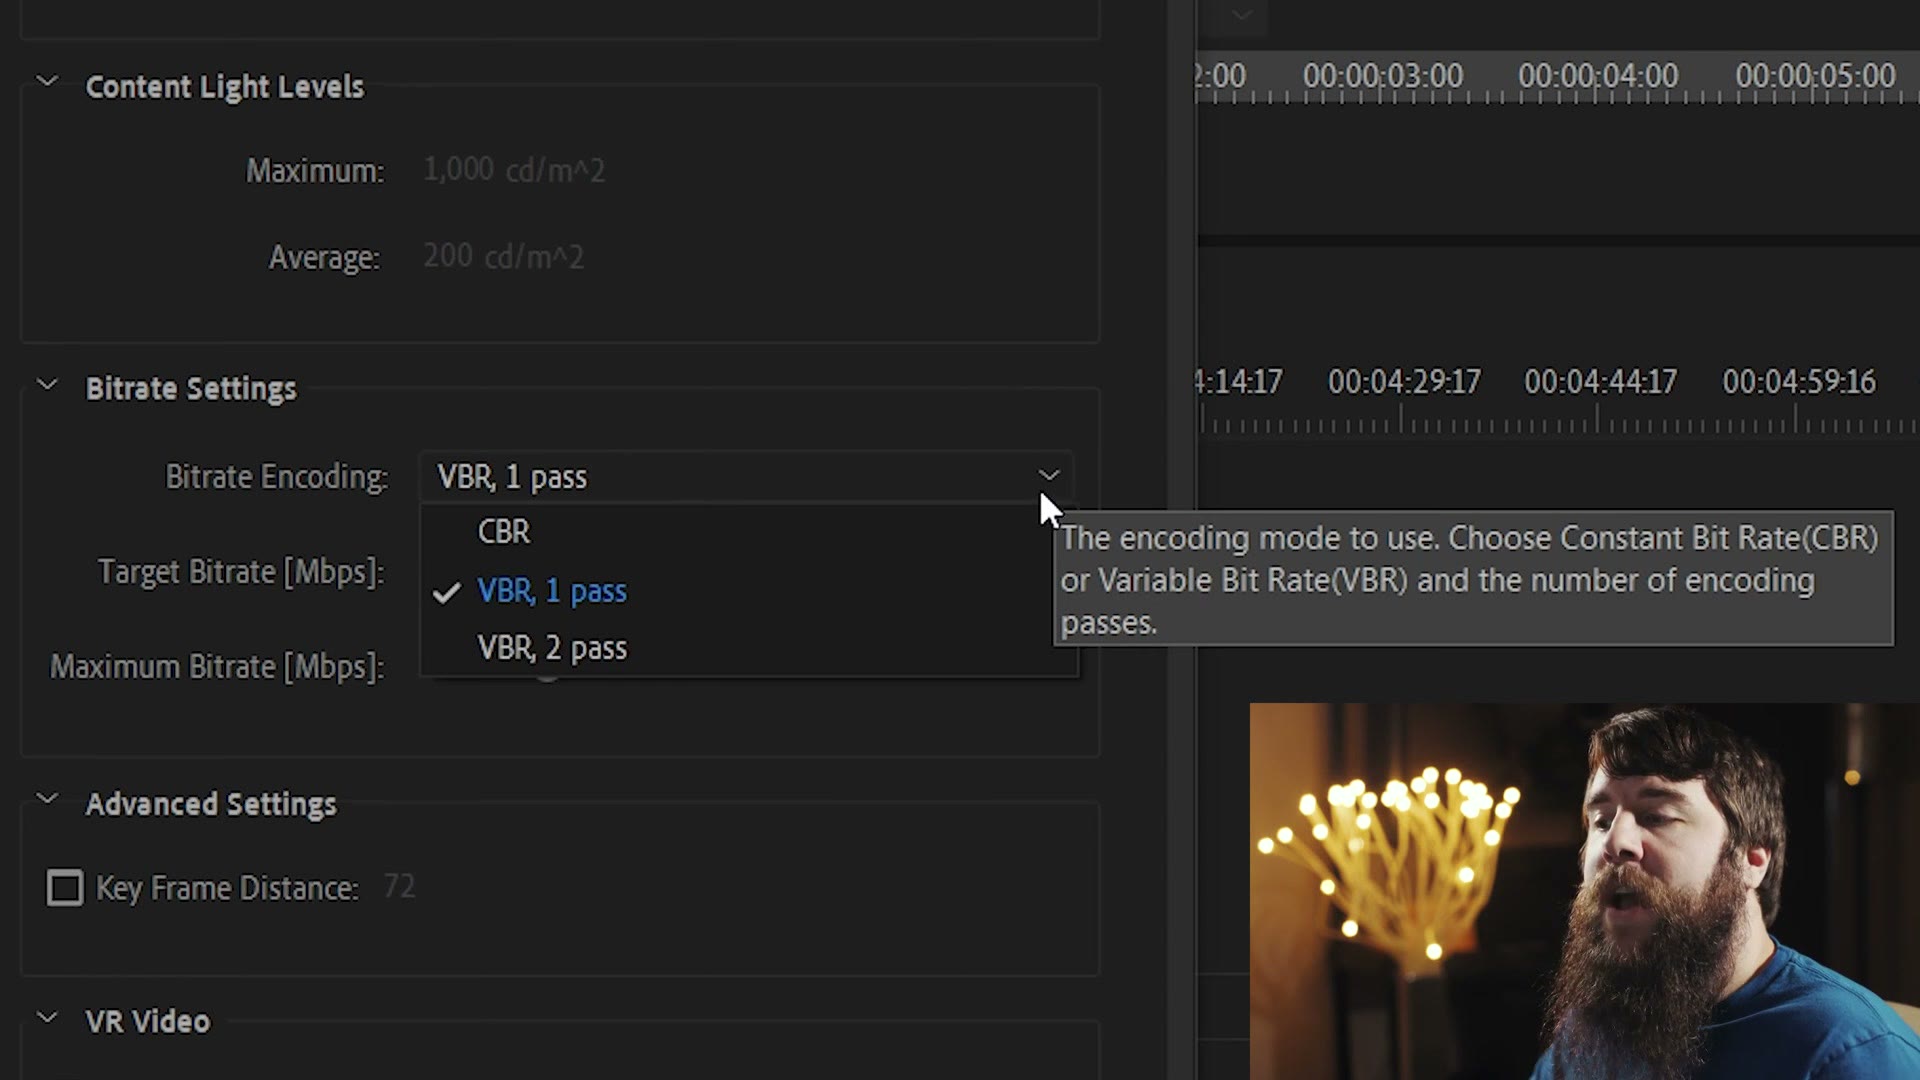
Click the Bitrate Encoding dropdown and you’ll see two options. VBR is variable bitrate, and you can think of bitrate as the quality of your video. The computer is pretty good at guessing how high it needs to be for the video to look good, but sometimes it isn’t perfect, and then the quality isn’t so good.
CBR is constant bitrate, which is essentially you telling the computer “I always want the bitrate to be high, I want this to be the highest quality possible.” So I select CBR, because I want to guarantee quality, and I set the target bitrate to 15 megabits per second.
You don’t need to worry about the last two things, but do tick Use Maximum Render Quality, because that makes a difference.
Then in the Audio tab: AAC, audio codec AAC, sample rate 48,000Hz, channels Stereo, audio quality High, bitrate 320, with precedence set to Bitrate.
Now save all of that as a preset so you never type it again. Next to Preset, click the little down arrow, choose Save Preset, and name it something like “TikTok 1080×1920 23.976fps 15mbps cbr” so you can read every setting straight off the name.
Then click Export to render inside Premiere, or do it the way I prefer and click Queue, which sends the project to Adobe Media Encoder. Hit the green play button there, and you can minimise it and carry on working in Premiere.
Upload To TikTok
Go to tiktok.com, log in, click the cloud icon in the top right and choose Upload Video.
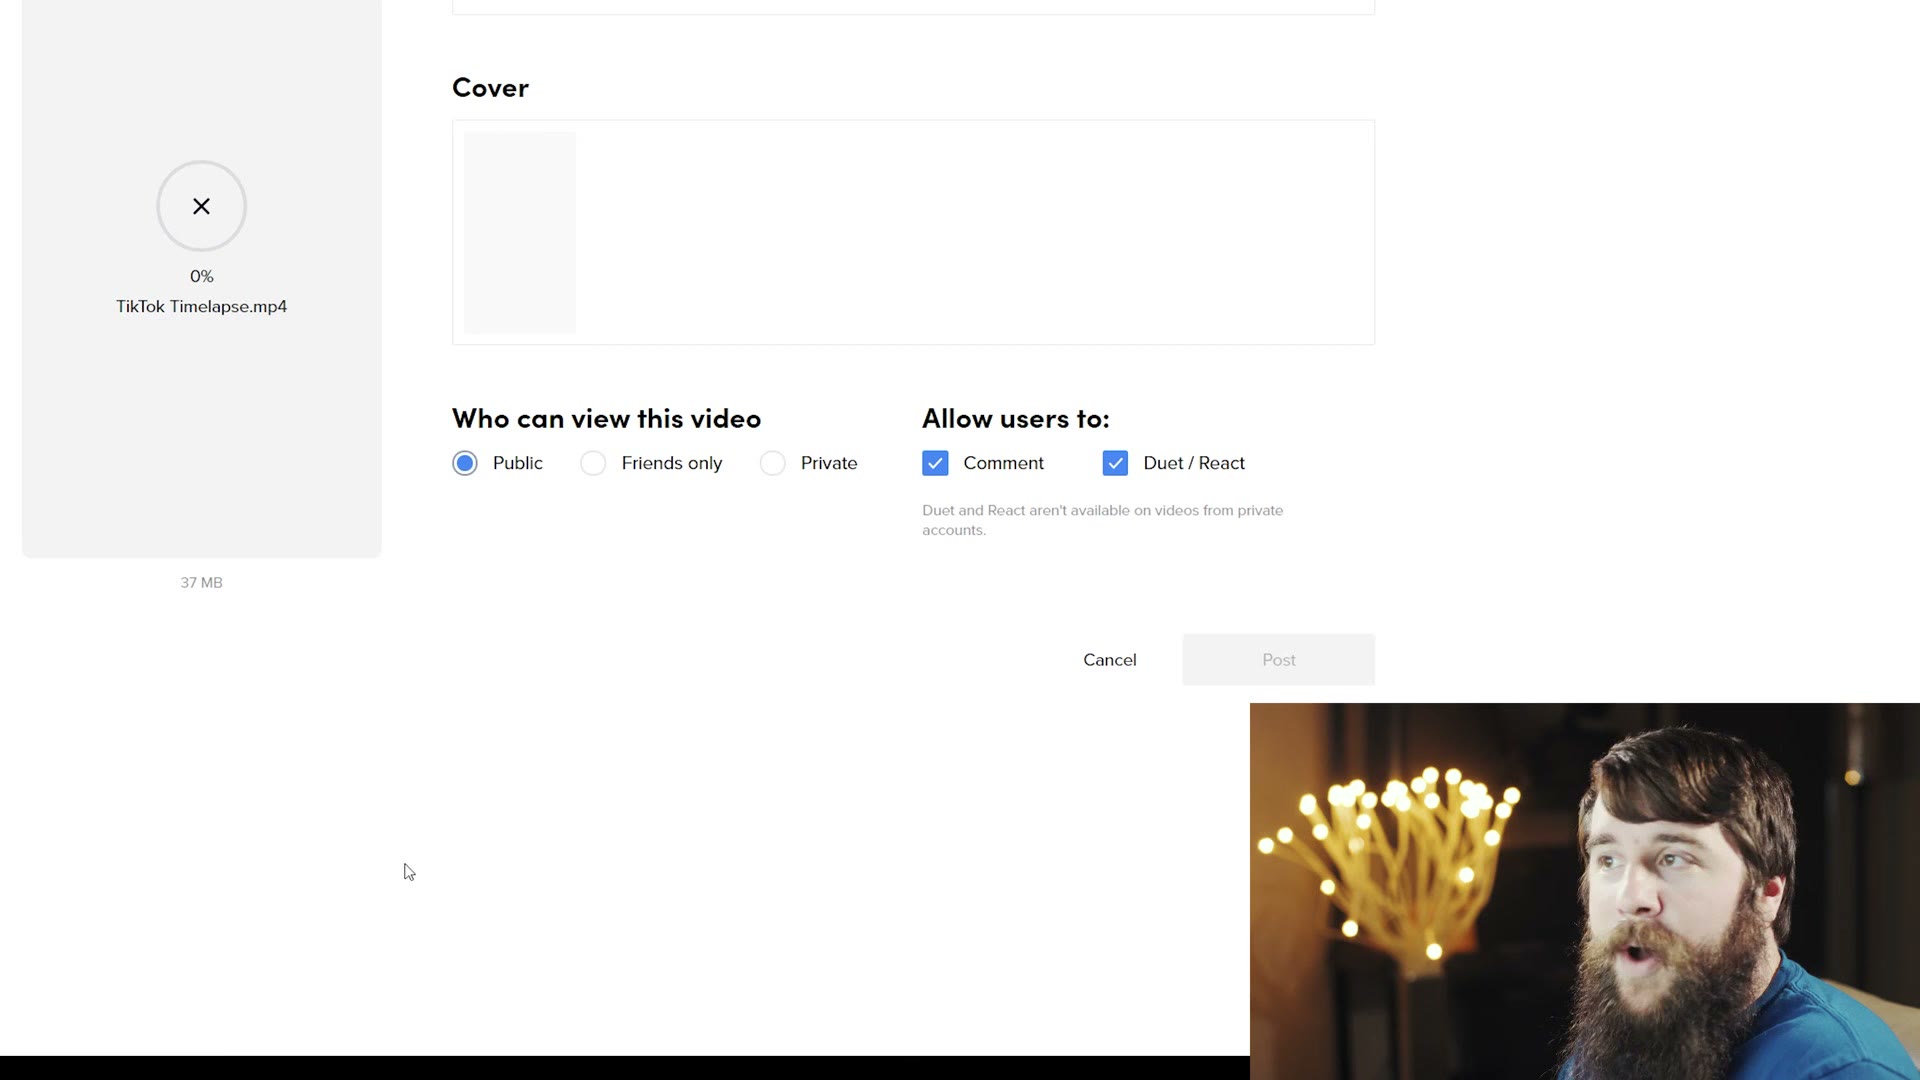
Drag your file into the box, write a caption (“cool time lapse, bro”), drag through to select a cover, check the settings and click Post. Your video is on TikTok.
The Quality Problem
There’s one last thing you need to know, because my goal here is to help you upload high quality videos.
TikTok can be inconsistent about the quality it converts your video to. Sometimes it stays at 1080 by 1920 at 15 megabits per second, exactly as we set it up. But sometimes TikTok reduces it, and the lowest I’ve seen is 576 by 1024.
This sucks. And after uploading over 50 test videos, the only explanation I can come up with is that there may be too many people using the app at the same time, so TikTok can’t put every video up at full quality.
So how do you avoid it? My recommendation is to upload your video privately first, then download it back to your phone, send that file to your computer over AirDrop, Google Drive or Dropbox, and use VLC Media Player to check its resolution and bitrate.
If it comes back at 1080 by 1920 at roughly 10 to 15 megabits per second, you’re good. If not, try re-uploading and see whether the quality improves.
If exports are your weak spot generally, two more worth reading: how to fix washed out colors in your Premiere exports, and how to export 120fps video.