Needing inspiration for your wedding films? Here are 3 inspiring wedding filmmakers making incredible work that you should be watching in 2021!
A Wedding Filmmaker’s Review Of The Zhiyun Crane 2S (vs DJI RS2)
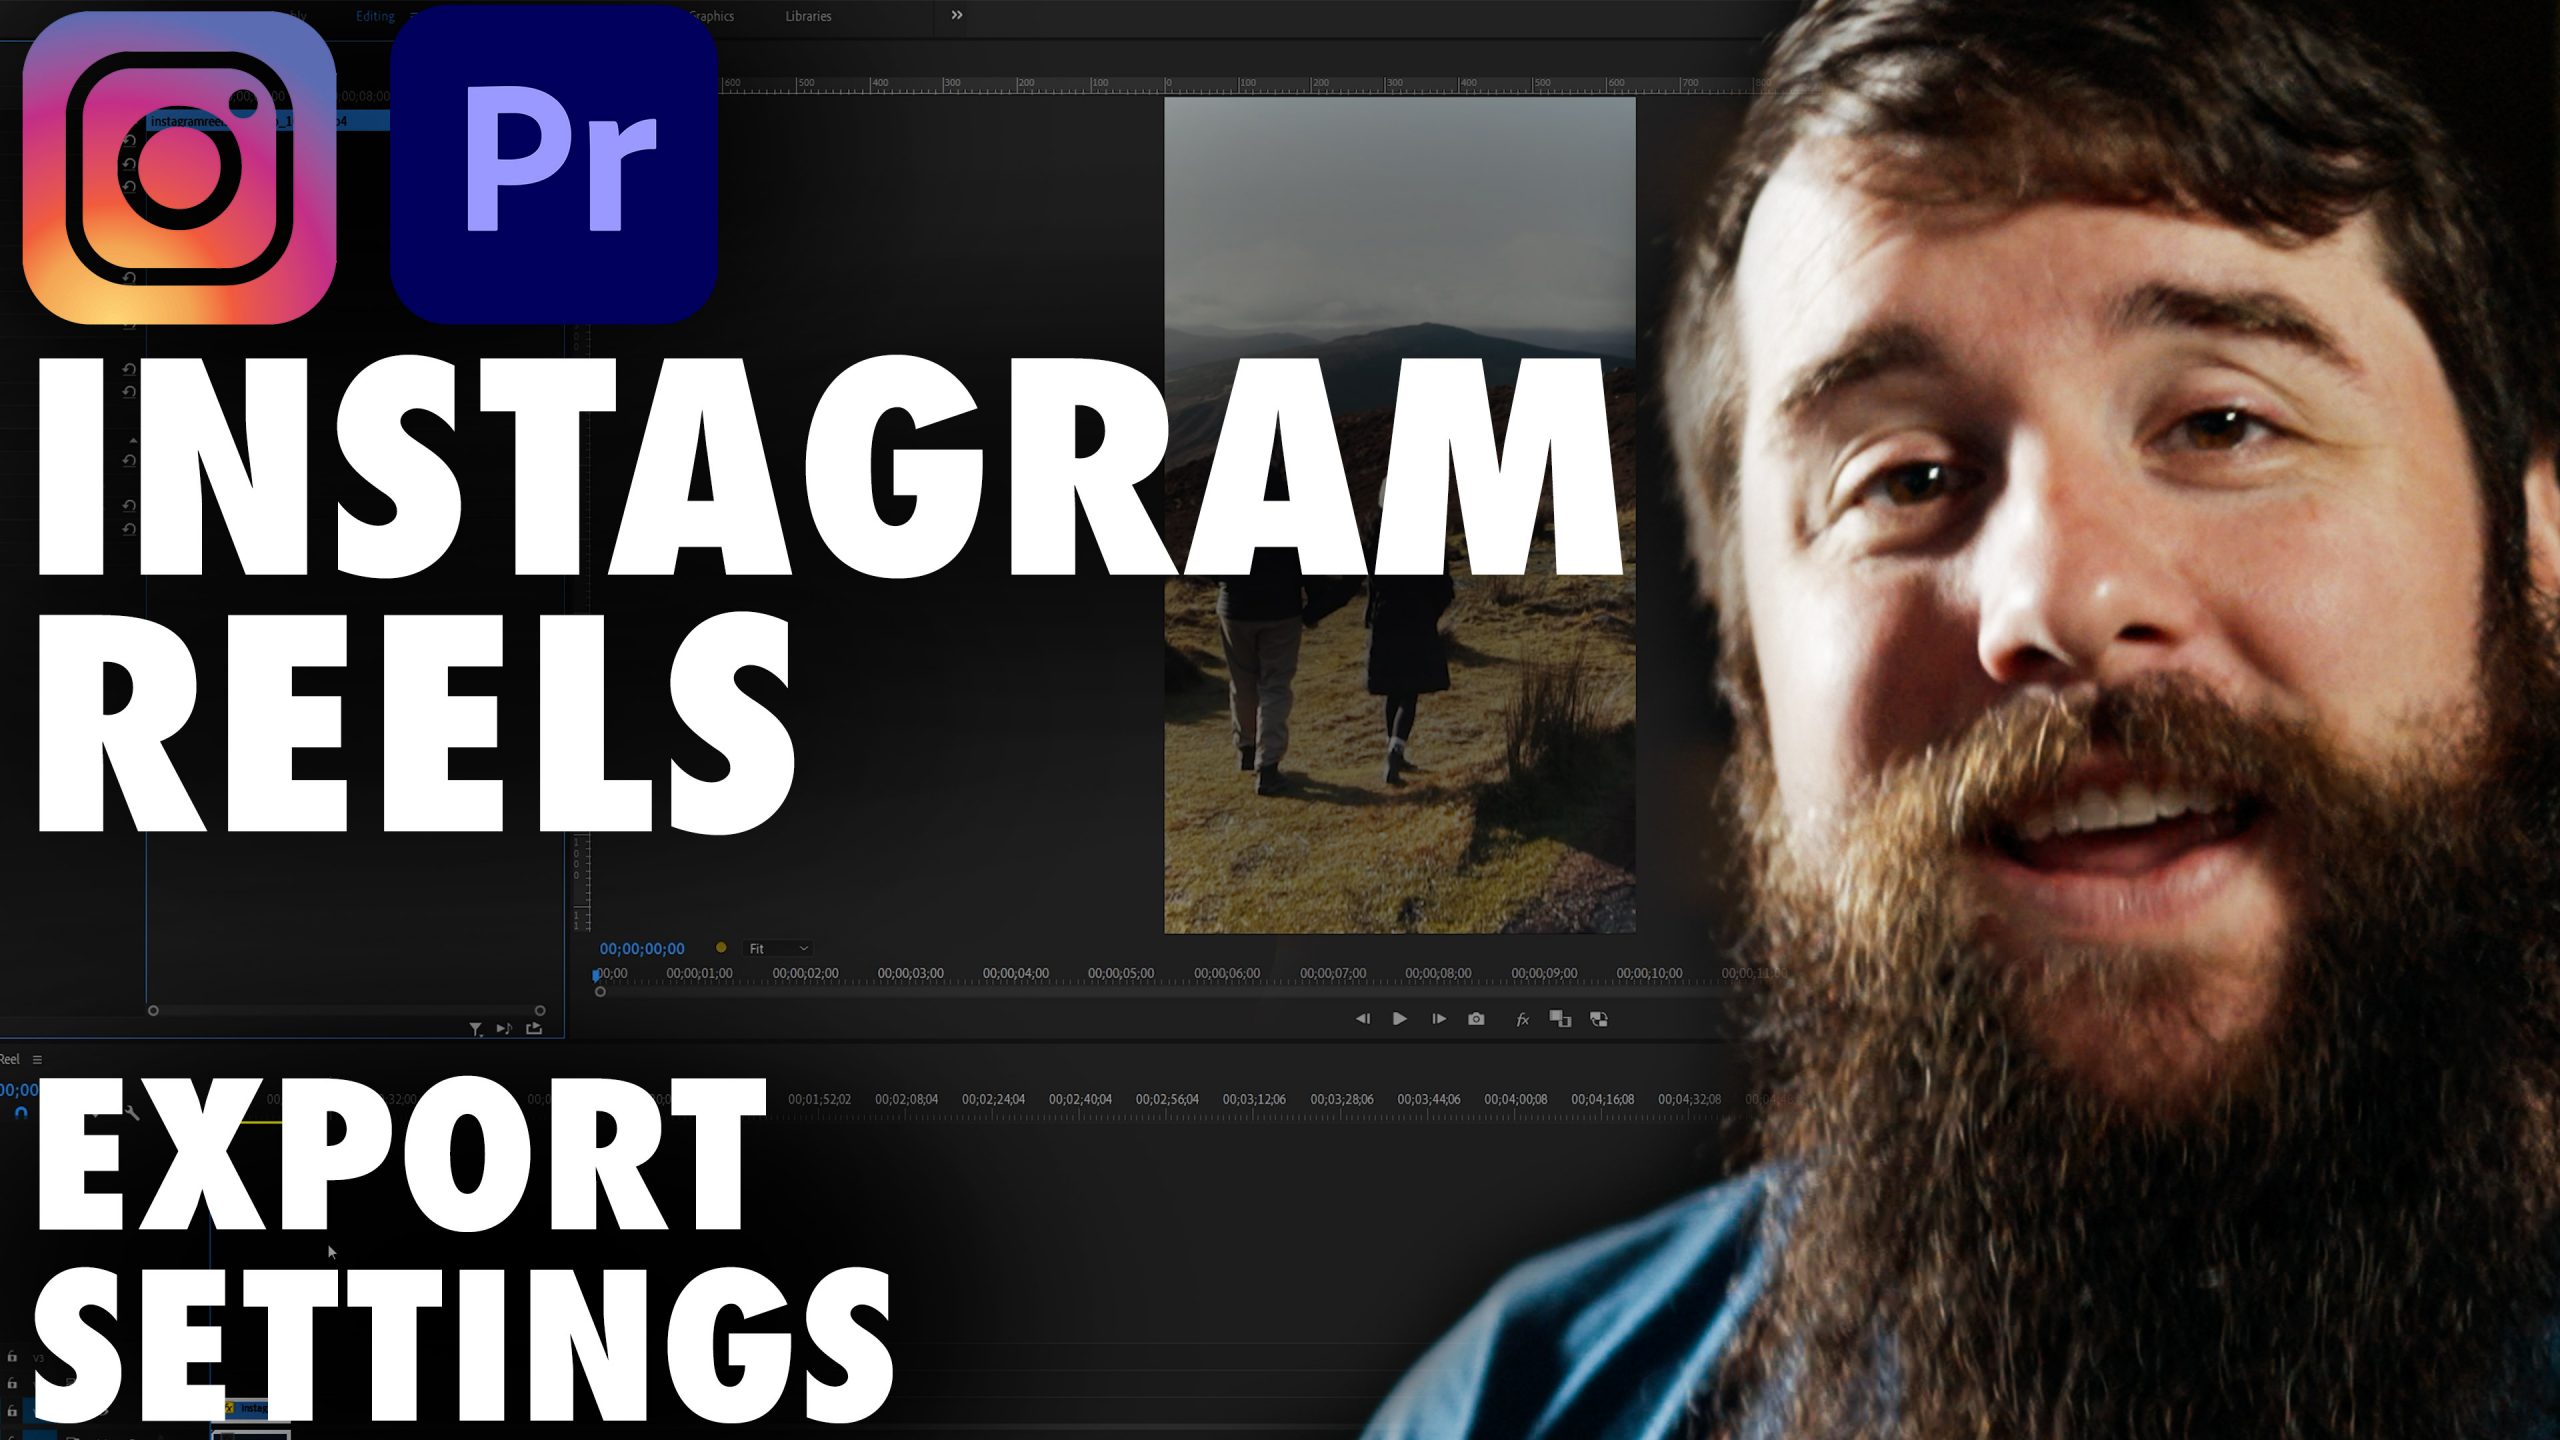
How To Edit & Export High Quality Instagram Reels in Adobe Premiere Pro
Updated January 11, 2026
❗ Download my FREE Instagram Reels Presets
If you’ve ever uploaded a video to Instagram and thought, “Why does this look worse than it did in Premiere?”, you’re not alone. Instagram is notoriously aggressive with compression, and if your export settings aren’t dialed in correctly, it will absolutely destroy your video quality.
In this post, I’m going to walk you through exactly how I edit and export high quality Instagram Reels using Adobe Premiere Pro, so your videos look as good as possible after Instagram does its thing.
This is the same workflow I use for my own content, and it’s designed to give Instagram the best possible file to work with.
Start With the Right Sequence Settings
Before we even talk about exporting, the foundation starts in your sequence settings.
Instagram Reels are vertical video, which means your sequence should be set to a 9:16 aspect ratio. Specifically, you want a resolution of 1080 by 1920.
Frame rate matters here too. Instagram prefers 30 frames per second, so if you’re starting a brand new sequence specifically for Reels, set it to 29.97 or 30 fps. If your footage was shot at a higher frame rate, that’s totally fine, just make sure your final sequence matches what Instagram expects.
This alone can prevent unnecessary resampling and compression issues later.
Editing for Vertical Video in Premiere Pro
If your footage was shot horizontally, Premiere makes it pretty painless to reframe for vertical.
Once your clip is in the timeline, you can use the Effect Controls panel to adjust scale and position. The key here is to resist the urge to over-scale. The more you blow up the image, the more you’re helping Instagram ruin it later.
If you’re working with 4K footage in a 1080×1920 sequence, you’ve got plenty of room to reframe without losing quality. That’s one of the big advantages of shooting higher resolution video, even if your final delivery is smaller.
For talking head content, I usually keep eyes slightly above center and leave enough headroom so nothing feels cramped on smaller screens.
Color and Contrast Matter More Than You Think
Instagram compression hates subtle gradients and flat images.
If your footage is extremely flat or low contrast, Instagram will often introduce banding and ugly artifacts once it compresses the video. This doesn’t mean you need to overdo it, but a well-contrasted image with clean color separation tends to survive compression better.
Make sure your footage is properly exposed, your blacks aren’t lifted too high, and your highlights aren’t crushed. A clean, balanced image gives Instagram less to destroy.
Export Settings That Actually Work for Instagram Reels
This is where most people go wrong.
When exporting from Premiere Pro, start by choosing H.264 as your format. This is exactly what Instagram is going to convert your video into anyway, so you’re better off controlling that process yourself.
Set your preset as a starting point, but do not rely on it blindly.
Here are the key settings you want to double-check:
- Resolution: 1080 x 1920
- Frame Rate: 30 fps
- Field Order: Progressive
- Aspect: Square Pixels
For bitrate, this is critical.
I recommend using VBR, 2-pass. Set your target bitrate around 10 Mbps and your maximum around 12 Mbps. This gives Instagram a high quality file without being so large that it triggers extra compression.
Cranking the bitrate higher than this does not help. In fact, it can sometimes make things worse.
Profile and Level Settings
Under the video tab, make sure your profile is set to High and your level is set to 4.2. This ensures better compatibility and quality across devices.
Also, enable “Render at Maximum Depth” and “Use Maximum Render Quality.” Yes, exports take longer, but this helps preserve fine detail and scaling quality.
If you’re already putting in the work to create good content, waiting a little longer on export is worth it.
Audio Settings That Won’t Get Ruined
Audio is just as important as video, even on Instagram.
Set your audio codec to AAC, sample rate to 48 kHz, and bitrate to 320 kbps if possible. Instagram will compress audio too, but starting with clean, high quality audio makes a noticeable difference.
Bad audio is one of the fastest ways to make a Reel feel low quality, even if the video looks decent.
Uploading Tips That Actually Matter
Once your video is exported, upload it directly from your phone if possible. AirDrop or a direct cable transfer is ideal.
Avoid sending the file through messaging apps, email, or cloud services that might recompress it before it ever reaches Instagram.
When posting, make sure “Upload at Highest Quality” is enabled in Instagram’s settings. It sounds obvious, but a surprising number of people forget this step.
Final Thoughts
Instagram is always going to compress your videos. You can’t stop that. What you can do is give it the cleanest, most optimized file possible so the final result still looks sharp, professional, and intentional.
If you start with the right sequence settings, avoid unnecessary scaling, export with the correct bitrate, and upload properly, your Reels will look noticeably better than most of what’s on the platform.
Remember, you can download my free Instagram Reels Preset for Adobe Premiere to save time.
And if you want to go deeper into building a complete workflow for filming, editing, and delivering better videos, I’ve got a free filmmaker gear guide that breaks down everything I personally use and recommend.
Thanks for reading, and happy editing.


