

Having just finished two of the busiest filmmaking months of the year, the end is in sight. Tomorrow I film my final wedding of the year, which means after this weekend I get to hibernate, grow my beard, edit a ton of videos, and make more video blogs.
Today I bring you the fourth and final part of my series about run and gun filmmaking with the Sony a7S II, and this one is all about the Function Menu.
The Rest Of The Series
Between my previous videos on menu customizations, mode dial modifications, and custom button settings, you’d think you would already be prepared for any type of filming with this camera, and you’d probably be right. I honestly debated even making this video, given how many features the custom buttons already put at your fingertips.
Make no mistake though, the function menu is still a worthy inclusion in the series. It’s a great catch-all for the settings you don’t reach for constantly but still need within arm’s reach. Think of it as the cherry on top if the a7S II were a cake. You won’t always need it, but you’ll be glad it’s there. (Horrible analogy. Pie is definitely better.)
What I’m Shooting With Here
My mode dial is on 1, which for me is 4K at 24 frames per second at a 150th of a second shutter. The lens is a Sigma Art with a Nikon mount adapted onto the Sony, which makes it a dead lens: there’s no electronic contact between the two at all. That matters, because a chunk of how I’ve set this menu up exists specifically to work around that. Later on I switch to the Sony 16-35mm, which does talk to the body, and some of these slots only come alive whenever it’s on.
Twelve Slots, Fully Customizable
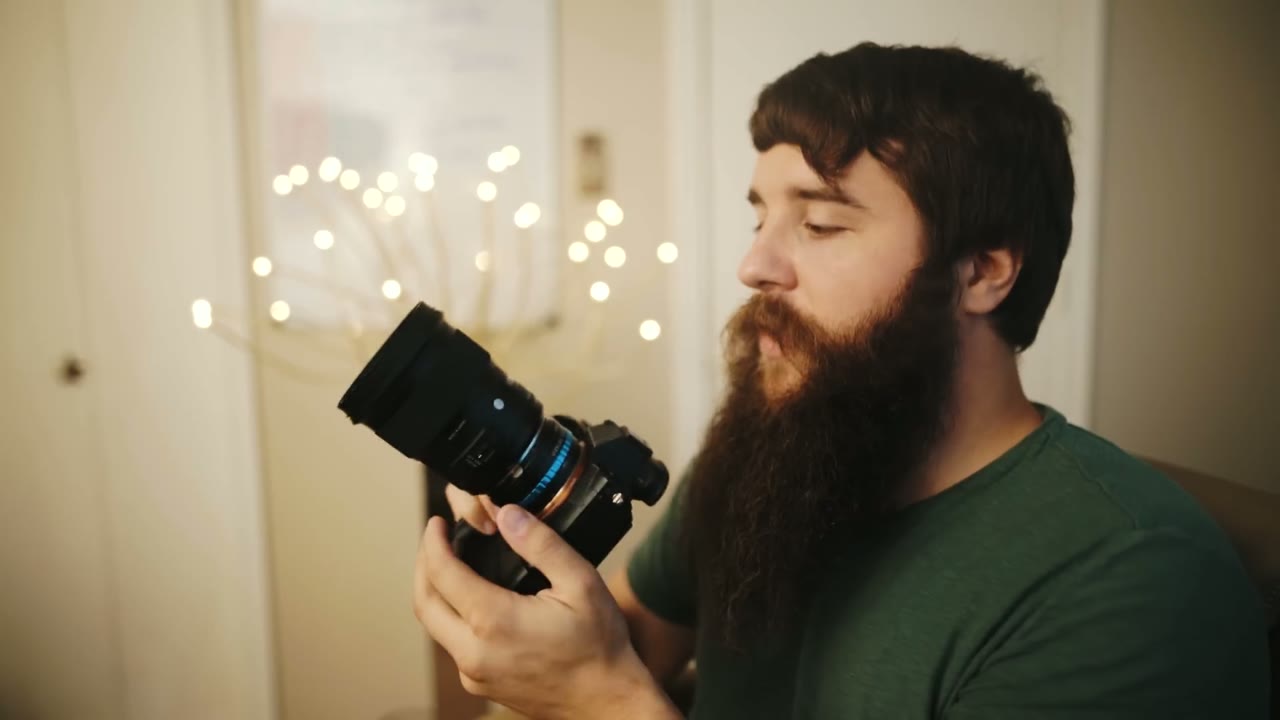
With the camera sitting there ready to record, press the Fn button on the back and up comes the function menu: 12 quick-access settings, six across the top and six across the bottom, and every one of them is yours to assign, in any order.
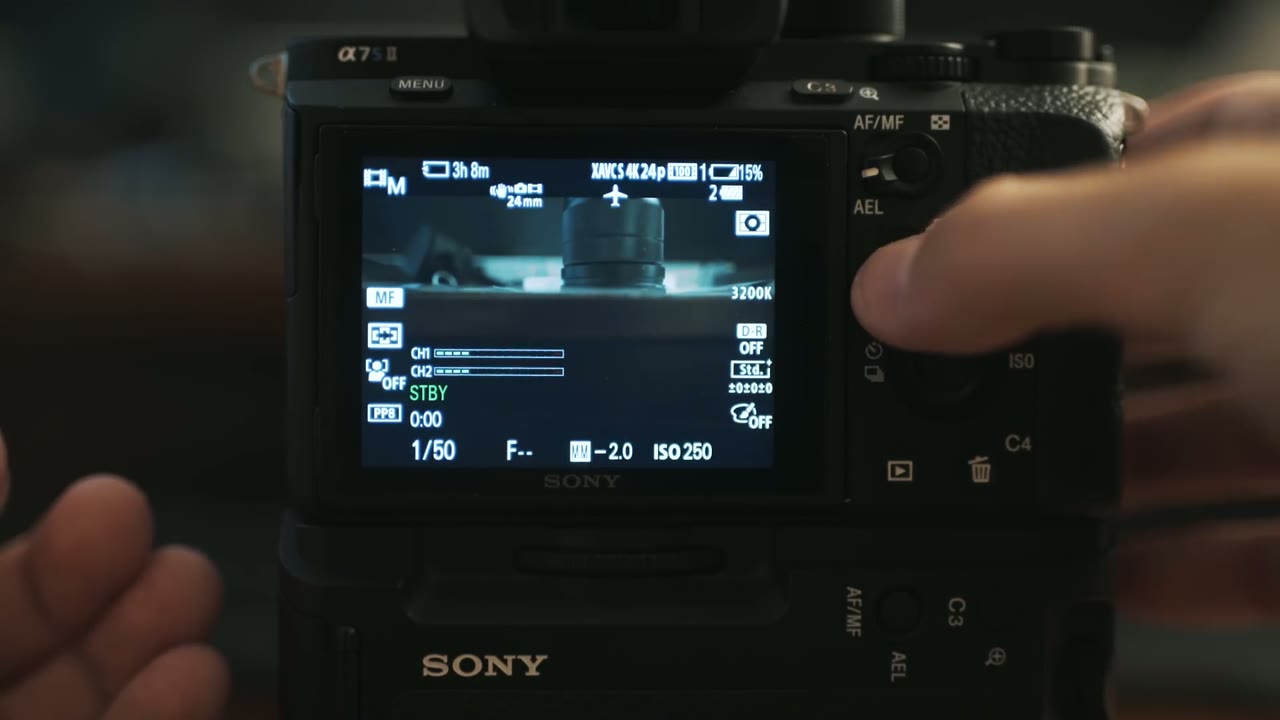
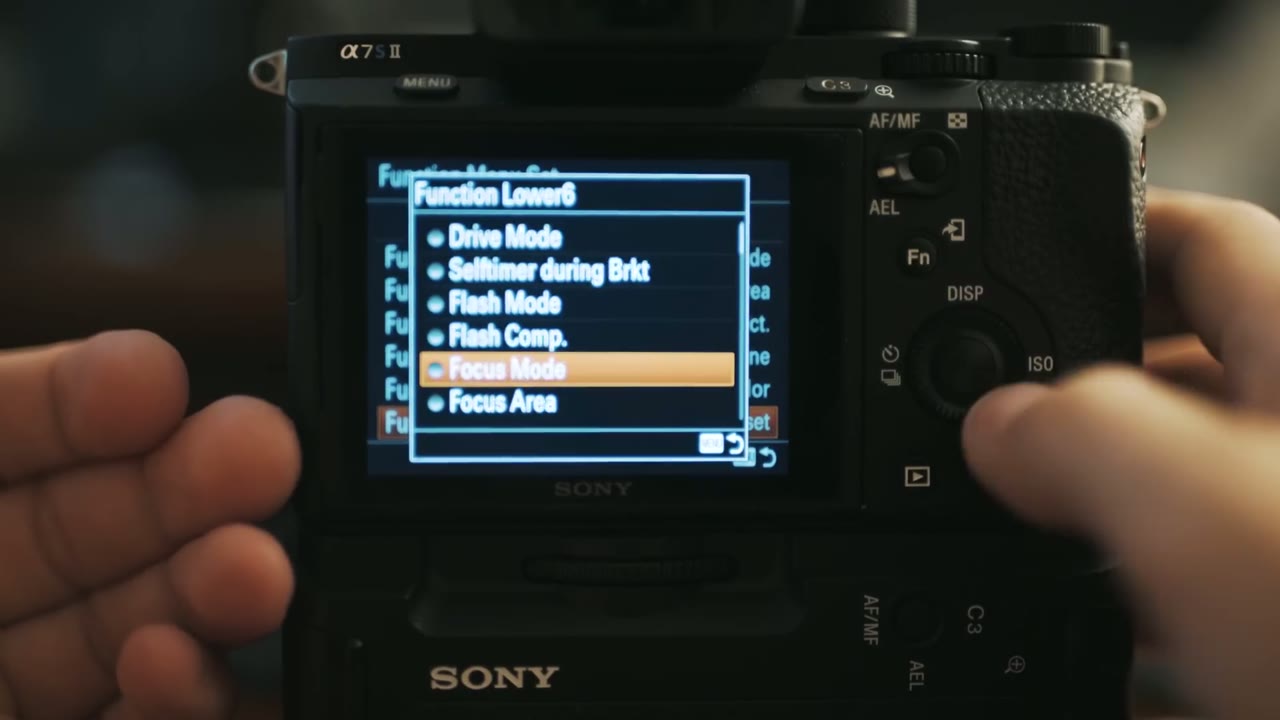
To change them, and yes, we do have to go into the menu to set up the thing that keeps you out of the menu: press Menu, go to the gear icon, over to subheading 6, and down to Function Menu Set. Same place we went for the custom buttons.
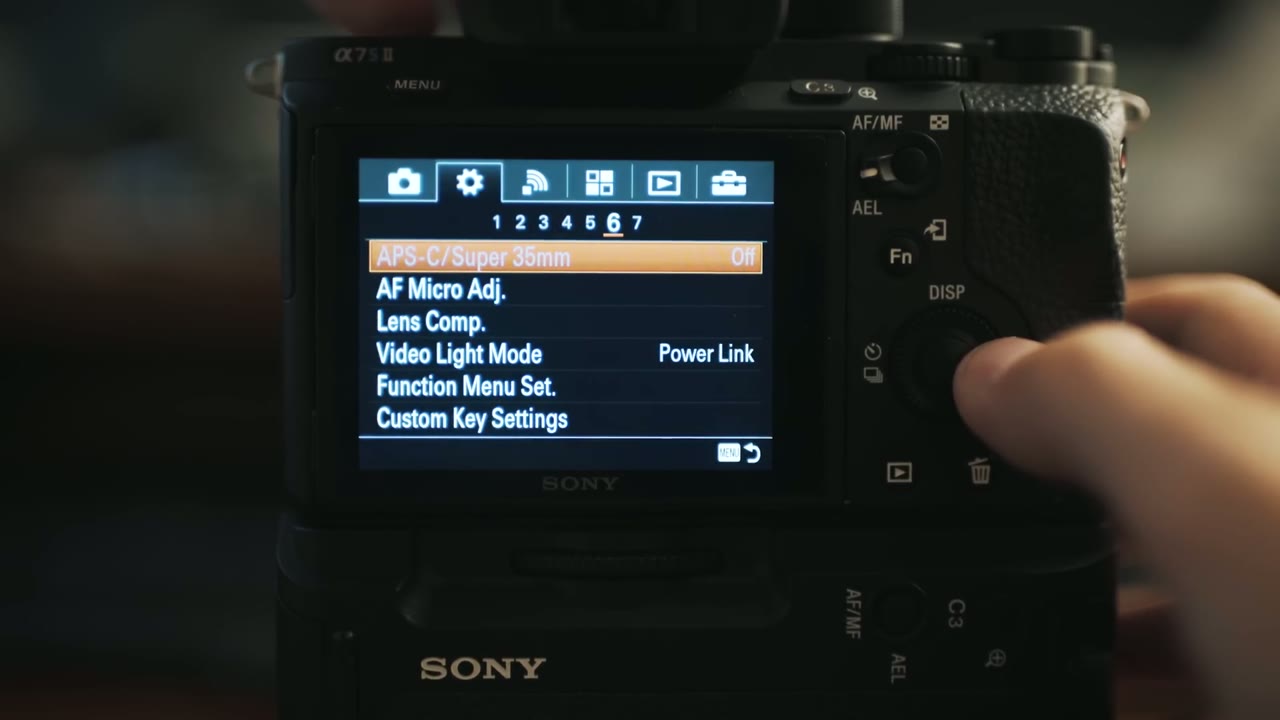
Inside there are two headings. Function Upper is the six icons along the top, Function Lower is the six along the bottom, and 1 through 6 is the order they appear in.
Function Upper: My Six
1. SteadyShot Focal Length
You’re probably wondering why, because if you watched the custom buttons video you saw I already have the center button set to SteadyShot focal length. So why have it twice? Honestly, because in the heat of the moment I forget. What I always remember is that the function menu exists. And changing lenses is one of the most common things I do on a wedding day, so I want this reachable two different ways.
2. Gamma Display Assist
Also redundant with a custom button, and I’m keeping it. I believe in redundancy. It’s really nice to have it in both places.
3. Peaking Level
So I can dial how much peaking I’m getting, because that matters and it changes depending on what I’m pointed at.
4. Zebra
And you’re thinking, aren’t you always in the same picture profile with zebras at 100? Yes, that’s true. But sometimes the zebras get distracting. I’ll be composing a shot and going “okay, yes, I know that part’s overexposed, thank you,” and I need them gone for two seconds so I can actually look at my frame. Being able to toggle that from the function menu is worth a slot.
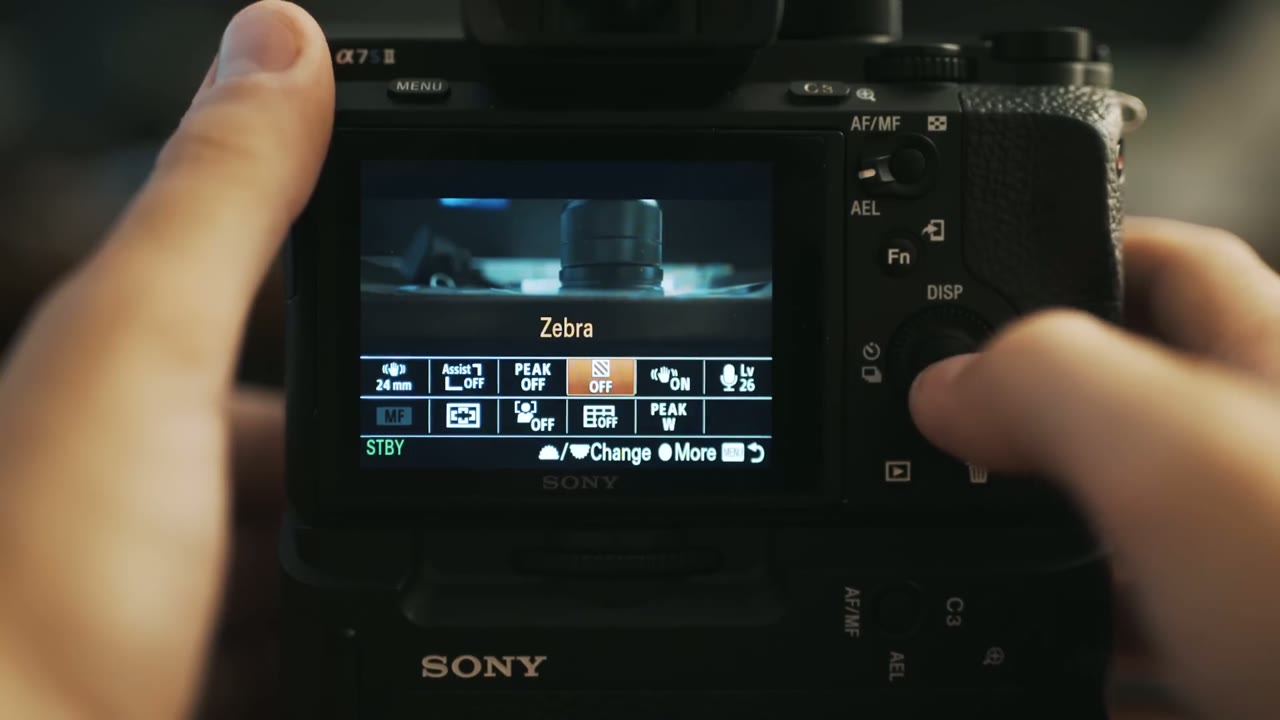
5. SteadyShot
The in-body stabilization itself, closely related to the focal length setting in slot one. Having it here means I can kill it instantly, so if I’m locked off on a tripod and don’t need stabilization at all, off it goes and I save a bit of battery.
6. Audio Rec Level
Really helpful whenever you’re somewhere loud and the auto leveling just can’t cope. Jump into the function menu, pull the level down, and you’re no longer peaking your scratch track.
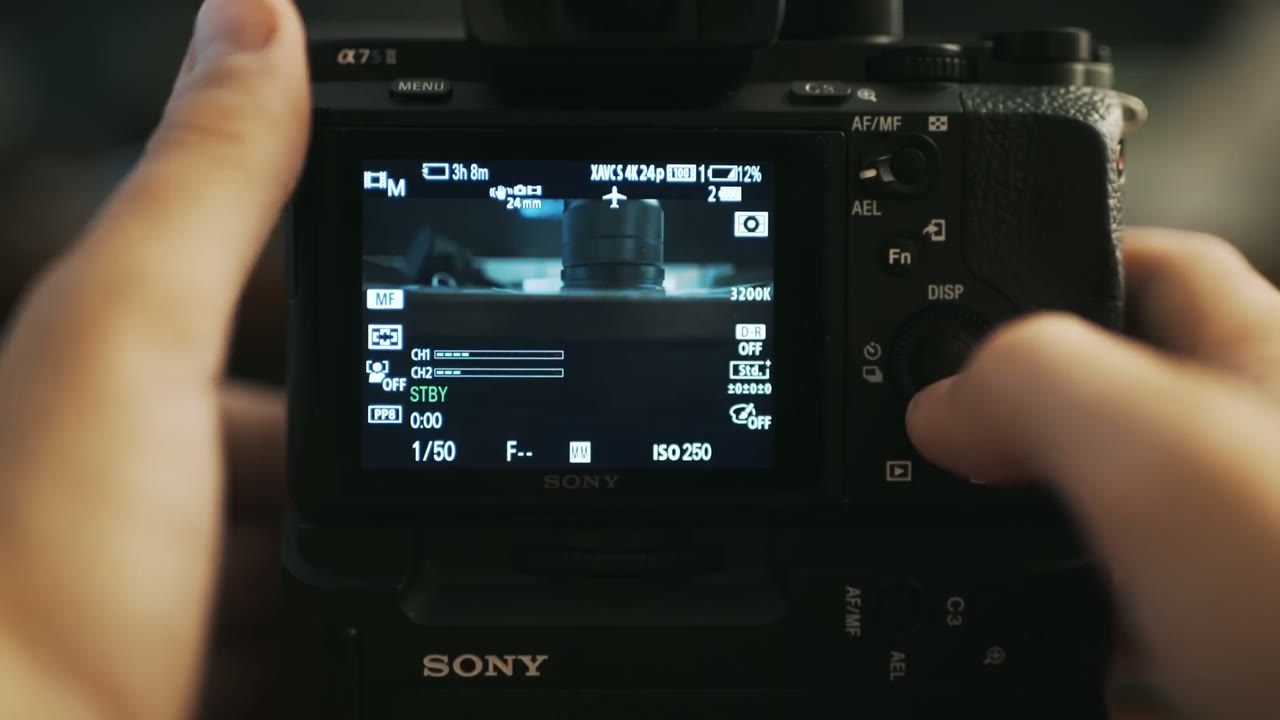
Function Lower: My Six
The bottom row starts with autofocus, which is where switching to the Sony 16-35mm matters.
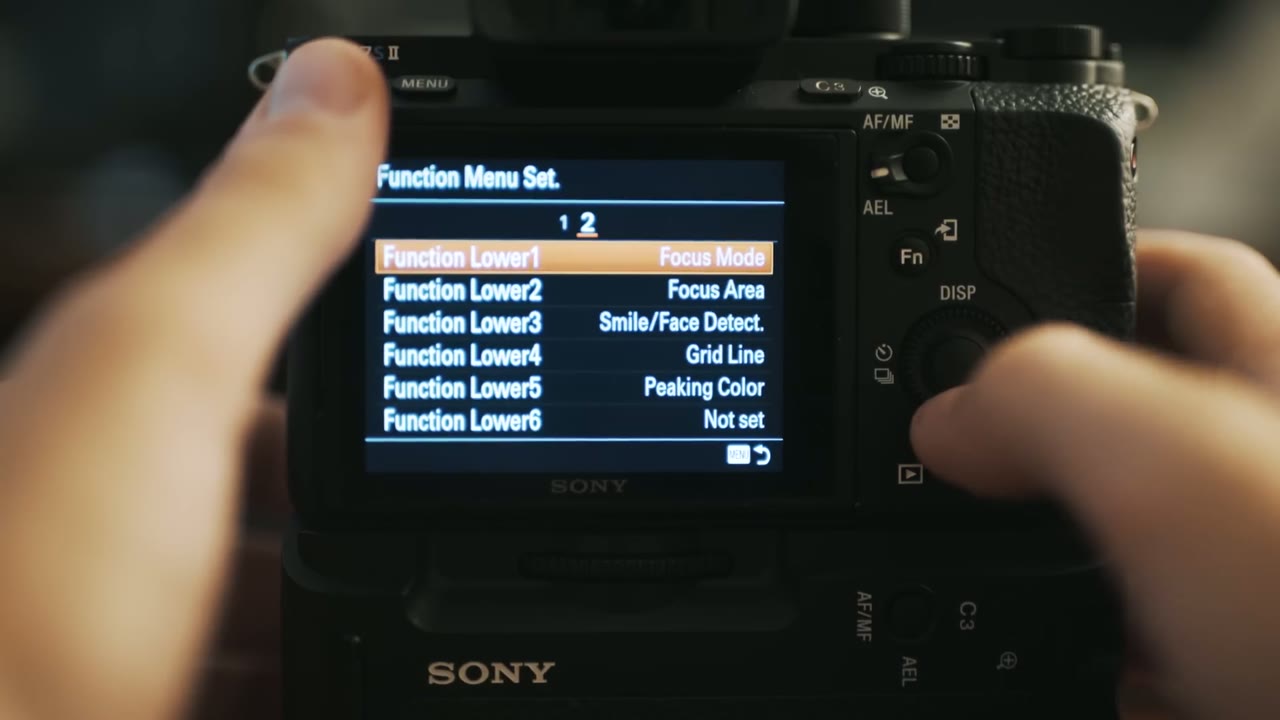
1. Focus Mode
Open it in the function menu and you can move between AF-C and manual focus right there. Sony lenses don’t have the physical AF/MF switch that Canon lenses do, so without this you’re digging into the menu going “dang it, I don’t want autofocus right now.” With it on the function menu it’s instant.
2. Focus Area
Wide, Zone, Center, Flexible Spot, all of it, one press away. Between this and Focus Mode, the entire autofocus system is on the function menu whenever I’m using a native Sony lens.
3. Smile/Face Detect
You may remember me complaining in the menu video that this one is buried way back in the settings. Now it’s right here. Turn it on whenever there are faces in the shot, say the bride getting ready, and the camera will lock to her face instead of wandering off onto something else in the room.
4. Grid Line
Also from the menu video. Rule of thirds, or aspect ratio guides if you’re planning to crop your final video to something like 2.35:1, and the lines come up on your screen to show you exactly where that crop lands.
5. Peaking Color
Say you’re shooting outside, it’s blindingly bright, you can barely see the screen, so you turn on peaking to check focus. But the peaking is white and everything else is white, so it’s helping nobody. Being able to flip it to red or yellow right then is great. I do wish they’d given us blue too, since that would have been more patriotic of Sony, but we get yellow instead and I can’t complain much.
6. Not Set
Deliberately empty. Between the function menu and the custom buttons, there is genuinely nothing left that I need to reach quickly. I couldn’t think of a single one. An empty slot is a good sign, not a wasted one.
That’s The Whole Series
These are the settings I’ve been shooting with for a good while now, and I’m sure some of you are going to watch this and go “Matt, you’re an idiot, you could use this setting instead, it’s so much better.” And I’ll go okay, I’m sorry, I’m dumb.
Whenever I set out to make this run and gun series, I didn’t quite foresee it getting this technical or this long. Hello, 38 minute menu video. But the response has brought me a lot of joy. Between the menus, the mode dial, the custom buttons, and the function menu, you should have everything you need to shoot with this camera well without digging through menus on a wedding day.
So please use these settings, and go forth and film great videos.
I have a long list of ideas for future videos, some technical, some philosophical, all dealing with various aspects of cinematography. If you have comments, ideas, or direction for future videos, I’d be glad to hear them and add them to the list. Leave a comment below, or send me a message if you have any questions.