
The M5 MacBook Air has the exact same chip as the M5 MacBook Pro, but because this laptop does not have a fan, it is heavily thermal throttled. About 10 bucks of material and five minutes of work got me a 32% speed improvement exporting photos out of Lightroom, which is a fantastic return for a mod this simple. Video editing and gaming barely move though, so I want you to know that before you go grabbing a screwdriver.
Why The M5 MacBook Air Gets THROTTLED
Same M5 chip as the MacBook Pro, no fan. That is the whole story. Apple has to keep temperatures in check inside a sealed fanless shell, so the chip gets dialed back long before it runs out of performance, and you never really get to see what you paid for.
In all my testing, this mod makes by far the biggest difference in tasks that heavily use the CPU, like exporting photos in Lightroom. It is a much smaller improvement in video editing and gaming, and I ran all of those tests too so you can see the numbers instead of taking my word for it.
Pre-Mod Benchmarks: Photo, Video & Gaming
Before touching anything, here is what the stock machine does.
Lightroom: Exporting 1,000 edited raw photos takes 7 minutes and 42 seconds. Not bad, but it can be faster.
Video: Exporting a 10-minute video in DaVinci Resolve in 4K at 50 megabits per second takes 4 minutes and 15 seconds. I also tested that same video in Premiere Pro, which took 8 minutes and 4 seconds, and in Final Cut Pro, which took 3 minutes and 33 seconds.
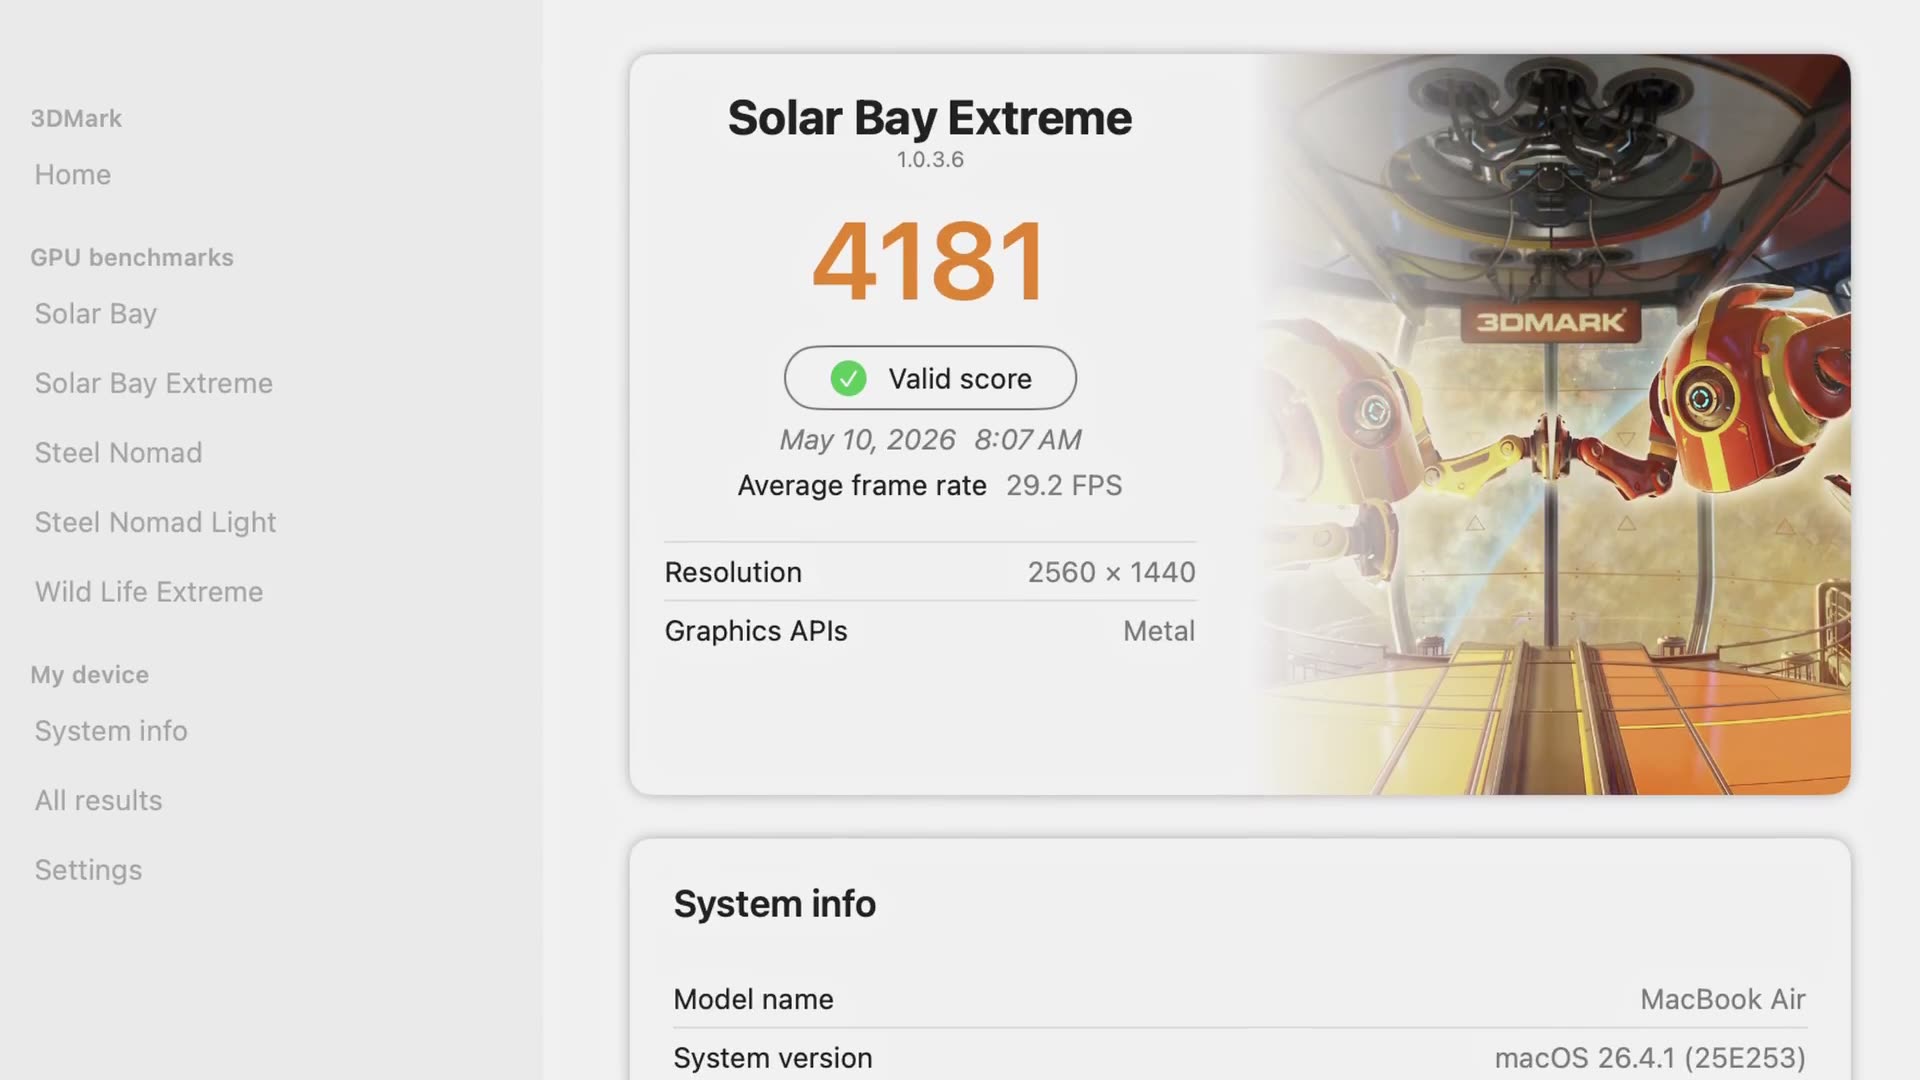
Gaming: Using the 3DMark Solar Bay Extreme benchmark, which tests graphics performance for higher-end games with ray tracing, the unmodded MacBook scored 4,181, with an average frame rate of 29.2 FPS.
The $10 Supplies You Need
The mod itself is about $10 of material, and that is just one thing:
You are also going to want the tools below. I did not include these in the initial cost because you may already own them, and I linked to the absolute cheapest price I could find on each one:
- iFixit P5 pentalobe screwdriver, for those specific screws on the bottom of the MacBook
- iFixit heavy-duty suction cups
- iFixit prying and opening tool assortment for the plastic pry tool
Opening Up The MacBook Air
Flip the MacBook over with the touchpad facing you and unscrew all of the bottom screws. Keep the two bottom screws on the trackpad side separate from the rear screws back by the monitor hinge. The trackpad-side screws have a longer thread and the rear ones are shallower, and mixing those two piles up is the easiest mistake to make in this whole thing.
To pop off the bottom of the case, attach your suction cup to the bottom, pull it up a bit, squeeze your pry tool into the gap on the left side and pop it up, then repeat that with the right side and the bottom near the trackpad to pop up the entire bottom of the case.
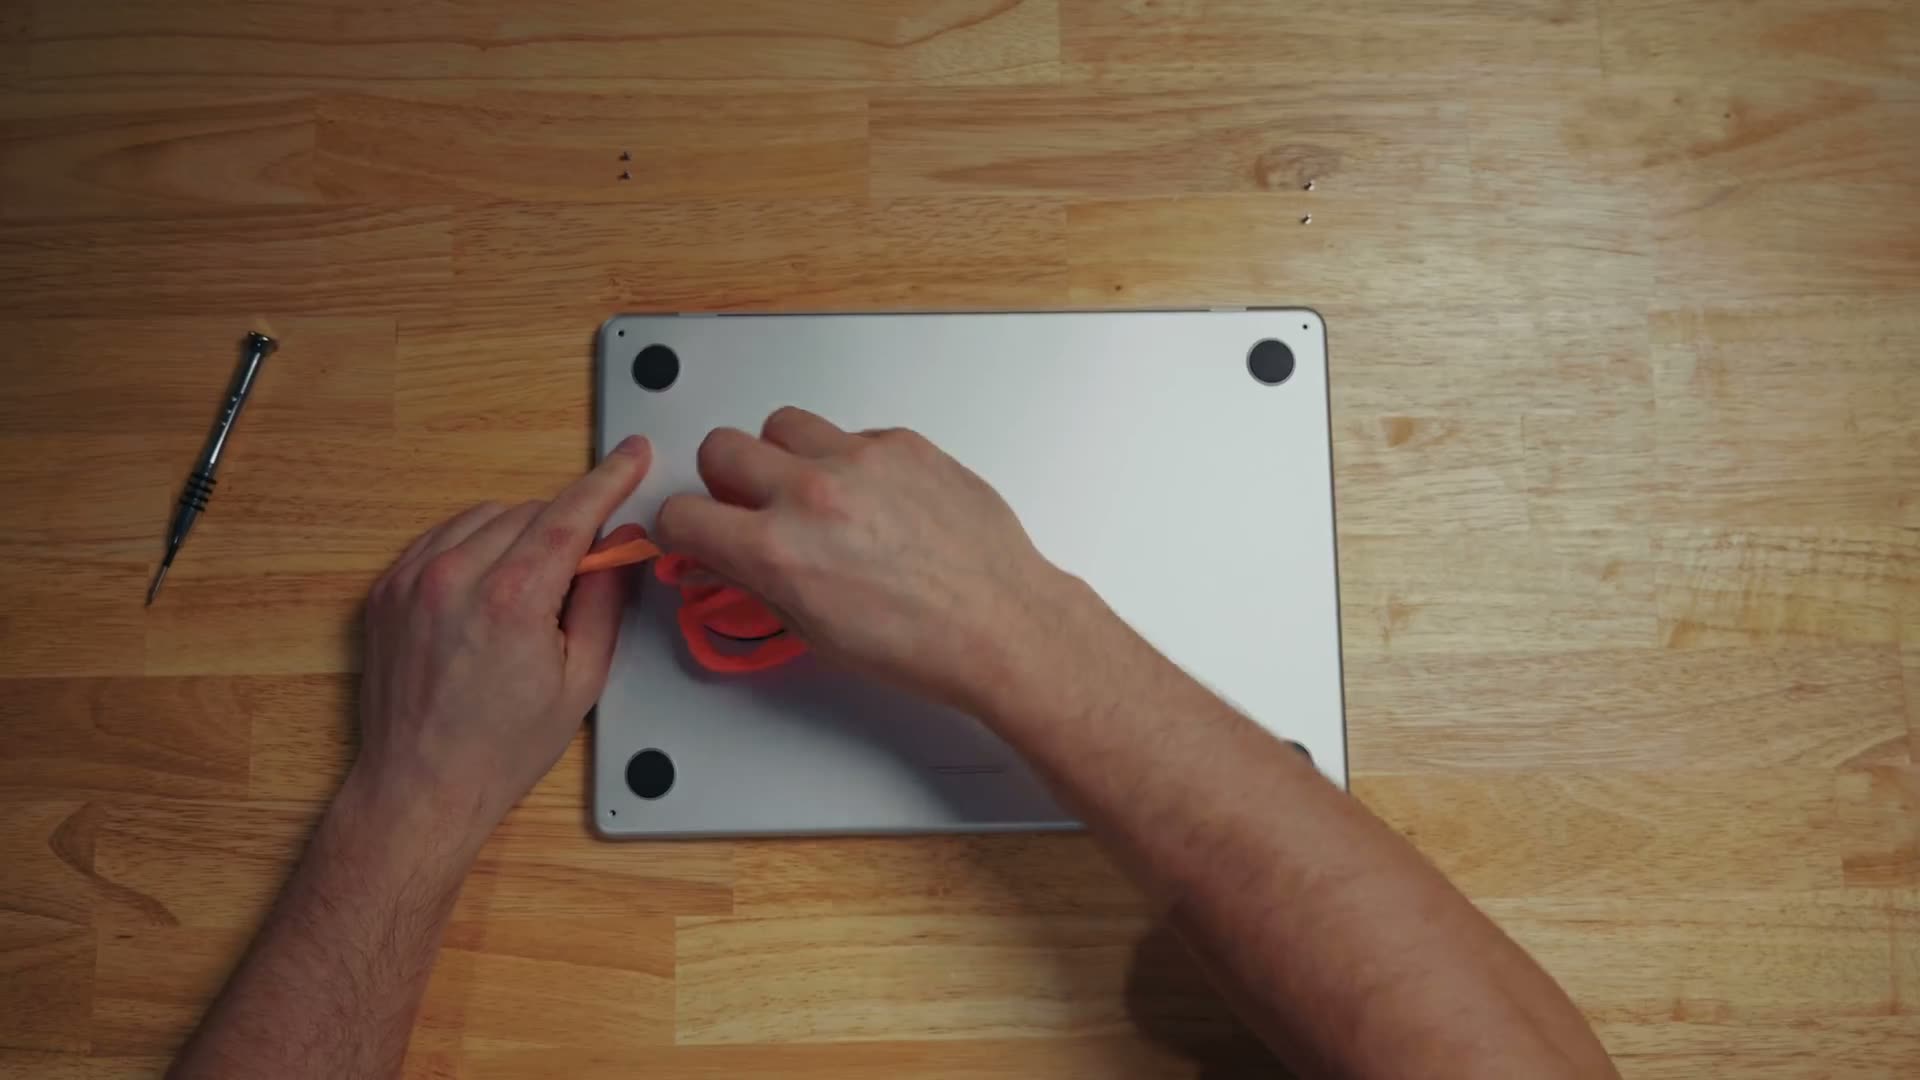
After that there are four clips that you undo by sliding the bottom of the case toward the trackpad side, which fully releases the bottom cover from the laptop.
Installing The Thermal Pad
Good news: you do not need to take anything else off.
That strip up near the hinge is your entire motherboard for the computer, and the CPU and GPU are located on the chip approximately in the middle of it. So take an approximately four-inch-long by two-inch-wide piece of thermal pad, which you may need to cut down, take the film off the top and the bottom, and stick it to the motherboard.
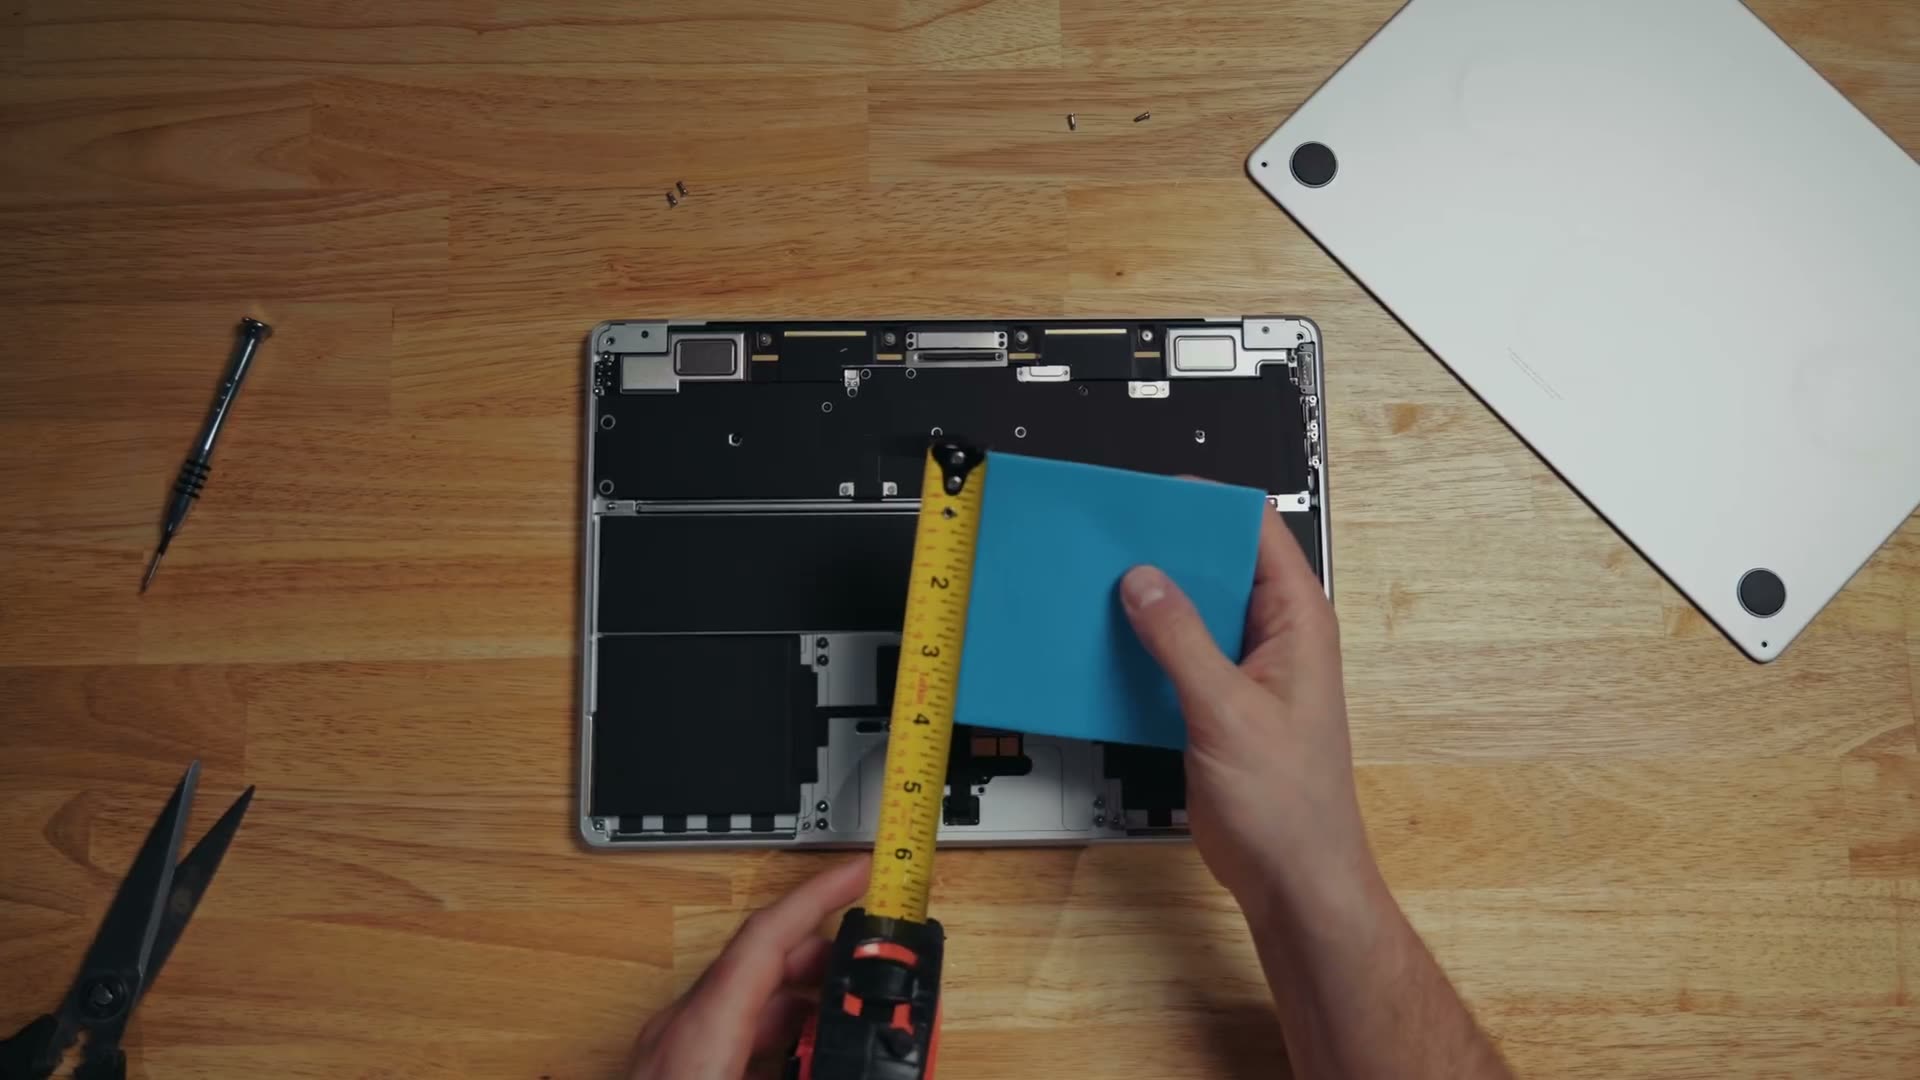
That’s it. That is the entire mod.
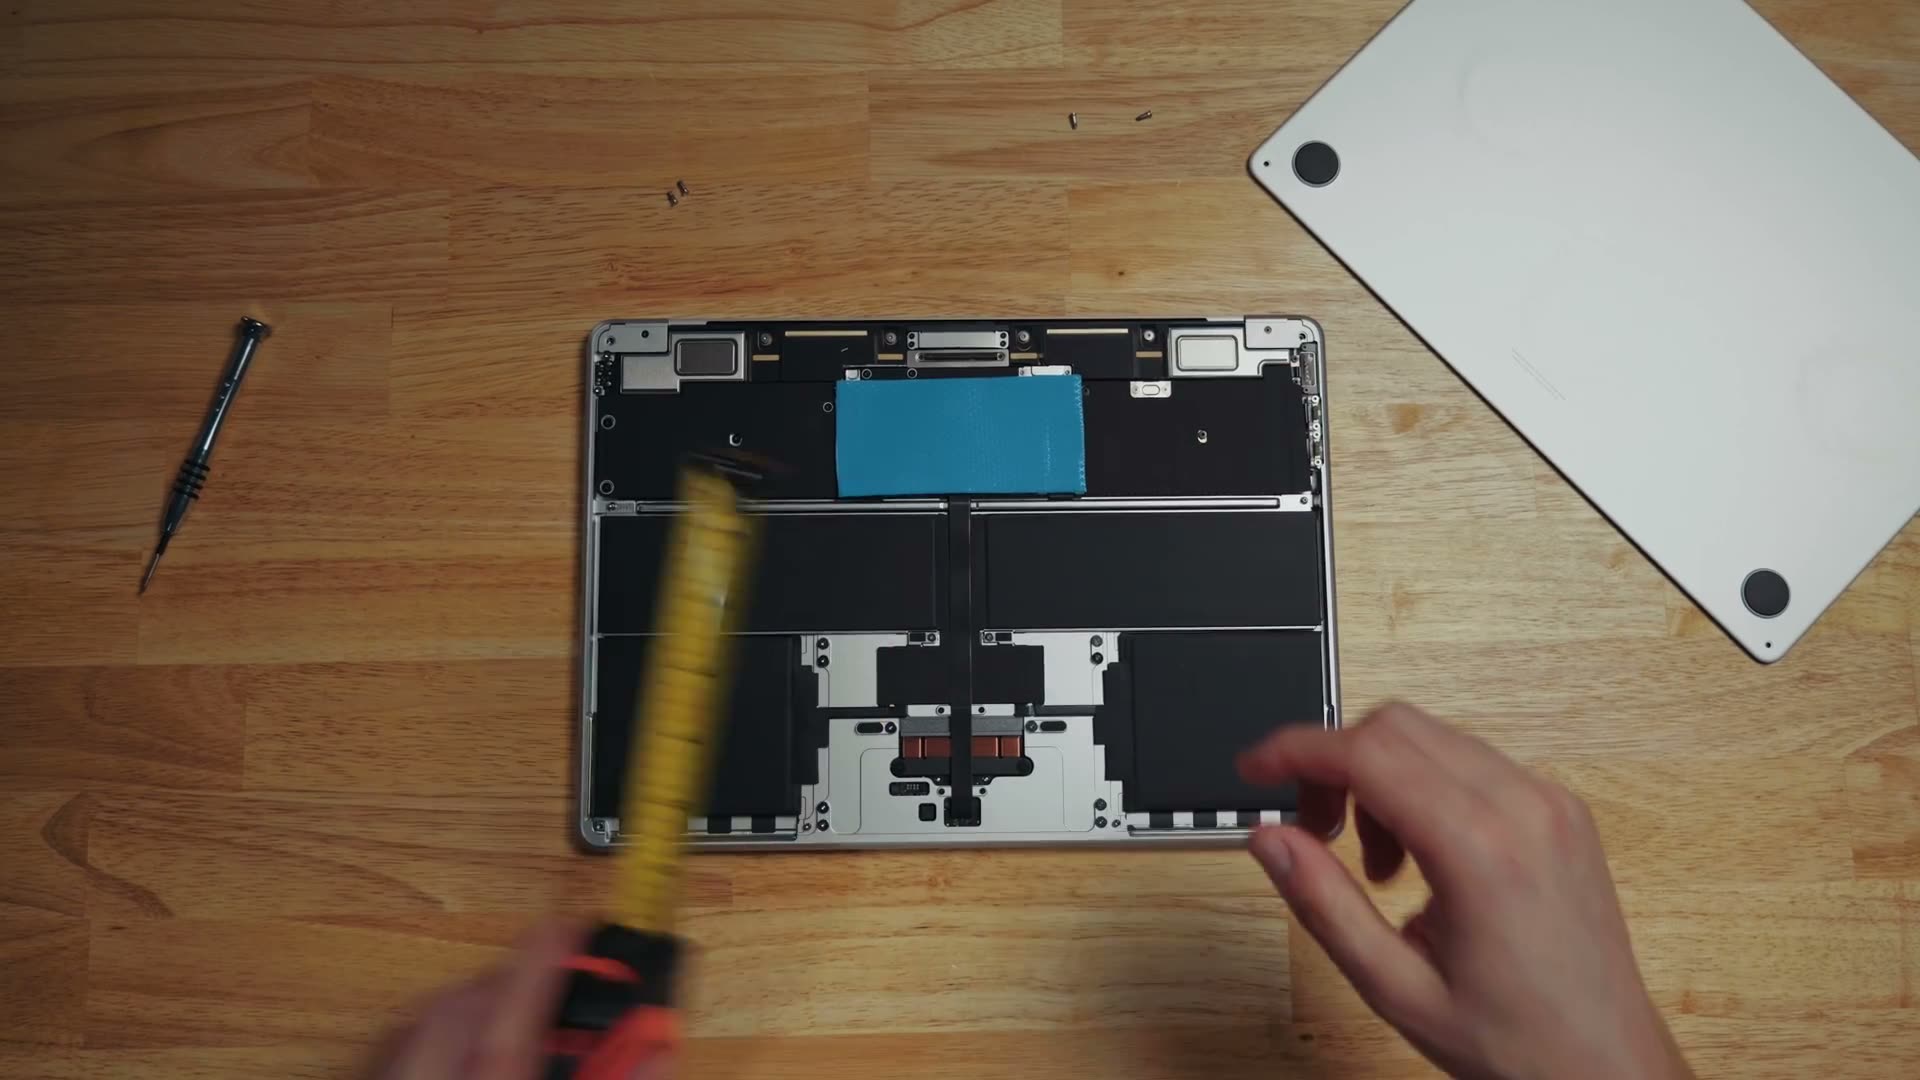
Putting It Back Together (The TRICKY Part)
I’ll warn you now, the most difficult part of this entire procedure, which isn’t very difficult by the way, is sliding the cover back toward the four screws that it clips into near the hinge. It is a bit more difficult now because the thermal pad is pushing against the bottom of the case and making everything very snug, so you’re gonna want to firmly press down on the back cover to make sure it is seated properly.
If you don’t get this right you will notice the bottom cover isn’t flush and is poking out a bit. It won’t be perfectly smooth along the bottom, and that means you missed a clip. Just retry and you will get it, I promise.
Once those four clips are lined up and reattached, press on the left of the cover to reattach the clips there, then repeat that for the right side and the side near the trackpad. Screw everything back in, remember that the longer thread screws go near the trackpad, and you are done.
Why This Mod Actually Works
By adding this thermal pad you have dramatically increased the cooling surface area of the laptop, because now it’s essentially like the CPU is touching the aluminum case, turning the case into a giant heat sink.
This will make the bottom of your laptop warmer. In all my testing it is not uncomfortably warm, and it will not damage anything, because all you’re doing is warming up a hunk of metal.
Post-Mod Lightroom Result: 32% FASTER!
Exporting those same 1,000 photos from Lightroom now takes only 5 minutes and 50 seconds, down from 7 minutes and 42 seconds. That is a massive 32% improvement in speed. If you are a photographer and you want to use this laptop for photo editing, this mod is a great choice.
Video Editing & Gaming Results
Like I said though, for video editing it ain’t much of a change:
- DaVinci Resolve: 4:15 down to 4:10
- Final Cut Pro: 3:33 down to 3:31, two seconds faster
- Premiere Pro: 8:04 down to 8:03, literally one second faster
So overall we’re only looking at about a 2% speed jump for video editing, which is not really worth it in my opinion if you edit videos.
What do all these video apps have in common though? They all use the GPU very heavily, and I think the extra cooling this mod provides is not helping the GPU stay cooler, so it doesn’t matter as much. I do plan on getting a cooling mat for this laptop, and whenever I do that I’ll rerun these tests and post a YouTube Short, so subscribe if you want to see that.
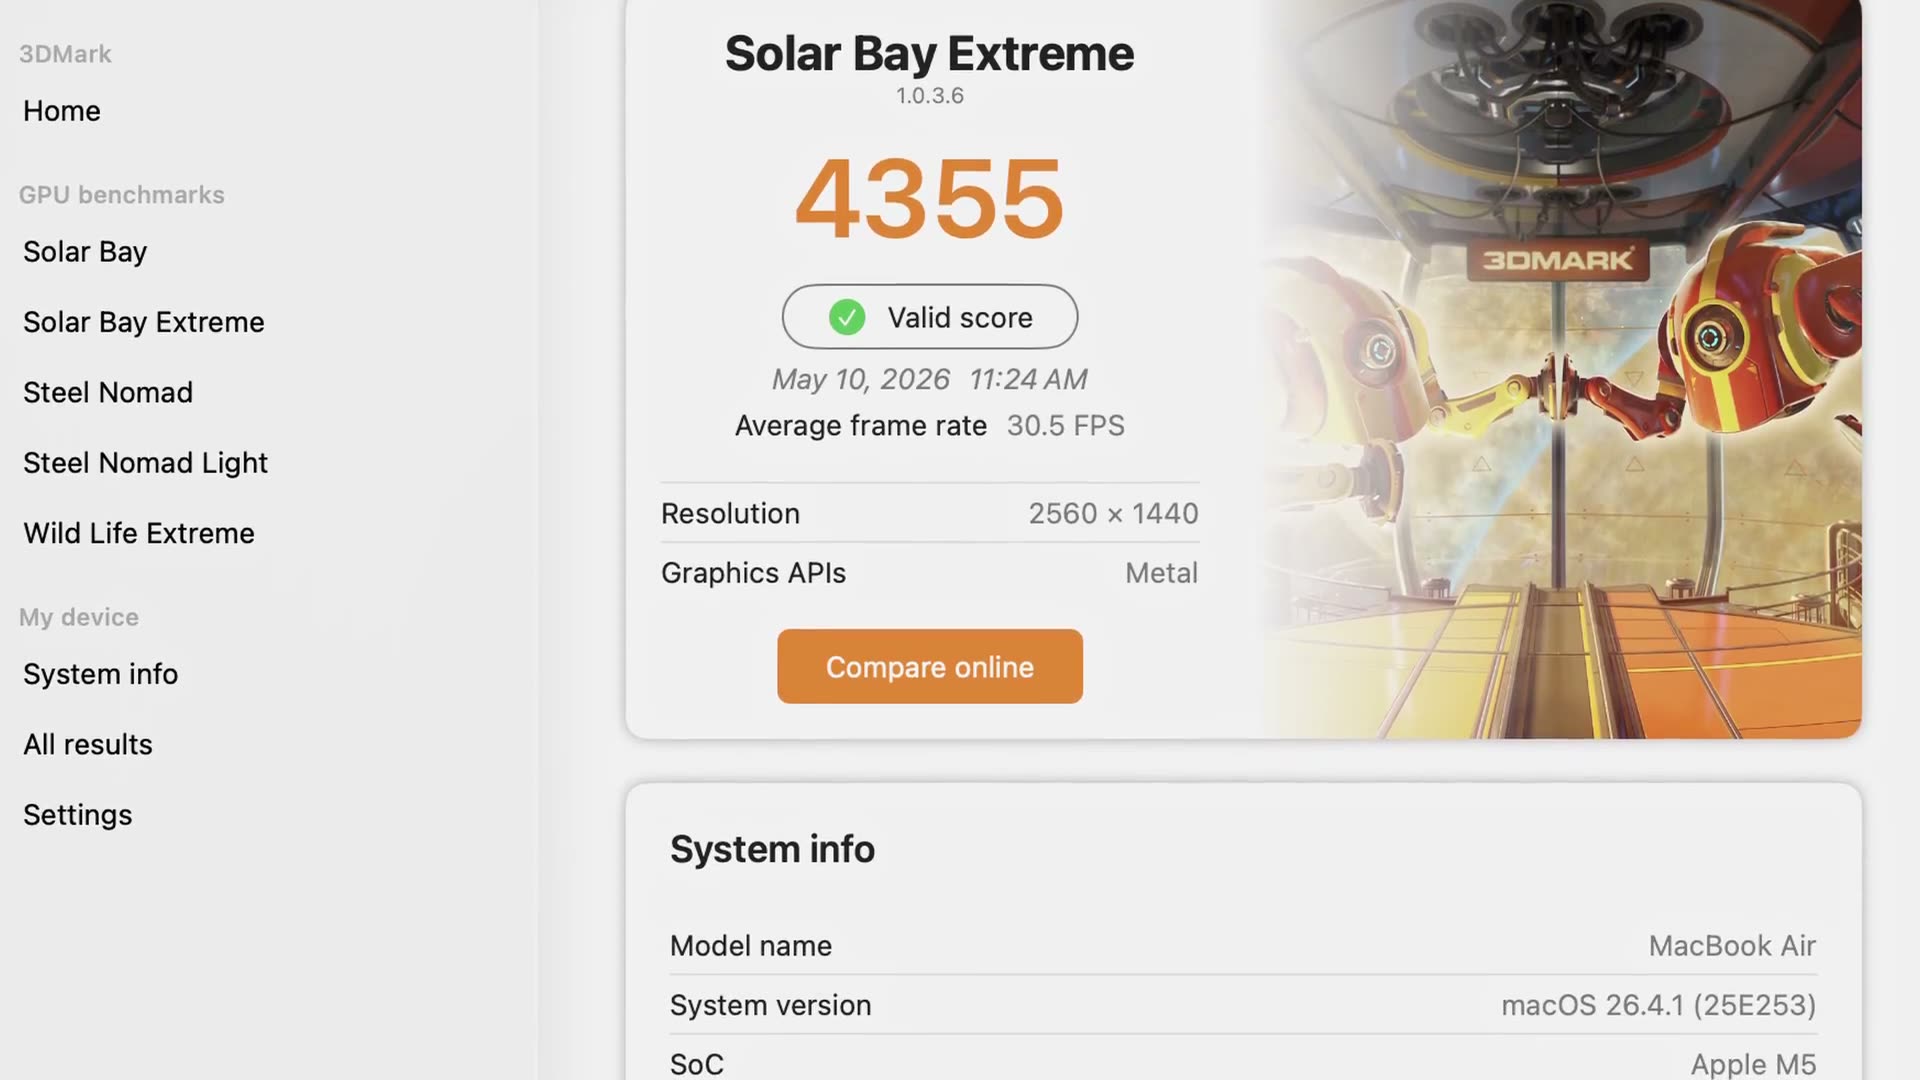
Lastly we have gaming, and while it’s a small improvement, every frame helps in my opinion. Using the 3DMark Solar Bay Extreme benchmark, the better cooled MacBook Air got a score of 4,355 and can now hit an average frame rate of 30.5 FPS, or 1.3 frames higher, which is about a 4.5% performance improvement.
Is It Worth It? (And What About Your Warranty?)
It’ll be up to you whether this performance improvement is worth it, but in my opinion, if you edit photos I would definitely do it, because a 32% performance bump for 10 bucks is a fantastic deal! I’m a big fan of this mod. If you mostly edit video, a 2% gain is not worth opening your laptop for.
And if you’re at all worried about your warranty, I wouldn’t stress. If you have any problems, I would just open the MacBook back up, remove the thermal pad, and then use some rubbing alcohol to wipe off any thermal pad residue before bringing it into an Apple Store.
I did this same mod on a very different machine and got a similar result, so if you want to see it on cheaper hardware, here’s the $10 mod that made the MacBook Neo 20% faster.
If you’re still deciding which machine to buy in the first place, I have a full M5 MacBook Air review for video editors, a look at whether the M5 MacBook Pro is the better buy, and my complete M5 MacBook buyer’s guide for video editing. You can also watch my whole MacBook Buyer’s Guides playlist on YouTube.
Here are the machines themselves if you’re shopping: the Apple M5 MacBook Air and the Apple M5 MacBook Pro.
Lastly, grab my Edit Videos Like A Pro guide. It’s gonna show you the biggest rules I follow as a video editor to create better videos, and it’s completely free for you to download.