
If you film weddings, you have worked with a photographer who pulled out a flash. I have nothing against them, they need light just as much as we do, and honestly the pictures they get with it are great. But the end result for me is a clip with a flash going off every couple of seconds, and footage that should feel smooth and cinematic instead looks like somebody set up a strobe light at the exit. It’s distracting.
The good news is that you can take a clip full of flash after flash and turn it into clean, smooth video with no flashes to be seen, and the whole thing takes about five minutes in Premiere Pro. Is this witchcraft? Sort of. Let me walk you through it.
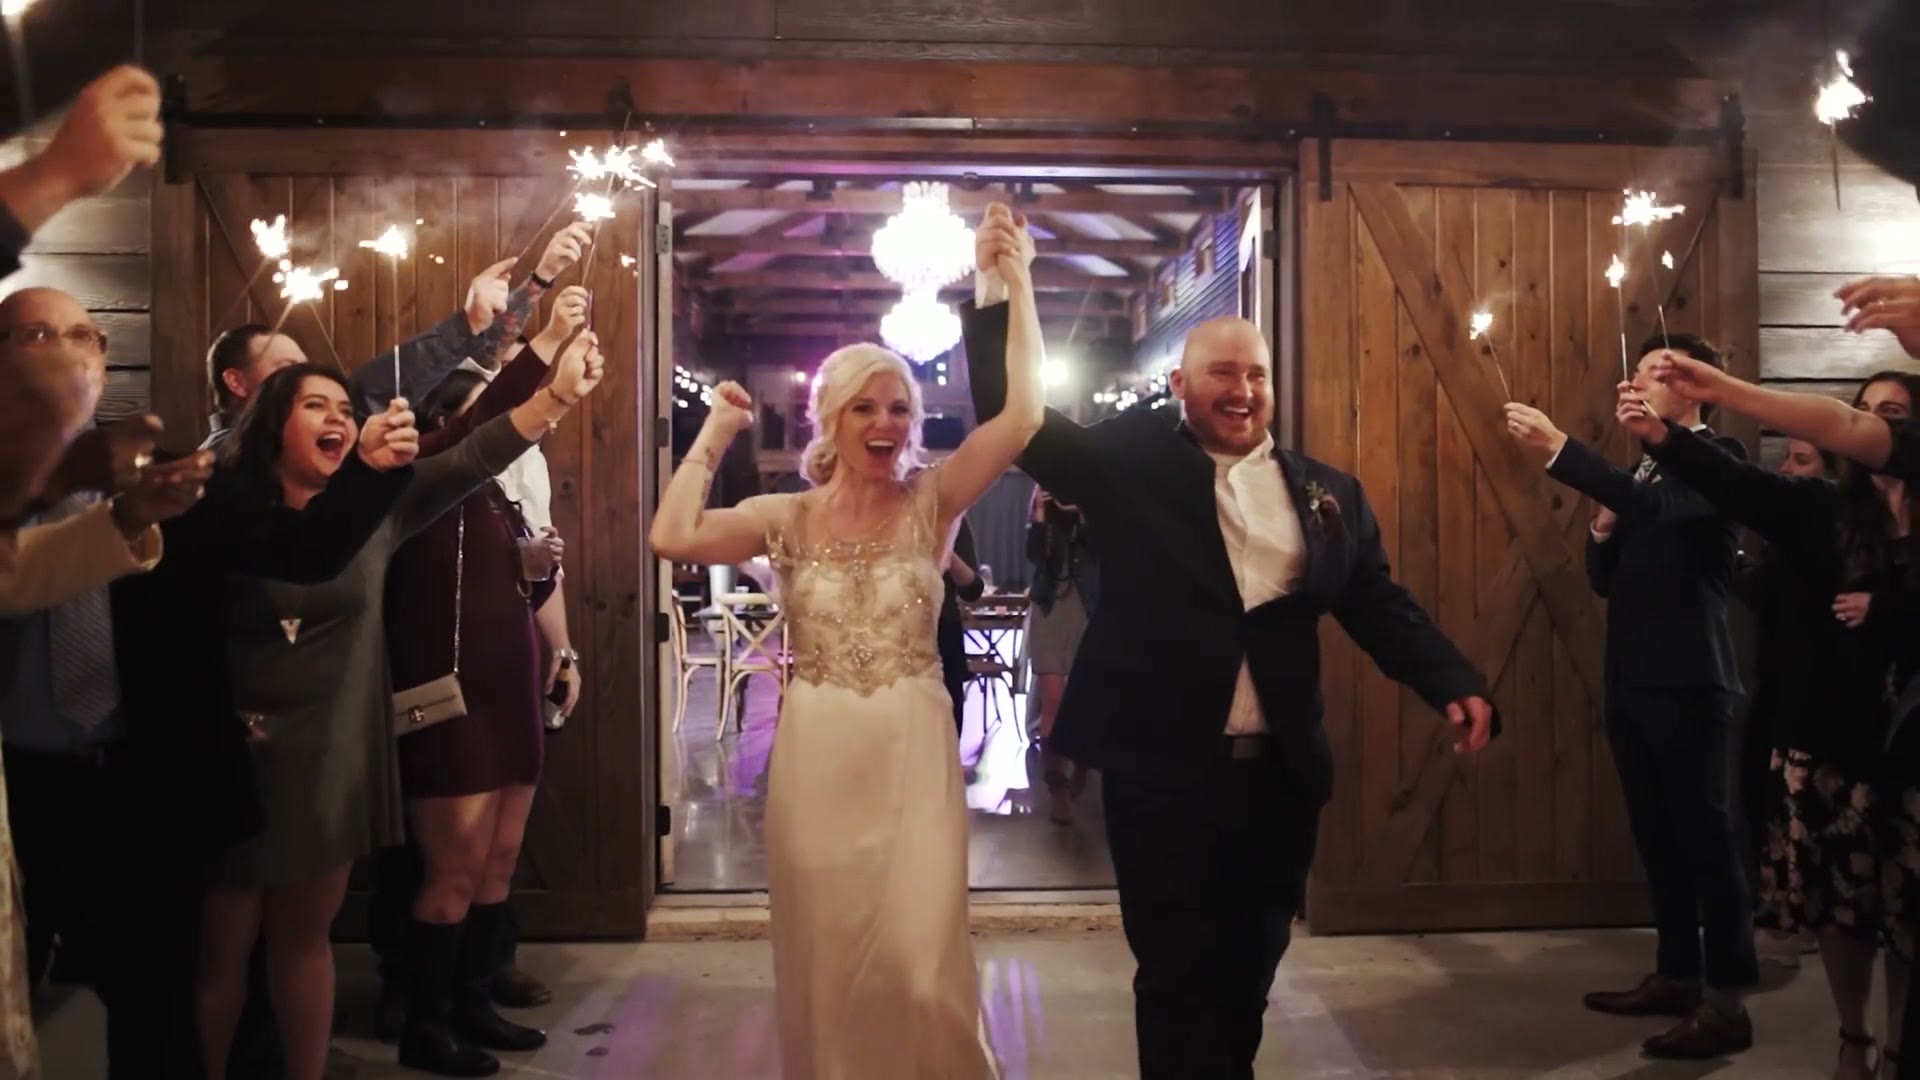
This technique works with any version of Premiere after CC 2015, so as long as you are on something later than that you’re good to go. If you don’t have Premiere at all, you can grab a free trial here and follow along.
Cut Around Every Flash
Drop your clip on the timeline and zoom in by pressing the plus key. Then start scrubbing through until you find the first camera flash, and park your playhead directly on the frame where it is flashing.
Click to select the clip and press Control + K on PC, or Command + K on a Mac, to cut right at the flash. Then press the right arrow key to move the playhead forward until the flash is no longer visible, and press Control + K again to make a second cut. You have now isolated that flash into its own tiny clip.
Keep in mind that a photographer’s flash will very often fire multiple times in a row, so whenever you move forward and see another burst, do the same thing again. Right arrow, Control + K, right arrow, Control + K. Then repeat the whole process down the entire clip until you have made cuts at the beginning and end of every single flash you want gone.
Delete The Flashes And Close The Gaps
Zoom out with the minus key and have a look at what you’ve built. You should have a timeline with a bunch of very short clips scattered through it, and every one of those short clips is a flash. Zoom back in nice and close, select all of them, and press delete.
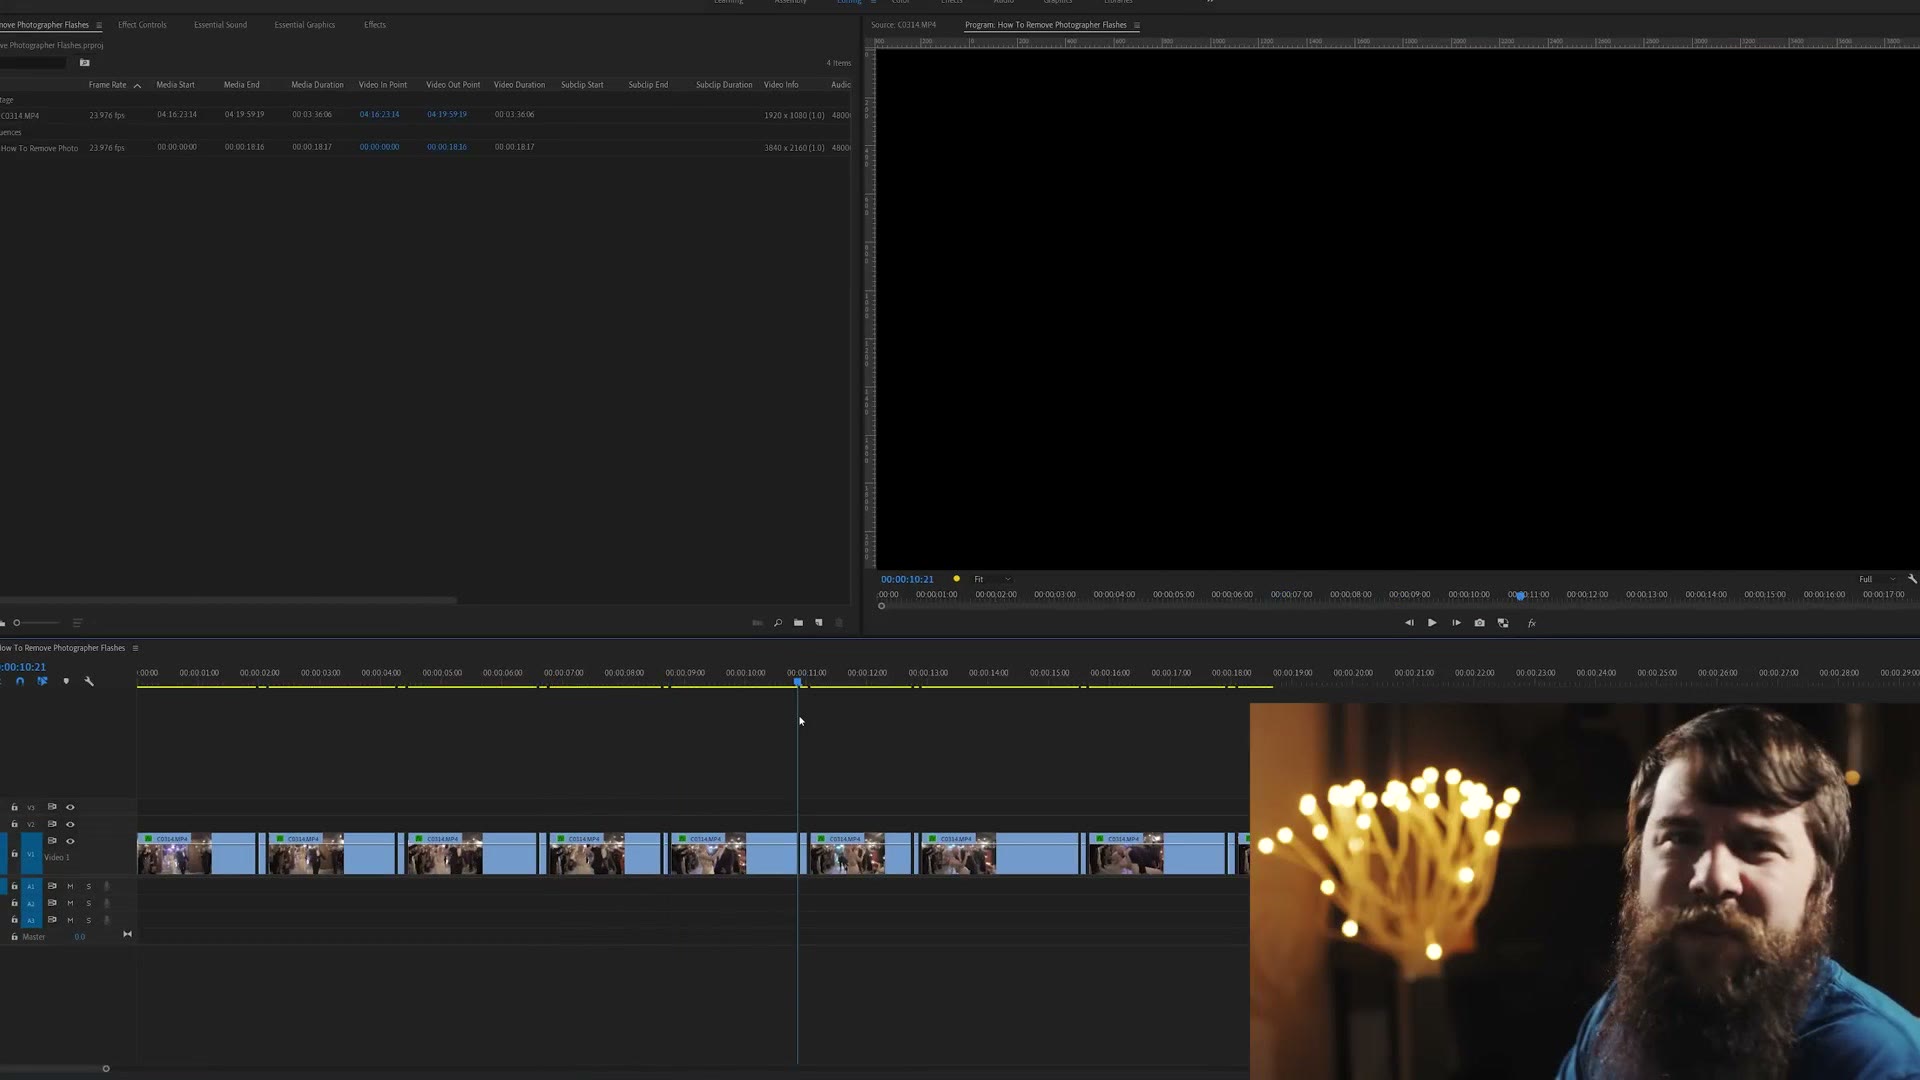
The flashes are gone. The problem now is that you’ve got blank spots sitting where they used to be, which is not good. To get rid of those, click and drag to select the entire video clip, then go up to Sequence and choose Close Gap.
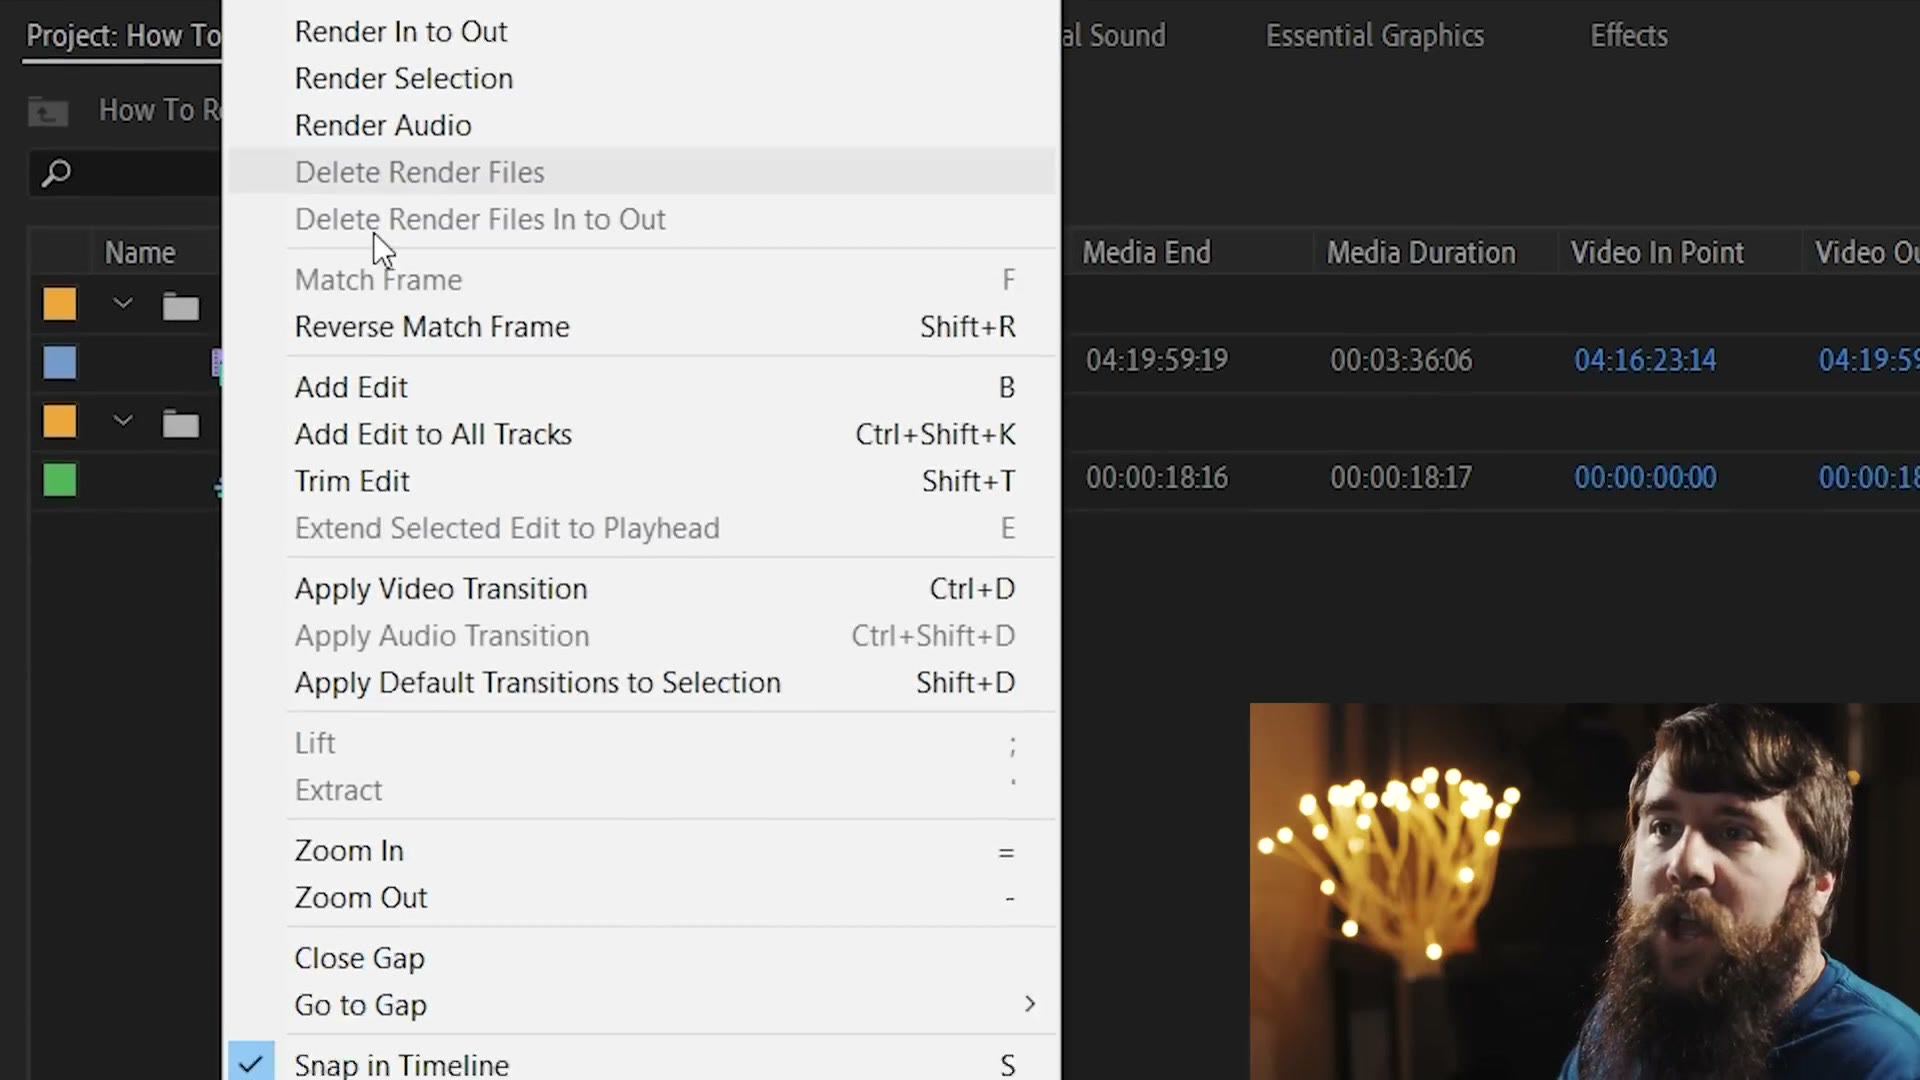
Tadah. All of those spaces collapse, and if you hit play the flashes really are gone.
Nest It And Turn On Optical Flow
But wait a second, Matt. You got rid of the flashes and now there are little jumps in the footage where you removed the frames. This sucks. How do you fix it?
Here’s my secret beard sauce. Click and drag to select all of your clips, right click on them, and choose Nest. Give your nested sequence a name and click OK.
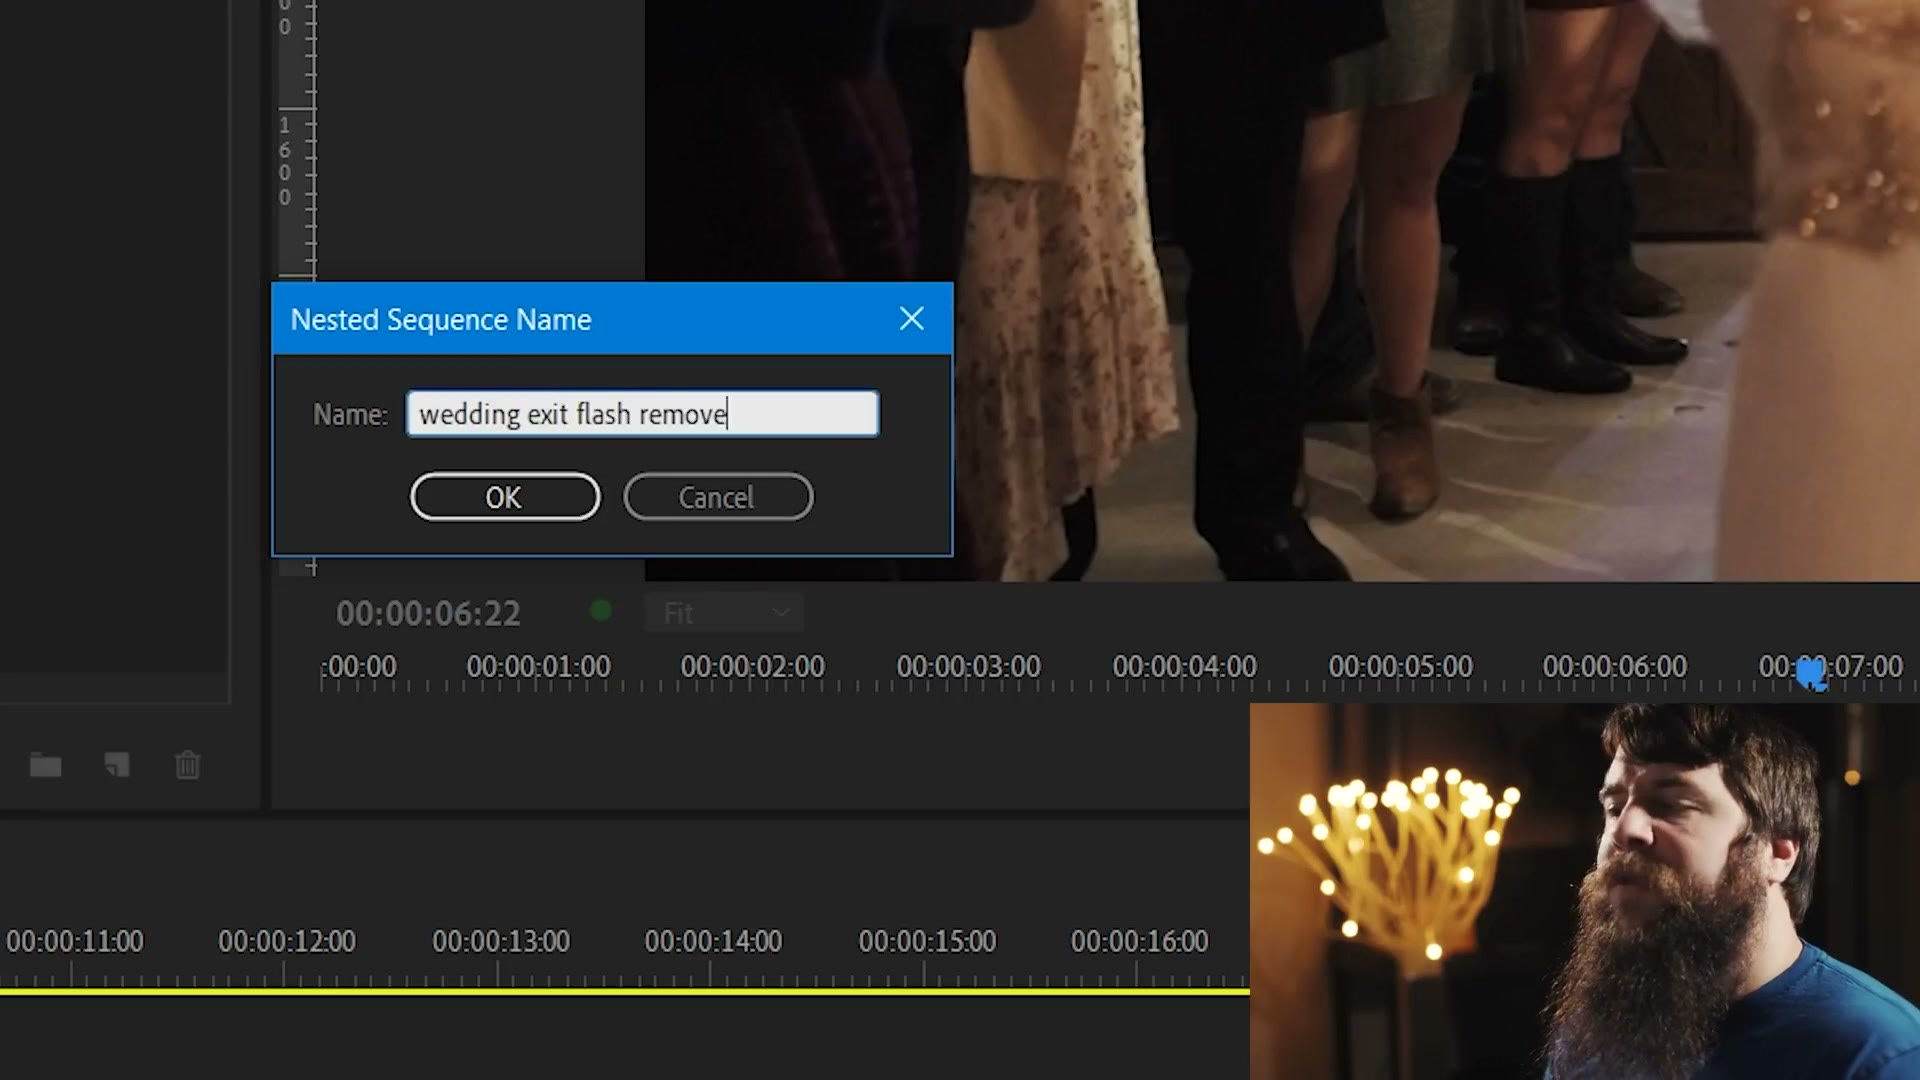
All of those individual clips disappear and get replaced by one big green clip. Looking pretty.
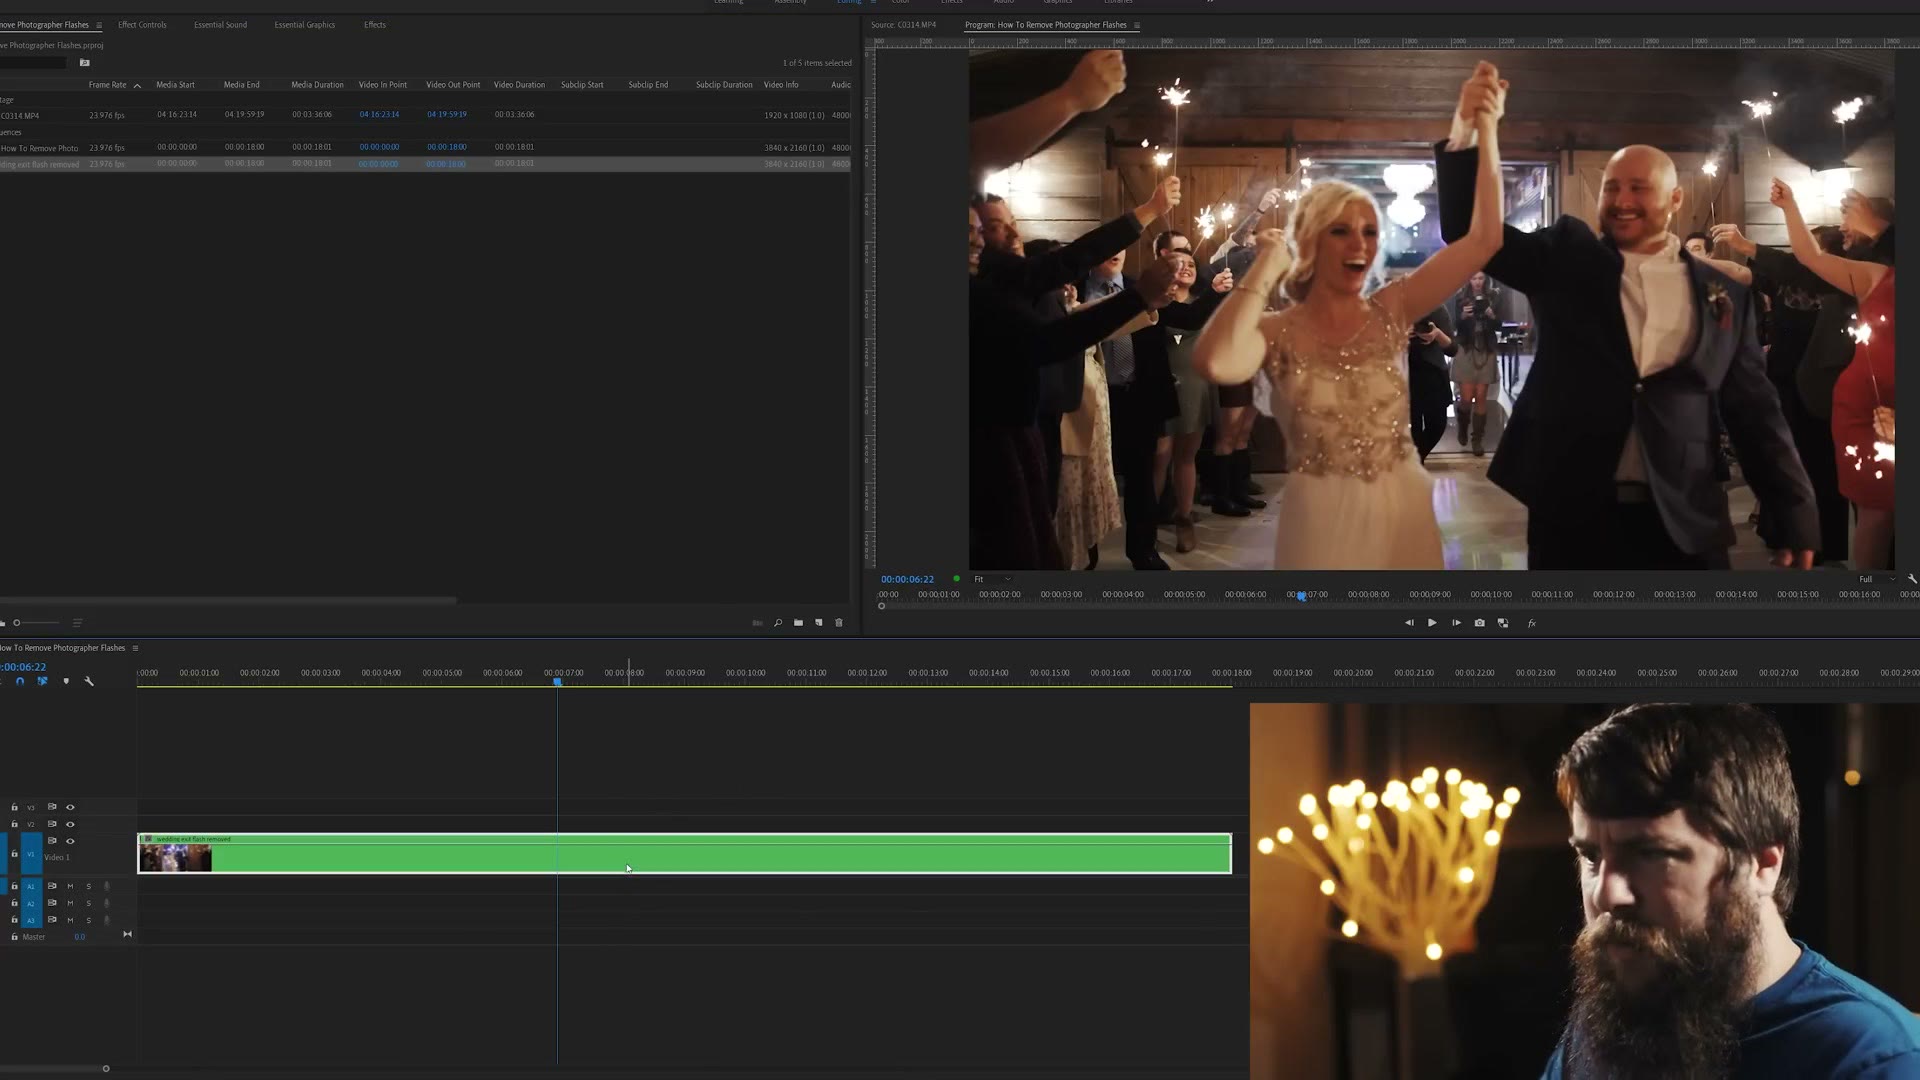
Last step. Right click on that new green clip and go to Speed/Duration. Down at the bottom you’ll see Time Interpolation. Click the dropdown, select Optical Flow, and press OK.
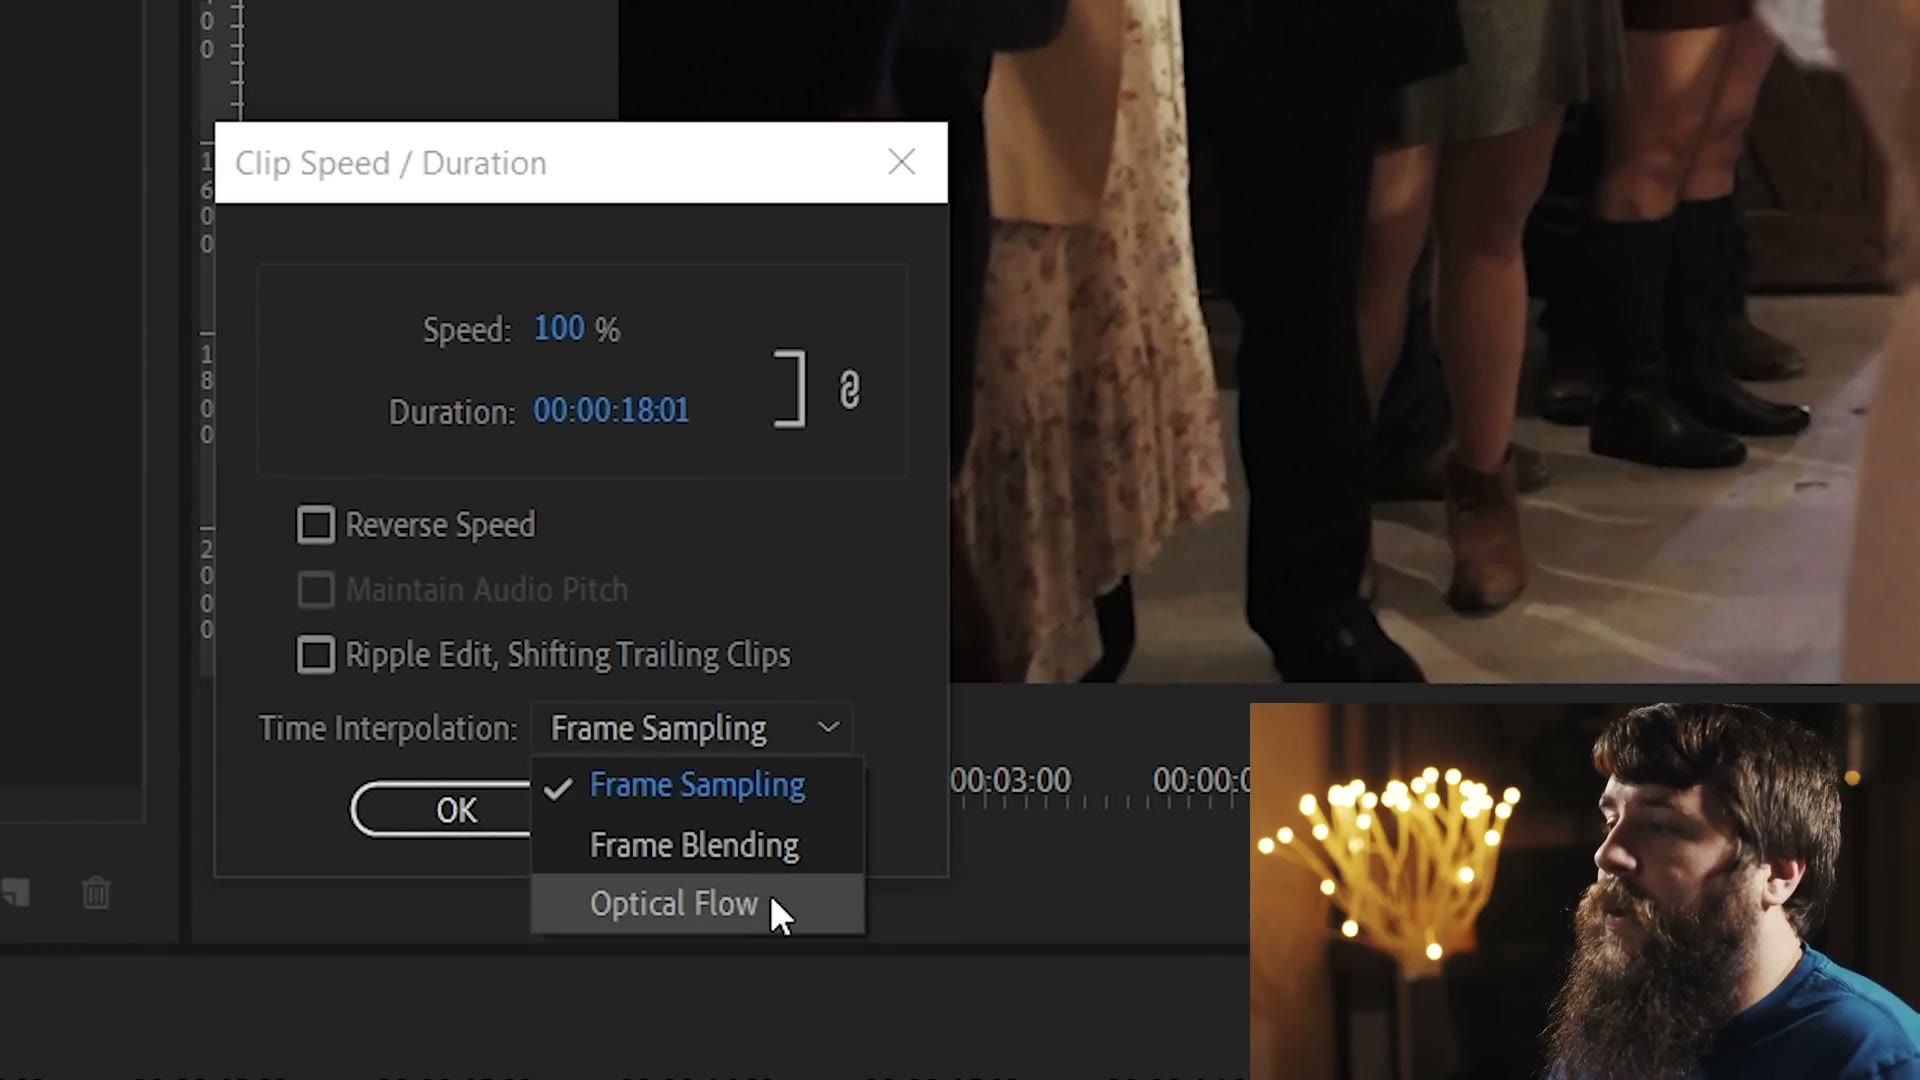
That’s it. You’re done. Hit play and your video should be playing back smoothly even with all those frames removed. Premiere is generating the missing motion for you, which is why the jumps go away.
It really is that easy, and it has saved more than a few of my exit clips over the years. If you want to go deeper on the editing side of wedding films, that’s exactly what I teach inside Wedding Film Framework.
And if you’re a videographer like me, you probably want to book more couples and film more weddings. I put together a free PDF guide full of practical, actionable steps you can take right now in your business to start booking more couples. It’s a free gift to you, so go grab it.