
Picture this. You are editing a wedding film and you get to the most important moment, the groom reading his vows, and you realize he flubbed the line. He said “I can’t wait to take you as wife” when he meant “take you as my wife.” You did not catch it on the day, and now you are stuck editing around a mistake in the one line that matters most.
In an ideal world the person would have just said the line correctly the first time. With the voice cloning tool in DaVinci Resolve 21, you can now fix that line and restore what they were actually trying to say. All you have to do is type what you want them to say into a text box. And all you need to pull it off is at least 10 seconds of that person speaking.
This is a lot faster and easier than it was in the previous version of Resolve, which I also made a tutorial about. Back then it took real effort. Now it is about two minutes of work.
A quick word before we start
I know some of you are already preparing to comment about how terrifying this is, and honestly, I agree. You can now literally make anyone say anything. So please be very careful whenever you do this, and make sure you have permission from the person whose voice you are cloning. Fixing a flubbed line for a client feels ethical to me, but I would still always get their okay first.
The other reason people get nervous is that this uses AI, and a lot of creative people are understandably against it. Here is the bit of good news. The AI behind this feature runs entirely on your own computer. There are no servers, no data centers, and no water being wasted to use it. It is all local on your machine, which I think is a good thing.
Step 1: Select the clip you want to clone
Open your project with the clip of the person saying the line you want to change. Then select a portion of your timeline by pressing the I key at the start of the clip and the O key at the end. That sets your in and out points.
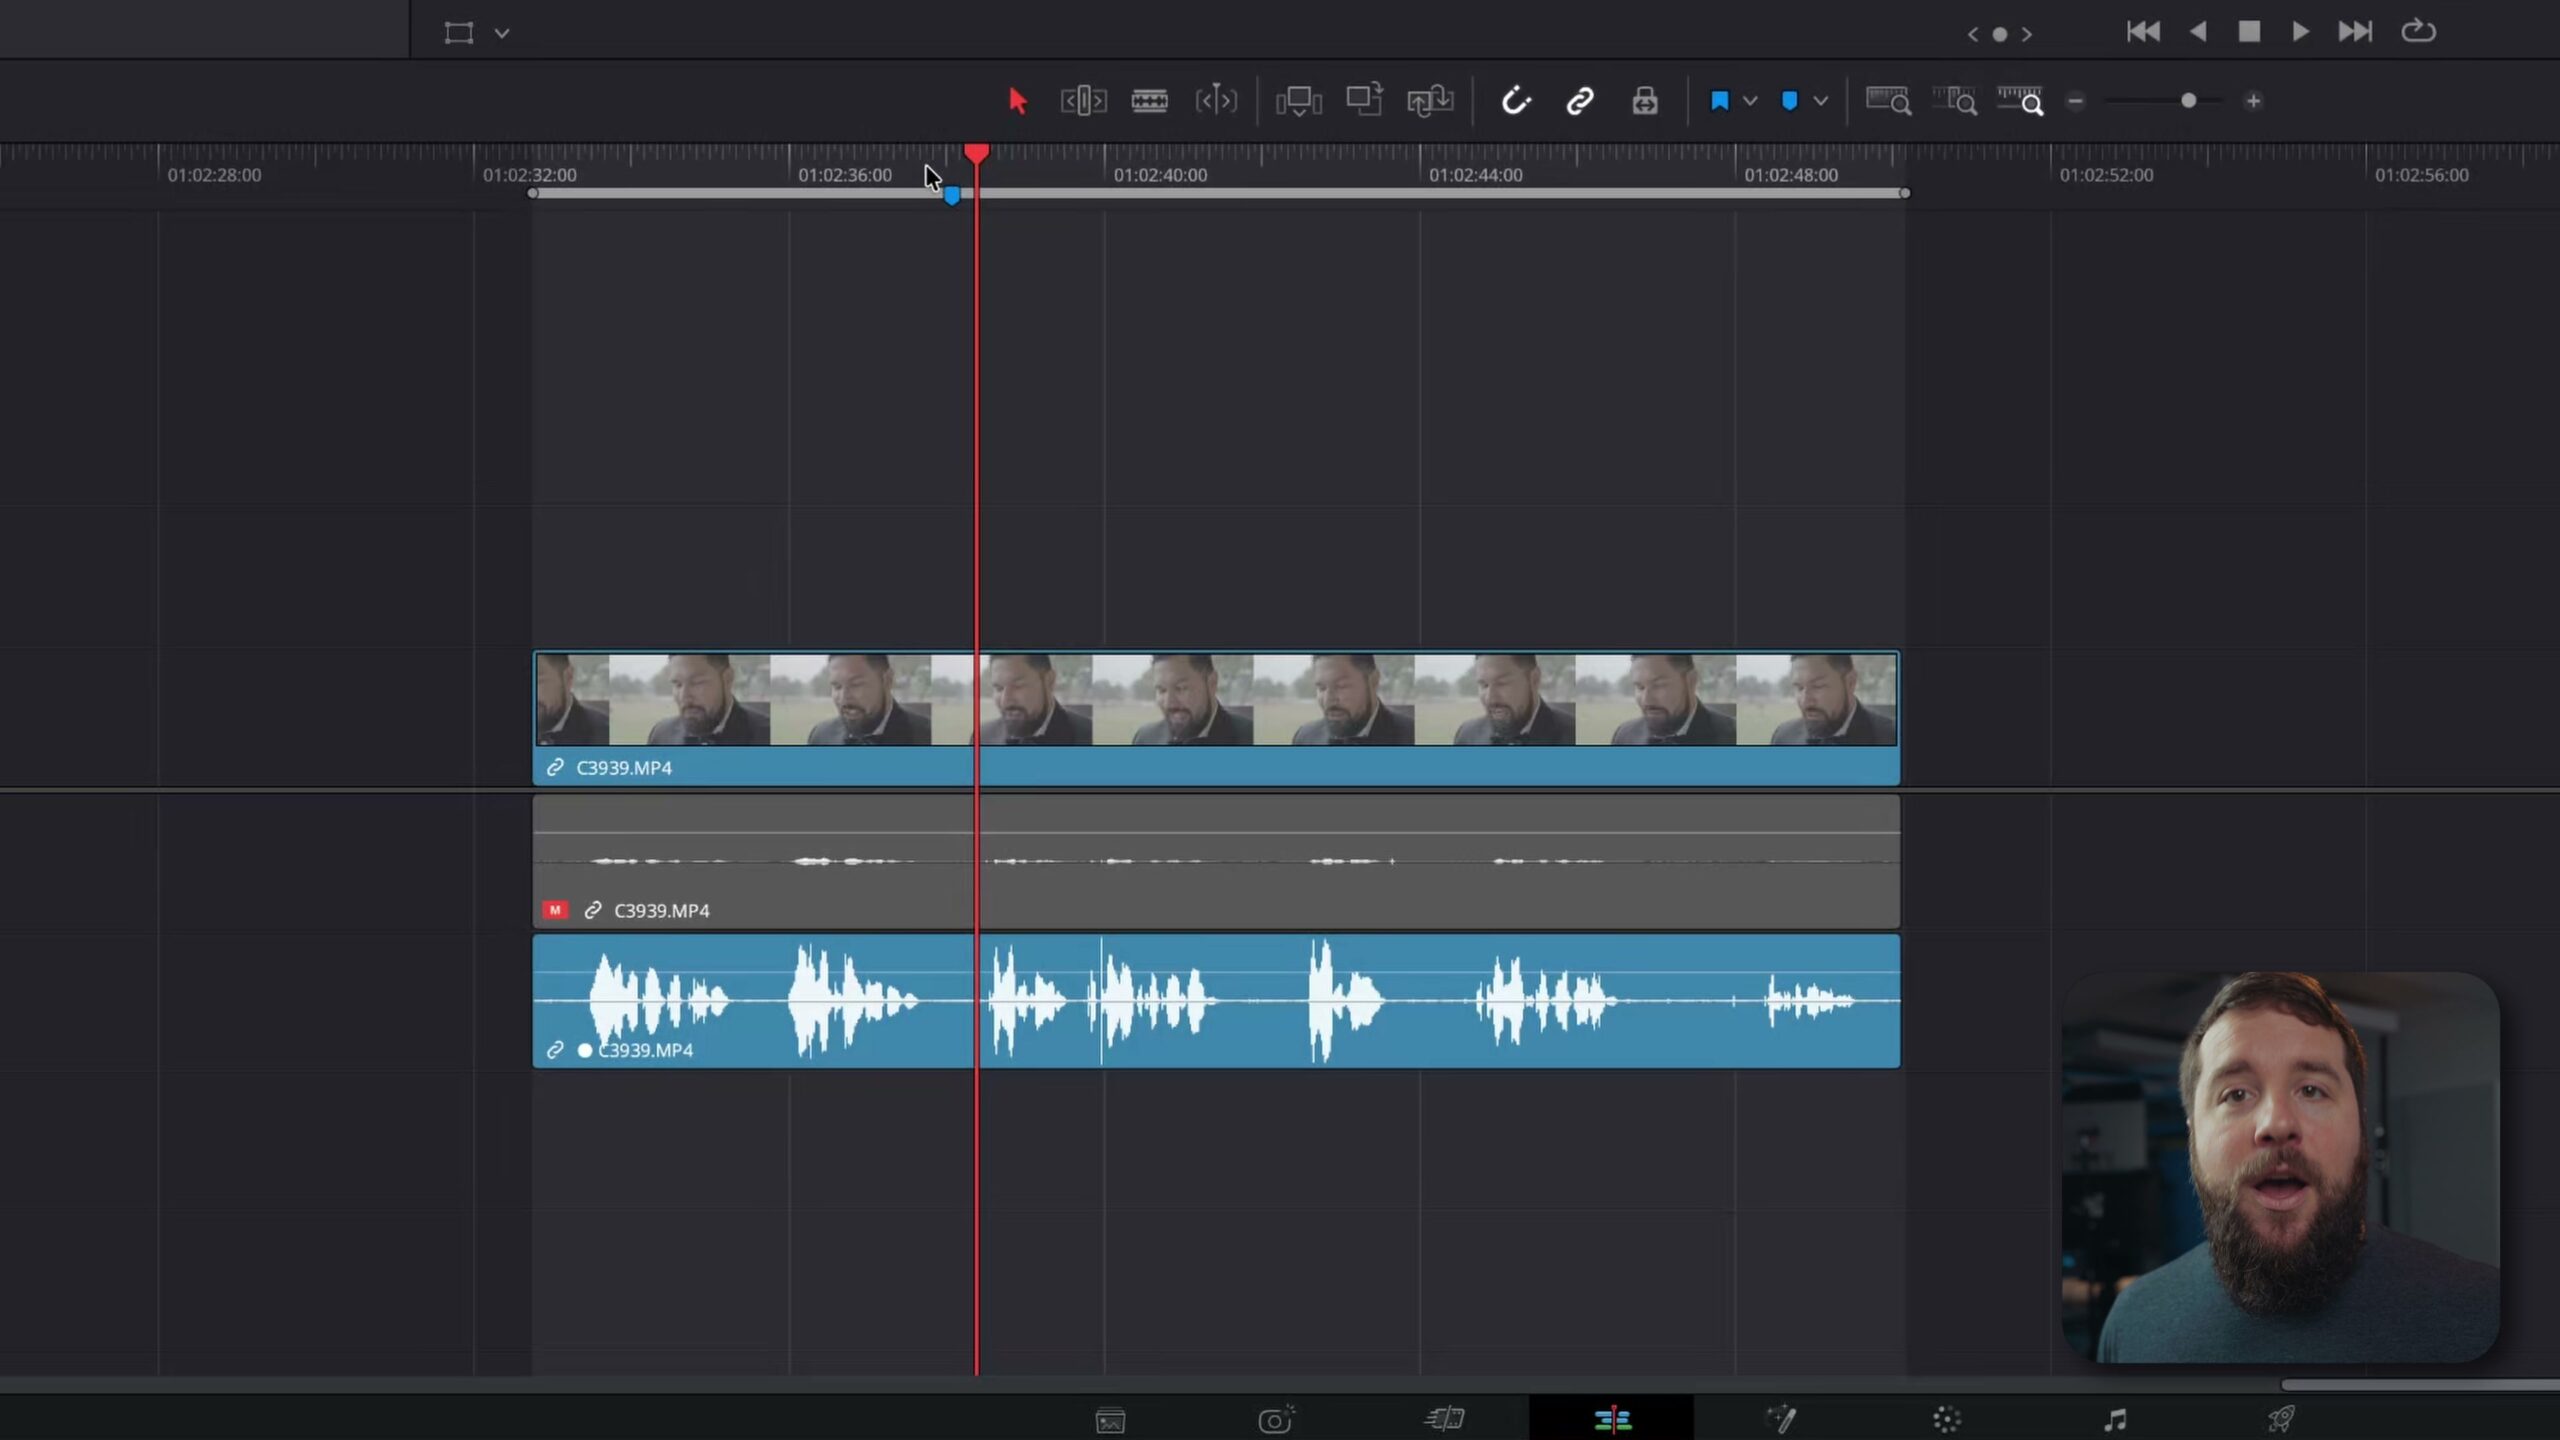
Two things matter here. The selection should be at least 10 seconds of the person speaking, and their voice needs to be the only voice you can hear during that stretch. If you have multiple people talking, the tool gets very confused and it will not work. In this example I had clean audio of the groom from a lav mic he was wearing, which is exactly what you want.
Step 2: Export that audio as a WAV file
Head over to the Deliver page. Uncheck the Export Video box, since you only want audio, and give your file a name. In this case I called it Groom Letter Demo. Choose where you want to save it, then under Audio set your format to Wave. Linear PCM is great, at 48,000 with a bit depth of 24.
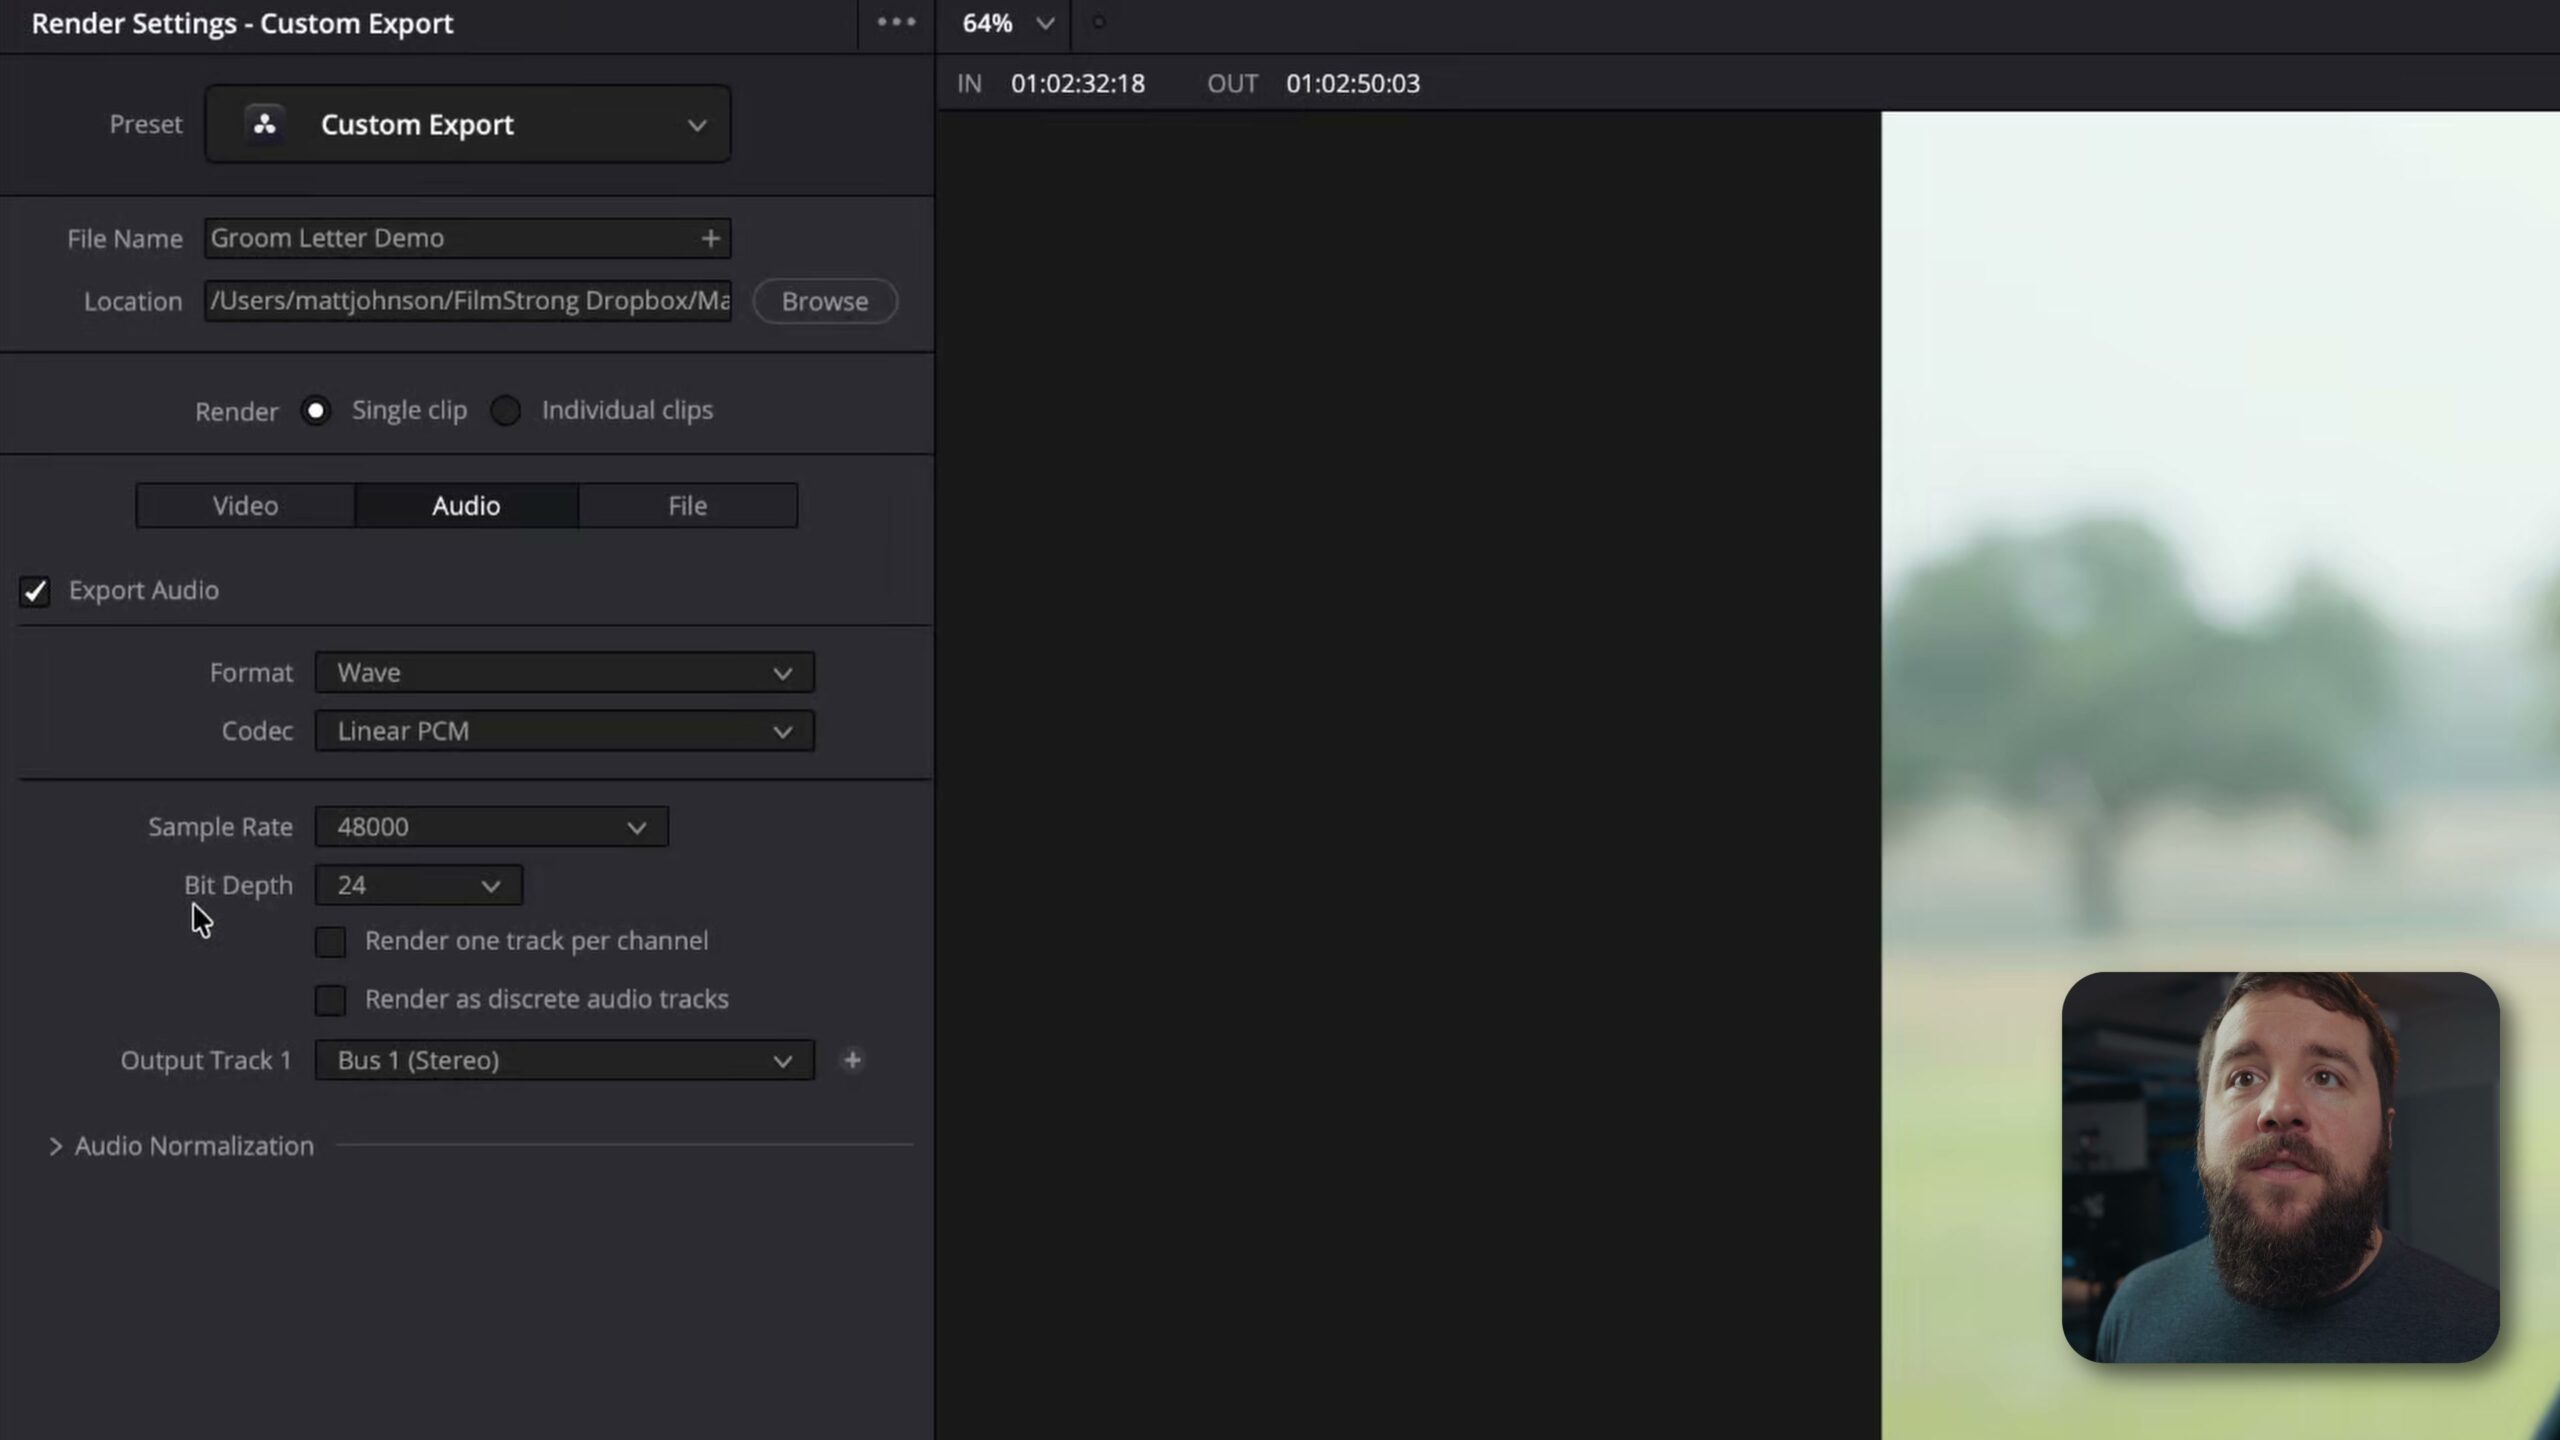
Under Render, make sure In/Out Range is selected so you only export the part you marked. Then click Add to Render Queue and hit Render. A few seconds later you have a fresh WAV file sitting on your computer. That single file is the only ingredient this tool needs.
Step 3: Generate the new line
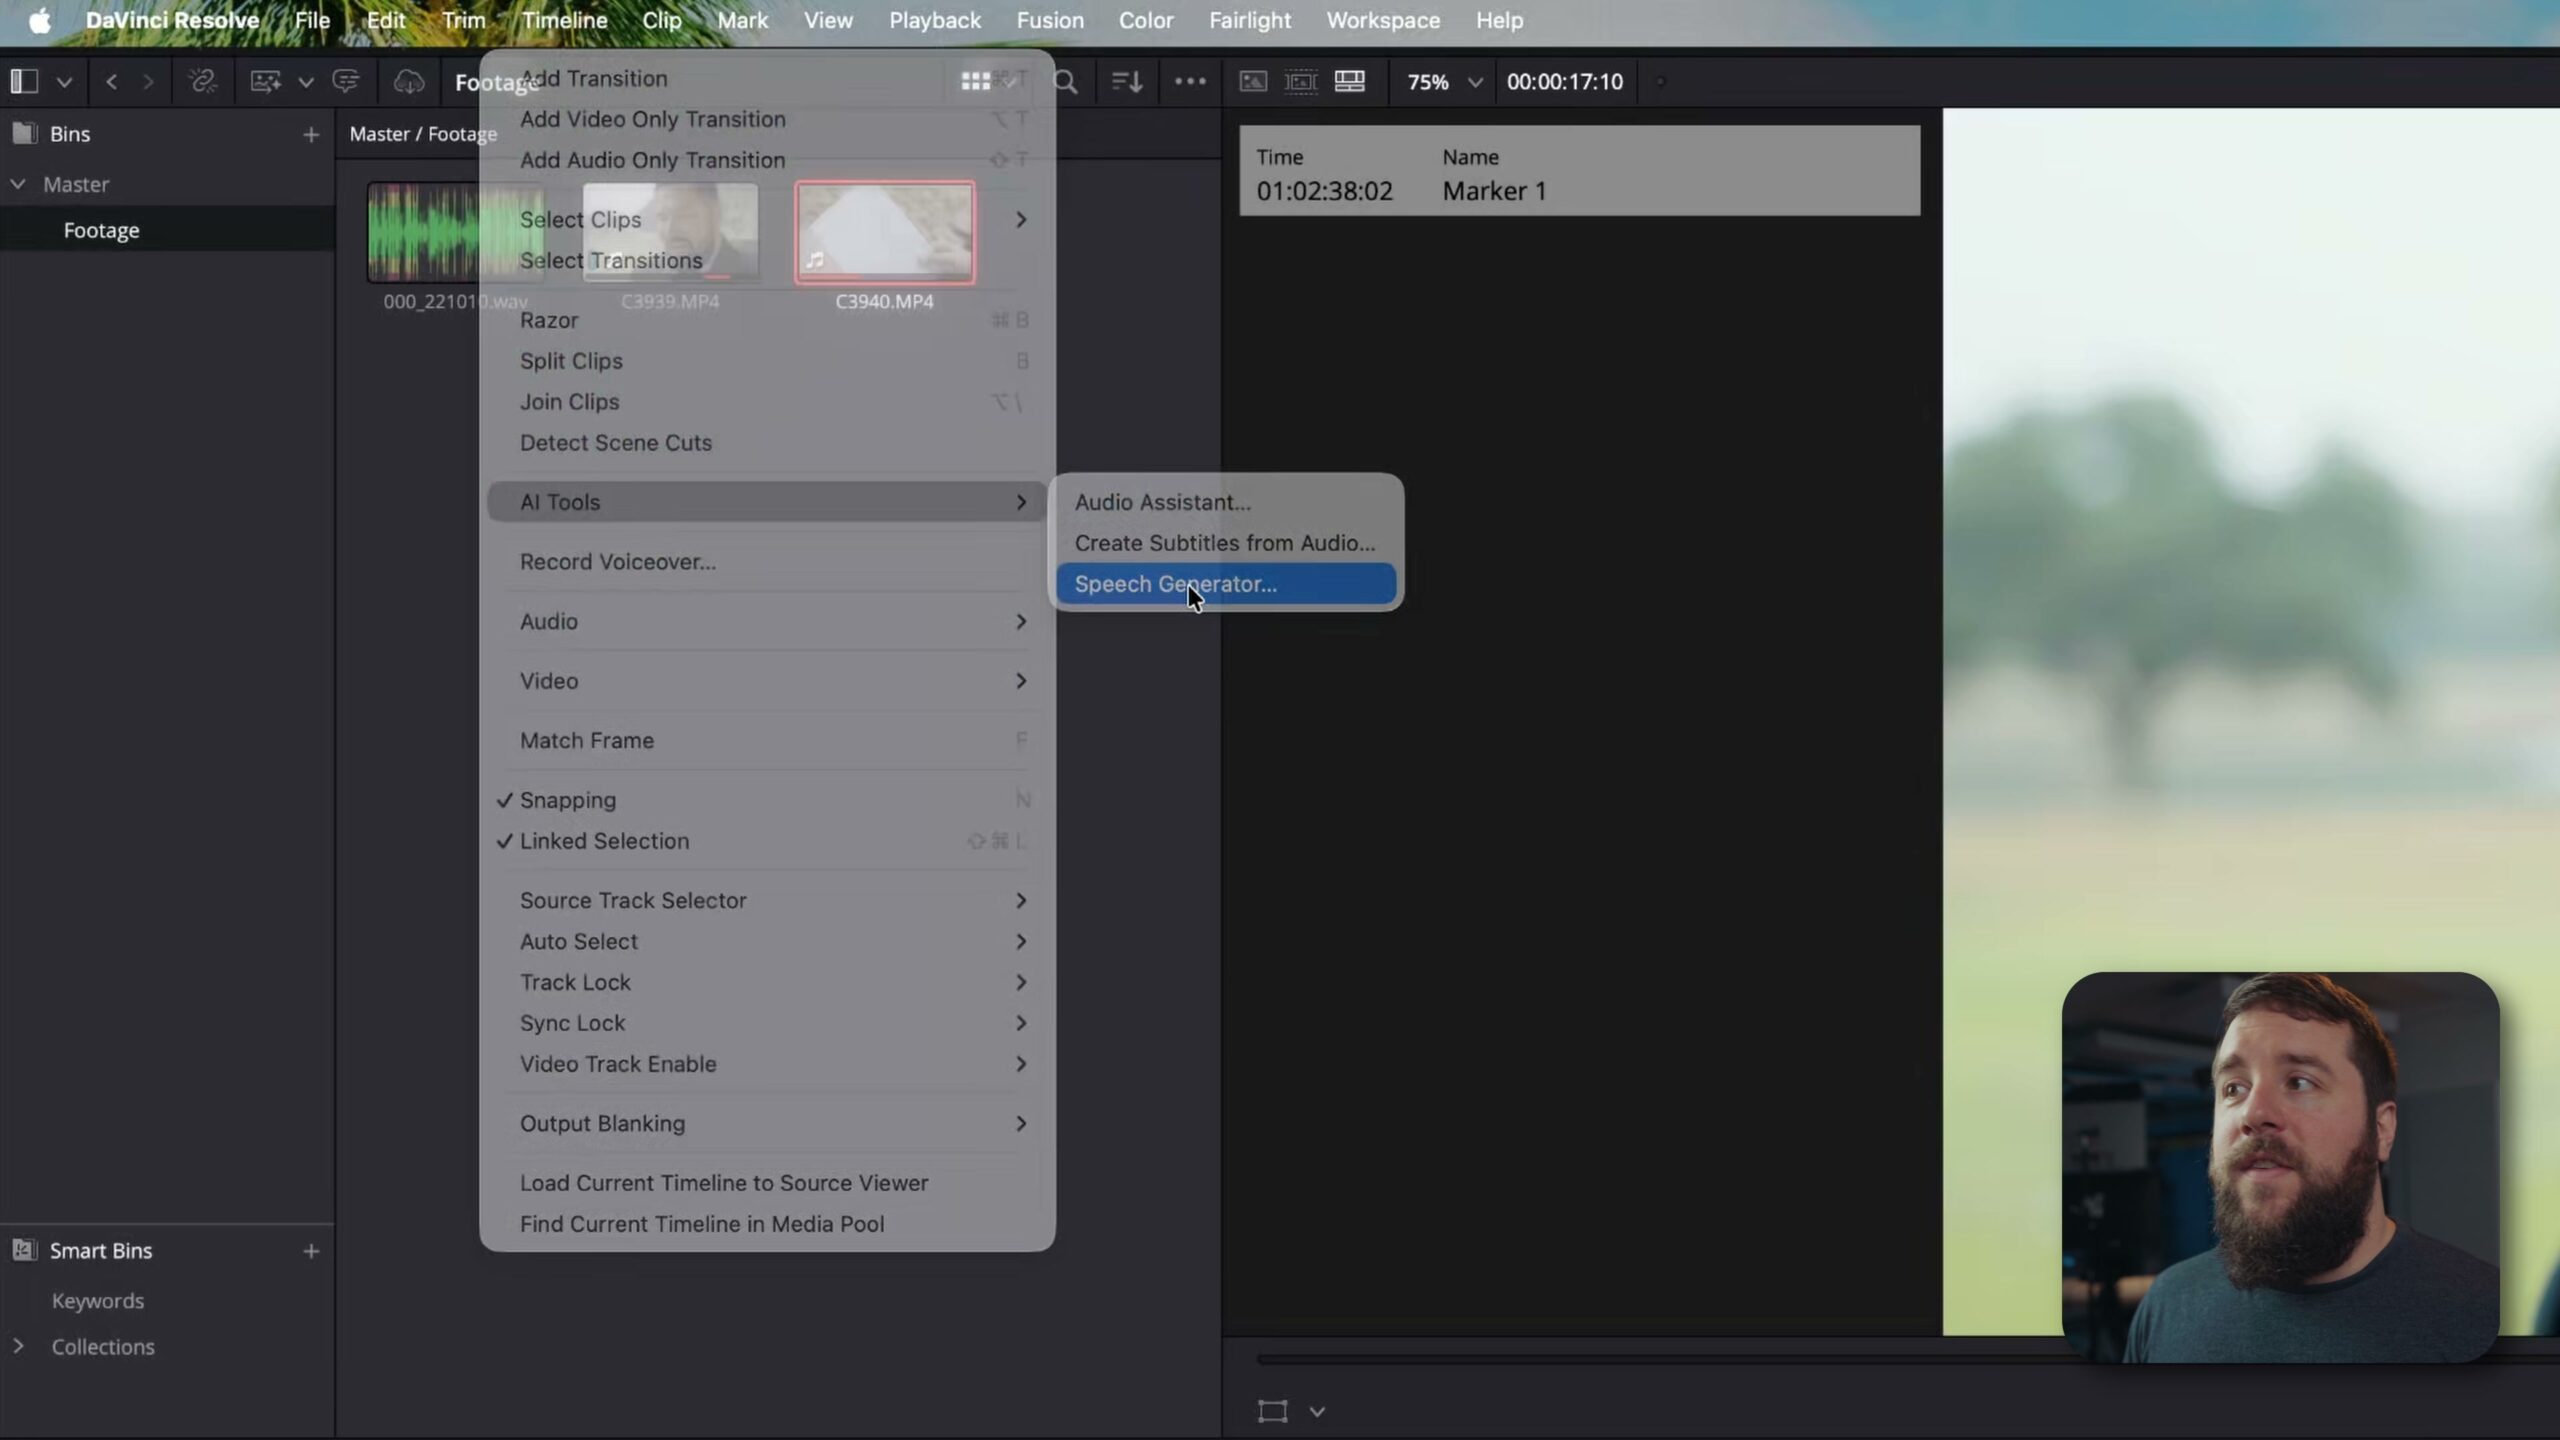
Go back to the Edit page and move your play head to right about where you want the cloned voice to begin, because that is exactly where the new audio is going to land. Then go up to Timeline, AI Tools, Speech Generator.
In the text box, type the line the way you want it said. For me that was “i love you jillian, i can’t wait to take you as my wife.” A small tip: I left it lowercase. Capitalizing can sometimes make the tool do something weird, so I keep it simple.
For the voice model, there are some presets, but you want to scroll down to Custom Voice, since that is what lets you clone. Click Load, find the WAV file you just exported, and open it. Below that you get a few settings worth knowing: a speed slider for how quickly the line is read, a variation slider that changes how the audio sounds, and a pitch slider to make the voice deeper or higher.
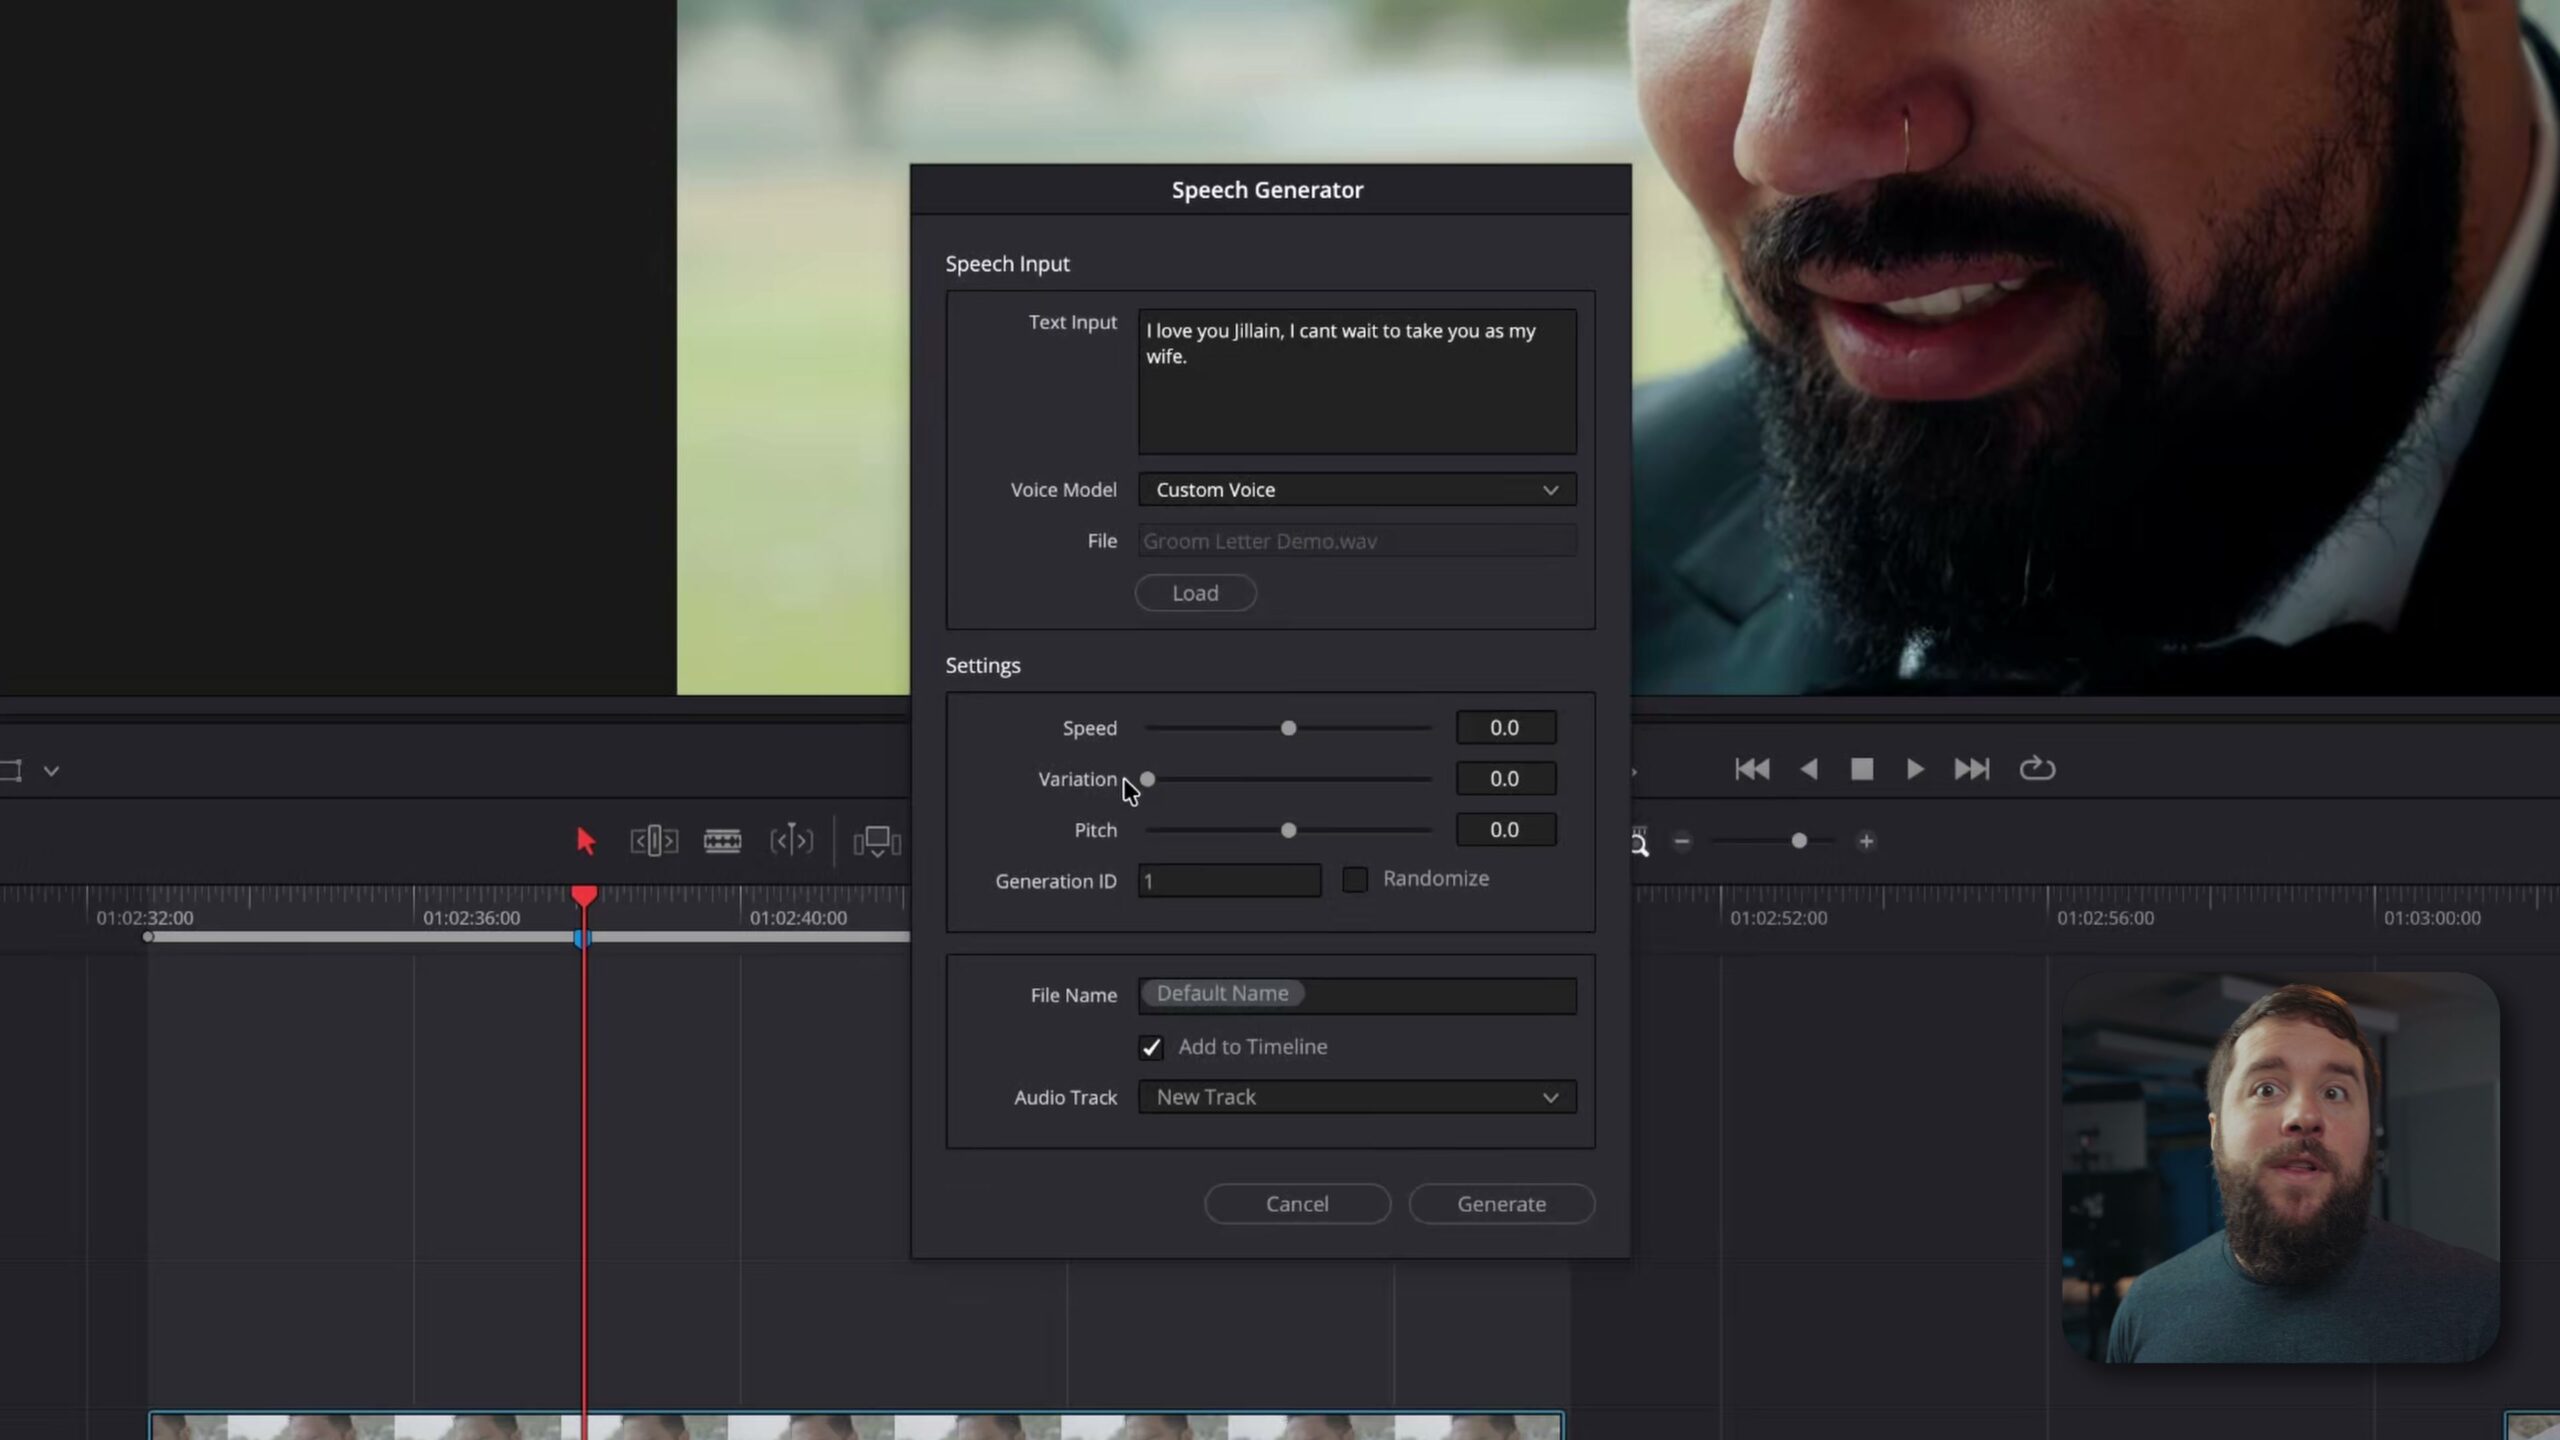
Every time you generate something it gets a generation ID. If you land on a voice you love and want to reuse it later, write that ID number down. Leave the file name at its default, make sure Add to Timeline is checked so the audio drops in right at your play head, and I would also tell it to use a new audio track so it does not overwrite anything else on your timeline.
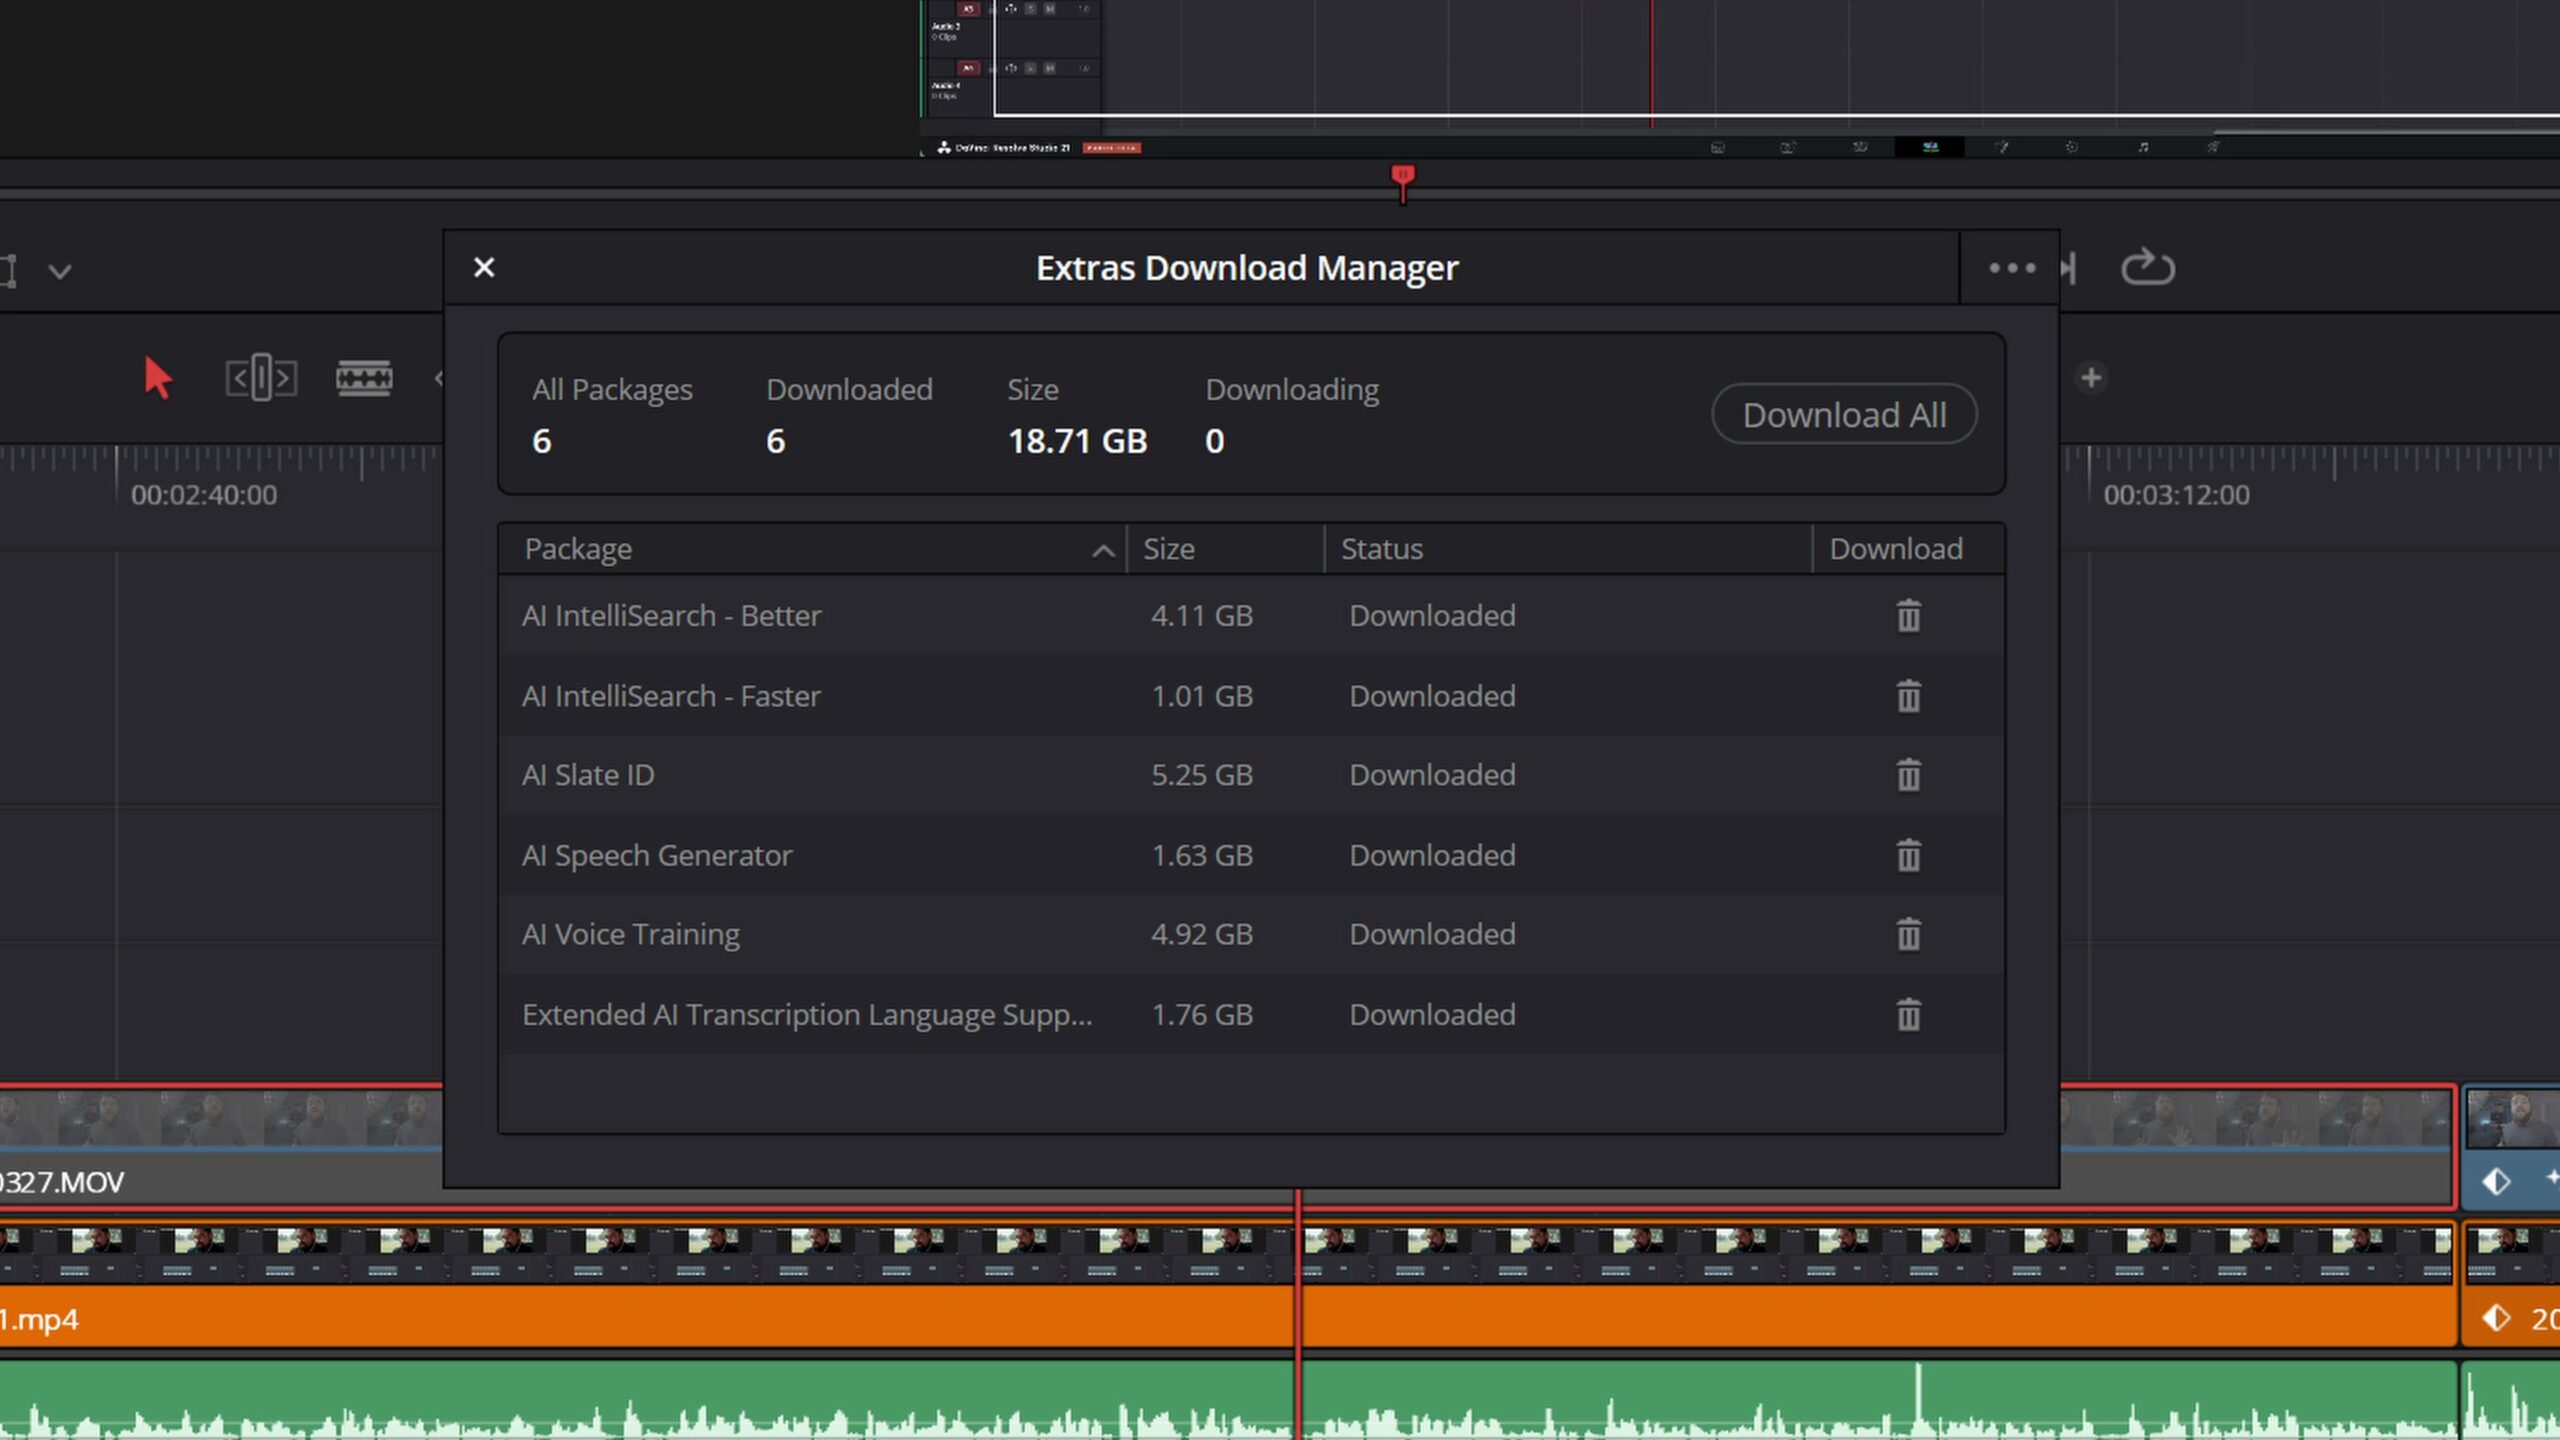
Now click Generate. The first time you do this, a Download Manager window pops up telling you to grab an extra 1.6 gigabytes of data that the speech generator needs to run. Let it download, come back, and click Generate again.
Anywhere from 10 to 30 seconds later, depending on your computer and the size of your voice sample, a new AI generated clip appears on a fresh track at the bottom of your timeline.
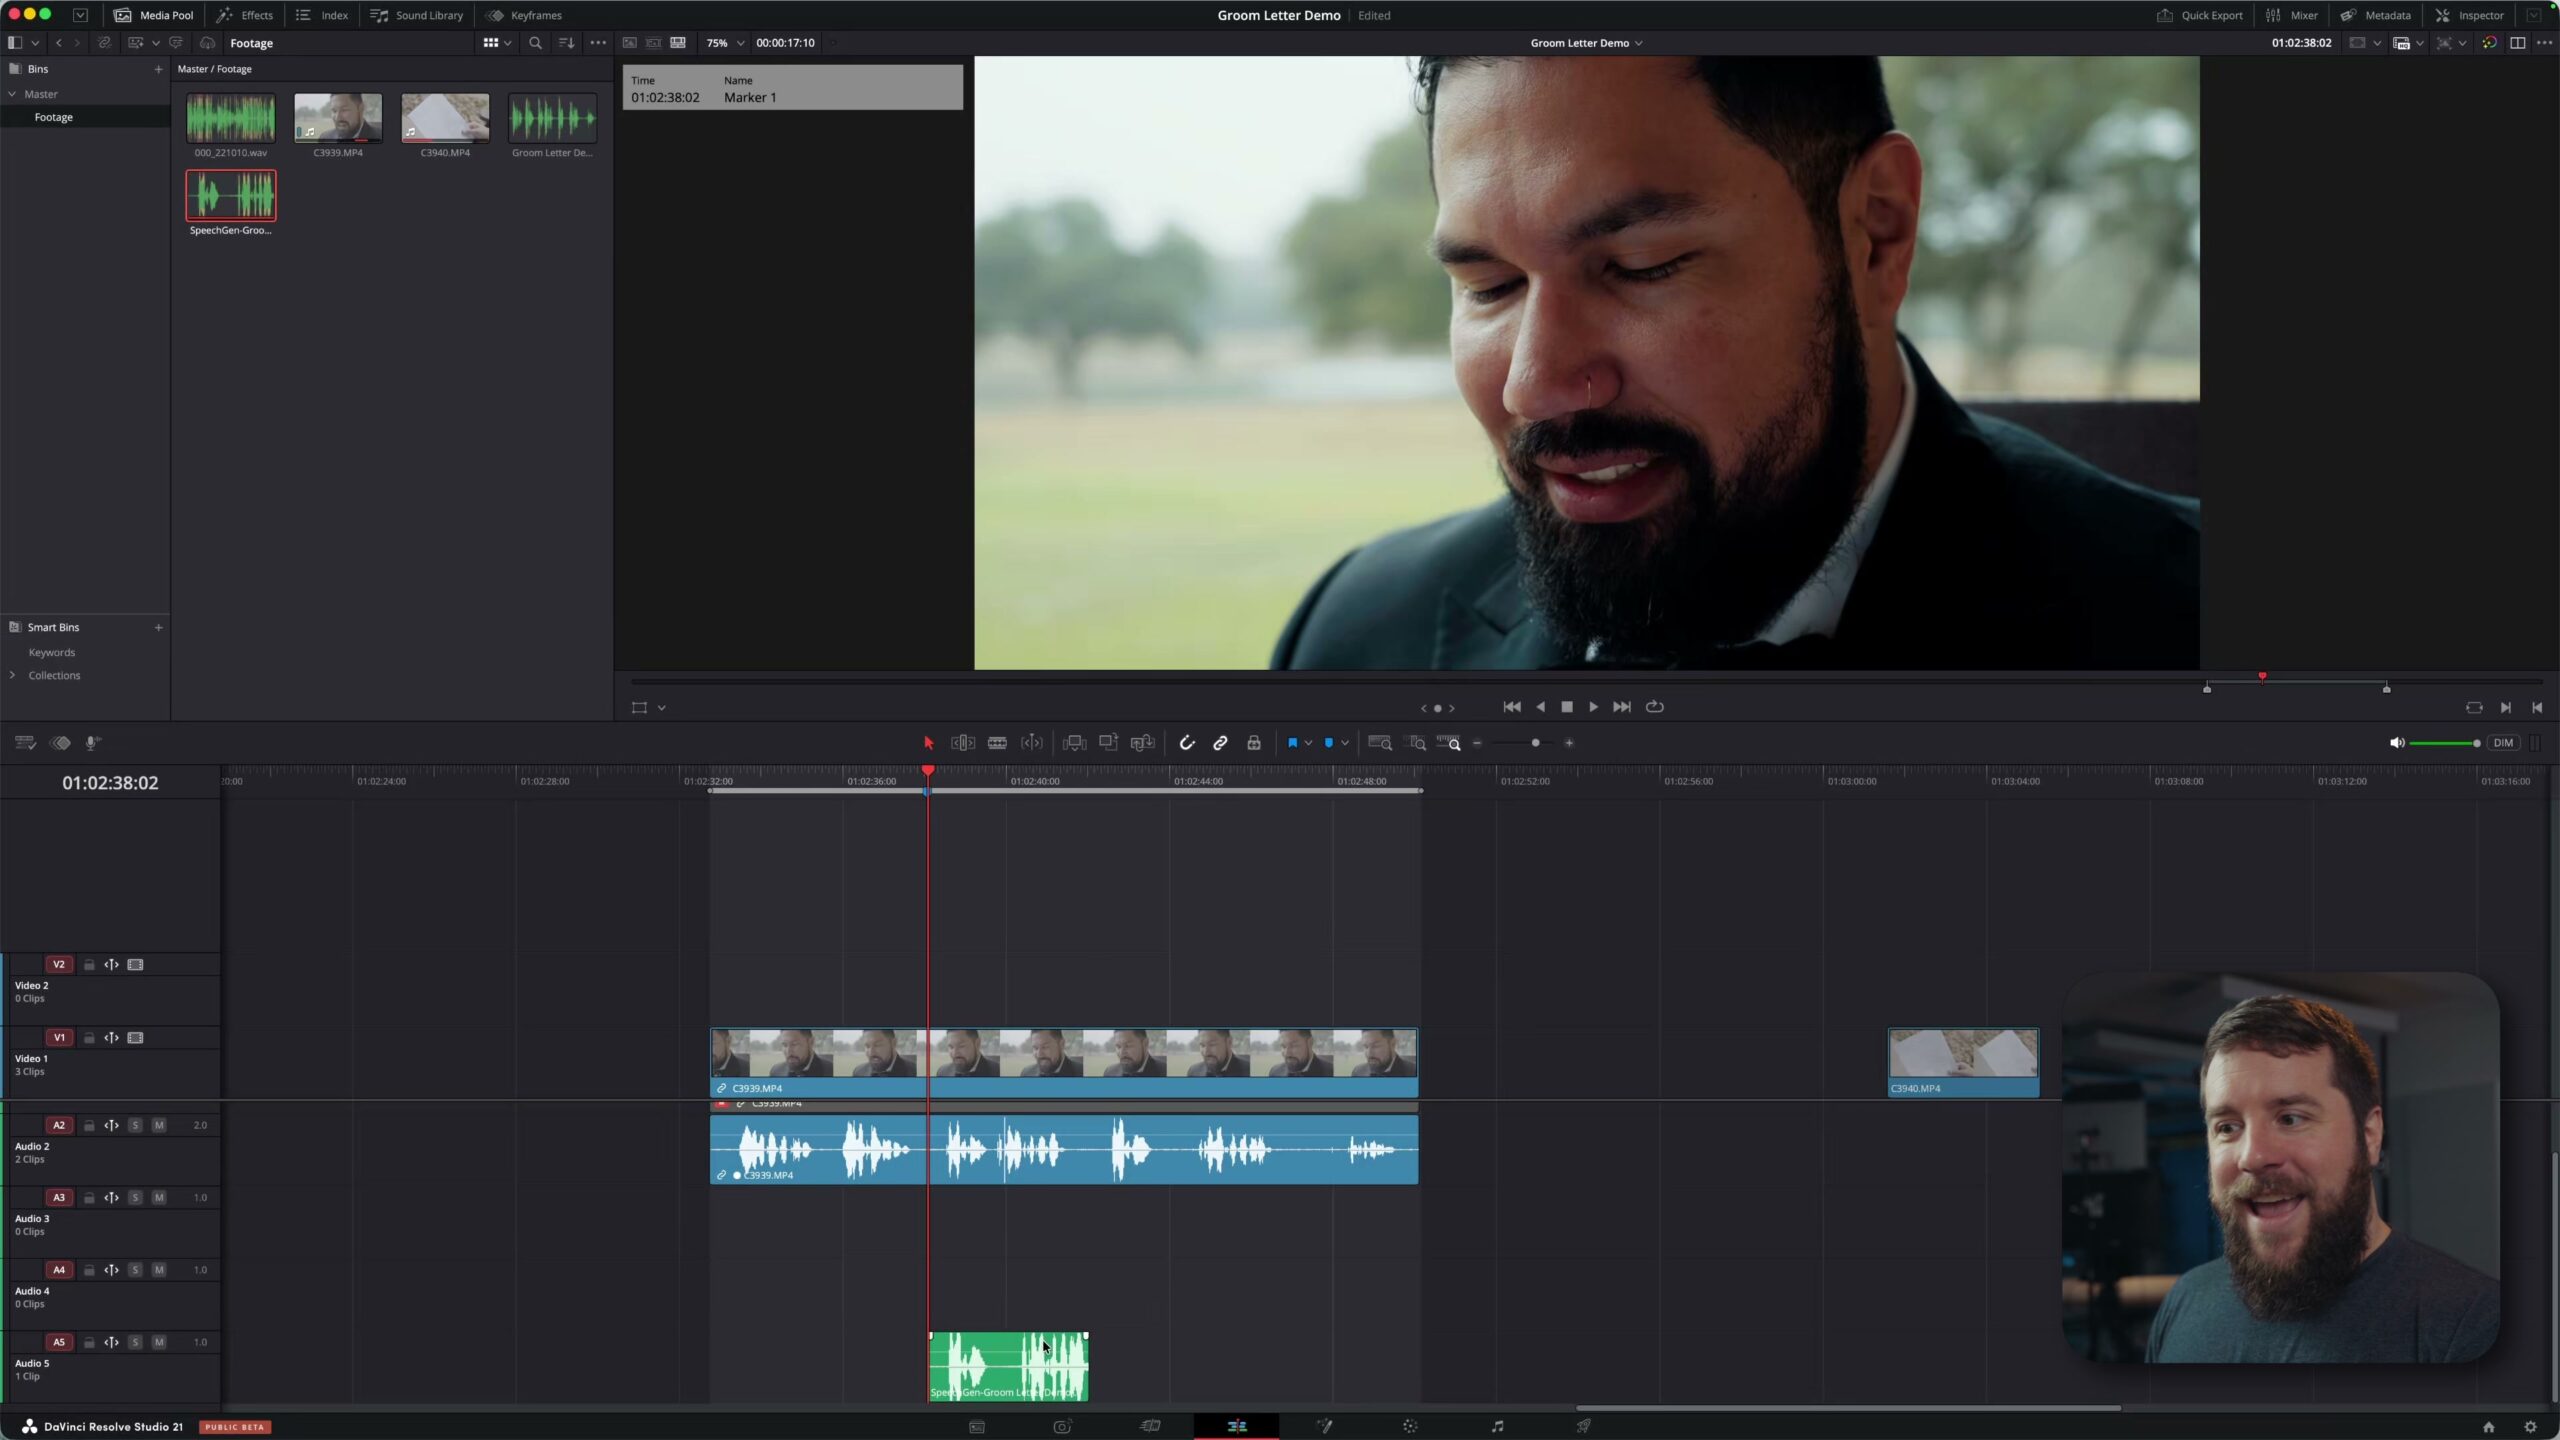
The result
Here is the original: “I love you, Jillian. I can’t wait to take you as wife.” And here is the clone: “I love you, Jillian. I can’t wait to take you as my wife.” It sounds the same. Same voice, same delivery, just with the fixed line. It is genuinely wild how convincing it is.
The one catch to keep in mind
If there is a single con to this tool, it is that it does not alter the person’s lips to match the new audio. So when you use this to fix a mistake, you will usually want to cover the footage with some B-roll while the new line plays. Do that and no one will ever know.
This is just one of many tools Blackmagic added to the latest version of the software. If you want the full rundown, I put together a breakdown of every new feature in DaVinci Resolve 21, and I have more tutorials on the way, like this one on the secret AI tool that removes wrinkles.
If you want to get sharper as an editor overall, I also have my Edit Videos Like A Pro guide, which walks through the rules I follow to make better videos. And yes, a real human wrote that one. Thanks so much for reading, and have a great day.