
What is Cine EI mode? How does it work on Sony cameras like the FX3 and FX30? And most importantly, should you use it to film weddings or documentaries or other situations where you need to film fast and get great dynamic range and color from your camera?
My name is Matt Johnson and I am going to explain all of that. But before I do, I just mentioned getting great color from your camera, and I have created a set of video presets called WhoisMatt LUTs that work great with S-Log3 footage regardless of whether you use Cine EI or not.
What Is Cine EI?
Cine is short for cinema, and EI is short for exposure index. What is an exposure index? It is a term from way back when cameras used film, and it would be a five minute tangent to explain, and it is not going to be super helpful, so we are not going to worry about it.
The more important questions you should be asking are, how does Cine EI work, and what is the simplest way to understand it? Here is your answer.
How Does Cine EI Work?
In short, whenever you switch to Cine EI mode, it basically makes your camera only have two ISOs to choose from instead of 20 or more.
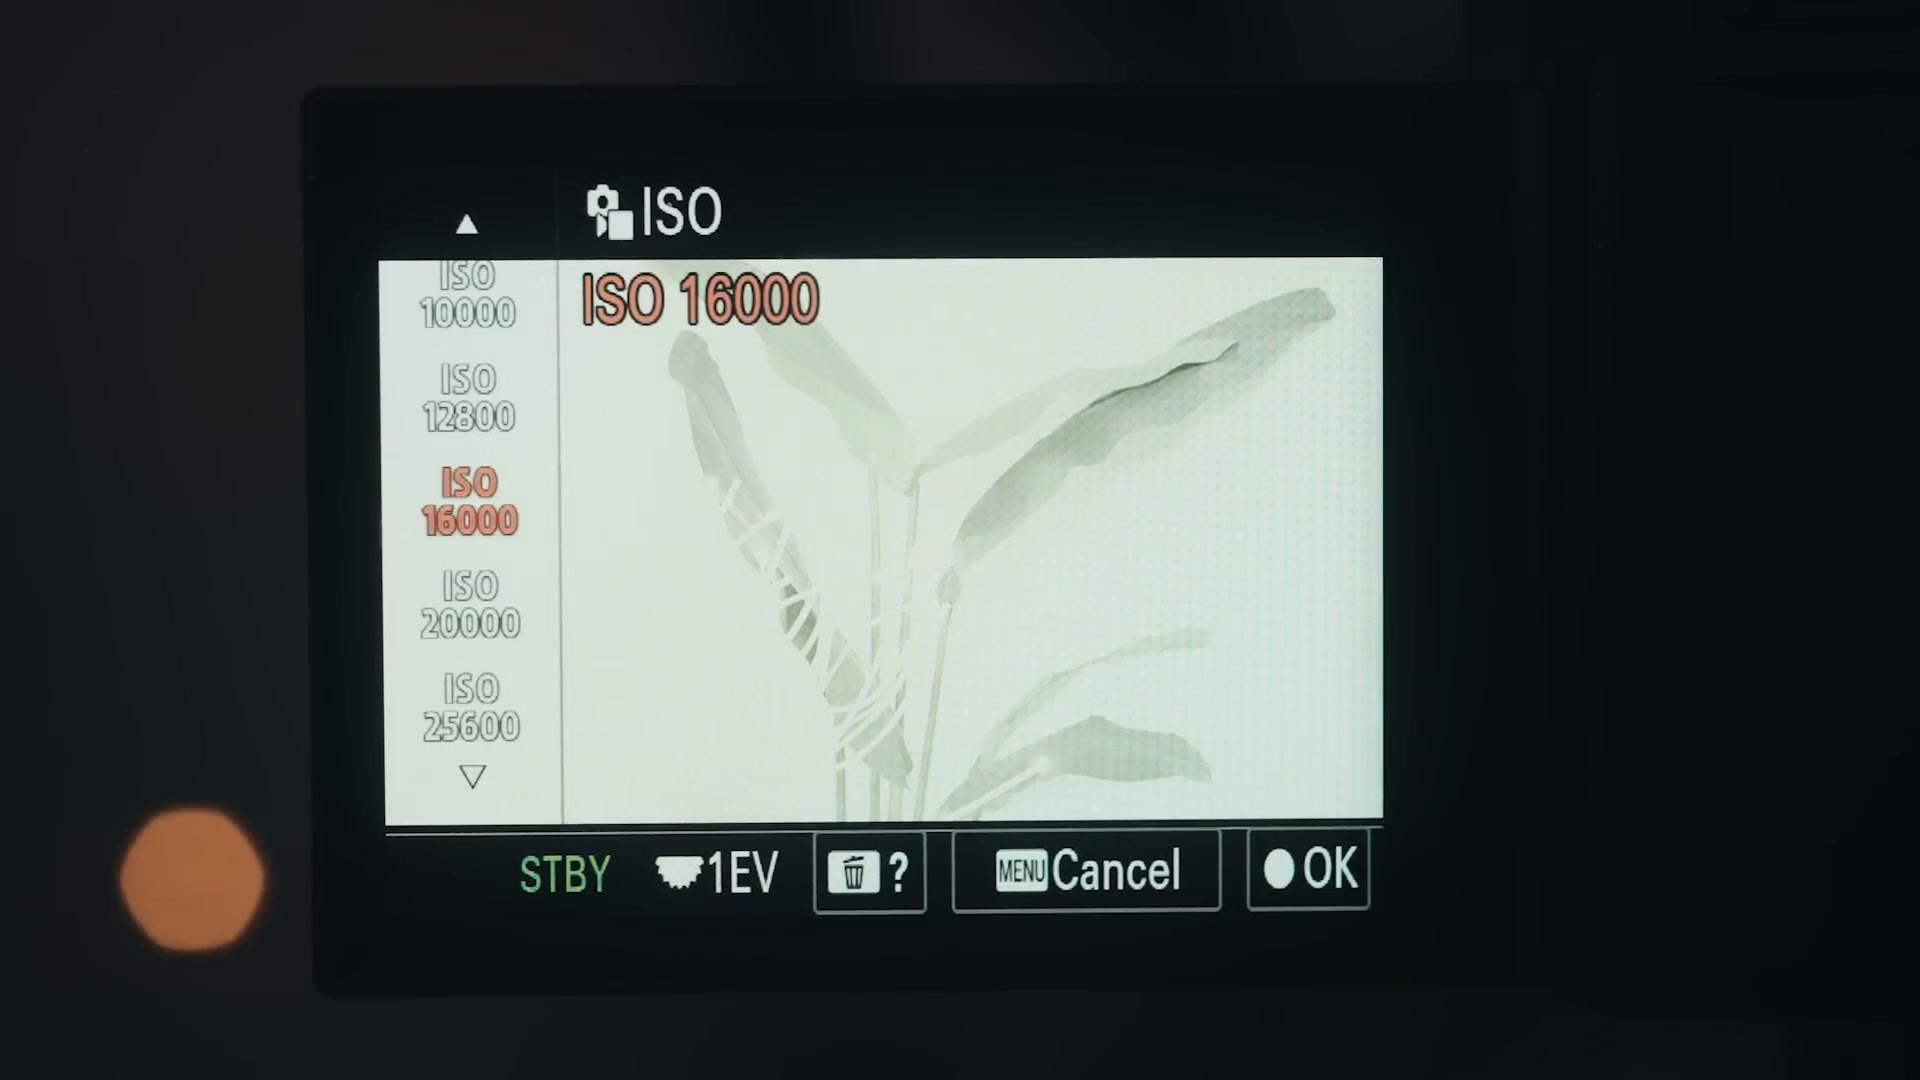
Yes, whenever you switch your camera to Cine EI, instead of having ISO 200, 400, 600, 800 all the way up to 32,000 or higher like you would normally see, Cine EI gets rid of nearly all of them and leaves you with the two base ISOs of the camera, the ones that make your footage look its absolute best with the most dynamic range and the least noise. On the FX3 those two ISOs are 800 and 12,800. On the FX30 they are 800 and 2500.
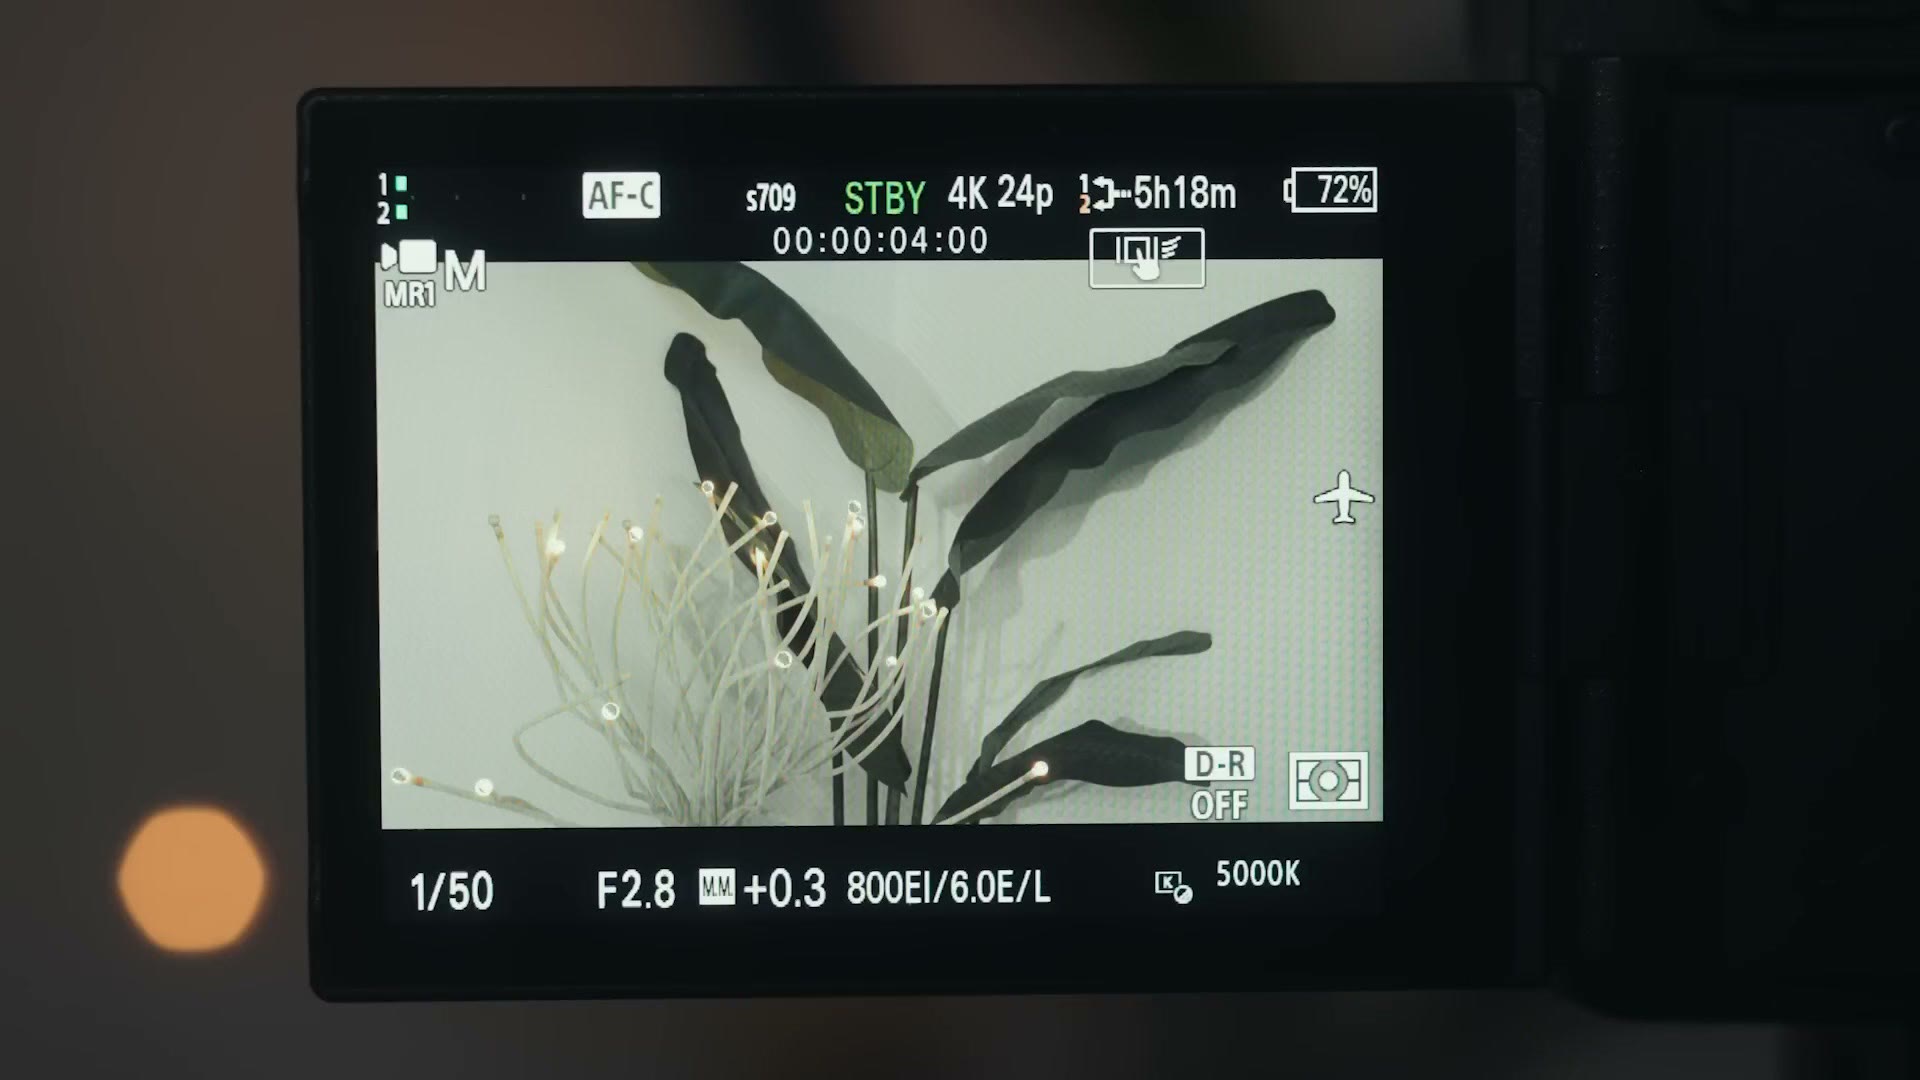
Now, it may look like your camera has more exposure options than that in Cine EI. You can set your camera to Cine EI Quick mode and adjust exposure using the same wheel you use to control ISO, and you can bring it all the way down to EI 200 or up to 10,000. But, and this is a big but, those brightness changes are only affecting the preview you are seeing on the back of your camera screen.
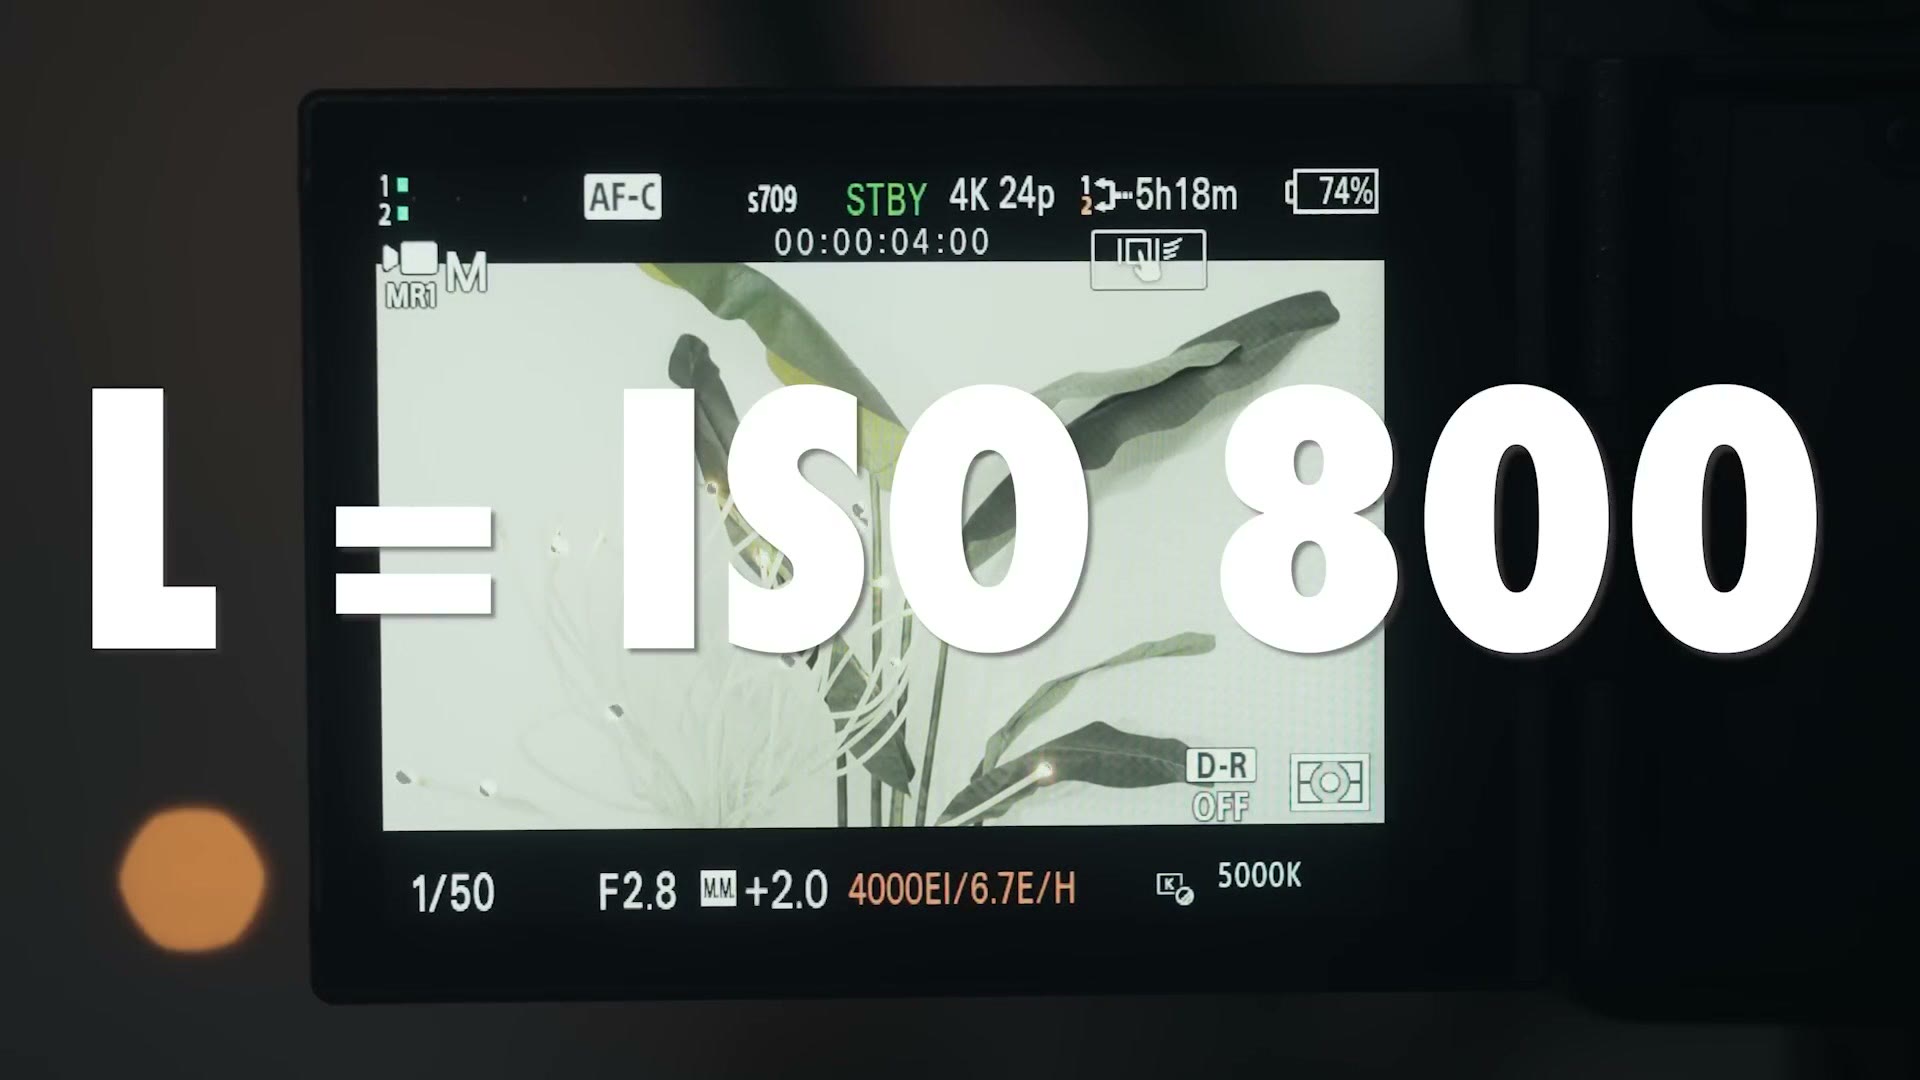
Whenever you import your footage into your editing software, that L or H at the end of those numbers on your camera are the only letters that actually matter, because the footage you import is only going to be at ISO 800 if it says L, or ISO 2500 on the FX30 and ISO 12,800 on the FX3 if it says H.
Also, side note, I would never use Cine EI Quick mode. The mode you want is just the regular Cine EI mode, because you only want to be able to switch between the low and high base ISOs.
Why Would You Use Cine EI?
Why does this matter? Why would you want to strip away all your other ISO options and use just these two? As I said, these are the two ISOs that give you the most dynamic range and the least noise. That means Cine EI basically streamlines filming in S-Log3. Instead of worrying about your ISO and dialing it in perfectly, you only have to answer one question. Do you need the lower base ISO of 800, or the higher base ISO of 2500 on the FX30 or 12,800 on the FX3?
How To Use Cine EI Mode
What this looks like in practice is that all you need to do is dial in your lens aperture to whatever f stop you want, so you get that pretty bokeh in the background, then set the exposure index to low or high. Use low if you are filming in a well lit environment, high if you are filming in a darker one.
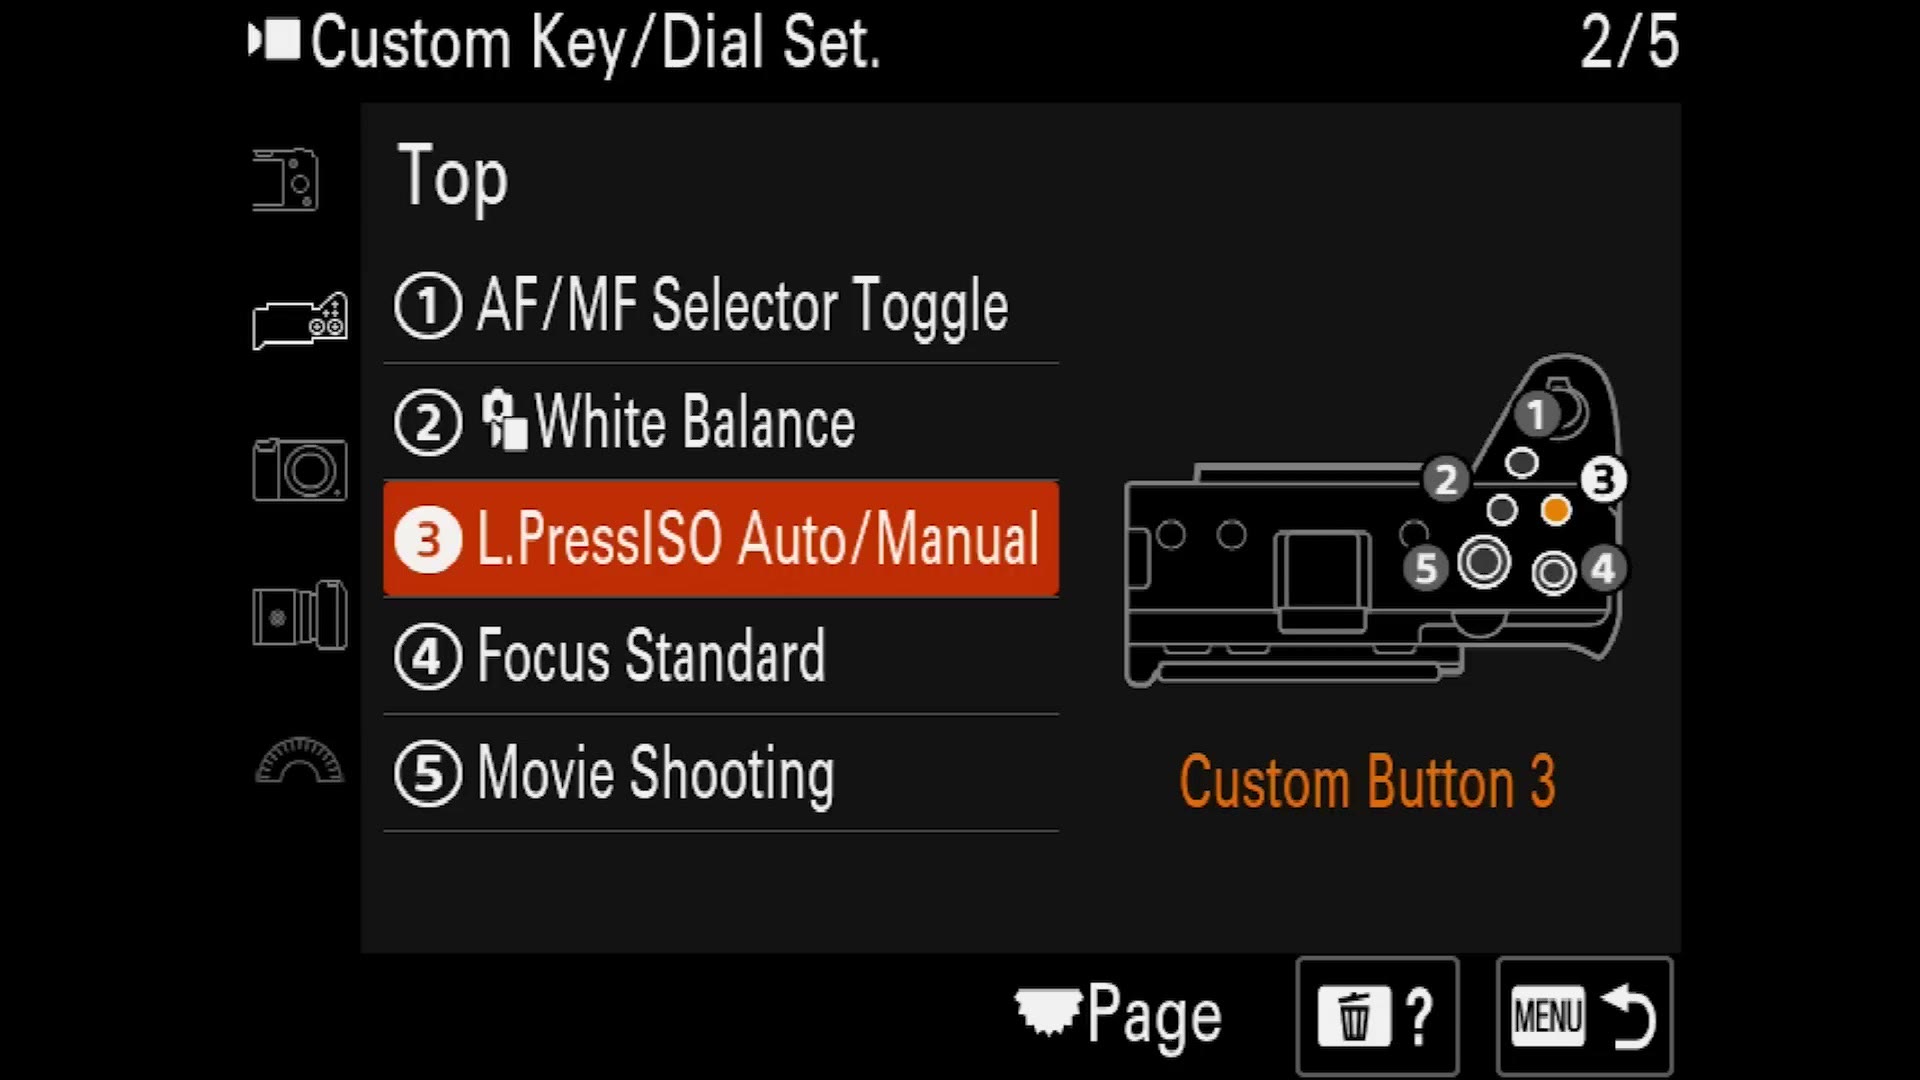
Here is a huge time saving tip for you too. You can customize one of the buttons on your Sony camera to instantly toggle between the low and high base ISOs. Just go into the custom button settings and change one of your buttons to be the base ISO switch. Then any time you press that button, your camera will switch between low and high.
So you have dialed in your aperture and chosen a low or high exposure index. Now all you have to do is make finer adjustments to your exposure by using an ND filter or cranking your shutter speed to make things darker, or using lights to make things brighter, with the end goal of having your camera read between 1.7 and 2.0 stops overexposed.
By doing this there is no fine tuning, and no worrying about setting your ISO too high and introducing noise, because Cine EI is limiting you to the two cleanest ISO levels your camera can produce.
Should You Use Cine EI?
So Cine EI sounds pretty cool, right? Yes. I think we can all get behind making S-Log3 easier to film with. But should you use it, especially if you film weddings or documentaries or other events where you need to film fast?
The answer is, it is complicated, but I am leaning more toward saying no, you should not. To be clear, I know wedding filmmakers who do use Cine EI and love it, but I also know others who say it is too restrictive, and I fall more on that side. Here is why.
To properly film in Cine EI, you ideally need full control over your lighting. Ideally you would use a gray card in front of your camera and set your zebras to 41 percent gray so you can dial in your exposure to precisely that amount of dynamic range. If it is too bright you add an ND filter, and if it is too dark you add more lights to your scene.
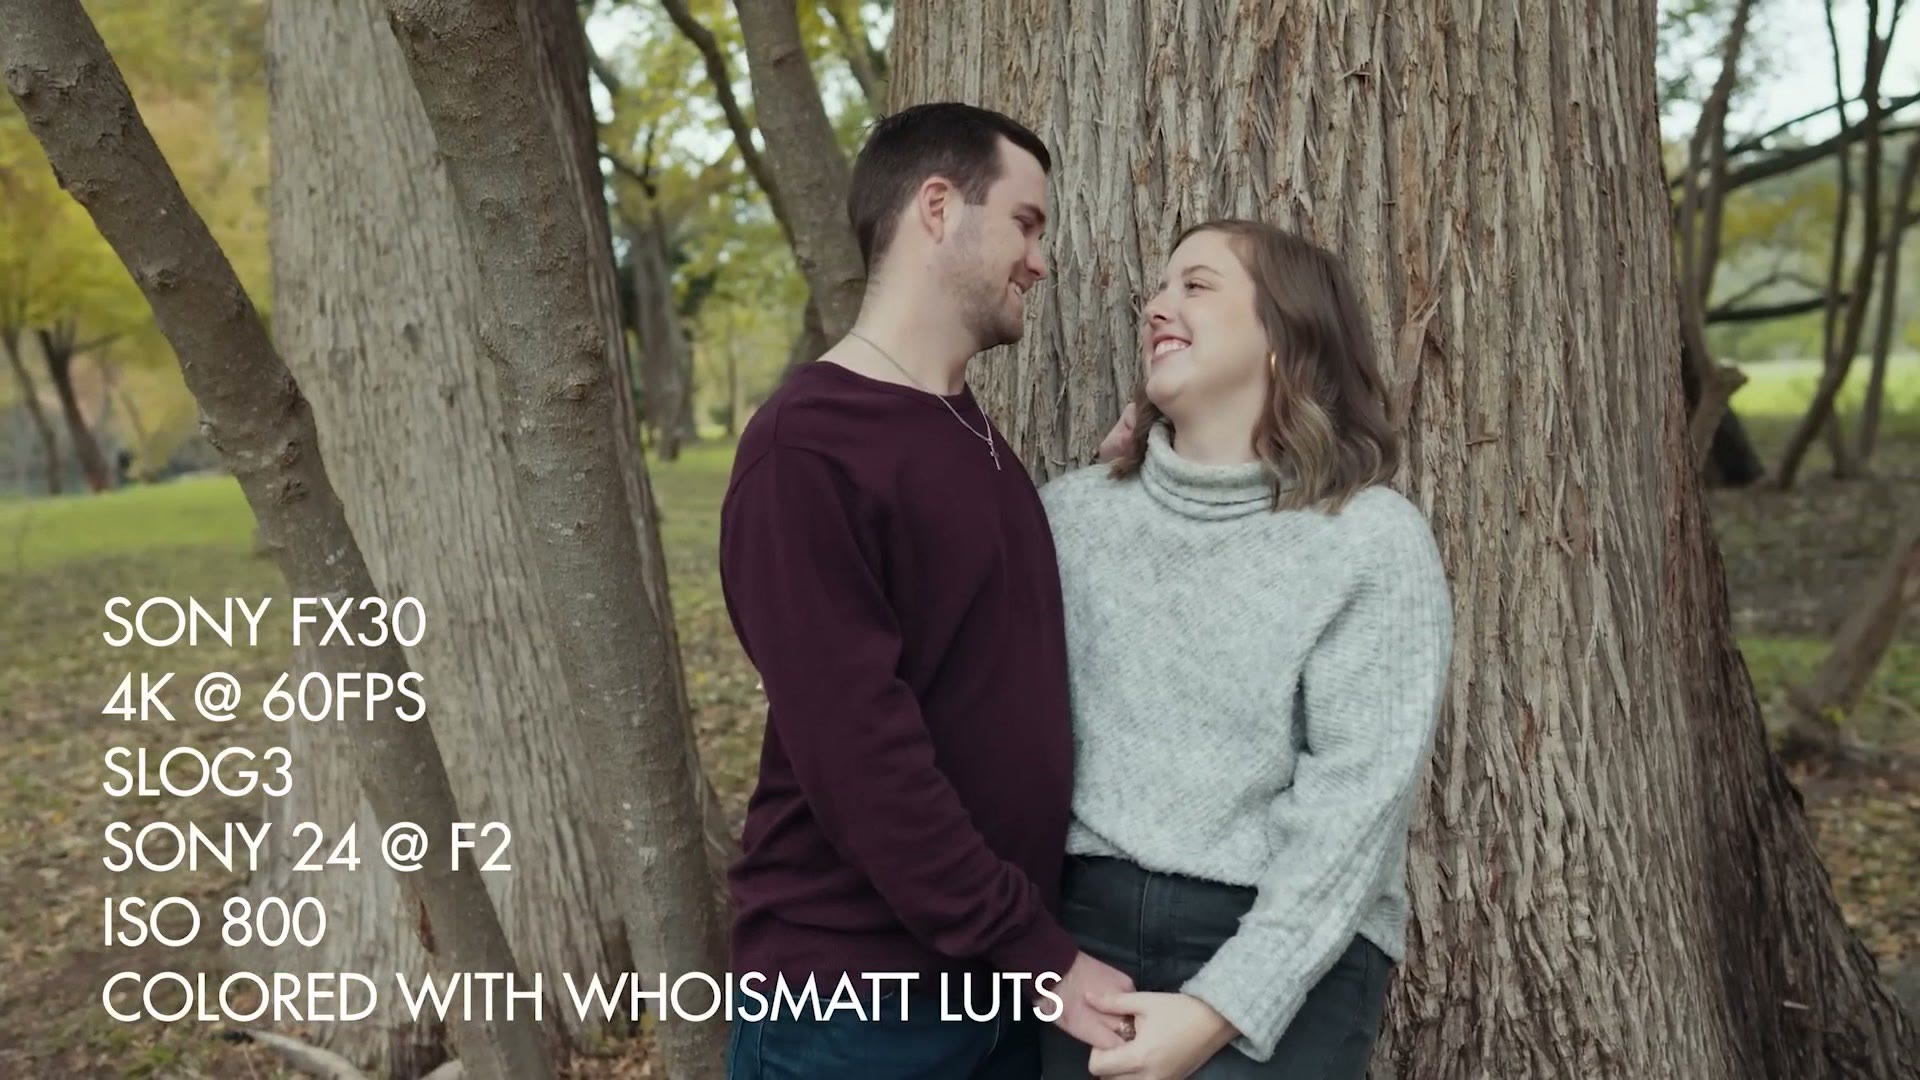
But this is a huge pain once you leave the confines of a studio or a set where you have full control over your lighting. With a wedding or other fast paced filmmaking, you do not have time for a gray card, and you do not have the ability or the time to add lights to every scene either. You oftentimes have two seconds to adjust your exposure properly before you press record, otherwise you are going to miss the moment. That is why I recommend between 1.7 and 2.0 stops overexposed. It is a general guideline that will get you close to the proper exposure level.
This also means you are going to do more work in post, because you will need to tweak the exposure of every single clip you use to make sure it is at the brightness you want, since you cannot fine tune those ISOs in Cine EI. That potentially adds a lot of time to your editing. And more importantly, if your scene is too dark and you did not have a chance to add lights and your camera is underexposed, you are going to have noise whenever you bring the exposure up.
Compare that to not using Cine EI, where you are able to more precisely dial in your ISO and get the exact exposure you want in camera. You may not have as much dynamic range, but you are going to spend less time color grading in post, and I think that matters. Saving time is important, right?
In addition, remember that Cine EI locks you into two ISOs because it wants to maximize dynamic range, showing you detail in the shadows without blowing out your highlights. Whenever you are filming a wedding though, at least a third of the day is most likely going to take place after dark at the reception, where you have much less control over the lighting.
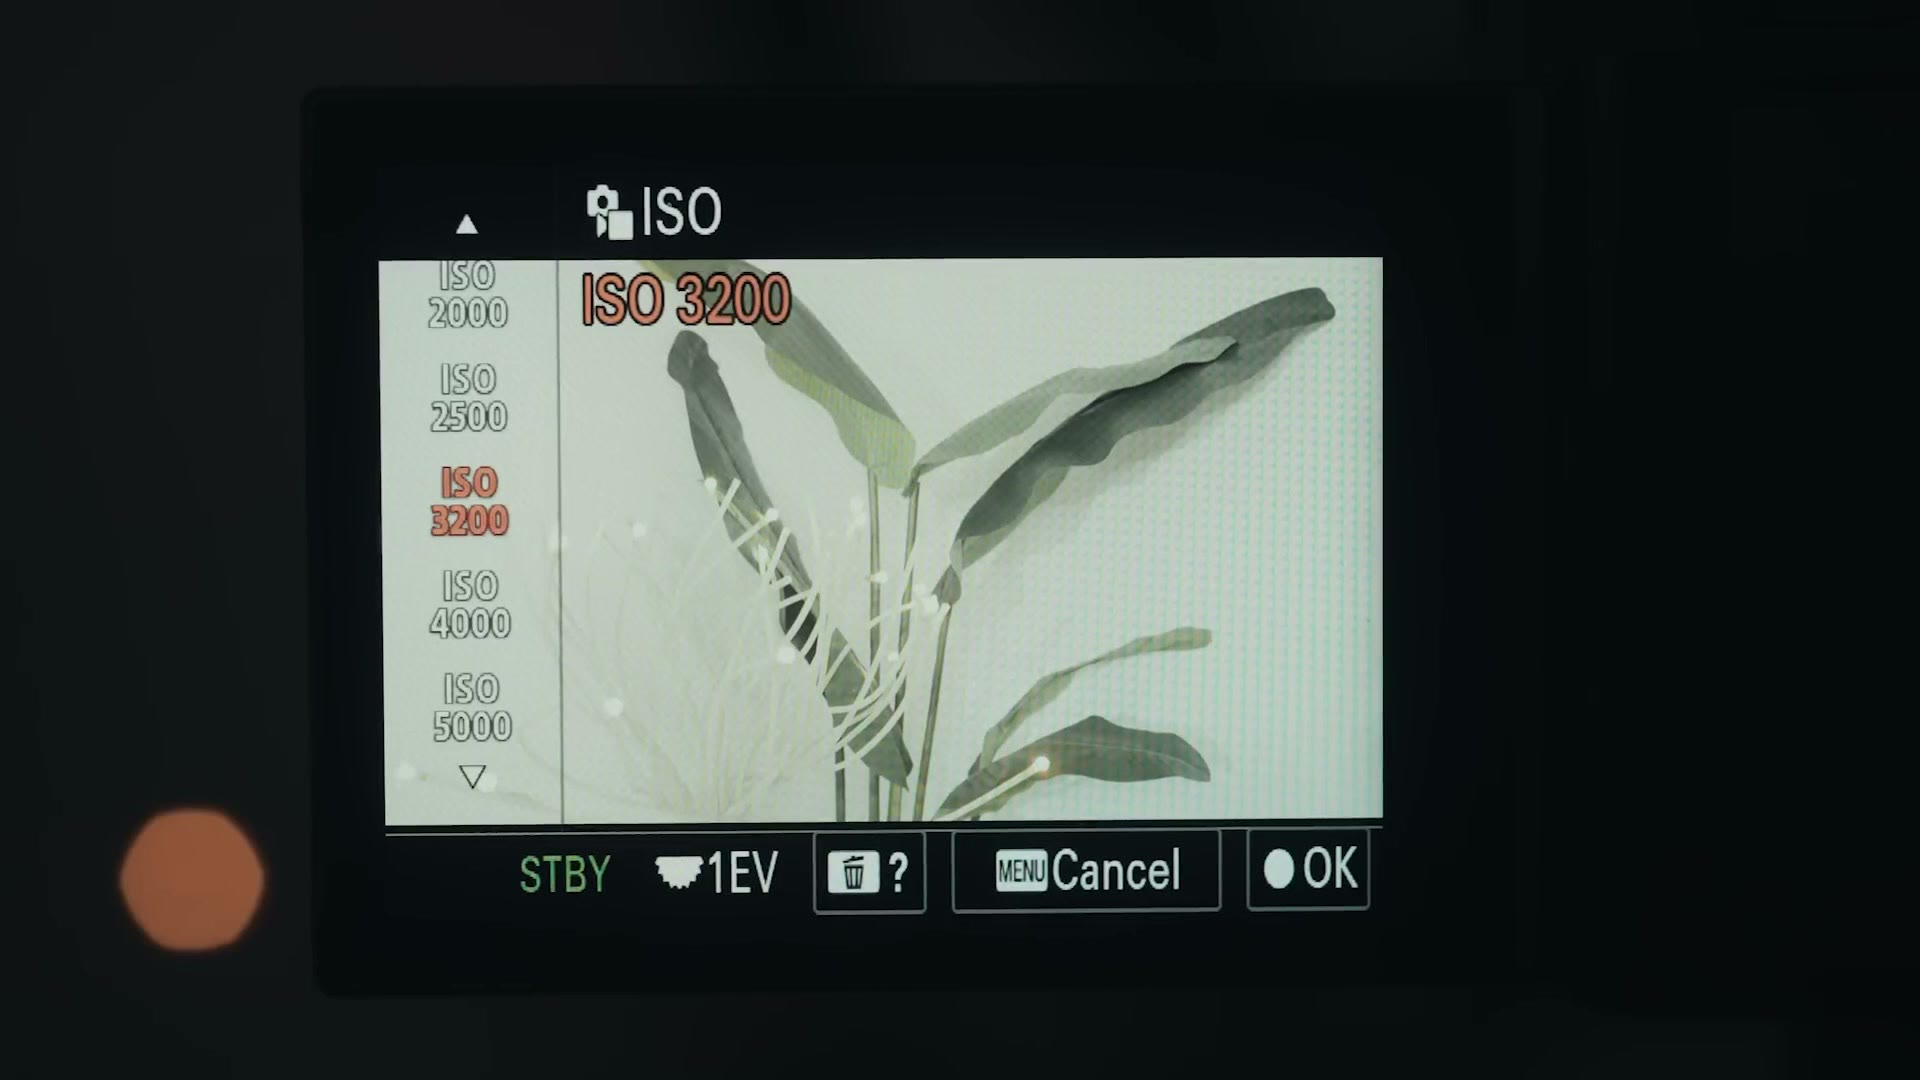
At that point I would be much less concerned about dynamic range, because whenever things get darker you do not need to worry about highlights being overexposed. I would be far more concerned with being able to raise the brightness of the camera enough to compensate for the darkness and the shadow noise. I oftentimes find myself filming at ISO 16,000, 25,000 or 32,000 at a wedding reception. But if I was using Cine EI, I would be limited to 12,800 plus whatever I could raise the exposure in post, which would definitely introduce a lot of noise.
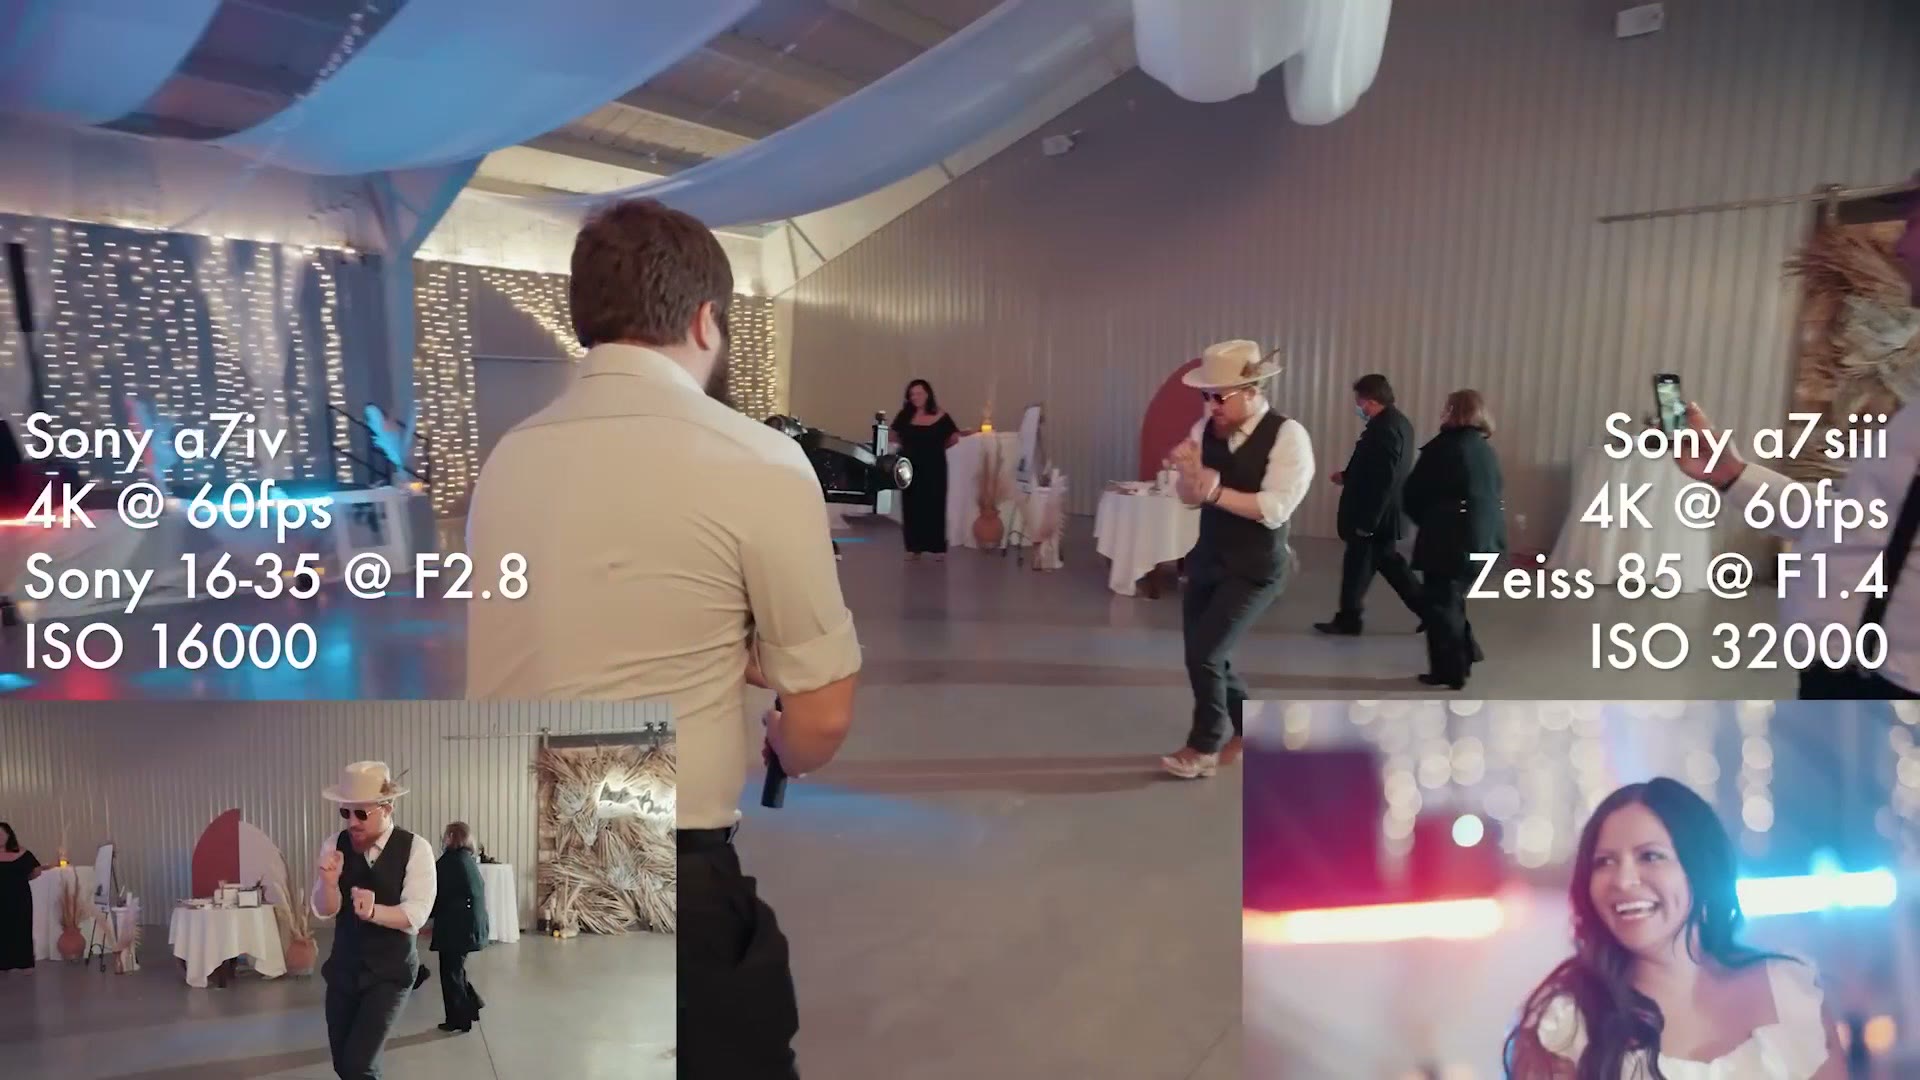
So what do you do? Well, keeping in mind that the only thing Cine EI is doing is limiting you to the two base ISOs of your camera, there is nothing stopping you from choosing the Flexible ISO option instead, which disables Cine EI and gives you the full range of ISOs. If you do that, you can try to keep your camera close to your base ISOs, which will give you more dynamic range, while still having the flexibility to increase your ISO much higher when you need to so you can hit that 1.7 to 2.0 stops over. That is going to save you time whenever you edit and still give you a great image.
So there you go. That is how Cine EI works and whether you should use it to film weddings. The choice is really up to you. It is a complicated topic, but I hope this made it clear.
Keep in mind that my color presets work great with Sony cameras regardless of which picture profile you use, or whether you are in Cine EI or not. I will also link a free guide I put together called Level Up Your Wedding Films, which shows you some of the steps you can take to improve the quality of your wedding films, and you can download it completely free.
Thanks To Audiio
Speaking of things linked down in the video description, I need to tell you about this video’s sponsor, Audiio.
Audiio is a great source of high quality music for your films, and this year they are adding a ton of amazing features, including a new mobile app, SafeSync which protects your licenses, a redesigned and faster website, and a lot more sound effects.
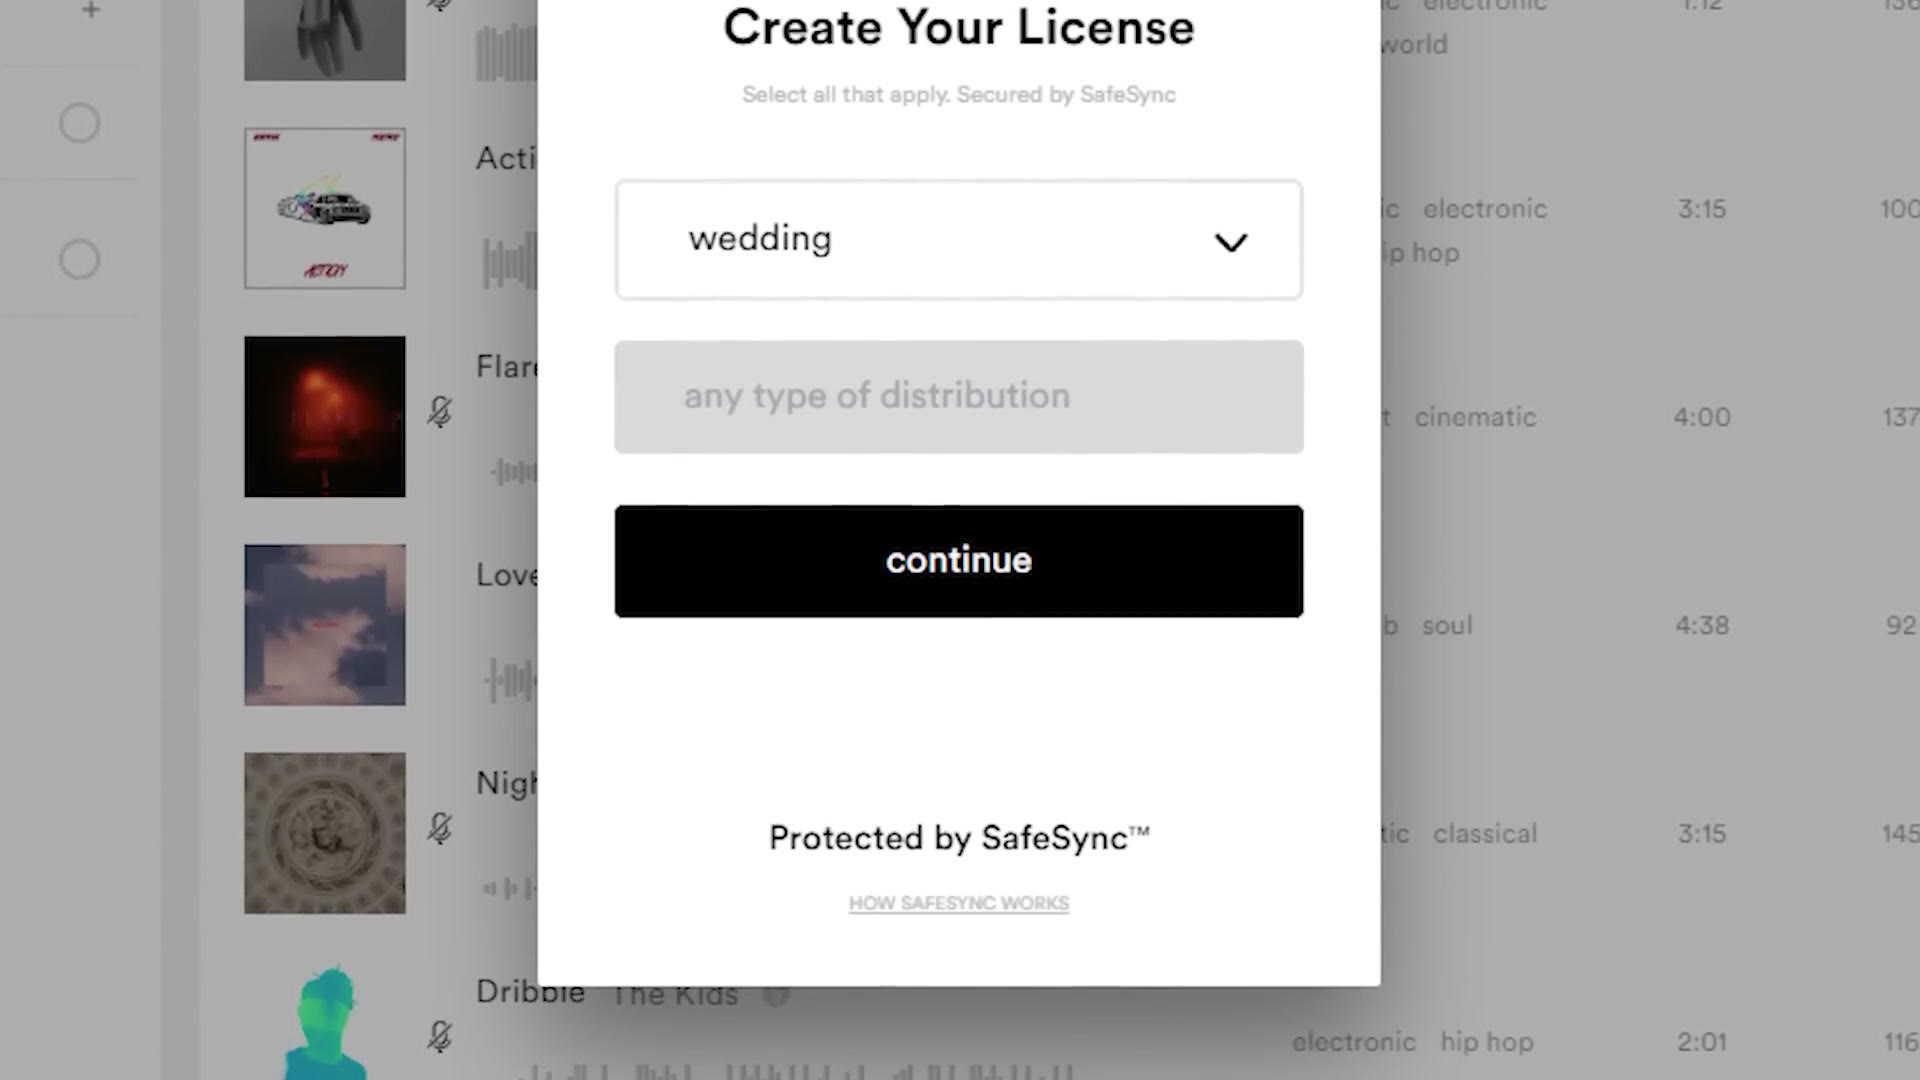
No matter whether you are filming YouTube videos, weddings, or corporate and commercial videos, Audiio has a license that can cover you. Personally, one of my favorite features, the one that makes Audiio a no brainer, is the price.

They have a crazy deal right now where you can get one year of Audiio Pro for only 59 bucks, which lets you download unlimited music and sound effects for your videos. Or if you want the best deal I have pretty much ever seen for music licensing, you can sign up for a lifetime music subscription, which right now is on a super limited time sale for a one time payment of $199. Yes, I said lifetime. You get access to their constantly growing library of music to license for your films for the rest of your life. It is crazy, and I love Audiio.
Check them out at this link. If you want to go deeper on the filmmaking side, I have filmmaking courses here, and here is my full list of filmmaking gear.
Thanks so much for reading, and have a great day!