
Today I’m going to show you the best Blackmagic Camera app settings for filming in Apple Log with the iPhone 15 Pro. So if you want the best possible video quality, the most dynamic range, and a file size that is much smaller than the stock camera app gives you, keep reading.
Also, because I’m all about saving you time, I’ve put together a set of video presets called WhoisMatt LUTs. I’ve tested them with log footage filmed on the iPhone and they look fantastic, and they work with the Blackmagic Camera app. They also work with pretty much any other camera that uses a log profile, so if you want consistent, beautiful colors in your films no matter what you shoot on, check them out.
Codec, Resolution, Color Space
Jumping right into the Blackmagic Camera app, open up the settings menu.
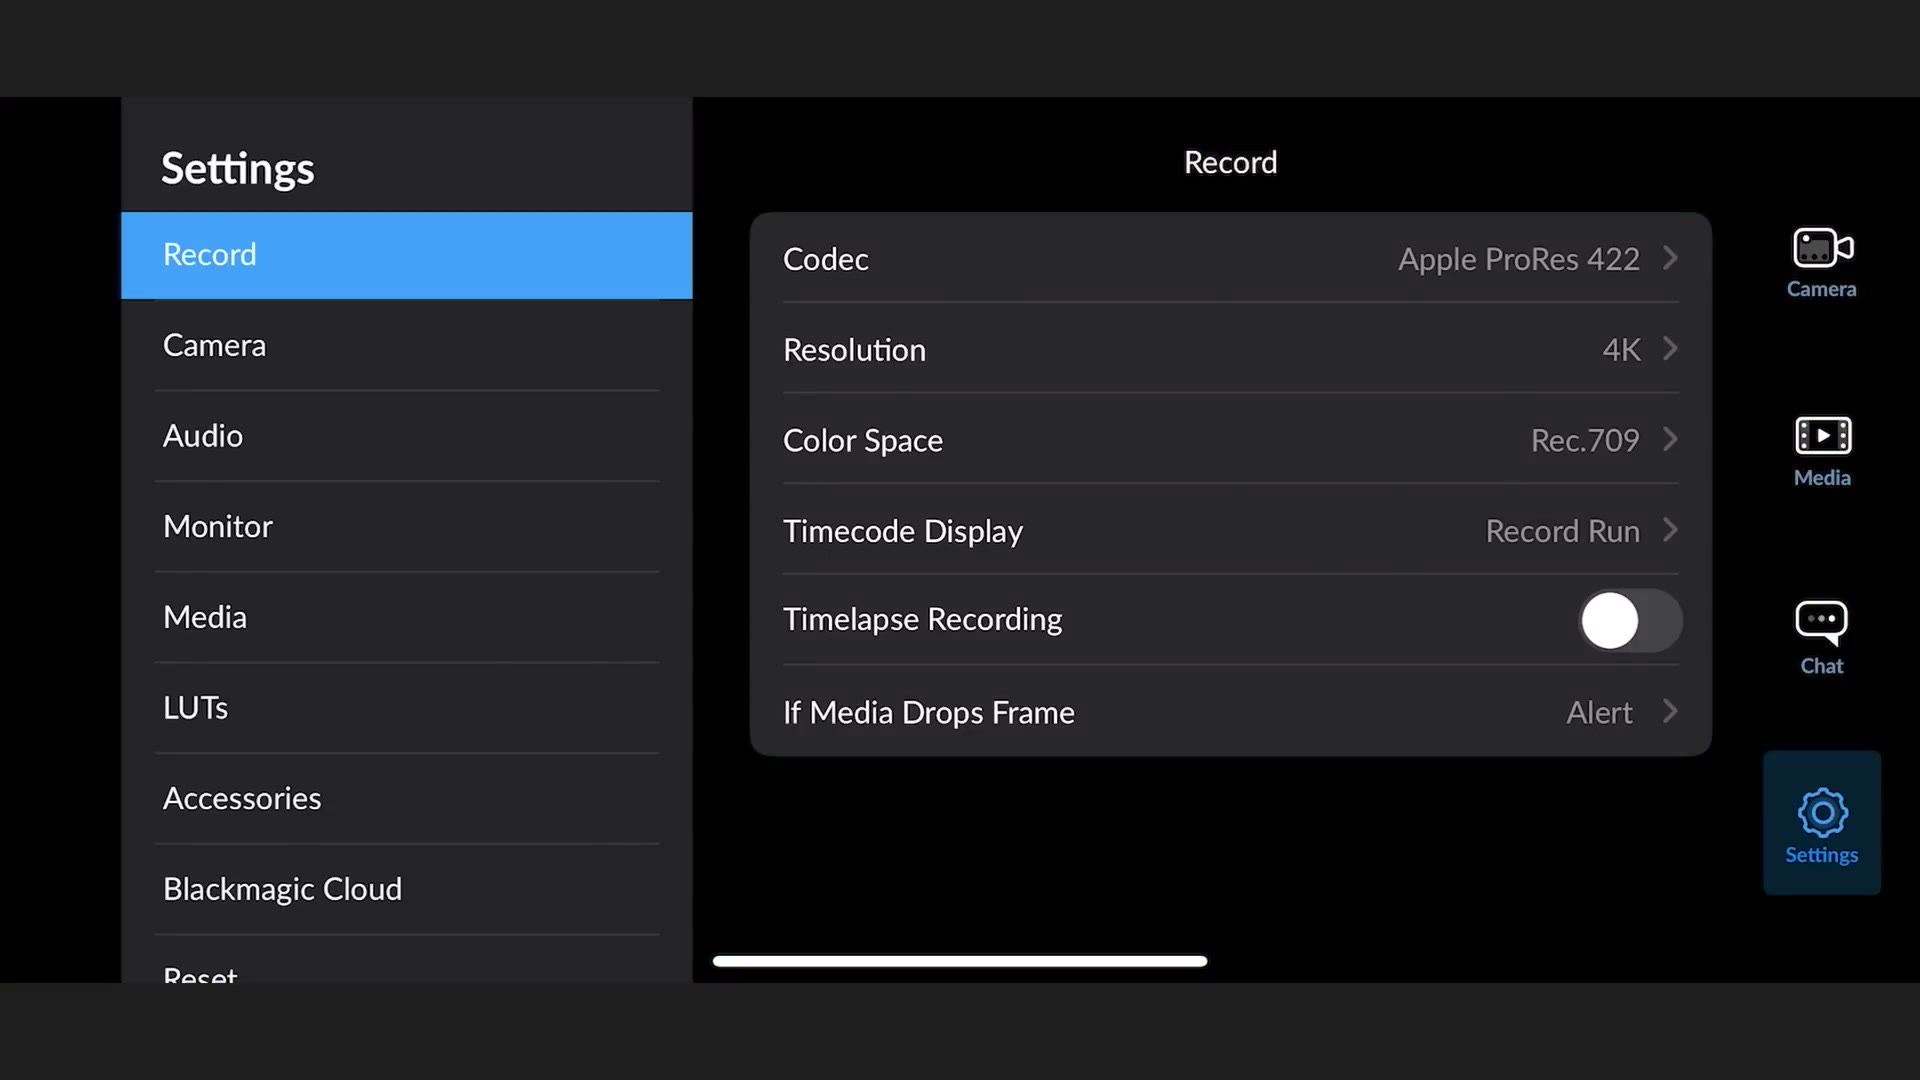
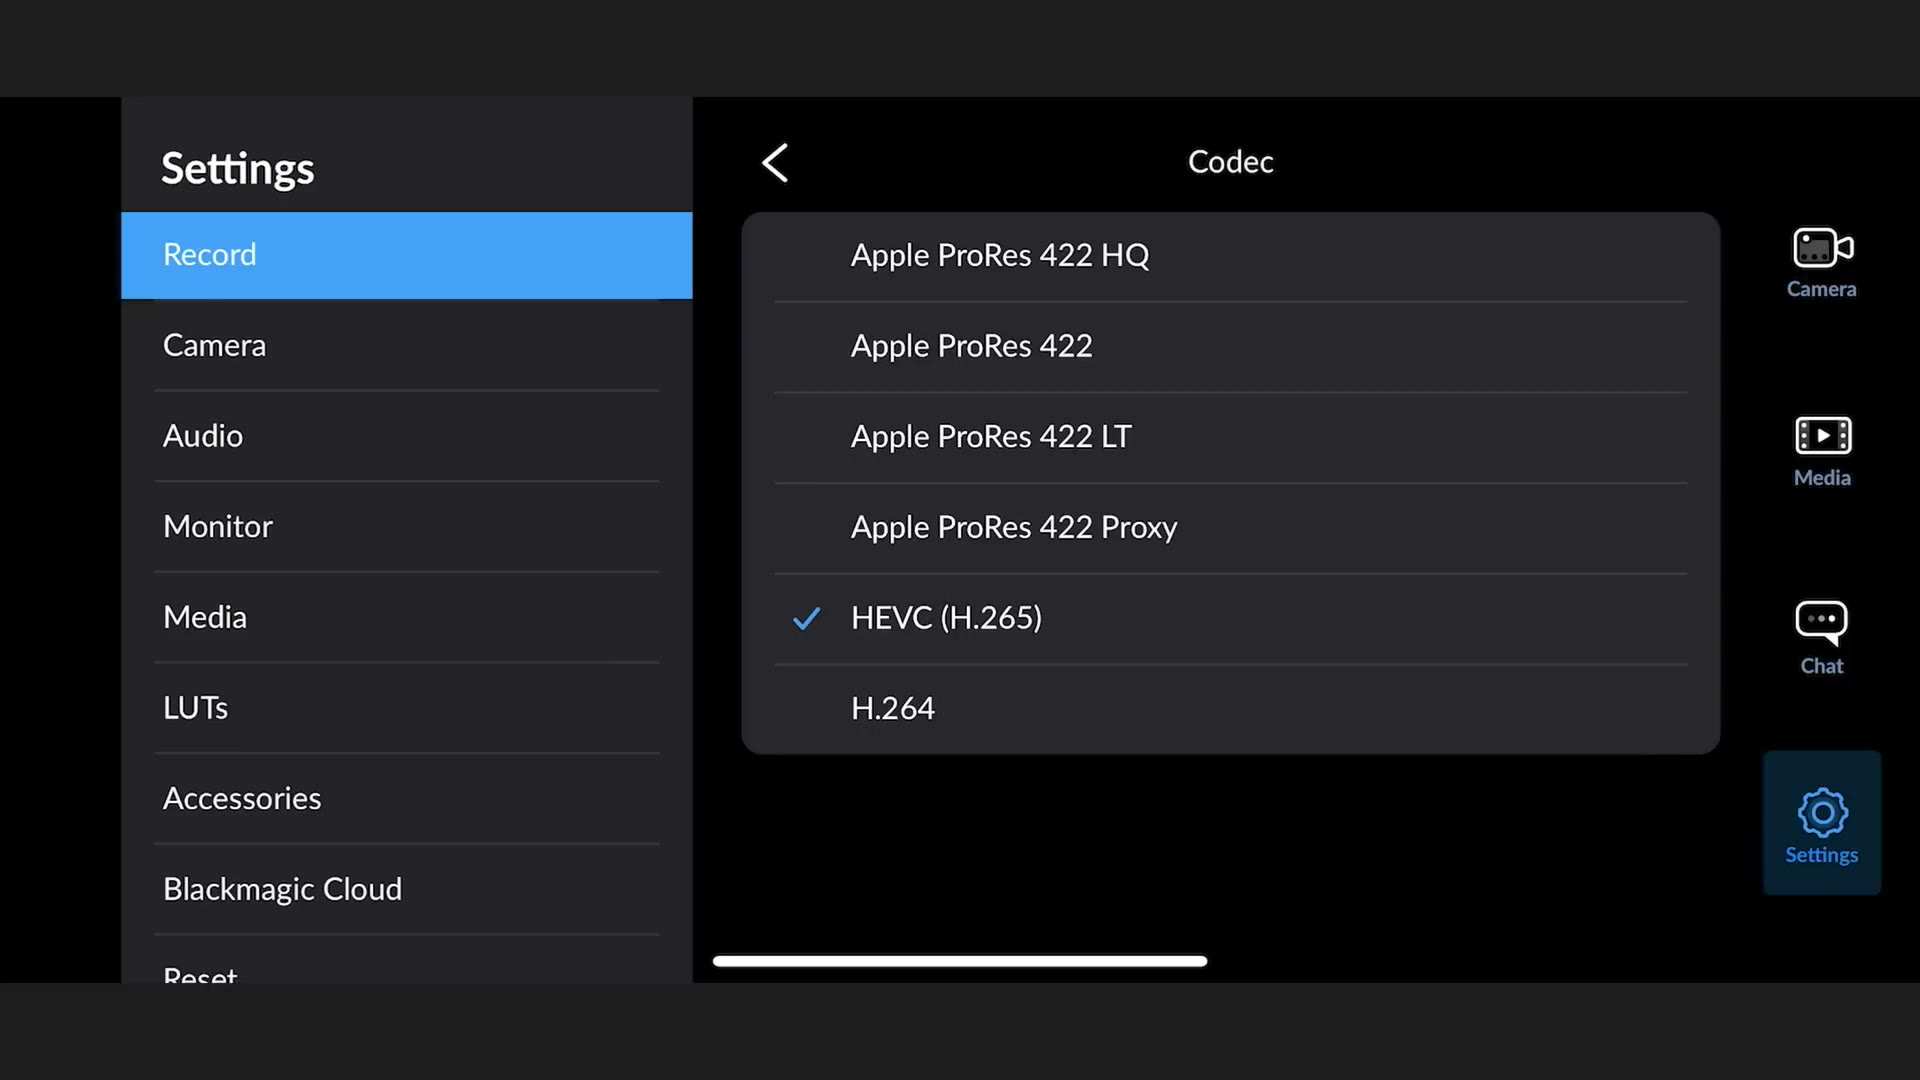
For codec, you are going to want to set this to HEVC (H.265).
If you’ve watched my video about filming in Apple Log with the stock camera app, you’ll know that app requires you to film in ProRes 422, which gives you high quality video but with a massive file size. We’re talking six gigabytes per minute of footage.
By selecting H.265 in the Blackmagic Camera app instead, you get video quality that is basically 99% as good as ProRes 422, at about 5% of the file size.
The only times I’d select ProRes 422 in this app are if you’re filming someone in front of a green screen or a solid colored wall and you want to guarantee no color banding, or if you have tons of drive space and you just don’t care. For literally any other situation, set it to H.265 and it’s going to look fantastic.
Next, for resolution select 4K. And for color space, this one is very important, select Apple Log, because that’s going to give you the best possible quality from the iPhone by dramatically reducing the oversharpening the camera usually adds, and giving you a much more pleasing image once you color grade it.
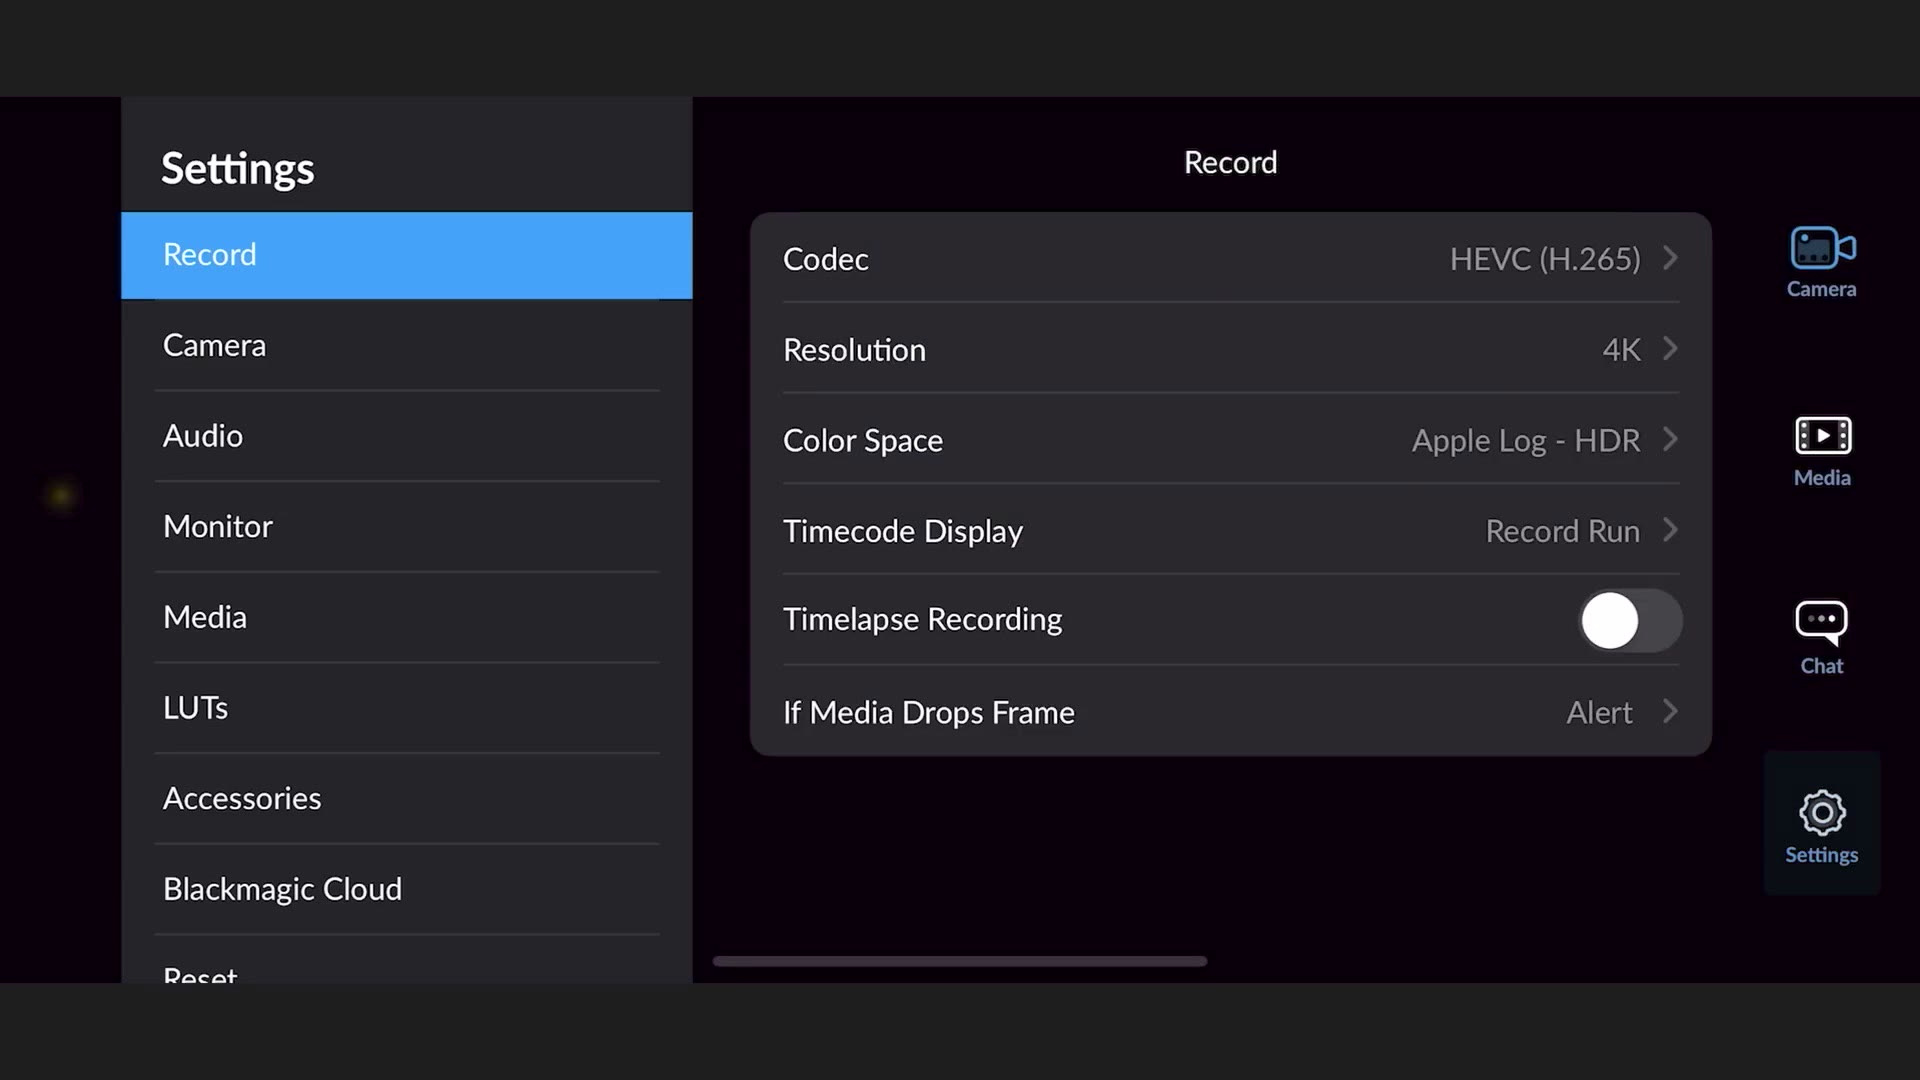
I’d leave the rest of these settings as they are, then press the camera icon so we can dial in a few more things.
White Balance And Zebras
First, tap on WB, which stands for white balance, and lock it to an exact number. The number you choose depends on your lighting. In this case I’m setting it to 5500.
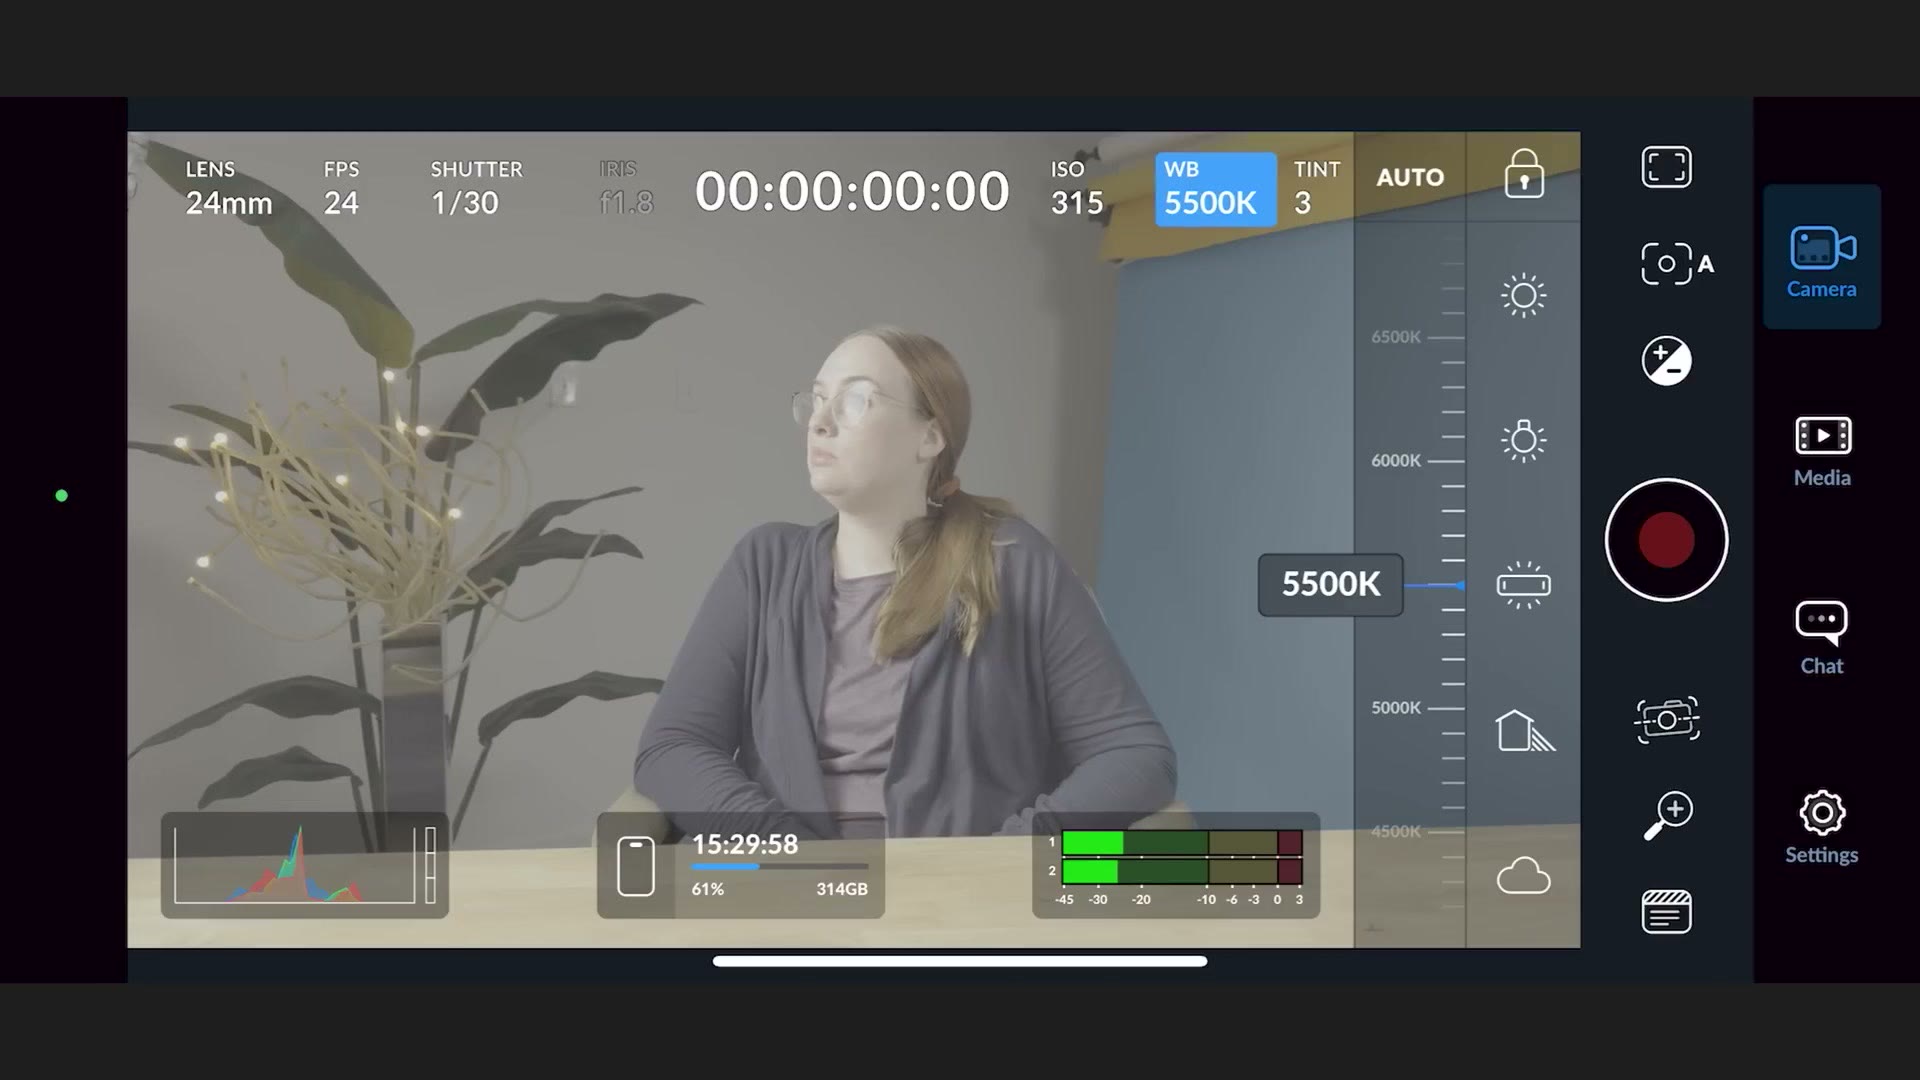
Next, tap the framing icon in the top right and then tap the zebras icon. If you don’t know what zebras are, they’re a fantastic way to tell whether your footage is overexposed.
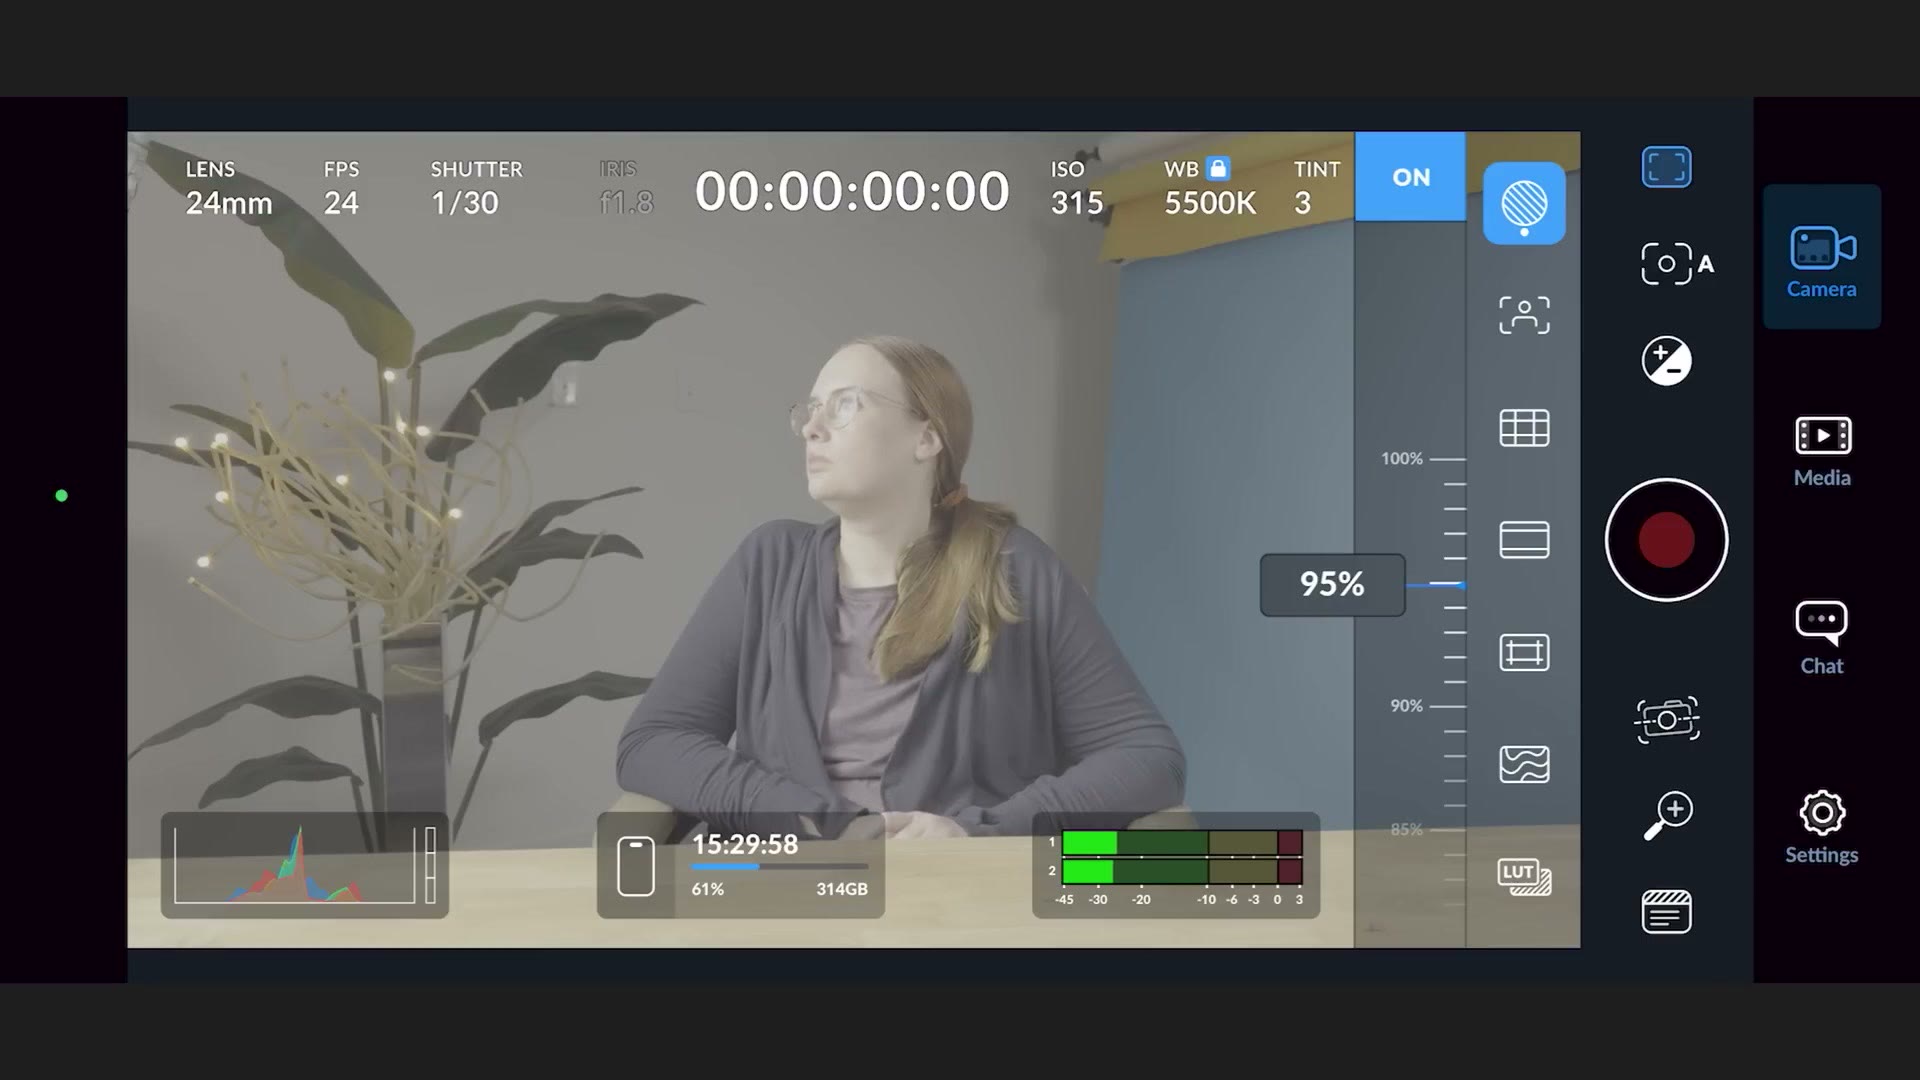
For Apple Log in particular, drag this slider until your zebras read 95%. That means if you’re seeing zebras in your preview, your footage is overexposed and you need to bring the brightness down.
Native ISO For BEST Dynamic Range
Which leads us into the rest of this, because exposure with the iPhone 15 Pro is a little unintuitive. But if you want to maximize your dynamic range and give yourself the best possible image, these are the settings you need.
The first thing to notice is that if you tap anywhere on your screen, the Blackmagic Camera app automatically adjusts both the exposure and the focus to suit whatever you tapped on. That is not ideal, because to maximize dynamic range you need your ISO sitting at approximately 1250. A little below that, around 1100, or a little above, up to about 1450, is fine.
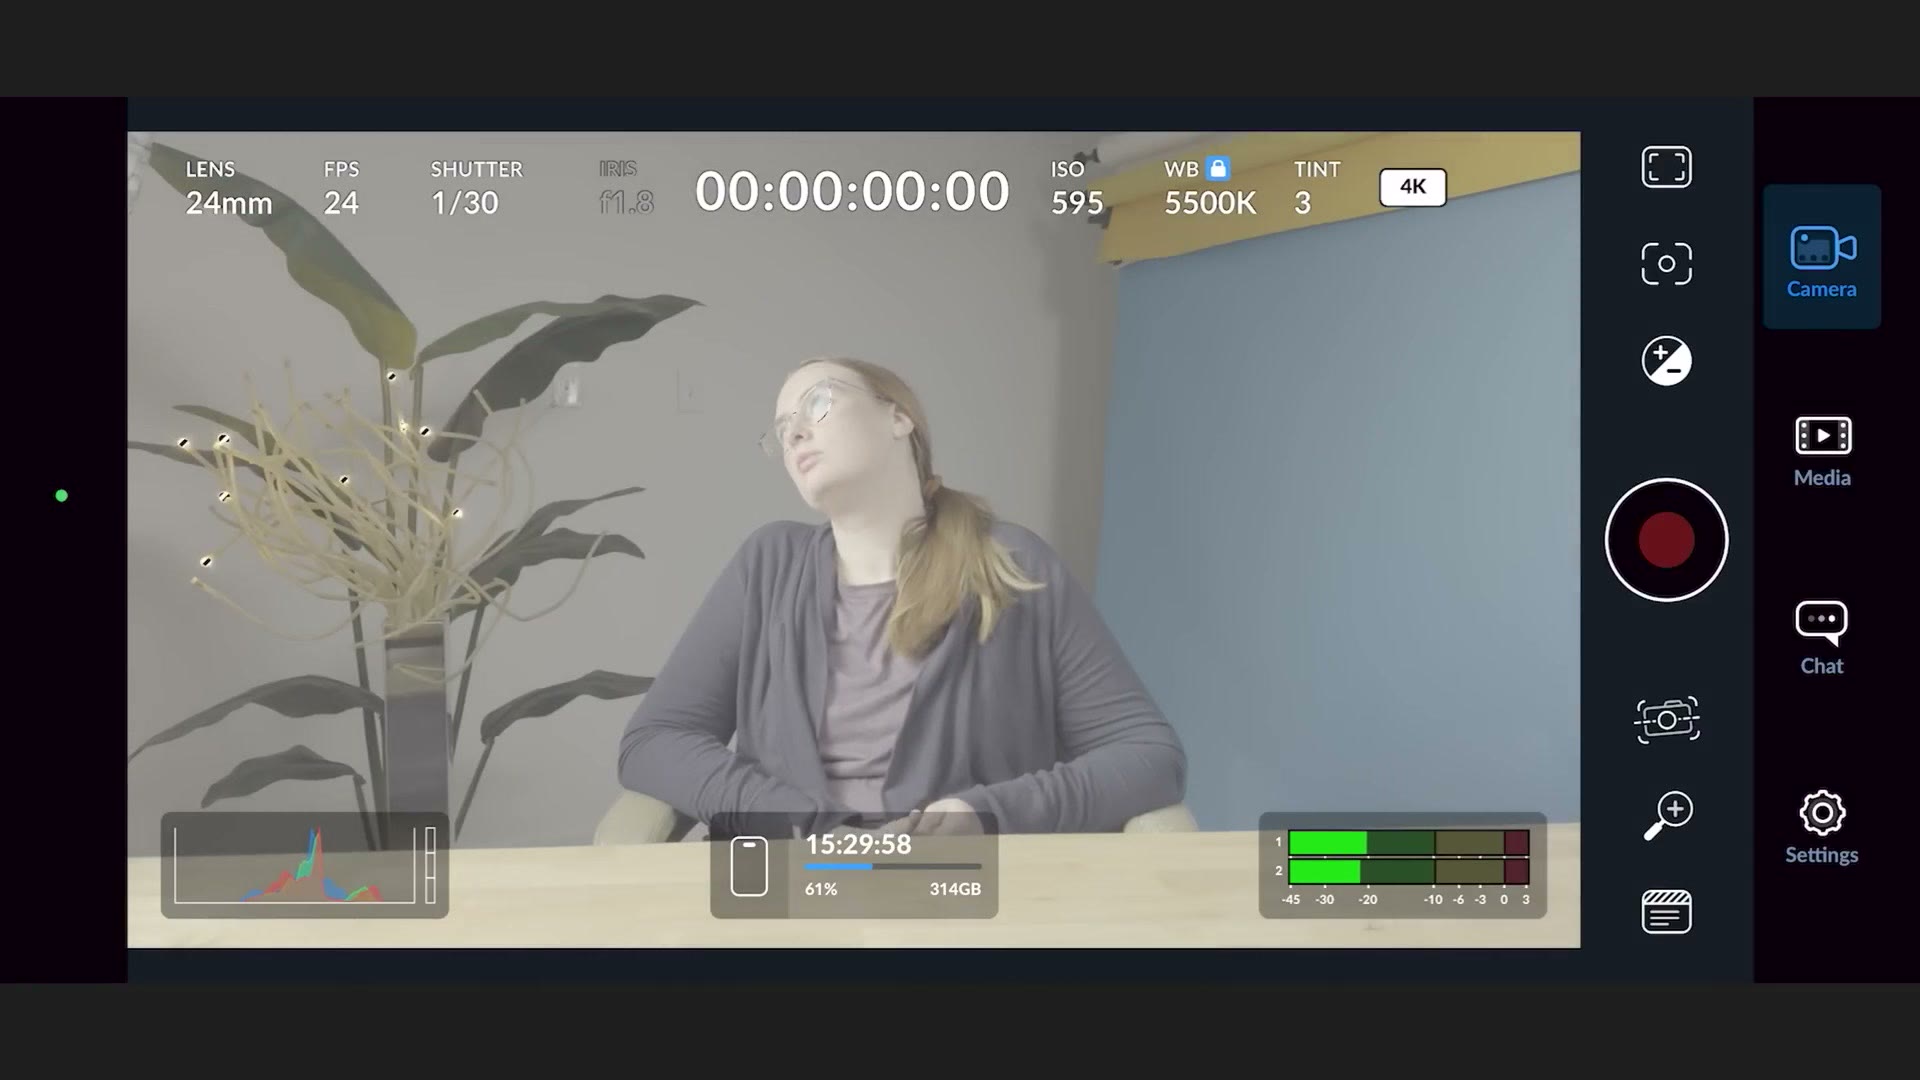
Let me explain why. Huge shout out and thank you to Gerald Undone and Patrick Tomasso, because they tested the dynamic range of the iPhone 15 Pro and discovered that at lower ISOs, Apple is artificially lowering the dynamic range of the image to reduce noise.
What they also discovered is that if you raise the ISO into that 1100 to 1450 range, the dynamic range is no longer limited, and your footage looks its best with a maximum of approximately 14 stops, which is actually pretty competitive with a lot of cameras that are not cell phones. So that’s cool.
The MOST IMPORTANT Setting
With that rough target of 1250 ISO in mind, we run into that pesky issue where any time you tap the screen it adjusts not just your focus but your exposure. So even if you tap on ISO and set it to 1250, the next tap to refocus will move it. And to make things worse, you cannot lock the ISO the way you can lock some of the other settings.
So how do you get around it?
First, notice that you cannot change your f-stop. The iPhone’s cameras have a fixed aperture, so you cannot stop them down. You are stuck with the main camera at f/1.8. Thankfully you can adjust shutter speed, all the way up to 1/8000 of a second if you need it. And more importantly, you can lock your shutter speed.
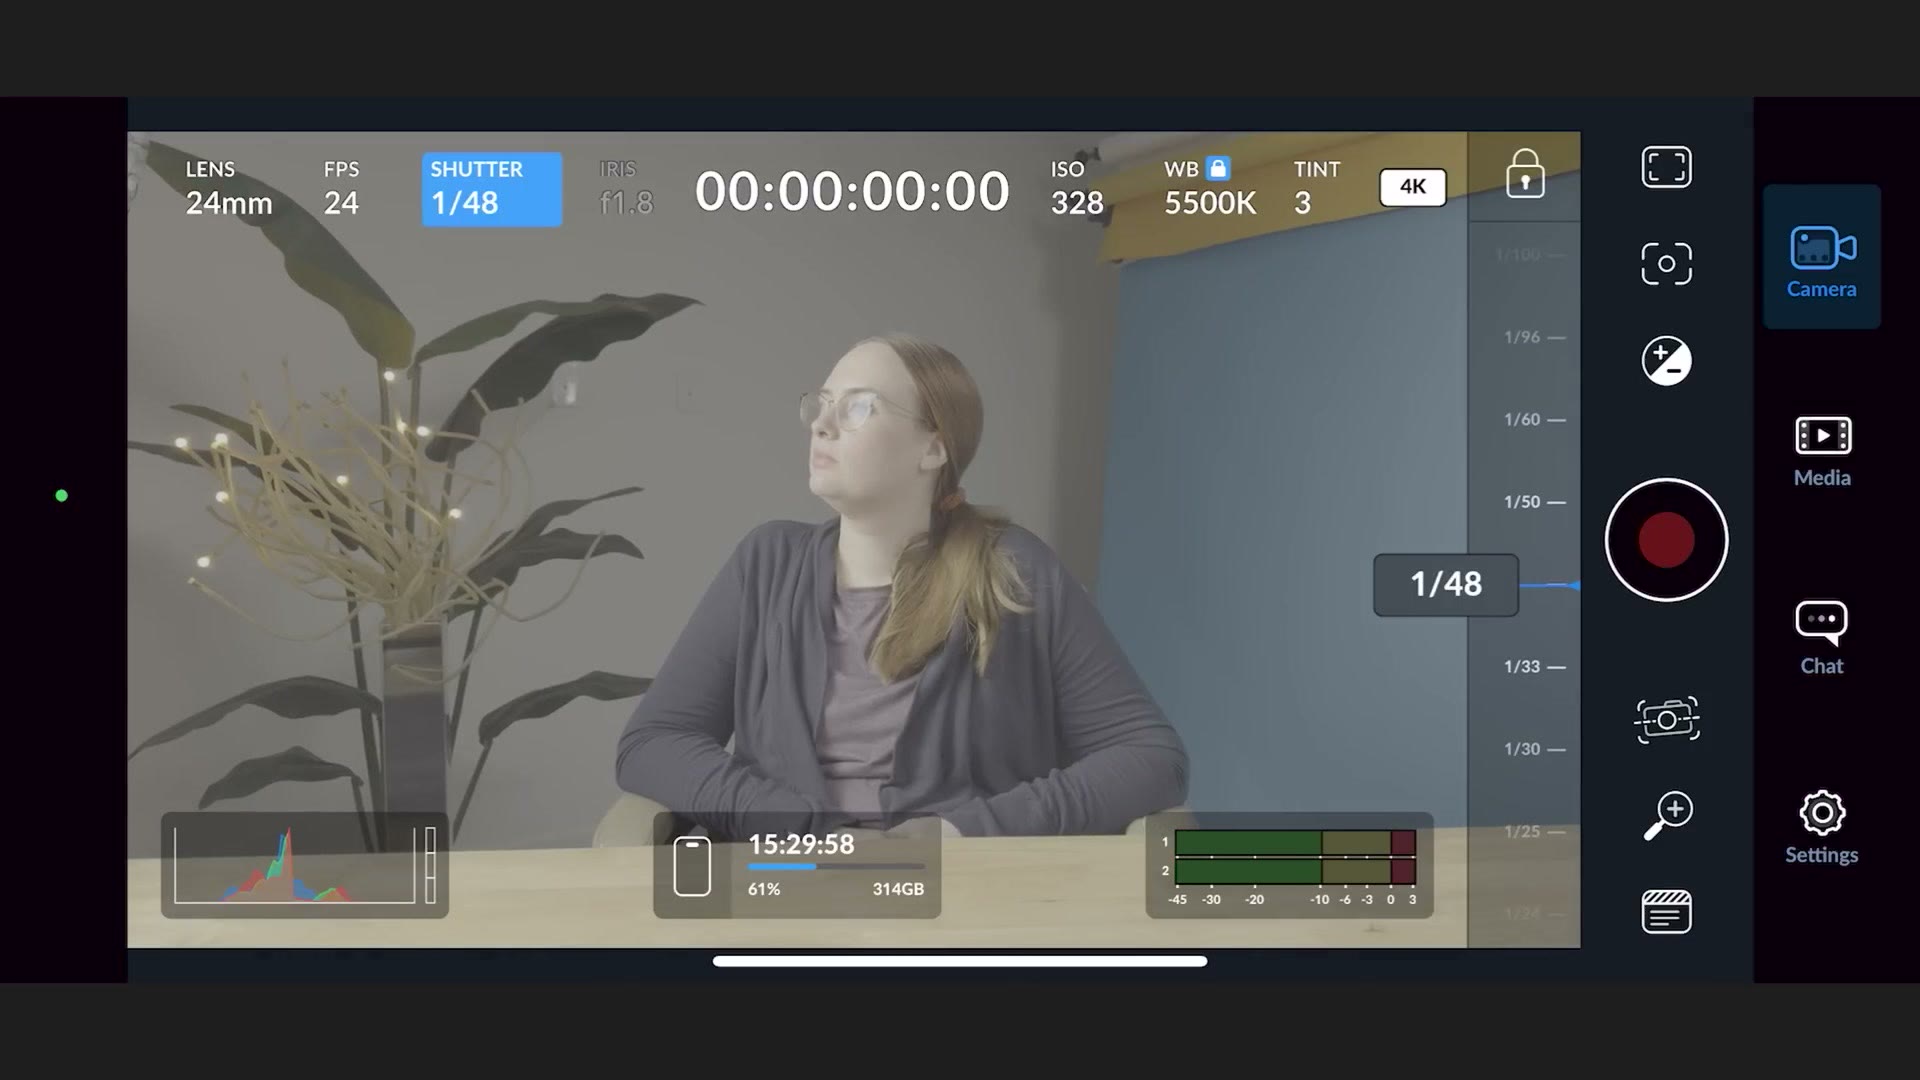
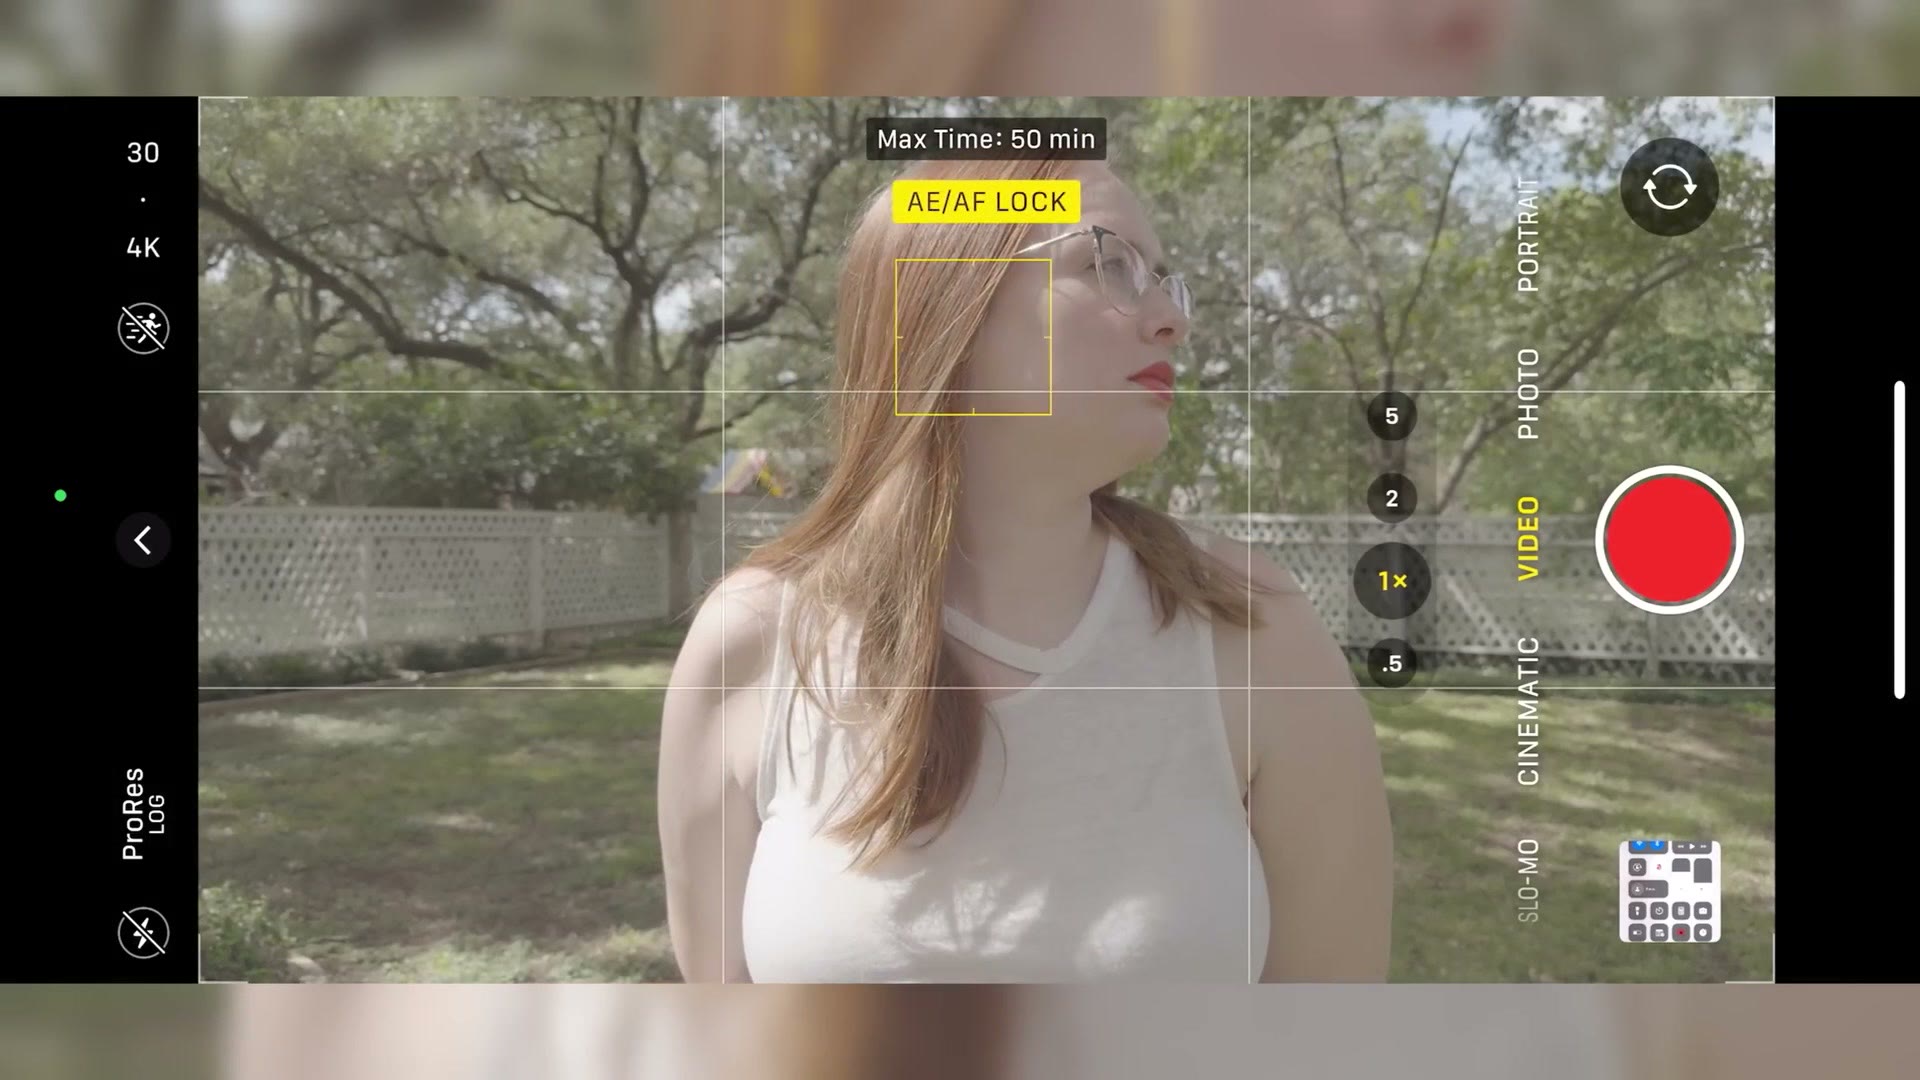
Here’s where the magic happens. When you lock your shutter speed and then tap anywhere on the screen, the icon that appears where you tapped says only AF, not AF/AE. AF stands for autofocus and AE stands for auto exposure. Because you’ve locked your shutter, tapping to focus no longer changes your exposure, which means your ISO stays exactly where you set it.
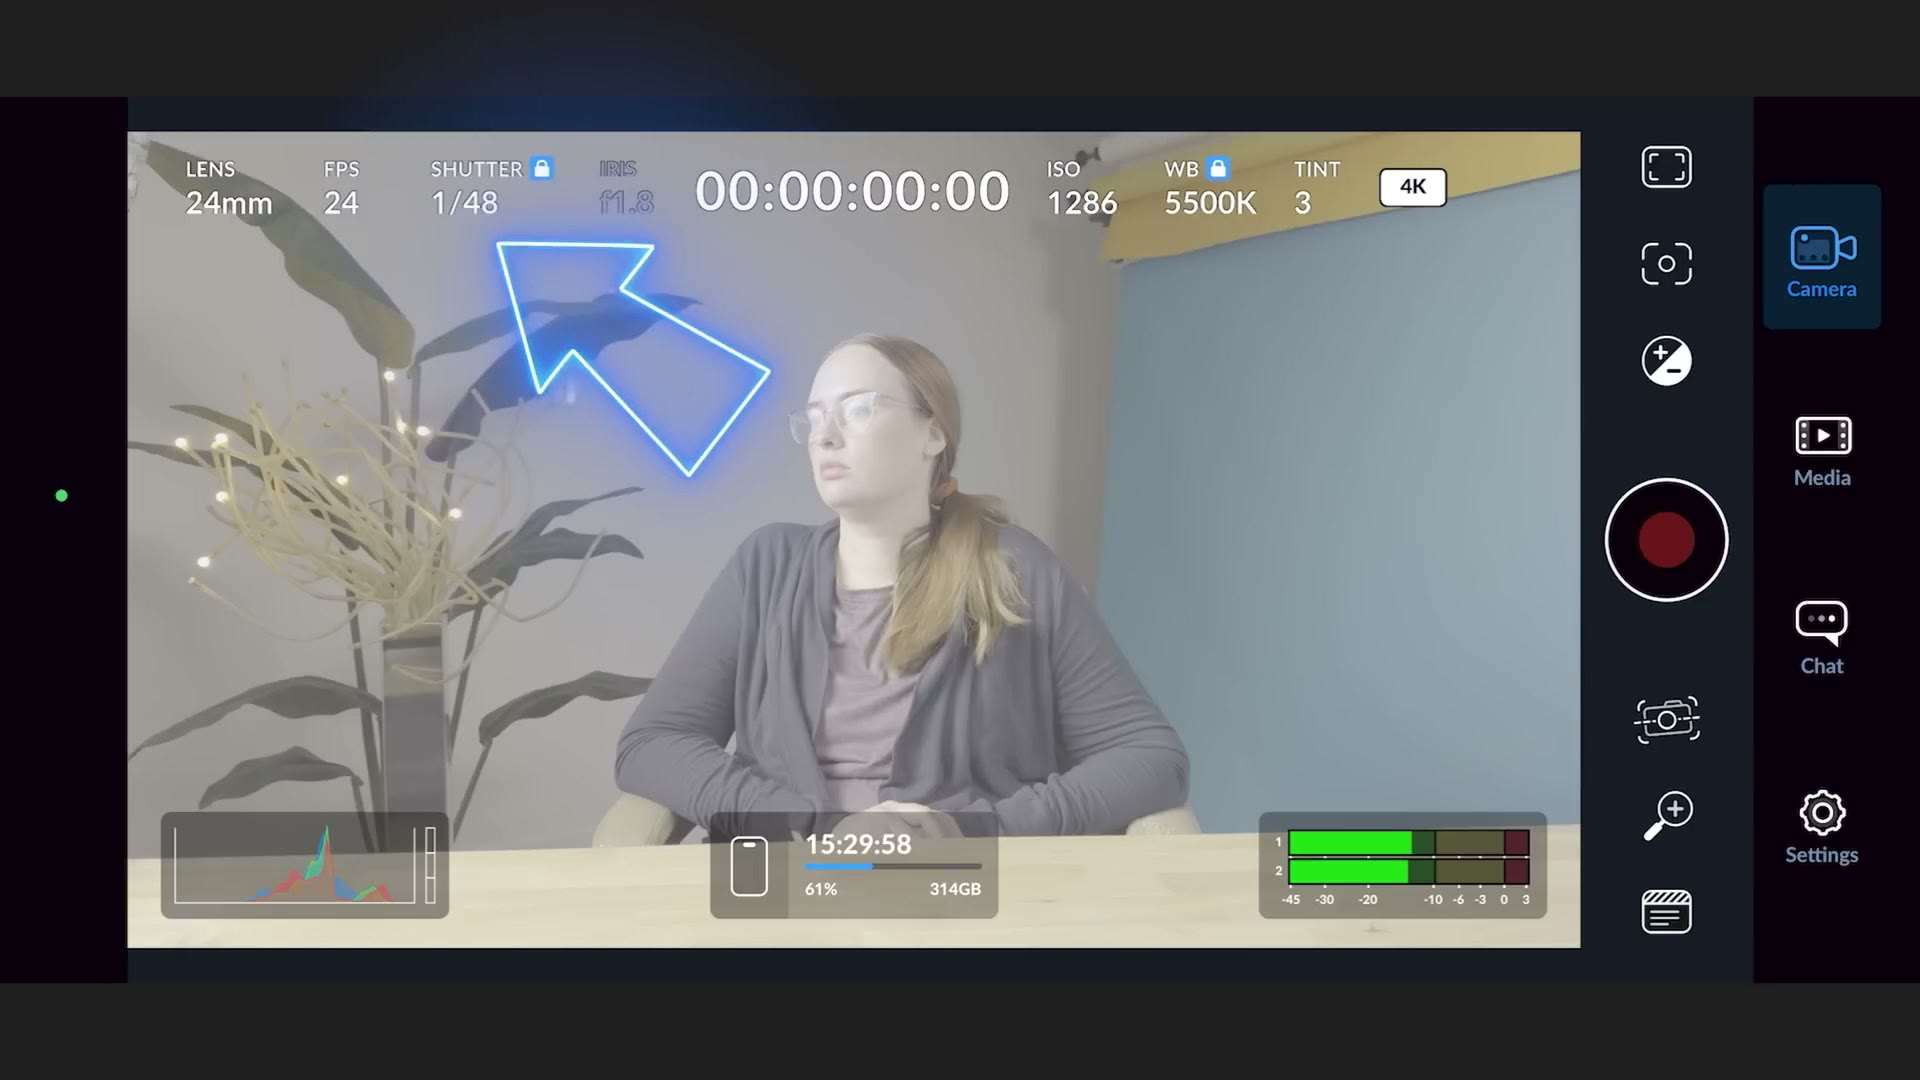
So my recommendation is that if you’re filming at 24 frames per second, set your shutter to 1/48 of a second, which is the Hollywood standard for motion blur at 24fps, and then set your ISO to 1250. That gives you the maximum dynamic range the iPhone 15 Pro can record.
Alternatively, if you want to film at a higher frame rate like 4K 60, which you can do in the Blackmagic Camera app without needing to plug in an external SSD, set your shutter speed as high as you need to properly expose the image.
The Last Hurdle: Avoiding Overexposure
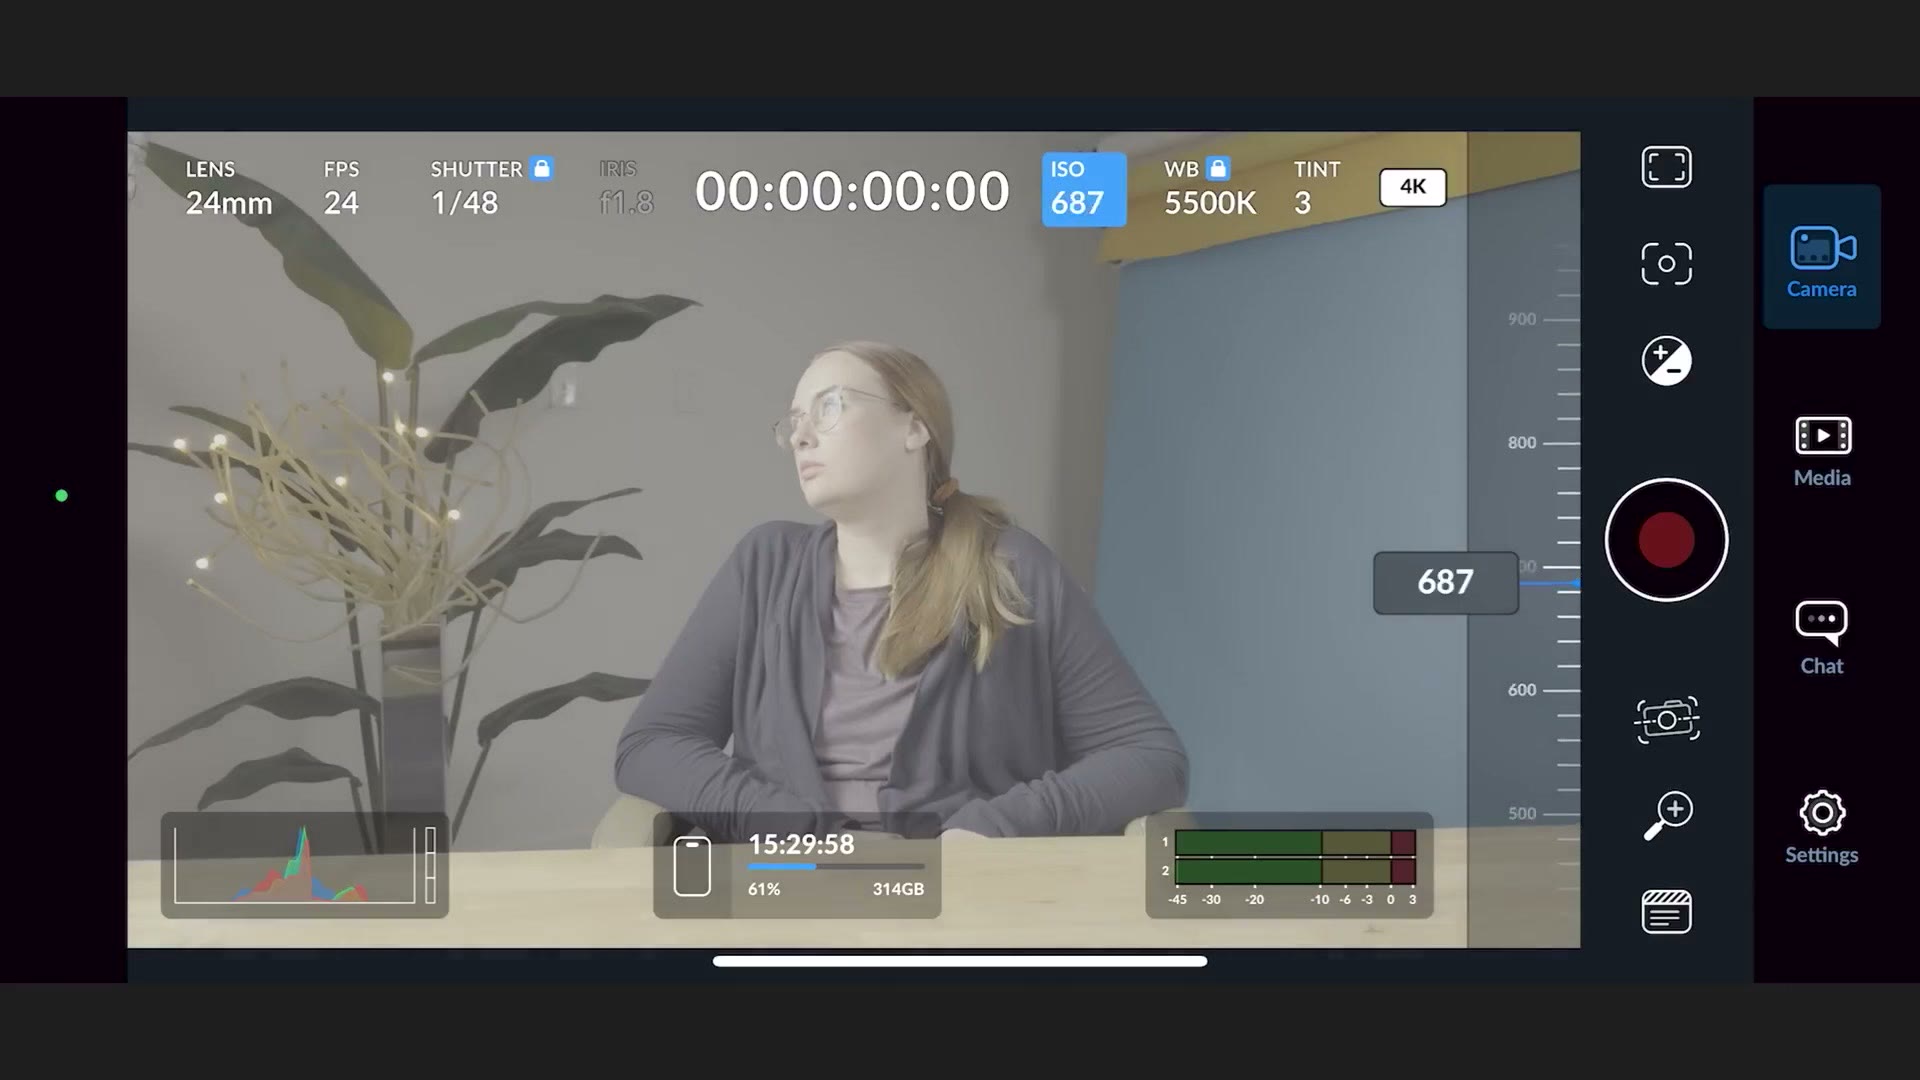
Here’s the last hurdle. You are going to run into situations where your footage is just too bright, especially filming at 24fps outdoors on a sunny day. Shutter locked to 1/48 and ISO at 1250 is asking for an overexposed image.
So that’s where you’ll want to look into an ND filter for your iPhone.
I realize you may be thinking, this is a phone I carry around in my pocket, I don’t want to rig it out a ton. That’s totally fine. In that case use the stock camera app and watch my other video, which will still give you great quality. But if you want the absolute best, an ND filter is what you need.
You have a ton of options. Some companies make cases that let you mount an ND directly to the case, or you can buy a clip on adapter. It doesn’t matter which, what matters is that you get a variable ND of some sort in front of your lens, because with everything else dialed in it’s one of the best ways to control your exposure.
Once you’ve done that, your footage is going to look great, with the best dynamic range, the highest quality and the smallest file size. I think you’re going to be really happy with what you’re getting out of your iPhone 15 Pro.
Have You Checked Out My Presets Yet?
Speaking of things you’ll be happy with, if you haven’t checked them out yet I’d highly recommend my color presets. They work great with the iPhone 15 Pro as well as any other camera you may have, whether or not you film in a log picture profile.
I’ll also throw in my free Edit Videos Like A Pro guide, which walks you through some of the biggest things that took me years to learn as a video editor.
Thanks so much for reading, and have a great day!