Save time and download my Instagram Export Preset for Premiere Pro!
A post shared by Matt WhoIsMatt Johnson (@whoismatt) on
When Instagram enabled video sharing, uploading videos became way more addictive than photos. After shooting several films on my iPhone, I really wanted to upload previously shot videos. I did some research and created a tutorial of how to upload videos shot with any camera at any time to Instagram. Earlier this week, Instagram enabled uploading directly from your camera roll, making my tutorial unnecessary.
I realized that while Instagram now lets you crop and upload videos in the app, it really is still lacking the finer control that you can get by editing a video in a traditional NLE such as Premiere Pro CC. By editing a video before copying it to your camera roll for uploading to Instagram, you can perfectly control the quality, framing, and get a much higher quality than just shooting and uploading. This tutorial will show you the export settings for the highest render quality for Instagram, and even show you how to upload widescreen videos. These steps also work for uploading to Instagram from both iOS and Android.
Wanna save time? Download my Instagram Export Preset for Premiere Pro!
Step One
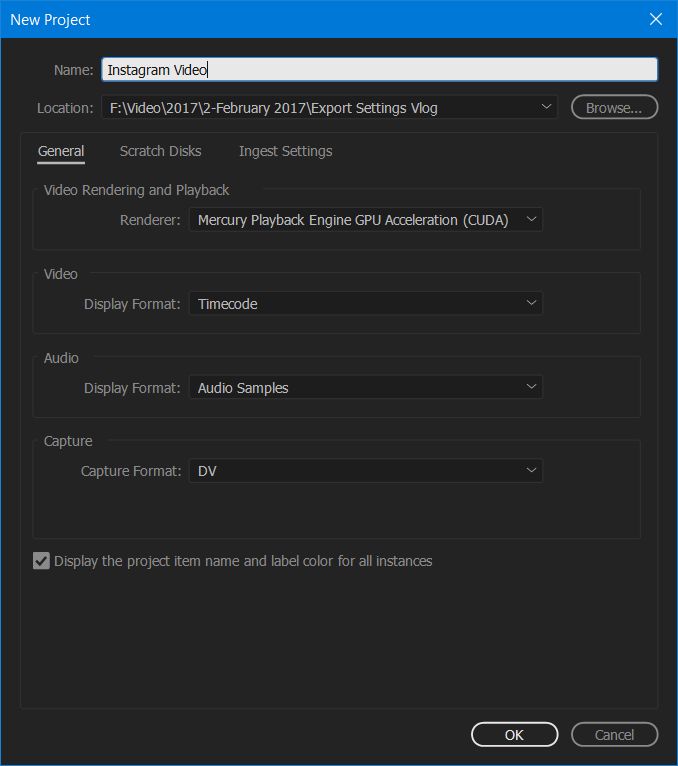
Open Adobe Premiere Pro (you can download a trial for free here) and choose to create a New Video Project. I find it best to create a folder to keep all the project files inside. Then select “OK”.
Step Two
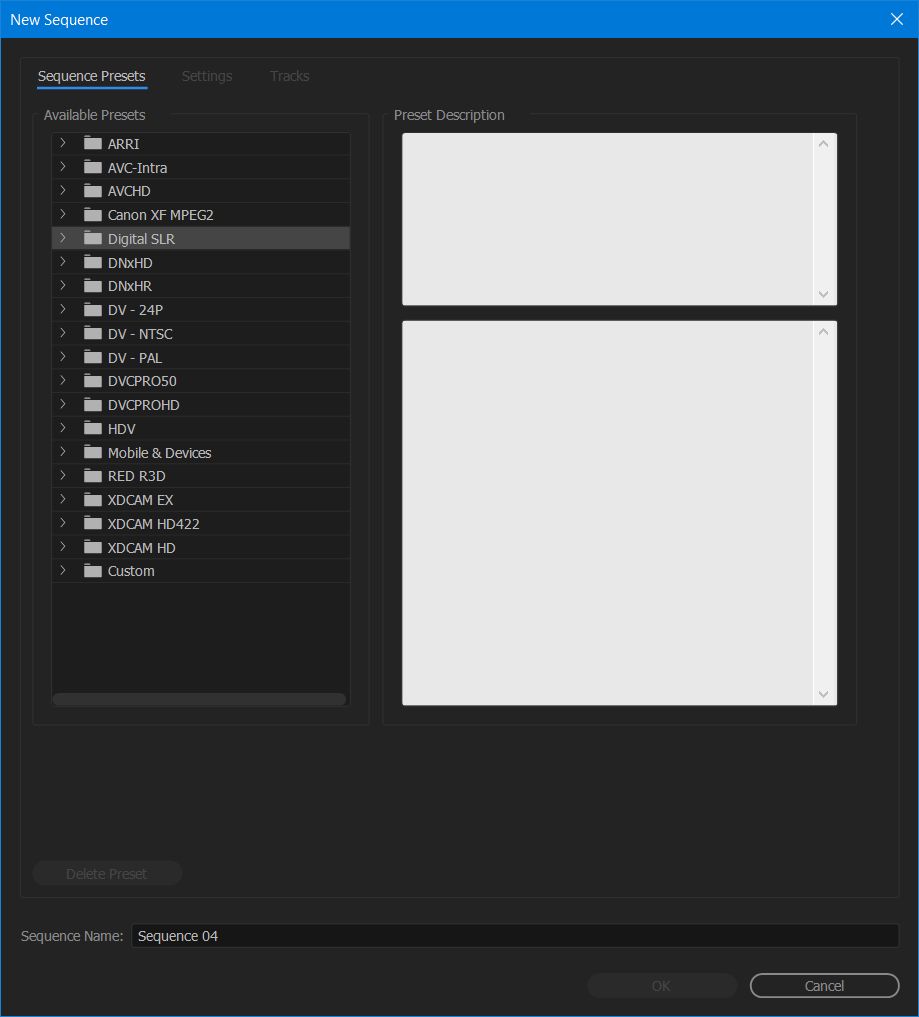
If you are using CS6, a “New Sequence” Dialogue box should appear. If you are using Premiere CC, then you will need to select File > New > Sequence.
Step Three
From the Twirly arrow drop down menu, select Digital SLR > 1080P > DSLR 1080p24.
Step Four
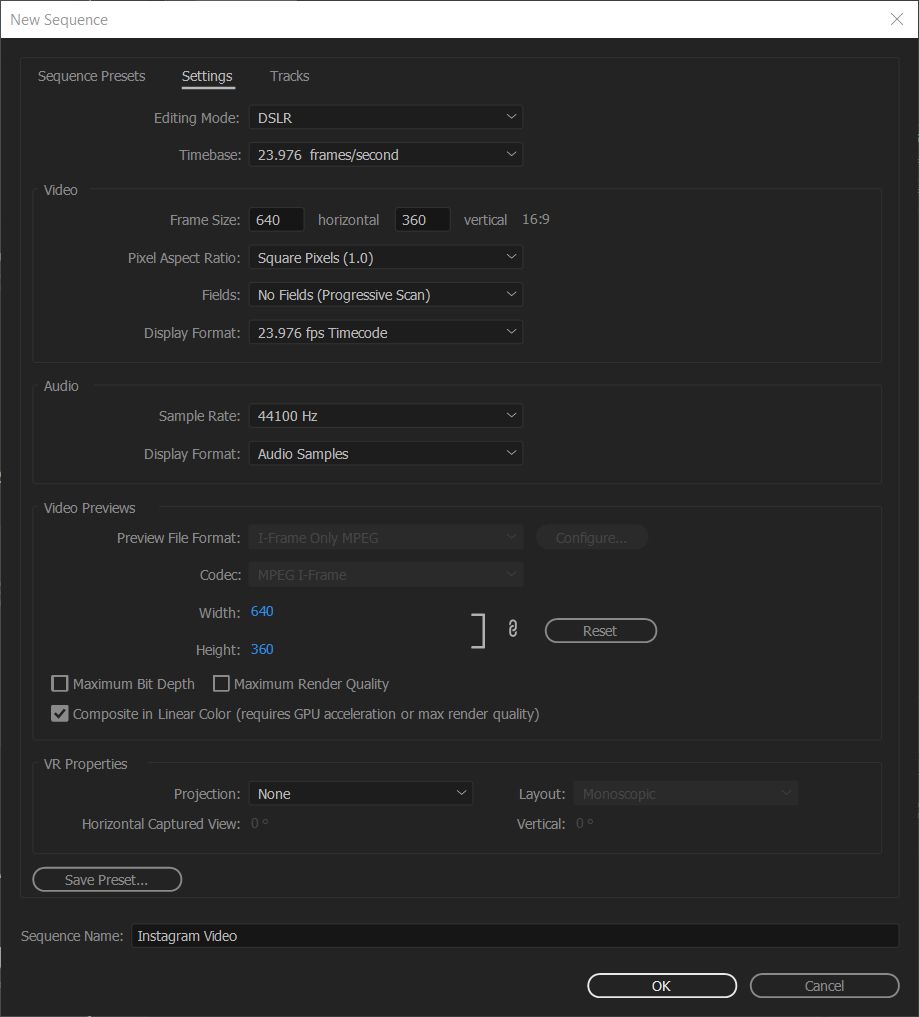
Now select the “Settings” tab at the top, and choose the following options.
- Editing Mode: DSLR
- Timebase: 23.976 Frames/Second
- Frame Size: 640 Horizontal 360 vertical 16:9
- Pixel Aspect Ratio: Square Pixels (1.0)
- Fields: No Fields (Progressive Scan)
- Display Frame: 23.976fps Drop-Frame Timecode
- Audio Sample Rate: 44100 Hz
- Display Format: Audio Samples
- Video Previews: Width 640 Height 360
Then choose to save the preset so you can use it again later.
Step Five
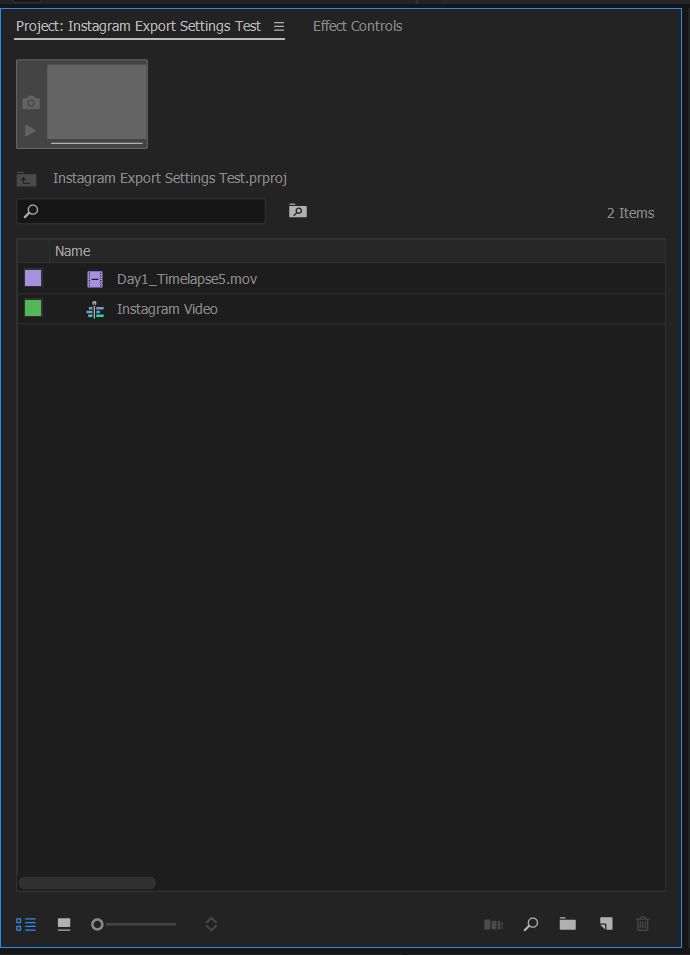
Import your video files into the project.
Step Six
Drag your videos to the timeline. A “Clip Mismatch” warning might come up but you can ignore it and tell it to “Keep Existing Settings.”
Step Seven
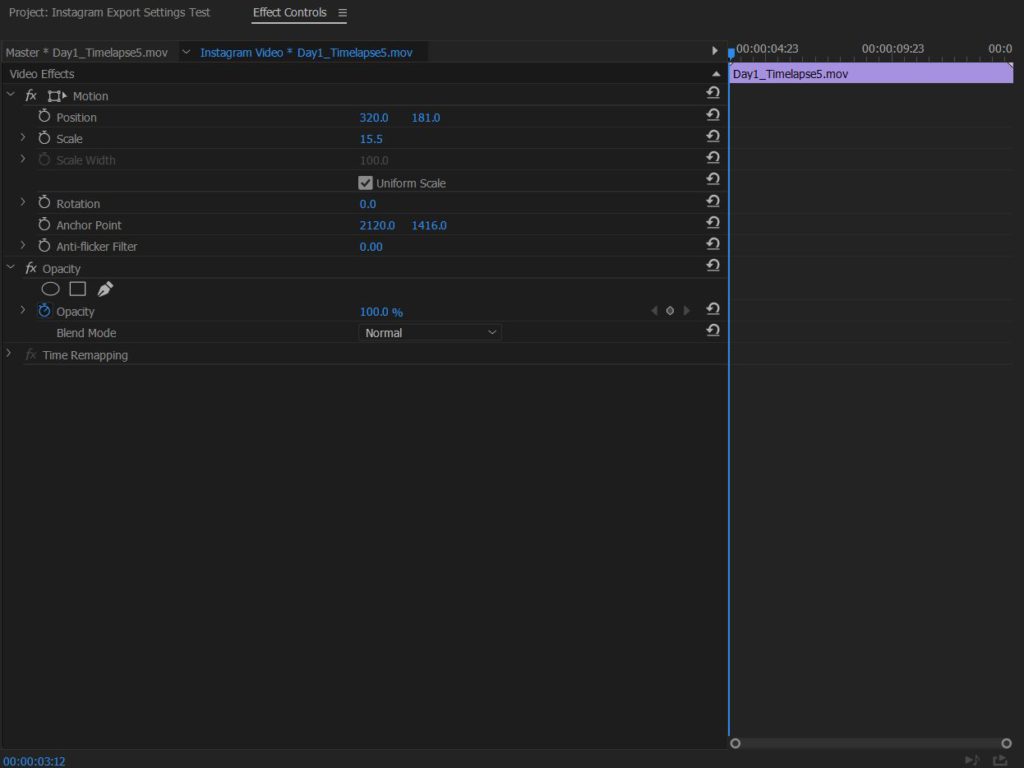
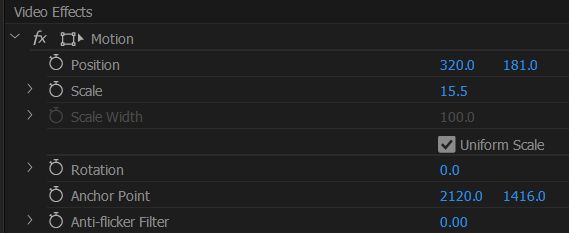
If you are using a 4K video file, you will notice that it is far bigger than the 640 x 360 clip size that Instagram allows. Select your custom video clip in the timeline and choose “Effect Controls”. So you can adjust the Position and Scale of your custom clip.
Step Eight
Adjust the Scale and Position of your clip so it fits nicely into the 640 x 360 window. For a 4K video clip, the scale can be set to 15.5.
Step Nine
Select File > Export >Media, or select your timeline and hit CTRL + M. This will bring up the export dialogue box.
Step Ten
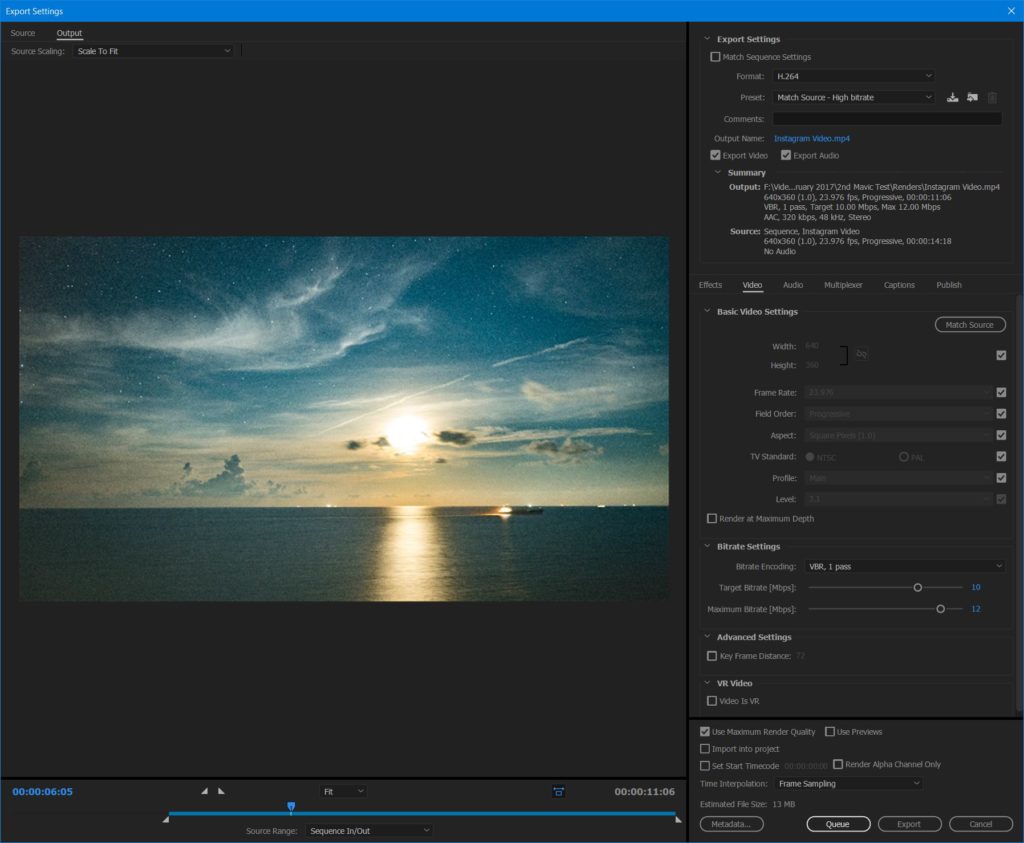
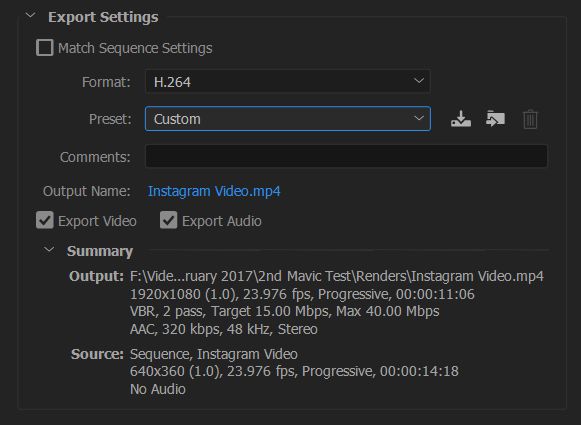
Choose the video format “h.264” and choose any preset from the preset dropdown menu (we are going to customize one). Make sure “Export video and “Export Audio” are checked, and select the file name and choose where you want the file to be saved to.
Step Eleven
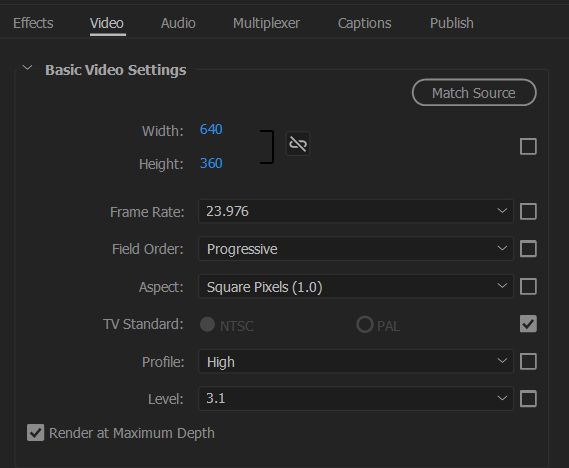
Select the “Video” tab below. Choose the following settings:
- TV Standard: NTSC
- Frame Width: 640
- Frame Height: 360
- Frame Rate: 23.976
- Field Order: None (Progressive)
- Pixel Aspect Ratio: Square Pixels
- Profile: Main
- Level: 3.1
- Check the Render at Maximum Depth Box
Step Twelve
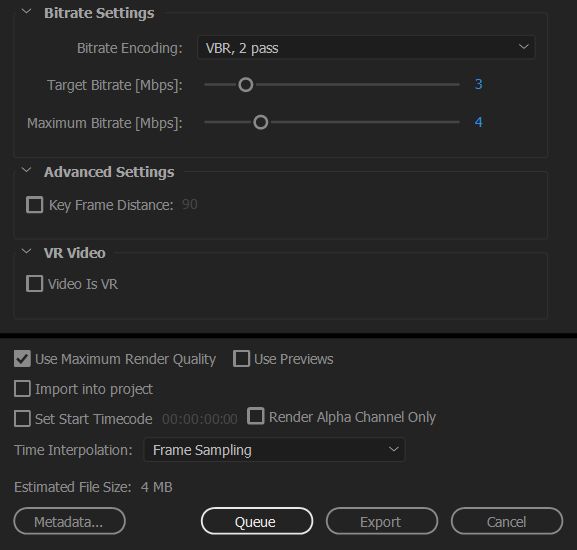
Choose the following Bitrate settings:
- Bitrate Encoding: VBR, 2 Pass
- Target Bitrate: 3Mbps
- Maximum Bitrate: 4Mbps
Experiment with these Mbps settings if your video ends up looking pixelated. For a 15 second video, your clip should be approximately 5 Megabytes. For a 1 minute video clip, it should be around 20 Megabytes. Your video clip shouldn’t be larger than 25 Megabytes for a 1 minute video. Make sure you check the “Use Maximum Render Quality” box.
Step Thirteen
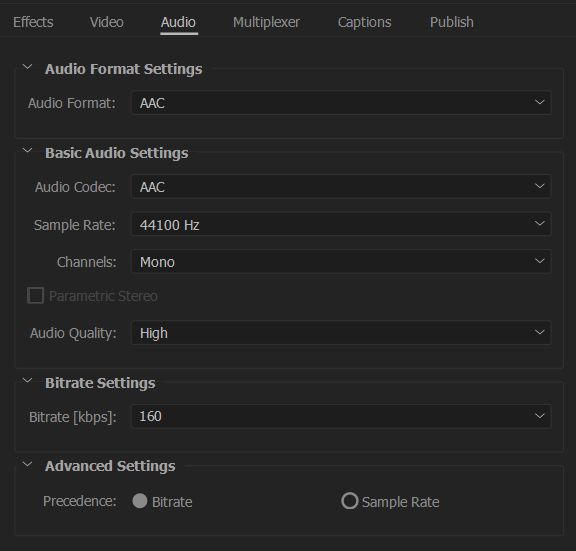
Click the “Audio” tab and choose:
- Audio Codec: AAC
- Sample Rate 44100 Hz
- Channels: Mono
Step Fourteen
You’re done editing! Now save these render settings as a preset and click Export.
Step Fifteen
It’s time to copy your new Instagram video to your iPhone. You have several different options for how to do this. You can use iTunes or you can use Dropbox. I personally use Dropbox because it is the simple, fast, and above all, FREE. Here is how you can copy your video files using Dropbox.
First, signup for a free Dropbox account and download the software.
Step Sixteen
Once you have Dropbox installed and setup, create a new folder in your Dropbox folder and call it “Instagram Video” (or whatever you want to call it, just remember what it is and where it is on your computer).
Step Seventeen
Copy your rendered video from where you exported it to the “Instagram Video” folder in Dropbox.
Step Eighteen
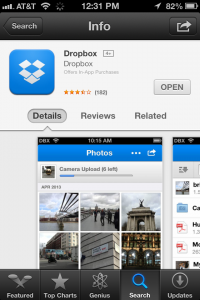
Download the Dropbox iOS app and sign in to your account.
Step Nineteen
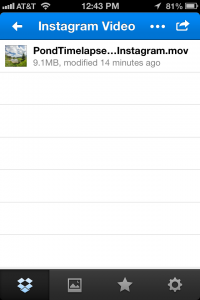
Navigate to the “Instagram Video” folder in the app and as long as you have given your video enough time to upload from your computer to Dropbox, it should be there.
Step Twenty
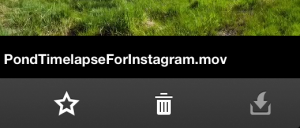
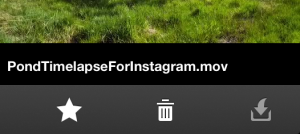
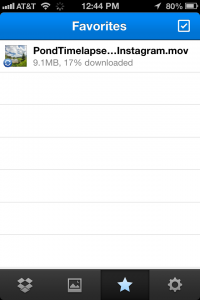
You will notice if you try save your video file to your Camera Roll, Dropbox will not let you. You must first favorite the video by selecting the star icon. This will download the video to your Dropbox app.
Step Twenty One
Navigate to the favorites tab in Dropbox and select your video. You will then be able to view your video and save it to your camera roll.
Step Twenty Two
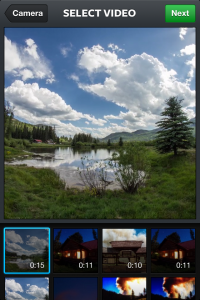
iOS: Open Instagram, select upload, and choose your video from your camera roll. You’ve done it! Welcome to the world of custom edited Instagram videos that you uploaded from your camera roll.
Android: In the event that you cannot select your video from within the Instagram App to upload it, instead open the video file in your gallery app and use the share button to share the video file with the Instagram app. It should then work! Welcome to the world of custom edited Instagram videos!
Step Twenty Three
Follow me on Instagram to see more timelapse videos like that one I you see in this tutorial! (This step is optional)

Thanks for reading this tutorial. I hope it helps you make great things to post to Instagram. If you enjoyed this tutorial, you may also enjoy some of my other tutorials for video editing. If you have any questions about the tutorial, or about video editing in general, please leave me a comment or send me a message.
Please note, the links to Adobe Premiere Pro CC are affiliate links, so I get a small kickback when you use the link and buy a Creative Cloud subscription.

